
The Science of Bread Machines: How They Work for Perfect Results

Welcome to BakeWithEase, your kitchen companion for all things baking! Ever wondered how a bread machine magically transforms simple ingredients into a perfectly baked loaf? Dive into the fascinating world of baking technology as we unravel How bread machines work, exploring the science behind these convenient devices. Get ready to unlock the secrets to consistent, delicious bread, and discover how to leverage this amazing tool for effortless baking!
- BakeWithEase: Mastering Bread Making with Your Bread Machine
- Understanding the Inner Workings of Bread Machines
- The Bread Machine Baking Process: A Step-by-Step Breakdown
- The Science Behind Bread Machine Baking: Key Factors
- Troubleshooting Common Bread Machine Problems
- Tips for Achieving Perfect Bread Machine Results
- Optimizing Your Bread Machine for Different Bread Types
- Conclusion: Unleashing the Potential of Your Bread Machine
-
Frequently Asked Questions
- How does a bread machine know when the bread is done?
- What are the key components of a bread machine that make it work?
- Can I use any type of flour in my bread machine?
- What happens if I add too much or too little yeast to my bread machine recipe?
- How do bread machines maintain a consistent temperature during baking?
- Final Reflection: The Humble Loaf and the Marvel of Mechanics
- Unlock Your Inner Baker: Perfect Loaves Await!
BakeWithEase: Mastering Bread Making with Your Bread Machine
Welcome to BakeWithEase, your guide to simplifying the baking process. While traditional bread making offers a unique connection to the craft, understanding how bread machines work unlocks a world of convenience without sacrificing quality. These countertop appliances automate the labor-intensive steps of bread creation, making it accessible for even the busiest schedules.
From mixing and kneading to proofing and baking, a bread machine manages the entire cycle, allowing you to wake up to fresh, warm bread or have a loaf ready for dinner with minimal effort. Learning the science behind these devices demystifies the process and empowers you to achieve consistently excellent results.
The magic of the bread machine lies in its ability to precisely control the environment and timing for each stage of bread making. This precision is crucial because bread is a living product, dependent on the careful interaction of ingredients and specific conditions for yeast activity and gluten development.
By understanding how bread machines work, you can better select the right settings for your recipes, troubleshoot common issues, and even adapt traditional recipes for machine use. This guide will take you through the inner workings and the science that makes these appliances so effective, helping you truly master bread machine baking.
Understanding the Inner Workings of Bread Machines
The Core Components of a Bread Machine
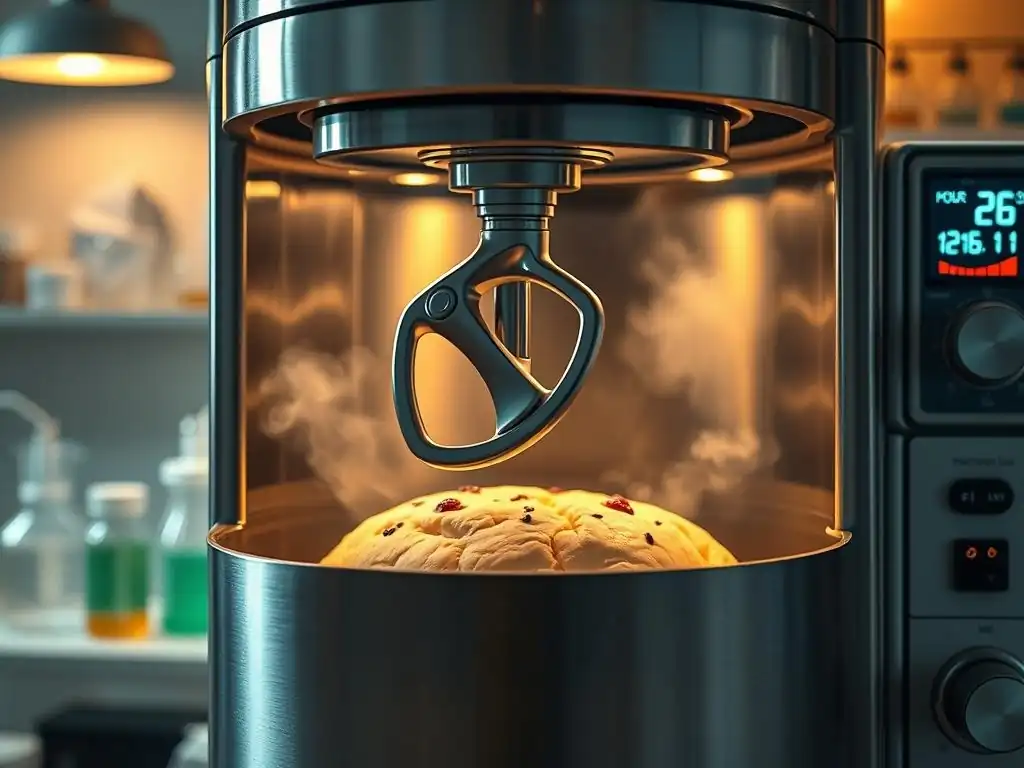
At the heart of every bread machine is a set of essential components designed to mimic the actions of a skilled baker. The central element is the bread pan, a removable bucket where all ingredients are placed. This pan typically has a non-stick coating and a spindle at the bottom onto which the kneading paddle is attached. The paddle, often shaped like a small propeller or blade, is driven by a motor within the machine's base and is responsible for mixing the ingredients and developing the dough's gluten structure through kneading.
Beneath and around the bread pan are the heating elements and temperature sensors. These are critical for both the proofing and baking stages. During proofing, the heating element provides a gentle, consistent warmth, often maintaining a temperature around 80-90°F (27-32°C), which is optimal for yeast activity.
For baking, the heating element generates higher temperatures, typically ranging from 300-400°F (150-200°C), to cook the dough and form the crust. The control panel, usually located on the top or front, acts as the machine's brain, allowing the user to select cycles, crust colors, and loaf sizes, and managing the precise timing and temperature for each phase based on the selected program. Some advanced models also include automatic dispensers for yeast, fruits, or nuts, adding these ingredients at the appropriate time in the cycle.
How Bread Machine Components Interact for Baking Success
The interaction between these core components is a synchronized dance that replicates the traditional bread-making process. Once ingredients are added to the pan and a program is selected via the control panel, the motor engages, spinning the kneading paddle to mix everything into a cohesive dough. The control panel dictates the speed and duration of this mixing and kneading, often including rest periods.
Following the kneading phase, the heating element activates gently under the direction of the control panel and temperature sensors to create the ideal warm environment for the dough to rise during proofing. This cycle of kneading and proofing may repeat depending on the chosen program.
After the final proofing phase, the heating element dramatically increases its temperature, guided by the control panel, to bake the loaf. The sensors monitor the internal temperature to ensure the machine maintains the correct heat for the specified baking time, producing a properly cooked interior and a desirable crust. Once baking is complete, many machines enter a warming or cooling phase before signaling that the bread is ready. This intricate coordination of motor, heating element, sensors, and control panel is precisely how bread machines work, automating the complex variables of bread making to deliver consistent results.
The Bread Machine Baking Process: A Step-by-Step Breakdown
1. Ingredient Dispensing: Precise Measurements for Perfect Bread
The first step in using a bread machine is accurately measuring and adding the ingredients to the bread pan. While some advanced machines feature automatic dispensers for yeast or add-ins like nuts and seeds, the majority require the user to manually add everything at the start. The order in which ingredients are added is often crucial and varies by machine and recipe.
Typically, liquids (water, milk, eggs) go in first, followed by dry ingredients like flour, sugar, and salt. Yeast is usually added last, often placed in a small well or on top of the flour, away from direct contact with salt or liquid initially, as salt can inhibit yeast activity.
Precise measurement is paramount because the machine follows a fixed program based on expected ingredient ratios. Unlike hand-kneading where you can adjust flour or liquid as needed, the bread machine provides a controlled environment. Using accurate measuring cups and spoons, particularly for flour which should be lightly spooned into the cup and leveled, ensures the correct hydration level and balance of ingredients for proper gluten development and yeast activity. A deviation of even a few grams of flour or milliliters of liquid can significantly impact the dough's consistency and the final loaf's texture and rise.
2. Mixing and Kneading: Mimicking Hand-Kneaded Dough
Once the ingredients are in the pan, the bread machine enters the mixing and kneading phase. The motor rotates the kneading paddle at the bottom of the pan, initially slowly to combine the wet and dry ingredients into a shaggy dough. This is followed by more vigorous rotation to knead the dough.
Kneading is a critical step as it develops the gluten network within the dough. Gluten, formed when the proteins glutenin and gliadin in flour are hydrated and agitated, provides the structure and elasticity needed for the dough to trap the carbon dioxide produced by the yeast, allowing the bread to rise.
Bread machines typically perform multiple kneading cycles interspersed with rest periods. A common cycle might involve 10-15 minutes of kneading, followed by a 5-10 minute rest, and then another kneading session. The rest periods allow the gluten strands to relax, making the dough easier to work and further develop the network during the subsequent kneading. This automated process replicates the stretching and folding action of hand kneading, efficiently developing the gluten to the optimal state for a light and airy crumb structure.
The Importance of the Kneading Paddle
The kneading paddle is the workhorse of the bread machine, directly responsible for transforming disparate ingredients into a smooth, elastic dough. Its design, while seemingly simple, is engineered to efficiently pull, stretch, and fold the dough against the sides and bottom of the pan. This mechanical action is what facilitates the hydration of flour proteins and the formation of the gluten network. The paddle's continuous motion ensures all parts of the dough are worked evenly, leading to consistent gluten development throughout the loaf.
Without effective kneading by the paddle, the dough would remain weak and unable to hold its shape or trap gases. This would result in a dense, heavy loaf with poor texture. The paddle's speed and the duration of the kneading cycles, controlled by the machine's program, are calibrated to achieve the ideal level of gluten development for various types of bread, from soft white loaves requiring moderate kneading to chewier whole wheat breads that benefit from more extensive working.
Optimizing Kneading Time for Different Doughs
Different dough types require varying amounts of kneading to achieve optimal gluten development. A standard white bread dough, made primarily with all-purpose or bread flour, typically needs about 10-15 minutes of vigorous kneading in a machine. This allows sufficient gluten to form for a soft, pliable dough that rises well. Enriched doughs containing butter, eggs, or sugar, like brioche or challah, may require slightly longer kneading times, sometimes up to 20 minutes, because these ingredients can interfere with gluten formation.
Whole wheat and multi-grain doughs, which contain bran and germ that can cut gluten strands, often benefit from extended kneading, potentially 15-25 minutes. Some machines have specific programs for these doughs that include longer kneading cycles. Observing the dough during the initial kneading phase (if your machine has a viewing window) can help.
A properly kneaded dough should be smooth, elastic, and pull away cleanly from the sides of the pan. If it appears sticky or shaggy after the standard kneading cycle, it may need a few extra minutes of kneading, which some machines allow through manual settings or specific program variations.
3. Proofing: Creating the Ideal Environment for Yeast Activation
Following the kneading phase, the bread machine moves into the proofing stage, also known as rising. This is where the yeast, activated by the liquid and sugar in the dough, begins its work of fermentation. Yeast consumes sugars and produces carbon dioxide gas and alcohol as byproducts. The carbon dioxide gas becomes trapped within the elastic gluten network, causing the dough to expand and rise.
The bread machine creates the perfect environment for proofing by gently heating the bread pan. Yeast is most active and productive in a warm, humid environment, typically between 75°F and 95°F (24-35°C). The machine's heating element and insulated cavity maintain a consistent temperature within this range, significantly speeding up the rising process compared to proofing at room temperature. A standard bread machine cycle usually includes one or more proofing periods, lasting anywhere from 30 minutes to over an hour, depending on the recipe and program, allowing the dough to double or even triple in volume.
4. Baking: Achieving the Perfect Crust and Texture
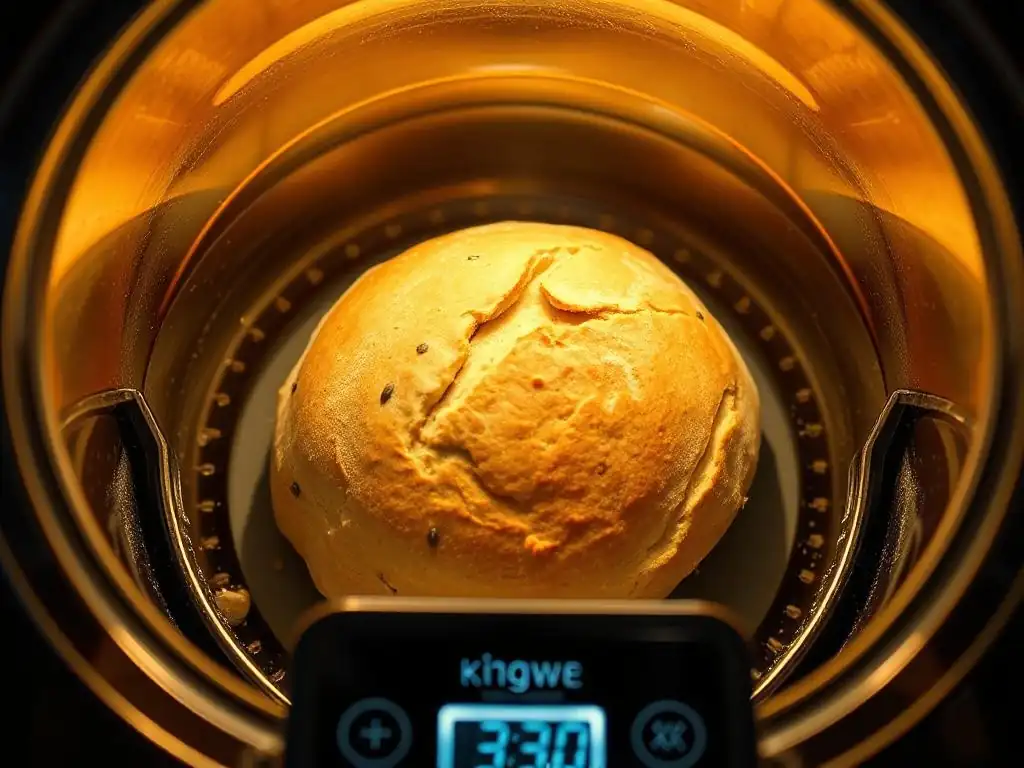
After the final proofing, the machine initiates the baking cycle. This is where the heating element increases its temperature significantly, reaching typical baking temperatures between 300°F and 400°F (150-200°C). The heat causes several critical transformations in the dough. The yeast activity is halted as the temperature rises, and the gases produced are set in place as the dough structure rigidifies. Starch molecules in the flour absorb moisture and gelatinize, contributing to the crumb's structure.
Simultaneously, the heat triggers the Maillard reaction and caramelization on the surface of the loaf. These complex chemical processes are responsible for creating the desirable golden-brown color, flavorful crust, and appealing aroma of baked bread. The machine maintains this high temperature for a set duration, determined by the chosen program and loaf size, ensuring the bread is cooked through and reaches the correct internal temperature, typically around 190-210°F (88-99°C) for most bread types.
Temperature Control in Bread Machines
Precise temperature control is fundamental to how bread machines work effectively throughout the entire process. During the initial stages, the temperature sensors ensure the environment is cool enough for the yeast to remain dormant until the mixing and kneading are complete and the dough is ready for proofing. During proofing, the machine maintains a steady, warm temperature – often around 85°F (29°C) – which is ideal for yeast fermentation and dough expansion. This controlled warmth ensures a reliable rise regardless of the ambient room temperature.
For the baking phase, the heating element rapidly increases the temperature to the target range required to cook the bread and form the crust. The internal sensors monitor the temperature within the baking cavity, allowing the control system to regulate the power supplied to the heating element, cycling it on and off as needed to maintain the set temperature profile for the duration of the bake. This consistent, controlled heat distribution ensures even baking and prevents burning or undercooking, which can be challenges in conventional ovens without careful monitoring.
How Bread Machines Regulate Baking Time
The baking time in a bread machine is pre-programmed based on the selected cycle, loaf size, and crust color setting. Standard white bread cycles for a 2-pound loaf might have a baking time of around 50-60 minutes. Whole wheat or denser loaves may have slightly longer baking times to ensure they are cooked through. The crust color setting (light, medium, dark) primarily affects the duration and intensity of the final stage of baking, particularly the last 15-20 minutes, to achieve the desired level of browning on the crust.
The machine's internal clock counts down the baking time, and the heating element operates according to the programmed temperature profile for that duration. While most machines don't have sensors to directly measure the internal temperature of the bread itself (like a probe thermometer), the combination of precise time and temperature control based on extensive testing of different programs is how bread machines work to consistently produce baked loaves. Some advanced models might slightly adjust timing based on sensor feedback about the overall cavity temperature, but the primary regulation is time-based according to the user's selection.
5. Resting and Cooling: Completing the Bread Making Cycle
Once the baking cycle is complete, the bread machine typically enters a resting or "keep warm" phase, followed by signaling that the bread is ready. The "keep warm" function, often lasting for up to an hour, uses residual heat or a very low heat setting to keep the bread warm inside the machine. While convenient, it's generally recommended to remove the bread promptly after baking is finished to prevent the crust from becoming soggy due to trapped steam.
After removing the bread from the pan (often requiring a little shake or using oven mitts), it's crucial to let the loaf cool completely on a wire rack before slicing. This cooling period is not just about temperature; it's a vital part of the bread's structure and flavor development. As the bread cools, moisture redistributes evenly throughout the loaf, the internal structure sets, and flavors deepen.
Slicing hot bread can result in a gummy texture and can compress the crumb. Allowing a loaf to cool for at least 1-2 hours (or longer for dense loaves like whole wheat) ensures the best possible texture and taste, completing the full bread-making cycle initiated by understanding how bread machines work.
The Science Behind Bread Machine Baking: Key Factors
Yeast Activation: The Engine of Bread Making
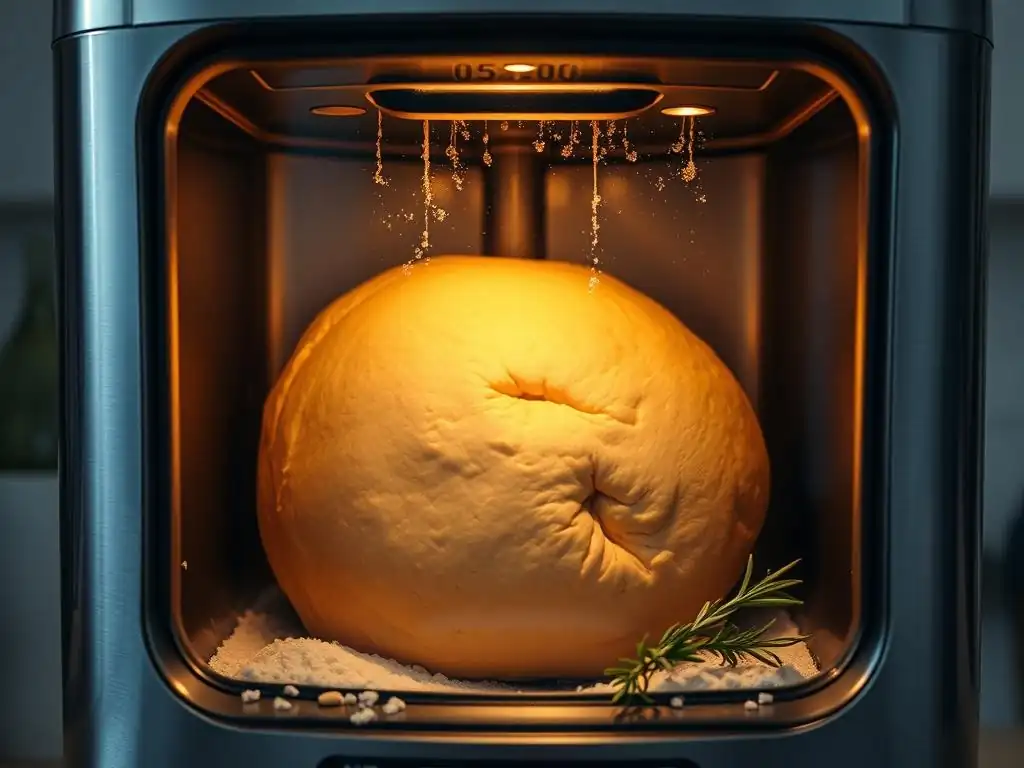
Yeast is a living microorganism, a type of fungus, that is essential for leavening most traditional breads. In a bread machine, dry active yeast or instant yeast is typically used. When yeast comes into contact with warm liquid (ideally between 75-95°F or 24-35°C) and a food source (sugar or starches in the flour), it becomes active. It begins to metabolize the sugars through a process called fermentation, producing carbon dioxide gas and ethanol. The carbon dioxide gas is what makes the bread rise.
The bread machine plays a crucial role in optimizing yeast activity. During the proofing cycle, the machine maintains a consistent, warm temperature (as discussed, often around 85°F or 29°C), which is the sweet spot for yeast fermentation. This controlled warmth ensures the yeast works efficiently and predictably, leading to a reliable rise. The machine also provides the necessary time for the yeast to produce enough gas to significantly increase the dough's volume before the baking heat eventually kills the yeast and sets the structure.
Gluten Development: Building Structure and Elasticity
Gluten development is another cornerstone of how bread machines work to produce well-structured loaves. Gluten is formed when two proteins found in wheat flour, glutenin and gliadin, hydrate and are agitated through mixing and kneading. As the kneading paddle rotates, it stretches and folds the dough, causing these proteins to link together and form an elastic network. This network acts like a balloon, capable of trapping the carbon dioxide gas produced by the yeast.
Without sufficient gluten development, the dough would be weak and unable to hold the gas, resulting in a dense, flat loaf. The bread machine's programmed kneading cycles are specifically designed to efficiently develop this gluten network. The duration and intensity of kneading vary by program to suit different flour types and recipes, ensuring optimal elasticity and strength for the dough to rise properly and maintain its shape during baking. The rest periods between kneading cycles also contribute by allowing the gluten strands to relax and realign, further improving the dough's extensibility.
Maillard Reaction: Achieving a Golden-Brown Crust
The appealing color and complex flavors of bread crust are largely due to the Maillard reaction and caramelization, chemical processes that occur during the high heat of baking. The Maillard reaction is a complex series of interactions between amino acids (proteins) and reducing sugars that takes place at temperatures typically above 300°F (150°C). This reaction creates hundreds of different flavor compounds and is responsible for the browning of the crust.
Simultaneously, caramelization occurs as sugars in the dough are heated to high temperatures. This process contributes additional nutty and slightly bitter flavor notes and further enhances the brown color of the crust. The bread machine's ability to reach and maintain high baking temperatures, often between 350-400°F (175-200°C), is essential for these reactions to occur effectively on the surface of the loaf. The crust color setting on the machine influences the duration and intensity of the final baking stage, allowing you to customize the degree of Maillard reaction and caramelization for a lighter or darker crust.
The Role of Hydration in Bread Machine Baking
Hydration, the ratio of liquid to flour in a dough, is a critical factor influencing dough consistency and the final bread texture when using a bread machine. Water or other liquids hydrate the flour proteins, which is necessary for gluten development and starch gelatinization. It also dissolves the sugar and salt and activates the yeast. The hydration level directly impacts how the dough behaves during mixing, kneading, and rising, and ultimately affects the crumb structure of the baked bread.
Most standard bread machine recipes for white bread operate at hydration levels typically ranging from 60% to 70% (meaning 60-70 grams of liquid per 100 grams of flour). Higher hydration doughs (above 70%) tend to be stickier and result in a more open, airy crumb, while lower hydration doughs yield a denser crumb. Because bread machines follow fixed cycles, achieving the correct hydration based on the recipe is crucial.
Too little liquid results in a dry, tough dough that doesn't knead well and produces a dense loaf. Too much liquid results in a wet, sticky dough that may collapse during baking. Understanding how bread machines work with different hydration levels helps in selecting appropriate recipes and making minor adjustments if necessary based on factors like flour type and humidity.
Troubleshooting Common Bread Machine Problems
Uneven Baking: Identifying and Resolving Issues
One common issue when learning how bread machines work is encountering unevenly baked loaves, where one side is darker or the bottom is too brown. This can sometimes be caused by the heating element not distributing heat perfectly evenly, although most modern machines are designed to minimize this. More often, uneven baking is related to the machine's placement or external factors. Placing the bread machine too close to a wall or in a corner can restrict airflow around the unit, causing heat to build up on one side.
To resolve uneven baking, ensure the bread machine is placed on a stable, level surface with adequate space around all sides for ventilation. Avoid placing it directly against a wall or under cabinets that trap heat. Checking the heating element for any visible debris or buildup is also a good step, ensuring it can heat effectively. If the bottom crust is consistently too dark, some users have found success by placing a piece of aluminum foil under the bread pan before starting the cycle to act as a heat shield, though this is not a manufacturer-recommended solution.
Dough Not Rising: Understanding Yeast and Gluten Problems
A loaf that fails to rise is one of the most frustrating bread machine problems and is typically linked to issues with the yeast or gluten development.
- [ ] Check Yeast Activity: Ensure your yeast is fresh and hasn't expired. Expired yeast is inactive. Test active dry yeast by dissolving a teaspoon in warm water (around 105-115°F or 40-46°C) with a pinch of sugar; it should become foamy within 5-10 minutes. Instant yeast doesn't require proofing but should also be within its expiry date.
- [ ] Verify Liquid Temperature: Water or milk that is too hot will kill the yeast, while liquid that is too cold will not activate it properly. Aim for liquids around 80-95°F (27-35°C) when adding to the pan, unless the recipe specifies otherwise.
- [ ] Proper Ingredient Order: Ensure salt does not come into direct contact with the yeast when adding ingredients, as salt can inhibit yeast activity.
- [ ] Gluten Development Issues: If the dough didn't knead properly (too sticky, too dry, or incorrect flour), the gluten network may not be strong enough to trap the gas. Ensure accurate ingredient measurements and use the correct flour type for the recipe.
Addressing these points covers the primary reasons dough fails to rise in a bread machine, directly relating to the science of yeast activation and gluten structure, fundamental to how bread machines work.
Collapsed Loaf: Preventing a Common Bread Machine Mistake
A loaf that rises beautifully during proofing but then collapses during or immediately after baking is a common issue, especially when baking enriched or whole grain breads. This usually indicates that the dough over-proofed or that the gluten structure wasn't strong enough to support the final rise and the weight of the loaf during baking. Over-proofing occurs when the dough rises too much and the gluten network becomes overstretched and weak, unable to hold the structure when exposed to the heat of the oven.
This can happen if the room is unusually warm, if too much yeast or sugar was used, or if the machine's proofing cycle is too long for the specific recipe or environment. Using slightly less yeast (e.g., reducing by 1/4 teaspoon) or reducing the amount of sugar in the recipe can help slow down fermentation.
For whole wheat or multi-grain loaves, ensure you are using a bread flour or adding vital wheat gluten (typically 1-2 tablespoons per cup of whole wheat flour) to strengthen the dough's structure. Some machines have specific programs for whole wheat or rapid cycles that adjust proofing times; using the correct program for your recipe is crucial to prevent collapse.
Tips for Achieving Perfect Bread Machine Results
Choosing the Right Ingredients for Your Bread Machine
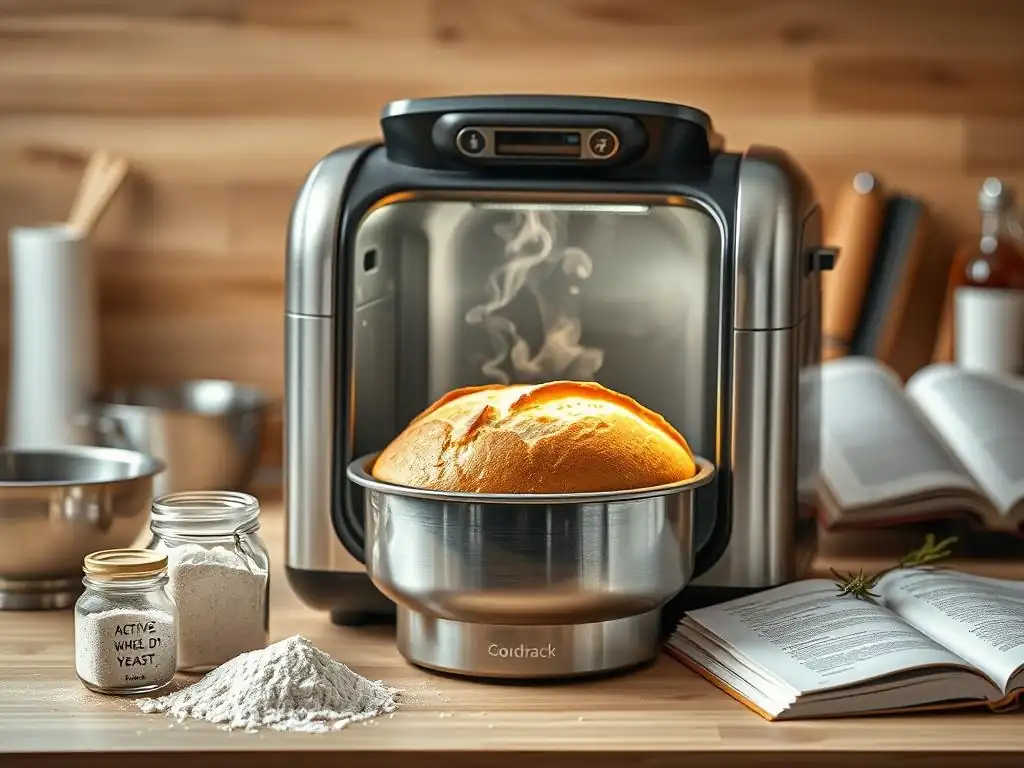
The quality and type of ingredients significantly impact the outcome when using a bread machine. Using fresh ingredients is paramount, especially for yeast, which is a living organism. Expired yeast will lead to a dense, flat loaf. Flour type also matters; while all-purpose flour works for many recipes, bread flour, with its higher protein content (typically 12-14%), is generally recommended for yeast breads as it develops a stronger gluten network, resulting in a better rise and structure. Whole wheat flour requires more liquid and often benefits from added vital wheat gluten due to the bran interfering with gluten formation.
Measure ingredients accurately using proper measuring tools – a kitchen scale is ideal for flour for maximum precision (e.g., 1 cup all-purpose flour is approximately 120-130 grams). Ensure liquids are at the correct temperature as specified by the recipe or general guidelines (warm, not hot, for activating yeast). Using high-quality salt and fresh fats (butter, oil) also contributes to flavor and texture. Understanding how these basic ingredients interact within the controlled environment of how bread machines work is the first step to success.
Mastering Bread Machine Settings for Different Bread Types
Modern bread machines come with a variety of pre-programmed cycles designed for specific types of bread, and understanding these settings is key to achieving optimal results.
- Basic/White Bread: Standard cycle for white or enriched white breads. Typically includes multiple kneads, rises, and a standard bake time.
- Whole Wheat: Longer kneading and rising times to accommodate the slower gluten development and denser nature of whole wheat flour.
- French/Italian: Often features a longer rise time and a crispier crust setting.
- Sweet Bread: Shorter kneading and rising times, designed for doughs with higher sugar and fat content which can inhibit yeast.
- Rapid/Express: Uses more yeast and higher temperatures to significantly reduce the overall time, though sometimes at the expense of flavor development or texture.
- Dough: Completes only the mixing, kneading, and first rise cycles, allowing you to shape and bake the dough in a conventional oven.
- Gluten-Free: Specific cycle that typically involves less kneading (as there's no gluten to develop) and potentially longer rest or bake times.
Selecting the program that best matches your recipe's flour type and desired outcome is crucial. Consult your machine's manual for specific descriptions of each cycle and how they differ in terms of timing and temperature profile, as this is fundamental to how bread machines work for varied recipes.
Cleaning and Maintaining Your Bread Machine for Longevity
Proper cleaning and maintenance ensure your bread machine continues to operate efficiently and hygienically, contributing to consistently good results. After each use, remove the bread pan and kneading paddle. Clean the pan and paddle using warm, soapy water and a non-abrasive sponge. Avoid harsh scrubbers or metal utensils that can damage the non-stick coating, which is essential for easy bread removal. Ensure the spindle at the bottom of the pan is clean and free of dough residue.
Wipe down the interior cavity of the machine with a damp cloth, paying attention to the heating element and sensors, ensuring they are clean and free of crumbs or spills. Never immerse the entire bread machine base in water. Periodically check the kneading paddle for wear and tear; if it becomes loose or damaged, it may not knead effectively and should be replaced. Keeping the machine clean not only extends its lifespan but also prevents residual dough or grease from interfering with the heating and kneading processes, ensuring how bread machines work remains consistent over time.
Optimizing Your Bread Machine for Different Bread Types
Making Sourdough Bread in a Bread Machine: Tips and Tricks
While a true sourdough requires a long fermentation process often best managed outside the machine, many bread machines offer a "Sourdough" or "Dough" cycle that can simplify parts of the process. Some machines have specific sourdough programs designed to handle a starter and a longer initial fermentation. If your machine has a "Dough" cycle, you can use it for the mixing and initial bulk fermentation of your sourdough. You'd typically add your active sourdough starter, water, flour, and salt, run the dough cycle, and then remove the dough for shaping, proofing, and baking in a conventional oven.
For machines with a dedicated sourdough program, follow the machine's instructions, which often involve adding the starter and ingredients and letting the machine handle the extended fermentation and baking. A general tip for sourdough in a machine is to ensure your starter is very active (doubling within 4-6 hours after feeding) before adding it to the machine.
You might also need to adjust the hydration slightly compared to conventional recipes, as machine kneading can sometimes handle slightly wetter doughs. Experimentation is key to finding the best approach for your specific machine and starter when figuring out how bread machines work with sourdough.
Gluten-Free Bread Machine Baking: Specific Considerations
Baking gluten-free bread in a bread machine requires a different approach than traditional wheat bread due to the absence of gluten, the protein network that provides structure. Gluten-free flours (like rice flour, tapioca starch, potato starch, etc.) do not develop elasticity when kneaded. Therefore, gluten-free bread machine cycles are typically shorter in the kneading phase or involve simple mixing rather than vigorous kneading. Binders like xanthan gum or psyllium husk powder are often added to gluten-free recipes to help provide structure and prevent the loaf from crumbling.
Gluten-free doughs are also generally wetter and more batter-like than wheat doughs; they often resemble a thick cake batter rather than a pliable dough. Do not expect a smooth, elastic ball of dough. Ensure your bread machine has a specific "Gluten-Free" cycle, as using a standard cycle with aggressive kneading will not yield good results. Follow gluten-free bread machine recipes precisely, as the balance of flours, liquids, and binders is crucial. Understanding that the mechanism of how bread machines work changes for gluten-free dough (less emphasis on kneading) is vital for success.
Sweet Breads and Doughs in Your Bread Machine: A Guide
Bread machines are excellent for making sweet breads and doughs like challah, brioche, cinnamon rolls, or sweet loaves. These recipes typically contain higher amounts of sugar, fat (butter, oil), and sometimes eggs, which can affect yeast activity and gluten development. Sugar, while a food source for yeast, can also draw moisture away from the yeast and inhibit it if in too high a concentration. Fat and eggs enrich the dough but can also coat gluten strands, slowing down development.
Most bread machines have a "Sweet Bread" cycle specifically designed to handle these types of doughs. This cycle often features shorter kneading times to avoid overworking the dough and potentially lower or adjusted proofing temperatures to manage the yeast activity in a sugary environment. If using the "Dough" cycle for sweet rolls or similar, be mindful of the dough's texture and consider adding slightly less yeast if your recipe is very high in sugar. The controlled environment of how bread machines work is particularly helpful for these richer doughs, providing consistent results.
Conclusion: Unleashing the Potential of Your Bread Machine
Understanding the science behind how bread machines work reveals that these appliances are sophisticated tools that automate complex biological and chemical processes. From the precise timing of mixing and kneading to the controlled temperature of proofing and baking, every stage is managed to create the ideal conditions for bread making. By learning about the core components, the step-by-step process, and the underlying scientific principles of yeast activation, gluten development, and the Maillard reaction, you gain the knowledge to use your bread machine more effectively.
Troubleshooting common problems becomes easier when you understand the potential points of failure in how bread machines work, such as issues with yeast viability or gluten structure. Furthermore, knowing how to select the right ingredients, master the machine's settings, and maintain the appliance allows you to optimize its performance. Whether you're baking a simple white loaf, experimenting with sourdough, tackling gluten-free recipes, or creating sweet doughs, unlocking the potential of your bread machine is about combining quality ingredients with an understanding of the clever technology doing the hard work for you. Happy baking!
Frequently Asked Questions
How does a bread machine know when the bread is done?
Bread machines typically use a temperature sensor to monitor the internal temperature of the dough. Once it reaches a specific temperature, indicating the bread is cooked, the machine stops the baking cycle. Some also use a timer as a backup.
What are the key components of a bread machine that make it work?
The main components are the baking pan, the kneading paddle, the heating element, and the control panel. The pan holds the ingredients, the paddle mixes the dough, the element bakes it, and the panel controls the process.
Can I use any type of flour in my bread machine?
While you can use various flours, bread flour is generally recommended for optimal results. Its higher protein content creates more gluten, leading to a better texture. Some machines also have settings for whole wheat flour.
What happens if I add too much or too little yeast to my bread machine recipe?
Adding too much yeast can cause the bread to rise too quickly and collapse. Conversely, too little yeast will result in a dense, under-risen loaf. Precise measurements are important.
How do bread machines maintain a consistent temperature during baking?
Bread machines employ a thermostatically controlled heating element. This element cycles on and off to maintain the pre-set temperature throughout the baking process, ensuring even cooking.
Final Reflection: The Humble Loaf and the Marvel of Mechanics
The science behind bread making, once a closely guarded secret passed down through generations, is now readily accessible, thanks to the ubiquitous bread machine. This seemingly simple appliance represents a fascinating intersection of engineering and culinary artistry, offering a glimpse into the complex processes that transform flour, water, and yeast into the comforting aroma and satisfying texture of freshly baked bread. Its impact extends far beyond the kitchen, highlighting the power of technology to democratize even the most traditional crafts.
The bread machine's influence on our culinary landscape is undeniable. It has empowered home bakers of all skill levels, fostering a renewed appreciation for the art of bread making. It's not just about convenience; it's about connection – the connection to the process, the connection to tradition, and the connection to the simple pleasure of sharing a warm, homemade loaf. Bread is the staff of life,
a proverb often repeated, and the bread machine, in its own way, helps us grasp the truth of that statement by making the creation of this staff more accessible.
Consider the possibilities. You've learned the science behind the perfect loaf, from the precise measurements of ingredients to the delicate dance of yeast fermentation. Now, it's your turn to experiment. Try different flours, explore unique flavor combinations, and most importantly, share the joy of freshly baked bread with those you love. Embrace the process, appreciate the science, and let the aroma of home-baked bread fill your kitchen – and your heart.
Unlock Your Inner Baker: Perfect Loaves Await!
Thanks for diving into the science of bread machines with us! We hope you now feel empowered to create truly amazing loaves. Ready to put your new knowledge into practice?
- Bake your dream loaf today! Experiment with different recipes and flours – you might be surprised at the results.
- Share your baking triumphs (and challenges!) on social media using #BakeWithEase – we'd love to see your creations.
- Explore our other articles on advanced bread-making techniques for even more delicious results!
What delicious adventure will your next bread-baking journey take you on?