
Bake Crusty Bolivian Marraqueta Rolls with Ease

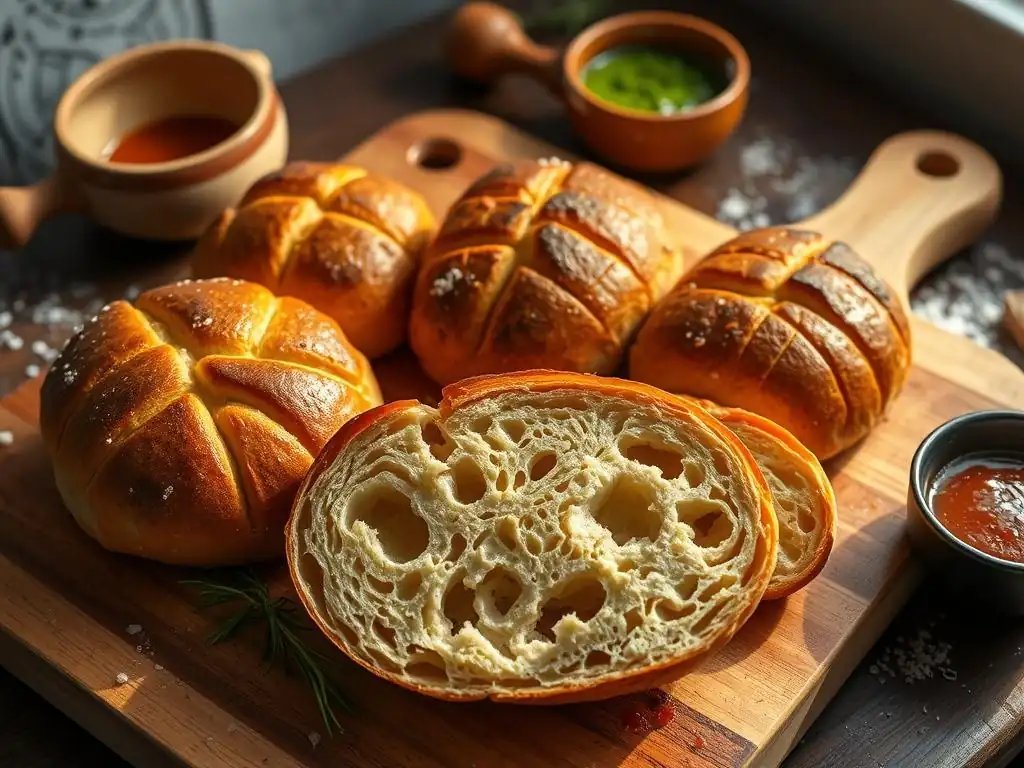
Welcome to BakeWithEase, where the aroma of freshly baked bread fills the air! Ever dreamt of creating those perfectly crusty, airy rolls you find in Bolivian bakeries? Dive into our Easy Bolivian Marraqueta Bread Recipe and discover the secrets to crafting this iconic bread in your own kitchen. What makes this recipe so surprisingly simple? Let's unlock the secrets together...
- Bake Crusty Sourdough Bread at Home: An Easy Sourdough Recipe
- Introduction to Sourdough: Understanding Fermented Bread
- The Secret to Perfect Sourdough: Key Ingredients and Equipment
-
Step-by-Step: Mastering the Easy Sourdough Bread Recipe
- Step 1: Maintaining Your Sourdough Starter
- Step 2: Mixing the Dough: Autolyse and Hydration
- Step 3: Bulk Fermentation: Folding and Developing Strength
- Step 4: Shaping the Sourdough Loaf: Building Tension
- Step 5: Cold Fermentation: Retarding for Flavor
- Step 6: Baking the Sourdough: Scoring and Steam
- Step 7: Cooling and Enjoying Your Homemade Sourdough
- Tips and Tricks for Baking the Best Sourdough at Home
- Serving Suggestions: Enjoying Your Freshly Baked Sourdough
- Storing Your Sourdough: Keeping It Fresh
- Conclusion: Your Journey to Baking Authentic Sourdough
- Frequently Asked Questions
- Final Reflection: The Enduring Magic of Marraqueta
- Unleash Your Inner Baker: Craft Perfect Marraqueta!
Bake Crusty Sourdough Bread at Home: An Easy Sourdough Recipe
Introduction to Sourdough: Understanding Fermented Bread
What is Sourdough Bread and Why Bake It?
Sourdough bread stands apart from loaves leavened with commercial yeast, relying instead on a natural leavening agent – a sourdough starter. This starter is a living culture, a symbiotic community of wild yeast and lactic acid bacteria cultivated from flour and water. These microorganisms consume the sugars in the flour, producing carbon dioxide gas which makes the dough rise, along with organic acids that contribute to sourdough's distinctive tangy flavor and aroma. Baking sourdough connects you to ancient traditions, as this was the primary method of leavening bread for thousands of years before the isolation of commercial yeast.
Beyond its historical roots, baking sourdough offers numerous benefits. The slow fermentation process can improve the digestibility of the bread, breaking down phytic acid, which in turn can increase the bioavailability of minerals. Many people find the complex, slightly sour taste and chewy texture deeply satisfying. Furthermore, the sense of accomplishment from transforming simple ingredients into a beautiful, crusty loaf is incredibly rewarding. Unlike quick yeast breads, sourdough requires patience and attention, fostering a deeper connection with the food you create.
Your Guide to Baking Artisan Sourdough
Embarking on the journey of baking artisan sourdough at home might seem daunting, but it's a rewarding process that becomes intuitive with practice. This guide breaks down the steps into manageable stages, demystifying techniques like autolyse, bulk fermentation, and cold retardation. We'll cover everything from maintaining a healthy starter to achieving that coveted crackling crust and open crumb structure. Think of this as your friendly roadmap to producing bakery-quality sourdough right in your own kitchen.
We aim to equip you with the knowledge and confidence to master this easy sourdough bread recipe. By understanding the 'why' behind each step – why we rest the dough after mixing, why we fold it, why we proof it in the fridge – you'll gain control over the process. While initial attempts might have hiccups, each loaf baked is a learning experience. Soon, you'll be consistently turning out beautiful, delicious sourdough loaves that you'll be proud to share (or keep all to yourself! ).
The Secret to Perfect Sourdough: Key Ingredients and Equipment
Essential Ingredients for Sourdough Bread
At its heart, sourdough bread requires just three fundamental ingredients: flour, water, and salt. However, the type and quality of these ingredients significantly impact the final loaf. For the starter and the dough, a good quality bread flour with a relatively high protein content (around 11-13%) is often recommended, as the protein develops gluten, which provides structure and allows the dough to trap the gases produced during fermentation. Many bakers also incorporate a percentage of whole wheat or rye flour into their starter, as these flours are rich in the wild yeasts and bacteria needed for a vibrant culture.
Water quality is also surprisingly important. Filtered or non-chlorinated water is preferred for feeding your starter and mixing your dough, as chlorine can potentially harm the delicate microbial ecosystem. Tap water in many areas is fine, but if your water has a strong chlorine smell, letting it sit out for 24 hours or using a filter can be beneficial.
Finally, salt is crucial not just for flavor, but also for controlling the rate of fermentation and strengthening the gluten network. Fine sea salt or kosher salt are commonly used; avoid iodized salt in large quantities, as it can sometimes affect yeast activity. A typical sourdough recipe might use about 2% salt relative to the total flour weight.
Specialized Equipment for Sourdough Success
While you can start with basic kitchen tools, certain specialized items can greatly improve your sourdough baking experience and results. A digital kitchen scale is perhaps the most essential piece of equipment. Baking by weight, rather than volume, ensures accuracy, especially when dealing with hydration levels (the ratio of water to flour), which are critical in sourdough. For example, a common hydration for a beginner's sourdough might be 70%, meaning for every 1000 grams of flour, you use 700 grams of water. Precise measurements are key to replicating results.
Other helpful tools include a dough scraper (for handling sticky dough and cleaning surfaces), a bench knife (for dividing dough), and a proofing basket or banneton. Bannetons, often made of cane or wood pulp, help the dough hold its shape during the final rise and impart a lovely pattern on the crust. Lining a regular bowl with a floured tea towel can also work.
Finally, a Dutch oven is highly recommended for baking. The heavy pot creates a steamy environment around the loaf for the first part of baking, mimicking professional deck ovens and resulting in incredible oven spring and a wonderfully crisp crust. An internal thermometer is also useful for checking the loaf's internal temperature (around 205-210°F or 96-99°C when done).
Step-by-Step: Mastering the Easy Sourdough Bread Recipe
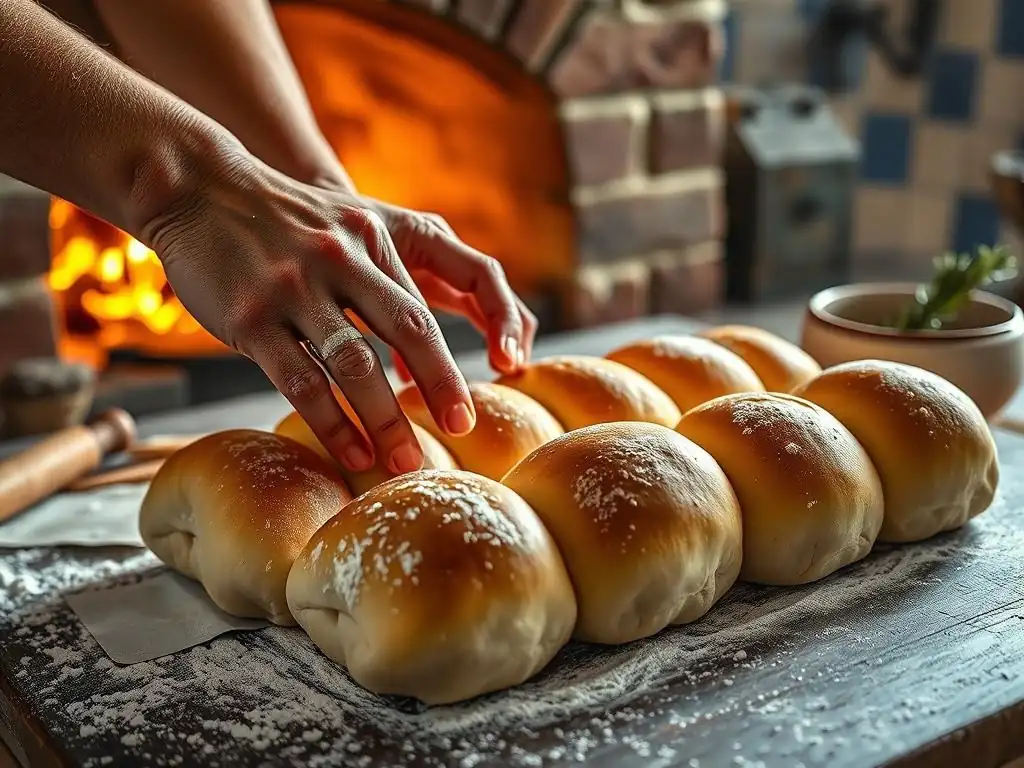
Step 1: Maintaining Your Sourdough Starter
The foundation of great sourdough is a healthy, active starter. Think of your starter as a pet that needs regular feeding to stay vigorous. If kept at room temperature, it typically needs to be fed daily.
A common feeding ratio is 1:1:1 by weight – equal parts starter, water, and flour. For example, you might discard all but 50 grams of your existing starter, then feed it with 50 grams of water and 50 grams of flour. Within 4 to 8 hours of feeding, a healthy starter should show significant activity: it will double or even triple in volume, develop numerous bubbles, and pass the "float test" (a small spoonful dropped in water floats).
If you don't bake daily, storing your starter in the refrigerator is a practical approach. Refrigerated starters only need feeding about once a week. When you're ready to bake, take the starter out, let it come to room temperature, and feed it a few times over 1-2 days until it's consistently active and bubbly again. This ensures your starter is strong enough to leaven your dough effectively. A strong starter is the first crucial step towards a successful loaf of sourdough.
Step 2: Mixing the Dough: Autolyse and Hydration
The initial mixing phase often begins with a technique called autolyse. This involves gently mixing just the flour and water from the recipe until no dry bits remain. The dough will look shaggy and rough at this stage. It's then covered and left to rest for anywhere from 30 minutes to an hour, or sometimes longer. During this rest period, the flour fully hydrates, and enzymes naturally present in the flour begin to break down proteins, starting the gluten development process with minimal effort. This leads to a more extensible dough that is easier to work with later.
After the autolyse, the starter and salt are added. Incorporating these into the shaggy dough requires some gentle mixing or kneading. Some bakers use a stand mixer for a few minutes, while others prefer to mix by hand with a spoon or their hands.
The goal is to evenly distribute the starter and salt throughout the dough. At this point, the dough will still be relatively wet and sticky, especially if you are using a higher hydration level (e.g., 75% or more water relative to flour). Don't worry about developing significant gluten structure yet; that comes in the next step.
Step 3: Bulk Fermentation: Folding and Developing Strength
Bulk fermentation is the first, and longest, rise of the dough, typically lasting several hours at room temperature. During this time, the yeast in the starter produces gases, causing the dough to expand, while the bacteria develop flavor. It's also the phase where you build strength and structure in the dough through a series of "stretch and folds" or "coil folds." These techniques involve gently stretching or lifting the dough and folding it over onto itself.
Perform these folds at intervals, usually every 30-60 minutes for the first 2-3 hours of bulk fermentation. For example, you might do 4 sets of folds over 2 hours. This process aligns the gluten strands, incorporates air, and builds tension in the dough, which is essential for a good crumb structure and oven spring. By the end of bulk fermentation, the dough should have increased significantly in volume (often 50-100%), appear airy and bubbly around the edges, and feel strong and elastic. The exact time varies greatly depending on the temperature of your kitchen.
Step 4: Shaping the Sourdough Loaf: Building Tension
Once bulk fermentation is complete, gently turn the dough out onto a lightly floured surface. The goal of shaping is to create a taut skin on the outside of the dough while creating internal tension. This tension helps the loaf hold its shape during proofing and baking and contributes to a good oven spring. First, the dough is often given a brief "pre-shape" where it's gently rounded or shaped into a loose log and allowed to rest for 15-20 minutes. This rest period, called bench rest, allows the gluten to relax, making the final shaping easier.
For the final shape, the dough is carefully manipulated into the desired form, typically a boule (round) or a batard (oval). Techniques vary, but they generally involve folding the edges of the dough towards the center and then using your hands or a bench scraper to create surface tension by dragging the dough lightly against the surface. The shaped dough is then placed seam-side up into a floured banneton or proofing basket. The banneton supports the dough and prevents it from spreading outwards during the final proof.
Step 5: Cold Fermentation: Retarding for Flavor
Cold fermentation, or retarding the dough in the refrigerator, is a crucial step for developing the signature complex flavors of sourdough. Placing the shaped dough in the fridge significantly slows down the fermentation process. While yeast activity slows, the lactic acid bacteria continue to work, producing more organic acids which contribute to the characteristic tang. This slow, cool proof also makes the dough easier to handle and score before baking.
The duration of cold fermentation can vary widely, from a minimum of 8-12 hours up to 24-48 hours or even longer, depending on your schedule and desired flavor intensity. A typical recommendation for beginners is around 12-18 hours. This extended cold proofing not only enhances flavor but also improves the structure of the loaf. The dough becomes firmer and less sticky, making it much easier to score cleanly before it goes into the hot oven.
Step 6: Baking the Sourdough: Scoring and Steam
Baking sourdough effectively requires high heat and steam, especially during the initial phase. Preheat your oven with your Dutch oven inside to a very high temperature, typically between 450°F and 500°F (230°C - 260°C). Carefully turn the cold dough out of the banneton onto a piece of parchment paper (this makes transferring it to the hot Dutch oven much safer).
Before placing it in the oven, score the surface of the dough with a sharp razor blade or lame. Scoring directs the oven spring, allowing the dough to expand in a controlled manner and creating beautiful patterns on the crust. A single deep cut is common for beginners.
Immediately transfer the dough (using the parchment paper) into the preheated Dutch oven. Place the lid on the Dutch oven; this traps the moisture released by the dough, creating the essential steamy environment. Bake with the lid on for 20-25 minutes.
The steam keeps the crust soft initially, allowing the loaf to achieve maximum expansion (oven spring). After this initial phase, remove the lid and continue baking for another 20-30 minutes, or until the crust is a deep golden brown and the internal temperature reaches 205-210°F (96-99°C). Baking without the lid allows the crust to dry out and crisp up beautifully.
Step 7: Cooling and Enjoying Your Homemade Sourdough
Patience is key even after the loaf comes out of the oven. It's tempting to slice into that warm, fragrant sourdough immediately, but it's crucial to let it cool completely on a wire rack. The bread continues to cook and set internally as it cools. Slicing too early can result in a gummy, dense crumb because the starches haven't fully gelatinized and the moisture hasn't properly redistributed.
Allow the loaf to cool for at least 1-2 hours, and ideally longer for larger loaves. As it cools, you'll hear the crust crackling – a sure sign of success! Once fully cooled, admire your creation. The crust should be hard and crisp, and when you slice into it, you should see a beautiful, open, and airy crumb structure, indicative of successful fermentation and gluten development. Now, finally, you can enjoy the fruits of your labor – a delicious, tangy loaf of homemade sourdough bread.
Tips and Tricks for Baking the Best Sourdough at Home
Achieving the Perfect Crust: Oven Spring and Color
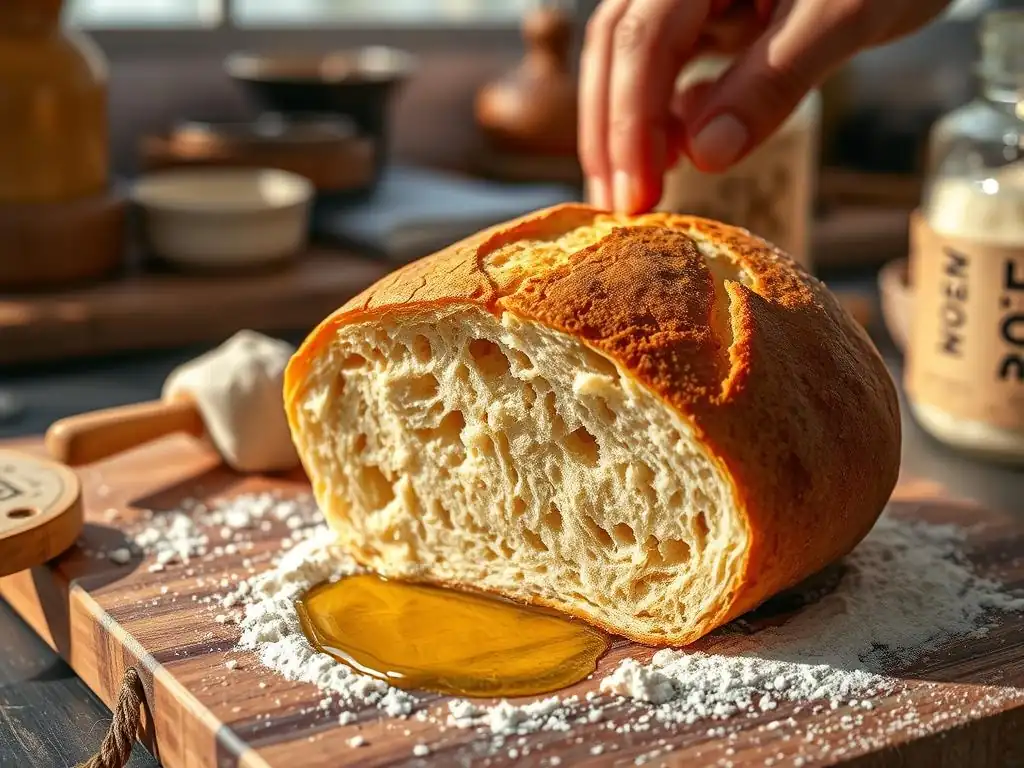
A hallmark of artisan sourdough is its wonderfully crisp and deeply colored crust. Achieving this starts with proper fermentation and shaping, which contribute to excellent oven spring – the final burst of rising in the hot oven.
The steamy environment created by baking in a Dutch oven or with added steam methods is critical during the first part of the bake; it keeps the surface moist, allowing the dough to expand fully before the crust sets. Without sufficient steam, the crust forms too quickly, restricting expansion and resulting in a less open crumb and a less dramatic ear (the flap created by scoring).
Once the lid is removed from the Dutch oven (or steam is vented from the oven), the high heat works to dry and color the crust. Don't be afraid of a dark crust; a deep golden to reddish-brown color indicates good caramelization of sugars and contributes significantly to the flavor and texture. Baking until the internal temperature reaches 205-210°F (96-99°C) ensures the loaf is fully cooked through, which also impacts crust development and prevents a gummy interior. Sometimes, finishing the bake directly on an oven rack for the last 5-10 minutes can enhance crust crispness, especially the bottom crust.
Troubleshooting Common Sourdough Baking Issues
Even experienced bakers encounter challenges with sourdough. A common issue is a flat, dense loaf with poor oven spring. This can stem from several factors: a weak or inactive starter (ensure it's consistently doubling after feeding), underdeveloped gluten (not enough folds during bulk fermentation), or improper shaping (not enough tension built). Under-proofing or over-proofing during bulk or cold fermentation can also lead to a lack of structure. If your loaf spreads out instead of rising up, review your starter activity, folding technique, and shaping method.
Another frequent problem is a gummy interior, even after achieving a nice crust. This usually means the bread was underbaked or sliced before it cooled completely. Ensure your oven temperature is accurate (an oven thermometer is helpful) and bake until the internal temperature is definitely within the target range (205-210°F). Always allow the loaf to cool fully on a wire rack for at least 1-2 hours before slicing. If your crust is pale, it might be due to insufficient baking time after removing the lid, or the oven temperature being too low during the second phase of baking.
Variations and Adaptations: Experimenting with Flour and Add-Ins
Once you've mastered the basic easy sourdough bread recipe, the world of variations opens up! Experimenting with different types of flour can dramatically change the flavor, texture, and appearance of your loaf. Substituting a percentage of bread flour with whole wheat flour (e.g., 20-30%) adds nuttiness and density, while using rye flour (even a small amount, like 10-15%) imparts a distinct tang and deeper color. Spelt or einkorn flours offer different nutritional profiles and flavors. Remember that different flours absorb water differently, so you may need to adjust the hydration level slightly.
Adding inclusions is another way to customize your sourdough. Seeds like sesame, poppy, sunflower, or pumpkin seeds can be incorporated into the dough during bulk fermentation or sprinkled on the outside before shaping. Chopped nuts, dried fruits (like cranberries or raisins), herbs (rosemary, thyme), roasted garlic, or cheese (cheddar, Gruyère) can transform a simple loaf into something special.
When adding wet ingredients like cheese or roasted garlic, consider slightly reducing the initial water amount in the dough to maintain the desired hydration level. Start with small additions (e.g., 10-20% of the total flour weight in seeds) and increase as you gain confidence.
Serving Suggestions: Enjoying Your Freshly Baked Sourdough
Classic Pairings: What to Eat with Sourdough
Freshly baked sourdough, with its tangy flavor and chewy crust, is incredibly versatile and pairs beautifully with a wide range of foods. One of the simplest and most satisfying ways to enjoy it is toasted, perhaps simply spread with butter, or elevated with avocado and a sprinkle of red pepper flakes. Sourdough makes exceptional sandwiches, its sturdy structure holding up well to various fillings, from classic deli meats and cheeses to grilled vegetables or smoked salmon.
It's also the perfect companion for soups and stews, ideal for soaking up rich broths and sauces. Think a hearty lentil soup, a creamy tomato soup, or a robust beef stew. Beyond savory applications, toasted sourdough with jam, honey, or a sweet ricotta cheese can make a delightful snack or breakfast. Consider using slices as the base for bruschetta, topped with fresh tomatoes and basil, or as crostini alongside a cheese board. The possibilities are nearly endless for enjoying your homemade sourdough.
Garlic Herb Butter Recipe for Sourdough
Elevate your sourdough experience with a simple, flavorful homemade butter. This garlic herb butter is quick to prepare and absolutely divine spread on warm slices of your freshly baked loaf.
Yields: Approx. 1/2 cup Prep time: 5 minutes
Ingredients:
- 1/2 cup (1 stick) unsalted butter, softened
- 2 cloves garlic, minced or grated
- 2 tablespoons finely chopped fresh herbs (such as parsley, chives, rosemary, or a mix)
- 1/4 teaspoon salt (or to taste)
- Pinch of black pepper
Instructions:
- Ensure your butter is soft enough to mix easily but not melted.
- In a small bowl, combine the softened butter, minced garlic, chopped fresh herbs, salt, and pepper.
- Mix everything together thoroughly with a fork or spatula until the herbs and garlic are evenly distributed throughout the butter.
- Taste and adjust seasoning if needed.
- Spoon the butter into a small dish or roll it into a log using parchment paper or plastic wrap.
- Chill for at least 15-20 minutes before serving to allow the flavors to meld.
- Spread generously on warm, sliced sourdough bread. Leftover butter can be stored in the refrigerator for up to a week.
Storing Your Sourdough: Keeping It Fresh
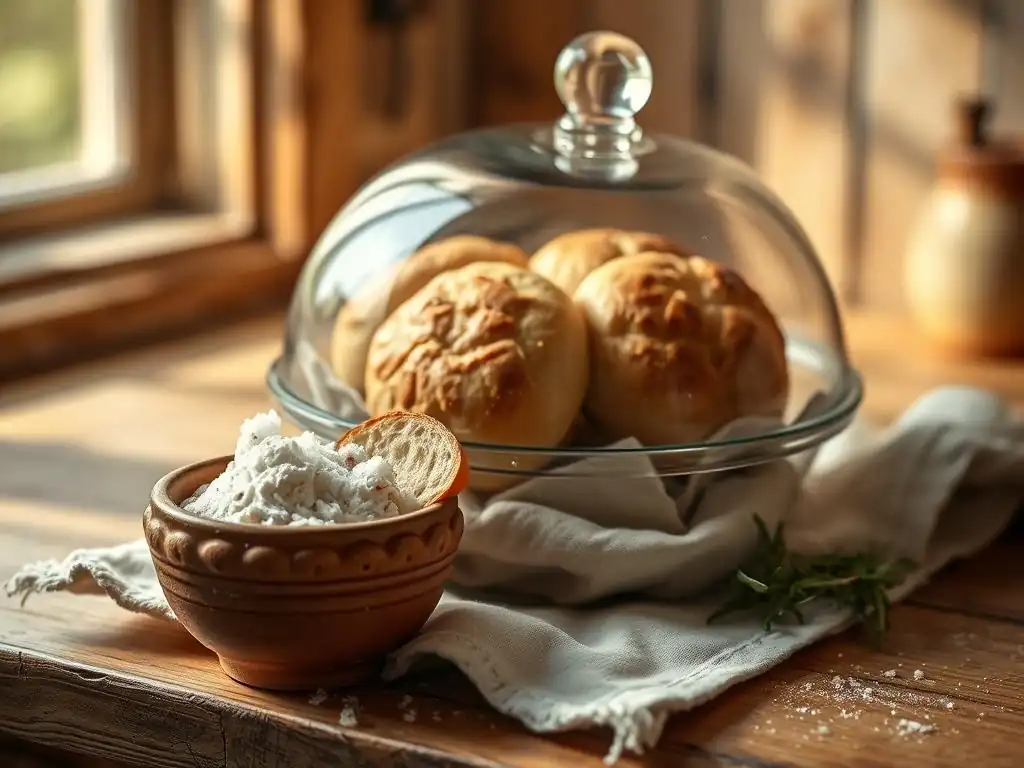
Best Practices for Storing Homemade Sourdough Loaves
Proper storage is key to preserving the crust and crumb of your homemade sourdough bread. Because sourdough has a lower pH due to the fermentation process, it tends to stay fresh longer than commercial yeast breads. However, the crust will soften over time if not stored correctly. The best method for short-term storage (1-2 days) is simply to store the loaf cut-side down on a clean cutting board on your counter. This protects the exposed interior while allowing the crust to remain relatively crisp.
For slightly longer storage (up to 3-4 days), consider wrapping the cooled loaf in a linen bread bag or a beeswax wrap. These materials allow the bread to breathe, preventing the crust from becoming soggy while still offering some protection from drying out. Avoid storing sourdough in airtight plastic bags or containers at room temperature for extended periods, as this traps moisture and quickly turns the beautiful crust soft and rubbery. If you won't finish the loaf within a few days, freezing is an excellent option.
Reviving Day-Old Sourdough for Maximum Enjoyment
Even with the best storage, sourdough crust will inevitably lose some of its initial crispness after a day or two. Thankfully, it's easy to revive it! One simple method is to lightly spritz the crust with water and place the loaf directly on the oven rack in a preheated oven (around 350°F or 175°C) for 5-10 minutes. The moisture creates steam, which helps to re-crisp the crust.
Another effective technique for refreshing individual slices is to use a toaster or toaster oven. A few minutes on a medium setting can bring back a lovely crispness. For a whole loaf that has gone a bit stale, you can also slice it and make croutons or breadcrumbs. Don't let any of your precious homemade sourdough go to waste! With a little effort, you can bring back that satisfying crunch and enjoy your loaf for longer.
Conclusion: Your Journey to Baking Authentic Sourdough
Embrace the Art of Sourdough Baking with This Recipe
Baking sourdough is more than just following a recipe; it's a craft that evolves with practice and patience. This easy sourdough bread recipe provides a solid foundation, guiding you through the essential steps from feeding your starter to baking a beautiful, crusty loaf. Each loaf you bake will teach you something new about dough hydration, fermentation times, shaping techniques, and oven dynamics. Don't be discouraged by loaves that aren't "perfect" – every bake is progress on your sourdough journey.
The satisfaction of pulling a warm, fragrant loaf of homemade sourdough from your oven is immense. You've created something truly special with your own hands, using natural processes. As you become more comfortable, feel free to experiment with different flours, hydration levels, and additions to make the recipe your own. Embrace the process, learn from each bake, and enjoy the delicious results. You are now well on your way to mastering the art of baking authentic sourdough bread at home.
Frequently Asked Questions
What is marraqueta bread?
Marraqueta bread is a traditional Bolivian roll known for its crusty exterior and soft interior. It’s a staple in Bolivian cuisine, often enjoyed with various toppings.
How can I make marraqueta bread easily?
To make easy Bolivian marraqueta bread, follow the step-by-step guide provided on BakeWithEase.com. The recipe includes simple ingredients and techniques suitable for all bakers.
What are the key ingredients for marraqueta bread?
The key ingredients for marraqueta bread include flour, water, yeast, and salt. These basic components come together to create the unique texture of the rolls.
How long does it take to bake marraqueta rolls?
The total baking time for marraqueta rolls is typically around 25 to 30 minutes. This includes preparation and proofing time, making it a quick baking project.
Can I customize the marraqueta bread recipe?
Absolutely! You can customize the marraqueta bread by incorporating ingredients like herbs or cheese to suit your taste preferences while still following the basic recipe.
Final Reflection: The Enduring Magic of Marraqueta
The simple act of baking, especially when it yields a golden-brown, crusty marraqueta, connects us to culinary traditions across generations and cultures. This seemingly straightforward recipe, designed for ease of execution, unlocks a world of flavor and texture often underestimated in everyday baking. The satisfying crunch and airy interior of a perfectly baked marraqueta are a testament to the power of simple ingredients transformed by skillful hands.
The marraqueta's enduring popularity in Bolivia and beyond speaks volumes about its cultural significance. It's more than just bread; it's a symbol of home, shared meals, and the comforting aroma of a warm kitchen. The process of making it, from kneading the dough to the satisfying crackle as it hits the oven, is a meditative experience. Food is symbolic of love when words are inadequate.
- Alan D. Wolfelt. This quote perfectly encapsulates the emotional connection we forge with food, and the marraqueta is no exception. Its creation and consumption become a shared experience, bridging generations and cultures.
Now, I invite you to embrace the challenge and the reward of baking your own marraqueta. Don't be intimidated by the seemingly complex shaping; with a little practice, you'll master the technique and find yourself captivated by the process. The aroma filling your kitchen, the satisfying crust, and the joy of sharing your creation with loved ones – these are the true rewards of this culinary journey. So, gather your ingredients, preheat your oven, and embark on this delicious adventure. The taste of tradition awaits.
Unleash Your Inner Baker: Craft Perfect Marraqueta!
Thanks for taking the time to explore the world of Bolivian marraqueta with us! We hope you've gained the confidence to tackle this delicious bread. Ready to roll up your sleeves and get baking?
- Bake your own batch of marraqueta: Use the recipe and tips from the article as your guide. This is your chance to experience the satisfying crackle and delightful chew of authentic marraqueta!
- Share your baking journey: Snap a picture of your finished loaves and share them on social media – tag us, we'd love to see your creations!
- Explore other Bolivian recipes: Challenge yourself to expand your baking repertoire with more delicious Bolivian treats.
What unique twist will you add to your marraqueta baking adventure?