
Unlock Effortless Baking: Choosing Your First Bread Machine

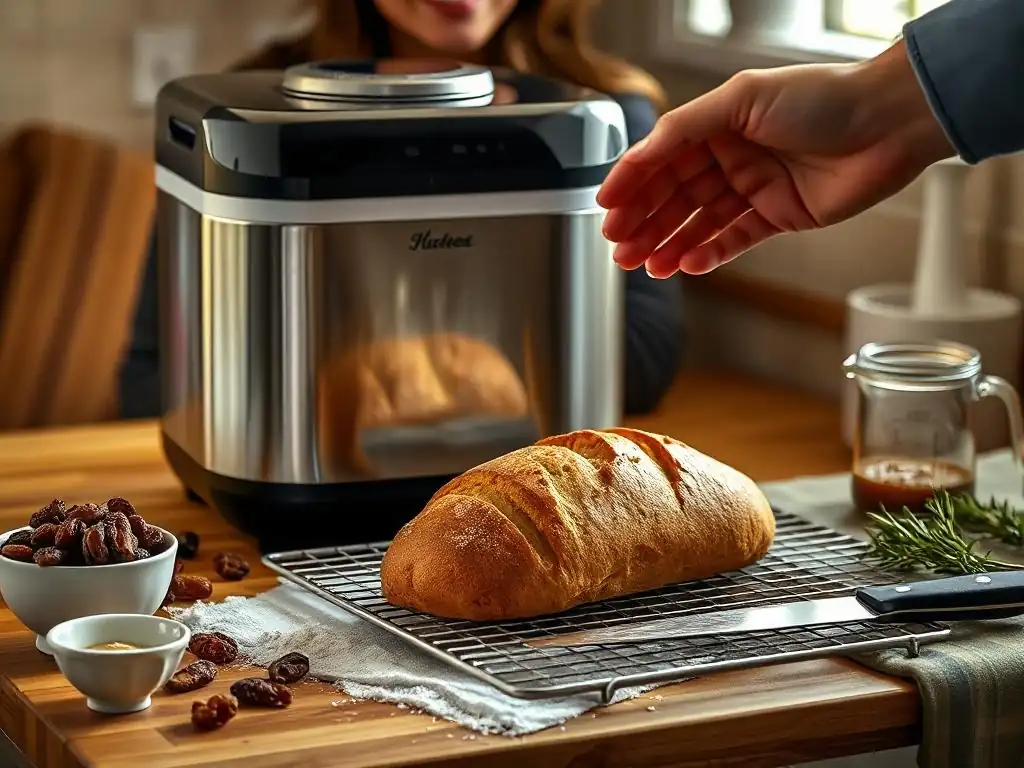
Welcome to BakeWithEase, where baking becomes a joy, not a chore! Ready to ditch the kneading and embrace perfectly baked bread with minimal effort? This guide dives into the world of bread machines, specifically focusing on first bread machine recipes and helping you choose the perfect model to kickstart your effortless baking journey. Curious how to achieve delicious, homemade bread with the push of a button? Let's explore!
- BakeWithEase: Your Guide to Easy Bread Machine Baking
- Understanding Bread Machines: A Beginner's Guide
- Top Bread Machine Recommendations for Beginners
- Easy First Bread Machine Recipes to Get You Started
- Tips and Tricks for Successful Bread Machine Baking
- Mastering Bread Machine Baking: Beyond the Basics
- Conclusion: Enjoy Effortless Baking with Your First Bread Machine
-
Frequently Asked Questions
- What are some good first bread machine recipes for beginners?
- What is the most important factor to consider when choosing first bread machine recipes?
- How can I avoid common mistakes when using first bread machine recipes?
- What if my first bread machine recipe doesn't rise properly?
- Where can I find reliable first bread machine recipes?
- Final Reflection: The Joy of Homemade Bread, One Machine at a Time
- Unleash Your Inner Baker: Start Kneading Today!
BakeWithEase: Your Guide to Easy Bread Machine Baking
Welcome to the World of Bread Machines
Embarking on your baking journey with a bread machine can feel like stepping into a new, exciting kitchen frontier. These convenient appliances take much of the guesswork and manual labor out of making fresh bread at home, allowing even complete novices to achieve impressive results. Imagine waking up to the aroma of warm, freshly baked bread filling your kitchen – that's the everyday reality a bread machine can offer. It's a fantastic starting point for anyone interested in baking but perhaps intimidated by the traditional process of kneading, proofing, and baking in a conventional oven.
Choosing your first bread machine is a significant step, and this guide is designed to walk you through the process. We'll cover everything from understanding how these machines work to identifying key features, reviewing popular beginner-friendly models, and even providing your first bread machine recipes to get you started. Our goal at BakeWithEase is to make baking accessible and enjoyable for everyone, and a bread machine is a powerful tool in achieving that, opening the door to countless delicious possibilities with minimal effort.
Why Choose a Bread Machine for Baking?
The primary appeal of a bread machine lies in its automation. It handles the entire bread-making process for you, from mixing and kneading the dough to allowing it to rise (proofing) and finally baking it to perfection. This significantly reduces the time and effort required compared to traditional methods. For busy individuals, families, or anyone new to baking, this convenience is invaluable, removing common barriers like the physical strain of kneading or the need for precise temperature and humidity control during proofing.
Beyond convenience, a bread machine offers consistency. The controlled environment within the machine ensures reliable results every time, minimizing common baking failures. This consistency is especially encouraging for beginners. Furthermore, bread machines allow you to control the ingredients, avoiding preservatives and additives often found in store-bought bread. You can experiment with different flours, seeds, and flavors, tailoring your bread to your exact preferences and dietary needs, which is a major benefit for those looking for healthier options or specific dietary requirements.
Understanding Bread Machines: A Beginner's Guide
What is a Bread Machine and How Does it Work?
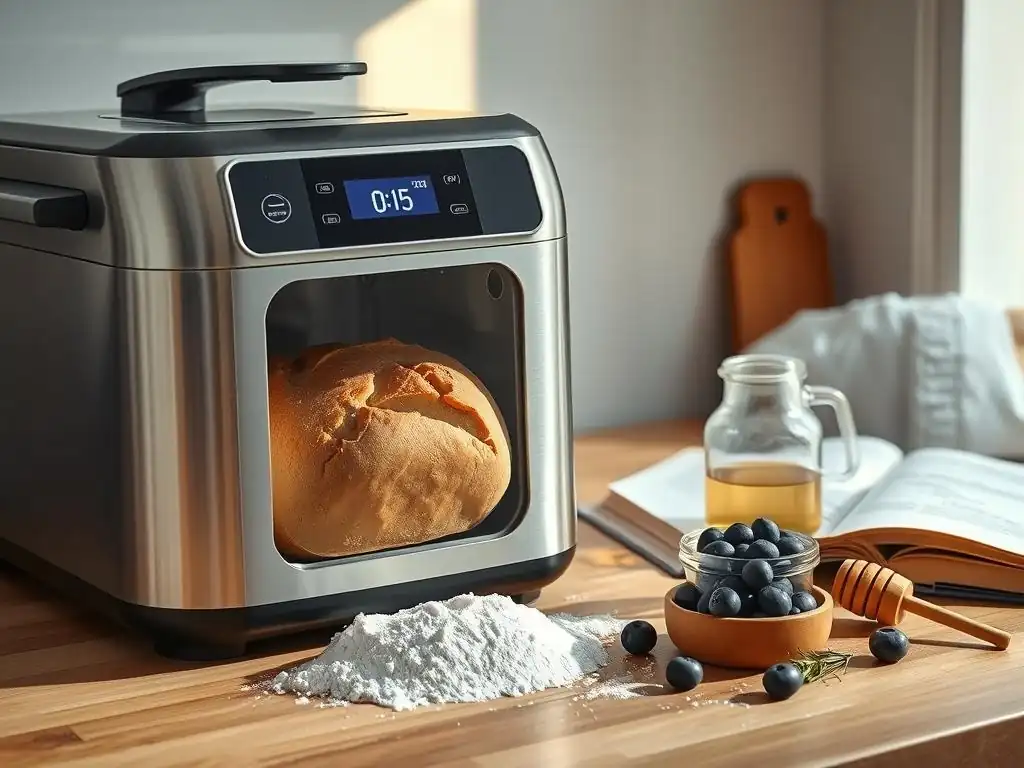
A bread machine is a kitchen appliance designed to automate the process of baking bread. It typically consists of a bread pan with a kneading paddle inside, a heating element, and a control panel with various settings. The magic happens when you add your ingredients – usually liquids, then dry ingredients, followed by the yeast – into the pan in the specified order. Once you select a program, the machine takes over.
The process generally follows these steps: First, the machine mixes the ingredients using the kneading paddle. Then, it kneads the dough, developing the gluten structure. After kneading, the machine provides a warm environment for the dough to rise (proof). It may perform one or more rise cycles followed by brief kneading (punching down) to improve texture. Finally, the heating element bakes the bread directly in the pan. The entire cycle, from adding ingredients to a finished loaf, can take anywhere from 1 to 6 hours, depending on the selected program and recipe.
Different Types of Bread Machines: Sizes and Features
Bread machines come in various sizes, primarily defined by the maximum loaf size they can bake. Common sizes include 1-pound, 1.5-pound, 2-pound, and occasionally 2.5-pound loaf capacities. The best size for you depends on your household size and how much bread you plan to bake. A 1.5-pound or 2-pound machine is often a good starting point for most families. Machines also vary in shape, typically producing vertical or horizontal loaves. Vertical loaves are taller and fit better in smaller machines, while horizontal loaves resemble traditional bread shapes.
Beyond size, features distinguish different models. Basic machines might offer programs for white, whole wheat, dough, and jam. More advanced models include settings for rapid bake, French bread, sweet bread, gluten-free, artisan dough, cake, and even specific cycles for making yogurt or pasta dough. Some machines have automatic dispensers for adding fruits, nuts, or seeds at the appropriate time during the kneading cycle. Control panels range from simple buttons to complex digital interfaces with customizable settings. Understanding these differences helps you choose a machine that aligns with your baking interests and desired level of control.
Key Features to Consider When Buying Your First Bread Machine
Choosing your first bread machine involves evaluating several key features to ensure it meets your needs and makes your entry into bread machine baking as smooth as possible. Thinking about how you plan to use the machine will guide your selection. For instance, if you primarily want simple sandwich loaves, a basic machine with standard cycles might suffice. If you envision experimenting with different flours or need flexible timing options, look for more advanced features.
Consider your kitchen space, how many people you typically bake for, and your budget. While high-end machines offer extensive features, many reliable, budget-friendly models are excellent for beginners. Prioritize features that directly impact the type of bread you want to make and the convenience you desire. Don't get overwhelmed by every possible setting; focus on the ones that will be most useful for your first bread machine recipes and experiments.
Bread Pan Size and Shape
The size of the bread pan dictates the maximum loaf size you can bake. Common sizes are 1lb, 1.5lb, and 2lb. For a small household (1-2 people), a 1lb or 1.5lb machine might be sufficient. For families of 3 or more, a 2lb machine is often more practical, allowing you to bake larger loaves to last longer or feed more people. The shape of the pan determines the shape of the baked loaf; vertical pans produce taller, squarer loaves, while horizontal pans produce wider, more traditional-shaped loaves.
Consider the typical amount of bread your household consumes and the storage space you have. A 2lb machine provides flexibility for baking both large loaves and smaller ones (by adjusting recipes), but it might take up more counter space than a compact 1lb machine. The shape is largely a matter of aesthetic preference, though vertical loaves can sometimes be slightly less uniform in texture from top to bottom.
Crust Control Settings
Most bread machines offer options to control the crust color, typically light, medium, and dark. This setting adjusts the baking time and/or temperature during the final stage of the cycle. For example, selecting "dark" will result in a longer or hotter bake, producing a crispier, more browned crust.
Having crust control is beneficial because different recipes and personal preferences call for different crusts. A light crust is often preferred for soft sandwich bread, while a darker crust might be desired for heartier loaves like whole wheat. Experimenting with these settings on your first bread machine recipes will help you discover your preference.
Programmable Cycles and Timers
Bread machines come with a variety of pre-programmed cycles for different types of bread (basic, whole wheat, French, sweet, rapid) and functions (dough, jam, cake). The number and type of cycles vary significantly between models. Some machines also offer custom or programmable cycles, allowing you to set your own times for mixing, kneading, rising, and baking.
For a beginner, having a good range of standard cycles (basic, whole wheat, dough) is important for trying out different first bread machine recipes. Advanced programmable cycles are more useful for experienced bakers wanting to create unique recipes or fine-tune existing ones. Check the machine's manual or specifications to see the list of available programs.
Delay Start Function
The delay start timer is one of the most popular features, allowing you to add ingredients and set the machine to start baking at a later time. You can delay the start by several hours, often up to 12 or 13 hours. This means you can load the ingredients the night before and wake up to freshly baked bread in the morning, or set it before work to have bread ready for dinner.
This feature adds immense convenience, fitting bread-making into your schedule rather than requiring you to be present at specific times for mixing or baking. It's particularly useful for simple first bread machine recipes like basic white or whole wheat bread. Note: Avoid using the delay timer with recipes containing highly perishable ingredients like milk, eggs, or cheese unless specifically instructed by the recipe or manual, as they can spoil.
Keep Warm Function
Many bread machines automatically switch to a "keep warm" cycle after baking is complete. This function typically maintains a low temperature for about an hour, keeping the bread warm until you're ready to remove it. This is convenient if you're not able to take the bread out immediately after the baking cycle finishes.
While helpful, it's generally recommended to remove the bread from the pan shortly after baking is done and let it cool on a wire rack. Leaving the bread in the warm machine or pan for too long can sometimes result in a soggy crust. However, the keep warm function provides a buffer if you're momentarily delayed.
Viewing Window
Some bread machines have a small window on the lid, allowing you to peer inside and check the progress of your bread without opening the lid. Opening the lid during the rise or bake cycle can cause the temperature to drop, potentially affecting the outcome, especially during the final rise and early baking stages.
A viewing window satisfies curiosity and allows you to visually monitor the dough rising or the crust browning. While not strictly necessary for successful baking (most machines are well-calibrated), it's a nice-to-have feature, particularly for beginners who are still learning what the dough should look like at different stages.
Noise Level
Bread machines, especially during the kneading cycles, can produce some noise. The kneading paddle motor works hard to develop the dough, which can result in whirring, thumping, or vibrating sounds. The noise level varies between models and brands.
While it's difficult to get exact decibel ratings without testing specific models, user reviews often mention how loud a machine is perceived to be. If your kitchen is close to living areas or bedrooms, or if you plan to use the delay start function overnight, considering a quieter model might be important. Some premium machines are designed with noise reduction in mind.
Top Bread Machine Recommendations for Beginners
Choosing your first bread machine can be easier with a few recommendations. Here are three popular models, ranging from budget-friendly to premium, known for their performance and suitability for those new to bread machine baking. These examples are representative of types of machines available at different price points and with varying feature sets, giving you a starting point for your search for the perfect machine for your first bread machine recipes.
When evaluating these options, think back to the features discussed earlier – pan size, cycles, delay timer, etc. – and how they align with your needs. Remember that user reviews are invaluable resources for real-world performance insights regarding durability, ease of cleaning, and actual noise levels.
Hamilton Beach Bread Maker Review: A Budget-Friendly Option
The Hamilton Beach HomeBaker 29881 (or similar models) is frequently recommended as an excellent entry-level bread machine. It typically falls into the budget-friendly price range, often available for under $100-$120. Despite the lower cost, it usually offers a good selection of basic cycles (often around 12 settings), including white, whole wheat, French, sweet, rapid, dough, and jam.
This machine is known for its straightforward operation and consistent results for standard loaf sizes, commonly 1.5 and 2-pound loaves. It often includes a delay timer and crust control settings. It's a solid choice for someone who wants to dip their toes into bread machine baking without a significant financial commitment and primarily wants to bake simple, reliable loaves using easy first bread machine recipes.
Pros of the Hamilton Beach Bread Maker
- Affordable Price: Generally one of the most budget-friendly options available, making it accessible for beginners.
- Easy to Use: Simple interface with clearly labeled buttons and a manageable number of settings.
- Good for Basic Loaves: Consistently produces good results for standard white and whole wheat bread.
- Includes Essential Features: Typically includes delay start, crust control, and common cycles like dough and jam.
Cons of the Hamilton Beach Bread Maker
- Durability Concerns: Some users report that components may not be as long-lasting as those in more expensive machines.
- Noise Level: Can be quite noisy during the kneading cycles.
- Limited Advanced Features: Lacks specialized cycles found in higher-end models (e.g., gluten-free on some base models, custom programming).
Cuisinart CBK-110 Compact Automatic Bread Maker Review: Feature-Rich and Easy to Use
The Cuisinart CBK-110 is a popular mid-range compact bread machine, often priced around $120-$160. It's praised for its smaller footprint, making it suitable for kitchens with limited counter space. Despite its compact size, it typically bakes 1-pound, 1.5-pound, and 2-pound loaves (vertical shape) and comes with a generous number of pre-programmed options, often totaling 12 or more, including gluten-free, artisan dough, and cake settings.
This model usually features intuitive controls, a delay start timer (up to 13 hours), and three crust color options. Its ease of use combined with a wider variety of settings makes it a great step up for beginners who might want to explore more types of first bread machine recipes beyond the absolute basics or who need a gluten-free option.
Pros of the Cuisinart CBK-110
- Compact Size: Takes up less counter space than many other 2lb capacity machines.
- Variety of Cycles: Includes useful programs like gluten-free and artisan dough, offering more flexibility for beginners.
- User-Friendly Interface: Easy to navigate and select settings.
- Reliable Performance: Generally produces consistent and good-quality loaves.
Cons of the Cuisinart CBK-110
- Vertical Loaf Shape: Produces tall, squarish loaves which some prefer less than horizontal ones.
- Paddle Can Stick: The kneading paddle can sometimes get baked into the bottom of the loaf, requiring careful removal.
- No Automatic Dispenser: Lacks an automatic dispenser for add-ins like nuts or fruits.
The Zojirushi BB-PAC20 is often considered a top-tier, premium bread machine, typically priced above $250-$300. While a larger investment for a first bread machine, it's renowned for its exceptional build quality, reliability, and ability to bake perfectly shaped, horizontal 2-pound loaves that resemble traditional bakery bread. It features two kneading paddles for thorough mixing and kneading.
This machine boasts numerous cycles (often 10+), including a dedicated gluten-free cycle, a rapid cycle, and even a homemade cycle that allows for extensive customization of kneading, rising, and baking times. It includes a substantial delay timer (up to 13 hours) and crust control. For the beginner who values quality, consistency, and the potential to grow into more advanced bread-making, the Zojirushi is an outstanding, albeit expensive, choice.
Pros of the Zojirushi BB-PAC20
- Excellent Loaf Quality: Consistently produces well-shaped, evenly baked horizontal loaves.
- Superior Kneading: Dual kneading paddles ensure thorough mixing and gluten development.
- Durable and Reliable: Built to last with high-quality materials.
- Advanced Features: Offers customizable cycles and a dedicated gluten-free setting.
Cons of the Zojirushi BB-PAC20
- High Price Point: Significantly more expensive than budget or mid-range options.
- Large Footprint: Takes up considerable counter space.
- Can Be Complex: The range of features and customization options might be slightly overwhelming for an absolute beginner, though the basic cycles are still easy to use.
Easy First Bread Machine Recipes to Get You Started
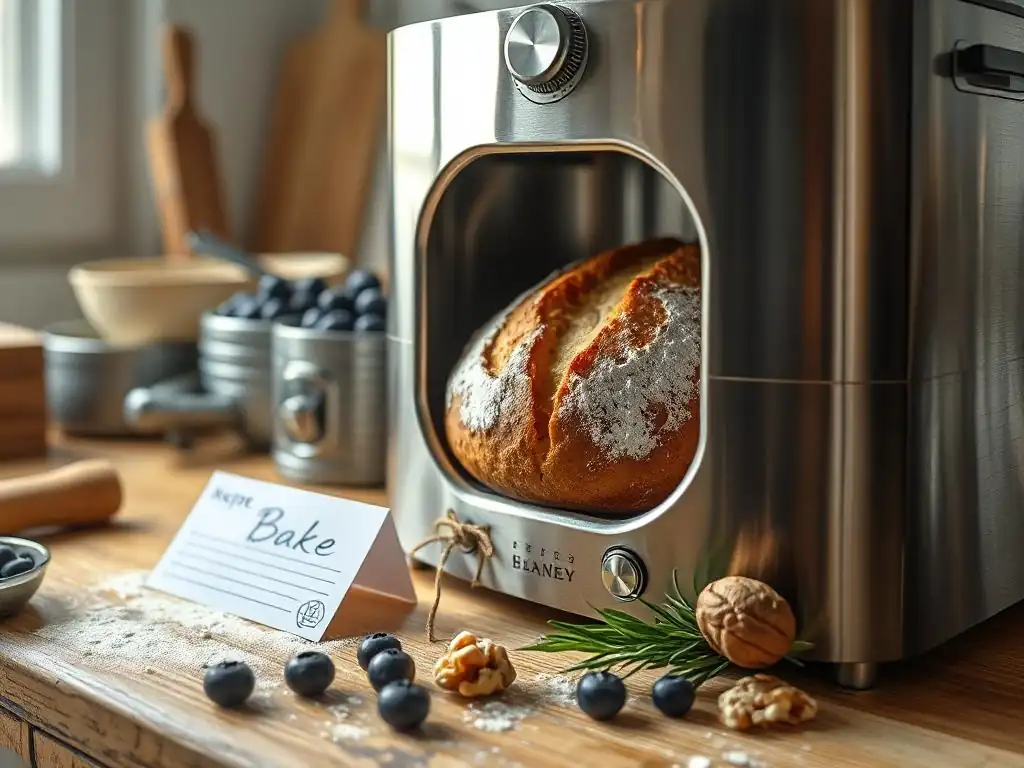
Getting started with your first bread machine is exciting! The best way to learn is by doing. Here are a few simple first bread machine recipes that are perfect for beginners. These recipes use common ingredients and the basic cycles found on most machines. Always consult your bread machine's manual for the specific order of ingredients recommended by the manufacturer, as this can vary (some recommend liquids first, others recommend yeast first). The key is accurate measurement and using fresh ingredients.
Remember that humidity and altitude can affect baking results. Don't be discouraged if your first loaf isn't perfect; slight adjustments to liquid or flour might be needed for your specific environment. These recipes are designed for a 1.5-pound or 2-pound machine; adjust quantities proportionally for a 1-pound machine.
Basic White Bread Recipe for Bread Machines
This is the quintessential first bread machine recipe. It's simple, forgiving, and produces a delicious, soft loaf perfect for sandwiches or toast.
Ingredients (for a 1.5-pound loaf):
- 1 cup warm water (around 80-90°F)
- 2 tbsp milk
- 2 tbsp unsalted butter, softened or melted
- 1.5 tsp salt
- 1 tbsp sugar
- 3 cups bread flour
- 2 tsp active dry yeast or bread machine yeast

Instructions:
1. Add liquids (water, milk, melted butter) to the bread machine pan.
2. Add salt and sugar.
3. Add the bread flour, covering the liquid ingredients.
4. Make a small indentation in the center of the flour (away from the liquid) and add the yeast.
5. Close the lid, select the "Basic White Bread" cycle, and choose your desired crust color (light, medium, or dark).
6. Press start.
7. Once the cycle is complete, carefully remove the pan from the machine using oven mitts.
8. Invert the pan onto a wire rack to release the bread. If the paddle sticks, use a non-metal utensil to gently pry it out.
9. Let the bread cool completely on the wire rack before slicing (about 1-2 hours) for the best texture.
Whole Wheat Bread Recipe for Bread Machines
Baking whole wheat bread is just as easy as white bread in a machine. This recipe produces a hearty, flavorful loaf. Whole wheat flour absorbs liquid differently than white flour, so results can vary slightly.
Ingredients (for a 1.5-pound loaf):
- 1 1/4 cups warm water (around 80-90°F)
- 2 tbsp olive oil or melted butter
- 1.5 tsp salt
- 2 tbsp honey or brown sugar
- 1.5 cups bread flour
- 1.5 cups whole wheat flour
- 2 tsp active dry yeast or bread machine yeast

Instructions:
1. Add liquids (water, oil/butter) to the bread machine pan.
2. Add salt and honey/sugar.
3. Add the bread flour and whole wheat flour, covering the liquid ingredients.
4. Make a small indentation in the center of the flour and add the yeast.
5. Close the lid, select the "Whole Wheat" cycle, and choose your desired crust color.
6. Press start.
7. Once the cycle is complete, carefully remove the pan from the machine.
8. Invert the pan onto a wire rack to release the bread.
9. Let the bread cool completely before slicing (about 2 hours).
Cinnamon Raisin Bread Recipe for Bread Machines
This sweet bread is a treat for breakfast or snacking. Using the "Sweet Bread" cycle is often best, but the "Basic" cycle can also work. Add the raisins when the machine signals or during the last few minutes of the final kneading cycle if there's no signal.
Ingredients (for a 1.5-pound loaf):
- 3/4 cup milk
- 1/4 cup water
- 2 tbsp unsalted butter, melted
- 1 large egg, lightly beaten
- 1 tsp salt
- 1/4 cup sugar
- 1 tsp ground cinnamon
- 3 cups bread flour
- 2 tsp active dry yeast or bread machine yeast
- 1/2 cup raisins

Instructions:
1. Add liquids (milk, water, melted butter, egg) to the bread machine pan.
2. Add salt, sugar, and cinnamon.
3. Add the bread flour, covering the liquid ingredients.
4. Make an indentation in the flour and add the yeast.
5. Close the lid, select the "Sweet Bread" or "Basic" cycle, and choose crust color.
6. Press start.
7. Add raisins when the machine signals (usually during the second kneading cycle) or about 5-10 minutes before the kneading finishes.
8. Once complete, remove the pan and bread as usual.
9. Let cool before slicing.
Troubleshooting Common Bread Machine Problems
Even with easy first bread machine recipes, you might encounter issues. Here are some common problems and potential solutions.
Dough Not Rising
- Check Yeast: Ensure your yeast is fresh and not expired. Active dry yeast should be foamy when proofed in warm water (around 105-115°F) with a pinch of sugar. Bread machine yeast doesn't require proofing but still needs to be fresh.
- Liquid Temperature: Water/milk should be warm (80-90°F for bread machine yeast, slightly warmer for active dry if proofing) but not hot, as hot liquid kills yeast.
- Salt/Sugar Placement: Salt and sugar can inhibit yeast if they come into direct contact too early. Ensure they are added away from the yeast in the pan, separated by flour, if your machine recommends liquids first.
- Room Temperature: Very cold room temperatures can slow down rising. Ensure the machine is in a reasonably warm spot.
Bread Too Dense
- Too Much Flour: Measuring flour accurately is crucial. Too much flour results in a dry, dense loaf. Use the scoop and level method (gently spoon flour into a measuring cup and level with a straight edge) rather than scooping directly from the bag.
- Not Enough Liquid: Ensure you've added the correct amount of liquid. Humidity can affect flour absorption; you might need a tiny bit more liquid in dry climates.
- Incorrect Yeast Amount/Type: Using the wrong amount or type of yeast for the recipe or cycle can affect rise.
- Opening Lid: Opening the lid during the rise cycle can cause the dough to collapse due to temperature change.
Crust Too Dark or Light
- Crust Setting: Ensure you've selected the desired crust color setting (light, medium, dark) on the machine.
- Sugar Content: Recipes with higher sugar content tend to brown more. If using a recipe not specifically for bread machines, the sugar level might be too high for standard cycles.
- Altitude: High altitude can affect baking. You may need to adjust liquid slightly.
- Machine Calibration: Some machines naturally bake hotter or cooler. You might need to adjust the crust setting from medium to light or dark depending on your machine's performance with your first bread machine recipes.
Tips and Tricks for Successful Bread Machine Baking
Mastering your first bread machine recipes involves more than just following instructions; a few key practices can significantly improve your results and make the process smoother.
Measuring Ingredients Accurately
Accuracy in measuring ingredients is paramount in baking, and bread machines are no exception. Flour should be measured correctly (spooned into the cup and leveled, not scooped). Liquids should be measured at eye level in a liquid measuring cup. Small amounts of yeast, salt, sugar, etc., should be measured precisely using appropriate measuring spoons. Even slight inaccuracies can throw off the delicate balance of a bread recipe, especially with your first bread machine recipes where you're learning the machine's nuances.
Consider using a kitchen scale for flour for the most consistent results. Different flours have different densities, and weighing provides a more accurate measure than volume. For example, 3 cups of bread flour might weigh around 12-13 ounces or 360-390 grams, depending on how it's measured by volume. Weighing eliminates this variability.
Using Fresh Ingredients
The quality and freshness of your ingredients directly impact the taste and texture of your bread. Ensure your yeast is fresh and active. Flour, especially whole wheat, can go rancid over time; store it in a cool, dark place or the freezer for longer shelf life. Fats like butter or oil should also be fresh.
Using fresh, high-quality ingredients, particularly for your first bread machine recipes, gives you the best chance for success and helps you accurately assess how the machine performs. Stale ingredients can lead to poor rising, off-flavors, and a less desirable final product.
Proper Order of Ingredients
Most bread machine manufacturers recommend a specific order for adding ingredients to the pan, typically liquids first, then dry ingredients, and finally the yeast placed in a small well on top of the flour. This order keeps the yeast separate from the liquid and salt until the machine begins its cycle, preventing premature activation or inhibition.
Always consult your specific bread machine's manual for the recommended order. Following this order is crucial for the yeast to activate correctly at the right time during the cycle, ensuring proper rising and a well-baked loaf. Deviating from the recommended order can sometimes lead to failed loaves, especially with sensitive recipes or your first attempts.
Cleaning and Maintaining Your Bread Machine
Proper cleaning and maintenance will extend the life of your bread machine and ensure hygienic baking. Always unplug the machine before cleaning. The bread pan and kneading paddle(s) are usually non-stick and should be cleaned with warm, soapy water and a soft sponge. Avoid abrasive scrubbers or harsh detergents that can damage the non-stick coating. The pan should never be submerged in water if it has external electrical contacts.
Wipe down the interior and exterior of the machine with a damp cloth. Remove any crumbs or flour dust. Pay attention to the heating element area (when cool) and the lid. Ensure the kneading paddle shaft is clean and rotates freely. Regular cleaning prevents build-up that can affect performance and keeps your machine ready for your next batch of first bread machine recipes.
Mastering Bread Machine Baking: Beyond the Basics
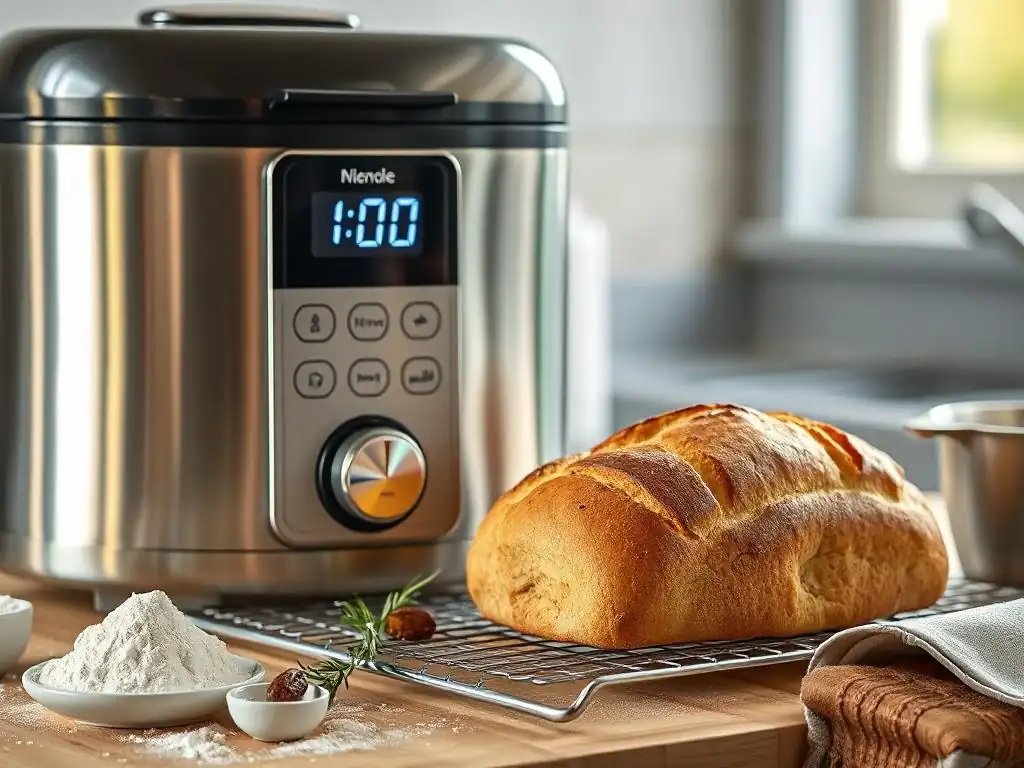
Once you're comfortable with your first bread machine recipes and understand how your machine works, a world of possibilities opens up. Bread machines are incredibly versatile and can do much more than just bake simple loaves.
Exploring Different Bread Recipes
Your bread machine manual and online resources like BakeWithEase offer a vast array of recipes. You can try enriched breads with milk and eggs, sweet breads with sugar and spices, savory breads with herbs and cheese, or even rye and sourdough starter-based recipes (using the dough cycle). Many machines also have cycles specifically for French bread (longer, slower rise for a crispier crust) or rapid cycles (using more yeast and higher temperatures to bake faster).
Don't limit yourself to the recipes that came with the machine. Look for recipes specifically designed for bread machines online or in bread machine cookbooks. Pay attention to the recommended loaf size and cycle for each recipe. Experimenting with different flours like spelt, rye, or specialty bread flours can yield exciting results.
Adding Fruits, Nuts, and Seeds
Adding fruits, nuts, and seeds can transform a basic loaf into something special. Items like raisins, dried cranberries, chopped walnuts, pecans, sunflower seeds, or poppy seeds add flavor, texture, and nutritional value.
If your machine has an automatic dispenser, add these ingredients to the dispenser before starting the cycle; the machine will add them at the optimal time during the kneading phase. If your machine doesn't have a dispenser, listen for the machine's signal (often a beep) indicating when to add mix-ins, or manually add them during the last 5-10 minutes of the final kneading cycle. Adding them too early can cause nuts/seeds to be ground up too finely or fruits to disintegrate or affect the dough's rise.
Using Gluten-Free Flour in Bread Machines
Many modern bread machines include a dedicated gluten-free cycle. This cycle is specifically designed to handle gluten-free dough, which behaves very differently from wheat dough (it doesn't develop gluten structure and often requires a single rise).
When baking gluten-free bread, it is essential to use recipes specifically developed for bread machines and gluten-free baking, as the liquid ratios and flour blends are crucial. Ingredients often include a mix of gluten-free flours (rice flour, sorghum flour, tapioca starch, potato starch) and a binder like xanthan gum or psyllium husk. Always measure carefully and follow the recipe and machine instructions precisely. Gluten-free baking in a bread machine can be incredibly successful, yielding loaves that are often difficult to achieve without this specialized cycle.
Conclusion: Enjoy Effortless Baking with Your First Bread Machine
Choosing your first bread machine is the start of an exciting baking adventure. These appliances simplify the process, making fresh, homemade bread accessible to everyone, regardless of experience level. By understanding the basic components, considering key features like pan size and cycle options, and starting with simple first bread machine recipes, you'll quickly gain confidence.
Whether you opt for a budget-friendly model or invest in a premium machine, the convenience and satisfaction of baking your own bread are immense. Don't be afraid to experiment, troubleshoot, and try new recipes as you become more comfortable. Your bread machine is a powerful tool for effortless baking, ready to help you fill your home with the comforting aroma and delicious taste of homemade bread. Happy baking!
Frequently Asked Questions
What are some good first bread machine recipes for beginners?
Simple recipes like basic white bread or whole wheat bread are a great starting point. These typically require minimal ingredients and straightforward settings on your bread machine.
What is the most important factor to consider when choosing first bread machine recipes?
The most important factor is ensuring the recipe is specifically designed for a bread machine. Using recipes not designed for bread machines can lead to inconsistent results.
How can I avoid common mistakes when using first bread machine recipes?
Carefully measure your ingredients, paying close attention to the order in which they should be added to the bread machine. Also, ensure the yeast is fresh and active for optimal results.
What if my first bread machine recipe doesn't rise properly?
This could be due to several factors, including expired yeast, incorrect water temperature, or even too much salt. Try troubleshooting by checking these elements first.
Where can I find reliable first bread machine recipes?
Websites like BakeWithEase.com offer a variety of tested and easy-to-follow bread machine recipes specifically for beginners. Look for recipes with detailed instructions and user reviews.
Final Reflection: The Joy of Homemade Bread, One Machine at a Time
The accessibility of bread making has been revolutionized, and the humble bread machine sits at the heart of this transformation. No longer is the creation of delicious, warm loaves relegated to experienced bakers; with the right machine and a little guidance, anyone can unlock the satisfying world of homemade bread. This ease of access opens doors to culinary exploration and a deeper connection with food.
The impact of readily available bread-making technology extends beyond individual kitchens. It fosters a renewed appreciation for the simple pleasures of life, reminding us of the satisfaction derived from creating something with our own hands. This resonates deeply with the current movement towards mindful consumption and a return to traditional skills. The best things in life are homemade.
This sentiment, often heard, takes on a new meaning when applied to the fragrant, golden crust of a loaf crafted in your own kitchen.
Now, it's your turn. Consider the possibilities: the aroma of freshly baked bread filling your home, the pride in sharing your creations with loved ones, the simple joy of a perfectly toasted slice with butter. Don't just read about effortless baking – experience it. Choose your first bread machine, follow a recipe, and embark on a journey of culinary discovery. The delicious rewards await.
Unleash Your Inner Baker: Start Kneading Today!
Thanks for diving into the world of effortless bread making! We hope you’ve gained the confidence to tackle your first loaf. Now it's time to turn that knowledge into delicious reality.
- Order your dream bread machine now! Imagine the aroma of freshly baked bread filling your home...soon it can be a reality.
- Share this article with a friend who also dreams of baking their own bread. Let's spread the baking love!
- Explore our recipe section for inspiration—we've got everything from classic sourdough to delightful sweet breads waiting for you.
What delicious creation will your first bread machine bake? Let's hear your ideas in the comments below!