
Rustic Berry Galette: Effortless Elegance in Every Slice

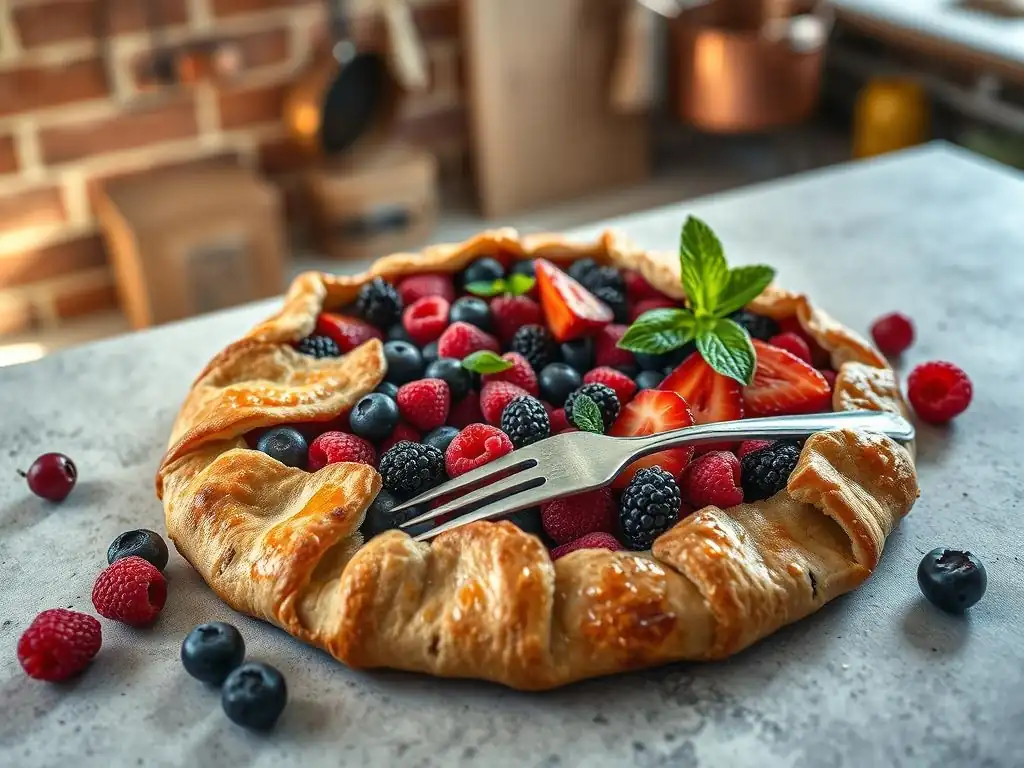
Welcome to BakeWithEase, where delicious baking becomes delightfully simple! Ever dreamed of creating a show-stopping dessert without the fuss? Dive in and discover our Easy Rustic Berry Galette Recipe, a masterclass in effortless elegance. This simple-to-follow guide will have you crafting a stunning galette that’s bursting with flavor. Curious how to achieve that perfect rustic charm? Read on and unlock the secrets!
- BakeWithEase Team Presents: A Quick & Easy Berry Galette Recipe
- Making the Summer Berry Galette: A Simple Guide
- Tips for a Perfect Galette
- Troubleshooting Common Galette Issues
- Galette Variations
- More Delicious Recipes
- Frequently Asked Questions
- Final Reflection: The Enduring Allure of Simple Elegance
- Unleash Your Inner Pastry Chef: Bake Your Own Berry Galette!
BakeWithEase Team Presents: A Quick & Easy Berry Galette Recipe
The Beauty of Freeform Baking
One of the most charming aspects of a galette, especially an easy rustic berry galette recipe, is its delightfully imperfect, freeform nature. Unlike traditional pies that require precise crimping and fitting into a specific dish, a galette is simply dough rolled out, filled, and folded casually around the edges. This relaxed approach means you don't need special pie plates or advanced pastry skills to achieve a beautiful result. The rustic look isn't a flaw; it's the defining characteristic, celebrating simplicity and natural shapes.
This lack of strict structure also translates directly into time savings in the kitchen. While rolling and crimping a perfect pie crust might take experienced bakers 10-15 minutes, and beginners significantly longer, the folding technique for a galette can often be completed in just 5-7 minutes. This makes the entire process feel much less daunting and more accessible for busy weeknights or spontaneous baking sessions. The focus shifts from achieving geometric perfection to enjoying the process and the delicious outcome.
Seasonal Berries, Minimal Effort
Utilizing fresh, seasonal berries is key to the vibrant flavor of this easy rustic berry galette recipe, and conveniently, they require very little preparation. During peak summer months, when strawberries, blueberries, raspberries, and blackberries are at their ripest and most flavorful, their natural sweetness shines. Unlike fruits that require peeling, coring, or extensive chopping, berries typically just need a gentle wash and perhaps a quick hulling of strawberries or halving of larger pieces.
This minimal prep work saves valuable time and effort, allowing you to get from kitchen counter to oven much faster. A typical batch of mixed berries for a galette might take less than 5 minutes to prepare, compared to peeling and slicing apples or peaches which could take 15-20 minutes or more. Opting for the freshest, in-season fruit not only enhances the taste but also simplifies the filling process, making this dessert a true celebration of summer's bounty with minimal fuss.
Perfect for Bakers of All Levels
The easy rustic berry galette recipe is incredibly forgiving, making it an ideal project for both novice bakers and seasoned pros looking for a simple win. The dough doesn't need to be rolled into a perfect circle, and tears can often be patched without issue. The freeform folding means there's no pressure to create intricate edges; a simple fold-over edge works perfectly and enhances the rustic charm.
Beginners often find tackling a double-crust pie or a perfectly crimped tart intimidating, sometimes leading to frustration with cracked crusts or soggy bottoms. A galette bypasses many of these common pitfalls. The single crust is easier to handle, and the open-top design (mostly) ensures the filling thickens nicely and the crust bakes through. It provides a fantastic entry point into fruit pastries, building confidence with a delicious, impressive result that requires far less technical skill than its more formal counterparts.
Making the Summer Berry Galette: A Simple Guide
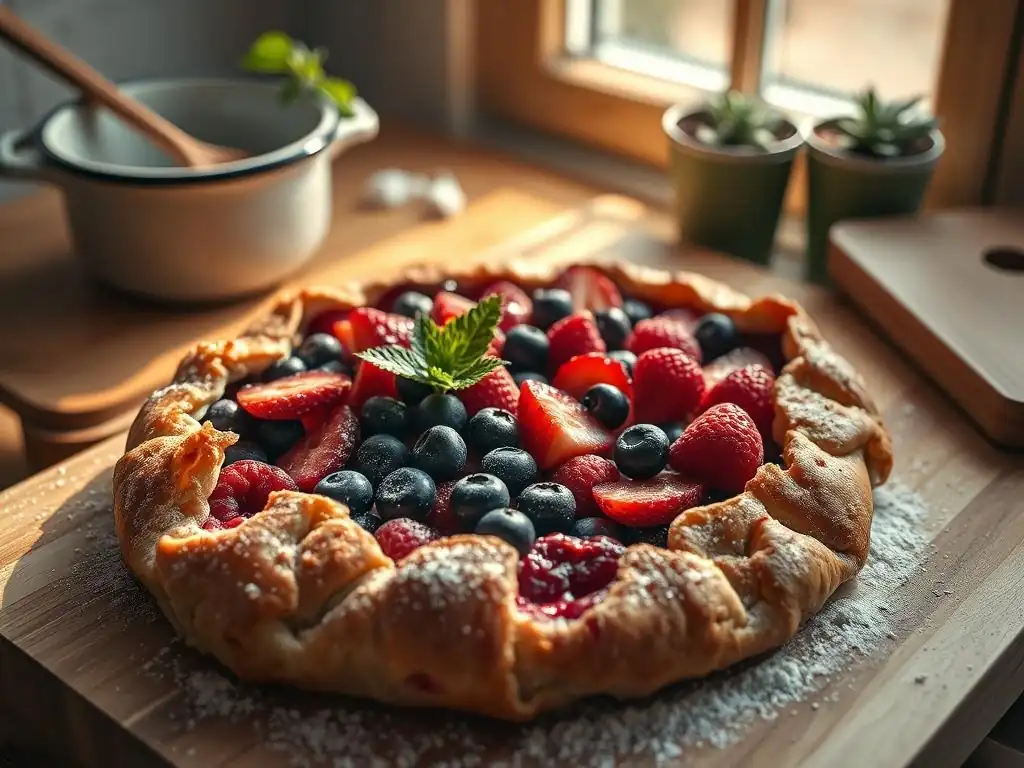
Gathering Your Ingredients
Making this easy rustic berry galette recipe starts with assembling quality ingredients. Freshness, especially for the berries, is paramount.
Ingredient Checklist
- 1 ¼ cups all-purpose flour
- ½ teaspoon salt
- 1 tablespoon granulated sugar (for dough)
- ½ cup (1 stick) cold unsalted butter, cut into ½-inch cubes
- ¼ cup ice water
- 4 cups mixed berries (strawberries, blueberries, raspberries, blackberries)
- ½ cup granulated sugar (for filling), adjust to sweetness of berries
- 3 tablespoons cornstarch
- 1 tablespoon fresh lemon juice
- 1 large egg, beaten (for egg wash, optional) OR 1-2 tablespoons milk/cream
- 1-2 tablespoons turbinado sugar (for sprinkling, optional)
Choosing the Freshest Berries
Selecting ripe, fresh berries will make the biggest difference in your galette's flavor. Look for berries that are plump, firm, and richly colored. Avoid containers with crushed or moldy fruit. If using strawberries, ensure they are bright red and fragrant. Blueberries should be deep blue with a dusty bloom. Raspberries and blackberries should be tender but hold their shape. While frozen berries can work in a pinch, fresh berries offer the best texture and brightest taste for this rustic dessert.
Preparing the Galette Dough: A No-Fuss Approach
Creating the dough for your easy rustic berry galette recipe is simpler than you might think. The key is keeping ingredients cold and handling the dough minimally.
Step 1: Mixing Flour, Salt, and Sugar
In a large bowl, whisk together the 1 ¼ cups of all-purpose flour, ½ teaspoon of salt, and 1 tablespoon of granulated sugar. This ensures the dry ingredients are evenly distributed before adding the butter. A fork or a whisk works well for this step.
Step 2: Cutting in Cold Butter
Add the ½ cup of cold, cubed butter to the dry ingredients. Using a pastry blender, your fingertips, or a food processor, cut the butter into the flour mixture until it resembles coarse crumbs with some pea-sized pieces of butter remaining. These butter pieces are crucial for creating a flaky crust as they melt and create steam pockets during baking.
Step 3: Adding Ice Water and Forming a Dough Ball
Gradually add the ¼ cup of ice water, one tablespoon at a time, mixing with a fork or your hands until the dough just comes together. Be careful not to add too much water; the dough should be moist enough to hold together but not sticky. Gather the dough into a ball, pressing it gently. Avoid kneading, which develops gluten and can result in a tough crust.
Step 4: Refrigerating the Dough for at Least 30 Minutes
Flatten the dough ball into a disc shape, wrap it tightly in plastic wrap, and refrigerate for at least 30 minutes. Chilling the dough allows the gluten to relax and the butter to firm up, making it easier to roll out and contributing to a flakier texture. You can chill it for up to 2 days, or freeze it for longer storage.
Creating the Berry Filling: Sweet and Simple
The filling for your easy rustic berry galette recipe is as straightforward as the dough. It requires minimal prep and just a few ingredients to enhance the natural flavor of the fruit.
Combining Berries with Sugar and Cornstarch
In a medium bowl, gently combine the 4 cups of mixed berries with the ½ cup of granulated sugar and 3 tablespoons of cornstarch. The sugar sweetens the fruit and draws out juices, while the cornstarch acts as a thickener, helping the filling set as it bakes and preventing a soggy bottom crust. Toss everything together carefully to coat the berries without crushing them.
Adding Lemon Juice for Enhanced Flavor
Stir in the 1 tablespoon of fresh lemon juice. Lemon juice isn't just for tartness; it brightens the flavor of the berries and helps balance the sweetness of the sugar. It adds a subtle complexity that elevates the overall taste of the filling, making the fruit taste even more vibrant and fresh.
Assembling the Galette
Bringing together the dough and filling for your easy rustic berry galette recipe is the creative part, where the rustic charm truly comes to life.
Rolling Out the Dough on a Lightly Floured Surface
Remove the chilled dough from the refrigerator. On a lightly floured surface, roll the dough into a rough circle, approximately 12-14 inches in diameter and about ⅛ inch thick. Don't worry if it's not perfectly round; the rustic shape is part of its appeal. If the dough cracks, simply press it back together.
Transferring the Dough to a Parchment-Lined Baking Sheet
Carefully transfer the rolled dough circle to a baking sheet lined with parchment paper. Parchment paper prevents sticking and makes cleanup easy. You can gently roll the dough around your rolling pin and unroll it onto the sheet, or slide a spatula underneath and lift carefully.
Piling the Berry Filling in the Center
Leave a border of about 2-3 inches around the edge of the dough, then pile the berry filling onto the center of the dough. Distribute the berries evenly, making sure to leave any excess liquid behind in the bowl if the fruit seems overly juicy.
Folding the Edges Over the Filling
Starting anywhere, gently fold the edge of the dough up and over the outer edge of the berry filling, pleating the dough as you go. Continue folding and pleating until you have gone all the way around the galette, creating a freeform crust that partially encloses the filling but leaves the center exposed.
Brushing with Milk or Cream for a Shiny Crust
In a small bowl, whisk the beaten egg (if using) or pour the milk/cream. Use a pastry brush to lightly brush the folded dough edges with the egg wash or milk/cream. This helps the crust brown beautifully and achieve a slightly shiny finish during baking.
Sprinkling with Turbinado Sugar for Crunch
For an extra touch of sweetness and a delightful crunch, sprinkle the brushed dough edges generously with turbinado sugar (also known as raw sugar). The larger crystals hold their shape and provide a lovely texture contrast to the tender crust and soft filling.
Baking the Galette
Baking is where your easy rustic berry galette recipe transforms into a golden, bubbly masterpiece.
Oven Temperature and Baking Time
Preheat your oven to 400°F (200°C). Place the assembled galette on the parchment-lined baking sheet into the hot oven. The baking time typically ranges from 35 to 45 minutes, but this can vary depending on your oven and the juiciness of the berries.
Checking for a Golden-Brown Crust and Bubbly Filling
Keep an eye on the galette as it bakes. You're looking for the crust to turn a beautiful golden brown and the berry filling in the center to be visibly bubbly and thickened. If the crust edges start to brown too quickly before the filling is bubbly, you can loosely tent the galette with aluminum foil. The bubbling filling indicates that the cornstarch has activated and is properly thickening the fruit juices.
Cooling and Serving
The final steps for your easy rustic berry galette recipe involve a little patience before enjoying the delicious results.
Cooling the Galette on the Baking Sheet
Once baked, carefully remove the galette from the oven. Let it cool on the baking sheet for at least 15-20 minutes before attempting to slice it. This cooling time is essential for the filling to finish setting. Slicing too early can result in a runny, messy galette.
Serving Suggestions: Vanilla Ice Cream or Fresh Whipped Cream
While delicious on its own, a slice of warm rustic berry galette is absolutely divine served with a scoop of vanilla ice cream that slowly melts into the warm fruit and crust. Alternatively, a dollop of fresh whipped cream adds a light, airy contrast. Serve it slightly warm or at room temperature.
Tips for a Perfect Galette
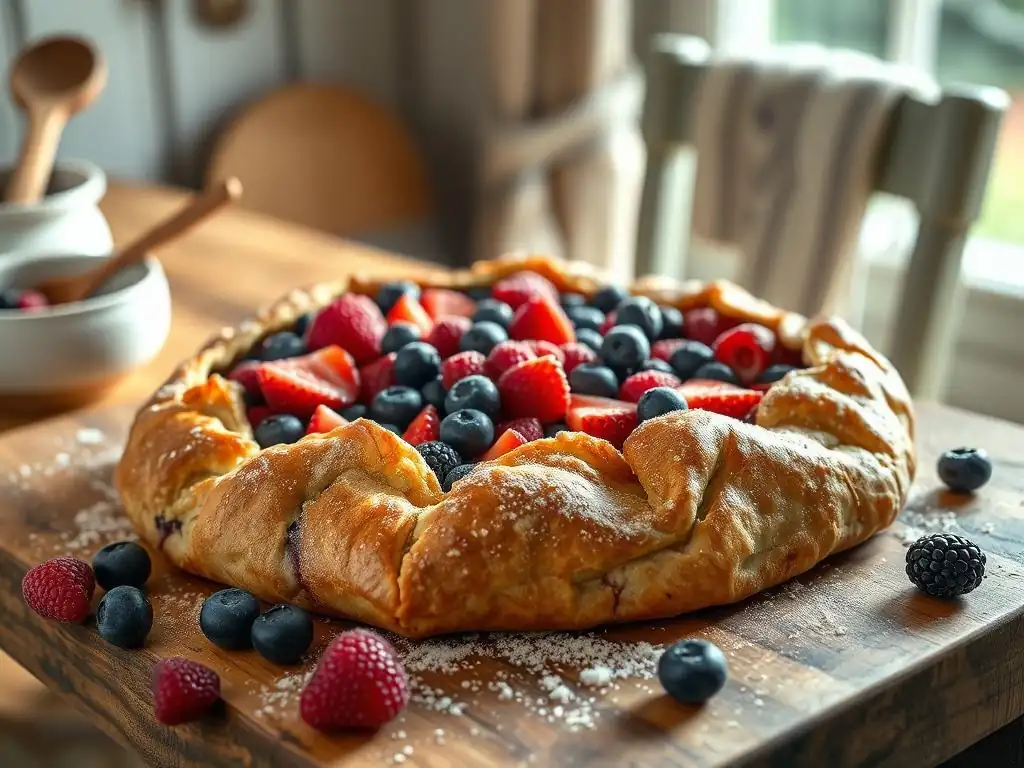
Here are a few extra pointers to help ensure your easy rustic berry galette recipe turns out perfectly every time.
Ensuring a Flaky Crust
The secret to a flaky crust lies in keeping your ingredients cold, especially the butter and water. Cold butter creates steam pockets as it melts in the oven, pushing the dough layers apart for flakiness. Also, avoid overworking the dough; mixing just until it comes together is sufficient. Over-mixing develops gluten, which leads to a tougher crust.
Using a food processor to cut in the butter can help keep everything cold quickly. Pulse the flour and butter together until the butter is cut into pea-sized pieces before adding the ice water. Handle the dough as little as possible with your warm hands.
Preventing a Soggy Crust
A common issue with fruit tarts is a soggy bottom. To prevent this with your easy rustic berry galette recipe, ensure you use the correct amount of cornstarch or other thickener specified in the recipe (typically 3 tablespoons for about 4 cups of fruit). If your berries are exceptionally juicy, you might consider adding an extra teaspoon of cornstarch or letting the berries sit with sugar for 10-15 minutes and draining off some excess liquid before adding the cornstarch.
Baking the galette on a preheated baking sheet or a pizza stone can also help. Place the empty baking sheet in the oven while it preheats, then carefully slide the parchment paper with the assembled galette onto the hot sheet. The immediate heat from the bottom helps the crust set and crisp up quickly.
Berry Combinations: Mixing and Matching Flavors
While a mix of strawberries, blueberries, raspberries, and blackberries is classic for this easy rustic berry galette recipe, feel free to experiment with combinations based on what's in season or your preference. A popular variation is strawberry-rhubarb, using about 3 cups of strawberries and 1 cup of chopped rhubarb.
Consider adding other fruits like sliced peaches or cherries (pitted!) to your berry mix. Just ensure the total fruit volume remains around 4 cups and adjust the sugar and thickener slightly depending on the juiciness of the added fruit. A splash of almond extract can also be a lovely addition to a berry mix.
Storing Leftover Galette
If you happen to have any leftover easy rustic berry galette, store it loosely covered at room temperature for up to 1-2 days. For longer storage, wrap it tightly in plastic wrap or aluminum foil and refrigerate for up to 4 days.
To reheat, place a slice or the whole galette on a baking sheet and warm in a 300°F (150°C) oven for 10-15 minutes, or until heated through. This helps crisp up the crust again. Avoid microwaving, which can make the crust soggy.
Troubleshooting Common Galette Issues
Even with an easy rustic berry galette recipe, occasionally you might encounter a small hiccup. Here's how to handle some common problems.
Sticky Dough?
If your dough feels too sticky after adding the water, it likely means you added a little too much liquid or your kitchen is very warm. Gently knead in just a tablespoon or two more flour until the dough is manageable and no longer overly sticky. Avoid adding too much flour, as this can make the crust tough. Chilling the dough thoroughly (for at least 30 minutes, or even an hour) will also help firm it up and make it easier to roll without sticking.
Runny Filling?
A runny filling usually indicates that the thickener didn't fully activate or there wasn't enough of it for the juiciness of the fruit. Ensure you used the specified amount of cornstarch (3 tablespoons for 4 cups of fruit). Make sure the galette bakes long enough for the filling to bubble vigorously in the center; this bubbling is the sign that the cornstarch is thickening the juices. If you know your berries are particularly ripe and juicy, consider adding an extra teaspoon of cornstarch to the filling mix before assembly.
Overly Browned Crust?
If the edges of your galette crust are browning too quickly while the center filling still needs more time to bake and bubble, you can protect the edges. Loosely tent the entire galette with a piece of aluminum foil, or carefully fashion small strips of foil to cover just the outer crust edge. This shields the crust from direct heat, allowing the filling to finish baking without the edges burning.
Galette Variations
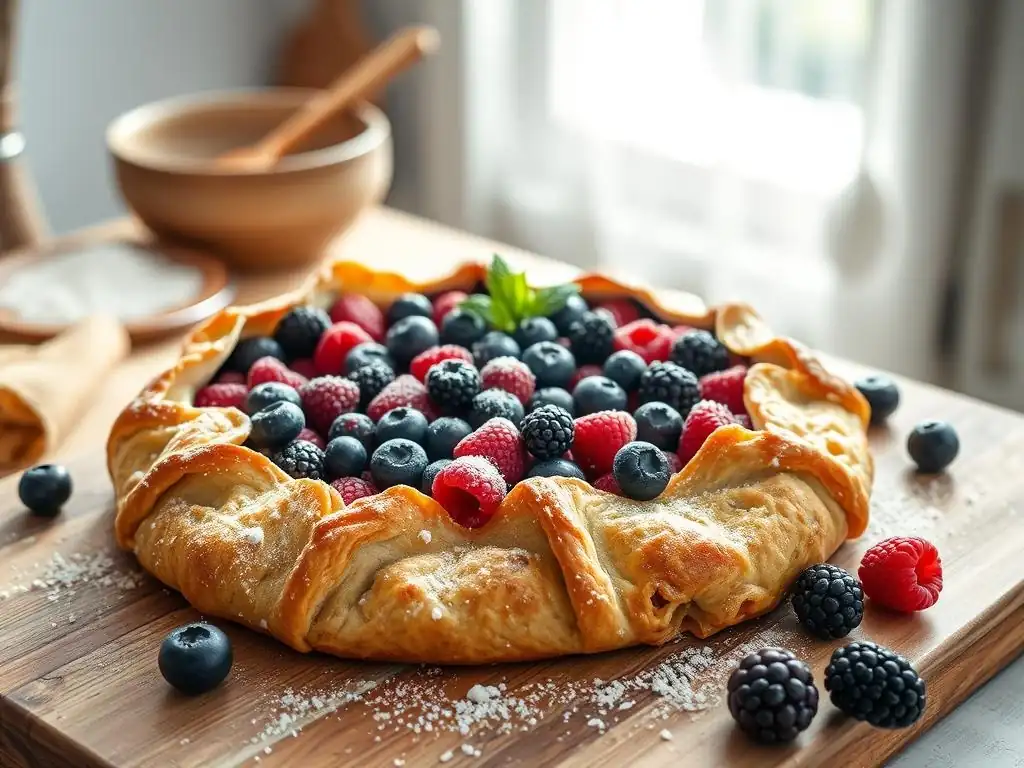
Once you've mastered the easy rustic berry galette recipe, explore other delicious fillings!
Peach and Almond Galette
Swap the berries for about 4 cups of thinly sliced ripe peaches, tossed with sugar, cornstarch, a splash of almond extract, and a handful of sliced almonds. The combination of sweet peaches and nutty almond is truly delightful, especially in the summer.
Apple Cinnamon Galette
A classic autumn twist uses about 4 cups of thinly sliced apples (like Honeycrisp or Granny Smith), tossed with sugar, flour (instead of cornstarch, as apples release less juice), cinnamon, nutmeg, and a pat of butter dotted over the top before folding the edges.
Chocolate Hazelnut Galette with Berries
For a richer dessert, spread a thin layer of chocolate hazelnut spread (like Nutella) over the center of the dough before piling on a slightly reduced amount of berries (about 3 cups). The chocolate and hazelnut pair wonderfully with raspberries or strawberries.
More Delicious Recipes
Lemon Blueberry Scones
Frequently Asked Questions
What makes this berry galette recipe "rustic"?
The "rustic" aspect comes from the free-form shape and minimal fuss. It embraces imperfections for a charming, homemade look rather than striving for perfect symmetry.
Is this galette recipe truly "easy," even for beginners?
Yes! The recipe emphasizes simple techniques and easy-to-find ingredients. The step-by-step instructions are designed for bakers of all skill levels.
Can I substitute the berries in this galette recipe?
Absolutely! Feel free to use any combination of berries you enjoy, or even other fruits like peaches or apples, depending on the season.
What's the best way to prevent the galette crust from getting soggy?
Blind baking the crust for a brief period and using a starch-based thickener in the berry filling can help prevent sogginess.
How should I store leftover berry galette?
Store leftover galette in the refrigerator, covered, for up to 3 days. Reheat gently in the oven for the best flavor and texture.
Final Reflection: The Enduring Allure of Simple Elegance
The rustic berry galette, a seemingly simple dessert, speaks volumes about the power of effortless elegance in a world obsessed with complexity. Its beauty lies not in intricate decorations or laborious techniques, but in the honest expression of fresh, seasonal ingredients brought together with a touch of rustic charm. This recipe, designed for ease and accessibility, proves that extraordinary results can stem from surprisingly simple beginnings.
The galette's enduring appeal transcends mere culinary satisfaction; it represents a return to fundamental values – the appreciation of quality ingredients, the joy of creating something beautiful with your own hands, and the pleasure of sharing a homemade treat with loved ones. The simplest things are often the most beautiful.
This sentiment perfectly encapsulates the spirit of the rustic berry galette, reminding us that true elegance isn't about ostentation, but about thoughtful intention and genuine connection.
Now, I invite you to consider the broader implications of this simple recipe. Think about how you can apply the principles of effortless elegance to other aspects of your life. Can you find beauty in simplicity, in the everyday moments? Can you embrace imperfection and celebrate the unique charm of handmade creations? Let the rustic berry galette be a reminder that sometimes, the most rewarding experiences are the ones that require the least effort, yet yield the greatest satisfaction. Bake a galette, share it with someone you love, and savor the simple elegance of the moment.
Unleash Your Inner Pastry Chef: Bake Your Own Berry Galette!
Thanks for joining us on this delicious journey into rustic baking! We hope you've gained the confidence to tackle this elegant yet surprisingly simple dessert. Ready to bring the delightful aroma of warm berries and flaky crust into your kitchen?
- Bake your own berry galette today! Use our recipe as a starting point and experiment with your favorite berries and flavors. Don't be afraid to get creative!
- Share your baking masterpiece on social media and tag us – we'd love to see your creations!
- Leave a comment below and tell us: What unique twist will you add to your galette?