
Why Your Meringue Weeps (and Simple Ways to Stop It)

Welcome to BakeWithEase, your trusted guide to baking bliss! Ever wondered why your perfectly peaked meringue turns into a weeping mess? We've all been there! Dive into our latest article to uncover the secrets behind preventing meringue weep and discover simple, effective solutions to achieve meringue perfection. Let's banish those soggy bottoms and create stunning desserts together!
- Why Your Meringue Weeps (and Simple Ways to Stop It) - A Baker's Guide
- Understanding Meringue Weeping: The Science Behind Soggy Meringue
-
Common Causes of Meringue Weeping: Pinpointing the Culprit
- Incorrect Sugar to Egg White Ratio: A Major Factor in Meringue Instability
- Undissolved Sugar: Preventing Grainy and Weeping Meringue
- Overbaking or Underbaking: Finding the Sweet Spot for Meringue Perfection
- Humidity's Impact: How Moisture Affects Meringue Texture and Stability
- Acid Imbalance: The Importance of Cream of Tartar or Lemon Juice
-
Simple Ways to Stop Meringue Weeping: Practical Solutions
- Achieving the Perfect Sugar Ratio for Stable Meringue
- Properly Dissolving Sugar: Techniques for Smooth, Non-Weeping Meringue
- Baking Meringue to Perfection: Temperature and Timing Guidelines
- Controlling Humidity: Baking Meringue in Humid Environments
- Stabilizing Meringue with Acid: Cream of Tartar and Lemon Juice
- Troubleshooting Meringue Problems: Addressing Common Issues
- Achieving Meringue Success: Tips for Flawless Results
- Frequently Asked Questions
- Final Reflection: The Triumphant Meringue: A Sweet Success
- Unlock Perfectly Crisp Meringues: Your Next Baking Triumph Awaits!
Why Your Meringue Weeps (and Simple Ways to Stop It) - A Baker's Guide
Understanding Meringue Weeping: The Science Behind Soggy Meringue
What is Meringue Weeping? Identifying the Problem
Meringue weeping, also known as syneresis, is that disappointing moment when your beautiful, fluffy meringue topping starts to bead up with sticky, sugary liquid. This liquid pools on the surface or between the meringue and the filling, making your dessert look less appealing and often resulting in a sickly sweet, watery layer. It's a common issue, particularly with meringue-topped pies and tarts like lemon meringue pie.
Essentially, weeping is the separation of liquid from the meringue structure. The delicate foam of beaten egg whites and sugar collapses slightly, forcing out trapped moisture. This happens when the sugar isn't fully integrated or stabilized within the protein matrix of the egg whites, leading to instability over time or when exposed to certain conditions like humidity or temperature changes. Learning how to prevent this liquid release is key to a perfect meringue weep no fix situation.
The Role of Sugar in Meringue Stability
Sugar plays a dual role in meringue: it sweetens, obviously, but more importantly, it stabilizes the whipped egg whites. As sugar dissolves, it forms a syrup that coats the tiny air bubbles created during whipping. This coating strengthens the bubble walls, preventing them from collapsing and allowing the meringue to hold its shape. Without enough sugar, or if the sugar isn't properly dissolved, the meringue structure remains fragile.
Furthermore, sugar is hygroscopic, meaning it attracts and holds onto moisture. When sugar is perfectly dissolved and incorporated, it helps to bind the water within the meringue. However, if the sugar remains as undissolved crystals, these crystals can draw moisture out of the meringue structure over time, leading to the dreaded weeping. A typical French meringue might use a 2:1 ratio of sugar to egg white by weight, providing significant stability, whereas a less stable meringue might use closer to 1:1.
How Egg Whites Contribute to Meringue Structure
Egg whites are the foundation of meringue. They are primarily made of protein (about 10-12%) and water (about 88-90%). When you whip egg whites, mechanical action (the whisk) denatures the proteins, causing them to unfold. These unfolded proteins then link together, trapping air bubbles and creating a foam. This protein network is what gives meringue its volume and structure.
The quality and temperature of the egg whites are crucial. Fresh egg whites whip up better and create a more stable foam than older ones. Room temperature egg whites (around 68-70°F or 20-21°C) whip to a higher volume and more stable peaks than cold ones because the proteins are more elastic. Any trace of fat (from yolks or dirty bowls) can inhibit protein denaturation and foam formation, resulting in a weak, unstable meringue prone to weeping.
Common Causes of Meringue Weeping: Pinpointing the Culprit
Incorrect Sugar to Egg White Ratio: A Major Factor in Meringue Instability
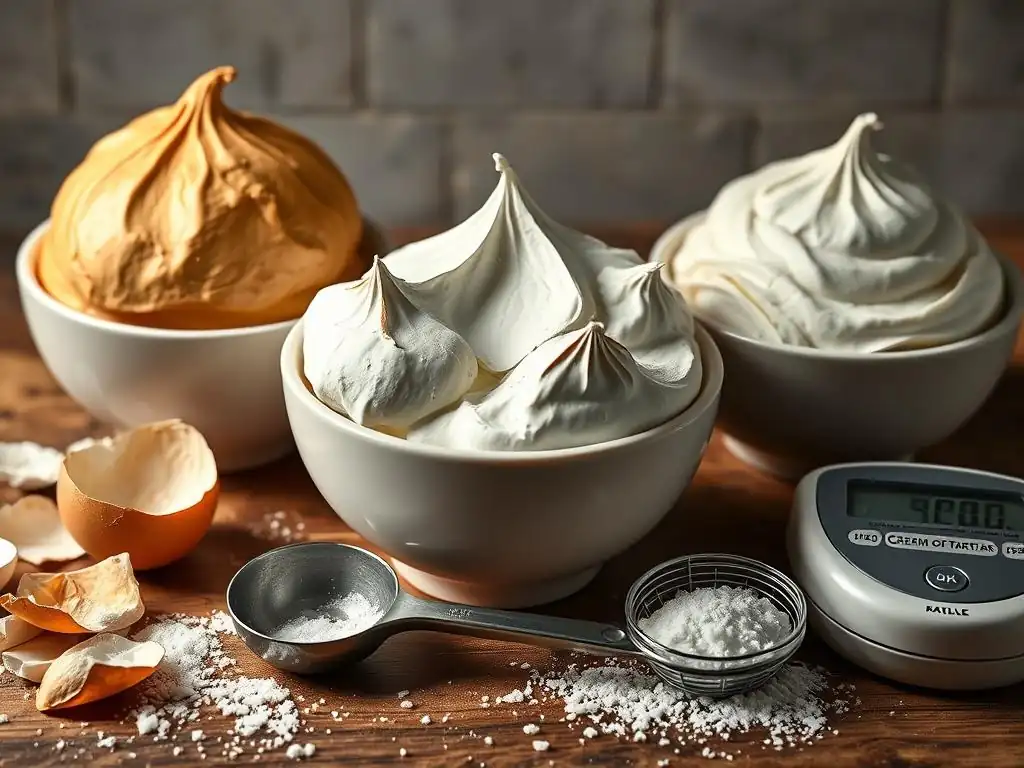
The balance between sugar and egg white is critical for a stable meringue weep no fix outcome. Too little sugar, and the protein network isn't sufficiently supported; the air bubbles are weakly coated, and the foam is fragile and collapses easily, expelling moisture. A very lean meringue (low sugar ratio) might whip up quickly but will likely weep faster, especially on a moist filling.
Conversely, using too much sugar can also cause problems if it doesn't dissolve properly. While more sugar generally increases stability by strengthening the protein network, excess undissolved sugar crystals can act like tiny magnets for water, pulling moisture out of the meringue. For a stable meringue suitable for topping pies, a ratio of at least 2 parts sugar to 1 part egg white by weight is often recommended, sometimes even higher, like 2.5:1 or 3:1 for chewy meringues.
Undissolved Sugar: Preventing Grainy and Weeping Meringue
One of the most frequent reasons for meringue weeping is sugar that hasn't completely dissolved into the egg whites. If you feel a gritty texture when rubbing the meringue between your fingers, the sugar isn't dissolved. These undissolved sugar crystals are hygroscopic and will attract moisture from the meringue over time, leading to syneresis.
Adding sugar too quickly while whipping also contributes to this problem. If the sugar is dumped in all at once, it's harder for the egg whites to incorporate and dissolve it. Adding sugar gradually, a tablespoon or two at a time, while continuously whipping at medium speed allows the crystals adequate time to dissolve, resulting in a smooth, glossy, and stable meringue less likely to weep.
Overbaking or Underbaking: Finding the Sweet Spot for Meringue Perfection
Baking meringue is about drying it out and setting the protein structure, not cooking it like a cake. Overbaking at too high a temperature or for too long can cause the protein network to contract excessively, squeezing out moisture. It can also lead to browning and cracking, which allows moisture from the environment (or the filling) to penetrate and soften the meringue, eventually causing weeping.
Underbaking, on the other hand, means the meringue hasn't dried out enough. The protein structure isn't fully set, and there's still too much residual moisture trapped within the foam. This excess moisture is prone to escaping, especially when the meringue cools or sits on a moist pie filling. The goal is a meringue that is set and slightly dried, usually achieved at lower temperatures (like 250-300°F or 120-150°C) for a longer duration.
Humidity's Impact: How Moisture Affects Meringue Texture and Stability
Meringue is highly susceptible to humidity because of its high sugar content and delicate structure. Sugar attracts moisture from the air. In a humid environment, the sugar in the meringue will absorb ambient moisture, causing the meringue to become soft, sticky, and eventually weep as the structure breaks down under the added water weight. This is a major challenge for achieving a meringue weep no fix result on a muggy day.
Baking on a rainy or humid day significantly increases the risk of weeping. Even after baking, a finished meringue left exposed in a humid kitchen will absorb moisture from the air. This is why meringues are often best made and consumed on dry days or stored in airtight containers once completely cool (though storing meringue on a pie is tricky).
Acid Imbalance: The Importance of Cream of Tartar or Lemon Juice
Adding a small amount of acid, like cream of tartar or lemon juice, to egg whites before whipping helps stabilize the foam. Acid helps the egg white proteins unfold more effectively and strengthens the links between them, creating a more robust and stable network. For instance, a pinch (about 1/8 teaspoon per large egg white) of cream of tartar can make a significant difference in meringue stability and volume.
Without enough acid, the protein structure can be weaker and more prone to collapse, leading to weeping. Acid also helps prevent the proteins from clumping together, which can result in a less smooth meringue. It's a small addition with a big impact on achieving a firm, glossy meringue that resists syneresis.
Simple Ways to Stop Meringue Weeping: Practical Solutions
Achieving the Perfect Sugar Ratio for Stable Meringue
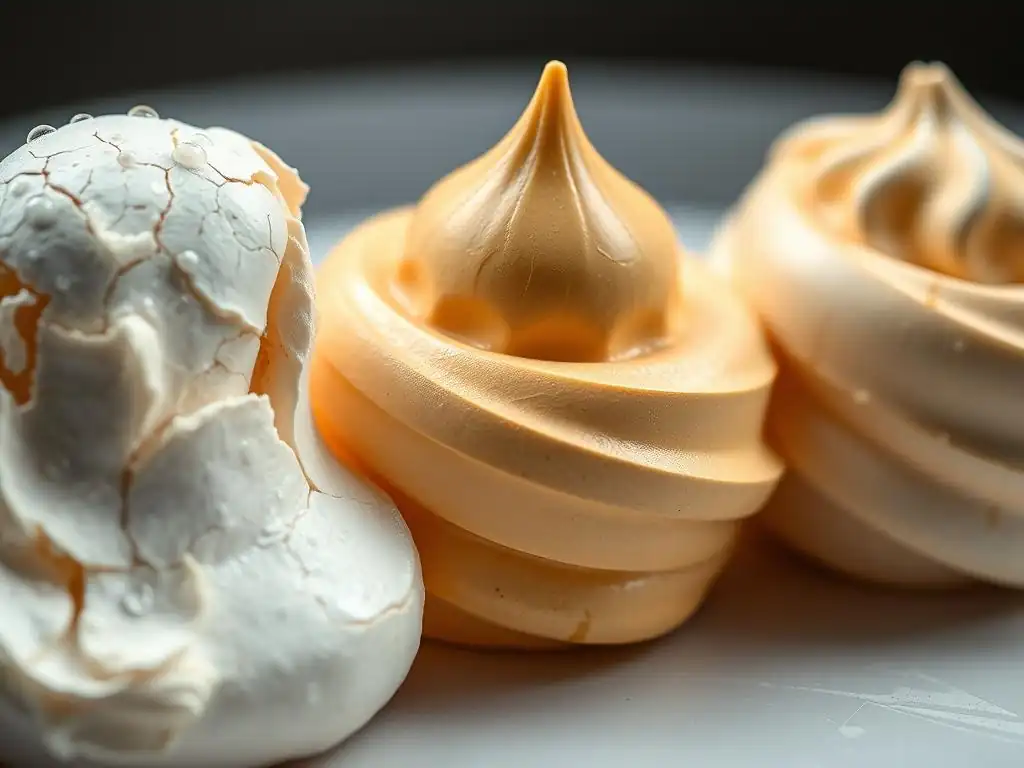
Using the correct sugar-to-egg white ratio is paramount for a stable meringue that won't weep. For a soft meringue topping on pies, a ratio of 2 parts sugar to 1 part egg white by weight is a good starting point. For firmer, stand-alone meringues or meringue kisses, ratios can go up to 3:1 or even 4:1. This higher sugar content provides more structural support.
It's important to weigh your ingredients for accuracy, especially the sugar and egg whites. Volume measurements for sugar can be inconsistent depending on how packed it is. Using a digital scale ensures you have the precise ratio needed for optimal stability, significantly reducing the chances of your meringue weeping prematurely.
Measuring Ingredients Accurately: Tips and Tricks
Precision is key in baking, and nowhere is it more evident than with meringue. For egg whites, crack and separate them one at a time into a small bowl before adding them to your main mixing bowl to avoid any accidental yolk contamination. Then, weigh the total amount of egg whites.
For sugar, granulated sugar is standard, but superfine (caster) sugar dissolves more easily, which is a huge advantage for preventing weeping. Weigh the sugar according to the recipe's ratio based on your egg white weight. For example, if you have 100 grams of egg white and need a 2:1 ratio, you would use 200 grams of sugar.
Properly Dissolving Sugar: Techniques for Smooth, Non-Weeping Meringue
Ensuring the sugar is fully dissolved is perhaps the most critical step to prevent meringue weep no fix issues. The standard French meringue method involves whipping egg whites to soft peaks, then gradually adding granulated sugar while whipping until stiff peaks form and the sugar is dissolved. This requires patience; add the sugar slowly, a tablespoon or two at a time, waiting about 15-30 seconds between additions, and continue whipping until no grittiness remains.
An alternative and more reliable method for dissolving sugar, especially with higher sugar ratios, is using heat. This is the principle behind Swiss and Italian meringues, which are known for their stability and resistance to weeping.
Swiss Meringue Method: A Reliable Solution for Sugar Dissolution
The Swiss method involves gently heating the egg whites and sugar together over a double boiler (a bowl set over a pot of simmering water) while whisking constantly until the sugar is completely dissolved and the mixture reaches a specific temperature, typically 130-140°F (55-60°C). You can test for dissolved sugar by rubbing a small amount between your fingers – it should feel smooth, not gritty.
Once the sugar is dissolved and the mixture is warm, it's removed from the heat and whipped vigorously in a stand mixer (or with a hand mixer) until it forms stiff, glossy peaks and cools completely. Heating the mixture denatures the proteins slightly, making them more stable, and guarantees the sugar is dissolved, resulting in a very stable, smooth, and less weep-prone meringue.
Italian Meringue Method: Known for its Stability and Gloss
Italian meringue is considered the most stable type and is rarely prone to weeping if made correctly. This method involves whipping egg whites to soft peaks while simultaneously heating sugar with water to make a hot sugar syrup, typically reaching the soft-ball stage (238-245°F or 114-118°C).
Once the egg whites reach soft peaks, the hot sugar syrup is slowly and carefully poured in a thin stream down the side of the mixing bowl while the mixer runs on medium-high speed. The heat from the syrup cooks the egg whites, creating a pasteurized and incredibly stable foam. Continue whipping until the meringue is stiff, glossy, and has cooled completely. This method ensures the sugar is fully dissolved and the egg whites are cooked, resulting in a robust meringue weep no fix solution.
Baking Meringue to Perfection: Temperature and Timing Guidelines
Baking meringue properly sets its structure and dries it out. For a soft meringue topping on a pie, a relatively short bake at a moderate temperature is needed to set the exterior and brown the peaks. A common range is 350-375°F (175-190°C) for 10-15 minutes, just until the tips are golden brown. However, this style is more prone to weeping because the interior remains soft and moist.
For a more stable, less weep-prone meringue topping, or for stand-alone meringues, a low and slow baking method is preferred. Temperatures around 200-250°F (90-120°C) for 1-2 hours or even longer help to gently dry out the meringue without overcooking the proteins or creating a large temperature gradient. The meringue is done when it is firm to the touch and easily lifts off the parchment paper.
Avoiding Overbaking: Preventing Meringue Cracking and Weeping
Overbaking, especially at high temperatures, causes the meringue to dry out too much and can lead to cracking. Cracks compromise the meringue's structure and allow moisture in, which can lead to weeping. Look for visual cues: the meringue should be set and perhaps lightly colored, not deeply browned or brittle.
If baking a meringue topping on a pie, watch it closely. Once the peaks are a nice golden brown, it's usually done. For low-and-slow baked meringues, test for firmness. It's better to slightly underbake a low-temperature meringue and let it finish drying in the cooling oven than to overbake it.
Gradual Cooling: Preventing Thermal Shock and Meringue Collapse
Once baked, especially for stand-alone meringues or meringue toppings baked low and slow, sudden changes in temperature can cause the meringue to contract rapidly and crack or collapse, again creating pathways for moisture and leading to weeping.
The best practice is to turn off the oven once the meringue is baked and leave the oven door slightly ajar (you can prop it open with a wooden spoon) to allow the meringue to cool down gradually inside the oven. This prevents thermal shock and helps the structure set properly as it cools, reducing the risk of cracking and subsequent weeping.
Controlling Humidity: Baking Meringue in Humid Environments
Humidity is a meringue's nemesis. If you live in a humid climate or it's a rainy day, tackling meringue can be challenging but not impossible for a meringue weep no fix outcome. Try to choose a dry day to bake if possible. Avoid boiling water or running dishwashers in the vicinity while making and baking meringue, as this adds moisture to the air.
Using the Swiss or Italian meringue methods can help, as heating the mixture creates a more stable structure that is slightly more resistant to absorbing ambient moisture. Incorporating a small amount of cornstarch (about 1 teaspoon per 2 large egg whites) can also help absorb some excess moisture, though it can make the texture slightly less melt-in-your-mouth.
Baking on Drier Days: Planning Ahead for Optimal Results
Checking the weather forecast might sound extreme for baking, but for meringue success, it's a practical tip. Low humidity days (below 60%) are ideal for making and baking meringues. The drier air helps the meringue dry out properly in the oven and prevents it from absorbing moisture from the atmosphere after baking.
If you absolutely must bake on a humid day, consider using one of the heat-stabilized methods (Swiss or Italian) and ensure your ingredients, bowls, and tools are completely dry. Minimize the time the meringue sits out before baking, and consider baking it slightly longer at a very low temperature to ensure maximum dryness.
Using a Dehumidifier: Creating a Controlled Baking Environment
For serious meringue makers in consistently humid climates, running a dehumidifier in the kitchen for several hours before and during the baking process can make a significant difference. Reducing the ambient moisture in the air creates a more favorable environment for the meringue to dry out and remain stable.
While not necessary for everyone, this controlled environment can drastically improve the chances of achieving a perfectly crisp and stable meringue that resists weeping, even when the weather outside is working against you. It's an investment for consistent meringue weep no fix results.
Stabilizing Meringue with Acid: Cream of Tartar and Lemon Juice
A small amount of acid is a simple yet effective stabilizer for French meringue. It helps the egg whites whip up faster, reach higher volume, and form a stronger, more elastic protein network. This stronger network is better able to hold onto the trapped air and moisture, making the meringue less likely to collapse and weep.
Common acids used are cream of tartar, lemon juice, or white vinegar. The typical ratio is about 1/8 teaspoon of cream of tartar or 1/2 teaspoon of lemon juice or vinegar per large egg white (about 30-35 grams). Add the acid after the egg whites have started to become foamy but before they reach soft peaks.
The Role of Cream of Tartar in Meringue Structure
Cream of tartar is a dry, acidic salt (potassium bitartrate). When added to egg whites, it lowers the pH slightly. This lower pH helps the egg white proteins (like albumin) to denature and unfold more easily during whipping.
By promoting better protein unfolding and cross-linking, cream of tartar strengthens the protein matrix that holds the air bubbles. This results in a more stable foam that is less likely to deflate or release moisture, providing a key element in the meringue weep no fix strategy. It's particularly helpful when whipping French meringue.
Lemon Juice as an Alternative Acid Stabilizer
Fresh lemon juice or white vinegar can be used as an alternative to cream of tartar. Like cream of tartar, the acidity helps stabilize the egg white foam. Use about twice the amount compared to cream of tartar because they are less concentrated acids.
Add the lemon juice or vinegar at the same stage as you would cream of tartar – after the egg whites are foamy. While effective, be aware that using too much can impart a slight flavor to the meringue. For most recipes, the small amount needed won't be noticeable.
Troubleshooting Meringue Problems: Addressing Common Issues
My Meringue is Still Weeping! What Should I Do?
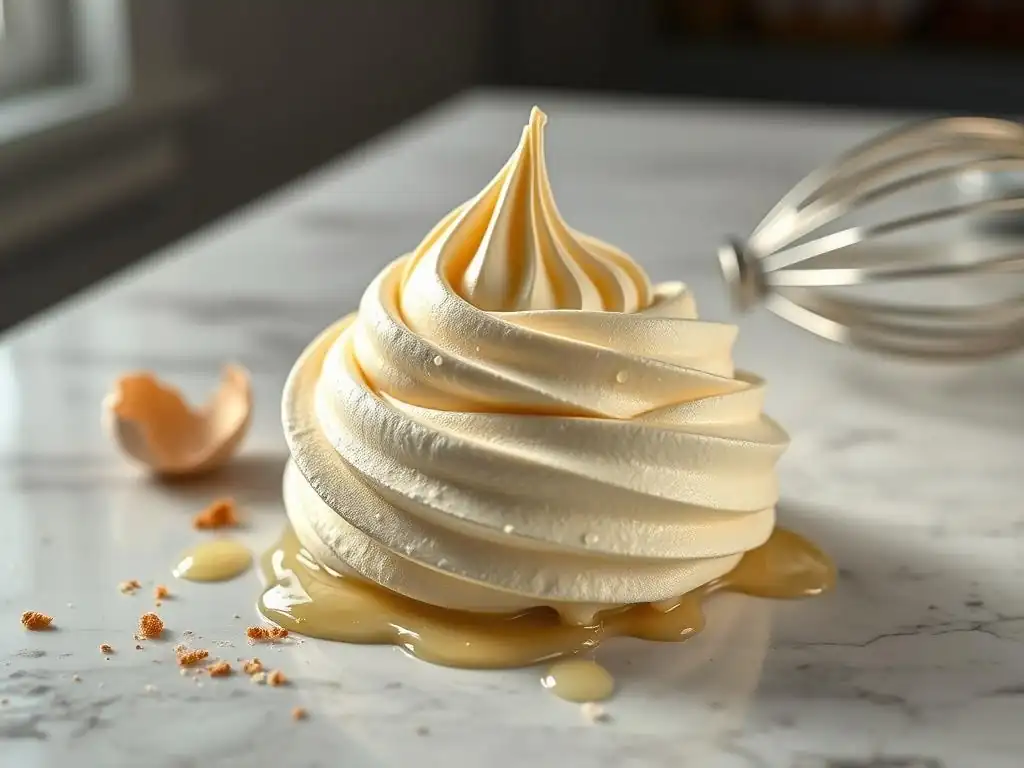
If you've followed the steps and your meringue is still weeping, revisit the common causes.
- Was the sugar fully dissolved? Rub a little between your fingers. If it's gritty, undissolved sugar is likely the culprit. Consider using superfine sugar or switching to a Swiss/Italian method next time.
- Was the ratio correct and measured by weight? Inaccurate measurements are a frequent issue.
- Was there any trace of fat? Even a tiny amount of yolk can prevent proper whipping and stability. Start with clean, dry bowls and tools.
- Was it humid? High humidity is a major factor you can't always control perfectly. Try baking on a drier day or using a dehumidifier.
- Was it baked correctly? Ensure it was baked long enough at a low temperature to dry out, or just enough at a higher temperature to set the exterior without overcooking. Ensure gradual cooling.
Sometimes, despite best efforts, soft meringues on moist fillings will weep eventually, especially after a day or two. For a truly stable meringue weep no fix, Italian meringue is often the most reliable.
Preventing Soggy Meringue on Cream Pies & Custard Tarts: Specific Tips
Meringue on pies and tarts is particularly prone to weeping because of the moist filling underneath. The moisture from the filling can migrate into the meringue, causing it to break down. To combat this:
- Ensure the filling is completely cool before topping it with meringue. Warm filling creates steam, which adds moisture.
- Spread the meringue so it touches the crust all around the edge. This creates a seal and helps prevent the meringue from shrinking and pulling away, which allows moisture to pool.
- Consider baking the pie crust and filling completely, then adding the meringue and baking just until the meringue is set and browned. This minimizes the time the meringue is exposed to the filling's moisture.
- Use a Swiss or Italian meringue, which are more stable and less likely to absorb moisture from the filling compared to a standard French meringue.
- Serve the pie within a few hours of baking the meringue topping for the best results.
Meringue Recipes for Different Humidity Levels: Adapting to Your Environment
Adapting your meringue recipe based on humidity can significantly improve results.
- Low Humidity (Dry Days): A standard French meringue can work well, provided sugar is fully dissolved and it's baked properly.
- Moderate Humidity: Consider using superfine sugar for easier dissolution. Adding a bit of cornstarch (about 1 tsp per cup of meringue) can help absorb some moisture.
- High Humidity (Humid Days): Swiss or Italian meringue methods are highly recommended due to their increased stability and resistance to moisture absorption. These methods cook the egg whites and ensure sugar dissolution, creating a more robust structure better suited for humid conditions.
Experimenting with different meringue types and small additions like cornstarch can help you find a reliable meringue weep no fix recipe that works best in your specific climate.
Achieving Meringue Success: Tips for Flawless Results
Choosing the Right Meringue Recipe: Considering Your Skill Level and Ingredients
Select a meringue recipe that matches your comfort level and the intended use.
- French Meringue: Easiest to make, requires careful technique (slow sugar addition, full dissolution). Best for light, airy cookies or when baked low and slow. Most prone to weeping on moist fillings.
- Swiss Meringue: Slightly more involved (requires double boiler/heating). Results in a denser, smoother, more stable meringue. Excellent for toppings, frostings, or stable cookies. Less prone to weeping than French.
- Italian Meringue: Most technical (requires sugar syrup temperature monitoring). Results in the most stable, glossy, and heat-resistant meringue. Ideal for frosting cakes (like Baked Alaska) or when maximum stability and a meringue weep no fix is required on moist pies. It is also considered safe as the egg whites are cooked by the hot syrup.
Consider the tools you have (stand mixer is a huge help) and your willingness to use a thermometer when choosing between Swiss and Italian methods.
Storing Meringue Properly: Preventing Moisture Absorption
Once baked, meringue is a magnet for moisture. For stand-alone meringues (like cookies or nests), store them in an airtight container at room temperature only after they are completely cool. Any residual warmth will create condensation inside the container, making them soft. Avoid refrigerating meringues, as the cold, moist environment will cause them to become sticky and weep rapidly.
For meringue-topped pies, storage is trickier. They are best served the same day the meringue is baked. If you must store leftovers, cover loosely (to prevent crushing the peaks) and refrigerate, accepting that some weeping will likely occur due to the pie's moisture and the refrigerator's humidity. There's no perfect meringue weep no fix for a pie stored overnight, but Italian meringue holds up the longest.
Lemon Meringue Pie Recipe: Applying These Principles
Let's consider a classic Lemon Meringue Pie. To achieve a meringue weep no fix on this notoriously challenging dessert, you'd apply several principles:
- Use an Italian or Swiss meringue for maximum stability over the moist lemon filling.
- Ensure the lemon filling is completely chilled before adding the meringue.
- Spread the meringue all the way to the edges of the crust, sealing it.
- Bake the meringue topping just until the peaks are golden brown (often 10-15 minutes at 350-375°F or 175-190°C), then remove immediately.
- Allow the pie to cool at room temperature away from humidity, serving within a few hours of baking the meringue.
Applying Meringue Principles: Lemon Meringue Pie Checklist

- [x] Use chilled pie filling.
- [x] Prepare Swiss or Italian meringue.
- [x] Ensure sugar is fully dissolved.
- [x] Spread meringue to crust edge for seal.
- [x] Bake meringue until golden brown (approx. 10-15 mins @ 375°F).
- [x] Cool pie at room temperature.
- [ ] Store any leftovers loosely covered in fridge (expect some weeping).
By understanding the science and applying these techniques – from accurate measurements and sugar dissolution to proper baking and humidity control – you can significantly reduce the likelihood of your meringue weeping and achieve beautiful, stable results.
Frequently Asked Questions
What exactly does "meringue weep" mean?
Meringue weep refers to the formation of small droplets of liquid on the surface of a meringue. This is usually caused by sugar drawing moisture from the egg whites. It detracts from the appearance and texture.
Why is my meringue weeping after baking?
After baking, meringue weep is often a result of undercooking the meringue. This leaves the inside still moist, causing it to release liquid as it cools. Insufficient baking time is a common culprit.
Can using cold egg whites cause meringue weep?
While cold egg whites are generally preferred for volume, using them alone won't necessarily cause weeping. However, if they aren't whisked properly, or if the sugar isn't fully dissolved, it can contribute to the problem. The key is proper technique along with temperature.
How does humidity affect meringue weep, and what can I do about it?
High humidity can definitely exacerbate meringue weep. The air already contains a lot of moisture, which the meringue will readily absorb. Baking on a dry day or using a dehumidifier in your kitchen can help.
What type of sugar is best to use to prevent meringue weep?
Granulated sugar is generally recommended for meringues, but ensure it's fully dissolved during the whipping process. Superfine sugar (caster sugar) dissolves more easily and is often preferred to avoid weep. Don't use powdered sugar.
Final Reflection: The Triumphant Meringue: A Sweet Success
The seemingly simple act of whipping egg whites into stiff peaks holds a surprising depth of culinary science, and mastering the meringue is a testament to precision and patience. A weeping meringue, once a frustrating culinary defeat, can now be understood and prevented with the right knowledge. This article has explored the science behind meringue stability, highlighting the crucial role of fat, temperature, and technique in achieving those perfect, glossy peaks.
The journey of perfecting a meringue is a microcosm of the larger pursuit of culinary mastery. It teaches us the importance of attention to detail, the value of understanding fundamental principles, and the rewarding feeling of overcoming a seemingly insurmountable challenge. The only way to do great work is to love what you do.
- Steve Jobs. This quote resonates deeply, as the joy of a perfectly formed meringue, free from weeping, is a testament to the love and care invested in the process. The frustration of a failed attempt can fuel further exploration and ultimately lead to a deeper understanding of the art of baking.
Now, consider your own culinary adventures. Have you experienced the frustration of a weeping meringue? Perhaps you've already implemented some of the tips shared in this article. I encourage you to embrace the challenge, to experiment with different techniques, and to savor the sweet victory of a perfectly formed meringue. Remember, the journey towards culinary excellence is a continuous process of learning, adapting, and refining your skills. Each successful meringue is a step closer to mastering not just the art of baking, but also the art of perseverance and precision.
Unlock Perfectly Crisp Meringues: Your Next Baking Triumph Awaits!
Thanks for joining us on this meringue journey! You now have the knowledge to conquer those weeping woes and create flawlessly crisp, delightful meringues. Ready to put your new skills to the test?
- Bake your dream meringue: Try our recipe for classic French meringue – you'll be amazed at the difference! (Find it on our recipe page)
- Share your meringue masterpiece! Post a picture on social media and tag us – we'd love to see your baking success.
- Join our baking community! Let's discuss your meringue experiences and share tips – what's your favorite meringue recipe?
What incredible meringue creation will you bake next?