
Kneading White Bread Dough: Hand vs. Stand Mixer Explained

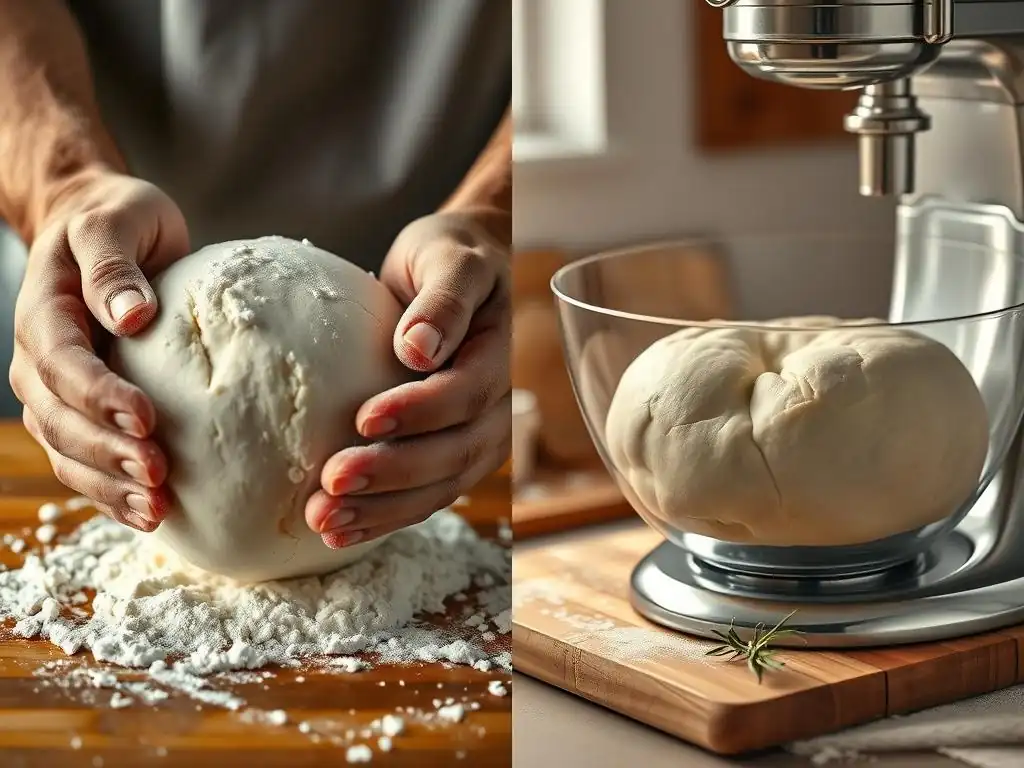
Welcome to BakeWithEase, your partner in creating delicious homemade treats! Ever wondered if the secret to perfect white bread lies in the touch of your own hands? This article dives deep into the art of hand kneading white bread, comparing it to the convenience of a stand mixer. Discover which method yields the best results and unlock the secrets to achieving that perfect rise and texture. Let's get baking!
- Introduction to Kneading White Bread Dough at BakeWithEase
- Understanding the Importance of Kneading for White Bread
- Hand Kneading White Bread: A Traditional Approach
- Stand Mixer Kneading: A Modern Solution for White Bread Dough
- Hand Kneading vs. Stand Mixer: A Detailed Comparison for White Bread
- Choosing the Right Kneading Method for Your White Bread
- Tips for Perfect White Bread Kneading, Regardless of Method
- Conclusion: Mastering White Bread Kneading at BakeWithEase
-
Frequently Asked Questions
- How long should I hand knead white bread dough for the best results?
- What's the best way to tell if my white bread dough is kneaded enough by hand?
- Can I over-knead white bread dough by hand?
- What are the key differences between hand kneading and using a stand mixer for white bread dough?
- What are some tips for making hand kneading white bread easier and more efficient?
- Final Reflection: The Humble Art of Kneading and the Modern Kitchen
- Unleash Your Inner Baker: Next Steps to Perfect Dough
Introduction to Kneading White Bread Dough at BakeWithEase
Welcome to BakeWithEase, where we simplify the baking process so you can create delicious treats right in your own kitchen! Today, we're diving into a fundamental step in making classic white bread: kneading the dough. Kneading is absolutely essential for developing the structure that gives white bread its characteristic texture – soft, light, and slightly chewy. Whether you're just starting your baking journey or looking to refine your techniques, understanding the nuances of kneading will elevate your bread-making game.
This article will explore the two primary methods for kneading white bread dough: the traditional method of hand kneading and the modern convenience of using a stand mixer. Both methods have their merits and challenges, and we'll break down each one so you can decide which approach is best suited for your needs, skills, and baking goals. Get ready to transform simple ingredients into a beautiful loaf of white bread!
Understanding the Importance of Kneading for White Bread
Kneading is far more than just mixing ingredients; it's a critical process that fundamentally changes the dough's structure. When you knead, you are actively working the dough to develop gluten, a protein network that provides elasticity and strength. Without proper kneading, your white bread would be dense, crumbly, and lack the desired rise and airy texture. Think of it as building the internal scaffolding for your loaf.
Beyond gluten development, kneading also helps distribute the yeast evenly throughout the dough, ensuring a consistent rise. It incorporates air, which contributes to the bread's lightness, and smooths out the dough's texture, making it easier to handle and shape. Mastering the art of kneading, whether by hand or machine, is a cornerstone of successful white bread baking.
Why Proper Kneading Matters for White Bread Texture
The texture of white bread is largely defined by its crumb – the internal structure of air pockets. A well-kneaded dough will produce a fine, even crumb with numerous small, consistent air bubbles. This results in a loaf that is soft, tender, and holds its shape beautifully when sliced. Conversely, under-kneaded dough often yields a dense, heavy loaf with an irregular crumb, sometimes even containing large, gaping holes alongside very tight areas.
Furthermore, proper kneading contributes to the chewiness of the bread. The developed gluten strands create a network that provides resistance when you bite into a slice. While you don't want a tough loaf, a slight chew is desirable in white bread. Achieving the right balance through effective kneading ensures your bread has that perfect combination of softness and satisfying chewiness, making it ideal for sandwiches or simply slathering with butter.
Developing Gluten: The Key to Light and Airy White Bread
Gluten development is the primary goal of kneading. Wheat flour contains proteins called glutenin and gliadin. When mixed with water and worked (through kneading), these proteins link together to form gluten strands. This network is elastic and strong, capable of trapping the carbon dioxide gas produced by the yeast during fermentation and baking.
Imagine the gluten network as tiny balloons expanding to create air pockets within the dough. During proofing, the yeast produces gas, inflating these "balloons." In the oven, this gas expands further, causing the bread to rise dramatically (oven spring), and the heat sets the gluten structure, preserving the airy texture. Without sufficient gluten development from kneading, the dough wouldn't be able to hold the gas effectively, resulting in a flat, heavy loaf. Achieving strong gluten through proper kneading is paramount for light and airy white bread.
Hand Kneading White Bread: A Traditional Approach
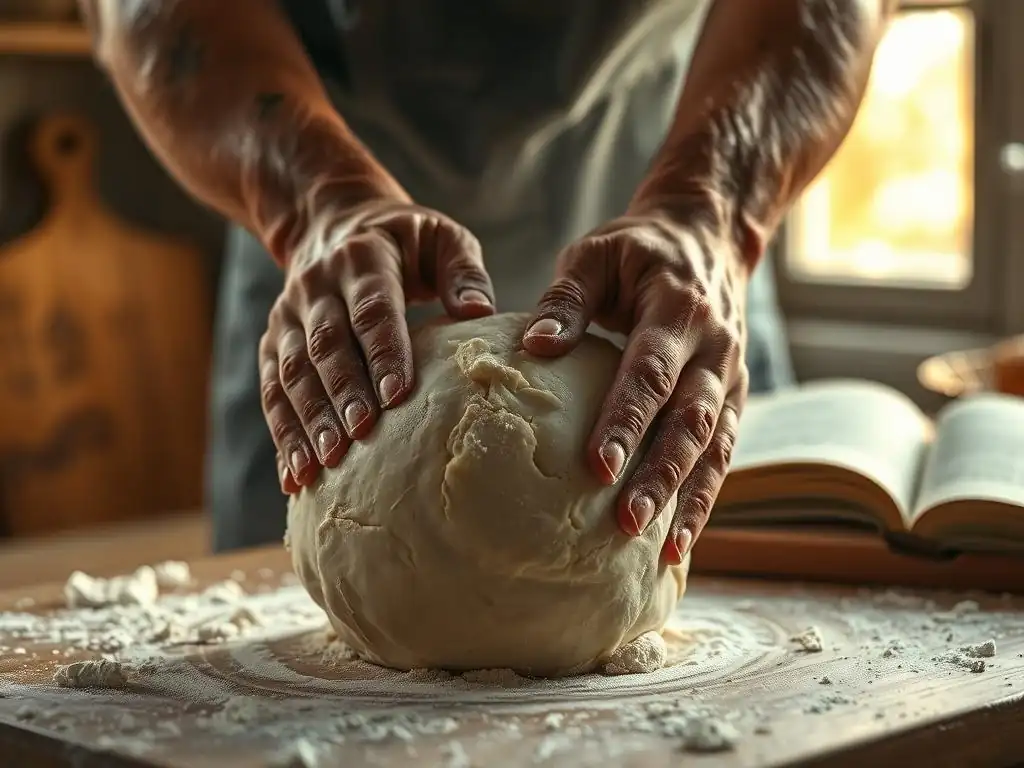
Hand kneading white bread is a time-honored method that connects the baker directly to the dough. It's a tactile experience, allowing you to feel the dough transform from a shaggy mass into a smooth, elastic ball. Many bakers find this process incredibly rewarding and even therapeutic.
While it requires more physical effort and time than using a machine, hand kneading white bread provides invaluable insight into the dough's development. You learn to recognize the subtle changes in texture, stickiness, and elasticity, skills that are transferable to many other baking projects. Mastering hand kneading white bread is a fundamental skill for any serious baker.
Hand Kneading: Step-by-Step Guide for Beginners
Learning how to hand knead white bread takes practice, but it's a straightforward process once you understand the basic movements. It typically involves folding, pushing, and stretching the dough.
Preparing Your Workspace for Hand Kneading
Before you even touch the dough, prepare your surface. You'll need a clean, sturdy countertop or a large cutting board. Avoid using too much flour, as this can dry out the dough and hinder gluten development. A light dusting is usually sufficient to prevent sticking, and you can use a bench scraper to manage stickiness if needed. Have your dough ingredients measured and ready to go before you begin the hand kneading white bread process.
The Initial Mix: Combining Ingredients for Hand Kneading
Start by combining your dry ingredients (flour, yeast, salt, sugar if using) in a large bowl. Then, add the wet ingredients (water, milk, etc.). Use a spoon or your hands to mix everything until a shaggy, cohesive dough forms. It will likely be sticky and uneven at this stage. This initial mix is crucial before the active hand kneading white bread begins.
The Kneading Process: Mastering the Technique by Hand
Turn the shaggy dough out onto your lightly floured surface. The most common hand kneading technique involves folding the dough towards you, pressing down and away with the heels of your hands, rotating the dough slightly, and repeating. You can also lift and slap the dough onto the surface. The key is to work the dough vigorously and continuously. Initially, the dough will be sticky and difficult to handle, but as you continue hand kneading white bread, it will become smoother, less sticky, and more elastic, typically within 8-12 minutes depending on the recipe and hydration level.
Assessing Dough Readiness: When is White Bread Dough Properly Kneaded by Hand?
Knowing when to stop hand kneading white bread is crucial. The dough should feel smooth, elastic, and slightly tacky but not excessively sticky. It should bounce back slowly when gently poked. A key test is the windowpane test: carefully stretch a small piece of dough between your fingers. If it stretches into a thin membrane that you can see light through without tearing, the gluten is well-developed, and your hand kneading white bread is complete. If it tears quickly, continue kneading for a few more minutes and test again.
Advantages of Hand Kneading White Bread
Choosing to hand knead white bread offers several benefits that appeal to many home bakers.
Enhanced Dough Control: Feeling the Dough's Development
One of the biggest advantages of hand kneading white bread is the direct physical connection to the dough. You can feel its texture changing, its temperature, and how the gluten is developing in real-time. This sensory feedback allows you to adjust your technique or the amount of flour needed based on how the dough feels, offering a level of control that a machine cannot replicate. This hands-on experience builds intuition and understanding of dough dynamics.
Therapeutic Baking: The Joy of Hand Kneading
For many, the repetitive, rhythmic motion of hand kneading white bread is a relaxing and meditative process. It provides a tangible activity that can be both stress-relieving and deeply satisfying. The physical act of transforming simple ingredients with your own hands into a beautiful loaf of bread can be incredibly rewarding, offering a sense of accomplishment distinct from using automated equipment.
No Special Equipment Needed: Accessibility of Hand Kneading
Perhaps the most practical advantage is accessibility. All you need for hand kneading white bread is a clean surface and your hands. There's no need for expensive equipment or specialized tools. This makes hand kneading white bread an excellent option for beginners who are just starting out or for anyone who prefers a minimalist approach to baking. It's a skill that can be practiced anywhere you have a counter.
While rewarding, hand kneading white bread does come with its own set of challenges.
Time and Effort: The Physical Demands of Hand Kneading
Hand kneading white bread is significantly more time-consuming and physically demanding than using a stand mixer. A typical white bread dough might require 10-15 minutes of continuous, vigorous kneading by hand to reach optimal gluten development, whereas a mixer might achieve the same result in half the time or less. This can be tiring, especially for larger batches of dough.
Consistency Challenges: Achieving Uniform Dough Development
Maintaining consistent pressure and technique throughout the entire hand kneading process can be challenging, particularly for beginners or when kneading large quantities of dough. This can sometimes lead to slightly uneven gluten development, resulting in a less uniform crumb structure in the final loaf compared to machine kneading, which applies consistent force.
Learning Curve: Mastering the Hand Kneading Technique
There is a definite learning curve to hand kneading white bread effectively. It takes practice to understand the feel of properly kneaded dough and to develop an efficient technique. Beginners might struggle initially with sticky dough or knowing when to stop, potentially leading to under- or over-kneaded results until they gain experience.
Stand Mixer Kneading: A Modern Solution for White Bread Dough
Using a stand mixer to knead white bread dough is a popular choice for its efficiency and convenience. Equipped with a dough hook attachment, a stand mixer automates the repetitive process of kneading, saving you time and physical effort.
This method is particularly useful for bakers who make bread frequently, bake large batches, or have physical limitations that make hand kneading difficult. While it takes some of the hands-on feel away, a stand mixer, when used correctly, can consistently produce perfectly kneaded white bread dough.
Using a Stand Mixer for White Bread Dough: A Detailed Guide
Kneading with a stand mixer is relatively straightforward, but following specific steps ensures the best results for your white bread dough.
Choosing the Right Dough Hook for Your Stand Mixer
Most stand mixers designed for baking come with a dough hook. There are typically two styles: the C-shaped hook and the spiral hook. The spiral hook is generally considered more efficient for kneading dough, pulling it off the sides of the bowl and working it towards the center. Ensure the dough hook is securely attached to the mixer before you begin adding ingredients.
Adding Ingredients: Proper Order for Stand Mixer Kneading
Start by adding the wet ingredients to the mixer bowl, followed by the dry ingredients. This helps prevent dry flour from sticking to the bottom of the bowl. Attach the dough hook and start the mixer on a low speed (often speed 2 on KitchenAid mixers) to combine the ingredients. Once the dough comes together, increase the speed slightly (typically speed 3 or 4, depending on the mixer model and dough consistency) to begin the active kneading process.
Monitoring Dough Development: Stand Mixer Kneading Tips
Unlike hand kneading white bread where you feel the dough directly, you need to observe its behavior in the mixer. Watch how the dough interacts with the hook and the bowl. It should eventually form a cohesive ball that cleans the sides of the bowl and slaps against the bottom. The dough will look smoother and more elastic as kneading progresses. Keep an eye on the clock, as stand mixer kneading is much faster than hand kneading white bread.
Knowing When to Stop: Over-Kneading in a Stand Mixer
Over-kneading is a significant risk when using a stand mixer because the machine is so efficient. Dough can go from perfectly kneaded to over-kneaded relatively quickly. Over-kneaded dough becomes very tight, loses its elasticity, and can even appear wet or soupy as the gluten strands break down. Pay attention to the dough's appearance and perform the windowpane test frequently towards the end of the estimated kneading time. For a typical white bread dough, 5-8 minutes in a stand mixer is often sufficient.
Advantages of Stand Mixer Kneading
Using a stand mixer offers compelling benefits, particularly for busy bakers.
Time Efficiency: Speeding Up the Kneading Process
The most obvious advantage is the significant time saving. A stand mixer can knead dough to the proper gluten development stage in half the time or less compared to hand kneading white bread. This is invaluable when you're short on time or making multiple batches. For instance, a process that takes 10-12 minutes by hand might take only 6-8 minutes in a powerful stand mixer.
Consistency and Uniformity: Reliable Dough Development
Stand mixers provide consistent speed and pressure throughout the kneading process. This leads to very uniform gluten development throughout the entire dough mass. The result is often a more consistent crumb structure in the final white bread loaf compared to what might be achieved with varying pressure during hand kneading white bread, especially for less experienced bakers.
Hands-Free Operation: Multi-tasking While Baking
Once the dough is in the mixer, you are free to attend to other tasks in the kitchen – whether it's cleaning up, preparing other ingredients, or simply relaxing. This hands-free operation is a major convenience that stand mixers offer, allowing you to be more productive while your white bread dough is being kneaded.
Despite its benefits, stand mixer kneading is not without its drawbacks.
Equipment Cost: Investing in a Stand Mixer
The primary barrier to entry for stand mixer kneading is the initial cost of the equipment. A quality stand mixer capable of effectively kneading bread dough represents a significant investment, often ranging from $200 to $600 or more depending on the brand and model. This is a stark contrast to the zero equipment cost of hand kneading white bread.
Over-Kneading Risk: Careful Monitoring Required
As mentioned, stand mixers are powerful and can easily over-knead dough if not monitored carefully. Unlike hand kneading white bread where you feel the dough resisting, a mixer will continue to work the dough past its optimal point if left unattended for too long or run at too high a speed. This requires the baker to stay observant and know when to stop.
Reduced Sensory Feedback: Less Direct Dough Feel
Using a machine takes away the direct tactile experience of hand kneading white bread. You lose the ability to feel the subtle changes in the dough's texture and elasticity as it develops. While you can observe its behavior, it's not the same as the intimate connection gained through hand kneading white bread, which some bakers find essential for understanding dough.
Hand Kneading vs. Stand Mixer: A Detailed Comparison for White Bread
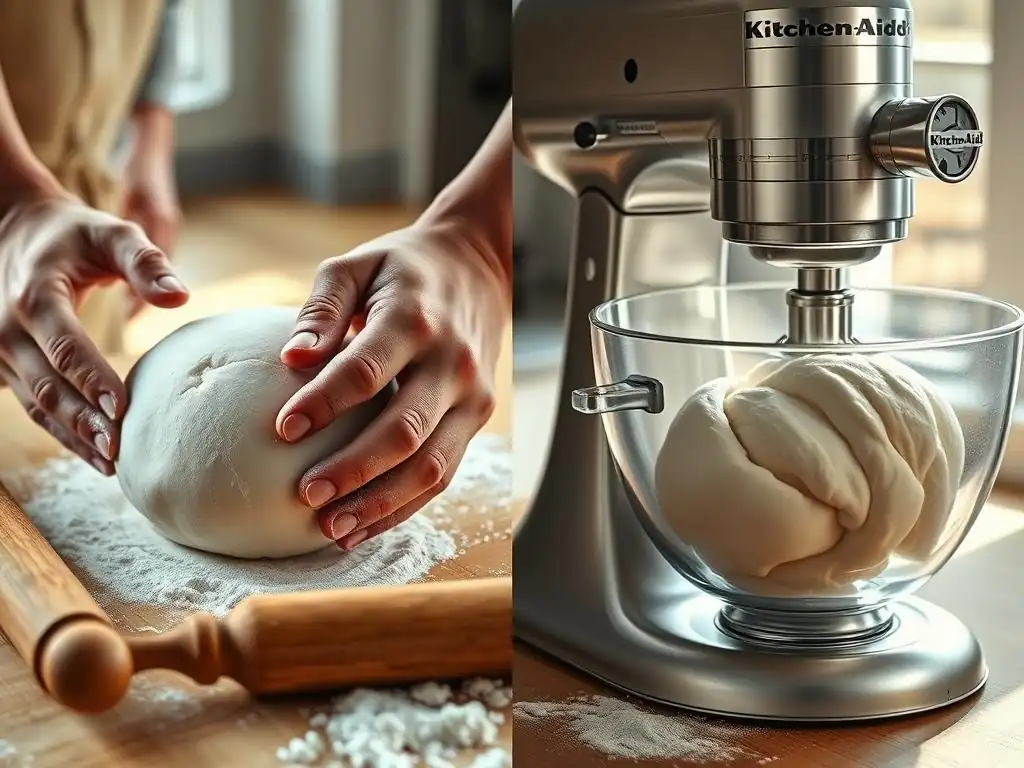
Let's put the two methods side-by-side to help you decide which is best for your white bread baking needs.
Dough Temperature: Impact of Kneading Method
Both methods generate heat through friction, which can affect dough temperature and fermentation speed. Hand kneading white bread generates less heat than a stand mixer. A mixer, especially on higher speeds, can warm the dough significantly, potentially speeding up the first rise. This is usually a minor factor for standard white bread unless your kitchen is very warm, but it's worth noting.
Gluten Development: Achieving Optimal Results
Both hand kneading white bread and stand mixer kneading, when done correctly, can achieve excellent gluten development necessary for a light and airy white bread. A stand mixer often achieves more uniform development due to consistent action, while hand kneading white bread allows for greater control based on feel and intuition. The final quality of gluten development depends more on the baker's skill and attention than the method itself, assuming both are performed adequately.
Ease of Use: Beginner-Friendly Options
For absolute beginners, starting with hand kneading white bread can be beneficial as it teaches you the feel of dough. However, the physical effort and technique required can also be challenging. A stand mixer simplifies the physical act, making it seemingly easier, but requires learning how to monitor the dough and avoid over-kneading. Neither method is inherently "easier" for beginners; they simply present different learning curves.
Time Commitment: Speed and Efficiency
This is where the stand mixer clearly wins. As discussed, stand mixer kneading is significantly faster. If time is a major constraint for your baking, a stand mixer offers unparalleled efficiency compared to the longer process of hand kneading white bread.
Clean-Up: Hand Kneading vs. Stand Mixer
Clean-up is generally simpler with hand kneading white bread. You'll have a lightly floured surface and possibly a bowl to wash. With a stand mixer, you have the bowl, the dough hook, and the mixer base itself which might get dusty with flour. While not a huge difference, hand kneading often results in slightly less equipment to clean.
Choosing the Right Kneading Method for Your White Bread
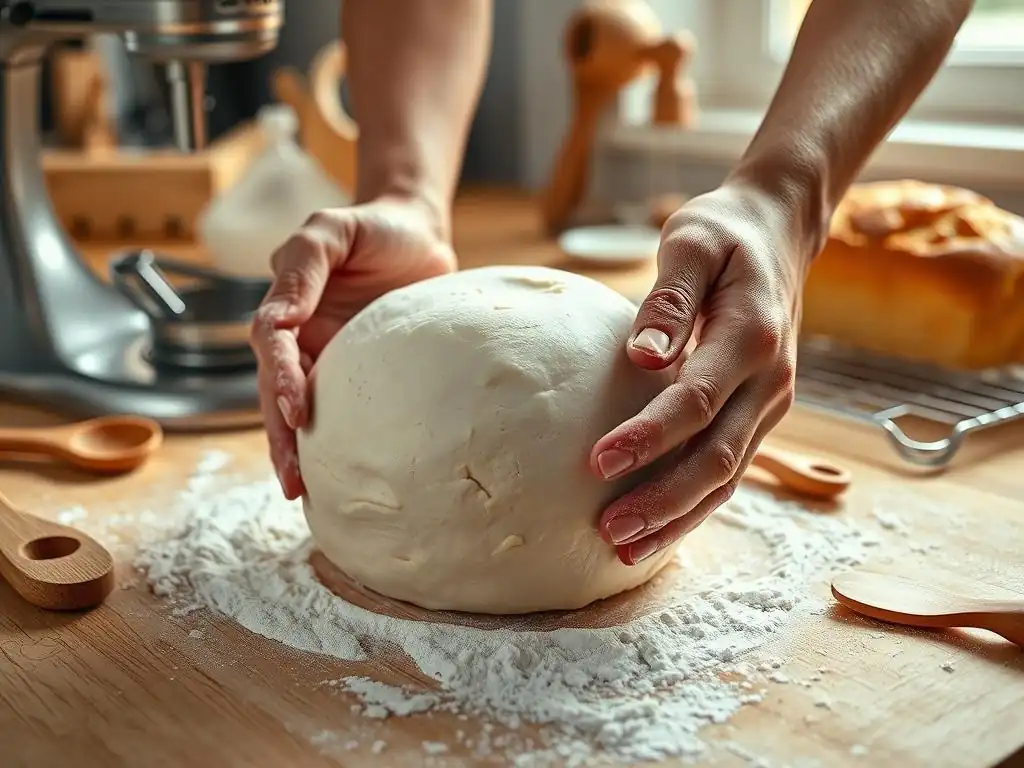
Deciding between hand kneading white bread and using a stand mixer depends on several personal factors.
Consider Your Experience Level: Hand Kneading vs. Stand Mixer
If you are new to baking and want to truly understand dough, starting with hand kneading white bread can be a valuable learning experience. It builds intuition. If you're comfortable observing dough and prefer automation, a stand mixer is a great choice. Intermediate to advanced bakers often choose based on convenience or the specific recipe.
Think About Your Time Constraints: Efficiency Matters
If you frequently bake white bread or need to bake multiple loaves, a stand mixer is a significant time-saver. If baking is a leisurely activity for you and you enjoy the process, hand kneading white bread fits perfectly.
Assess Your Physical Limitations: Comfort and Ease
Hand kneading white bread requires a fair amount of physical effort in your arms and shoulders. If you have joint issues or limited strength, a stand mixer makes bread baking much more accessible and comfortable.
Weigh the Cost Factor: Equipment vs. Effort
If budget is a concern, hand kneading white bread is the clear winner as it requires no special equipment cost. If you plan to bake frequently and value convenience, the investment in a stand mixer might be worthwhile over time.
Tips for Perfect White Bread Kneading, Regardless of Method
No matter how you choose to knead your white bread dough, a few universal tips can help you achieve optimal results.
The Windowpane Test: A Crucial Indicator of Dough Readiness
Master the windowpane test. It's the most reliable way to determine if gluten is sufficiently developed for light and airy bread. Take a small piece of dough, gently stretch it thin.
- If it tears immediately: Needs more kneading.
- If it stretches into a translucent membrane: Gluten is developed.
- If it becomes very slack and breaks down: Potentially over-kneaded (more common with mixers).
This test works whether you are hand kneading white bread or using a machine.
Hydration Levels: Adjusting Water for Optimal Kneading
The amount of water (hydration) in your dough significantly impacts how it feels and kneads. Wetter doughs are stickier but can produce more open crumbs. Drier doughs are easier to handle but might result in a denser loaf. If your dough feels too stiff or too wet during kneading, you may need to slightly adjust the flour or water, adding just a tablespoon at a time until the consistency is right for your chosen method (hand kneading white bread is often easier with slightly less sticky dough than stand mixer dough).
Resting the Dough: Allowing Gluten to Relax
Even during the kneading process, short rest periods can be beneficial. For hand kneading white bread, if the dough feels very tight and resistant, cover it and let it rest for 5-10 minutes. This allows the gluten to relax, making the dough easier to work. For stand mixer kneading, this isn't usually necessary during the active phase, but the dough always rests after kneading for the first rise.
Maintaining Dough Temperature: Preventing Overheating
Ideal dough temperature after kneading is often around 75-80°F (24-27°C). If your kitchen is warm or you're using a stand mixer on high speed, the dough can overheat, which negatively impacts fermentation and gluten structure. Using cooler water or even briefly chilling the flour can help manage dough temperature, especially when hand kneading white bread in a warm environment or using a fast mixer.
Conclusion: Mastering White Bread Kneading at BakeWithEase
Whether you choose the traditional path of hand kneading white bread or the modern efficiency of a stand mixer, the goal is the same: to develop a strong, elastic gluten network that will give your loaf that perfect, airy texture. Both methods are valid and can produce fantastic results. Hand kneading offers a tactile connection and requires no special equipment, while a stand mixer saves time and effort.
At BakeWithEase, we encourage you to try both methods if possible to see which you prefer. Understanding the principles behind gluten development and knowing how to test your dough's readiness are far more important than the specific tool you use. With practice and attention to detail, you'll master the art of kneading white bread dough and bake delicious loaves with ease!
Frequently Asked Questions
How long should I hand knead white bread dough for the best results?
You should aim to hand knead your white bread dough for approximately 8-10 minutes. This allows the gluten to develop properly, resulting in a smooth and elastic dough.
What's the best way to tell if my white bread dough is kneaded enough by hand?
Check for the windowpane test. Gently stretch a small piece of dough; if you can stretch it thin enough to see light through it without tearing, it's ready. This indicates sufficient gluten development.
Can I over-knead white bread dough by hand?
It's less likely to over-knead by hand compared to a stand mixer. However, excessive kneading can still toughen the dough. Pay attention to its texture and elasticity to avoid overdoing it.
What are the key differences between hand kneading and using a stand mixer for white bread dough?
Hand kneading offers more control and a better feel for the dough, while a stand mixer is faster and requires less physical effort. Both methods can produce excellent results.
What are some tips for making hand kneading white bread easier and more efficient?
Start with the right ingredients at the correct temperature. Use a lightly floured surface and a bench scraper to manage the dough. A consistent rhythm also helps with even gluten development.
Final Reflection: The Humble Art of Kneading and the Modern Kitchen
The satisfying thud of dough against a countertop, the feel of gluten strands developing under your fingertips – these tactile experiences, often overlooked in our increasingly automated world, are vital to understanding the true heart of bread baking. While stand mixers offer convenience, they can't replicate the nuanced connection between baker and dough achieved through hand kneading. This exploration of hand versus machine kneading highlights a crucial tension between efficiency and the deeply rewarding process of crafting something truly from scratch.
The act of kneading, whether by hand or machine, transcends mere technique; it represents a connection to a long history of food preparation, a legacy passed down through generations. It’s a meditative practice, a moment of mindful creation in a fast-paced world. Bread making, at its heart, is a simple act of transformation; flour, water, and yeast become something far greater than the sum of their parts.
This quote speaks to the profound satisfaction derived not just from the final product, but from the journey of making it, a journey often enriched by the physical act of hand kneading.
Consider the next time you bake. Will you choose the speed and efficiency of a stand mixer, or will you embrace the slower, more deliberate process of hand kneading? I encourage you to try both, to experience the subtle differences in texture and flavor, and to discover the unique satisfaction that comes from connecting with your ingredients in a truly hands-on way. The choice is yours, but the journey of discovery, the appreciation for the process, and the resulting loaf of bread will be all the richer for it.
Unleash Your Inner Baker: Next Steps to Perfect Dough
Thanks for taking the time to explore the world of bread making with us! We hope you now feel confident in choosing the right method – hand kneading or stand mixer – for your next loaf. Ready to put your newfound knowledge into action?
- Dive into your first project: Choose a simple white bread recipe (we have some great suggestions on our recipe page!) and try out your preferred kneading technique. Note the differences in texture and effort.
- Share your baking journey: Post a picture of your finished loaf on social media and tag us! We’d love to see your beautiful creations. Use #BakeWithEase to connect with other bakers.
- Experiment with different flours: Once you master white bread, try substituting a portion of the flour with whole wheat or rye to add unique flavors and textures to your baking.
So, what will your next baking adventure be?