
Simple Techniques for Stunning Pie Crust Edges

Welcome to BakeWithEase.com, your ultimate guide to unlocking baking brilliance! Ever wondered how to elevate your pies from ordinary to extraordinary? This week, we're diving deep into the secrets of perfecting pie crust edge techniques. Discover simple, yet stunning, methods that will not only impress your guests but also add a touch of professional flair to your creations. Ready to transform your pies? Let's get baking!
- Simple Techniques for Stunning Pie Crust Edges: BakeWithEase Guide
- Mastering Pie Crust Edges: Introduction to Perfecting Techniques
- Simple Pie Crust Edge Techniques for Beginners
- Intermediate Pie Crust Edge Techniques: Elevating Your Baking
- Advanced Pie Crust Edge Techniques: Showstopping Designs
- Tips for Achieving Perfect Pie Crust Edges Every Time
- Troubleshooting Common Pie Crust Edge Problems
- Beyond the Basics: Creative Pie Crust Edge Ideas
- Perfecting Pie Crust Edge Techniques: A Summary for Stunning Pies
-
Frequently Asked Questions
- How important is chilling the dough when perfecting pie crust edge techniques?
- What are some simple techniques to create a visually appealing pie crust edge?
- Can I use store-bought pie crust if I'm focused on perfecting pie crust edge techniques?
- What type of tools are helpful when perfecting pie crust edge techniques?
- How do I prevent my pie crust edge from burning while baking?
- Final Reflection: Mastering the Art of the Pie Crust Edge
- Unleash Your Inner Pie Artist: Master Those Edges!
Simple Techniques for Stunning Pie Crust Edges: BakeWithEase Guide
Mastering Pie Crust Edges: Introduction to Perfecting Techniques
Why Pie Crust Edges Matter: Aesthetics and Functionality
The edge of a pie crust is much more than just a decorative element; it plays a crucial role in both the visual appeal and the success of your baked goods. A beautifully finished edge can transform a simple pie into a showstopper, making it look professional and incredibly inviting. Think of a classic apple pie with a golden, perfectly crimped border – it just looks delicious before you even take a bite. Learning the art of perfecting pie crust edge techniques is a key step in elevating your home baking.
Beyond aesthetics, the pie crust edge serves a vital functional purpose: sealing the pie. For juicy fillings like cherry or blueberry, a well-formed edge prevents bubbling liquids from escaping and burning onto your baking sheet. It also helps to contain the steam generated during baking, ensuring that the filling cooks properly while the crust achieves that desirable flaky texture. A secure seal is particularly important for double-crust pies or lattice tops, where the edge connects the top and bottom layers.
Setting the Stage: Essential Tools and Ingredients for Beautiful Pie Crusts
Achieving stunning pie crust edges starts with having the right foundation: quality dough and a few basic tools. While elaborate designs might require specific cutters, most simple and intermediate techniques only need items you likely already have in your kitchen. A good rolling pin is essential for rolling the dough to an even thickness, typically about 1/8 inch. Consistency in thickness is key to uniform baking and ease of shaping.
You'll also need a sturdy pie plate, preferably glass or ceramic, as these conduct heat evenly and help the bottom crust brown nicely. Your ingredients are paramount: cold butter or shortening cut into small pieces, flour, a pinch of salt, and ice-cold water. The cold temperature of the fat and water is critical for creating those flaky layers that make the crust pliable enough to shape without becoming tough or sticky. Having a pastry blender or fork can help cut the fat into the flour efficiently, ensuring those crucial pea-sized pieces.
Simple Pie Crust Edge Techniques for Beginners
The Classic Fork Crimp: A Timeless and Easy Pie Edge
The fork crimp is perhaps the most straightforward and widely used method for finishing a pie crust edge, making it perfect for beginners. It's quick, simple, and creates a clean, traditional look that seals the pie effectively. To execute this technique, first trim your excess dough, leaving about a 1-inch overhang around the rim of the pie plate. Fold this overhang under so the edge is flush with the rim.
Once the dough is folded, gently press the tines of a fork straight down onto the edge, repeating around the entire circumference of the pie. You can angle the fork slightly for a different look, but pressing straight down creates distinct ridges. Ensure you press firmly enough to crimp the top and bottom layers of dough together, creating a good seal, but not so hard that you cut through the dough. This simple technique prevents the edge from shrinking excessively and provides a nice grip when serving.
The Finger Pinch: Creating an Elegant Scalloped Pie Crust
The finger pinch technique offers a slightly more elegant, scalloped look to your pie crust edge and is another excellent option for those just starting out with perfecting pie crust edge techniques. Like the fork crimp, begin by trimming your dough to about a 1-inch overhang and folding it under to create a thicker border sitting on the rim of the pie plate.
To create the scallops, you'll use the thumb and index finger of one hand and the index finger of your other hand. Place the index finger of one hand on the inside edge of the dough border. With the thumb and index finger of your other hand, gently pinch the dough around the finger that's on the inside, creating a V-shape indentation. Move your fingers around the edge, repeating this pinching motion every half-inch or so, to form a continuous series of scallops. This method allows for more control over the depth and size of each scallop.
The Spoon Press: A Simple and Effective Pie Crust Edge Design
For a unique yet incredibly simple edge design, the spoon press is a fantastic choice. It requires minimal dexterity and yields a visually appealing, textured border. After trimming and folding the dough overhang as with the other methods, you'll have a rounded, substantial edge resting on the pie plate rim.
Take a regular tablespoon and use the back of the spoon to press indentations into the dough border. You can press straight down, or angle the spoon slightly to create overlapping curves. Press firmly enough to make a clear impression, but not so hard that you flatten the dough completely. Repeating this around the entire edge creates a series of smooth, rounded indentations that look polished and deliberate. It's a great alternative to crimping and adds a lovely texture.
Intermediate Pie Crust Edge Techniques: Elevating Your Baking
The Rope Edge: A Braided Pie Crust Border
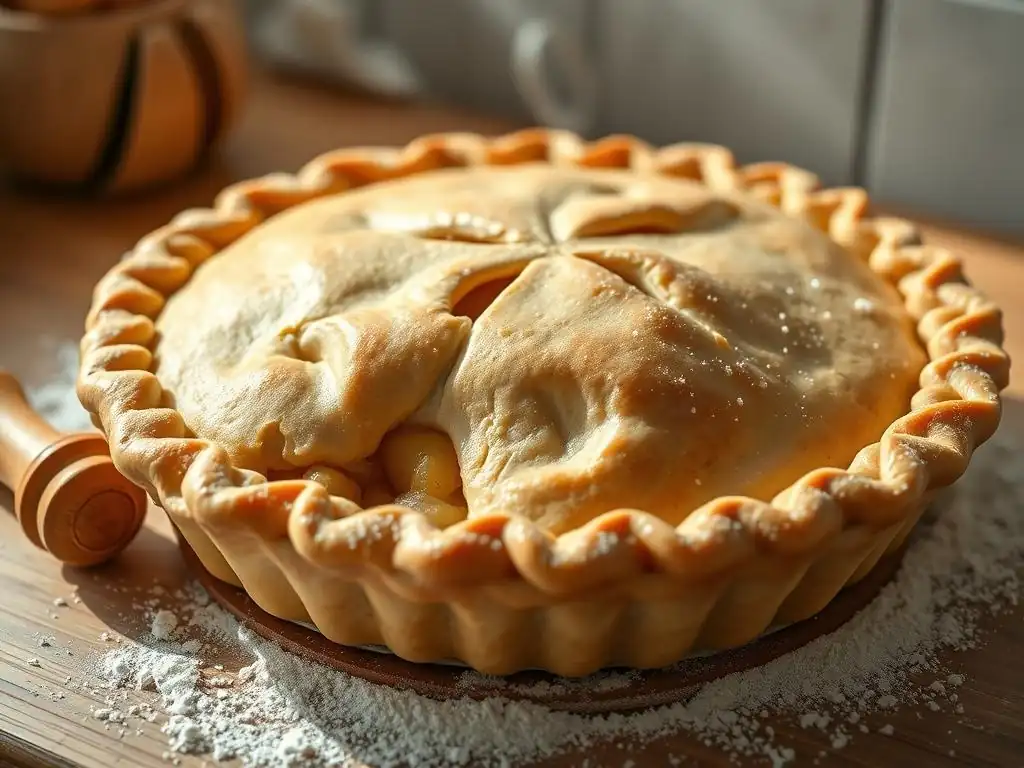
The rope edge is a classic intermediate technique that gives your pie a beautiful, rustic, braided look. It requires a bit more practice than the basic crimps but is well worth the effort for the stunning result. Start by trimming your dough, but this time, you'll likely need a slightly larger overhang, perhaps 1.5 to 2 inches, or use excess dough scraps rolled out.
To form the rope, you'll work with a section of the dough border at a time. Using your thumb and index finger on one hand, and the index finger on your other hand, twist and pinch a small section of the dough border. Instead of just pinching straight down like the finger crimp, you'll continuously twist the dough towards you as you pinch, creating a spiraling effect that resembles a rope.
Move along the edge, overlapping each twist slightly to create a continuous braided pattern. Consistency in the size and angle of your twists is key to a uniform rope edge.
The Coin Edge: Using a Coin for a Unique Pie Crust Detail
While the name suggests using a coin, this technique actually uses a small, round object – often a thimble or a pastry tip – to create a series of overlapping circular impressions along the pie crust edge. It offers a neat, patterned border that's visually interesting and slightly different from the standard crimps. Prepare your dough with a folded-under edge as you would for the basic techniques.
Take your small round object (ensure it's clean if using something like a thimble or coin!) and gently press it into the dough border, creating a circular indentation. Move the object over slightly, overlapping the first indentation by about half, and press again. Continue this process around the entire edge of the pie, creating a pattern of overlapping circles. The depth of the press will determine how prominent the design is. This technique works best with a slightly thicker dough border to ensure the impressions hold their shape during baking.
The Leaf Cutout: Adding Delicate Details to Your Pie
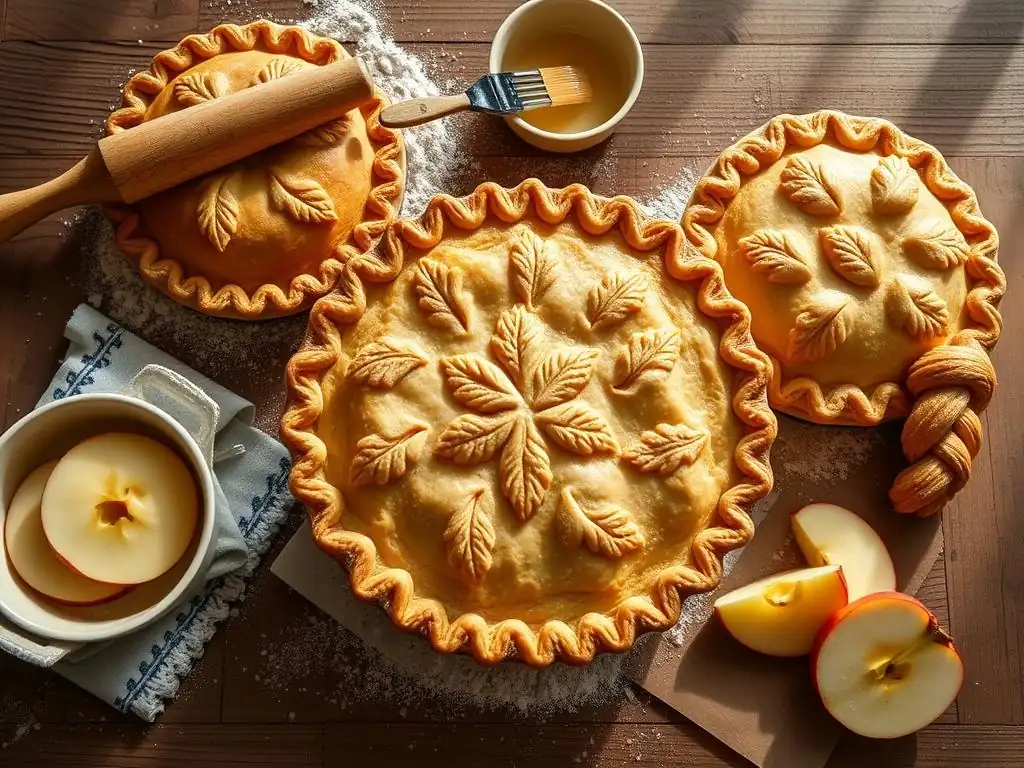
Adding leaf cutouts to your pie crust edge is a charming way to enhance its visual appeal, especially for fruit pies in the fall. This technique involves cutting shapes from leftover pie dough and attaching them decoratively to the main crust border. You'll need small cookie cutters in the shape of leaves or other desired motifs, or you can cut shapes freehand with a knife.
Roll out your leftover dough scraps (or use a second batch of dough) to about 1/8 inch thickness. Use your small cutter to cut out numerous leaf shapes. You can add detail by lightly scoring veins onto the leaves with a knife.
Brush the back of each cutout with a little water or egg wash and gently press them onto the prepared pie crust edge, overlapping them slightly or arranging them in a pattern. These delicate additions should be applied just before baking. For best results, ensure the cutouts are similar in thickness to your main crust edge so they bake evenly.
Advanced Pie Crust Edge Techniques: Showstopping Designs
The Double Crust Lattice: Weaving a Beautiful Pie Top and Edge
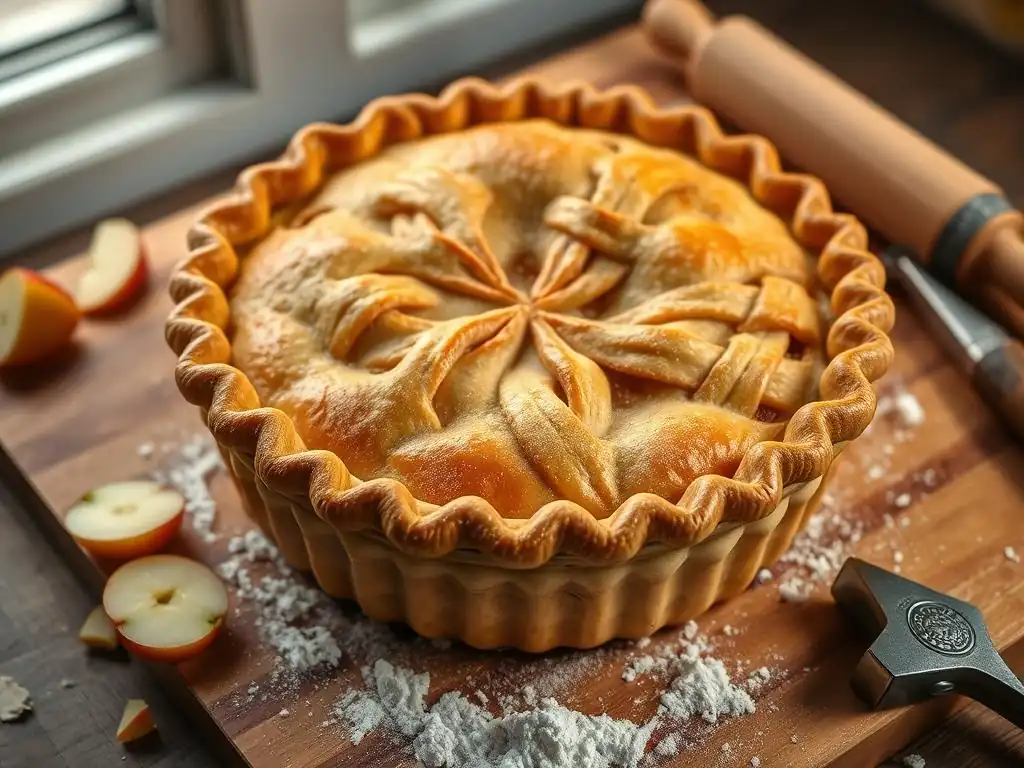
The double crust lattice is a quintessential advanced technique that creates a stunning woven top for your pie, with the lattice strips often incorporated directly into the edge design. This requires careful planning, precise cutting, and a bit of patience. You'll need enough dough for both the bottom crust and the lattice top, typically requiring two full pie crust recipes.
After lining your pie plate with the bottom crust and adding the filling, roll out the second portion of dough for the lattice. Cut the dough into even strips, typically ranging from 1/2 inch to 1 inch wide, using a pastry wheel or knife and ruler for accuracy. Lay half the strips parallel across the pie filling. Fold back every other strip halfway. Lay one perpendicular strip down, then unfold the folded strips.
Now, fold back the other set of parallel strips and lay another perpendicular strip. Repeat this weaving process until the top is covered. Trim the lattice strips so they have about a 1-inch overhang. Fold the bottom crust overhang over the ends of the lattice strips, pressing gently to seal them together. This creates a secure and beautiful woven edge.
Using small cookie cutters or decorative stamps allows for highly intricate and repetitive patterns along the pie crust edge, moving beyond simple crimps to create elaborate borders. This technique is limited only by the types of cutters or stamps you have access to. You'll need a relatively thick dough border to ensure the stamped patterns are distinct and hold their shape during baking.
Prepare your pie with a substantial dough overhang, folded under to create a thick border. Take your small cookie cutter or stamp and press it firmly into the dough along the edge. Repeat the pattern around the entire circumference of the pie, spacing the impressions evenly or overlapping them for a continuous design. For example, small star or heart cutters can create a whimsical border, while a decorative stamp can give a more formal look. Ensure your cutter or stamp is lightly floured to prevent sticking. This method is excellent for adding themed details to your pie.
The Hand-Sculpted Edge: Creating Custom Pie Crust Art
For the ultimate in personalization and artistic expression, the hand-sculpted edge allows you to create unique, freeform designs directly on the pie crust border. This technique requires confidence in handling dough and a creative vision. It's where perfecting pie crust edge techniques truly becomes an art form, allowing you to shape dough into leaves, flowers, braids, or abstract patterns.
With a generous dough border, you can use small knives, skewers, or even your fingertips to shape the dough. You might roll thin ropes and twist them, cut slits and fan them out, or mold small pieces of dough into shapes and attach them with a little water. For instance, you could shape dough into petals to form a flower border or create a series of intricate braids. This method is best suited for bakers comfortable with dough consistency and who enjoy the process of detailed handwork. Keep the dough chilled as you work to maintain its structure.
Tips for Achieving Perfect Pie Crust Edges Every Time
Chilling the Dough: The Key to Preventing Shrinkage
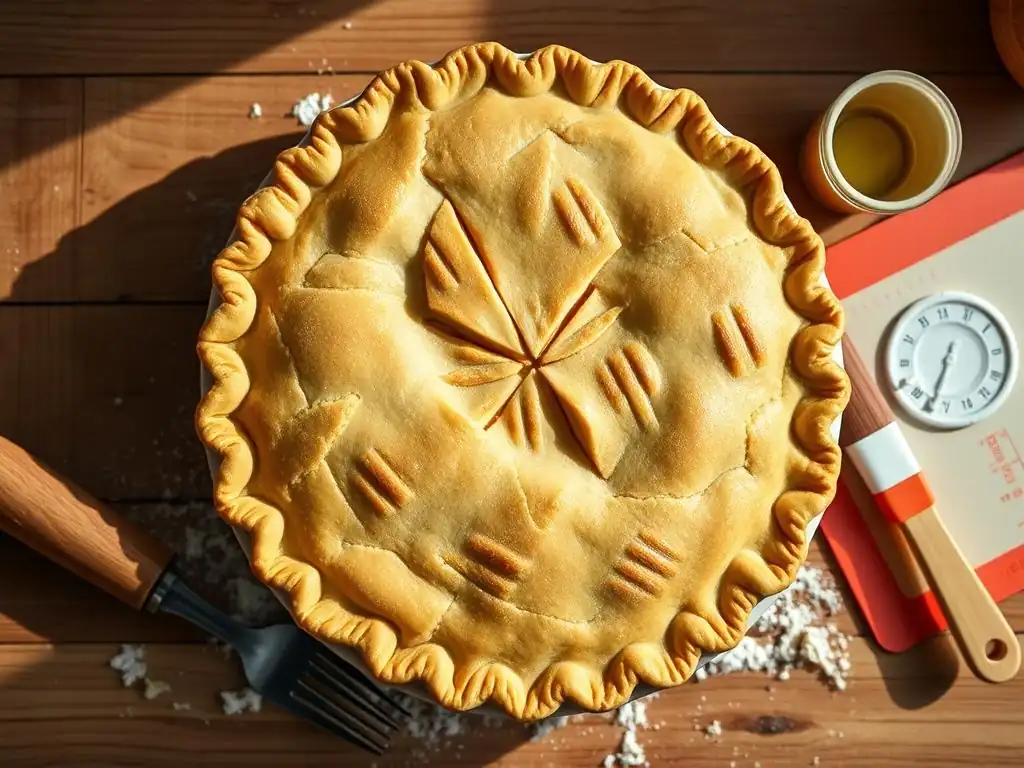
One of the most critical steps in achieving perfect pie crust edges is proper chilling of the dough. Warm dough is difficult to handle; it becomes sticky, loses its structure easily, and is prone to shrinking significantly during baking. Chilling the dough allows the fat to firm up, which helps create flaky layers and makes the dough much more stable and easier to roll and shape.
After mixing your dough, flatten it into a disk, wrap it tightly in plastic wrap, and refrigerate it for at least 30 minutes, preferably longer, before rolling. Once you've lined your pie plate and formed your desired edge, it's highly recommended to chill the pie again for another 15-30 minutes before baking. This second chill is particularly important for maintaining the shape of intricate edges and minimizing shrinkage. Expect dough that hasn't been properly chilled to shrink by up to 20% or more during baking compared to well-chilled dough, which might only shrink 5-10%.
Proper Dough Handling: Avoiding Tough Crusts
Overworking pie dough is a common pitfall that leads to tough, dense crusts instead of tender, flaky ones. The goal is to develop just enough gluten to hold the dough together, but not so much that it becomes elastic and resistant to shaping. When rolling, use minimal flour on your surface and rolling pin, and lift and rotate the dough frequently to prevent sticking.
When forming the edge, handle the dough gently. Avoid stretching or pulling the dough excessively, as this activates gluten and can cause the edge to snap back or shrink during baking. Use light pressure when crimping or shaping. If the dough becomes too warm or soft while you're working on the edge, don't hesitate to pop the pie back into the refrigerator for a few minutes to firm it up before continuing. This patient approach is crucial for perfecting pie crust edge techniques.
Egg Wash and Sugar: Adding Shine and Texture to Pie Edges
Applying a wash to your pie crust edge before baking can significantly enhance its appearance, adding a beautiful golden sheen and helping it brown evenly. A simple egg wash is made by whisking one egg with a tablespoon of water or milk. Brush this mixture lightly over the formed edge.
For added sparkle and texture, you can sprinkle coarse sugar (like turbinado or sanding sugar) over the egg-washed edge. The sugar crystals catch the light and provide a lovely crunch. This step is usually done just before placing the pie in the oven. Be mindful not to let the egg wash drip onto the pie plate rim, as it can act like glue, making it difficult to remove the pie later. A properly applied wash contributes greatly to the final, appealing look of your pie border.
Troubleshooting Common Pie Crust Edge Problems
Fixing Cracked or Broken Pie Crust Edges
It's frustrating when your carefully crafted pie crust edge develops cracks, but don't despair – they are often fixable! Cracks typically occur if the dough is too dry, too cold, or if it's been stretched too thin in places. If you notice a crack while shaping, you can often repair it by simply moistening the edges of the crack with a tiny bit of cold water and gently pressing them back together.
For larger cracks or breaks, especially after the pie is in the plate, you can use small scraps of leftover dough as patches. Roll out a small piece of scrap dough, moisten the area around the crack with water, and carefully press the patch over the damage, blending the edges into the existing crust. You can then re-crimp or reshape the patched area. While not always invisible, a well-placed patch is much better than a gaping hole that could lead to leaks.
Preventing Pie Crust Edges from Burning
Pie crust edges, being thinner and exposed to direct heat, tend to brown and sometimes burn faster than the rest of the crust. This is a common issue, particularly for pies with longer baking times. The best way to prevent this is to shield the edges from excessive heat during the majority of the baking process.
One effective method is to use a pie crust shield, which is a silicone or aluminum ring that fits over the edge of the pie plate. Alternatively, you can make your own shield by cutting a donut shape out of aluminum foil large enough to cover the entire edge. Place the shield over the pie after the first 15-20 minutes of baking, once the edge has set but before it starts to brown too much. Remove the shield for the last 10-15 minutes of baking to allow the edge to finish browning perfectly.
Dealing with Shrinking Pie Crust Edges
Shrinking edges are a common problem when perfecting pie crust edge techniques and are often caused by warm dough or overworking the gluten. If you find your edge is shrinking significantly as you're working with it, the first step is to stop and chill the dough. Place the pie back in the refrigerator for 15-30 minutes to firm up the fat and relax the gluten.
If the edge shrinks during baking, despite chilling, it might indicate the dough was overmixed or stretched too much when lining the plate. Ensure you gently ease the dough into the plate without pulling. Leaving a sufficient overhang (at least 1 inch) before trimming and folding helps provide enough dough to work with and reduces tension. While some shrinkage is normal (around 5-10%), excessive shrinkage often points back to dough temperature or handling issues. Practice makes perfect!
Beyond the Basics: Creative Pie Crust Edge Ideas
Incorporating Herbs and Spices into Your Pie Crust Edge
Adding finely chopped fresh herbs or ground spices directly into your pie dough can infuse the crust with subtle flavors and visual interest, enhancing the overall complexity of your pie. This works particularly well for savory pies or fruit pies where the flavors complement each other. Imagine a savory chicken pot pie with a thyme and black pepper crust edge or an apple pie with a hint of cinnamon mixed into the dough.
Simply whisk the desired herbs or spices (such as a teaspoon of dried herbs or half a teaspoon of ground spice per standard pie crust recipe) into the dry flour mixture before cutting in the fat. Ensure the herbs are very finely chopped to prevent them from tearing the dough. The flecks of green or brown within the crust add a sophisticated touch and a delightful aroma as the pie bakes.
Using Colored Dough for a Visual Impact
For a truly vibrant and fun pie, consider using colored dough for your crust or just for decorative elements on the edge. This is achieved by adding a few drops of food coloring to the liquid component (ice water) before adding it to the flour and fat mixture. Gel food coloring works best as it's concentrated and won't add excess liquid.
You can color the entire crust dough, or simply color a portion of scrap dough to use for cutouts or sculpted details on a regular crust edge. For example, green dough cut into leaves on an apple pie, or red and blue stars on a berry pie. Start with just a drop or two and add more until you achieve the desired hue. Knead the color in gently until uniform. This technique is fantastic for holidays or themed events, adding a playful element to your perfected pie crust edge techniques.
Adding Decorative Sugar to Enhance Your Pie Crust Edge
Beyond the simple sprinkle of coarse sugar, you can use different types of decorative sugars to add specific textures and visual effects to your pie crust edge. Pearl sugar, for instance, consists of larger, opaque crystals that don't melt during baking, providing a distinct crunchy texture and a sparkly appearance.
Another option is sanding sugar, which has finer crystals than coarse sugar but is still larger than granulated sugar, giving a brilliant sparkle. Colored sanding sugars can also be used to match the color theme of your pie or occasion. Apply these sugars generously over an egg-washed or milk-washed edge just before baking. The wash helps the sugar adhere, ensuring your decorative sugar stays put and creates a beautiful, finished look on your perfected pie crust edge.
Perfecting Pie Crust Edge Techniques: A Summary for Stunning Pies
Recap of Essential Techniques for Beautiful Pie Crusts
Mastering the art of perfecting pie crust edge techniques is a rewarding journey that adds both beauty and functionality to your baking. We've explored a range of methods, from the beginner-friendly fork crimp, finger pinch, and spoon press, which provide simple yet effective seals and designs, to the more intricate intermediate techniques like the rope edge and coin edge that add unique patterns.
For those looking to create true showstoppers, advanced methods like the double crust lattice, stamped edges, and hand-sculpted designs offer endless possibilities for creativity and personalization. Regardless of the technique chosen, remember that the foundation of a beautiful edge lies in properly chilled dough, gentle handling, and attention to detail when shaping.
Further Resources for Pie Baking Mastery at BakeWithEase.com
Achieving stunning pie crust edges is a skill that improves with practice. Don't be discouraged if your first few attempts aren't perfect; every pie is a learning opportunity. At BakeWithEase.com, you can find a wealth of resources to help you on your pie baking journey.
Explore our collection of pie recipes, from classic fruit fillings to savory options, each designed with clear, step-by-step instructions. We also offer detailed guides on making the perfect pie dough from scratch, understanding ingredients, and troubleshooting common baking issues. Continue practicing these pie edge techniques, and soon you'll be creating pies that are not only delicious but also visually spectacular, impressing everyone with your perfected pie crust edge techniques!
Frequently Asked Questions
How important is chilling the dough when perfecting pie crust edge techniques?
Chilling the dough is absolutely crucial for a flaky crust. It allows the gluten to relax, preventing shrinkage and ensuring a tender, less tough crust. This also makes it easier to handle and shape the edges.
What are some simple techniques to create a visually appealing pie crust edge?
Several techniques exist, including crimping with a fork, using your fingers to create a scalloped edge, or even using cookie cutters for a decorative effect. Experiment to find what you like! Remember, the goal is a well-sealed and beautiful edge.
Can I use store-bought pie crust if I'm focused on perfecting pie crust edge techniques?
Yes, store-bought crust can be a good starting point! Using store-bought dough allows you to focus on practicing the edge techniques without the added complexity of making the dough itself. It's all about mastering the finishing touch.
What type of tools are helpful when perfecting pie crust edge techniques?
A fluted pastry wheel can create a professional-looking edge. A fork is essential for simple crimping. Also, sharp knives or small cookie cutters can be used for more elaborate designs.
How do I prevent my pie crust edge from burning while baking?
You can use pie shields or strips of aluminum foil to cover the edge during the baking process. Remove them during the last 15-20 minutes to allow the edge to brown evenly without burning. This ensures a perfectly baked and beautiful pie.
Final Reflection: Mastering the Art of the Pie Crust Edge
The seemingly simple act of crimping a pie crust edge is, in reality, a gateway to culinary artistry. A perfectly formed edge isn't just aesthetically pleasing; it's a testament to patience, precision, and a deep understanding of the baking process. It speaks volumes about the care and attention lavished on the entire pie, promising a delicious experience before the first slice is even taken.
The pursuit of the perfect pie crust edge transcends mere technique; it's a reflection of our desire for beauty and perfection in a world often characterized by imperfection. This seemingly small detail resonates deeply, mirroring our own efforts to refine and improve aspects of our lives. As the renowned pastry chef, Dorie Greenspan, once said, Baking is about precision, but it's also about heart. You put your love into it, and it shows.
This sentiment perfectly encapsulates the spirit of mastering the pie crust edge – it's a labor of love, visible in the final, stunning result.
Now, consider your own "pie crust edges" – those details in your life that, while seemingly small, contribute significantly to the overall picture. What areas of your life could benefit from a similar level of attention and care? I invite you to take the lessons learned here – the patience, the precision, the attention to detail – and apply them to other aspects of your life, creating your own masterpieces along the way. Embrace the process, savor the journey, and let the beauty of a perfectly crimped edge inspire you to strive for excellence in all that you do.
Unleash Your Inner Pie Artist: Master Those Edges!
Thanks for taking the time to explore the art of perfectly crimped pie crusts! We hope you gained valuable tips and tricks to elevate your baking game. Now it's time to put your newfound skills to the test.
- Master the crimp: Practice your favorite crimping technique – perhaps try a new one you learned today! – on some extra dough before tackling your next pie. This is your chance to shine!
- Share your masterpiece: Show off your beautiful pie crusts on social media! Use #BakeWithEase and tag us – we’d love to see your creations.
- Explore new fillings: Inspired to try a new pie filling? Now's the perfect time to experiment with seasonal ingredients or a recipe you’ve been eyeing.
Ready to transform your pies from good to absolutely gorgeous? What's the first pie you're going to make with your newly mastered crimping skills?