
Baking Viennoiseries Without Special Equipment: Practical Tips

Welcome to BakeWithEase!
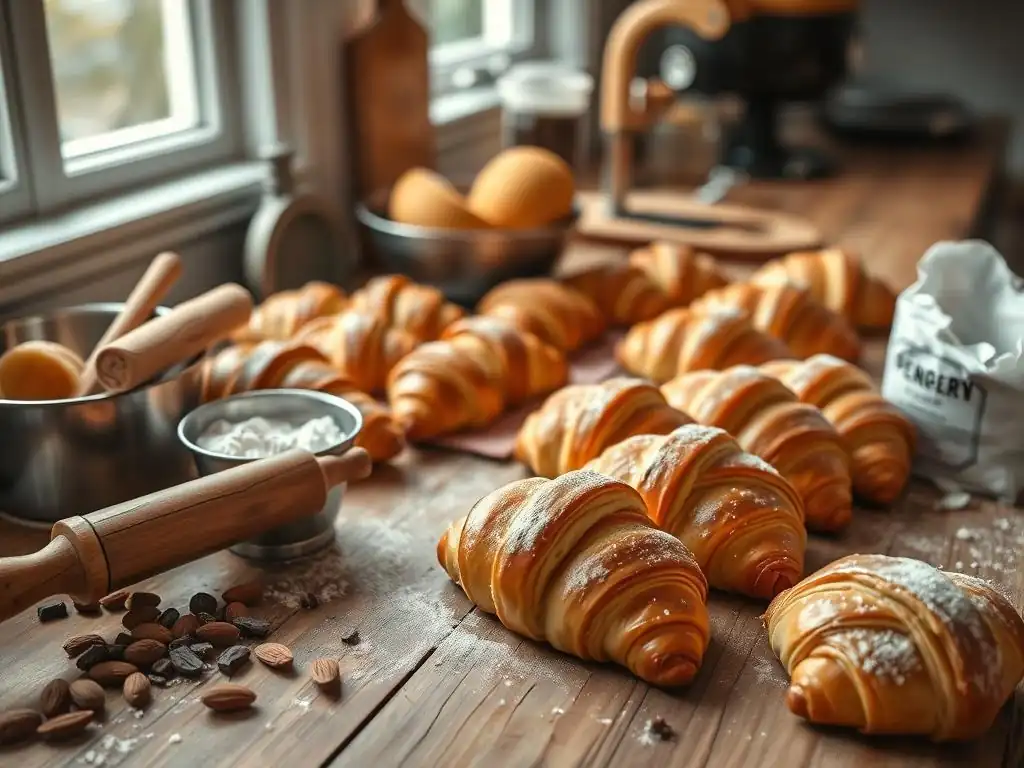
Ever dreamt of creating flaky, buttery viennoiseries right in your own kitchen? You might think it requires professional equipment, but think again! We're demystifying the process and revealing the secrets to crafting delicious treats. Discover our guide to easy viennoiseries without fancy tools and unlock the joy of homemade pastries. Intrigued? Let's get baking!
- BakeWithEase Guide to Easy Viennoiseries Without Fancy Tools
- Understanding Viennoiseries: A Baker's Introduction
- Achieving Viennoiserie Perfection Without Professional Gear
- Baking Viennoiseries in a Standard Oven: Temperature and Time
- Troubleshooting Common Viennoiserie Baking Issues
- Easy Viennoiseries: Recipes for Baking at Home
- Elevate Your Baking: Final Tips for Easy Viennoiseries
-
Frequently Asked Questions
- How can I bake viennoiseries at home without professional equipment?
- What are some easy viennoiserie recipes suitable for beginner bakers using basic tools?
- Can I achieve a good lamination without a dough sheeter?
- What are some substitutions I can make for specialized ingredients in viennoiserie recipes?
- How important is temperature control when baking viennoiseries in a standard oven?
- Final Reflection: The Democratization of Deliciousness
- Unleash Your Inner Boulanger!
BakeWithEase Guide to Easy Viennoiseries Without Fancy Tools
Are you dreaming of flaky croissants and tender pain au chocolat but feel intimidated by professional bakery equipment? You're not alone! Many home bakers believe that mastering viennoiseries requires expensive stand mixers, dough sheeters, and proofing cabinets. The good news is that you absolutely can create delicious, buttery viennoiseries right in your own kitchen using basic tools you likely already own. This guide will walk you through the essential techniques and tips to make easy viennoiseries without fancy tools, proving that dedication and technique are often more valuable than specialized gadgets.
This article is designed for the enthusiastic home baker ready to take on the challenge of laminated doughs and enriched breads using just their hands, a rolling pin, and a standard oven. We'll demystify the process, break down complex steps into manageable tasks, and show you how to achieve impressive results with minimal gear. Get ready to fill your kitchen with the irresistible aroma of freshly baked pastries and enjoy the satisfaction of making easy viennoiseries without fancy tools.
Understanding Viennoiseries: A Baker's Introduction
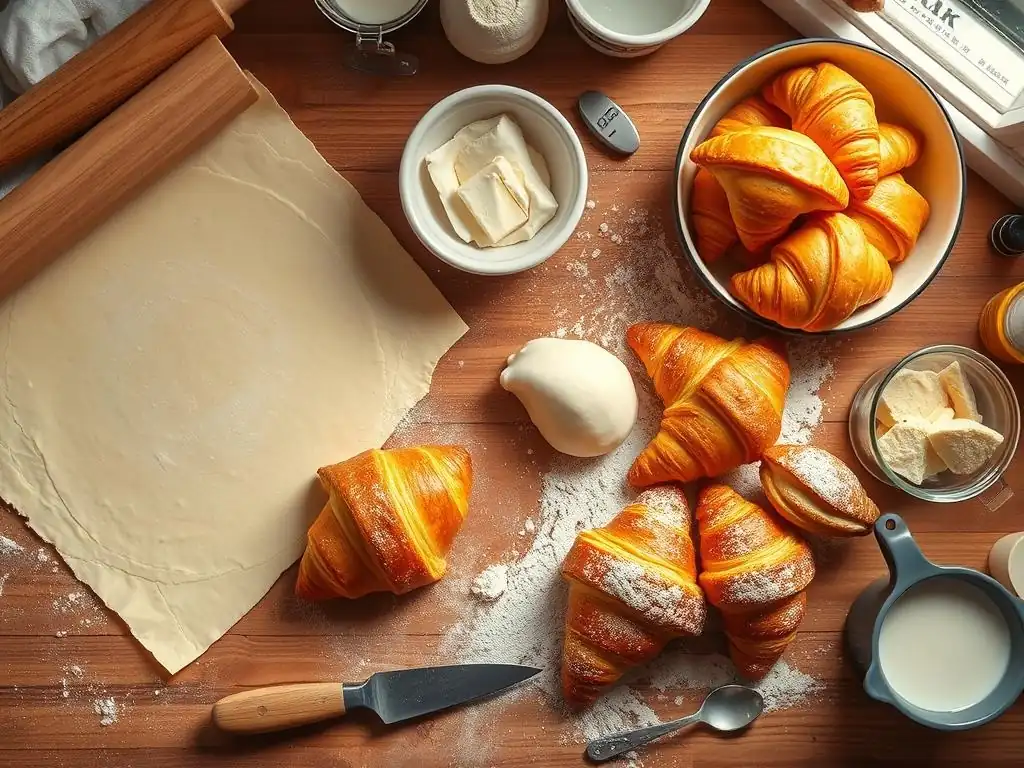
Viennoiseries represent a delightful category of baked goods that bridges the gap between pastry and bread. Originating in Vienna (hence the name), these treats were popularized in France and are now a staple of bakeries worldwide. Unlike simple breads made with just flour, water, yeast, and salt, viennoiseries are enriched with ingredients like eggs, sugar, milk, and butter, giving them a richer texture and flavor.
The defining characteristic of many viennoiseries, such as croissants and pain au chocolat, is their flaky, layered structure, achieved through a process called lamination. This involves repeatedly folding and rolling dough with layers of butter. While some viennoiseries like brioche are simply enriched breads without lamination, they still share the common thread of a tender, often sweet crumb, making them perfect for breakfast or a luxurious snack. Understanding these core characteristics is the first step towards creating easy viennoiseries without fancy tools.
What are Viennoiseries? Exploring the World of French Pastries
Viennoiseries encompass a diverse range of baked goods, all sharing a foundation of enriched dough. The most iconic examples are likely the croissant, with its signature crescent shape and countless flaky layers, and the pain au chocolat, a rectangular pastry wrapped around one or two pieces of dark chocolate. These laminated pastries are known for their crisp exterior and airy interior, a direct result of the butter melting and creating steam between the dough layers during baking.
Beyond the famous laminated varieties, the category also includes treats like brioche, a soft, buttery bread often baked in loaf pans or individual molds; pain aux raisins (snail pastries with raisins and pastry cream); and chausson aux pommes (apple turnovers). While the techniques for each differ slightly, the goal remains the same: a rich, tender, and flavorful baked good. Exploring these different types helps appreciate the versatility of enriched dough and opens up possibilities for making various easy viennoiseries without fancy tools.
Essential Ingredients for Homemade Viennoiseries
Crafting delicious viennoiseries at home starts with quality ingredients. The foundation is typically strong bread flour, which has a higher protein content (around 12-14%) than all-purpose flour. This protein develops gluten, providing structure to the dough, especially crucial for the extensive handling required in lamination. While some recipes might use a blend, bread flour is often preferred for its strength.
Beyond flour, you'll need yeast (usually active dry or instant), sugar to feed the yeast and sweeten the dough, salt to balance flavors and control fermentation, milk or water for hydration, and importantly, eggs for richness and color. The star ingredient for laminated viennoiseries is high-quality, unsalted butter, ideally with a high fat content (82% or more). This butter needs to be pliable but cold for successful lamination. Using good ingredients makes a significant difference in the final texture and flavor of your easy viennoiseries without fancy tools.
Achieving Viennoiserie Perfection Without Professional Gear
The journey to beautiful, flaky viennoiseries is about mastering technique, not accumulating expensive machinery. While professional equipment streamlines the process and ensures consistency on a large scale, skilled hands and basic tools can achieve remarkable results. The key is understanding the science behind each step – from mixing and kneading to laminating and shaping – and adapting the process to a home kitchen environment.
Achieving perfection involves patience and attention to detail. It might take a few attempts to get the feel of the dough or the right temperature for your butter, but each bake is a learning opportunity. Embrace the manual process; it connects you more intimately with your baking and allows for adjustments based on touch and feel, which are invaluable when striving for easy viennoiseries without fancy tools.
Master the Dough: Making Viennoiserie Dough Without a Stand Mixer
Making viennoiserie dough by hand is entirely feasible and rewarding. The process typically begins by activating the yeast in warm liquid (around 105-115°F or 40-46°C for active dry yeast) with a pinch of sugar. Once the yeast is frothy, combine it with the rest of the wet ingredients (eggs, melted butter if applicable, milk) and then gradually incorporate the dry ingredients (flour, sugar, salt).
Kneading is where the physical work comes in. On a lightly floured surface, knead the dough by stretching and folding it back onto itself. This develops the gluten structure. Viennoiserie dough is often enriched and can be a bit sticky initially. Knead for about 10-15 minutes, or until the dough is smooth, elastic, and passes the windowpane test (a small piece can be stretched thin enough to see light through without tearing). This manual kneading builds strength efficiently, proving you don't need a mixer for excellent dough for easy viennoiseries without fancy tools.
Lamination Techniques for Flaky Layers: Viennoiserie Lamination at Home
Lamination is the heart of flaky viennoiseries like croissants and pain au chocolat. It involves enclosing a block of cold butter within the dough and repeatedly rolling and folding the dough to create alternating layers of dough and butter. The goal is to achieve dozens, sometimes hundreds, of paper-thin layers. This process requires patience and careful temperature control to prevent the butter from melting or breaking through the dough.
The standard method involves creating a "butter block" by pounding or rolling cold butter into a flat, rectangular shape, roughly half the size of your rolled-out dough. The dough is then rolled into a larger rectangle, the butter block placed on one half, and the other half folded over to encase it. This packet is then rolled out and folded again.
The number of folds dictates the number of layers. A typical lamination for croissants might involve three "single" folds (folding the dough into thirds like a letter) or a combination of single and "book" folds (folding both ends to the center, then folding in half), resting the dough in the refrigerator between each fold to keep the butter cold and firm. Mastering these manual folds is key to creating easy viennoiseries without fancy tools.
The Rolling Pin Method: Achieving Thin Dough for Viennoiseries
The rolling pin is your best friend when laminating dough at home. After each fold, the dough needs to be rolled out evenly and thinly before the next fold. Start by gently pressing the dough with the rolling pin to encourage even expansion, then roll outwards from the center, maintaining a consistent thickness. Turn the dough frequently to prevent sticking and ensure even rolling.
Aim for a thickness of about 1/4 to 1/3 inch (6-8 mm) before each fold. The key is to apply even pressure and avoid tearing the dough, which can cause butter leaks. If the dough resists rolling or the butter feels too soft, stop and return the dough to the refrigerator for 20-30 minutes. Patience during this stage is crucial for developing the hundreds of layers needed for truly flaky easy viennoiseries without fancy tools.
Butter Incorporation: Tips for Even Distribution Without a Dough Sheeter
Proper butter consistency and temperature are paramount for successful lamination without a sheeter. The butter should be cold but pliable, similar in consistency to the dough. If it's too hard, it will break into pieces when rolled, resulting in uneven layers. If it's too soft, it will melt into the dough, preventing separation and flakiness. A good technique is to pound cold butter with a rolling pin between two sheets of parchment paper until it's malleable and the desired thickness (often around 1/4 inch or 6 mm), then chill it until firm but still slightly flexible.
When enclosing the butter block, ensure the dough completely seals it on all sides. During rolling, focus on maintaining even pressure across the entire surface to distribute the butter uniformly. If you see the butter threatening to break through the dough, dust the area with a little flour or patch it carefully with a piece of excess dough before continuing. This manual control allows for adjustments that a machine can't replicate, helping you achieve excellent butter distribution for easy viennoiseries without fancy tools.
Shaping Techniques: Creating Classic Viennoiserie Shapes by Hand
Once laminated and rested, the dough is ready to be shaped into its final forms. This is where your viennoiseries take their iconic appearance. Shaping is a tactile process that requires a delicate touch to avoid deflating the carefully created layers. Work on a lightly floured surface, keeping the dough cool. If the dough becomes too warm or sticky, pop it back into the fridge for a few minutes.
Different viennoiseries require different shaping methods, but all benefit from precise cuts and gentle handling. Use a sharp knife or pizza cutter for clean edges. Practice makes perfect; don't worry if your first attempts aren't showroom-perfect. The taste will still be fantastic, and you'll quickly improve your shaping skills for easy viennoiseries without fancy tools.
Pain au Chocolat Shaping: A Step-by-Step Guide
Shaping pain au chocolat is one of the simpler techniques for laminated dough.
- Roll out the laminated dough into a large rectangle, typically about 1/8 inch (3-4 mm) thick.
- Trim the edges to create clean lines.
- Cut the rectangle into smaller rectangles, usually around 3-4 inches wide and 6-8 inches long (roughly 8-10 cm by 15-20 cm).
- Place a chocolate bat (a small stick of baking chocolate) or a few chocolate chips along one of the shorter edges of a dough rectangle.
- Roll the dough up, encasing the chocolate.
- Place a second chocolate bat near the seam and continue rolling until the dough is completely wrapped around the chocolate.
- Place the shaped pastries seam-side down on a baking sheet.
This method ensures the chocolate is fully enclosed and melts beautifully within the pastry during baking. It's a straightforward shape, making it a great starting point for making easy viennoiseries without fancy tools.
Croissant Shaping: Achieving the Perfect Crescent Without Molds
Shaping croissants requires a bit more finesse than pain au chocolat, but no special molds are needed.
- Roll the laminated dough into a large, thin sheet, about 1/8 inch (3-4 mm) thick, forming a long triangle or trapezoid shape.
- Trim the edges.
- Cut the dough into long triangles with a base of about 3-4 inches (8-10 cm) and a length of 8-10 inches (20-25 cm).
- Make a small slit (about 1/2 inch or 1 cm) in the center of the base of each triangle.
- Gently pull the two corners of the base outward to widen the slit slightly.
- Starting from the base, roll the triangle up towards the tip, keeping the tension relatively tight but not stretching the dough excessively.
- As you roll, the layers will stack and form the characteristic croissant shape.
- Curve the ends inward to create the crescent shape.
- Place the shaped croissants on a baking sheet, leaving ample space between them.
This technique, while requiring practice, allows you to create beautiful, classic croissants by hand, showcasing your skill in making easy viennoiseries without fancy tools.
Brioche Shaping: Techniques for Baking Brioche at Home
Brioche, being an enriched bread rather than a laminated pastry, has different shaping requirements. Brioche dough is very soft and rich due to the high butter and egg content.
- After the first rise, gently deflate the dough.
- Divide the dough into portions depending on the desired shape (e.g., for a loaf, for rolls, or for the classic tête shape).
- For a loaf, shape the dough into a smooth log and place it in a greased loaf pan.
- For rolls, divide the dough into equal pieces (e.g., 50-80g each) and shape them into smooth balls by tucking the edges underneath.
- For the classic brioche à tête, divide the dough into larger portions for the main body and smaller portions (about 1/5 the size) for the "head." Shape the large piece into a ball and place it in a fluted brioche mold. Shape the small piece into a ball, make an indentation in the large ball, and gently place the small ball into the indentation.
Brioche dough is best handled when cold and slightly firm after chilling. These simple shaping methods make brioche an accessible and easy viennoiserie without fancy tools.
Baking Viennoiseries in a Standard Oven: Temperature and Time
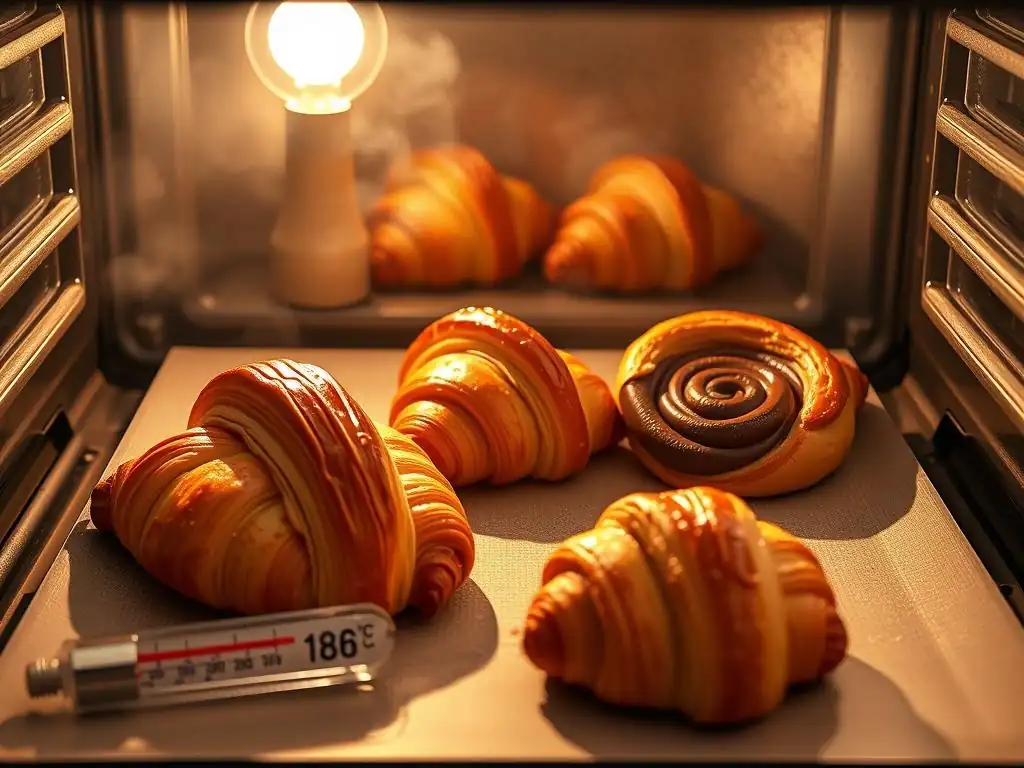
Baking viennoiseries successfully in a home oven requires understanding how to manage temperature and humidity. While professional ovens offer precise control and even heat distribution, your standard kitchen oven is perfectly capable of producing golden, flaky results with a few considerations. Preheating is crucial, and often baking at a slightly higher initial temperature helps create a good oven spring before reducing the heat to ensure the interior cooks through without burning the exterior.
Monitoring is key during the bake. Ovens can have hot spots, so rotating your baking sheet halfway through the baking time can help ensure even browning. Using an oven thermometer can also help verify that your oven is reaching and maintaining the target temperature, as internal thermostats can sometimes be inaccurate. With careful management, you can achieve excellent results when baking easy viennoiseries without fancy tools in your home oven.
Oven Temperature Control: Creating the Ideal Baking Environment
Viennoiseries, especially laminated ones, benefit from a hot oven to encourage rapid steam production from the melting butter, which helps lift the layers. A common starting temperature is around 400-425°F (200-220°C) for the first 10-15 minutes, then reducing it to 375-400°F (190-200°C) for the remainder of the baking time. This initial high heat sets the structure quickly and promotes flakiness.
For brioche, which is less about flakiness and more about a tender crumb, a slightly lower and more consistent temperature, like 350-375°F (175-190°C), is often preferred to prevent the rich dough from burning before it's cooked through. Knowing your oven's quirks is important; if it runs hot, you might need to adjust temperatures down by 10-15°F. Using a baking stone or steel can also help provide a consistent heat source from below, improving oven spring and crust development for your easy viennoiseries without fancy tools.
Proofing Viennoiseries: Achieving Optimal Rise Without a Proofer
Proofing is the final rise before baking, where the yeast produces carbon dioxide, causing the dough to expand and become light and airy. For viennoiseries, especially laminated ones, proper proofing is critical. Under-proofed pastries won't rise sufficiently and can be dense or explode in the oven. Over-proofed pastries can collapse and lose their structure. The ideal proofing environment is warm and humid.
Without a dedicated proofer, you can create a suitable environment in your kitchen. A common method is to place the shaped pastries on a baking sheet in a slightly warm, draft-free place. You can create humidity by placing a pan of hot water on the bottom rack of your oven (turned off!) and placing the baking sheet on a rack above it.
Another technique is to place the baking sheet inside a large plastic bag, ensuring the bag doesn't touch the pastries. Proofing time varies greatly depending on temperature and humidity but can range from 1.5 to 3 hours. The pastries should look visibly puffed up and jiggly when gently shaken, but not doubled in size like bread dough. This careful proofing ensures a light texture in your easy viennoiseries without fancy tools.
Baking Time and Visual Cues: Knowing When Your Viennoiseries Are Ready
Baking time for viennoiseries varies depending on their size, shape, and the specific recipe, but typically ranges from 15 to 30 minutes. Smaller items like pain au chocolat or croissants might take 15-20 minutes, while larger brioches could take 25-35 minutes or even longer for loaves. The most reliable indicators of doneness are visual.
Viennoiseries should be a deep golden brown color all over, including the sides and bottom. The layers should be clearly separated and flaky on laminated pastries. They should also feel light for their size. For brioche, which browns more easily due to sugar and eggs, check the internal temperature with an instant-read thermometer; it should be around 190-200°F (88-93°C). If the tops are browning too quickly, you can loosely tent them with aluminum foil. Trust your senses – sight and touch – to know when your easy viennoiseries without fancy tools are perfectly baked.
Troubleshooting Common Viennoiserie Baking Issues
Even with the best techniques, baking viennoiseries can sometimes present challenges. Dough that's too sticky, uneven baking, or a lack of flakiness are common frustrations for home bakers. Understanding the potential causes behind these issues is the first step to correcting them and improving your results. Don't be discouraged by imperfections; they are part of the learning process.
Approaching troubleshooting with a problem-solving mindset will help you refine your skills. Keep track of your process – notes on dough consistency, proofing environment, and baking observations can be invaluable for identifying what went wrong and how to adjust next time. Overcoming these hurdles makes the eventual success of baking easy viennoiseries without fancy tools even sweeter.
Dough Too Sticky? Solutions for Manageable Dough
A sticky dough can be frustrating to work with, especially during kneading and lamination. This is often caused by too much hydration (liquid relative to flour) or insufficient gluten development. While some stickiness is normal for rich doughs like brioche, excessive stickiness makes handling difficult.
If the dough is too sticky after initial mixing, try adding a tablespoon or two of flour at a time while kneading, until it reaches a manageable consistency that is still soft and pliable. Ensure you are kneading sufficiently; proper gluten development makes the dough less sticky and more elastic. If the dough becomes sticky during lamination, it might be too warm.
Chill the dough in the refrigerator for 20-30 minutes to firm up the butter and make the dough easier to handle. Working on a lightly floured, cool surface also helps manage stickiness when making easy viennoiseries without fancy tools.
Uneven Baking? Tips for Consistent Results in a Home Oven
Uneven browning or baking is a common issue in home ovens due to hot spots and inconsistent heat distribution. This can result in some pastries being perfectly golden while others are pale or over-browned.
To combat uneven baking, always preheat your oven thoroughly – for at least 20-30 minutes after it reaches the set temperature. Using an oven thermometer helps verify the actual temperature. Arrange pastries on the baking sheet with adequate space between them to allow for even airflow. Midway through the baking time (e.g., after 10-15 minutes), rotate the baking sheet 180 degrees.
If you're baking multiple sheets, swap their positions on the racks as well. For persistent hot spots, you might need to shield certain areas with small pieces of aluminum foil during the last part of the bake. These simple adjustments can lead to more consistent results when baking easy viennoiseries without fancy tools.
Lack of Flakiness? Mastering Lamination for Perfect Layers
The ultimate goal for croissants and pain au chocolat is that ethereal flakiness. A lack of flakiness, resulting in a more bread-like or dense texture, is usually a sign of issues during the lamination process. This could be due to butter that was too soft and melted into the dough, insufficient chilling between folds, tearing the dough during rolling, or not enough folds to create sufficient layers.
Ensure your butter is cold but pliable, not melted or rock hard. Maintain cold temperatures throughout lamination by chilling the dough for 20-30 minutes between each fold. Roll the dough gently and evenly to avoid tearing. Aim for the recommended number of folds (often 3 single folds for croissants, resulting in 27 layers). If the butter is leaking, chill the dough immediately and try to patch the tear with a bit of dough before continuing gently. Patience and temperature control are paramount for achieving those beautiful layers and making truly flaky easy viennoiseries without fancy tools.
Easy Viennoiseries: Recipes for Baking at Home
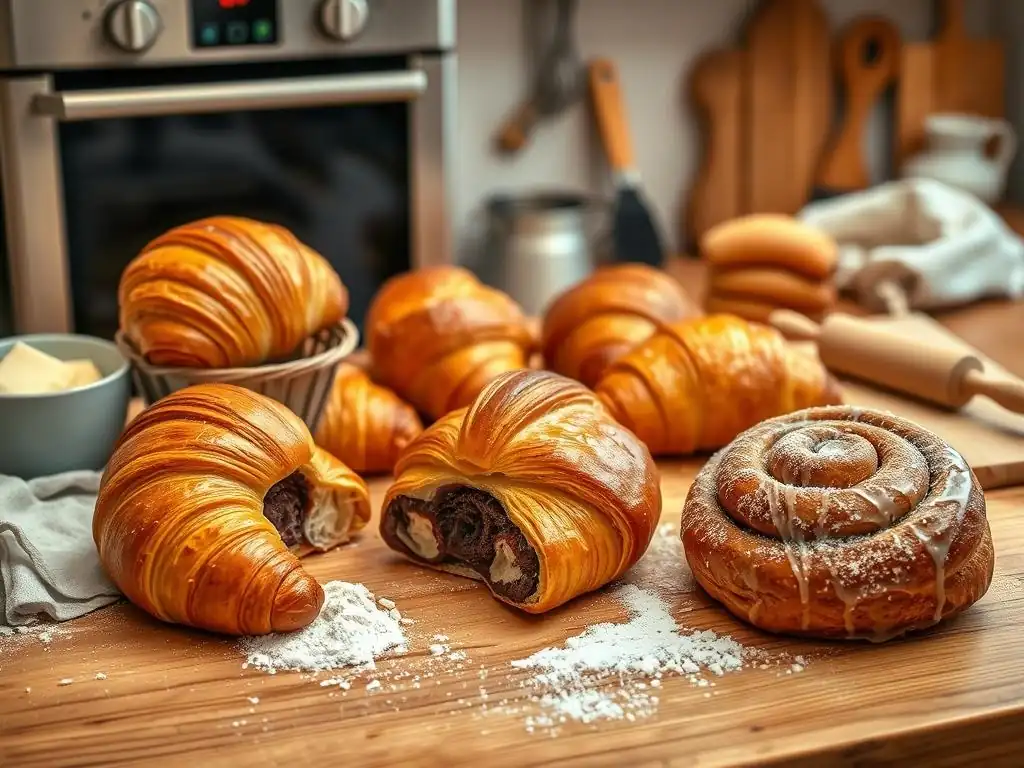
This section would typically feature simplified recipes designed specifically for the home baker using the manual techniques discussed in the previous sections. These recipes would streamline the process where possible without sacrificing the essential characteristics of viennoiseries.
The focus here is on providing actionable steps that leverage the skills you've built – hand-mixing dough, manual lamination with a rolling pin, and shaping by hand. These recipes aim to prove that creating delicious easy viennoiseries without fancy tools is not only possible but also accessible and enjoyable for anyone with a passion for baking.
Pain au Chocolat Recipe
Here, you would find a step-by-step recipe for pain au chocolat tailored for manual preparation. It would guide you through mixing the enriched dough by hand, preparing the butter block, performing the necessary folds using a rolling pin, and shaping the pastries around chocolate bats.
The recipe would include approximate ingredient quantities suitable for a home batch (e.g., yielding 8-12 pastries), specific chilling times between steps, and precise instructions for rolling and folding to achieve the desired layers. Baking times and temperatures optimized for a standard home oven would also be provided, ensuring you can successfully bake easy viennoiseries without fancy tools.
Croissant Recipe
This section would detail a classic croissant recipe adapted for the home kitchen. It would emphasize the hand-kneading process and the careful technique required for rolling and folding the dough with butter using only a rolling pin.
The recipe would cover the specific number and type of folds recommended for optimal croissant flakiness, along with tips for maintaining dough and butter temperature. Detailed instructions on cutting the dough triangles and rolling them into the signature crescent shape would be included, allowing you to master this iconic pastry and enjoy baking easy viennoiseries without fancy tools.
Brioche Recipe
This part would provide a recipe for brioche, focusing on the manual mixing and kneading of this rich, buttery dough. Since brioche is not laminated, the steps would differ from croissants and pain au chocolat, focusing instead on proper mixing, rising, and shaping techniques specific to enriched breads.
The recipe would offer guidance on handling the soft, sticky dough by hand, appropriate rising times, and various shaping options like loaves, rolls, or individual brioche à tête. Baking instructions optimized for a standard oven would complete the guide to making this delicious, tender easy viennoiserie without fancy tools.
Elevate Your Baking: Final Tips for Easy Viennoiseries
Congratulations on embarking on your viennoiserie baking journey! Mastering these pastries without special equipment is a rewarding achievement. As you continue to bake, consider these final tips to further refine your skills and enjoy your homemade creations to the fullest. Attention to small details can make a big difference in the final outcome and the overall experience of baking easy viennoiseries without fancy tools.
Remember that baking is a skill that improves with practice. Don't be afraid to experiment slightly with proofing times based on your kitchen's environment or adjust baking times based on how your oven performs. Each batch is a learning opportunity, and every successful bake is a testament to your growing expertise.
Storing Your Homemade Viennoiseries: Keeping Them Fresh
Freshly baked viennoiseries are best enjoyed the day they are made, ideally within a few hours of coming out of the oven when they are at their peak flakiness and aroma. However, if you have leftovers or are baking ahead, proper storage is key to maintaining their quality.
Store cooled viennoiseries in an airtight container at room temperature for 1-2 days. Laminated pastries like croissants will lose some of their crispness the longer they sit. To refresh them, you can briefly warm them in a preheated oven at 350°F (175°C) for 5-10 minutes. Brioche tends to stay soft longer.
For longer storage, viennoiseries can be frozen for up to 2-3 months. Wrap them tightly in plastic wrap and then in aluminum foil or a freezer bag. Thaw at room temperature and refresh in the oven if desired. Proper storage allows you to savor your easy viennoiseries without fancy tools over a few days.
Serving Suggestions: Enjoying Your Baked Creations
Homemade viennoiseries are a treat in themselves and often require little embellishment. Croissants are wonderful simply split and spread with butter and jam, or enjoyed with a cup of coffee or tea. Pain au chocolat needs nothing more than to be eaten warm, letting the melted chocolate ooze out slightly.
Brioche is incredibly versatile. It can be served sliced and toasted with butter, used for French toast, or enjoyed plain. It also makes a fantastic base for sweet or savory sandwiches. Don't forget the simple pleasure of pulling apart the layers of a croissant or the soft crumb of a brioche roll. Sharing your delicious, easy viennoiseries without fancy tools with friends and family adds another layer of enjoyment.
Variations: Chocolate Almond Croissants
Once you've mastered the basic croissant, you can explore delicious variations. Chocolate almond croissants, also known as pain au chocolat aux amandes, are a popular and decadent option. This variation typically involves taking day-old croissants, splitting them horizontally, brushing them with a sugar syrup (often flavored with rum or orange blossom water), filling them with almond cream (frangipane), and topping them with more almond cream and sliced almonds before baking again until golden.
This re-baking process brings the croissants back to life and creates a wonderfully rich pastry with contrasting textures – the slightly crisp exterior, the soft almond cream filling, and the chewy interior. It's a fantastic way to repurpose leftover croissants and demonstrates how the skills you've learned in making easy viennoiseries without fancy tools can be extended to create even more elaborate treats.
Frequently Asked Questions
How can I bake viennoiseries at home without professional equipment?
You can achieve delicious viennoiseries at home by focusing on simple recipes, using a regular oven instead of a convection oven, and substituting specialized tools with common kitchen items like rolling pins and baking sheets.
What are some easy viennoiserie recipes suitable for beginner bakers using basic tools?
Beginner-friendly viennoiseries include recipes like pain au chocolat made with store-bought puff pastry, or simple croissants using a no-knead dough method. These require minimal specialized equipment.
Can I achieve a good lamination without a dough sheeter?
Yes, you can! The key is to maintain a cold dough and patiently roll and fold it using a regular rolling pin. Follow the recipe closely for the correct number of folds and resting periods.
What are some substitutions I can make for specialized ingredients in viennoiserie recipes?
While some ingredients are crucial, you can often substitute regular all-purpose flour for bread flour in some recipes, and use unsalted butter as a primary fat source for lamination.
How important is temperature control when baking viennoiseries in a standard oven?
Temperature control is very important. Use an oven thermometer to ensure accurate baking temperatures. Also, be prepared to adjust baking times slightly based on your oven's performance.
Final Reflection: The Democratization of Deliciousness
Baking viennoiseries, once considered the exclusive domain of professional pastry chefs with specialized equipment, is now accessible to everyone. This article has demonstrated that achieving flaky, buttery perfection doesn't require a hefty investment in professional-grade tools. The joy of crafting these delicate pastries is now within reach, regardless of your kitchen's setup.
The accessibility of viennoiserie baking has a profound impact, fostering a sense of accomplishment and creativity in home bakers. It connects us to a rich culinary tradition, allowing us to participate in a process that was once shrouded in mystery. This democratization of deliciousness empowers individuals to explore their culinary passions and share the fruits of their labor with loved ones. The best things in life are simple, but not easy.
This quote perfectly encapsulates the journey of baking viennoiseries – while the process requires dedication, the result is a simple pleasure that brings immense satisfaction.
Now, I invite you to roll up your sleeves and embark on your own viennoiserie adventure. Don't let the perceived complexity deter you. Remember the techniques and tips shared in this article, and embrace the process. The reward – the aroma of freshly baked bread, the satisfying crunch, and the sheer delight of creating something beautiful and delicious with your own hands – is well worth the effort. Let your kitchen become a haven of creativity and deliciousness, one perfectly laminated pastry at a time.
Unleash Your Inner Boulanger!
Thanks for joining us on this delicious journey into the world of viennoiseries! We hope you've gained the confidence to tackle these flaky pastries, even without fancy equipment. Now it's time to put your new skills to the test.
- Bake your dream viennoiserie: Choose your favorite recipe from the article (or find a new one! ), gather your ingredients, and get baking! Don't be afraid to experiment – that’s where the real fun begins.
- Share your creations: Show us your beautiful, buttery results! Tag us on social media with #BakeWithEaseViennoiseries and inspire others.
- Join our baking community: Head over to our forum to connect with fellow bakers, share tips, and ask questions. Let’s learn and grow together!
What delicious viennoiserie will you conquer first?