
Unlock the Power of Cold Proofing: Elevate Your Sourdough Structure

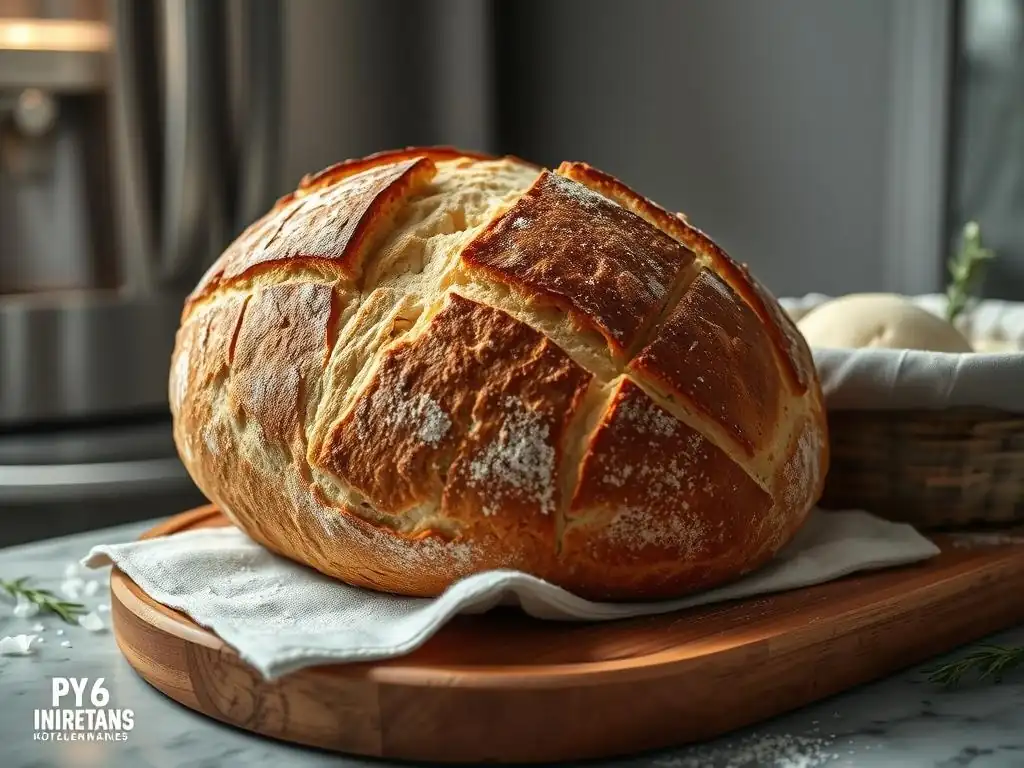
Welcome to BakeWithEase, where baking becomes a joy! Are you ready to unlock a secret weapon in the sourdough world? Discover how cold proofing sourdough bread can transform your loaves, creating unparalleled structure and flavor. Intrigued? Let's explore this surprisingly simple technique and elevate your sourdough baking game!
- Introduction to Cold Proofing Sourdough Bread: A Guide
- The Science Behind Cold Proofing Sourdough
- Mastering the Cold Proofing Technique for Sourdough
- Troubleshooting Common Cold Proofing Issues
- Cold Proofing and Sourdough Flavor Development
- Recipes and Applications: Cold Proofed Sourdough
- Optimizing Your Sourdough Baking with Cold Proofing Tips
- Conclusion: Embrace Cold Proofing for Superior Sourdough
- Frequently Asked Questions
- Final Reflection: The Transformative Power of Cold Proofing
- Unleash Your Inner Sourdough Master!
Introduction to Cold Proofing Sourdough Bread: A Guide
What is Cold Proofing and Why is it Essential for Sourdough?
Cold proofing, also known as cold fermentation or retarding, is a technique where sourdough bread dough undergoes its final rise in a chilled environment, typically a refrigerator set between 3°C and 5°C (37°F and 41°F). This process significantly slows down the yeast and bacterial activity compared to proofing at room temperature. While it extends the proofing time considerably, often from a few hours to 12-48 hours or even longer, this slow fermentation is crucial for developing complex flavors and improving the structure of sourdough bread.
The essential nature of cold proofing sourdough lies in its impact on both the dough's physical properties and its flavor profile. By slowing fermentation, the dough becomes easier to handle, allowing for better shaping and scoring. More importantly, the prolonged contact time between the wild yeasts, lactic acid bacteria, and the flour results in the breakdown of starches and proteins into simpler compounds. This enzymatic activity contributes to a more nuanced, tangy flavor and leads to a superior crust and crumb structure in the finished cold proofed sourdough bread.
Cold Proofing vs. Room Temperature Proofing: Key Differences
The primary difference between cold proofing sourdough and room temperature proofing is the speed of fermentation. At typical room temperatures (say, 20-24°C or 68-75°F), fermentation proceeds relatively quickly. Yeast activity is high, producing carbon dioxide rapidly, which causes the dough to rise noticeably within a few hours. This can be convenient for a faster bake, but it often results in a less developed flavor and a potentially tighter crumb structure.
In contrast, cold proofing sourdough bread slows fermentation dramatically. The yeast and bacteria are less active in the cold. While gas production is minimal initially, the prolonged time allows enzymes to work extensively on the dough's components. This leads to deeper flavor development, improved dough handling, and a more open, irregular crumb structure often desired in artisanal sourdough. The dough also becomes more resilient, holding its shape better during scoring and baking, contributing to better oven spring.
The Science Behind Cold Proofing Sourdough
Understanding the Role of Temperature in Sourdough Fermentation
Temperature plays a critical role in the complex ecosystem of a sourdough starter and the subsequent dough. The wild yeasts (primarily Saccharomyces cerevisiae variants) and lactic acid bacteria (LAB, like Lactobacillus sanfranciscensis) within the starter have different optimal temperature ranges for activity. Yeasts tend to be most active between 24°C and 30°C (75°F and 86°F), while LAB can thrive in a wider range, including cooler temperatures.
When cold proofing sourdough, dropping the temperature to refrigerator levels (3-5°C) significantly inhibits yeast activity, slowing down the production of carbon dioxide gas. However, the LAB remain relatively more active than the yeasts at these lower temperatures, albeit much slower than at warmer temperatures. This differential activity allows the LAB to produce more lactic and acetic acids over a longer period. This extended, slow production of acids is key to developing the characteristic tangy flavor of cold proofed sourdough bread and helps condition the gluten network.
How Cold Proofing Impacts Sourdough Gluten Development
While the primary gluten development happens during the initial mixing and stretching/folding stages, cold proofing sourdough contributes to the final gluten structure in subtle but significant ways. During the extended cold fermentation, proteolytic enzymes, naturally present in flour and produced by the microbes, slowly break down some of the gluten proteins. This might sound counterintuitive, but a controlled, slow breakdown actually helps relax the gluten network.
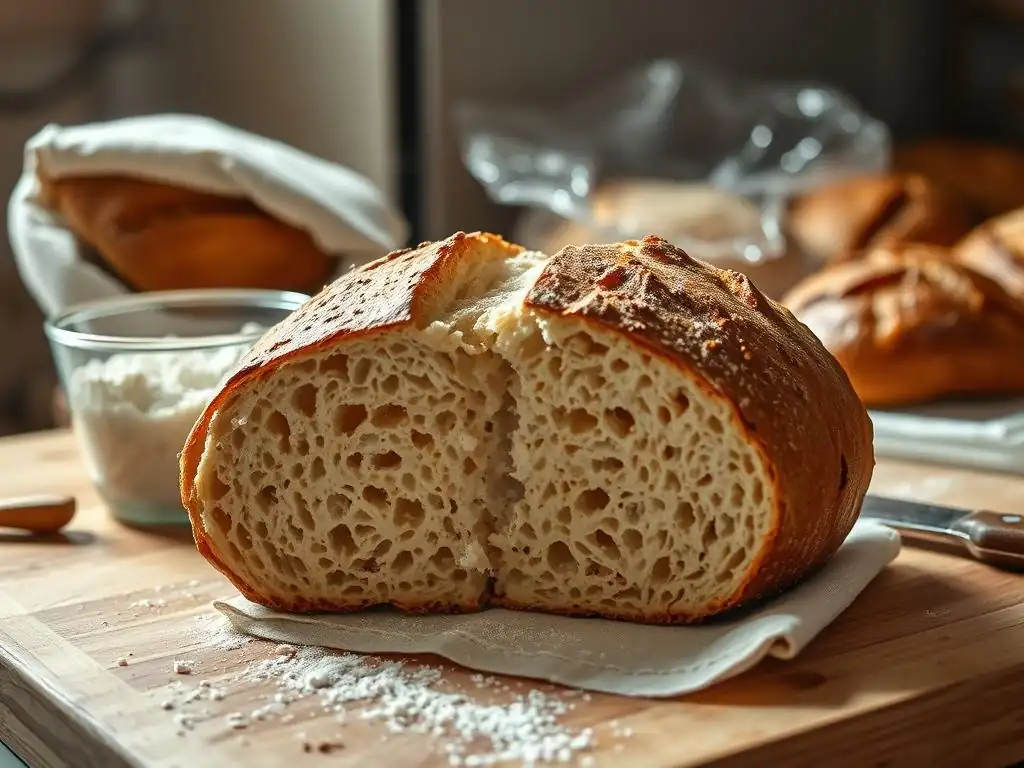
This relaxation makes the dough more extensible and less elastic after chilling, improving its handling properties. When the cold proofed sourdough bread dough is taken out of the fridge and prepares for baking, the slightly relaxed, yet still strong, gluten network is better able to expand rapidly in the hot oven (oven spring). This contributes to a more open, airy, and irregular crumb structure compared to a loaf proofed solely at room temperature, where the rapid fermentation can sometimes create a more uniform, tighter crumb.
The Benefits of Slow Fermentation: Flavor and Texture Enhancement
The slow fermentation inherent in cold proofing sourdough is a powerhouse for flavor development. As mentioned, the prolonged activity of lactic acid bacteria at cool temperatures leads to a higher concentration of organic acids, particularly lactic and acetic acids. Lactic acid provides a milder, creamy tang, while acetic acid contributes a sharper, vinegar-like note. The balance of these acids, developed over many hours in the cold, creates the complex, signature sourdough flavor that is hard to achieve with rapid proofing.
Beyond flavor, the texture of cold proofed sourdough bread is significantly enhanced. The slow gas production allows for larger, more irregular pockets of air to form within the dough, leading to the coveted open crumb structure. Furthermore, the longer proofing time allows more moisture to distribute evenly throughout the dough. When baked, this can contribute to a thicker, more caramelized crust and a moist, tender interior crumb that stays fresh longer. A loaf proofed for 24 hours in the fridge will generally have a deeper flavor and better structure than one proofed for just 3-4 hours at room temperature.
Mastering the Cold Proofing Technique for Sourdough

Step-by-Step Guide to Cold Proofing Sourdough Dough
Mastering cold proofing sourdough involves incorporating a refrigeration step into your standard sourdough baking process. Here is a typical sequence:
- Mix Ingredients: Combine your active sourdough starter, flour, water, and salt. Mix until just combined.
- Autolyse (Optional but Recommended): Let the dough rest for 30-60 minutes after initial mixing (before adding salt if using).
- Bulk Fermentation: Perform a series of stretches and folds over 2-4 hours at room temperature (20-24°C or 68-75°F), depending on your starter's activity and kitchen temperature. The dough should show signs of fermentation, perhaps increasing in volume by 20-50%.
- Shape the Dough: Gently pre-shape the dough into a round or oval, rest for 15-20 minutes, then perform the final shaping.
- Place in Proofing Basket: Transfer the shaped dough seam-side up (if baking seam-side down) into a well-floured banneton or proofing basket.
- Cold Proofing: Cover the basket tightly with a plastic bag or wrap to prevent drying and place it in the refrigerator (3-5°C) for 12 to 48 hours or longer.
- Bake: When ready to bake, take the dough directly from the fridge (no need to warm up) and bake as usual.
Following these steps allows the dough to develop structure and initial fermentation at room temperature before the long, slow flavor development phase in the cold. This combination is key to successful cold proofed sourdough bread.
Choosing the Right Container for Cold Proofing
Selecting the appropriate container is crucial for successful cold proofing sourdough bread. The most common choice is a banneton (proofing basket), made from rattan, cane, or plastic. Bannetons are ideal because they help the dough maintain its shape during the long cold proof and wick away a small amount of surface moisture, contributing to a better crust. Rattan bannetons should be well-floured (rice flour works best for preventing sticking) before use.
If you don't have a banneton, other options include a bowl lined with a well-floured linen or cotton cloth, or even a regular mixing bowl lightly oiled or floured. The key is to ensure the dough is supported to hold its shape and that the container is covered tightly to prevent the dough from drying out or forming a skin. A plastic bag, shower cap, or tight-fitting plastic wrap works well for covering the container during cold proofing sourdough.
Optimal Cold Proofing Time: Achieving the Perfect Balance
Determining the optimal time for cold proofing sourdough is perhaps the most variable aspect and depends on several factors: the strength of your starter, the dough's hydration level, the ambient temperature during bulk fermentation, and the exact temperature of your refrigerator. A common range is 12 to 48 hours.
A shorter cold proof (12-18 hours) will result in a milder tang and good oven spring. Proofing for 24-36 hours allows for more significant acid development, leading to a tangier flavor and often a slightly more relaxed dough, which can aid in achieving an open crumb. Proofing beyond 48 hours is possible but increases the risk of over-proofing, where the gluten structure starts to degrade.
It's best to experiment, perhaps starting with 18-24 hours and adjusting based on the results – observe the dough's behavior and the final baked loaf's flavor and structure. A dough that has increased in volume by about 50-75% overall (including bulk) before baking, after its time in the fridge, is often a good target for cold proofing sourdough bread.
Troubleshooting Common Cold Proofing Issues
Over-Proofing in the Fridge: Identifying and Preventing
Over-proofing is a common issue when cold proofing sourdough, especially when experimenting with longer durations. Signs of over-proofing include dough that has spread significantly in the banneton, feels very fragile and "gassy" when gently poked (it might not spring back much), and potentially smells strongly acidic or alcoholic. When you turn it out of the basket, it may deflate or lose shape easily.
To prevent over-proofing during cold proofing sourdough bread:
- Ensure your refrigerator is consistently cold (ideally 3-4°C). Warmer fridges speed up fermentation.
- Don't let the dough over-proof during the initial bulk fermentation phase at room temperature before chilling. It should have increased in volume but not doubled.
- Start with shorter cold proof times (e.g., 18-24 hours) and gradually increase in future bakes as you understand how your specific dough and fridge behave.
- Consider reducing the amount of starter slightly if consistently over-proofing with standard times.
Under-Proofing in the Fridge: Signs and Solutions
Under-proofing during cold proofing sourdough is less common than over-proofing with longer times, but it can happen, especially with very cold fridges or insufficient bulk fermentation. Signs include a loaf that doesn't spread much during baking, has explosive, uncontrolled oven spring (often bursting at the seams if not scored deeply enough), and results in a dense crumb with large, isolated tunnels of air rather than an evenly open structure.
If you suspect your cold proofing sourdough bread is under-proofed:
- Ensure your starter is active and strong before mixing the dough.
- Allow adequate time for bulk fermentation at room temperature before chilling (aim for at least a 20-30% volume increase).
- Consider proofing for a longer duration in the fridge in your next attempt.
- If you take the dough out and it seems clearly under-proofed (still very dense and hasn't increased much in size), you could theoretically let it sit at room temperature for a short period (30-60 minutes) to finish proofing before baking, but this can be tricky with cold dough. It's generally better to adjust your next bake.
Dealing with Sticky Dough After Cold Proofing
Sometimes, dough can feel surprisingly sticky after cold proofing sourdough, even if it wasn't excessively sticky before. This can be due to condensation forming on the dough's surface when it's taken from the cold fridge into warmer room air, especially in humid environments. It can also sometimes indicate slight over-proofing, where the structure has weakened.
If your cold proofed sourdough bread dough is sticky:
- Ensure you floured your banneton generously before placing the dough in it. Use rice flour, which resists moisture better than wheat flour.
- Minimize the time the dough sits out at room temperature before baking. Transfer it directly from the fridge to your baking vessel.
- Use a small amount of flour on your work surface or hands if necessary when transferring and scoring, but avoid incorporating too much extra flour into the dough itself.
- Ensure your dough wasn't too high in hydration initially, as higher hydration doughs are naturally stickier, especially after cold proofing.
Cold Proofing and Sourdough Flavor Development
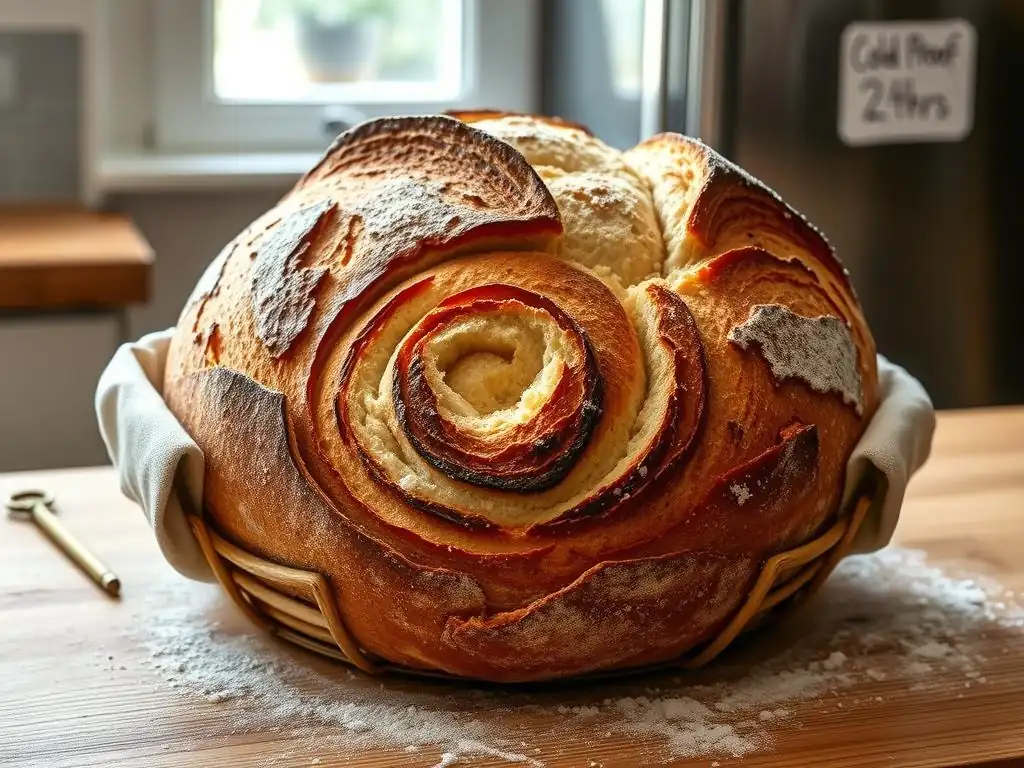
How Cold Proofing Enhances Sourdough's Tangy Flavor
The signature tang of sourdough bread is a direct result of the organic acids produced by lactic acid bacteria (LAB) during fermentation. While LAB are active at room temperature, their activity relative to yeast activity is often higher at cooler temperatures. Cold proofing sourdough for an extended period (18-48 hours) exploits this.
Over these many hours in the refrigerator (3-5°C), LAB continue to slowly produce lactic and acetic acids. The longer the cold proof, the more acid accumulates. Lactic acid contributes a milder, yogurt-like sourness, while acetic acid, favored slightly more at cooler temperatures, provides a sharper, vinegary note. This slow, prolonged acid production creates a more pronounced and complex tangy flavor profile than is possible with rapid room-temperature proofing, where yeast activity dominates and acid development is less extensive.
The Impact of Cold Proofing on Sourdough's Crust
Cold proofing sourdough bread has a significant positive impact on the final crust. When a cold loaf is placed into a very hot oven (typically 230-260°C or 450-500°F), the temperature difference is substantial. This temperature shock slows the rate at which the crust sets initially.
This slower setting allows the dough more time to expand rapidly from the internal steam generated (oven spring) before the crust becomes rigid. The surface of the dough also stays moist longer due to condensation and the dough's chilled state. This prolonged moisture and flexible surface allow for maximum expansion and contribute to a thinner, crispier, and more blistered crust. The sugars broken down during the long cold proofing sourdough also contribute to deeper caramelization and a richer color during baking.
Achieving a Complex Flavor Profile Through Cold Fermentation
Beyond just tanginess, cold proofing sourdough contributes to overall flavor complexity. The slow enzymatic activity over many hours breaks down complex carbohydrates and proteins into simpler sugars and amino acids. These simpler compounds are not only food for the microbes but also participate in the Maillard reaction and caramelization during baking, contributing to richer crust flavors.
Furthermore, the extended fermentation allows for the development of various volatile organic compounds (VOCs) by both yeasts and bacteria. These VOCs are responsible for many of the subtle aromatic notes in artisanal bread. While specific compounds depend on the starter's microbial makeup and ingredients, the extended time in the cold provides the opportunity for a wider array of these flavor and aroma compounds to develop compared to a short proof. This results in a more nuanced, layered flavor profile in the final cold proofed sourdough bread.
Recipes and Applications: Cold Proofed Sourdough
Basic Cold Proofed Sourdough Recipe for Beginners
This recipe provides a simple starting point for cold proofing sourdough bread.
Ingredients:
- 100g active sourdough starter (fed 4-12 hours prior)
- 350g warm water (approx. 28-30°C / 82-86°F)
- 500g strong bread flour
- 10g fine sea salt
Instructions:
- In a large bowl, whisk together starter and water. Add flour and mix with a spoon or hands until no dry flour remains. Cover and rest 30 minutes (autolyse).
- Add salt. Wet your hand slightly and incorporate salt using a pinching motion, then perform a few stretch and folds in the bowl.
- Over the next 2-3 hours, perform 3-4 sets of stretch and folds every 30-45 minutes. The dough should become smoother and more elastic. Let the dough rest, covered, until it has increased in volume by about 30-40%.
- Gently turn the dough out onto a lightly floured surface. Pre-shape into a round and rest 20 minutes.
- Perform final shaping. Place dough seam-side up in a well-floured banneton.
- Cover the banneton tightly and place in the refrigerator (3-5°C) for 12-24 hours.
- Preheat oven to 230°C (450°F) with a Dutch oven inside for 45-60 minutes.
- Carefully turn the cold proofed sourdough bread dough out of the banneton onto parchment paper. Score the top.
- Carefully lower the dough into the hot Dutch oven. Bake with lid on for 20 minutes.
- Remove lid and bake for another 20-25 minutes, or until deep golden brown and internal temperature reaches 95-100°C (205-210°F).
Spelt and Honey Cold Proofed Sourdough Recipe
Adding whole grains and sweeteners can alter fermentation slightly but still benefits greatly from cold proofing sourdough.
Ingredients:
- 100g active sourdough starter
- 370g warm water
- 400g strong bread flour
- 100g whole spelt flour
- 15g honey
- 10g fine sea salt
Instructions:
- Follow steps 1-2 from the basic recipe, adding honey with the water and starter.
- Perform stretch and folds (3-4 sets over 2.5-3.5 hours), noting that whole grain doughs may develop gluten slightly differently. Aim for a 30-40% volume increase.
- Shape and place dough in a well-floured banneton.
- Cover and cold proof sourdough in the refrigerator (3-5°C) for 18-36 hours. Spelt can sometimes ferment a little faster, so monitor closely.
- Bake following steps 7-10 from the basic recipe. The honey will contribute to a darker, sweeter crust. This cold proofed sourdough bread loaf will have a slightly nuttier flavor from the spelt.
Using Cold Proofed Sourdough for Different Bread Types: Baguettes, Boules, and Focaccia
Cold proofing sourdough is versatile and can be applied to various bread shapes and styles, each benefiting from the enhanced flavor and structure.
- Boules (Round Loaves): The most classic application. Cold proofing in a round banneton helps the boule hold its shape perfectly for scoring and baking in a Dutch oven, resulting in a beautiful, open crumb.
- Baguettes: Shaping baguettes from cold proofed sourdough dough is often easier because the dough is firmer and less sticky straight from the fridge. Proofing them on a floured couche (linen cloth) in the refrigerator allows for longer fermentation than room temperature proofing, developing the characteristic baguette flavor and crispy crust. Bake on a baking stone with steam.
- Focaccia: While often proofed at room temperature, a cold proofed sourdough focaccia can develop a more complex flavor. After the bulk fermentation and transferring the dough to the oiled pan, it can be covered and refrigerated for 12-24 hours. Before baking, allow it to sit at room temperature for 1-2 hours to warm slightly and finish proofing, then dimple, top, and bake. This yields a flavorful focaccia with a lovely chewy texture.
Optimizing Your Sourdough Baking with Cold Proofing Tips
Adjusting Your Starter for Cold Proofing
While you don't necessarily need to change your starter feeding routine specifically for cold proofing sourdough, understanding its activity is key. A strong, active starter will perform better during both the initial bulk fermentation and the slow chill.
If you find your dough is consistently under-proofed after cold proofing, ensure you are using your starter at its peak activity (typically 4-8 hours after feeding, when it has doubled or tripled and is bubbly). If consistently over-proofing, you might try using a slightly less active starter (perhaps 10-12 hours after feeding, past its peak but still strong) or slightly reduce the percentage of starter in your recipe (e.g., from 20% to 15% of the total flour weight). Maintaining a regular feeding schedule keeps your starter robust, which is the foundation for successful cold proofing sourdough bread.
Scoring Techniques for Cold Proofed Sourdough
Scoring cold proofed sourdough dough straight from the refrigerator is significantly easier than scoring dough proofed at room temperature. The cold dough is firm and holds its shape, allowing for clean, precise cuts with a sharp lame or razor blade. This precision is crucial for controlling oven spring and creating beautiful patterns.
Common scoring patterns for cold proofed sourdough bread include:
- Single long slash: Allows maximum unidirectional expansion, ideal for creating an ear.
- Cross or 'X': Good for boules, provides even expansion.
- Multiple parallel slashes: Used for batards or baguettes, encouraging lengthwise expansion.
- Decorative patterns: Easier to execute on the firm, cold surface.
Aim for a depth of about 1/2 to 1 inch for the main scoring cuts to allow for proper expansion. Don't hesitate; make confident, swift cuts with a sharp blade on your cold proofed sourdough dough.
Baking Cold Proofed Sourdough: Achieving the Perfect Oven Spring
Baking cold proofed sourdough bread directly from the refrigerator is the standard practice and contributes significantly to excellent oven spring. When the cold dough hits the intense heat of a preheated oven (especially in a Dutch oven or with steam), the sudden temperature change causes the water within the dough to rapidly turn into steam. This steam expands the dough from the inside out before the crust has a chance to set.
The cold dough's firm structure, developed during the long proof, is better able to withstand this rapid expansion without collapsing. To maximize oven spring with cold proofed sourdough:
- Preheat your oven and baking vessel (Dutch oven, baking stone with steam) thoroughly to a high temperature (230-260°C / 450-500°F).
- Transfer the dough quickly from the fridge and score it immediately before placing it in the oven.
- Bake covered (in a Dutch oven) or with ample steam for the first 15-20 minutes to keep the crust pliable while the dough expands.
- Remove the lid/steam source and continue baking at a slightly lower temperature (220-230°C / 425-450°F) until the crust is deeply colored and the loaf is baked through.
This thermal shock and subsequent steam phase are key advantages of baking cold proofed sourdough bread.
Conclusion: Embrace Cold Proofing for Superior Sourdough
Incorporating cold proofing sourdough into your baking routine is a transformative step that elevates your bread from good to truly exceptional. This simple technique, involving a prolonged stay in the refrigerator, unlocks a depth of flavor and complexity that is simply unattainable with faster, room-temperature methods alone. The slow fermentation allows for the extensive work of lactic acid bacteria, developing that signature tangy taste, while also conditioning the dough for superior handling and structure.
From achieving a more open, airy crumb to developing a wonderfully crisp and caramelized crust, the benefits of cold proofing sourdough bread are numerous and tangible. While it requires patience and planning due to the extended timeline, the results are well worth the wait. Experimenting with different proofing times in the fridge will help you discover the perfect balance of flavor and texture that suits your preference and your starter's activity.
The Future of Sourdough Baking: Exploring Advanced Cold Proofing Techniques
As you become comfortable with cold proofing sourdough bread, you can explore more advanced variations. This might include pushing the limits of cold proofing duration (perhaps up to 72 hours or even longer for specific recipes and starters), experimenting with different refrigerator temperatures (though consistency is key), or combining cold proofing with other techniques like using a preferment (like a poolish or sponge) that has also undergone a period of cold fermentation.
Some bakers even experiment with staged cold proofs, moving the dough between different temperatures. The possibilities are vast, limited only by your curiosity and your starter's resilience. Embracing cold proofing sourdough is not just about following a step; it's about understanding the microbial activity and enzymatic processes that create truly outstanding bread, opening the door to a whole new level of sourdough mastery.
Frequently Asked Questions
What exactly is cold proofing sourdough bread?
Cold proofing is the process of slowing down the fermentation of sourdough bread dough by placing it in the refrigerator for an extended period. This allows for flavor development and improved crumb structure.
Why would I want to cold proof my sourdough?
Cold proofing offers several benefits, including enhanced flavor, a more manageable baking schedule, and a stronger dough structure. It also helps to control the sourness of the bread.
How long should I cold proof my sourdough bread?
The ideal cold proofing time varies, but generally ranges from 12 to 72 hours. The longer the proof, the more complex the flavor will become.
Does cold proofing affect the final bake of the sourdough?
Yes, it definitely does. Cold proofing results in a tighter crumb, a more pronounced sour flavor, and often a better oven spring, leading to a more aesthetically pleasing loaf.
What temperature should my refrigerator be for cold proofing sourdough?
Your refrigerator should be set to a temperature between 35°F and 40°F (2°C and 4°C) for optimal cold proofing results. This range slows down fermentation without completely stopping it.
Final Reflection: The Transformative Power of Cold Proofing
The gentle art of cold proofing is more than just a baking technique; it's a gateway to unlocking the full potential of your sourdough starter. This method, often overlooked, significantly impacts the final product, resulting in a bread with superior flavor, texture, and structure – a testament to the power of patience and controlled fermentation. The subtle nuances achieved through cold proofing elevate the humble loaf to an entirely new level of artistry.
The impact of cold proofing extends beyond the individual baker, influencing the very landscape of sourdough appreciation. It represents a shift towards a slower, more mindful approach to baking, a counterpoint to the fast-paced demands of modern life. This deliberate process allows for a deeper understanding of the complex interplay between flour, water, and time, fostering a connection between baker and bread that is both rewarding and deeply satisfying. Slow is smooth, smooth is fast
– a principle that perfectly encapsulates the benefits of cold proofing and its impact on the final result.
Now, consider your own baking journey. Will you embrace the transformative power of cold proofing? I encourage you to experiment, to observe the subtle changes in your dough, and to savor the richly nuanced flavor of a loaf patiently crafted. The journey of mastering cold proofing is a journey of self-discovery, a testament to the rewards of mindful practice, and a celebration of the enduring magic of sourdough. Let the slow rise be a metaphor for your own growth, a reminder that the most rewarding achievements often require patience and a deep appreciation for the process.
Unleash Your Inner Sourdough Master!
Thanks for taking the time to explore the world of cold proofing with us! You've now learned a valuable technique to elevate your sourdough baking. Ready to put your new knowledge into practice?
- Bake a Cold-Proofed Loaf: This is your moment to shine! Try out the cold proofing method on your next sourdough and experience the difference in structure and flavor. Note your observations – you might be surprised!
- Share Your Success (or Challenges!): Connect with our baking community on social media and share your cold-proofed creations (or any questions you have!). Let's learn from each other!
- Experiment with Different Flours and Times: Don't be afraid to get creative! Try cold proofing with different types of flour and experiment with varying proofing times to discover your perfect recipe.
So, what unique flavor or texture will your next cold-proofed sourdough masterpiece have?