
The Art of Shaping European Breads: Techniques Revealed

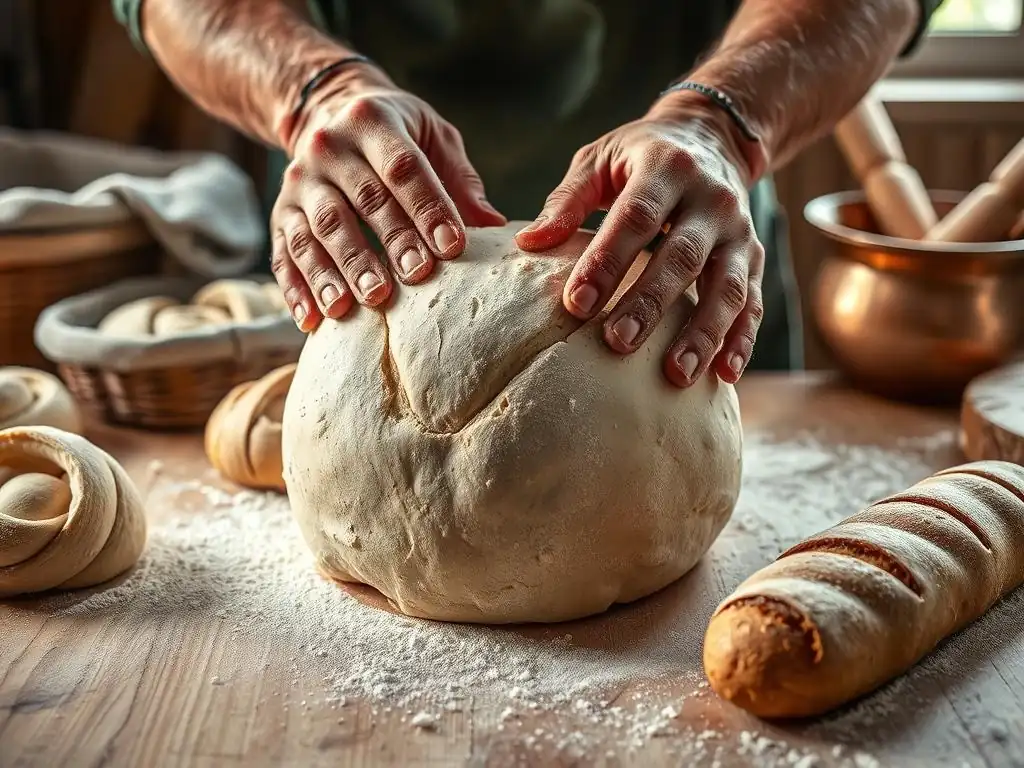
Welcome to BakeWithEase, your partner in creating delicious baked goods! Ever wondered how European bakers achieve those perfectly sculpted loaves? Delve into the secrets of European bread shaping techniques and unlock a world of artisanal baking. This article reveals step-by-step methods that will transform your dough into edible works of art, leaving you eager to try new shapes and textures. So, grab your apron and let's begin – what will you create today?
- Sourdough Mastery: Mastering European Bread Shaping
- Regional European Bread Shaping Techniques: A Baker's Guide
- Advanced European Bread Shaping Methods
- Troubleshooting Common Bread Shaping Issues
- Tips for Perfecting Your European Bread Shaping Skills
- Resources for Learning More About European Bread Shaping
- Conclusion: Embracing the Art of European Bread Shaping
-
Frequently Asked Questions
- What are some common types of European breads that require specific shaping techniques?
- Why is proper shaping important when baking European breads?
- What are some essential tools that can help with shaping European breads?
- Can you describe a basic shaping technique for a boule (round loaf)?
- Where can I find more detailed instructions and visual guides on European bread shaping techniques?
- Final Reflection: The Enduring Legacy of European Bread Shaping
- Unleash Your Inner Baker: Master European Breads Today!
Sourdough Mastery: Mastering European Bread Shaping
Why Shaping Matters in European Bread Baking
The process of shaping is perhaps one of the most critical steps in creating beautiful and functional European breads. It's not merely about aesthetics; proper shaping techniques directly impact the final structure, texture, and oven spring of the loaf. A well-shaped dough creates surface tension, which acts like a skin holding the internal structure together.
This tension is crucial during baking, allowing the loaf to expand upwards rather than outwards, resulting in a higher rise and a more desirable crumb structure. Without adequate tension achieved through effective European bread shaping techniques, a loaf might spread excessively on the baking surface, leading to a dense, flat bread.
Beyond structural integrity, shaping defines the identity of a specific European bread. Think of the elongated form of a baguette, the rustic roundness of a boule, or the intricate twist of a pretzel – these shapes are iconic and tell a story about the bread's origin and tradition.
Mastering these specific European bread shaping techniques ensures that the finished loaf not only tastes authentic but also looks the part, fulfilling the expectations associated with classic European bakery items. It’s the final manipulation before proofing and baking that locks in the potential developed during mixing and fermentation, making it a pivotal moment in the baking journey.
Key Tools for Shaping European Breads
Having the right tools at your disposal can significantly improve your European bread shaping techniques and overall results. A flexible bench scraper is indispensable for dividing dough, lifting sticky masses from the work surface, and even helping to coax dough into certain shapes by providing gentle support. A sturdy, non-flexible bench scraper is also useful for cleaning surfaces and handling stiffer doughs. These simple tools provide leverage and control that hands alone cannot always achieve, especially with high-hydration doughs common in many European styles.
Proofing baskets, often called bannetons, are essential for providing support to shaped dough during its final rise, particularly for wetter doughs like many sourdoughs or ciabattas. Available in various shapes like rounds (for boules) and ovals (for bâtards), they help maintain the dough's structure and contribute a lovely spiral pattern to the crust if lined with cloth or rattan.
A sharp lame or razor blade is another crucial tool for scoring the dough just before baking. Proper scoring allows for controlled expansion during oven spring and is an integral part of the European bread shaping techniques, influencing both the loaf's structure and its visual appeal.
Essential Dough Handling for Optimal Shaping
Effective European bread shaping techniques rely heavily on understanding and respecting the dough's properties. The key is to develop sufficient surface tension without tearing the delicate gluten network. This is often achieved through a series of folds and tucks that gather the dough's exterior tightly while creating internal structure. Working with dough that has undergone sufficient fermentation is also critical; it should be extensible but still have enough strength to hold its shape. Over-proofed dough can be slack and difficult to shape, while under-proofed dough might be too tight and resist shaping.
Hydration level plays a significant role in dough handling. Lower hydration doughs (around 60-65%) are generally easier to shape, requiring less flour on the work surface. Higher hydration doughs (70% and above) are stickier and require a gentler touch, often benefiting from minimal flour, wet hands, or working on a lightly damp surface. Techniques like the "stretch and fold" during bulk fermentation help develop strength, making the dough more manageable during the final shaping stage. Practicing these essential dough handling skills is fundamental to mastering European bread shaping techniques and achieving consistent results.
Regional European Bread Shaping Techniques: A Baker's Guide
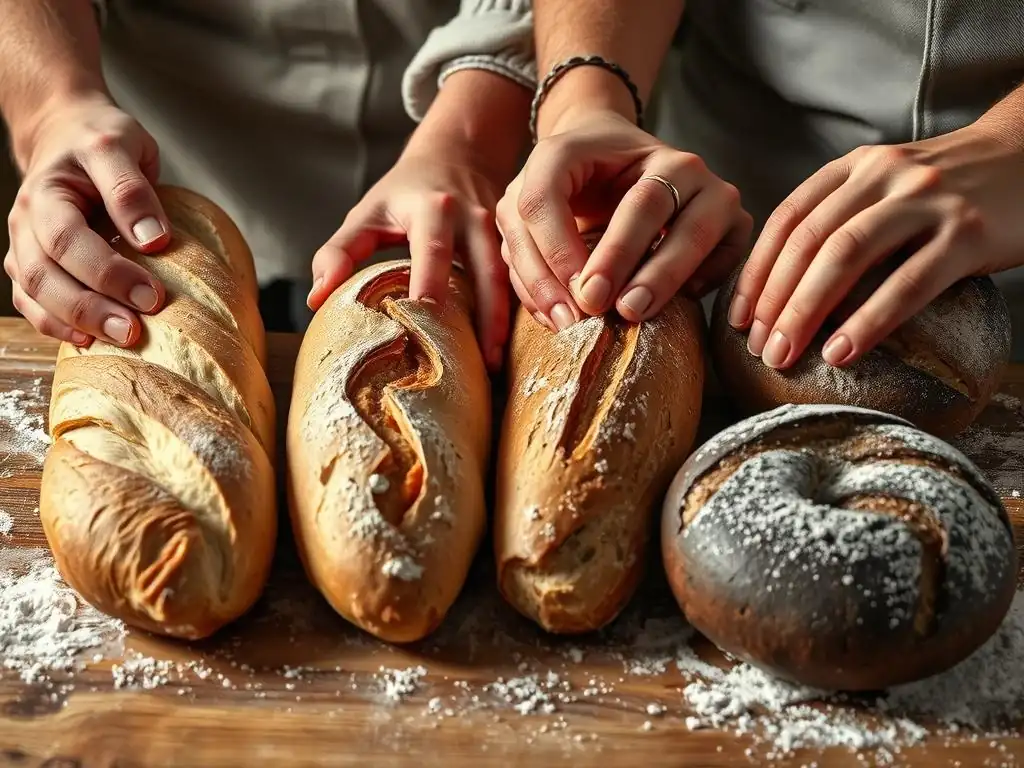
Shaping French Breads: Baguettes and Boules
French baking is renowned for its elegant simplicity and iconic shapes, primarily the baguette and the boule. Mastering the specific European bread shaping techniques for these loaves is a hallmark of a skilled baker. The baguette's long, slender form requires careful handling to achieve even thickness and a taut surface, while the boule's rustic roundness depends on creating uniform tension around the entire loaf. Both shapes rely on developing a strong gluten structure during mixing and fermentation to support their form during baking.
The characteristic open crumb of many French breads is partly a result of gentle handling during shaping, which preserves the gas bubbles created during fermentation. Overworking the dough at this stage can degas it, leading to a denser crumb. Practicing the specific folding and rolling motions for baguettes and the tucking and rounding techniques for boules is crucial. These European bread shaping techniques, refined over generations, are designed to achieve the perfect balance of structure, tension, and gas retention necessary for these classic loaves.
Mastering the Baguette Shape: Tucking and Tapering
Creating the classic baguette shape involves a series of careful folds and rolls to achieve a long, slender loaf with a taut surface. After dividing the dough, it's often pre-shaped into a loose log and allowed to rest. For the final shaping, the dough is typically flattened slightly, then folded lengthwise, pressing down to seal the seam. This process is repeated, progressively tightening the roll and ensuring a smooth exterior. The ends are often tapered slightly to give the baguette its characteristic pointed tips.
The key to mastering this European bread shaping technique is building tension without tearing the dough. Each fold and roll should gently stretch the outside layer while maintaining internal structure. The final rolling motion on the work surface elongates the log and seals the seam along the bottom. Proper technique ensures the baguette holds its shape during proofing and achieves maximum oven spring, resulting in a light, airy crumb and a crisp crust.
Creating the Perfect Boule: Tension and Roundness
Shaping a boule, the classic round loaf, focuses on creating even surface tension around the entire dough mass. After pre-shaping into a loose round and resting, the dough is typically placed seam-side up on a lightly floured surface. The edges are then folded into the center from all sides, creating a rough package. This process is repeated, pulling the dough towards you while tucking the bottom underneath, using the friction of the surface to create tension on the top.
The goal of this European bread shaping technique is to form a smooth, taut "skin" on the top surface of the dough ball. This tension helps the loaf maintain its spherical shape during proofing and baking, promoting a good, even rise. The final step often involves cupping the dough with your hands and rotating it on the surface with minimal flour to further tighten the outer layer. A well-shaped boule will hold its round form firmly before being placed seam-side up in a proofing basket.
Italian Bread Shaping: Ciabatta and Focaccia
Italian breads often celebrate rustic shapes and textures, with ciabatta and focaccia being prime examples. Unlike the highly structured forms of French breads, the European bread shaping techniques for these loaves emphasize gentle handling and allowing the dough's natural characteristics to shine. Both are typically high-hydration doughs, requiring a different approach to shaping that minimizes degassing and preserves their airy structure.
The beauty of ciabatta lies in its irregular, open crumb and rustic slipper shape, while focaccia is defined by its flat form and characteristic dimpled surface. Mastering these Italian European bread shaping techniques involves understanding how to work with wet dough and leveraging tools like wet hands or generous flouring, depending on the specific recipe. The focus is less on creating tight tension and more on guiding the dough into its intended form while maintaining its inherent lightness.
Achieving the Signature Ciabatta Shape: Gentle Handling and Stretching
Ciabatta dough is notoriously wet and sticky, often having a hydration of 80% or more. Because of this, traditional kneading and aggressive shaping are avoided. The European bread shaping technique for ciabatta involves minimal handling after bulk fermentation. The dough is typically turned out onto a generously floured surface and gently divided into portions using a bench scraper, trying not to deflate it.
Each portion is then gently stretched or coaxed into a rectangular or slipper-like shape. This is often done by simply lifting and stretching the dough piece from the ends or corners, allowing gravity to assist. Excessive handling or trying to create a smooth, taut surface will degas the dough and result in a dense loaf. The key is gentle manipulation, preserving the large air bubbles that give ciabatta its signature open crumb.
Shaping Focaccia: Dimpling Techniques and Even Distribution
Focaccia shaping is less about building tension and more about spreading the dough evenly and creating its characteristic dimpled surface. After bulk fermentation, the high-hydration dough is typically transferred to a well-oiled baking pan or sheet. It's then gently stretched or pressed to fill the pan, often requiring rest periods if the dough springs back. This initial spreading is the primary European bread shaping technique for focaccia.
Once the dough is spread, the surface is generously drizzled with olive oil. The iconic dimples are then created by pressing fingertips firmly into the dough, often all the way down to the pan. This serves multiple purposes: it pushes air pockets around for an even crumb, creates wells for the olive oil and toppings, and prevents the dough from puffing up too much in the oven. Even distribution of the dough and effective dimpling are key to a successful focaccia.
German Bread Shaping: Pretzels and Brotchen
German bread traditions feature a wide variety of shapes, from the iconic twisted pretzel to the humble, crusty Brotchen (rolls). The European bread shaping techniques employed often prioritize creating specific textures – a chewy interior and a dark, glossy exterior for pretzels, or a crisp crust and relatively tight crumb for Brotchen. These techniques often involve more manipulation and precise movements than some other European styles.
The pretzel's unique shape and texture are achieved through a specific rolling and twisting method followed by a crucial lye bath, while Brotchen shaping focuses on creating surface tension and often involves scoring for controlled expansion. Mastering these German European bread shaping techniques requires precision and practice, particularly with the pretzel twist, which must be uniform to ensure even baking and lye coverage.
The Art of Pretzel Shaping: Rolling, Twisting, and Lye Bath
Pretzel shaping is a distinctive European bread shaping technique that gives this bread its famous form. Dough portions are typically rolled into long, thin ropes, often tapering slightly at the ends. The rope is then picked up by the ends, the ends are crossed, twisted once or twice, and then brought back down and pressed into the bottom curve of the pretzel. Uniform thickness of the rope is key for even baking.
After shaping, the pretzels are usually chilled briefly to firm them up before being dipped in a food-grade lye solution (sodium hydroxide). This lye bath is not strictly a shaping technique but is integral to the pretzel's final appearance and texture, reacting with the dough surface to create the signature dark, glossy brown crust during baking. Careful handling is required after the lye bath as the dough surface is delicate.
Crafting Perfect Brotchen: Scoring and Shaping for Crispy Crust
Brotchen, or German rolls, come in various shapes, but a common technique involves shaping them into tight rounds or ovals and then scoring the top before baking. Dough portions are typically rounded tightly to create surface tension, similar to shaping small boules. This ensures the rolls hold their shape and achieve good volume.
Once shaped, the rolls are often proofed seam-side down. Just before baking, they are typically inverted (seam-side up) and scored with a sharp blade. Common scoring patterns include a single slash, a cross, or multiple parallel slashes. This European bread shaping technique of scoring allows the roll to expand in a controlled manner, contributing to a crispier crust and a classic appearance. The depth and angle of the score are important for achieving the desired result.
Scandinavian bread traditions often feature dense rye breads and decorative shapes like knots. The European bread shaping techniques for these breads can vary significantly. Rye breads, particularly those with a high percentage of rye flour, behave differently than wheat doughs; they are often stickier and lack strong gluten development, requiring alternative shaping strategies.
Decorative shapes like knots showcase a different aspect of European bread shaping techniques, focusing on visual appeal achieved through braiding and tucking dough strands. Mastering these techniques involves understanding the unique properties of rye dough and developing dexterity for intricate formations, adding an artistic dimension to the baking process.
Shaping Dense Rye Bread: Using a Pan for Structure
Many traditional Scandinavian rye breads, especially those with very high rye content, have a sticky, slack dough that doesn't hold its shape well on its own. For these breads, the primary "shaping" technique involves simply transferring the dough into a loaf pan. The pan provides the necessary structural support during proofing and baking, preventing the dough from spreading outwards.
After a minimal amount of handling to get the dough into the pan, the surface is often smoothed with wet hands or a spatula. Sometimes, the top might be scored or sprinkled with seeds. This European bread shaping approach acknowledges the dough's nature and leverages the baking vessel to achieve the desired loaf form, resulting in a dense, moist crumb characteristic of these hearty breads.
The Beauty of Bread Knots: Braiding and Tucking Techniques
Bread knots are a delightful example of decorative European bread shaping techniques, turning simple dough strands into visually appealing forms. This technique is often applied to slightly enriched doughs that are pliable and easy to handle. Dough portions are typically rolled into long, even ropes.
The rope is then tied into a knot. There are various ways to tie a bread knot, but a common method involves forming a loop, bringing one end over and through the loop, and then tucking the remaining ends underneath the knot to secure the shape. The key is to keep the tension relatively even throughout the rope and the knot so that it bakes uniformly. These shaped knots can be baked individually as rolls or arranged together.
Advanced European Bread Shaping Methods
Scoring Techniques for Enhanced Bread Appearance
Scoring, also known as slashing or docking, is an advanced European bread shaping technique performed just before the loaf is placed in the oven. It's more than just decorative; it serves a crucial function by creating weak points on the dough's surface. As the dough expands rapidly in the hot oven (oven spring), these scores allow the loaf to tear in a controlled manner, preventing blowouts elsewhere and guiding the expansion for better volume and shape.
Beyond its functional purpose, scoring is an art form that significantly enhances the bread's appearance. Bakers use sharp blades (lames) to create intricate patterns – simple slashes, complex geometric designs, or even representational images. The angle and depth of the cut influence how the crust will open and caramelize, contributing to the final look and texture. Mastering various scoring patterns is a rewarding aspect of perfecting your European bread shaping techniques.
Creating Decorative Bread Shapes: Leaves and Geometric Patterns
Moving beyond basic loaves, advanced European bread shaping techniques include forming decorative shapes like leaves, braids, or geometric patterns. These techniques transform simple dough into edible art. Leaf shapes, for example, are often created by shaping dough into an oval and then using scissors or a knife to make cuts along the edges, simulating leaf veins and serrations.
Braiding involves dividing dough into strands and weaving them together, a technique used for challah (though not strictly European, braiding is used in European contexts) or decorative loaf tops. Geometric patterns can be created by cutting and arranging dough pieces before baking. These methods require precision and practice to ensure the shapes hold during proofing and baking, adding a visually stunning element to the finished bread.
Working with Stencils for European Bread Art
Stencils offer a way to add intricate designs to the surface of European breads, particularly boules with a smooth, taut surface. This is a relatively simple yet effective advanced European bread shaping technique focused purely on decoration. Stencils can be made from paper, plastic, or metal and feature various patterns, logos, or images.
To use a stencil, it is placed carefully on the surface of the proofed dough just before baking. Then, a fine powder like rice flour, cocoa powder, or a mix of flour and seeds is dusted over the stencil. When the stencil is lifted, the design remains on the dough's surface, creating a striking contrast after the bread bakes and the non-stenciled areas brown. This technique allows for detailed and repeatable decorative elements on your European bread shaping projects.
Troubleshooting Common Bread Shaping Issues
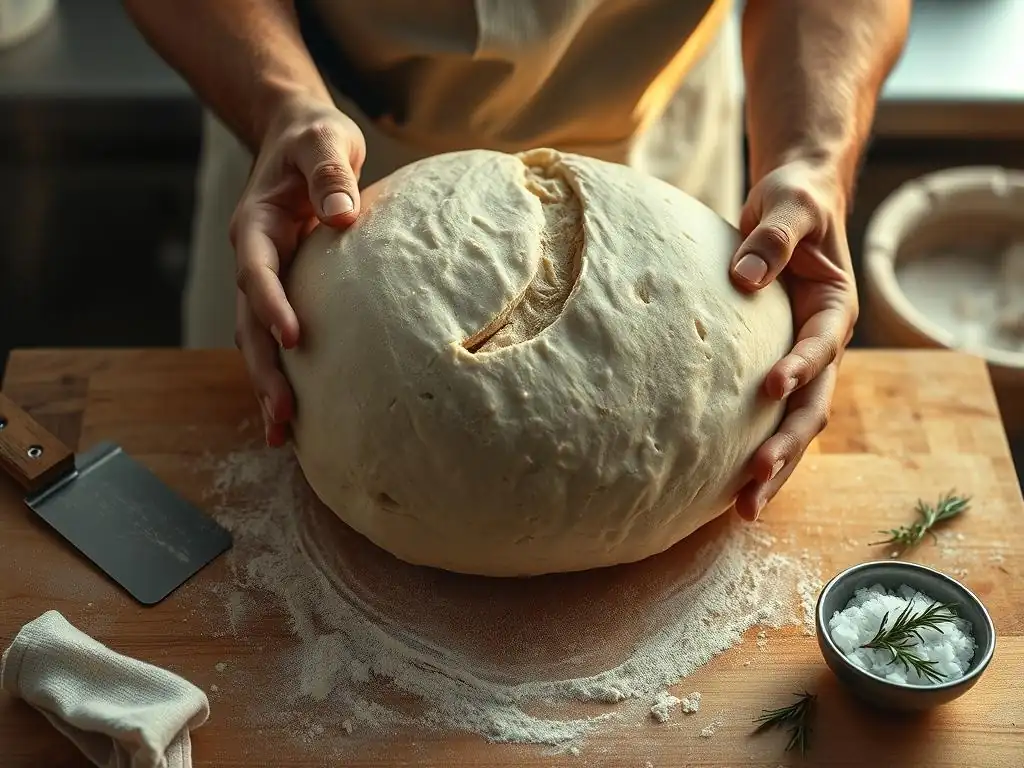
Dough That's Too Sticky: Flour Adjustments and Cold Fermentation
A common challenge in European bread shaping techniques is dealing with dough that is excessively sticky, often due to high hydration or insufficient gluten development. If the dough is too sticky to handle, resist the urge to add large amounts of flour to the work surface or the dough itself during shaping, as this can alter the dough's hydration balance and result in a dry crumb. Instead, try using a minimal amount of flour on your hands and tools, or work on a surface lightly dampened with water for very high hydration doughs.
Another effective strategy for sticky dough is cold fermentation. Retarding the dough in the refrigerator for several hours or overnight firms it up significantly, making it much easier to handle and shape. The cold temperature slows down fermentation but allows the gluten to relax and become more manageable. Working with cold dough is often recommended for intricate European bread shaping techniques like baguette rolling or pretzel twisting.
Dough That's Too Dry: Hydration Adjustments and Autolyse
Conversely, dough that is too dry can be stiff, difficult to shape, and prone to tearing. This can happen if the initial hydration was too low or if too much flour was incorporated during kneading. While it's hard to add water back into the dough effectively during shaping, understanding the cause can help for future bakes. For a dough that feels too dry before the final shape, a brief rest period (5-10 minutes) can sometimes help it relax and become more pliable.
To prevent dry dough in the first place, ensure accurate measurement of ingredients, especially water. Employing the autolyse technique – mixing just the flour and water and letting it rest before adding salt and starter/yeast – can help the flour absorb water more fully and develop gluten, resulting in a more extensible dough that is easier to shape. Proper hydration is fundamental to successful European bread shaping techniques.
Uneven Shaping: Consistent Tension and Hand Placement
Achieving uniform shape and even rise in European bread shaping requires consistent tension and precise hand placement. Uneven shaping can lead to loaves that are lopsided, bulge in strange places, or don't develop tension evenly, resulting in poor oven spring in certain areas. This is often a result of inconsistent folding, rolling, or tucking during the shaping process.
To combat uneven shaping, focus on applying even pressure and tension across the entire surface of the dough as you work. When rounding a boule, ensure you're creating tension uniformly around the base. When rolling a baguette, strive for even thickness along the entire log. Pay attention to your hand placement and movements, ensuring they are consistent from one loaf to the next. Practice and muscle memory are key to developing the consistency needed for advanced European bread shaping techniques.
Tips for Perfecting Your European Bread Shaping Skills
Practice Makes Perfect: Repetition and Refinement
Like any craft, mastering European bread shaping techniques requires consistent practice. Don't be discouraged if your first attempts aren't perfect. The feel of the dough, the right amount of tension, and the fluidity of the movements all come with repetition. Set aside time regularly to bake, focusing specifically on refining your shaping steps.
Try shaping the same type of loaf multiple times in one baking session or over several weeks. Pay close attention to how the dough responds to your touch. With each attempt, you'll gain a better understanding of how to handle different hydration levels and dough strengths, leading to more controlled and effective European bread shaping.
Documenting Your Progress: Note-Taking and Adjustments
Keeping a baking journal is an invaluable tool for perfecting your European bread shaping skills. After each bake, make notes on the dough's consistency, how it felt during shaping, any difficulties you encountered, and the final result. Did the loaf hold its shape well? Was the tension even? Did the scores open properly?
Reviewing your notes can help you identify patterns and understand what adjustments are needed in future bakes. Perhaps the dough was too sticky at 75% hydration with a certain flour, suggesting you might try slightly less water or a different flour next time. Documenting your European bread shaping journey allows for targeted improvements.
Exploring Different Flour Types and Their Impact on Shaping
The type of flour used significantly impacts dough behavior and, consequently, European bread shaping techniques. Flours with higher protein content, like bread flour, generally develop stronger gluten, making dough more elastic and easier to shape into structured forms like baguettes or boules. Softer flours, like those used in some pastries or cakes, yield weaker doughs less suited for tension-based shaping.
Experimenting with different flour types – from high-gluten bread flour to various types of rye or whole wheat – will teach you how to adapt your handling and shaping methods. For instance, shaping a loaf with a high percentage of whole wheat or rye flour requires different European bread shaping techniques than shaping a pure white wheat loaf because these flours affect gluten development and dough stickiness differently.
Resources for Learning More About European Bread Shaping
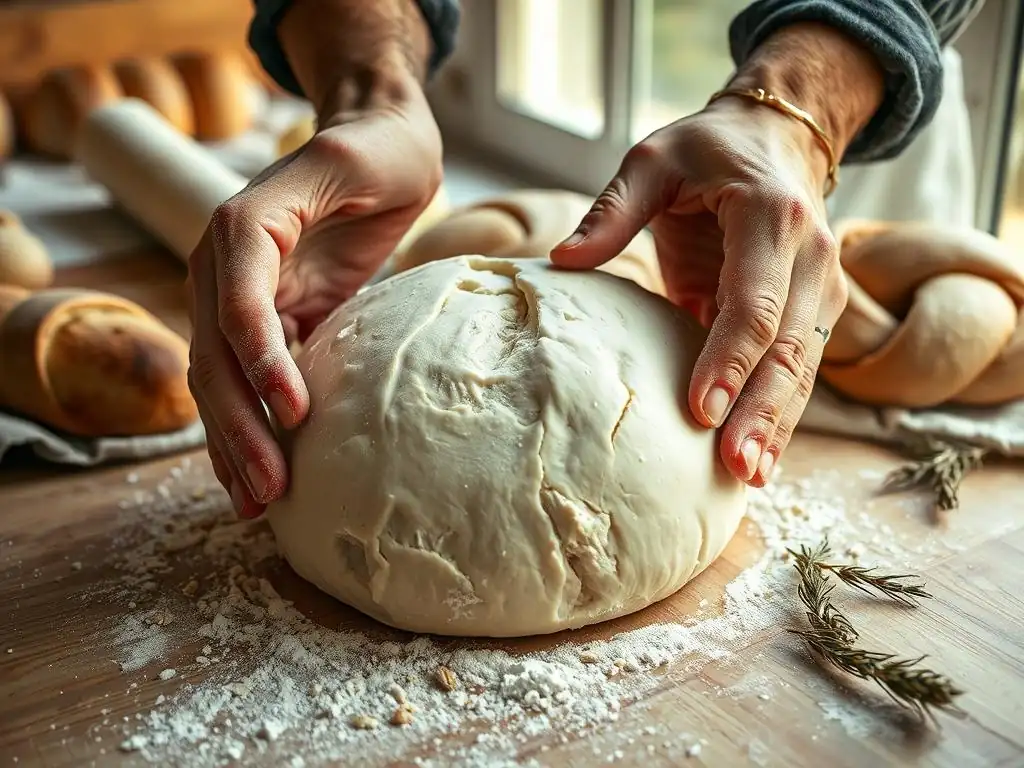
Recommended Books on Bread Baking and Shaping
Books dedicated to bread baking offer a wealth of knowledge on European bread shaping techniques. Look for comprehensive guides that include detailed instructions, step-by-step photos, and explanations of the science behind shaping. Books focusing specifically on regional European breads can provide in-depth insights into traditional methods.
Many classic and contemporary baking books cover the fundamentals of dough handling, tension development, and specific shapes like boules, bâtards, baguettes, and rolls. While specific titles cannot be listed here, seeking out well-regarded authors and publishers in the baking world is a good starting point to deepen your understanding of European bread shaping.
Online Courses and Tutorials for European Breads
The digital world offers numerous opportunities to learn European bread shaping techniques through online courses and video tutorials. Visual learning can be particularly effective for mastering shaping, as you can watch experienced bakers demonstrate the techniques in real-time.
Many platforms offer courses ranging from beginner fundamentals to advanced regional specialties. Searching for tutorials on specific European bread shaping techniques, like "how to shape a baguette" or "ciabatta shaping," can provide valuable visual guidance to complement written instructions.
Local Baking Workshops and Classes
Participating in local baking workshops or classes provides hands-on experience and direct feedback, which can accelerate your learning of European bread shaping techniques. Learning in person allows instructors to correct your technique in the moment and answer specific questions about dough feel and handling.
Check with local bakeries, culinary schools, or community centers for bread baking classes. These often cover fundamental shaping techniques and may occasionally offer specialized workshops focusing on specific European bread shaping styles or regional loaves.
Conclusion: Embracing the Art of European Bread Shaping
Mastering European bread shaping techniques is a rewarding journey that elevates your baking from simply producing edible bread to creating beautiful, structurally sound, and authentic loaves. Each fold, tuck, and score contributes to the final character of the bread, telling a story of tradition and skill. Whether you're aiming for the perfect open crumb of a ciabatta, the iconic twist of a pretzel, or the majestic rise of a boule, understanding and practicing these techniques is key.
Embracing the art of European bread shaping is an ongoing process of learning, experimentation, and refinement. As you gain experience with different doughs and shapes, you'll develop an intuitive feel for the dough and a deeper appreciation for the craftsmanship involved in traditional bread making.
Continuing Your Baking Journey with Sourdough Mastery
Frequently Asked Questions
What are some common types of European breads that require specific shaping techniques?
Common European breads needing specific shaping are baguettes, boules, and batards. These shapes often involve techniques for creating surface tension and even baking.
Why is proper shaping important when baking European breads?
Proper shaping is crucial for developing the bread's structure and texture. It also affects the crust formation and overall aesthetic appeal.
What are some essential tools that can help with shaping European breads?
Useful tools include a bench scraper for handling dough, a proofing basket (banneton) for shaping, and a lame for scoring the loaf before baking.
Can you describe a basic shaping technique for a boule (round loaf)?
A basic boule shaping involves gently stretching and folding the dough towards the center, creating a round shape. This helps develop surface tension and a tight crumb structure.
Where can I find more detailed instructions and visual guides on European bread shaping techniques?
BakeWithEase.com offers step-by-step guides and easy-to-follow recipes with detailed instructions on various European bread shaping techniques.
Final Reflection: The Enduring Legacy of European Bread Shaping
The art of shaping European bread is far more than just a culinary technique; it's a living testament to centuries of tradition, innovation, and cultural exchange. The precise folds, the artful twists, the deliberate scoring – these aren't mere aesthetics; they are crucial to the final product's texture, flavor, and even its symbolic meaning. Understanding these techniques allows us to appreciate the depth and complexity embedded within each loaf.
The influence of bread shaping extends beyond the kitchen table; it's woven into the very fabric of European societies. From the rustic simplicity of a sourdough boule to the elegant intricacy of a Viennoiserie, each shape tells a story, reflecting regional variations and historical influences. The act of shaping itself becomes a meditative practice, a connection to generations past. Bread is the staff of life,
a proverb often repeated, but it's the shaping of that staff that reveals the artistry and care invested in its creation. This resonates deeply with me, as I've found a profound sense of peace and accomplishment in mastering these techniques.
Now, it's your turn. Consider the next loaf you bake – perhaps a simple baguette or an ambitious challah. Take a moment to appreciate the history and skill embedded in the shaping process. Don't just follow the instructions; feel the dough, understand its potential, and let your own creativity guide your hands. The journey of shaping bread is a journey of self-discovery, a testament to the enduring power of tradition, and a delicious way to connect with something larger than ourselves.
Unleash Your Inner Baker: Master European Breads Today!
Thanks for joining us on this delicious journey into the heart of European bread making! We hope you’ve gained valuable insights and inspiration to elevate your baking skills. Ready to put your new knowledge to the test?
- Begin your baking adventure immediately: Try recreating your favorite bread from the article – even a small loaf will unlock a deeper understanding of the process.
- Share your baking triumphs (and challenges!): Post a picture of your creation on social media and tag us – we'd love to see your results!
- Explore further with our comprehensive bread-baking guide (coming soon to BakeWithEase.com)!
What unique European bread are you most excited to try baking next? Let us know in the comments below!