
Troubleshooting Flat Whole Wheat Loaves: Get That Rise!

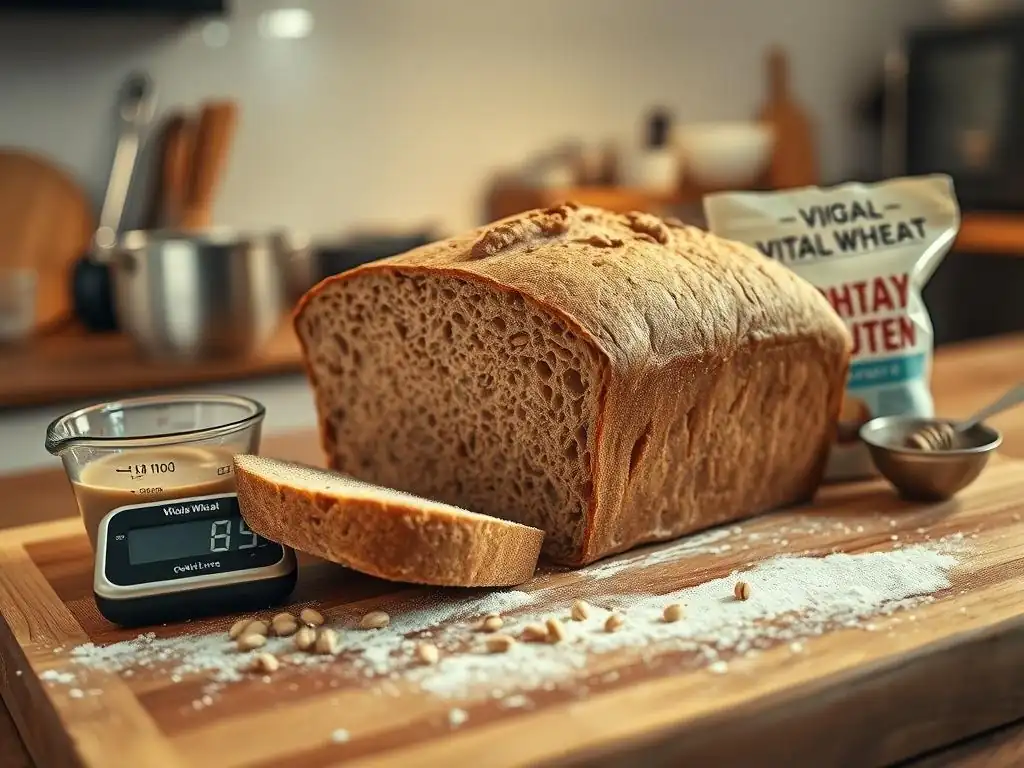
Welcome to BakeWithEase, your kitchen companion for confident baking! Ever wrestled with a flat whole wheat loaf and wondered where you went wrong? You're not alone! Discover the secrets to achieving that perfect rise and a beautifully textured crumb. Let's unravel the mysteries of whole wheat baking and conquer those troubleshooting tips, starting right now!
- BakeWithEase: Achieving the Perfect Whole Wheat Loaf
- Understanding Why Your Whole Wheat Bread is Flat
- Key Ingredients and Their Impact on Whole Wheat Bread Height
- Troubleshooting Techniques for a Better Whole Wheat Bread Rise
- Expert Tips for Baking High-Rising Whole Wheat Bread
- Preventing Future Flat Whole Wheat Loaves: Best Practices
- The Ultimate Flat Whole Wheat Loaf Fix: A Recap
- Frequently Asked Questions
- Final Reflection: The Joy (and Rise!) of Perfect Whole Wheat
- Unleash Your Inner Baker: Perfecting Your Whole Wheat Loaf!
BakeWithEase: Achieving the Perfect Whole Wheat Loaf
Baking a beautiful, lofty loaf of whole wheat bread can feel incredibly rewarding. The aroma filling your kitchen, the warm crust, and the hearty texture are unparalleled. However, many home bakers encounter the frustrating challenge of a flat whole wheat loaf. Instead of the desired domed top and airy crumb, they end up with a dense, squat brick. This common issue can be discouraging, but it's often fixable with a little understanding and adjustment.
At BakeWithEase, we believe that everyone can master the art of baking, including achieving that perfect rise with whole wheat. Whole wheat flour behaves differently than white flour, presenting unique hurdles. By delving into the science behind the rise and identifying common pitfalls, you can transform your baking results. This guide will walk you through the most frequent causes of a flat whole wheat loaf and provide actionable troubleshooting steps to help you get that glorious rise you've been dreaming of. Let's turn those dense failures into high-flying successes!
Understanding Why Your Whole Wheat Bread is Flat
Common Causes of a Flat Whole Wheat Loaf
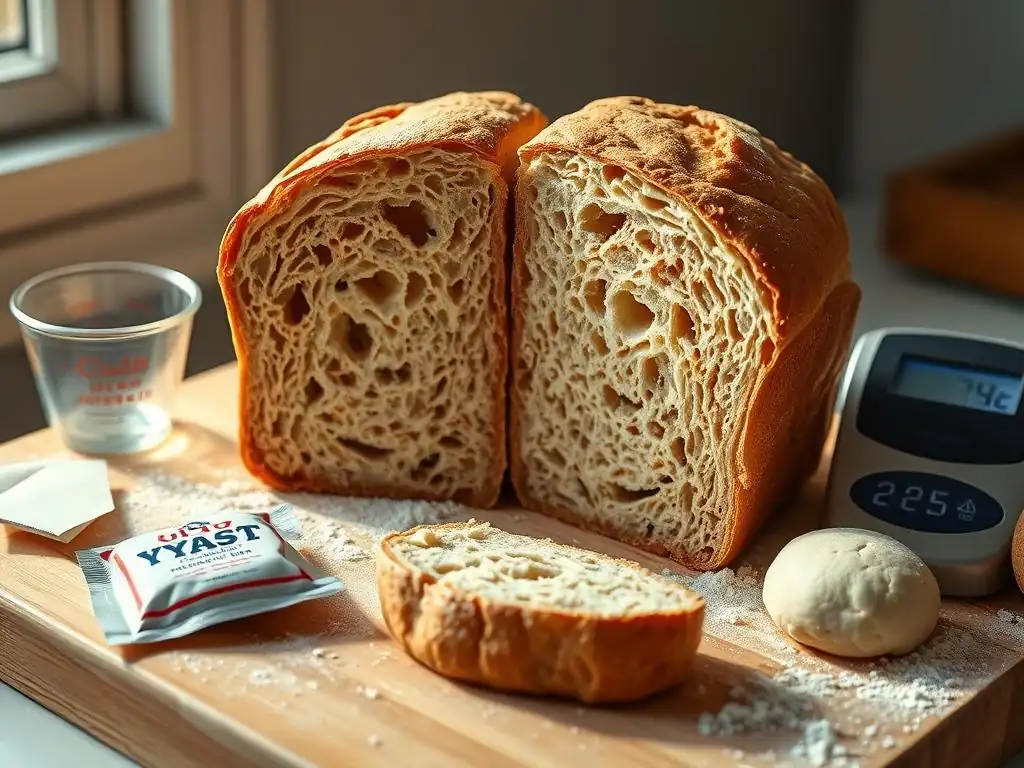
A flat whole wheat loaf is rarely caused by just one factor; it's often a combination of issues that compromise the dough's ability to hold its structure and expand. One primary culprit is insufficient gluten development. Whole wheat flour's bran and germ particles can interfere with the formation of a strong gluten network, which is essential for trapping the gases produced by yeast. Without this strong structure, the dough collapses rather than rising upwards.
Another frequent reason for a flat whole wheat loaf is improper proofing. Both under-proofing (not allowing enough time for the dough to rise) and over-proofing (letting it rise too long, causing the structure to weaken) can lead to a poor rise in the oven. Temperature plays a significant role here; a cold environment slows yeast activity, while a too-warm environment can speed it up excessively. Additionally, issues with the yeast itself, incorrect hydration levels, or even problems with oven temperature can contribute to a lackluster rise, necessitating a targeted flat whole wheat loaf fix.
The Importance of Gluten Development in Whole Wheat Baking
Gluten is a protein network formed when two proteins, glutenin and gliadin, found in wheat flour, combine with water and are developed through kneading. This network is like a stretchy, elastic balloon that traps the carbon dioxide gas produced by yeast during fermentation. In refined white flour, gluten develops relatively easily. However, whole wheat flour contains the bran and germ, which are sharp and can cut through the forming gluten strands, making it harder to build a strong, cohesive network capable of supporting a significant rise.
To combat this, whole wheat dough often requires more deliberate and sometimes longer kneading than white dough. Proper kneading stretches and aligns the gluten strands, creating a robust framework. When this framework is weak, the dough cannot hold its shape as the yeast produces gas, leading to a spread-out, flat loaf rather than one that rises vertically. Developing sufficient gluten is a critical step in achieving a good rise and preventing a flat whole wheat loaf.
The Role of Yeast in Achieving Bread Volume
Yeast is a living organism that acts as the leavening agent in bread. It consumes sugars in the dough and produces carbon dioxide gas and alcohol as byproducts. The carbon dioxide gas gets trapped within the elastic gluten network, causing the dough to expand or rise. The viability and activity of your yeast are paramount to a successful loaf. If your yeast is old, inactive, or killed by hot liquids, it won't produce enough gas, resulting in a dense, flat loaf.
Furthermore, the environment in which the yeast ferments significantly impacts its activity. Yeast thrives in warm, moist conditions. Temperatures that are too cold slow down fermentation dramatically, while excessively hot temperatures can kill the yeast. Providing the right temperature range, typically between 75-85°F (24-29°C), allows the yeast to work efficiently, producing the necessary gas to lift the dough. Understanding and controlling yeast activity is a fundamental part of any flat whole wheat loaf fix.
Key Ingredients and Their Impact on Whole Wheat Bread Height
Whole Wheat Flour: Choosing the Right Type for Optimal Rise
Not all whole wheat flours are created equal, and the type you use can significantly impact your loaf's rise. 'Hard' whole wheat flours, like those milled from hard red or white wheat, generally have a higher protein content (often 13-16%) than 'soft' varieties. Higher protein content translates to a greater potential for gluten development, which is crucial for trapping gas and achieving height. Using a high-quality, hard whole wheat flour specifically milled for bread baking is often the first step toward preventing a flat whole wheat loaf.
The fineness of the mill can also play a role. Coarsely ground whole wheat flours have larger bran and germ particles that can more aggressively interfere with gluten formation. Finer whole wheat flour allows for better gluten development and a smoother dough texture, potentially leading to a better rise. While stone-ground flours offer wonderful flavor, they can sometimes be coarser and require adjustments like increased hydration or the addition of vital wheat gluten to achieve optimal height.
Water Temperature: A Critical Factor for Yeast Activity
The temperature of the water (or other liquid) used in your bread dough is vital for activating and fueling the yeast. For active dry yeast, lukewarm water, typically between 105-115°F (40-46°C), is recommended to dissolve and proof the yeast before adding it to the dry ingredients. Instant yeast is more forgiving and can often be added directly to the dry ingredients, using water around 120-130°F (49-54°C) or even just warm tap water, as it activates faster.
Using water that is too cold (below 70°F or 21°C) will significantly slow down yeast activity, leading to a very long, slow rise that may not produce enough gas to lift the heavy whole wheat dough. Conversely, water that is too hot (above 130°F or 54°C for active dry, or much hotter for instant) can kill the yeast, rendering it inactive and resulting in absolutely no rise.
Always check your water temperature with a thermometer to ensure it falls within the optimal range for your specific type of yeast, a simple step that can significantly improve a flat whole wheat loaf fix.
Sweeteners: Fueling the Yeast for a Better Rise
While not strictly necessary for yeast activity (flour contains natural sugars), adding a small amount of sweetener like sugar, honey, or molasses can provide readily available food for the yeast, especially at the beginning of fermentation. This can help kickstart activity and ensure a more vigorous rise. Yeast consumes the sugar, producing more gas, which in turn helps lift the dough.
However, too much sugar can have the opposite effect. High concentrations of sugar can draw water out of the yeast cells through osmosis, slowing down or even inhibiting their activity. For most standard whole wheat bread recipes, 1 to 3 tablespoons of sugar or equivalent per loaf is sufficient to give the yeast a boost without hindering it. This small addition can sometimes be part of the solution for a flat whole wheat loaf.
Salt: Balancing Flavor and Controlling Yeast Growth
Salt is a crucial ingredient in bread making, not just for flavor but also for its impact on dough structure and yeast activity. Salt tightens the gluten network, making the dough stronger and more elastic, which is essential for trapping gas and achieving a good rise. It also helps control the rate of yeast fermentation, preventing the dough from rising too quickly and potentially over-proofing before the gluten structure is fully developed.
Adding too little salt will result in a bland loaf and a dough that may rise too fast and then collapse due to a weak gluten structure. Too much salt, on the other hand, can significantly inhibit yeast activity, leading to a slow or non-existent rise. The typical salt percentage in bread dough is around 1.8% to 2% of the total flour weight.
For example, a recipe using 500 grams of flour would typically use 9-10 grams of salt. Getting the salt balance right is key to both flavor and achieving a good rise, making it a fundamental aspect of any flat whole wheat loaf fix.
Troubleshooting Techniques for a Better Whole Wheat Bread Rise
Proofing Problems: Is Your Dough Rising Enough?
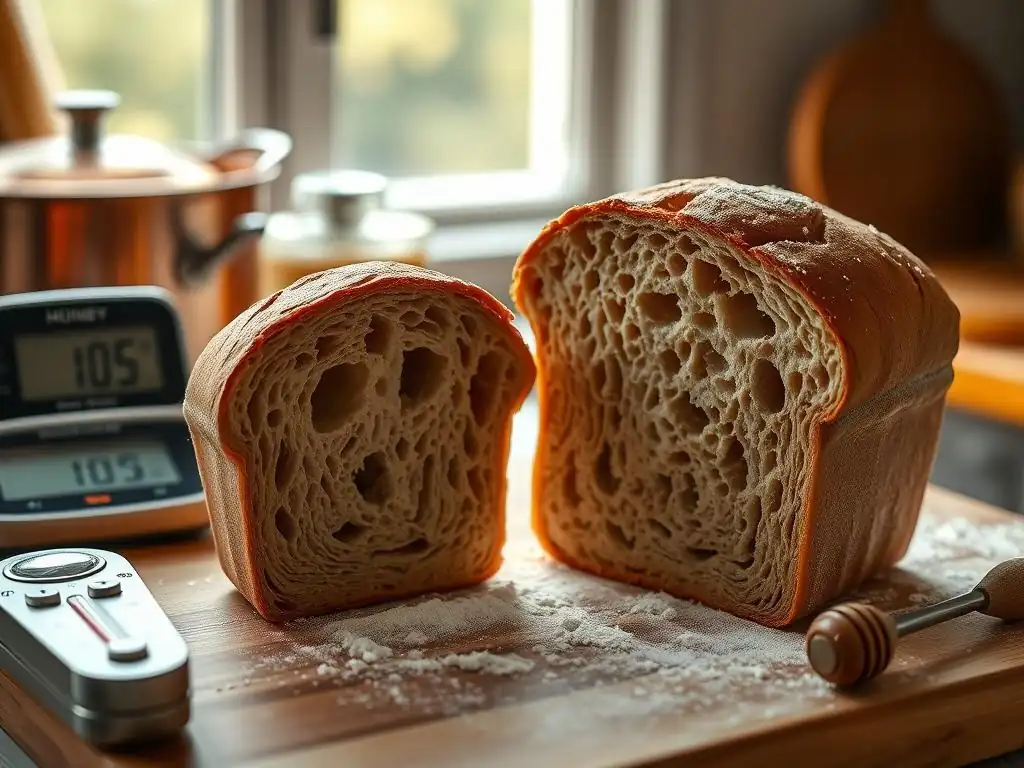
Proper proofing is arguably one of the most common areas where bakers run into trouble, leading to a flat whole wheat loaf. Proofing is the final rise of the shaped loaf before baking. During this time, the yeast continues to produce gas, expanding the dough volume. Getting the proofing time and environment right is critical for achieving optimal oven spring and a good final height.
- Check the Dough's Readiness: A common test for proper proofing is the "poke test." Gently press your finger into the side of the dough.
- If the indentation springs back immediately, the dough is likely under-proofed.
- If the indentation springs back very slowly and leaves a small indent, the dough is likely perfectly proofed.
- If the indentation remains completely without springing back, the dough is likely over-proofed.
Ensuring your dough has proofed just the right amount before baking is a critical step in achieving a good rise.
Over-Proofing vs. Under-Proofing Whole Wheat Dough
Over-proofing occurs when the dough is allowed to rise for too long or in a too-warm environment. The yeast consumes all the available sugars, and the gluten network becomes overstretched and weak. When placed in the oven, the weakened structure cannot support the initial burst of oven spring, and the loaf collapses or spreads out rather than rising upwards. An over-proofed loaf often looks very puffy before baking but deflates slightly when handled or scored.
Under-proofing, conversely, means the dough hasn't had enough time for the yeast to produce sufficient gas or for the gluten structure to relax adequately. An under-proofed loaf will be dense and heavy, with poor volume and a tight crumb. While it might experience some oven spring, it won't achieve its full potential height. Identifying whether your flat whole wheat loaf is a result of under- or over-proofing based on the poke test and appearance is the first step to correcting it.
Optimal Proofing Environment for Whole Wheat Bread
The ideal proofing environment is warm and humid, typically around 75-85°F (24-29°C) with about 70-80% humidity. This temperature range encourages steady yeast activity. Too cold, and the rise is sluggish; too hot, and it's too fast, increasing the risk of over-proofing. Humidity prevents the surface of the dough from drying out, which can restrict expansion.
You can create an optimal proofing environment in several ways:
- Place the dough in a lightly oiled bowl covered with plastic wrap or a damp towel in a warm spot in your kitchen (e.g., near a sunny window, on top of a warm oven that's been turned off).
- Use your oven with the light turned on (this often provides a low, consistent heat).
- Place a pan of hot water on the bottom rack of a cold oven and the dough on a rack above it.
Finding a consistent, warm, and humid place for proofing is a simple yet effective flat whole wheat loaf fix.
Dough Hydration: Finding the Right Balance for Your Whole Wheat Loaf
Hydration refers to the ratio of water to flour in a dough, expressed as a percentage (water weight / flour weight * 100). Whole wheat flour typically requires more water than white flour due to the absorbency of the bran and germ. A hydration level that is too low will result in a stiff, dense dough that is difficult to knead and won't rise properly because there isn't enough moisture for the gluten to develop fully or for the yeast to work efficiently. This is a common cause of a flat whole wheat loaf.
However, excessively high hydration can also be problematic. While it can lead to a more open crumb, a very wet dough is harder to handle, shape, and can collapse during proofing or baking if the gluten structure isn't incredibly strong. Whole wheat doughs typically perform well with hydration levels between 70% and 85%, depending on the specific flour and desired crumb. Experimenting to find the right balance is crucial.
Adjusting Hydration Levels for Different Whole Wheat Flours
The ideal hydration level is not a one-size-fits-all number; it varies significantly depending on the type and brand of whole wheat flour you use. Factors like the grind size, protein content, and how the flour was processed affect its absorbency. A finely milled, high-protein whole wheat flour might absorb more water than a coarser grind.
Start with the hydration level recommended in a trusted recipe, perhaps beginning on the lower end (e.g., 70-75%). As you mix the dough, observe its consistency. It should be shaggy but eventually come together. If it feels very stiff and dry, add a tablespoon or two more water at a time until the dough feels pliable but not excessively sticky. If it's too wet and unmanageable, add a tablespoon of flour. Keeping notes on the hydration levels that work best for the specific flour you use is a great way to prevent future flat whole wheat loaves.
Kneading Techniques: Developing Gluten Effectively
Kneading is the process of working the dough to develop the gluten network. For whole wheat dough, effective kneading is paramount because the bran and germ impede gluten formation. Insufficient kneading is a frequent cause of a flat whole wheat loaf. The dough needs to be worked until it becomes smooth, elastic, and passes the windowpane test (stretching a small piece thinly enough to see light through it without tearing).
- Signs of Undernought Dough:
- Tears easily when stretched.
- Feels heavy and dense.
- Doesn't hold shape well.
- Appears shaggy and rough.
Achieving proper gluten development through diligent kneading is a fundamental step in achieving a good rise and structure.
Hand Kneading vs. Machine Kneading for Whole Wheat Bread
Both hand kneading and machine kneading can effectively develop gluten in whole wheat dough, but they require different amounts of time and effort. Hand kneading is a vigorous process that involves folding, pushing, and stretching the dough. For whole wheat, this might take 10-15 minutes or even longer to achieve sufficient gluten development. It's a good workout and allows you to feel the dough's consistency directly.
Using a stand mixer with a dough hook can be less labor-intensive and often more consistent. Whole wheat dough typically requires 6-10 minutes of machine kneading on medium speed. Be careful not to over-knead with a machine, as this can break down the gluten structure, leading to a sticky, slack dough that won't hold its shape. Observe the dough as it kneads; it should eventually pull away from the sides of the bowl and become smooth and elastic.
Oven Temperature and Baking Time: Ensuring a Fully Baked Loaf
Even if you've done everything right with ingredients, kneading, and proofing, incorrect oven temperature or baking time can lead to a flat whole wheat loaf or one with poor structure. If the oven is too cool, the initial burst of heat needed for oven spring will be insufficient, and the loaf may spread before the crust sets. If the baking time is too short, the interior may not fully cook, resulting in a dense, gummy texture that collapses slightly upon cooling.
Preheating your oven thoroughly to the correct temperature (often between 375-450°F or 190-230°C for whole wheat loaves) is crucial. Using an oven thermometer is highly recommended, as many home ovens are inaccurate. Baking time varies based on loaf size and oven, but a fully baked loaf will have a deep golden-brown crust and an internal temperature of 200-210°F (93-99°C) when measured with an instant-read thermometer.
The Importance of Oven Spring in Whole Wheat Baking
Oven spring is the rapid expansion of the dough during the first 10-15 minutes of baking. It's caused by the final burst of yeast activity (before the heat kills the yeast), the vaporization of water into steam within the dough, and the expansion of gases already present. A well-proofed loaf with a strong gluten structure will experience significant oven spring, contributing greatly to the final height and open crumb.
For whole wheat loaves, maximizing oven spring is key to combating their natural tendency towards density. Baking in a hot oven with steam (created by placing a pan of water or ice cubes in the oven) helps keep the crust soft initially, allowing the dough to expand more freely before the crust sets. Without adequate oven spring, your loaf will likely remain flat, regardless of how well you prepared the dough beforehand.
Expert Tips for Baking High-Rising Whole Wheat Bread
Adding Vital Wheat Gluten to Improve Bread Structure
Vital wheat gluten is a concentrated form of gluten protein extracted from wheat flour. Adding a small amount (typically 1-3% of the flour weight, or about 1-2 tablespoons per cup of whole wheat flour) to your whole wheat dough can significantly boost the gluten content and improve the dough's elasticity and strength. This is particularly helpful when using whole wheat flour with lower protein content or a coarser grind.
By supplementing the natural gluten in the whole wheat flour, vital wheat gluten helps build a more robust network capable of trapping more gas, leading to a higher rise and a lighter, less dense crumb. It's an effective flat whole wheat loaf fix when gluten development seems to be the primary issue. Simply whisk it in with the dry ingredients before adding liquids.
Using a Tangzhong or Yodane to Enhance Moisture and Softness
The tangzhong (Chinese) or yudane (Japanese) method involves cooking a small portion of the flour with liquid (water or milk) to create a thick, paste-like roux. This paste is then added to the main dough. The starch in the flour gelatinizes during cooking, allowing it to absorb and retain significantly more liquid.
Using a tangzhong (typically made with 5-10% of the total flour) in whole wheat bread dough increases the dough's hydration potential without making it excessively sticky. The extra moisture makes the loaf incredibly soft, moist, and extends its shelf life. More importantly for rise, the increased hydration supports yeast activity and gluten development, while the gelatinized starch contributes to a softer crumb that feels less dense, helping to achieve a better overall volume and texture in your whole wheat loaf.
The Benefits of Autolysing Whole Wheat Flour
Autolysing is a simple technique where you mix just the flour and water from the recipe and let it rest for 20 minutes to several hours before adding the yeast, salt, and other ingredients. During this rest period, the flour hydrates fully, and enzymes naturally present in the flour begin to break down proteins, allowing gluten to start developing on its own without any kneading.
For whole wheat flour, autolysing is particularly beneficial. It gives the bran and germ particles time to soften as they absorb water, making them less likely to cut through the gluten strands during subsequent kneading. This leads to faster and more efficient gluten development once kneading begins, requiring less effort and time. A well-hydrated and partially developed gluten network from autolysing contributes to a stronger dough capable of a better rise, serving as an excellent preventative measure against a flat whole wheat loaf.
Scoring Your Loaf: Controlling Expansion in the Oven
Scoring, or making cuts on the surface of your shaped loaf just before baking, is more than just decorative; it serves a functional purpose, especially for encouraging a good rise. As the loaf experiences oven spring, the crust quickly begins to set. Without scores, the expanding gases will find the weakest point in the crust and burst through unpredictably, often resulting in a lopsided or poorly risen loaf.
Scoring provides controlled weak points in the crust, directing the expansion upwards and outwards along the cuts. This allows the dough to achieve its full potential volume and contributes to a beautiful, well-shaped loaf. For whole wheat bread, which can have a denser crumb, effective scoring is particularly important for helping the loaf expand vertically and preventing a flat whole wheat loaf. Ensure your blade (a razor blade or sharp knife) is sharp and make swift, confident cuts about 1/2 inch deep.
Preventing Future Flat Whole Wheat Loaves: Best Practices
Accurately Measuring Ingredients for Consistent Results
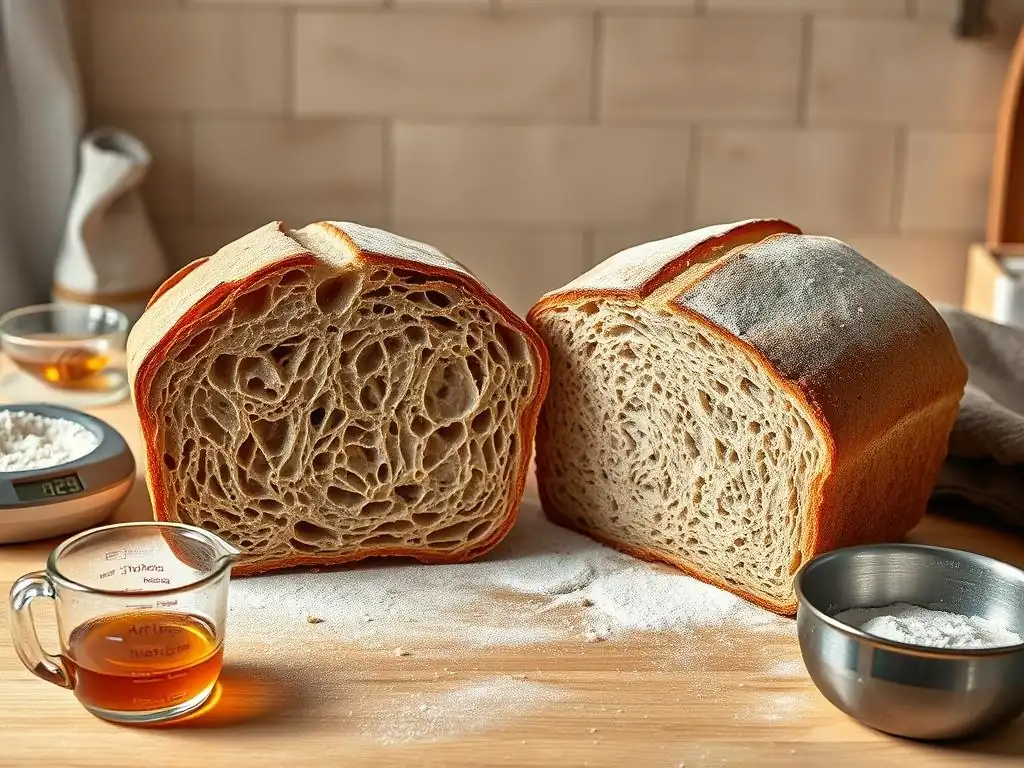
Baking is often described as a science, and precision in measuring ingredients is fundamental to consistent, successful results. Even small errors in the ratio of flour, water, yeast, or salt can significantly impact the dough's behavior and the final loaf's rise. Using measuring cups for flour can be notoriously inaccurate, as flour can be packed down to varying degrees.
For the most accurate measurements, especially for flour and water, use a digital kitchen scale. Weighing ingredients ensures you use the exact amounts specified in the recipe every time, eliminating a major variable that could lead to a flat whole wheat loaf. Consistent measurements allow you to troubleshoot effectively, as you'll know your ingredient ratios are correct and can focus on technique or environmental factors.
Maintaining a Clean and Organized Baking Environment
A clean and organized workspace contributes to better baking in several ways. Ensuring your mixing bowls, proofing containers, and baking surfaces are clean prevents unwanted bacteria or residual soap from interfering with yeast activity or dough development. A speck of grease, for example, can inhibit gluten formation.
Keeping your ingredients organized and readily accessible also helps prevent mistakes, such as forgetting an ingredient (like salt, which impacts rise) or mixing up active dry and instant yeast. Having everything in its place means you can move through the recipe steps efficiently, especially time-sensitive ones like kneading and proofing, reducing the chance of errors that could result in a flat whole wheat loaf.
Documenting Your Baking Process: Learning from Experience
One of the most valuable tools for improving your baking, particularly when tackling challenges like a flat whole wheat loaf, is keeping a baking journal or notes. After each bake, jot down details like:
- Date and recipe used
- Type and brand of flour
- Hydration level
- Kneading time/method
- Proofing time and temperature
- Oven temperature and baking time
- Observations about the dough consistency
- Resulting loaf (appearance, rise, crumb)
- Any adjustments made
Reviewing your notes allows you to identify patterns. Did the loaf flatten when you used a specific flour? Was the proofing time consistently too long? This documentation helps you pinpoint what works and what doesn't, making future adjustments more informed and leading you closer to the ultimate flat whole wheat loaf fix.
The Ultimate Flat Whole Wheat Loaf Fix: A Recap
Achieving a beautiful rise with whole wheat bread is entirely possible with patience and attention to detail. The ultimate flat whole wheat loaf fix involves a holistic approach, addressing potential issues at every stage of the baking process. It starts with understanding the unique properties of whole wheat flour and its impact on gluten development and hydration.
Key takeaways for preventing a flat whole wheat loaf include:
- Using a high-protein, hard whole wheat flour.
- Accurately measuring ingredients, preferably by weight.
- Ensuring your yeast is active and the water temperature is correct.
- Developing sufficient gluten through proper kneading (10-15 mins hand, 6-10 mins machine).
- Finding the right hydration level for your flour (often 70-85%).
- Proofing the dough correctly in a warm, humid environment, using the poke test to avoid under- or over-proofing.
- Baking in a thoroughly preheated oven with steam to encourage oven spring.
- Considering techniques like adding vital wheat gluten, using a tangzhong, or autolysing to improve dough structure and moisture.
- Scoring the loaf correctly before baking.
By systematically addressing these factors and learning from each bake, you'll be well on your way to consistently achieving high-rising, delicious whole wheat loaves. Happy baking!
Frequently Asked Questions
Why is my whole wheat loaf so flat?
A flat whole wheat loaf is often due to insufficient gluten development or using too much whole wheat flour. Whole wheat flour is heavier and can inhibit the rise.
How can I improve the rise of my whole wheat bread?
You can improve the rise by using a high-gluten flour alongside the whole wheat, kneading it for longer, or adding vital wheat gluten to the dough.
What role does kneading play in a whole wheat loaf's rise?
Kneading is crucial for developing the gluten network in the dough. A well-kneaded dough will trap gases produced by the yeast, leading to a better rise and improved structure.
Can the type of yeast affect the rise of my whole wheat bread?
Yes, using active dry yeast that isn't fresh or hasn't been proofed properly can hinder the rise. Ensure your yeast is active and use the correct amount for your recipe.
What temperature is best for proofing a whole wheat loaf to ensure a good rise?
A warm environment, ideally between 75-85°F (24-29°C), is best for proofing. This temperature allows the yeast to ferment effectively, producing the gas needed for a good rise.
Final Reflection: The Joy (and Rise!) of Perfect Whole Wheat
The quest for the perfect whole wheat loaf is a journey many home bakers undertake, and the frustration of a flat loaf is a common pitfall. But understanding the science behind the rise, as explored in this article, empowers us to troubleshoot effectively and achieve consistently delicious results. It's more than just baking; it's about mastering a process and celebrating the rewards of patience and precision.
The challenges of working with whole wheat flour, its unique properties, and the impact on gluten development have resonated deeply with me throughout my own baking experiences. The subtle nuances of hydration, fermentation, and kneading are often overlooked, yet they hold the key to unlocking that beautiful, airy crumb. As the famous baker, Jim Lahey, once said, Baking is a science, but it's also an art. It's about understanding the ingredients and trusting your instincts.
This sentiment perfectly captures the essence of this journey, highlighting the balance between technical knowledge and intuitive understanding.
Now, it's your turn. Take what you've learned here, experiment with different techniques, and don't be afraid to tweak recipes to suit your flour and environment. Each flat loaf is a lesson learned, bringing you closer to that perfect, golden-brown, perfectly risen whole wheat masterpiece. Embrace the process, celebrate the successes, and remember that even the most experienced bakers have their share of flat loaves – it's all part of the rewarding journey of baking. So, grab your ingredients, and let the rise begin!
Unleash Your Inner Baker: Perfecting Your Whole Wheat Loaf!
Thanks for taking the time to explore the world of whole wheat baking with us! We hope you gained valuable insights into troubleshooting those pesky flat loaves. Now it's time to put your new knowledge into action.
- Try our recommended recipe adjustments: We've highlighted key changes that can drastically improve your whole wheat bread's rise—give them a shot! Remember the importance of hydration and fermentation time.
- Share your baking journey: Snap a photo of your perfectly risen loaf and tag us on social media! We love seeing your baking successes (and learning from your challenges! ).
- Explore our other whole grain recipes: Want to expand your baking horizons? Dive into our collection of rye, sourdough, and multigrain recipes for even more flavor and texture experiments.
Ready to tackle your next whole wheat baking adventure? What unique ingredient will you experiment with next?