
Your First Time Baking Rolls? Start Here!

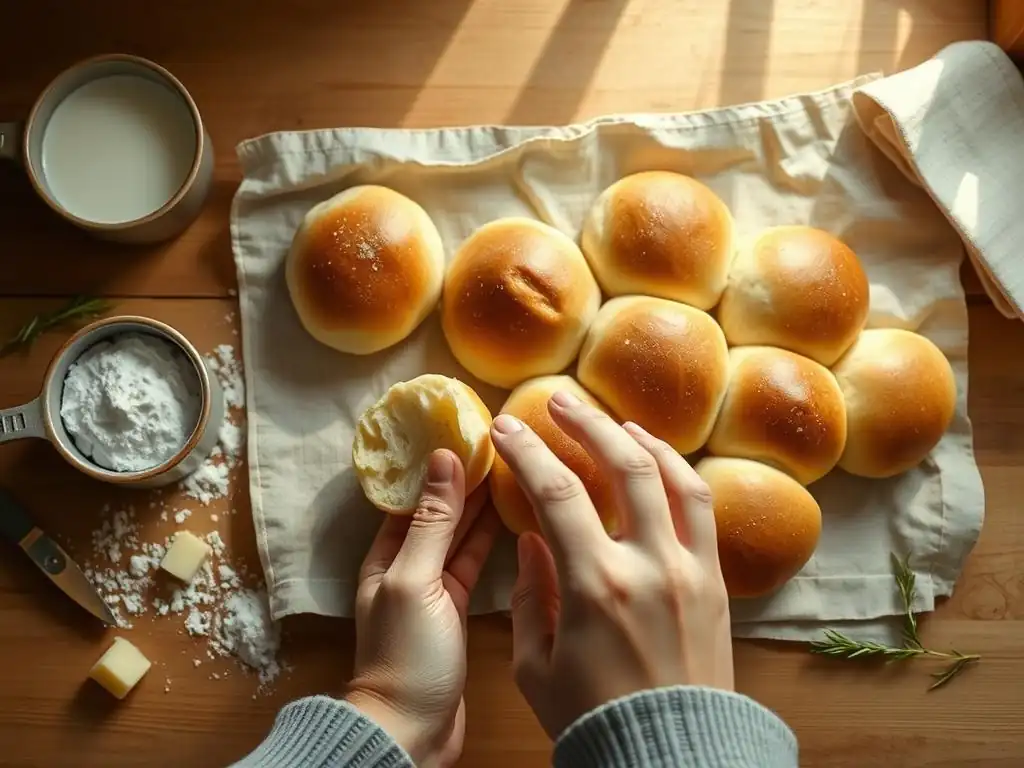
Welcome to BakeWithEase, your trusted guide to the wonderful world of baking! Ever dreamed of filling your kitchen with the warm, inviting aroma of freshly baked bread? If the thought of baking bread seems daunting, especially rolls, you're in the right place. Let's banish those fears! Dive into our article on Easy beginner baking rolls and discover how simple and rewarding it can be to create these comforting treats. What secrets are hidden within our foolproof recipe, and how will it transform your baking journey? Let's find out together...
- Baking Soft & Fluffy Dinner Rolls: A Beginner's Guide
- Baking Bliss: Your Easy Guide to Homemade Dinner Rolls
- Essential Equipment for Baking Dinner Rolls
- Soft & Fluffy Dinner Rolls: The Recipe
- Tips and Tricks for Perfect Dinner Rolls
- Storing Your Homemade Dinner Rolls
- Expanding Your Baking Horizons
-
Frequently Asked Questions
- What makes these rolls "easy" for beginners?
- What are the most common mistakes beginners make when baking rolls, and how can I avoid them?
- Can I substitute any ingredients in the roll recipe?
- How long does it actually take to bake these rolls from start to finish?
- How should I store leftover baked rolls to keep them fresh?
- Final Reflection: The Joy of a Perfectly Baked Roll
- Unleash Your Inner Baker: Perfect Rolls Await!
Baking Soft & Fluffy Dinner Rolls: A Beginner's Guide
Baking Bliss: Your Easy Guide to Homemade Dinner Rolls
Welcome to Homemade Bread!
Stepping into the world of homemade bread might seem a little intimidating at first, but trust us, it's an incredibly rewarding journey! Imagine the aroma filling your kitchen as warm, soft rolls come out of the oven. This guide is specifically designed to make your first attempt at easy beginner baking rolls a success. We'll walk you through each step, from activating the yeast to pulling those golden beauties from the oven, proving that baking delicious bread at home is absolutely within your reach.
Starting with dinner rolls is a fantastic way to build confidence. Unlike complex sourdoughs or elaborate pastries, the process for simple rolls is straightforward and forgiving. You'll learn fundamental techniques like kneading, rising, and shaping dough, skills that form the foundation for countless other baking adventures. Think of this as your friendly introduction to the wonderful craft of bread making, designed for anyone eager to try their hand at creating something truly special from simple ingredients.
Why Bake Your Own Dinner Rolls?
Baking your own dinner rolls offers a multitude of benefits that go far beyond simply having something to serve with dinner. The most immediate advantage is the unparalleled freshness and taste. Store-bought rolls, while convenient, often contain preservatives and lack the rich flavor and tender texture of a roll baked just hours before serving. When you make them yourself, you control every ingredient, ensuring a wholesome and delicious result that your family and friends will undoubtedly appreciate.
Beyond taste, there's the sheer satisfaction of baking from scratch. It's a creative process that engages your senses – the feel of the dough, the smell as it bakes, and the sight of the finished product. Plus, it can be surprisingly economical.
A batch of a dozen or more easy beginner baking rolls can often be made for less than the cost of a similar quantity from a bakery or supermarket. For example, flour, yeast, sugar, salt, butter, and milk for a batch might cost approximately $2-$3, compared to $4-$6 or more for a dozen store-bought rolls, depending on your location and ingredients.
Essential Equipment for Baking Dinner Rolls
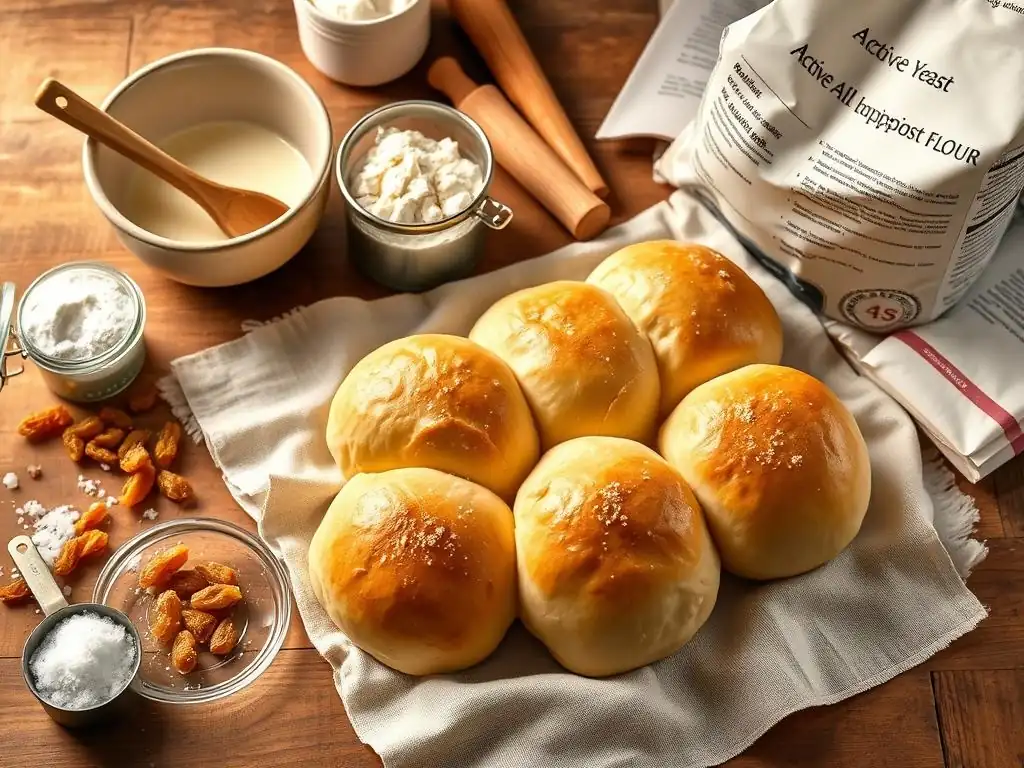
Must-Have Tools for Beginner Roll Bakers
You don't need a professional kitchen to start baking easy beginner baking rolls. A few basic tools you likely already own are sufficient to get started. The most crucial items include a couple of large mixing bowls – one for mixing ingredients and one for the dough to rise in. You'll also need measuring cups and spoons for accurate ingredient proportions. Precision in baking is key, especially when you're just starting out, so using accurate measurements ensures consistent results.
A sturdy baking sheet is essential for baking the rolls. A standard half-sheet pan (approximately 18x13 inches) is ideal for a batch of 12-16 rolls, allowing enough space for them to expand slightly without crowding. Parchment paper is highly recommended for lining the baking sheet; it prevents sticking and makes cleanup a breeze. Finally, an oven is obviously necessary, and an instant-read thermometer can be incredibly helpful for checking the temperature of your liquid when activating yeast and for ensuring the rolls are baked through, aiming for an internal temperature around 190-200°F (88-93°C).
Helpful (But Optional) Baking Equipment
While the absolute essentials are few, certain tools can make the process of baking easy beginner baking rolls even smoother and more efficient. A stand mixer fitted with a dough hook, for instance, can take the arm work out of kneading, transforming a 10-12 minute manual task into a 6-8 minute hands-free operation. This is particularly helpful if you plan to bake frequently or make larger batches.
Other helpful tools include a dough scraper or bench knife, which is excellent for portioning dough and cleaning surfaces. A wire cooling rack is useful for letting the rolls cool properly after baking, preventing the bottoms from becoming soggy.
For more precise temperature control when proofing, a proofing box or even just your oven with the light on (creating a warm environment around 80-85°F or 27-29°C) can be beneficial, though a warm spot in your kitchen works perfectly well too. These items aren't strictly necessary for your first easy beginner baking rolls, but they are great additions as you delve deeper into baking.
Soft & Fluffy Dinner Rolls: The Recipe
Ingredients for Classic Dinner Rolls
Creating delicious, soft, and fluffy dinner rolls starts with a few simple ingredients, readily available at any grocery store. For a standard batch of about 12-16 rolls, you will typically need:
- Active dry yeast: About 2 1/4 teaspoons, which is one standard packet.
- Warm milk: Approximately 1 to 1 1/4 cups, heated to a temperature between 105°F and 115°F (40°C to 46°C). This temperature is crucial for activating the yeast.
- Granulated sugar: Around 2 to 3 tablespoons. Sugar feeds the yeast and helps with browning.
- Salt: About 1 teaspoon. Salt enhances flavor and controls yeast activity.
- Large egg: 1, at room temperature. Adds richness and helps with structure.
- Unsalted butter: About 1/4 cup (4 tablespoons), melted and slightly cooled. Contributes to tenderness and flavor.
- All-purpose flour: Approximately 3 to 3 1/2 cups, plus more for dusting. The exact amount can vary based on humidity and how you measure.
Ensuring your ingredients are fresh and measured accurately is the first step to successful easy beginner baking rolls. Use the scoop and level method for flour: lightly spoon flour into your measuring cup and level off the excess with a straight edge, rather than scooping directly from the bag, which can compact the flour and result in using too much.
Step-by-Step Instructions: Baking Perfect Dinner Rolls
Baking your first batch of easy beginner baking rolls is a straightforward process broken down into simple steps. Follow these instructions carefully, and you'll be enjoying warm, homemade bread in no time.
Step 1: Activating the Yeast
In a large mixing bowl, combine the warm milk (remember, 105°F - 115°F is key), the granulated sugar, and the active dry yeast. Stir gently to combine. Let this mixture sit for about 5-10 minutes. You should see it become foamy and bubbly on the surface. This foam indicates that the yeast is alive and active, ready to make your rolls rise. If it doesn't foam, your milk might not have been the right temperature, or your yeast might be old. Discard and start again with fresh yeast and properly heated milk.
Step 2: Mixing and Kneading the Dough
Once the yeast is bubbly, add the salt, the room temperature egg, and the melted butter to the bowl. Stir to combine these wet ingredients. Gradually add the all-purpose flour, about half a cup at a time, mixing with a wooden spoon or a stand mixer with a dough hook until a shaggy dough forms. Turn the dough out onto a lightly floured surface and knead for 8-10 minutes manually, or 6-8 minutes in a stand mixer on medium speed. The dough should become smooth, elastic, and no longer sticky. You'll know it's ready when you can gently stretch a small piece thin enough to see light through it (the "windowpane test").
Step 3: First Rise - Achieving Optimal Dough Expansion
Lightly grease a clean large bowl with a little oil or melted butter. Place the kneaded dough in the bowl, turning it to coat all sides. Cover the bowl tightly with plastic wrap or a clean kitchen towel. Let the dough rise in a warm, draft-free place for 60-90 minutes, or until it has doubled in size. The ideal temperature for rising is around 75-80°F (24-27°C). A slightly cooler room will just mean a longer rise time. This slow rise develops flavor and creates a lighter texture.
Step 4: Shaping the Rolls - Simple Round Roll Technique
Once the dough has doubled, gently punch it down to deflate the air. Turn the dough out onto a lightly floured surface. Divide the dough into equal portions. For standard dinner rolls, dividing into 12-16 pieces works well, yielding rolls weighing approximately 2-3 ounces each. To shape a round roll, take one portion of dough and gently pull the edges underneath, pinching them together at the bottom to create a smooth, taut surface on top. Cup your hand around the dough ball and roll it against the surface in a circular motion to smooth it further.
Step 5: Second Rise - Proofing for Lightness
Arrange the shaped rolls on your prepared baking sheet lined with parchment paper, leaving about 1-2 inches of space between them to allow for expansion. Cover the rolls loosely with plastic wrap or a light kitchen towel. Let them rise again for another 30-45 minutes, or until they look puffy and have nearly doubled in size. This second rise, called proofing, is crucial for achieving a light and airy crumb. While they proof, preheat your oven to 375°F (190°C).
Step 6: Baking to a Golden Brown
Once the rolls are proofed and the oven is preheated, they are ready to bake. If desired, you can brush the tops of the rolls with an egg wash (one egg beaten with a tablespoon of water) for a glossy finish, or melted butter for a softer crust. Place the baking sheet in the preheated oven and bake for 15-20 minutes. The rolls should turn a beautiful golden brown on top and sound hollow when tapped on the bottom. An internal temperature of 190-200°F (88-93°C) confirms they are fully baked.
Step 7: Cooling and Serving Your Warm Rolls
Carefully remove the baked rolls from the oven. For the softest crust, you can brush the tops with melted butter immediately after they come out. Transfer the rolls to a wire cooling rack to cool slightly before serving. While it's tempting to tear into them right away, letting them cool for at least 10-15 minutes allows the internal structure to set properly. Serve your warm, homemade easy beginner baking rolls with butter, jam, or alongside your favorite meal.
Tips and Tricks for Perfect Dinner Rolls
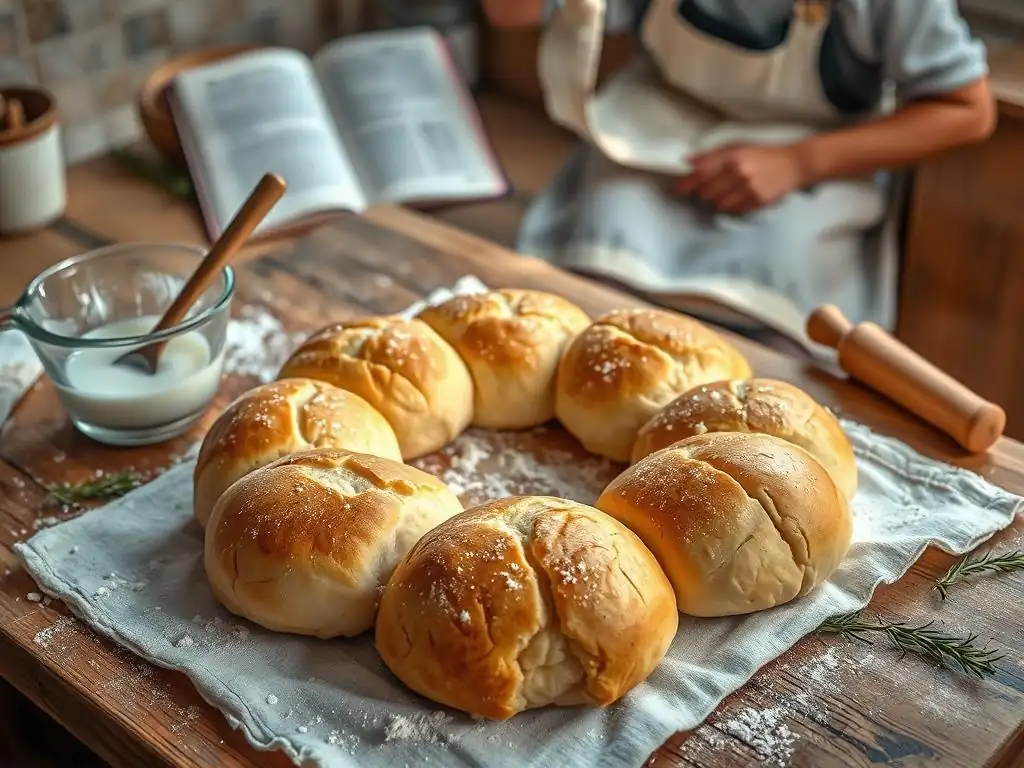
Troubleshooting Common Baking Issues
Even when following an easy beginner baking rolls recipe, you might encounter a few common hurdles. One frequent issue is the dough not rising properly. This is often due to inactive yeast, either because the water/milk was too hot (killing the yeast) or too cold (not activating it), or the yeast was old. Ensure your liquid is between 105°F and 115°F (40°C to 46°C) and always check for foam before adding other ingredients. Another cause could be a drafty or cold rising environment; find a warm spot, like a turned-off oven with the light on.
Another common problem is dense or heavy rolls. This can result from not kneading the dough enough to develop sufficient gluten structure, or not allowing adequate time for the first and second rises. Kneading builds the network that traps air, and rising allows that air to expand. Ensure your kneading passes the windowpane test and that the dough truly doubles in size during the first rise and becomes significantly puffy during the second. Over-measuring flour can also lead to dense rolls; stick to the "scoop and level" method or use a kitchen scale for precision.
Achieving the Perfect Texture: Softness and Crumb
The hallmark of great dinner rolls is a soft, tender texture and a lovely, airy crumb. Achieving this with your easy beginner baking rolls involves a few key factors. Proper kneading is fundamental; it develops the gluten, which provides the structure that allows the rolls to rise high and hold their shape while remaining tender. Don't rush this step – whether by hand or mixer, knead until the dough is smooth and elastic.
Adequate rising time is equally critical. The yeast produces carbon dioxide gas, which creates the air pockets in the dough. Both the bulk fermentation (first rise) and the proofing (second rise) contribute to a light crumb. Don't skip or shorten these steps significantly, even if you're in a hurry.
The fat in the dough (like butter or oil) also contributes to tenderness by coating the gluten strands, preventing them from forming too tight a network. Ensure you include the specified amount of fat in your recipe. Finally, don't overbake; baking just until golden brown prevents the rolls from drying out and becoming tough.
Flavor Variations: Adding Garlic Herb Butter
While classic dinner rolls are delicious on their own, adding simple flavor variations can elevate your easy beginner baking rolls. A popular and incredibly tasty option is garlic herb butter. This can be brushed onto the rolls just before baking or immediately after they come out of the oven. To make it, simply melt 1/4 cup (4 tablespoons) of unsalted butter and stir in 1-2 cloves of minced garlic and 1-2 tablespoons of finely chopped fresh herbs like parsley, chives, or rosemary.
Brushing the rolls with this mixture before baking imparts a subtle flavor and a beautiful golden crust. Brushing immediately after baking results in a stronger garlic and herb aroma and keeps the tops exceptionally soft. You can also mix dried herbs (use about half the amount of fresh) and garlic powder into the melted butter. This simple addition transforms basic rolls into something extra special, perfect for serving with Italian meals, roasts, or just enjoying warm with extra flavored butter.
Storing Your Homemade Dinner Rolls
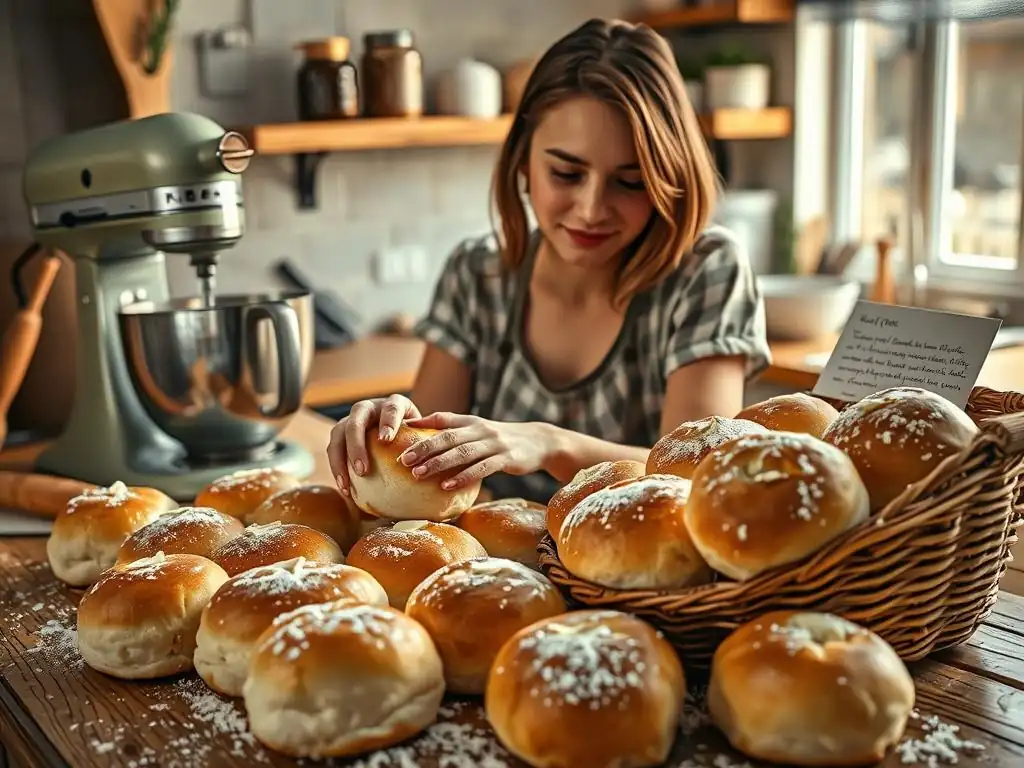
Keeping Rolls Fresh After Baking
Freshly baked easy beginner baking rolls are best enjoyed warm, straight from the oven. However, if you have leftovers, proper storage is key to maintaining their softness and flavor for as long as possible. Once the rolls have cooled completely on a wire rack (this is important to prevent condensation), store them in an airtight container or a resealable plastic bag at room temperature. Avoid refrigerating rolls, as this can actually cause them to dry out and become stale more quickly.
Stored properly at room temperature, your homemade dinner rolls should stay soft and delicious for 1 to 2 days. For best results, gently warm them in a microwave for a few seconds or wrap them in foil and heat in a low oven ( 300°F / 150°C) for 5-10 minutes before serving. This helps to refresh their texture and brings back some of that wonderful fresh-baked aroma.
Freezing Rolls for Future Enjoyment
Baking a batch of easy beginner baking rolls is a great way to have homemade bread on hand whenever you need it. Freezing is an excellent option for storing rolls long-term. There are two main ways to freeze: freezing baked rolls or freezing dough. For baked rolls, ensure they are completely cooled. Place them in a single layer on a baking sheet and freeze until solid (about 1-2 hours). Then transfer the frozen rolls to a freezer-safe bag or container, squeezing out as much air as possible to prevent freezer burn.
Frozen baked rolls can be stored for up to 1 month for optimal quality, though they are often fine for longer. To reheat, you can thaw them at room temperature for a few hours and then warm in a low oven wrapped in foil, or bake directly from frozen in foil at 300-325°F (150-160°C) for 15-20 minutes, or until heated through. Freezing unbaked dough is slightly more involved but allows you to bake fresh rolls on demand. After the first rise and shaping, place the shaped rolls on a baking sheet and freeze until solid. Then transfer to a freezer bag. When ready to bake, place frozen rolls on a baking sheet, cover, and let them thaw and proof at room temperature ( 2-4 hours) before baking as usual.
Expanding Your Baking Horizons
Exploring Different Bread Recipes
Mastering easy beginner baking rolls is just the first step into a vast and rewarding world of bread baking. Once you feel comfortable with this recipe, you might find yourself eager to try new variations or entirely different types of bread. Simple changes to your roll recipe, like adding cheese, herbs, or substituting a portion of the all-purpose flour with whole wheat, can lead to delicious new results. This allows you to build on your existing skills without tackling something completely new.
From here, you could explore other easy bread recipes like no-knead bread, which requires minimal effort but yields a fantastic rustic loaf, or simple focaccia, an Italian flatbread that's very forgiving and perfect for adding various toppings. Moving onto a basic sandwich loaf or a simple braided challah would introduce you to slightly more complex shaping techniques. Each new recipe you try will deepen your understanding of ingredients, dough handling, and the baking process, making your journey through the world of bread increasingly exciting.
Taking Your Baking Skills to the Next Level
As you gain confidence with easy beginner baking rolls and other simple breads, you might feel ready to tackle more advanced techniques and recipes. This could involve experimenting with different types of flour, such as bread flour for a chewier texture or specialty flours for unique flavors. Understanding the role of hydration levels – the ratio of water to flour – is another step that significantly impacts bread texture and handling. Higher hydration doughs, while stickier, often result in a more open, airy crumb.
Exploring enriched doughs, which contain higher amounts of fat, sugar, and eggs (like brioche or challah), will teach you how these ingredients affect dough development and handling. Finally, venturing into the world of sourdough baking, which relies on a natural leaven instead of commercial yeast, represents a significant step up, requiring patience and a deeper understanding of fermentation. Each new challenge you embrace will refine your instincts as a baker and expand your ability to create a wider variety of delicious homemade breads.
Frequently Asked Questions
What makes these rolls "easy" for beginners?
These rolls are considered "easy" because the recipe uses simple ingredients, a straightforward method, and clear step-by-step instructions.
What are the most common mistakes beginners make when baking rolls, and how can I avoid them?
Common mistakes include over-mixing the dough, using incorrect water temperature, and under-proofing. Follow the recipe closely and use a thermometer!
Can I substitute any ingredients in the roll recipe?
While some substitutions are possible, like using different types of flour, it's best to stick to the recipe for your first attempt to guarantee successful results.
How long does it actually take to bake these rolls from start to finish?
From mixing to enjoying your warm rolls, expect the process to take around 2-3 hours, including proofing time. This allows for proper dough development.
How should I store leftover baked rolls to keep them fresh?
Store leftover rolls in an airtight container at room temperature for up to two days, or freeze them for longer-term storage. Reheat gently before serving.
Final Reflection: The Joy of a Perfectly Baked Roll
The simple act of baking a roll, often overlooked, is a powerful gateway to culinary creativity and self-sufficiency. Mastering this seemingly basic skill unlocks a world of possibilities, from homemade pizza to comforting sandwiches, elevating everyday meals with the warmth and satisfaction of something made with your own hands. In a world increasingly reliant on convenience, the ability to bake your own bread, even something as fundamental as a roll, offers a tangible connection to tradition and a sense of accomplishment.
The journey from intimidated beginner to confident baker is a deeply rewarding one. It's about more than just the final product; it's about the process, the quiet satisfaction of kneading dough, the intoxicating aroma filling your kitchen, and the pride in presenting a perfectly golden-brown roll. The best things in life are homemade.
This sentiment rings truer than ever when considering the simple pleasure of baking your own rolls, a testament to the enduring power of handcrafted goodness.
Now, it's your turn. Don't let the fear of failure hold you back. Gather your ingredients, follow the steps outlined in this article, and embrace the journey. The first time might not be perfect, but each attempt brings you closer to mastering this fundamental skill. Remember the joy of the process, the satisfaction of creation, and the delicious reward waiting at the end. You might surprise yourself with how much you enjoy it, and how easily you can bring a touch of homemade warmth to your table.
Unleash Your Inner Baker: Perfect Rolls Await!
Thanks for taking the time to explore the world of homemade rolls with us! We hope you now feel confident and inspired to create delicious, fluffy rolls from scratch. Ready to get baking?
- Bake your first batch of rolls today! Use the recipe and tips from this article as your guide. Don't be afraid to experiment – even a small tweak can make a big difference.
- Share your baking journey! Post a picture of your finished rolls on social media and tag us – we'd love to see your creations!
- Try a variation of the recipe. Experiment with different herbs, cheeses, or even add-ins to develop your signature roll.
What unique twist will you add to your next batch of homemade rolls?