
Decoding Proofing: Knowing Exactly When Your Advanced Pizza Dough is Ready

Welcome to BakeWithEase, your guide to confident baking! Ever wondered if you're really getting the most out of your pizza dough? This week, we're diving deep into the secrets of achieving that perfect rise, specifically addressing the nuances of advanced pizza dough proofing time. Unlock the secrets to a truly exceptional crust and never second-guess your proof again. Ready to elevate your pizza game? Let's get baking!
- Mastering Neapolitan Pizza Dough: Knowing Exactly When Your Dough is Ready
- Introduction to Neapolitan Pizza Dough Proofing
- Mastering Neapolitan Pizza Dough: The Proofing Process Explained
- Signs Your Neapolitan Pizza Dough is Perfectly Proofed
- Factors Influencing Neapolitan Pizza Dough Proofing Time
- Troubleshooting Common Neapolitan Pizza Dough Proofing Problems
- Advanced Techniques for Optimizing Neapolitan Pizza Dough Proofing
- Proofing Neapolitan Pizza Dough: Step-by-Step Guide
- Achieving the Perfect Neapolitan Pizza: Beyond Proofing
- Conclusion: Confidently Proofing Your Neapolitan Pizza Dough
-
Frequently Asked Questions
- What is proofing, and why is it so important for advanced pizza dough?
- How does proofing time differ for advanced pizza dough compared to simpler recipes?
- What visual cues indicate that my advanced pizza dough is properly proofed?
- Can I over-proof my advanced pizza dough, and what are the consequences?
- What factors influence the ideal proofing time for advanced pizza dough?
- Final Reflection: The Art and Science of Perfect Pizza Dough
- Unleash Your Inner Pizzaiolo: Perfect Dough, Every Time!
Mastering Neapolitan Pizza Dough: Knowing Exactly When Your Dough is Ready
Introduction to Neapolitan Pizza Dough Proofing
Creating truly exceptional Neapolitan pizza at home requires attention to detail at every step, and few steps are as critical as proofing. This process transforms a simple mixture of flour, water, yeast, and salt into a light, airy, and flavorful dough capable of yielding that signature puffy, leopard-spotted crust. For those working with advanced pizza dough techniques, understanding the nuances of proofing is paramount. It's not just about waiting; it's about observing, feeling, and knowing the precise moment your dough has reached its peak potential.
The journey from a shaggy mass to a perfectly proofed ball ready for shaping is guided by time, temperature, and the activity of yeast. Mastering this stage directly impacts the texture, flavor, and overall success of your pizza. Whether you're aiming for a lightning-fast bake in a high-temperature oven or a slightly longer cook, the dough's readiness, determined by its advanced pizza dough proofing time, is the foundation upon which a great pizza is built.
Why Proper Proofing is Crucial for Neapolitan Pizza Success
Proper proofing fundamentally alters the dough's structure and flavor profile. As the yeast ferments, it produces carbon dioxide gas, which creates air pockets within the gluten network. This expansion is what gives the dough its volume and contributes to the light, airy crumb structure characteristic of authentic Neapolitan pizza. A well-proofed dough will stretch easily without tearing, allowing you to achieve that thin center and robust, bubbly rim.
Beyond texture, proofing develops complex flavors. Yeast and enzymes in the flour break down starches into sugars, and fermentation produces organic acids and other aromatic compounds. Cold fermentation, in particular, significantly extends the advanced pizza dough proofing time and allows for a greater accumulation of these flavor molecules, resulting in a more complex and digestible crust. Conversely, under- or over-proofing can lead to a dense, tough, or overly acidic crust, undermining all your previous efforts.
Understanding the Science Behind Neapolitan Pizza Dough Proofing
At its core, proofing is controlled fermentation. Yeast, a living microorganism, consumes simple sugars present in the dough (either naturally in the flour or produced by enzymatic breakdown of starches). The primary byproducts of this anaerobic process are carbon dioxide (CO2) and ethanol (alcohol). The CO2 gas gets trapped by the elastic gluten network, causing the dough to rise, while the ethanol contributes to flavor development.
The rate of this fermentation is heavily influenced by temperature. Yeast activity is relatively slow at cold temperatures (around 4°C / 40°F) but accelerates significantly at warmer temperatures (around 25-27°C / 77-81°F). Enzymes within the flour also play a role, breaking down complex starches into simpler sugars that the yeast can consume. The amount of yeast used and the dough's hydration level also impact the speed and nature of this complex biochemical process, all contributing to the final advanced pizza dough proofing time.
Mastering Neapolitan Pizza Dough: The Proofing Process Explained
Proofing isn't a single, monolithic step but rather a process that often involves distinct phases. For Neapolitan dough, this typically includes a bulk fermentation period followed by a final proofing phase for individual dough balls. Understanding the purpose and characteristics of each phase is key to controlling the advanced pizza dough proofing time and achieving optimal results.
The overall proofing process aims to develop both the structure (gluten network) and the flavor (fermentation byproducts) of the dough. It's a delicate balance; too little proofing means a dense, chewy crust, while too much leads to a fragile, potentially collapsed dough that's difficult to handle and results in a pale, lackluster crust.
What is Proofing and How Does it Affect Neapolitan Pizza Dough?
Proofing, specifically the final rise of the dough balls, is the period where the shaped dough portions are allowed to expand to their desired volume and develop a light, airy structure before baking. This phase is crucial for achieving the characteristic open crumb and significant rise of the cornicione (rim) of a Neapolitan pizza. During proofing, the CO2 produced by the yeast continues to inflate the gluten network, making the dough light and pliable.
The duration of this proofing phase is a significant component of the overall advanced pizza dough proofing time. If the dough is baked before it's adequately proofed, the crust will be dense and may tear during shaping. If proofed for too long, the gluten structure can weaken and collapse, making the dough difficult to handle and resulting in a flat, pale crust with little oven spring. Proper proofing ensures the dough has the right balance of strength and extensibility.
Differences Between Bulk Fermentation and Balling
Bulk fermentation refers to the initial, longer fermentation period that occurs before the dough is divided and shaped into individual balls. This phase is often done as a single mass of dough and can take place at room temperature or, more commonly for advanced pizza dough techniques, in a cold environment like a refrigerator. Bulk fermentation primarily focuses on developing flavor and strengthening the gluten structure through enzyme activity and initial yeast fermentation. A typical cold bulk fermentation might last 24 to 72 hours at 4°C (40°F).
Balling is the process of dividing the bulk-fermented dough and shaping it into individual, smooth balls. After balling, the dough enters its final proofing phase. This phase is usually shorter than bulk fermentation and is often conducted at room temperature (around 20-27°C / 68-81°F) to allow the dough balls to become light and airy, ready for stretching. The advanced pizza dough proofing time after balling typically ranges from 4 to 8 hours, depending on temperature and yeast quantity. The goal here is volume and pliability, making the dough easy to handle and shape into a perfect pizza disc.
Signs Your Neapolitan Pizza Dough is Perfectly Proofed
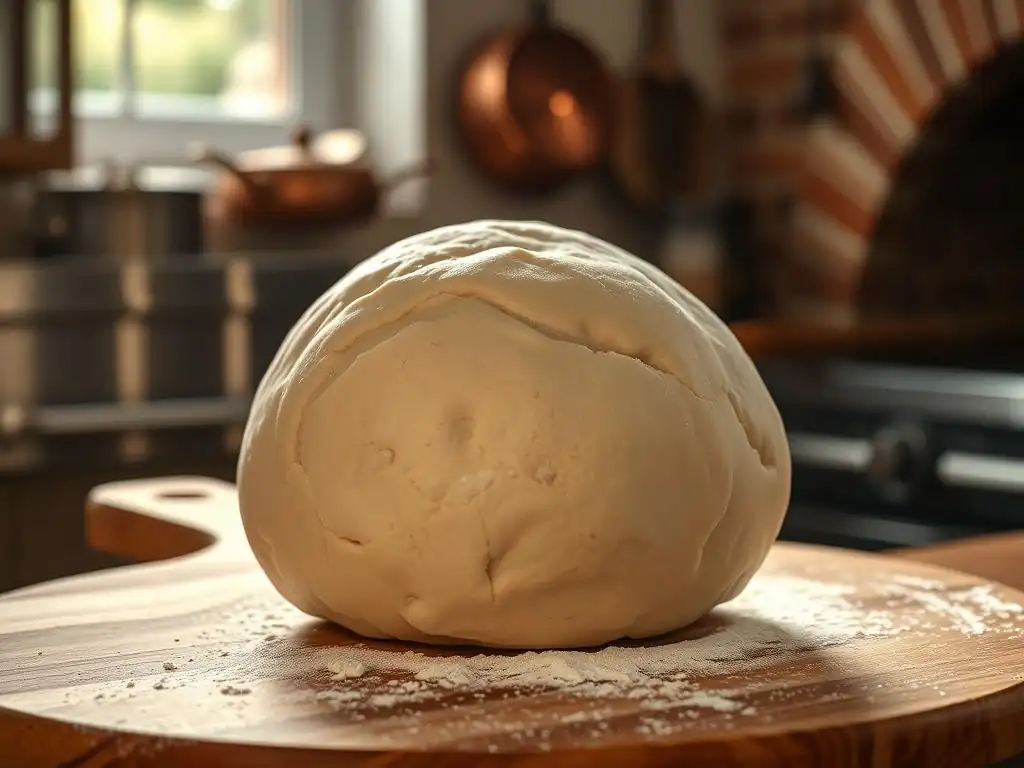
Knowing when your advanced pizza dough has reached its peak proof is more of an art than a science, but there are reliable visual and tactile cues that can guide you. Relying solely on time is insufficient because factors like temperature, hydration, and yeast activity vary. Instead, learn to read the dough itself.
Observing the dough's volume, surface appearance, and response to touch are key indicators. These signs tell you if the gluten structure is adequately developed and inflated with gas, and if the yeast is still active but not exhausted. Mastering these observations is essential for consistently achieving the desired advanced pizza dough proofing time.
Visual Cues: Identifying the Ideal Dough Volume & Doming
One of the most important visual cues is the increase in dough volume. After balling, your dough balls should expand significantly. For Neapolitan dough proofed at room temperature, you're typically looking for the dough to roughly double or even triple in size from its original volume. They should look puffy and rounded, like smooth domes.
The surface of the dough ball should appear smooth and slightly taut, but not stretched so thin that you see large air bubbles just beneath the surface (which can be a sign of over-proofing). The shape should be consistently rounded, indicating even gas production throughout the ball. If the dough has spread out horizontally rather than rising vertically and maintaining a dome shape, it might be starting to over-proof or lack sufficient structure.
The Poke Test: A Reliable Method for Proofing Assessment
The poke test is a classic and highly reliable method for assessing proofing readiness. Gently flour your finger and lightly but firmly press it into the surface of the dough ball, about half an inch deep. Observe how quickly the indentation springs back.
- Under-proofed: The indentation springs back immediately and completely. This indicates the gluten is still very tight and not relaxed enough, and there isn't enough gas production.
- Perfectly Proofed: The indentation springs back slowly and only partially, leaving a small, shallow dimple. This means the gluten network is relaxed and filled with gas, but still has enough structure to hold its shape. This is the ideal state for your advanced pizza dough proofing time.
- Over-proofed: The indentation remains completely or almost completely. This signifies that the gluten structure has weakened and can no longer hold the gas effectively. The dough may feel very airy but also fragile.
Texture and Feel: Evaluating Dough Elasticity and Strength
Beyond visual appearance and the poke test, the overall texture and feel of the dough provide valuable clues. A perfectly proofed dough ball should feel incredibly light and airy for its size. When you gently lift it, it should feel delicate but still have enough underlying structure to hold its shape without collapsing.
The surface should feel soft and slightly yielding, not tight and resistant (under-proofed) or excessively sticky and fragile (over-proofed). When you begin to stretch it, a well-proofed dough will be highly extensible, stretching easily and evenly into a thin disc without tearing. This balance of strength and extensibility is a hallmark of dough that has achieved the optimal advanced pizza dough proofing time.
Factors Influencing Neapolitan Pizza Dough Proofing Time
The advanced pizza dough proofing time is not a fixed number; it's a variable outcome influenced by several key factors interacting with each other. Understanding how these elements affect yeast activity and gluten development allows you to predict and control the proofing process more effectively.
Even slight variations in these factors can significantly alter how quickly your dough proofs. Controlling these variables is a core aspect of mastering advanced pizza dough techniques and achieving consistent results every time you bake.
Temperature's Impact on Proofing Speed
Temperature is arguably the most significant factor affecting proofing speed. Yeast activity increases with temperature, roughly doubling for every 10°C (18°F) rise within its optimal range (typically 20-35°C / 68-95°F).
- Cold Proofing (4°C / 40°F): Yeast is very slow, allowing for long fermentation (24-72+ hours) which develops complex flavors. This significantly extends the advanced pizza dough proofing time.
- Room Temperature Proofing (20-27°C / 68-81°F): Yeast is active, leading to faster proofing (4-8 hours for balls). This is often used for the final proof after cold bulk fermentation.
- Warmer Temperatures (>27°C / 81°F): Fermentation accelerates rapidly, potentially leading to over-proofing if not carefully monitored. Temperatures above 35°C (95°F) can start to stress or kill the yeast.
Hydration Levels and Their Role in Proofing
Hydration refers to the ratio of water to flour in the dough, typically expressed as a percentage of the flour weight. Higher hydration doughs (e.g., 65-70% hydration or more) tend to ferment slightly faster than lower hydration doughs (e.g., 55-60%).
The increased water content makes the dough softer and can facilitate yeast movement and access to sugars. It also results in a more open and airy crumb structure. However, higher hydration doughs can be stickier and more challenging to handle, especially when proofed for extended advanced pizza dough proofing time.
The Effect of Yeast Quantity on Proofing
The amount of yeast used directly impacts the rate of fermentation. More yeast means faster CO2 production and a shorter proofing time. Less yeast means slower activity and a longer proofing time, which is often desired for flavor development during cold fermentation.
For a typical ambient proofing (4-8 hours), a common yeast quantity might be around 0.5% of the flour weight for active dry yeast or 0.3% for instant dry yeast. For long, cold fermentation (24-72 hours), the yeast percentage is significantly reduced, perhaps to 0.1-0.2% of the flour weight for instant dry yeast. Adjusting the yeast quantity is a primary lever for controlling the advanced pizza dough proofing time.
Flour Type and Proofing Time Considerations
The type of flour used plays a role primarily through its protein content and how readily its starches are converted into fermentable sugars. Stronger flours with higher protein content (like Italian Tipo 00 flour, 10-12% protein, or strong bread flour, 12-14% protein) develop a more robust gluten network. This stronger network can trap more gas, potentially allowing for a longer proofing time before the structure weakens.
Flours with higher enzyme activity can also provide sugars to the yeast more quickly, potentially speeding up fermentation slightly. While the impact of flour type on advanced pizza dough proofing time is less dramatic than temperature or yeast quantity, it's a factor to consider when working with different flours.
Troubleshooting Common Neapolitan Pizza Dough Proofing Problems
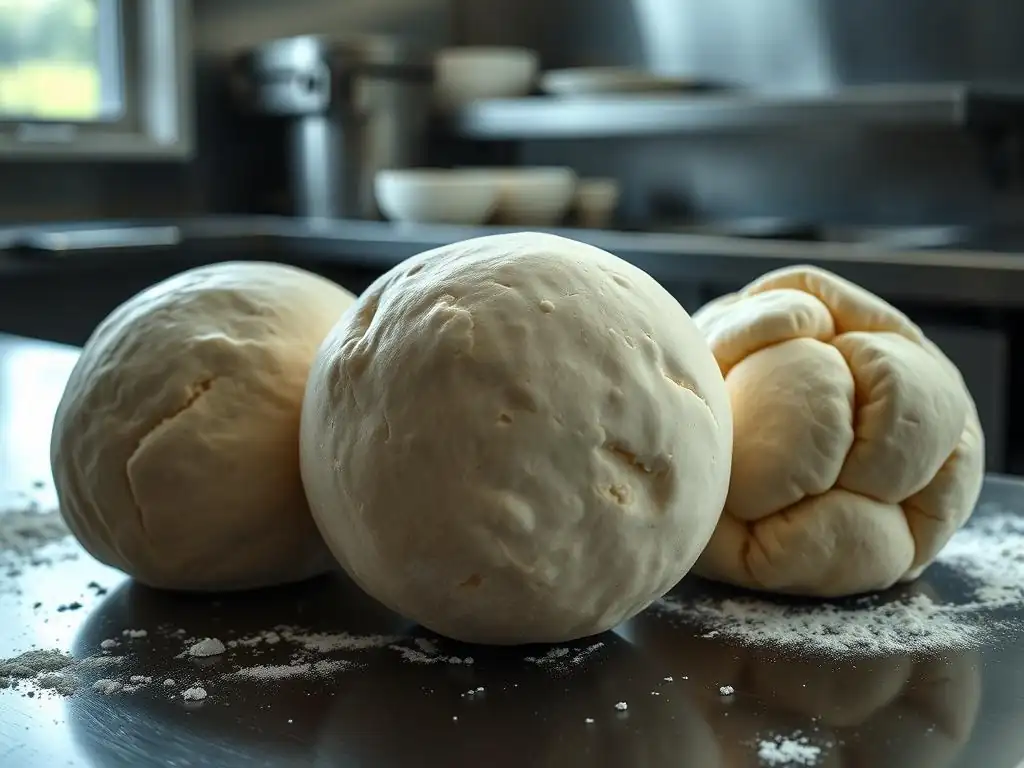
Even with careful planning, proofing can sometimes go awry. Recognizing the signs of under- or over-proofed dough and knowing how to react is part of mastering advanced pizza dough techniques. Don't despair if your dough isn't perfect on the first try; troubleshooting is part of the learning process.
Common issues include dough that hasn't risen enough, dough that has risen too much and collapsed, or dough that proofs unevenly. Identifying the symptoms is the first step to correcting the issue or adjusting your approach for future batches and refining your understanding of the ideal advanced pizza dough proofing time.
Over-Proofed Dough: Recognizing the Signs and Potential Solutions
Signs of over-proofed dough include:
- The dough has more than doubled or tripled in size and may appear partially collapsed, especially around the edges.
- The poke test indentation remains completely.
- The dough feels extremely airy, fragile, and potentially very sticky.
- It may have a strong, overly alcoholic or sour smell.
If your dough is slightly over-proofed but still has some structure, handle it very gently. You might be able to reshape it carefully, degassing it minimally, and giving it a very short rest (perhaps 30-60 minutes) before stretching. If it's severely over-proofed and collapsing, it may be difficult to stretch thinly. You might need to adjust your expectations for the crust or consider using it for a different application, like focaccia. To prevent this in the future, reduce proofing time, use less yeast, or proof at a cooler temperature to slow down the advanced pizza dough proofing time.
Under-Proofed Dough: Identifying Issues and Adjusting Techniques
Signs of under-proofed dough include:
- The dough has not significantly increased in volume (less than doubled).
- The poke test indentation springs back immediately and completely.
- The dough feels dense and tight, resisting stretching.
- It may tear easily when you try to shape it.
If your dough is under-proofed, the solution is simple: give it more time! If you are proofing at room temperature, simply leave the dough balls for longer, checking every 30-60 minutes using the poke test until they show the signs of being perfectly proofed. If you were planning a cold proof, you might need to bring the dough out to room temperature for a few hours to accelerate the final proofing phase. Adjusting the advanced pizza dough proofing time by extending it is the direct remedy.
Dealing with Inconsistent Proofing Results
Inconsistent proofing within a batch or between batches is often due to temperature variations. If some dough balls are proofing faster than others, check if they are in a warmer spot in the room (near a window, appliance, etc. ).
To ensure consistent advanced pizza dough proofing time across all dough balls:
- Use a consistent environment: Proof dough in a location with a stable temperature, away from drafts or direct sunlight.
- Use a proofing box or oven with the light on: These can provide a more controlled, slightly warmer environment.
- Ensure dough balls are similar in size: Larger balls take slightly longer to proof than smaller ones.
- Use consistent shaping techniques: Uniformly shaped balls tend to proof more evenly.
Advanced Techniques for Optimizing Neapolitan Pizza Dough Proofing
For bakers looking to elevate their Neapolitan pizza, several advanced techniques can be employed to refine the advanced pizza dough proofing time and enhance the final product. These methods often involve manipulating temperature or initial dough handling to achieve specific outcomes in flavor and texture.
Implementing these techniques requires a deeper understanding of dough behavior but can yield truly exceptional results, pushing your homemade pizza closer to the quality of professional pizzerias.
Cold Fermentation: Extending Proofing for Enhanced Flavor
Cold fermentation is a cornerstone advanced pizza dough technique where the bulk fermentation occurs at refrigerator temperatures (typically 2-4°C / 35-40°F) for an extended period, often 24 to 72 hours, or even longer. This significantly extends the advanced pizza dough proofing time in the bulk stage.
At these low temperatures, yeast activity is greatly slowed, minimizing rapid CO2 production. However, enzymatic activity continues, breaking down complex carbohydrates into simpler sugars, and importantly, beneficial bacteria (like lactic acid bacteria present in the flour) become more active relative to the yeast. This slow process develops a more complex flavor profile with subtle tangy notes and improves the dough's digestibility. After cold bulk fermentation, the dough is balled and typically proofed at room temperature for a few hours before baking.
Using a Temperature Controlled Box
For ultimate precision in controlling the advanced pizza dough proofing time, particularly during the final proof of the dough balls, a temperature-controlled proofing box is invaluable. These devices allow you to set and maintain a specific temperature and sometimes even humidity level.
Proofing at a consistent temperature, such as 25°C (77°F), ensures that the dough proofs predictably within a specific timeframe, removing guesswork related to ambient room temperature fluctuations. This consistency is key for bakers who want repeatable results. While not strictly necessary, a proofing box helps eliminate one of the major variables influencing proofing speed.
Autolyse and its Impact on Proofing Time
Autolyse is a technique where the flour and water in a dough are mixed together and allowed to rest for 20 minutes to several hours before the yeast and salt are added and kneading begins. This resting period allows the flour to fully hydrate and activates enzymes that start to break down proteins and starches.
The primary benefit of autolyse is that it kickstarts gluten development and makes the dough more extensible. This can lead to a shorter, easier kneading process. While autolyse doesn't directly change the advanced pizza dough proofing time in the same way temperature or yeast quantity does, a dough that has undergone autolyse might develop strength and become ready for shaping slightly sooner, or it might handle extended proofing slightly better due to improved gluten structure. It's more about improving the dough's handling and structure than drastically altering the proofing duration.
Proofing Neapolitan Pizza Dough: Step-by-Step Guide
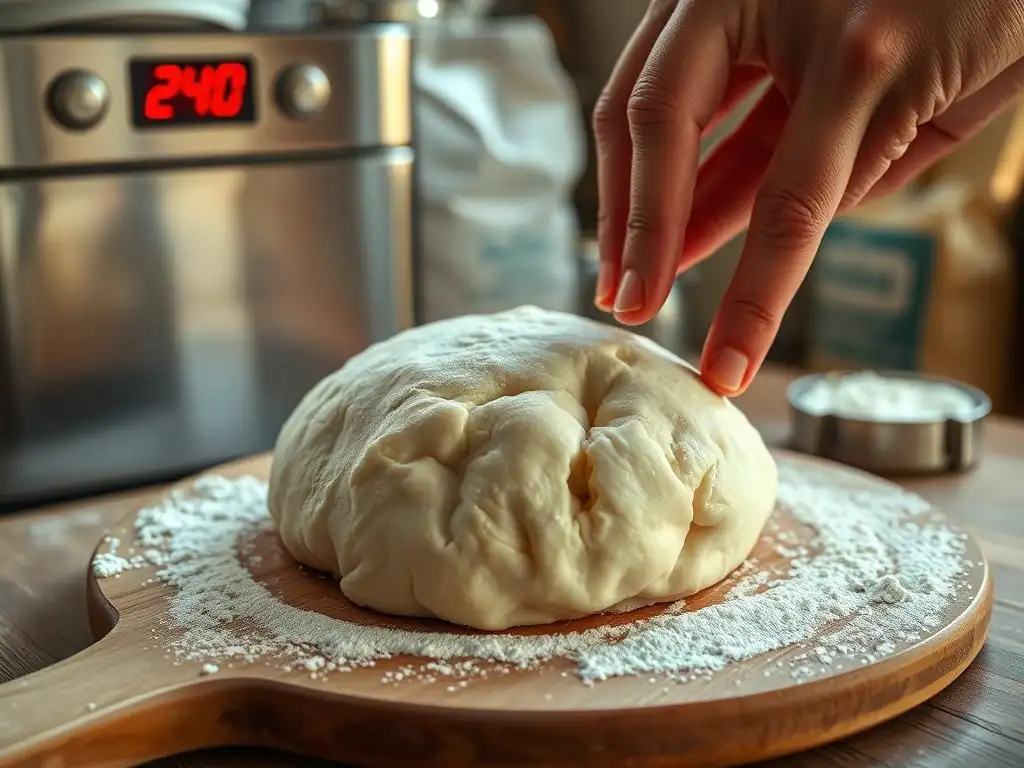
Let's walk through the typical process for proofing advanced pizza dough, assuming you've completed your bulk fermentation (either cold or ambient) and are ready to prepare your dough for baking. This guide focuses on the final proofing stage after the dough has been divided and balled.
Following these steps and paying close attention to the dough will help you achieve the optimal advanced pizza dough proofing time for a perfect pizza.
Step 1: Balling Your Dough After Bulk Fermentation
After your bulk fermentation is complete, gently turn the dough out onto a lightly floured surface. Avoid degassing it roughly. Divide the dough into individual portions for each pizza (typically 250-280g for a standard Neapolitan size).
Shape each portion into a tight, smooth ball. The goal is to create tension on the surface while creating a smooth, consistent shape. This surface tension helps the dough maintain its dome shape during proofing. Place the balled dough into individual proofing containers (like plastic deli containers or proofing boxes) or onto a floured tray, ensuring adequate space between them as they will expand.
Step 2: Creating the Ideal Proofing Environment [Temperature and humidity control]
The ideal temperature for the final proof of Neapolitan dough balls is typically between 20°C and 27°C (68°F and 81°F). Aim for a consistent temperature within this range.
- Find a warm spot in your kitchen, away from drafts.
- You can use your oven with just the light on – this often creates a perfect environment around 25°C (77°F).
- If using proofing containers, lightly oil them or the tray to prevent sticking and cover them loosely with lids or plastic wrap to prevent the surface from drying out and forming a skin. Maintaining a bit of humidity helps keep the dough surface pliable.
Step 3: Monitoring the Dough's Progress [Regular checks and adjustments]
Monitor your dough balls regularly throughout the proofing period. The advanced pizza dough proofing time for this final stage can range from 4 to 8 hours or sometimes longer, depending heavily on the temperature and the amount of yeast used.
Begin checking the dough after about 3-4 hours. Observe the increase in volume and the appearance of the dough balls. They should look noticeably larger and puffier. Avoid disturbing the dough unnecessarily, but check their progress visually every hour or so.
Step 4: Performing the Poke Test [Detailed explanation and visual guide]
Once the dough balls look significantly increased in volume (approaching double or triple their original size), it's time to perform the poke test, as described earlier.
- Gently flour a finger.
- Lightly press into the side of a dough ball about half an inch deep.
- Observe how quickly the indentation springs back.
- Goal: The indentation should spring back slowly and only partially.
Repeat the poke test on a couple of dough balls if you have many. When they consistently pass the poke test, your advanced pizza dough is perfectly proofed and ready to be gently transferred to a peel and stretched for baking.
Achieving the Perfect Neapolitan Pizza: Beyond Proofing
While mastering the advanced pizza dough proofing time is crucial, it's just one piece of the puzzle in creating an authentic Neapolitan pizza. The steps that follow proofing are equally important in translating your perfectly risen dough into a culinary masterpiece.
These final stages require careful handling and execution to preserve the delicate structure developed during proofing and achieve the desired texture and appearance in the final bake.
Shaping Techniques for Maximizing Dough Potential
Once your advanced pizza dough is perfectly proofed, handling it correctly during shaping is vital. The goal is to stretch the dough into a disc while preserving the gas bubbles created during proofing, especially in the rim area.
- Start by gently releasing the dough ball from its container or surface, using a scraper if necessary to avoid tearing.
- Place the dough ball onto a lightly floured surface (semola flour is traditional and helps prevent sticking).
- Using your fingertips, gently press from the center outwards, leaving a small border untouched to form the cornicione.
- Lift the dough and use gravity and your hands to gently stretch it into a disc, working from the center and rotating the dough. Avoid using a rolling pin, which would push all the gas out.
Baking Tips for a Perfectly Proofed Pizza
Baking a perfectly proofed Neapolitan pizza requires high heat and speed to achieve the characteristic puffy, charred rim and moist, tender center.
- Preheat your oven or pizza oven to a very high temperature, ideally 450-500°C (850-930°F). This is significantly higher than a standard home oven, but even a home oven at its maximum temperature (usually 250-280°C / 480-530°F) can yield good results on a pizza stone or steel.
- Ensure your pizza stone or steel is thoroughly preheated (at least 45-60 minutes in a home oven).
- Transfer the shaped pizza with toppings quickly onto the hot surface using a pizza peel.
- Bake time is very short at high temperatures – often just 60-90 seconds in a dedicated pizza oven, or 5-8 minutes in a hot home oven. Watch for the crust to puff up and develop leopard spotting. The short, hot bake maximizes the oven spring from your perfectly proofed dough.
Storing Proofed Dough for Later Use
Sometimes you may have perfectly proofed dough balls leftover, or you might deliberately proof more than you need. While fresh is always best, you can store proofed dough, though it requires careful handling.
If your dough is perfectly proofed and you won't be using it within the next hour or two, you can slow down fermentation by placing the dough balls back into the refrigerator (around 4°C / 40°F). This will significantly pause the proofing process. When you're ready to bake, remove the dough from the fridge and let it sit at room temperature for 60-90 minutes (or longer if needed) to relax and become pliable enough for stretching.
Be aware that dough stored this way for too long (more than 12-24 hours in the fridge after peak proof) may start to degrade in quality. Freezing proofed dough is generally not recommended as it damages the gluten structure.
Conclusion: Confidently Proofing Your Neapolitan Pizza Dough
Mastering the advanced pizza dough proofing time is a fundamental skill that separates good homemade pizza from truly great pizza. It's a process that requires patience, observation, and understanding how variables like temperature, yeast, and hydration interact. By paying close attention to the visual cues, performing the poke test, and feeling the dough's texture, you can confidently determine when your dough has reached its peak readiness.
Remember that practice makes perfect. Each batch of dough and each environment might yield slightly different results. Embrace the learning process, adjust your techniques based on the dough's feedback, and soon you'll be consistently achieving that light, airy, flavorful crust that is the hallmark of authentic Neapolitan pizza. Understanding and controlling the proofing stage is your key to unlocking exceptional pizza at home.
Recap of Key Proofing Indicators
To recap, keep these key indicators in mind when assessing your advanced pizza dough proofing time:
- Volume: Has the dough doubled or tripled in size?
- Visuals: Does the dough look puffy, rounded, and smooth, without large surface bubbles or signs of collapse?
- Poke Test: Does an indentation spring back slowly and partially?
- Texture: Does the dough feel light, airy, and extensible, yet still hold its shape?
- Time & Temperature: Have you considered the proofing temperature and how it relates to the expected duration for your specific recipe and yeast amount?
Elevate Your Pizza Baking with Proper Proofing Techniques
By focusing on these aspects of proofing, you are actively taking control of a critical stage in the pizza-making process. Moving beyond simply following a recipe's suggested advanced pizza dough proofing time and learning to read your dough will dramatically improve the consistency and quality of your results.
Embrace the techniques discussed, experiment with cold fermentation for enhanced flavor, and use tools like proofing boxes if you seek precision. The effort invested in understanding and perfecting your dough's proof will be richly rewarded with a superior crust – the foundation of an unforgettable Neapolitan pizza. Happy baking!
Frequently Asked Questions
What is proofing, and why is it so important for advanced pizza dough?
Proofing is the final rise of your pizza dough after it's been shaped. It's crucial for developing flavor and creating a light, airy crust. Insufficient proofing results in a dense pizza.
How does proofing time differ for advanced pizza dough compared to simpler recipes?
Advanced doughs often use preferments and longer fermentation periods, leading to a more complex flavor profile. This means the proofing time is usually shorter and more precise, requiring careful observation.
What visual cues indicate that my advanced pizza dough is properly proofed?
Look for a dough that has approximately doubled in size, appears puffy, and jiggles slightly when gently touched. A finger indentation should slowly spring back, leaving a slight depression.
Can I over-proof my advanced pizza dough, and what are the consequences?
Yes, over-proofing can cause the dough to collapse and develop a sour, unpleasant taste. The resulting pizza will be flat and potentially gummy.
What factors influence the ideal proofing time for advanced pizza dough?
Temperature and humidity are key. Warmer environments accelerate proofing, while cooler ones slow it down. The amount of yeast used and the dough's hydration level also play a significant role.
Final Reflection: The Art and Science of Perfect Pizza Dough
Mastering the art of advanced pizza dough proofing isn't just about following a recipe; it's about understanding the delicate dance between time, temperature, and the living organism that is your dough. The precise timing, as explored throughout this article, is crucial for achieving that perfect texture and flavor – a testament to the power of patience and precision in baking. This isn't just about making a pizza; it's about embracing a process.
The journey of proofing advanced pizza dough mirrors life itself – a process of careful nurturing and observation, leading to a rewarding outcome. The subtle changes in the dough's texture and volume, the anticipation of the perfect moment, it all resonates with the larger human experience of growth and transformation. As the renowned chef, Massimo Bottura, once said, Cooking is not just about technique, it's about emotion.
This sentiment perfectly encapsulates the emotional investment and profound satisfaction derived from mastering the proofing process.
Now, consider your own projects, your own aspirations. What seemingly small details require the same level of attention and patience as perfecting your pizza dough? Take a moment to reflect on the areas of your life where precision and timing are key, and apply the principles of mindful observation and careful execution you've learned here. Embrace the process, trust the science, and savor the rewards of your dedication. The perfect pizza, and a more fulfilling life, await.
Unleash Your Inner Pizzaiolo: Perfect Dough, Every Time!
Thanks for taking the time to learn about achieving perfectly proofed pizza dough! We hope you now feel confident in your ability to create that amazing, airy crust you've always dreamed of. Ready to put your new skills to the test?
- Bake your masterpiece! Use your newfound knowledge to craft the perfect pizza – and don't forget to experiment with different toppings! This is the most important step; it's time to put your knowledge into action!
- Share your pizza-making journey! Snap a picture of your creation and share it on social media using #BakeWithEasePizza. Let's inspire others!
- Explore our other resources. Discover more baking tips and techniques on our website to further elevate your culinary skills.
What innovative pizza topping will you create with your perfectly proofed dough?