
Troubleshooting Artisan Bread Crust Problems

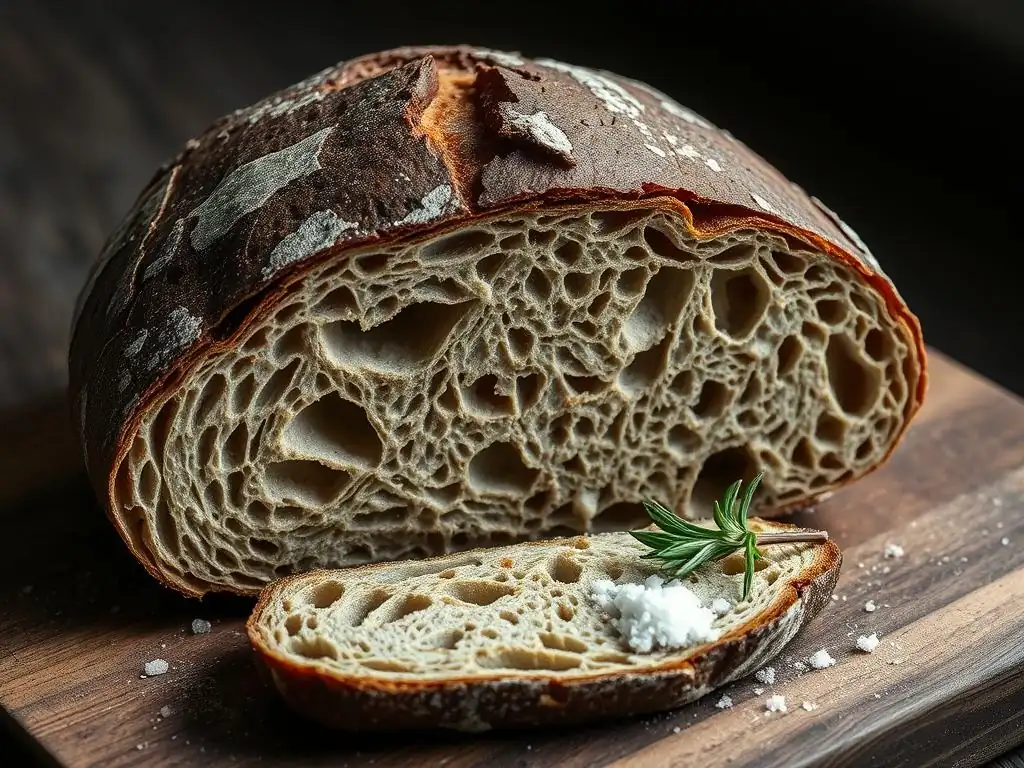
Welcome to BakeWithEase, your companion in the delightful world of baking! Are you ready to unlock the secrets to that perfect, crackling crust? Many bakers encounter frustrating roadblocks on their journey to crusty artisan bread, but don't despair! This article dives deep into common problems and provides practical solutions to help you achieve that golden, irresistible finish. Discover the key to a masterful bake and say goodbye to pale, disappointing loaves. Let's get started!
- Troubleshooting Sourdough Bread Crust Problems: A Baker's Guide
- Understanding Sourdough Bread Crust Development
- Common Sourdough Bread Crust Problems and Solutions
- Mastering Baking Techniques for a Perfect Sourdough Bread Crust
- Ingredient Adjustments for Better Sourdough Bread Crust
- Troubleshooting Crust Problems Specific to Sourdough
- Preventing Future Sourdough Bread Crust Problems
-
Frequently Asked Questions
- What causes a dull and soft crust on my artisan bread?
- Why is my artisan bread crust too thick and difficult to cut?
- My artisan bread crust shattered after cooling. What went wrong?
- How can I achieve a blistered and rustic crust on my artisan bread?
- Why is my artisan bread crust pale and lacking color?
- Final Reflection: The Enduring Quest for the Perfect Crust
- Unlock Your Crust's Full Potential!
Troubleshooting Sourdough Bread Crust Problems: A Baker's Guide
Navigating the world of sourdough baking can be incredibly rewarding, but sometimes, those beautiful loaves present challenging crusty artisan bread problems. Achieving that perfect crackly exterior and chewy interior requires understanding a few key principles and knowing how to troubleshoot when things don't go quite as planned. This guide will walk you through common crust issues and provide practical solutions to help you bake your best sourdough yet.
Understanding Sourdough Bread Crust Development
The crust is the first thing we see and feel in a loaf of sourdough, and its development is a fascinating interplay of heat, moisture, and chemistry. It provides structure, contributes significantly to the flavor through caramelization and the Maillard reaction, and creates that satisfying crunch. Understanding how the crust forms is the first step in addressing common crusty artisan bread problems.
The Science Behind a Perfect Sourdough Bread Crust
The formation of a sourdough crust is primarily driven by heat during the baking process. As the dough enters a hot oven, the outer layer rapidly dries out and heats up. Water on the surface evaporates, creating steam, which helps keep the crust pliable initially. As the temperature climbs above 212°F (100°C), starches in the dough's outer layer gelatinize, forming a network that will become the crust.
Beyond this point, around 300°F (150°C), the Maillard reaction and caramelization kick in. The Maillard reaction is a complex chemical process between amino acids and reducing sugars, responsible for the rich brown color and myriad of complex flavors and aromas in the crust. Caramelization, occurring at even higher temperatures (around 320°F/160°C for sucrose), involves the browning of sugars themselves, adding depth and slight sweetness. These reactions are crucial for developing the characteristic dark, flavorful crust of artisan sourdough and are often where some crusty artisan bread problems originate if conditions aren't right.
Factors Influencing Sourdough Crust Formation
Several factors significantly influence how your sourdough crust develops. The oven temperature is paramount; a sufficiently hot oven is necessary to initiate the rapid drying and browning processes. Humidity in the oven during the initial phase of baking is also critical, as it prevents the crust from setting too early, allowing for maximum oven spring and a thinner, more expansive crust.
The dough's hydration level plays a role; higher hydration doughs tend to produce thinner, crispier crusts because there's more water available to convert to steam. The type of flour used matters as well; flours with higher protein content can contribute to a chewier crust. Finally, the duration of baking directly impacts the depth of color and crispness – baking for too short a time can lead to a pale, soft crust, while over-baking can result in a crust that's too hard or burnt, highlighting potential crusty artisan bread problems.
Common Sourdough Bread Crust Problems and Solutions
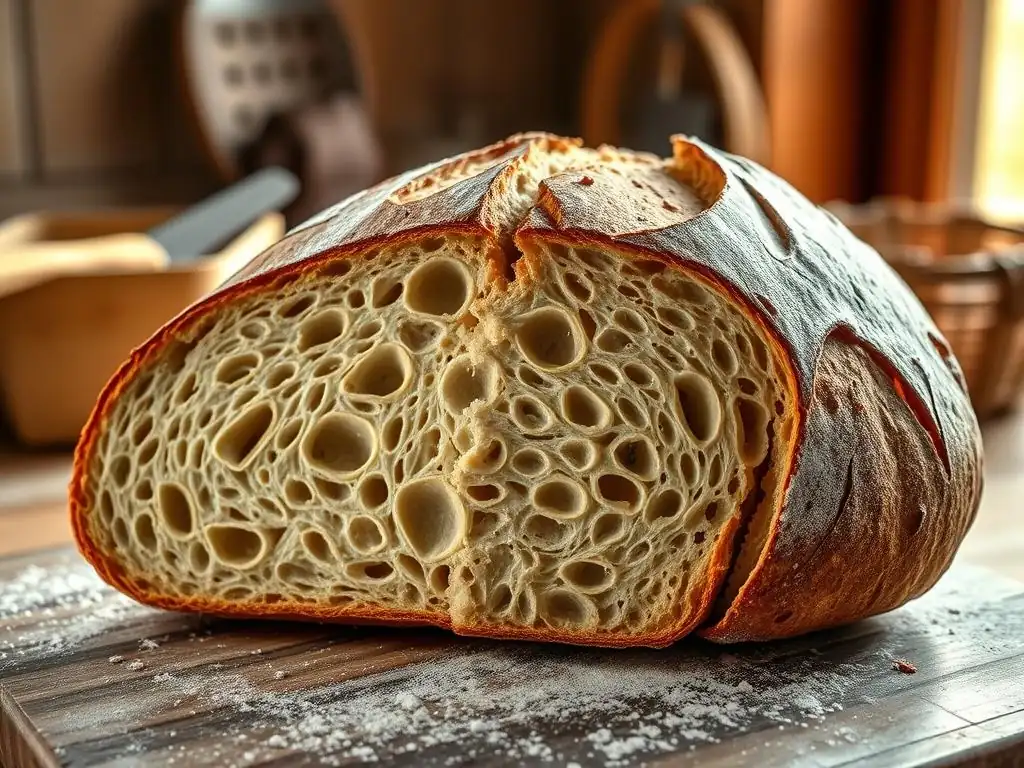
Even experienced bakers encounter issues with their sourdough crusts. Identifying the specific problem is the first step towards finding a solution and overcoming these crusty artisan bread problems. Let's explore some of the most frequent complaints and how to fix them.
Problem 1: Crust Too Thick and Difficult to Cut
An overly thick crust can be disappointing, making slicing a challenge and sometimes overwhelming the texture of the crumb. This is a common issue when troubleshooting crusty artisan bread problems.
Possible Causes of an Overly Thick Sourdough Crust
One primary cause is insufficient steam during the initial phase of baking. Without adequate steam, the crust forms and hardens too quickly in the hot oven, restricting oven spring and resulting in a tough, thick outer layer. Another factor can be baking at too low a temperature; the slower heating allows the crust to dry out gradually and thicken rather than setting quickly while the interior expands. Over-proofing the dough can also contribute, as it might lack the necessary structure and energy for vigorous oven spring, leading to a denser, thicker crust.
Using a very low hydration dough (perhaps below 65%) can inherently lead to a thicker crust because there's less internal moisture to create steam and keep the outer layer pliable during the initial bake. Baking uncovered for the entire duration, especially in a dry oven environment, will also promote rapid crust formation and thickening. For instance, baking a standard 70% hydration dough at 400°F (200°C) without any steam for 40 minutes will almost certainly yield a thicker crust than baking at 475°F (245°C) with steam for the first 20 minutes.
Solutions for a Thicker-Than-Desired Sourdough Crust
To combat a thick crust, focus on maximizing steam during the first 15-20 minutes of baking. If using a Dutch oven, preheating it thoroughly (e.g., to 500°F/260°C) and baking the loaf with the lid on for the initial period traps the dough's own steam effectively. For baking on a stone or steel, use a steam pan with hot water or ice cubes placed on a rack below the baking surface, or spray the oven walls generously (though this is less effective and can damage some ovens). Aim for oven temperatures between 450°F (230°C) and 500°F (260°C) initially.
Consider slightly increasing your dough's hydration if it's very low, perhaps by 2-5%, as this can lead to a slightly thinner crust. Ensure your dough is properly proofed – not under or over – to ensure good oven spring. If baking uncovered, ensure you are creating sufficient steam using external methods. Some bakers also find that reducing the overall baking time slightly, while still achieving desired internal temperature, can help prevent the crust from becoming excessively thick and hard, addressing these crusty artisan bread problems effectively.
Problem 2: Crust Too Thin and Lacks Color
A pale, thin crust can feel flimsy and doesn't contribute the depth of flavor or structure that a well-developed crust provides. This is another common issue when troubleshooting crusty artisan bread problems.
Reasons for a Thin and Pale Sourdough Bread Crust
A thin, pale crust is often a sign that the crust didn't reach a high enough temperature or didn't bake for long enough for the Maillard reaction and caramelization to fully occur. This can happen if the oven temperature is too low, or if the loaf is removed from the oven before the crust has had sufficient time to brown. Sometimes, too much steam maintained for too long can inhibit browning, as the surface stays cooler and moist.
The dough itself can also be a factor. Doughs with very low sugar content (which is less common in standard sourdough but possible with certain flour blends or very short fermentation times) might struggle to brown adequately. Baking at a lower rack position might also contribute to less top-crust browning compared to baking in the center or slightly higher in some ovens. For example, a loaf baked at 400°F (200°C) for 30 minutes will likely be much paler than one baked at 450°F (230°C) for 40 minutes.
How to Achieve a Richer, Deeper Sourdough Crust Color
To get a darker, more flavorful crust, ensure your oven is properly preheated to a high temperature, typically 450°F (230°C) or higher. Bake the loaf for a sufficient duration. After the initial steaming period (usually 15-20 minutes), remove the lid (if using a Dutch oven) or remove the steam source and continue baking uncovered. This allows the surface temperature to rise, promoting browning. Don't be afraid of a dark brown color; this is where the flavor is!
Consider extending the uncovered baking time by 5-10 minutes if your crust is consistently pale. Some bakers even turn off the oven and leave the loaf inside for an additional 5-15 minutes with the door slightly ajar to further dry out and deepen the crust color without risking burning. Ensure you are using a quality flour that supports good browning. Baking on a preheated baking stone or steel can also provide strong bottom heat, which helps drive overall crust development and color, helping to resolve these crusty artisan bread problems.
Problem 3: Crust Lacks Crispness and Turns Soft Quickly
You pull your beautiful loaf from the oven, and it has that satisfying crackle, but within hours, the crust goes soft and loses its appeal. This is a common frustration when dealing with crusty artisan bread problems.
Identifying Why Your Sourdough Bread Crust Isn't Crispy
The primary reason a sourdough crust loses its crispness is moisture migration from the interior (crumb) to the exterior (crust) after cooling. While some softening is inevitable, excessive softening often indicates that the crust didn't dry out sufficiently during baking, or the loaf wasn't cooled properly. If the loaf was baked for too short a time, or if too much steam was maintained for too long, the crust might not develop the necessary structure to stay crisp.
Another culprit can be improper cooling. If the loaf is cooled on a solid surface instead of a wire rack, moisture gets trapped underneath, leading to a soggy bottom crust that quickly softens the rest of the crust. Storing the bread incorrectly, such as in a plastic bag while it's still warm, will also trap moisture and destroy crispness immediately. A crust baked at a lower temperature might be thinner and less able to retain crispness compared to one baked at a higher temperature.
Tips for Achieving a Crispy Sourdough Bread Crust
To maximize crust crispness, ensure the loaf is baked thoroughly. After the initial steaming period, bake uncovered until the crust is a deep golden brown and sounds hollow when tapped on the bottom. This ensures the crust is well-dried. Many bakers aim for an internal temperature of around 205-210°F (96-99°C) for the crumb, but the crust needs sufficient time at high temperatures to dry out.
Crucially, cool your sourdough loaf completely on a wire rack. This allows air circulation all around the loaf, facilitating the escape of steam and preventing moisture buildup. Do not slice into the loaf until it is fully cooled, usually 2-4 hours for a standard-sized loaf. Slicing releases steam from the interior, which can then migrate to the crust and soften it. Proper cooling is perhaps the single most important step in preserving that hard-earned crisp crust and preventing common crusty artisan bread problems related to texture.
Problem 4: Crust is Too Soft and Chewy
A soft, chewy crust lacks the desired structure and satisfying bite of a classic artisan loaf. It's different from a crust that goes soft after cooling; this is a crust that is soft and rubbery straight out of the oven.
Understanding a Soft and Chewy Sourdough Crust
A soft and chewy crust often results from insufficient baking time or temperature, preventing the crust from drying out and crisping properly. If the loaf is removed from the oven before the crust has reached a sufficiently high temperature and dried adequately, it will remain pliable and chewy. Excessive steam throughout the entire bake can also contribute, keeping the crust moist and preventing it from hardening.
Dough hydration plays a role; while higher hydration can yield a thin, crisp crust when baked correctly, if not baked hot enough or long enough, that thin crust can turn soft and chewy. Using flours with very low protein content might also contribute to a softer crust structure compared to strong bread flour.
Baking Techniques to Avoid a Chewy Sourdough Crust
To avoid a soft and chewy crust, ensure your oven is preheated adequately to a high temperature (450°F/230°C or higher). Use steam only for the initial portion of the bake (typically 15-20 minutes), then remove the lid or steam source to allow the crust to dry and crisp up. Continue baking until the crust achieves a deep, rich color and feels firm and dry to the touch.
Bake the loaf until the internal temperature reaches at least 205°F (96°C). Don't rush the baking process. If baking uncovered on a stone, consider finishing the bake directly on the oven rack for the last 5-10 minutes to ensure the bottom crust dries out completely. Proper cooling on a wire rack is also essential, as moisture trapped during cooling can contribute to a chewy texture. By ensuring the crust properly dries and hardens during the bake, you effectively tackle these crusty artisan bread problems.
Problem 5: Crust Cracks Excessively During Baking
While some controlled cracking along the score is desirable, uncontrolled, jagged cracks appearing randomly on the surface indicate an issue with crust development. This is a common visual crusty artisan bread problem.
Why Your Sourdough Bread Crust is Cracking
Excessive or uncontrolled cracking (often called "blowouts") usually happens when the crust sets too early in the oven, before the interior of the loaf has finished expanding. As the inside continues to rise, the rigid outer crust tears wherever it finds the least resistance. This is often a result of insufficient steam during the initial bake; the dry heat causes the crust to harden prematurely.
Under-proofing can also contribute. An under-proofed loaf has a lot of stored energy and will expand rapidly and forcefully in the oven, potentially tearing a crust that has already set. Conversely, over-proofing can sometimes lead to blowouts if the dough collapses slightly before baking, creating weak points. Baking on a surface that is not hot enough can also cause the bottom to set slower than the top, forcing the expansion upwards and outwards, potentially causing tears.
Preventing Crust Cracking During Baking
To prevent uncontrolled cracking, ensure adequate steam during the first 15-20 minutes of baking. This keeps the crust pliable, allowing the loaf to expand freely and directing the expansion along your scores. Using a Dutch oven is highly effective for trapping steam. If baking on a stone, use a reliable steam method like a hot water bath.
Proper scoring is also critical. Your scores act as vents, providing a path of least resistance for the expanding dough. If your scores are too shallow or insufficient, the dough will find its own weak spots to tear. Ensure your dough is properly proofed – aim for a dough that has increased significantly in volume (perhaps 70-90% increase for a cold proof) but still has some structure and isn't collapsing. Baking on a well-preheated surface (stone or steel) ensures strong bottom heat, promoting even expansion and helping to mitigate these specific crusty artisan bread problems.
Mastering Baking Techniques for a Perfect Sourdough Bread Crust
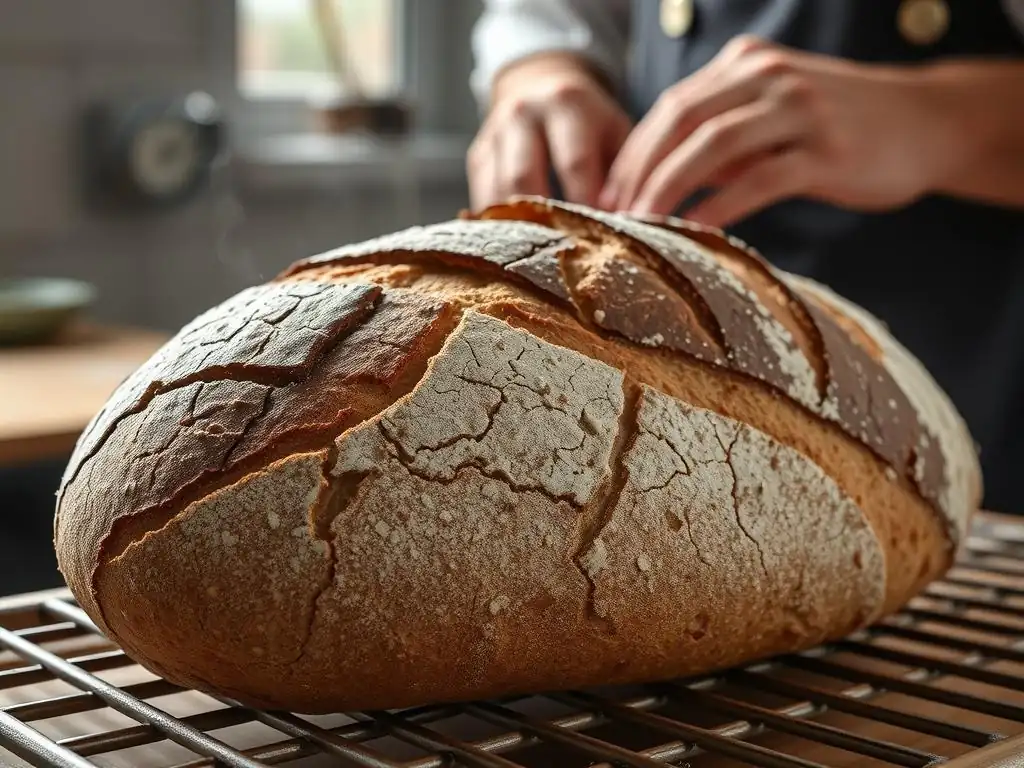
Beyond troubleshooting specific issues, refining your baking techniques is key to consistently achieving a beautiful and functional sourdough crust.
Controlling Oven Temperature and Humidity
Precision in oven temperature is crucial. Most artisan sourdough benefits from baking at high temperatures, typically starting between 450°F (230°C) and 500°F (260°C). A properly calibrated oven is essential; consider using an oven thermometer to verify your oven's actual temperature. Baking at too low a temperature will result in a pale, thick, or chewy crust.
Controlling humidity is equally important, especially during the first 15-20 minutes. Steam keeps the surface of the dough moist and elastic, allowing for maximum oven spring and a thinner, crispier crust. After this initial period, the steam source is removed to allow the crust temperature to rise and dry out, promoting browning and crisping. This two-stage approach to temperature and humidity is fundamental to addressing crusty artisan bread problems and achieving desired results.
The Importance of Steaming for Sourdough Crust Development
Steam is non-negotiable for a proper artisan sourdough crust. As mentioned, it keeps the dough surface pliable, preventing premature crust formation and allowing the loaf to expand fully during the initial oven spring. This results in a larger loaf volume and a thinner, more desirable crust texture.
Without sufficient steam, the crust hardens quickly, restricting expansion and often leading to blowouts or a very thick, tough crust. The amount of steam needed depends on your oven and baking vessel. A Dutch oven traps the dough's own steam very effectively. Baking on a stone requires external steam methods, such as placing a pan of hot water or ice cubes in the oven, or using lava rocks soaked in water. Aim for a visibly steamy environment inside the oven for the first portion of the bake.
Using Baking Stones or Dutch Ovens for Optimal Sourdough Crust
Baking stones, steels, and Dutch ovens are popular tools for achieving excellent sourdough crusts because they provide intense, even heat to the base of the loaf. A preheated stone or steel (heated for 45-60 minutes at high temperature) provides a thermal mass that delivers a powerful heat shock to the dough from below, promoting rapid oven spring and a well-developed bottom crust.
Dutch ovens offer the dual benefit of providing intense bottom heat (when preheated) and trapping the dough's steam effectively. This creates the ideal environment for the initial bake phase. Many bakers prefer Dutch ovens for their consistency in producing excellent crusts, especially for home ovens which may not retain steam well otherwise. Both methods significantly help in overcoming common crusty artisan bread problems by providing the necessary heat and/or steam conditions.
Scoring Techniques for Beautiful Sourdough Crust Patterns
Scoring, or slashing the dough's surface just before baking, is both functional and artistic. Functionally, scores act as controlled vents, allowing the dough to expand predictably in the oven. This prevents uncontrolled tearing or blowouts. Artistically, scores create beautiful patterns on the finished crust.
Proper scoring depth and angle are important. Scores should typically be about 1/2 inch deep for most loaves, though decorative cuts can be shallower. For a classic ear, hold the lame (razor) at a shallow angle (around 30 degrees) to the surface. For cuts meant to open widely, score more deeply and vertically. Experimenting with different patterns and techniques can help you understand how the dough expands and how to direct that expansion for both aesthetics and to prevent issues like blowouts, which are common crusty artisan bread problems related to expansion control.
Ingredient Adjustments for Better Sourdough Bread Crust
Sometimes, adjusting your ingredients can influence the final crust outcome, helping you fine-tune your approach to crusty artisan bread problems.
The Role of Flour Type and Protein Content in Crust Formation
The type of flour you use significantly impacts your sourdough crust. Strong bread flour, with its higher protein content (typically 12-14%), develops a robust gluten network. This network provides structure for good oven spring, which in turn supports the development of a thinner, crispier crust. Flours with lower protein, like all-purpose flour (around 10-11.5%), might yield a softer crust due to less structural development.
Using a portion of whole wheat or rye flour can also affect the crust. These flours absorb more water and have different fermentation characteristics, often resulting in a slightly thicker or denser crust compared to 100% white bread flour. Experimenting with different flour blends and understanding their protein content is key to predicting and controlling crust texture. For example, a loaf made with 100% high-gluten flour might have a chewier crust than one made with a mix of bread flour and spelt.
The Impact of Salt on Sourdough Crust
Salt is essential in bread making for flavor, controlling fermentation rate, and strengthening the gluten structure. While its primary role isn't crust formation, its influence on dough structure indirectly affects the crust. A dough with insufficient salt might ferment too quickly and have a weaker structure, potentially leading to issues with oven spring and subsequent crust development.
Typical salt percentages in sourdough range from 1.8% to 2.2% of the total flour weight. Maintaining this balance ensures proper dough development, which supports good oven spring and allows the crust to develop correctly under the right baking conditions. While you won't adjust salt specifically for the crust, ensuring it's at the correct level is foundational to preventing many crusty artisan bread problems.
The Influence of Starter Activity on Crust Texture and Flavor
A healthy, active sourdough starter is crucial for successful baking. A vigorous starter provides the necessary leavening power for good oven spring. Strong oven spring is vital because it allows the dough to expand significantly before the crust sets, leading to a thinner, more desirable crust texture.
An under-active starter might result in a dense loaf with poor oven spring, leading to a thicker, potentially tougher crust. Furthermore, the starter's maturity and the length of fermentation contribute significantly to the complex flavors in sourdough, including those that develop in the crust during the Maillard reaction and caramelization. Using a starter at its peak activity ensures optimal leavening and contributes to a flavorful crust, helping to avoid common crusty artisan bread problems related to structure and flavor.
Troubleshooting Crust Problems Specific to Sourdough
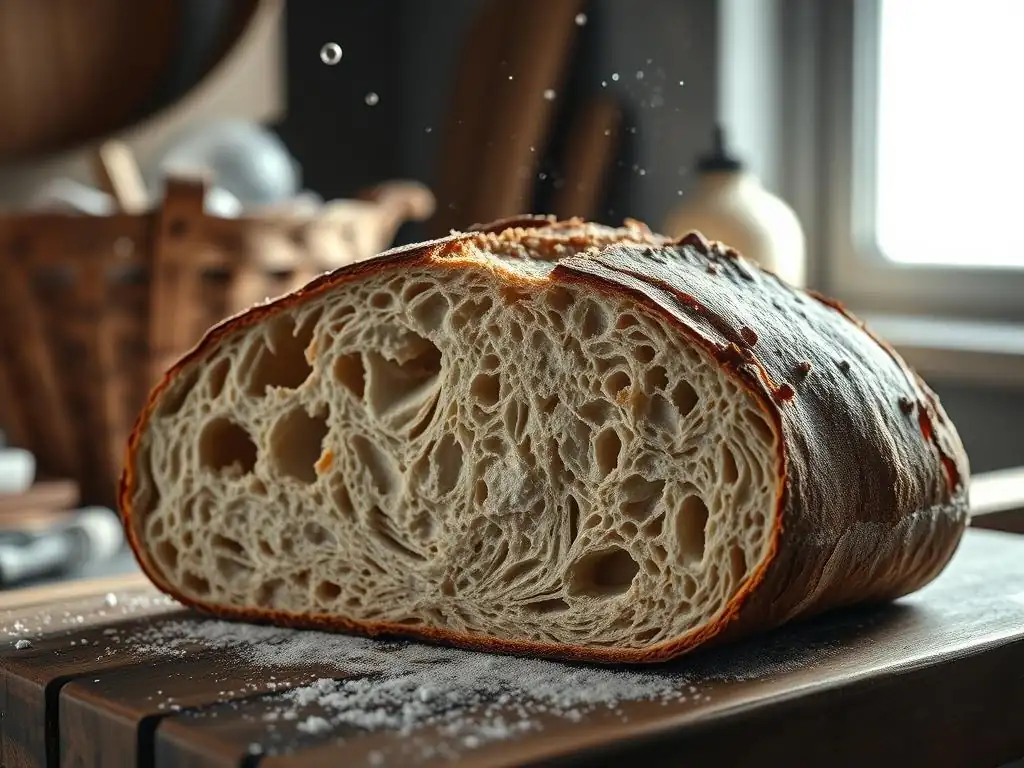
Sourdough fermentation introduces unique variables that can sometimes lead to specific crust issues.
Addressing Blistered Crust Issues in Sourdough
Small blisters on the sourdough crust are often highly sought after by bakers, as they indicate a well-fermented dough and good handling. They are typically caused by small pockets of gas forming just beneath the surface of the dough during a long, cold fermentation (like an overnight proof in the refrigerator). As the dough bakes, these gas pockets expand and push against the thin outer layer, creating blisters.
If you desire more blisters, try a longer, colder proofing period (e.g., 12-18 hours at 38-40°F / 3-4°C). Handle the dough gently during shaping to avoid degassing the surface. Ensure adequate steam in the oven, as this keeps the surface moist and allows these delicate blisters to form without immediately hardening and bursting. Conversely, if you prefer fewer blisters, a shorter room-temperature proof or handling the dough slightly more firmly during shaping might reduce them.
Fixing Gummy or Underbaked Sourdough Crust
A gummy or underbaked crust, often accompanied by a dense, wet crumb, means the loaf didn't spend enough time in the oven or the oven temperature was too low. The starches in the crust haven't fully gelatinized and dried, and the interior hasn't reached the proper temperature. This is a classic sign of insufficient baking, directly related to crusty artisan bread problems stemming from inadequate heat exposure.
To fix this, bake the loaf longer! Ensure your oven is accurately preheated to a high temperature (450°F/230°C+). After the initial steamed phase, continue baking uncovered until the crust is a deep brown and the internal temperature of the loaf is at least 205°F (96°C). Don't rely solely on visual cues; an instant-read thermometer is your best friend here. If the top is browning too fast but the inside isn't done, loosely tent the loaf with foil for the remainder of the bake.
Resolving Unevenly Colored Sourdough Crust
An unevenly colored crust, with some spots dark brown and others pale, can be aesthetically unappealing and indicate uneven heat distribution in your oven. Hot spots are common in home ovens.
To address uneven coloring, rotate your loaf halfway through the uncovered baking period. If using a baking stone or steel, ensure it is fully preheated for at least 45-60 minutes to provide even radiant heat from below. If using a Dutch oven, ensure it is centered in the oven. Using an oven thermometer can help you identify if your oven has significant temperature swings or hot spots. Sometimes, simply adjusting the rack position (moving it lower if the top is browning too fast) can help achieve more even coloration and solve these specific crusty artisan bread problems.
Preventing Future Sourdough Bread Crust Problems
Consistency and attention to detail are your greatest allies in preventing crusty artisan bread problems from recurring.
Maintaining Consistent Baking Practices
Developing consistent baking practices is key. This means using the same recipe ratios, proofing times and temperatures (as much as possible), and baking setup each time. Document your bake – note the oven temperature, preheat time, steam method duration, uncovered bake time, and final internal temperature.
By keeping detailed notes, you can identify what worked well and what didn't. If you encounter a crust problem, you can look back at your notes for that specific bake and compare it to successful bakes. This systematic approach allows you to pinpoint variables that might be causing issues, whether it's under-proofing, insufficient steam, or incorrect bake time, helping you tackle crusty artisan bread problems proactively.
Regularly Evaluating Your Oven's Performance
Home ovens can be notoriously inconsistent. Their temperature gauges may be inaccurate, they can have hot spots, and their ability to retain heat and steam varies greatly. Regularly using an oven thermometer is a simple yet effective way to know the actual temperature inside your oven.
If your oven consistently runs hot or cold, you can adjust your target temperature accordingly. If you notice consistent uneven browning despite rotating the loaf, you might need to experiment with different rack positions or accept that your oven has hot spots you need to work around. Understanding your specific oven's quirks is vital for consistent sourdough crust results and preventing unexpected crusty artisan bread problems.
Storing Sourdough Bread Properly to Preserve Crust Quality
Proper storage is essential for maintaining that wonderful crispy crust after the loaf has cooled. Once completely cooled on a wire rack, store the loaf cut-side down on a cutting board or in a paper bag. A paper bag allows the crust to breathe, helping it maintain some crispness.
Avoid storing a whole loaf in a plastic bag or airtight container at room temperature immediately after cooling, as this will trap moisture and quickly soften the crust. If you need to store it for longer than a day or two, consider freezing portions in airtight bags or containers after the loaf is fully cooled. This preserves the quality, and you can often refresh the crust in a hot oven (around 350°F/175°C) for 5-10 minutes after thawing. Proper storage is the final step in ensuring your efforts to fix crusty artisan bread problems pay off!
Frequently Asked Questions
What causes a dull and soft crust on my artisan bread?
A dull and soft crust usually indicates insufficient steam during the initial baking phase. Ensure your oven is preheated thoroughly and that you're using a reliable steaming method, such as a Dutch oven or water-filled tray.
Why is my artisan bread crust too thick and difficult to cut?
An overly thick and hard crust can be caused by baking at too high a temperature for too long, or having too little moisture in the dough. Try lowering the oven temperature slightly or increasing the hydration of your dough.
My artisan bread crust shattered after cooling. What went wrong?
Crust shattering often happens due to rapid temperature changes. Allow your bread to cool slowly on a wire rack, away from drafts. This prevents uneven cooling and cracking.
How can I achieve a blistered and rustic crust on my artisan bread?
A blistered crust is often achieved through cold fermentation in the refrigerator, which allows for deeper flavor development and crust texture. Experiment with different fermentation times.
Why is my artisan bread crust pale and lacking color?
A pale crust can be due to insufficient sugar content in the dough or not enough time in the oven. Consider adding a small amount of malt syrup or sugar to the recipe or baking for a slightly longer period.
Final Reflection: The Enduring Quest for the Perfect Crust
The pursuit of the perfect artisan bread crust is more than just a culinary challenge; it's a reflection of our desire for mastery and connection to traditional craft. From the humble sourdough starter to the crackling final bake, each step in the process holds a lesson in patience, precision, and the beautiful unpredictability of nature. Understanding the common pitfalls, as explored in this article, empowers us to not only troubleshoot problems but to truly appreciate the artistry involved.
The journey to a consistently excellent crust is a deeply rewarding one, mirroring life's own trials and triumphs. The subtle nuances of temperature, hydration, and even the type of flour used can dramatically impact the final result. This process of experimentation and learning resonates far beyond the kitchen; it's a microcosm of the iterative nature of skill development in any field. The reward of a perfectly crisp crust is not just in the taste, but in the journey to achieve it.
– a baker's reflection.
Now, consider your own baking experiences. What challenges have you faced? What adjustments did you make? Don't be discouraged by imperfections; embrace them as opportunities for growth. The next time you encounter a less-than-perfect crust, remember the lessons learned here. Experiment, adapt, and most importantly, enjoy the process. The journey to mastering the artisan bread crust is a lifelong pursuit, and each loaf baked is a testament to your dedication and passion.
Unlock Your Crust's Full Potential!
Thanks for taking the time to delve into the world of artisan bread baking! We hope you gained valuable insights into tackling those pesky crust issues. Now it's time to put your newfound knowledge into action.
- Master your next loaf: Try implementing at least one of the troubleshooting tips from the article in your next bake. Pay close attention to the changes in your technique and the resulting crust.
- Share your success (or struggles!): We'd love to see your results! Share a picture of your beautiful (or even slightly imperfect!) crust on our social media pages – let's learn from each other.
- Dive deeper into our resources: Explore our other articles on bread baking techniques for even more tips and tricks to elevate your baking game.
Ready to bake the perfect crust? What specific technique are you most excited to try next?