
Stand Mixer Care 101: Simple Maintenance for Longevity

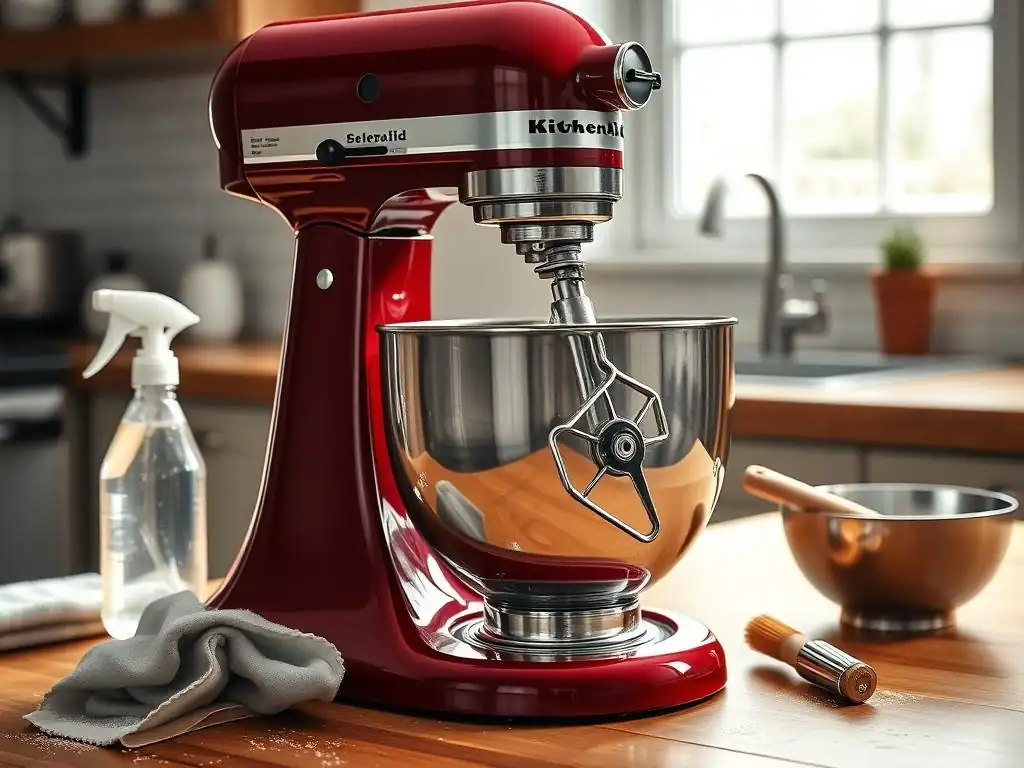
Welcome to BakeWithEase, your haven for all things baking! Are you ready to unlock the secrets to a longer, happier life for your beloved stand mixer? Discover how to clean your stand mixer thoroughly with our step-by-step guide, ensuring it's always ready for your next baking adventure. Don't let grime and build-up slow you down – read on to learn the essential maintenance tips that will keep your mixer humming for years to come!
- Introduction to Stand Mixer Maintenance
- Step-by-Step Guide: How to Clean Your Stand Mixer
- Deep Cleaning Your Stand Mixer: A Comprehensive Guide
- Preventing Common Stand Mixer Problems Through Routine Maintenance
- Troubleshooting Common Stand Mixer Issues
- Maintaining Your Stand Mixer for Years to Come: Long-Term Care Tips
- Conclusion: Ensuring a Long and Productive Life for Your Stand Mixer
- Frequently Asked Questions
- Final Reflection: The Enduring Power of a Well-Maintained Stand Mixer
- Unlock Your Mixer's Full Potential: Simple Steps for Baking Bliss!
Introduction to Stand Mixer Maintenance
Why Regular Stand Mixer Care is Essential
Regular maintenance of your stand mixer isn't just about keeping it looking nice; it's crucial for ensuring its optimal performance and extending its lifespan. Just like a car needs oil changes to run smoothly, your stand mixer requires routine cleaning and checks to prevent buildup and wear that can lead to inefficient operation or even breakdown.
Flour dust, sugar residue, butter splatters, and sticky dough scraps can accumulate in crevices and around moving parts, hindering their function and potentially causing motor strain. A clean stand mixer operates more efficiently, handles heavier loads with less effort, and consistently delivers the results you expect for your baking projects, from delicate meringues to dense bread doughs.
Beyond performance, neglecting cleaning can also pose hygiene issues. Food particles left on the mixer or its attachments can become breeding grounds for bacteria. A quick wipe-down after each use and a more thorough stand mixer cleaning periodically ensure that your equipment is not only functioning well but is also food-safe. This diligent care protects your investment, saving you money on potential repairs or replacements down the line, and ensures that every batch of cookies or loaf of bread is made with clean, reliable equipment.
Understanding the Importance of Longevity in Baking Equipment
Investing in a quality stand mixer is often a significant expense for any baker, ranging from a few hundred to upwards of a thousand dollars depending on the model and features. Protecting this investment by focusing on its longevity is therefore paramount. Equipment that lasts means you can rely on it for years of baking adventures, from holiday cookie marathons to weekly bread baking. A well-maintained mixer avoids the frustration of unexpected malfunctions right in the middle of a critical recipe step.
Furthermore, understanding the value of longevity impacts your overall baking journey. Reliable equipment builds confidence and allows you to focus on perfecting your techniques rather than worrying about whether your mixer can handle the task. For instance, a stand mixer known for its durability, when properly cared for, can handle thousands of batches of dough or batter over a decade or more. This long-term perspective highlights why simple, consistent maintenance, including knowing how to clean stand mixer thoroughly, is far more beneficial and cost-effective than dealing with premature wear and tear.
Step-by-Step Guide: How to Clean Your Stand Mixer
Unplugging and Preparing Your Stand Mixer for Cleaning
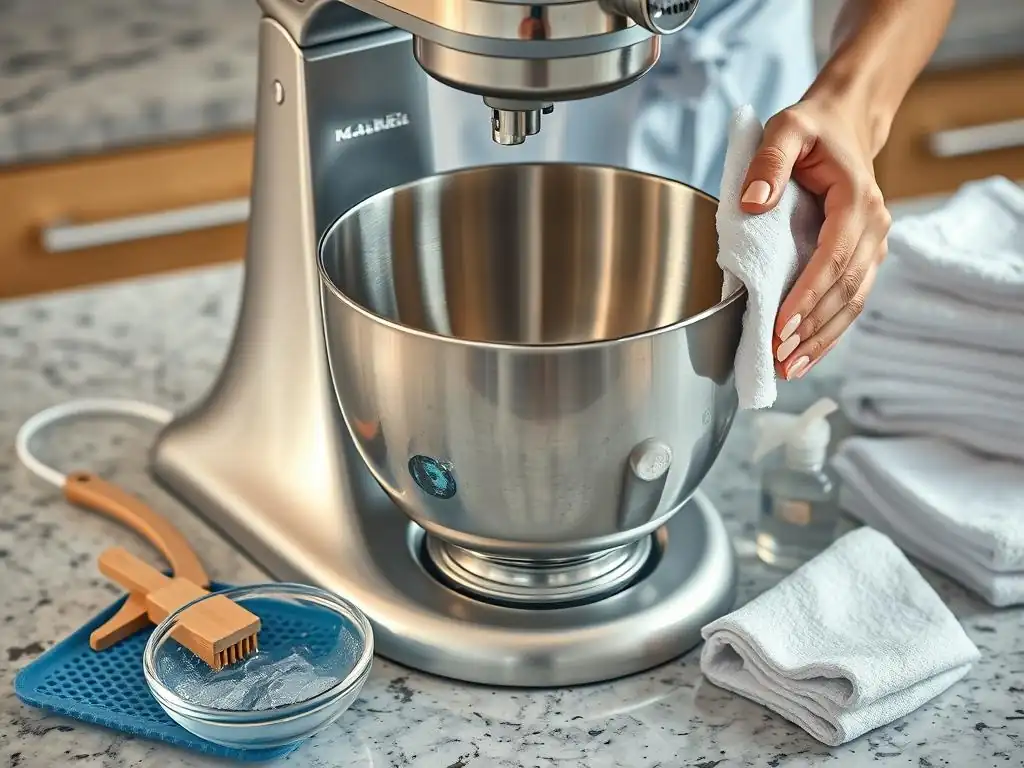
Before you begin any cleaning process on your stand mixer, the absolute first and most critical step is to ensure it is completely unplugged from the power outlet. This eliminates any risk of accidental activation while your hands are near moving parts or electrical components. Even if you're just doing a quick wipe-down, always disconnect the power source. Safety should be your top priority when dealing with any electrical appliance.
Once unplugged, prepare your workspace. Clear the area around the mixer to give yourself room to maneuver. Have your cleaning supplies ready: warm, soapy water, a soft cloth or sponge, a small brush (like an old toothbrush or pastry brush) for tight spots, and perhaps a mild, food-safe cleaner or a solution of vinegar and water for sanitizing or tackling stubborn residue. Having everything within reach makes the cleaning process more efficient and less likely to be rushed.
Cleaning the Stand Mixer Bowl and Attachments (Whisk, Dough Hook, Paddle)
The bowl and attachments are the parts of your stand mixer that come into direct contact with food, making their cleaning especially important. Most standard stainless steel bowls and common attachments like the flat beater (paddle) and dough hook are dishwasher safe. However, always check your specific model's manual, as some coated attachments or specialty whisks may require hand washing to prevent damage or discoloration. For hand washing, use warm water and dish soap, scrubbing away any residue.
The wire whisk attachment often requires a bit more attention due to its many wires where batter or meringue can get stuck. Soaking it briefly in warm, soapy water can help loosen dried-on bits before scrubbing gently with a brush. For stubborn dough stuck to a dough hook, a plastic scraper or even using your fingers to peel it off before washing is often effective. Ensure all attachments are thoroughly rinsed and dried completely before storing them to prevent rust, especially on stainless steel or chrome-plated parts.
Best Practices for Washing Stand Mixer Attachments
Always check your stand mixer's manual for specific cleaning instructions for its attachments. While many standard attachments are dishwasher-safe, this is not universally true, particularly for older models or those with specialized coatings. For example, some older aluminum attachments can discolor in the dishwasher's high heat and detergent. Washing attachments immediately after use prevents food particles from drying and hardening, making cleaning significantly easier.
When hand washing, use non-abrasive sponges or cloths to avoid scratching the surface of bowls or coated attachments. A small bottle brush or pipe cleaner can be useful for cleaning inside the narrow spaces of wire whisks. After washing, dry attachments thoroughly with a clean towel or let them air dry completely before storing. Storing damp attachments can lead to rust or damage, especially on the drive shaft where they connect to the mixer head.
Removing Stubborn Dough from Your Dough Hook
Sticky dough, especially high-hydration bread dough or enriched doughs with butter and eggs, can sometimes dry onto the dough hook, becoming quite difficult to remove. Instead of immediately soaking it, try letting the dough dry completely on the hook first. Once dry, much of the dough will become brittle and can often be easily flaked or brushed off with a stiff pastry brush or an old toothbrush. This is often more effective than trying to wash off wet, sticky dough which can just smear.
For any remaining stubborn bits after brushing, soak the dough hook in warm water for about 10-15 minutes to rehydrate the dough. Then, use a plastic scraper or a non-abrasive scrubbing pad to gently rub off the softened residue. Avoid using metal tools that could scratch the hook's finish. Ensure you clean stand mixer attachments like the dough hook thoroughly, getting into the curve where the dough accumulates, to prevent buildup over time.
Wiping Down the Stand Mixer Body: Removing Splatters and Dust
The exterior body of your stand mixer, whether it's painted metal or plastic, can collect flour dust, sugar, and splatters from ingredients during mixing. Regular wiping is essential not only for appearance but also to prevent sticky residue from attracting pests or gumming up the tilt-head mechanism or locking lever. After each use, a quick wipe-down with a damp cloth is usually sufficient to remove fresh spills and dust.
For more dried-on splatters or grime, use a soft cloth dipped in warm, soapy water. Wring the cloth out well so it's damp, not dripping, to avoid getting water into electrical components. Gently wipe down all surfaces of the mixer body, including the base, the neck, and the top of the head. Pay attention to areas around the speed control and the attachment hub, where residue can easily accumulate. Finish by wiping the surfaces dry with a clean, soft cloth to prevent water spots.
Safe Cleaning Products for Your Stand Mixer's Exterior
When cleaning the exterior of your stand mixer, it's best to stick to simple, mild cleaning solutions to avoid damaging the finish. Warm water with a few drops of mild dish soap is typically all you need for routine cleaning. For sanitizing or tackling slightly tougher grime, a solution of equal parts white vinegar and water can be effective. Apply the vinegar solution to a cloth, not directly to the mixer, and wipe the surfaces. Vinegar is a natural disinfectant and can help cut through grease.
Avoid using abrasive cleaners, scouring pads, or harsh chemicals like bleach or ammonia-based products on your stand mixer's body. These can strip paint, damage plastic parts, or leave behind harmful residues. Similarly, steer clear of excessive moisture; never submerge any part of the mixer's body in water, and be cautious about spraying cleaners directly onto the machine. Always test a new cleaning product on an inconspicuous spot first if you're unsure.
Cleaning the Stand Mixer Head and Motor Area
Cleaning the head and motor area of your stand mixer requires particular care as this is where the electrical components and mechanics are housed. Begin by wiping down the exterior of the head with a damp, soapy cloth, just as you did with the body. Pay attention to the underside of the head, which can collect splatters, and the area around the attachment hub. Use a dry cloth to wipe away any lingering moisture.
For the vent areas near the motor, which allow for cooling, use a soft, dry brush (like a clean paintbrush or a dedicated cleaning brush) to gently brush away any accumulated flour dust or debris. Avoid using compressed air, as this can potentially force debris further into the motor housing. Remember, never use water or liquid cleaners directly on or near these vents or any openings in the mixer head, as moisture can seriously damage the motor and electrical parts. A thorough stand mixer cleaning involves being meticulous in these sensitive areas.
Gentle Cleaning Techniques to Avoid Damaging the Motor
The motor is the heart of your stand mixer, and protecting it from moisture and debris is critical for its longevity. When cleaning the head, focus on the exterior surfaces and accessible areas around the attachment shaft. Use only a slightly damp cloth for wiping, and always follow up with a dry cloth immediately. Never allow water to drip or seep into the ventilation slots or seams in the mixer head.
For clearing dust from vents, a soft brush is the safest tool. Hold the mixer head so gravity helps dust fall away from the vents as you brush. If you notice any stubborn, sticky residue near the attachment hub or speed control, a cotton swab dipped in a small amount of rubbing alcohol can be used sparingly to clean the spot, but ensure it evaporates completely before using the mixer again. The key is to use minimal moisture and gentle methods when cleaning the stand mixer head area.
Deep Cleaning Your Stand Mixer: A Comprehensive Guide
Disassembling Key Components for a Thorough Clean (If Applicable)
For a truly deep clean stand mixer session, some components may be designed for partial disassembly, although this varies significantly by model. Always consult your stand mixer's user manual to understand which parts, if any, can be safely removed for cleaning beyond the bowl and attachments. Common areas might include the attachment hub cap or specific trim pieces. Attempting to forceably remove parts not intended for user disassembly can void your warranty and damage the machine.
If your manual indicates certain parts can be removed, follow the instructions precisely. Typically, these parts are designed for easy reattachment. Once removed, you can clean them more thoroughly according to their material – for instance, washing a metal hub cap in warm, soapy water. This allows you to clean hidden grime that accumulates in crevices over time. Remember to dry these parts completely before reassembling them onto the mixer. This level of cleaning might be needed only every few months, depending on usage frequency.
Greasing Internal Parts for Optimal Performance (If Applicable)
Some older or specific stand mixer models may require periodic greasing of certain internal gears or moving parts to maintain smooth operation and prevent wear. This is not a common maintenance task for most modern consumer-grade mixers and should only be attempted if explicitly recommended in your stand mixer's official user manual. Using the wrong type of grease or applying it incorrectly can cause significant damage or even food safety issues if the grease comes into contact with food.
If your manual does specify greasing, it will typically recommend a food-grade grease suitable for kitchen appliances and provide instructions on where and how much to apply. This is usually a task for experienced users or potentially a professional service. For most standard stand mixers, the internal lubrication is factory-sealed and intended to last the life of the machine under normal use. If you notice unusual noises or stiffness, consult the manufacturer's troubleshooting guide or contact customer service rather than attempting internal lubrication yourself.
Removing and Cleaning the Speed Control Knob
The speed control knob is one of the most frequently touched parts of your stand mixer and can easily accumulate sticky residue from hands covered in flour, sugar, or fat. While you can wipe around the knob during routine cleaning, sometimes a more thorough cleaning is needed, especially if the knob feels sticky or looks visibly dirty around its base. Some stand mixer knobs are designed to be pulled straight off for cleaning, while others are fixed. Again, consult your manual before attempting removal.
If the knob is removable, gently pull it straight off. You can then wash the knob itself in warm, soapy water and use a small brush or cotton swab to clean the area underneath and around the post it attaches to on the mixer body. Ensure both the knob and the post area are completely dry before putting the knob back on. If the knob is not removable, use a damp cloth and a brush or cotton swab to carefully clean around its base, being careful not to let moisture seep into the control panel.
Preventing Common Stand Mixer Problems Through Routine Maintenance
Checking and Tightening Screws to Prevent Wobbling
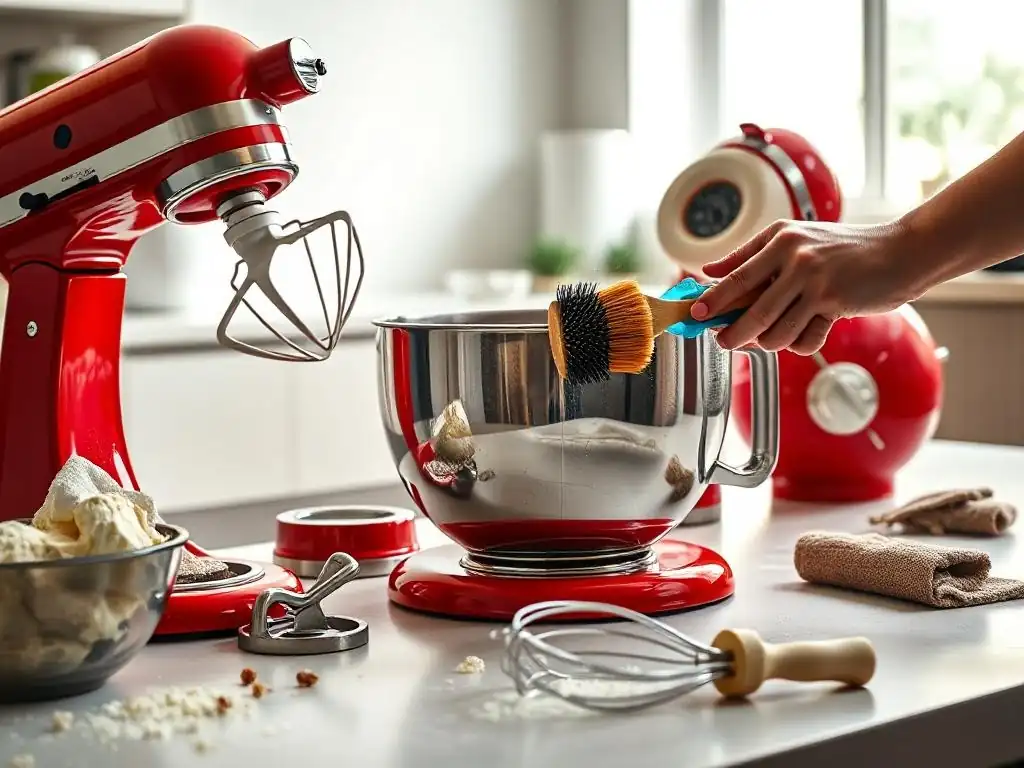
Over time, the vibrations from mixing, especially when handling heavy doughs, can sometimes cause external screws on your stand mixer to loosen slightly. This can lead to wobbling during operation or affect the alignment of the head or bowl. Periodically (perhaps every few months or if you notice any looseness) inspect the visible screws on your mixer's body, particularly those around the base, the neck, and the head mechanism.
Using the appropriate size screwdriver, gently check if these screws are snug. If any are loose, tighten them carefully – just until they are firm, without over-tightening, which could strip the threads or crack the housing. Do not attempt to tighten any screws that appear to be part of the internal motor housing or sealed components. This simple check, combined with keeping your stand mixer clean, can prevent minor issues from developing into more significant problems and helps maintain stability during operation.
Inspecting the Power Cord for Damage
The power cord is a vital but often overlooked component of stand mixer safety and function. Before and after each use, take a moment to quickly inspect the power cord for any signs of damage. Look for fraying, cuts, kinks, or signs of heat stress near the plug or where it connects to the mixer body. Ensure the plug prongs are straight and clean.
A damaged power cord is a serious safety hazard, posing risks of electric shock or fire. If you find any damage, no matter how minor it seems, do not use the mixer. The cord should be replaced by a qualified service professional specific to your stand mixer model. Never attempt to repair a damaged cord yourself with tape or other makeshift solutions. Proper stand mixer care includes ensuring all electrical components, including the cord, are in good working order.
Proper Storage Techniques to Protect Your Stand Mixer
How you store your stand mixer when not in use significantly impacts its condition and longevity. The ideal location is a clean, dry place away from extreme temperatures (both hot and cold) and direct sunlight, which can cause plastic parts to become brittle or colors to fade. Avoid storing it in damp environments like basements or garages if possible, as moisture can lead to corrosion of metal parts and affect the motor.
Covering your stand mixer when it's not in use, either with a dedicated stand mixer cover or even a clean towel, is a simple but effective way to protect it from accumulating dust and kitchen grease splatters between uses. This reduces the frequency needed for a deep clean stand mixer session on the body. Store attachments in a designated spot, perhaps in a drawer or a container, rather than leaving them attached to the mixer, where they could be accidentally bent or damaged.
Troubleshooting Common Stand Mixer Issues
Addressing a Noisy Stand Mixer
It's normal for stand mixers to make noise while operating, especially when mixing heavy doughs or running at high speeds. However, if you notice a sudden change in the noise level or hear grinding, clicking, or excessive rattling, it could indicate an issue. First, ensure the bowl is properly seated and locked into place and that the attachment is correctly attached to the shaft. Sometimes, these simple checks can resolve unusual noises.
If the noise persists, it might suggest internal issues like gears needing lubrication (if applicable and specified in your manual) or signs of wear. Do not continue to use a mixer making concerning noises, especially grinding sounds, as this can cause further damage. Consult your user manual's troubleshooting section or contact the manufacturer's customer support. They can provide guidance specific to your model and advise if professional service is required.
Fixing a Stand Mixer That Won't Turn On
If your stand mixer fails to turn on, first check the most obvious culprits. Ensure the mixer is firmly plugged into a working electrical outlet. Test the outlet with another small appliance to confirm it has power. Check your home's circuit breaker or fuse box to see if the circuit has tripped. Sometimes, mixers can trip breakers, especially if used on the same circuit as other high-wattage appliances.
Also, check any safety features on your mixer. Some models have a safety switch that prevents operation if the head is not fully locked down or if the speed control is not set to the "off" position when plugged in. If these simple checks don't resolve the issue, there may be an internal electrical problem. In this case, the mixer will require professional service. Never attempt to open the mixer's body to fix electrical issues yourself.
Dealing with Overheating Issues
Stand mixers, particularly consumer models, have duty cycles and limitations on how long they can run continuously, especially with heavy loads like bread dough. If you notice the motor housing feels excessively hot to the touch or the mixer automatically shuts off during use, it's likely overheating. This is often a protective measure to prevent damage to the motor.
If your mixer overheats, turn it off immediately, unplug it, and let it cool down completely for at least 20-30 minutes before attempting to use it again. To prevent future overheating, avoid exceeding the maximum capacity recommended in your manual for different types of dough or batter (e.g., a 5-quart mixer might handle dough for 2 loaves of bread but not 4). Also, ensure the mixer's vents are not blocked, allowing for proper airflow. If overheating occurs frequently with normal use, it might indicate a motor issue requiring professional inspection.
Maintaining Your Stand Mixer for Years to Come: Long-Term Care Tips
Choosing the Right Speed Settings for Different Baking Tasks
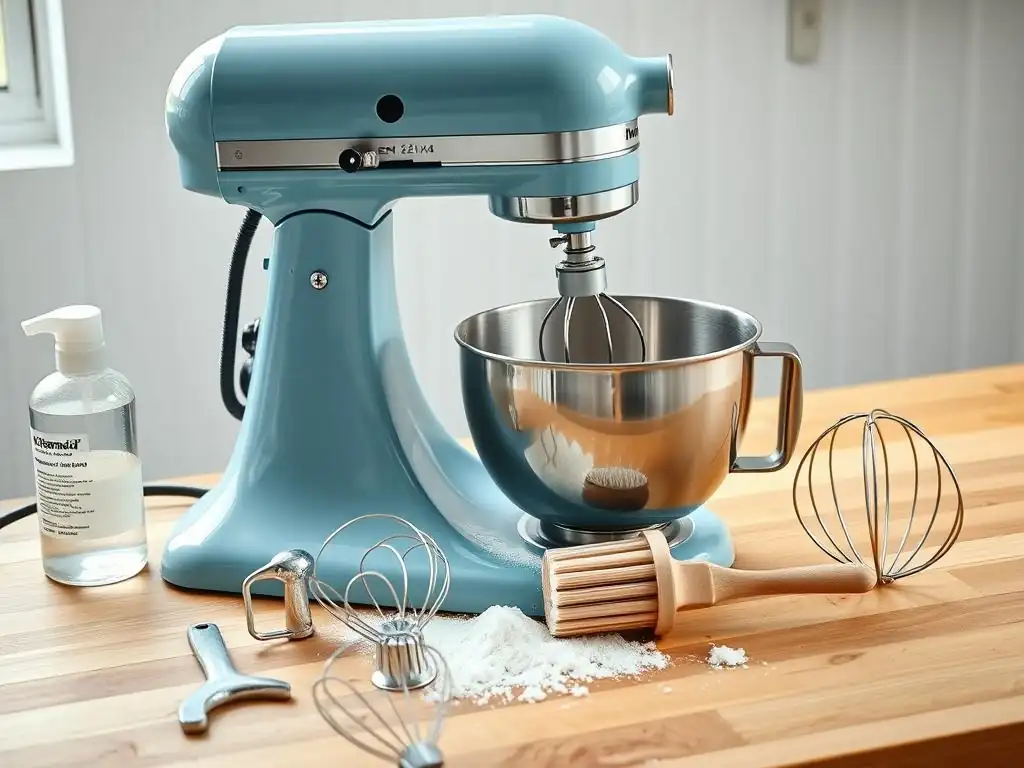
Using the correct speed setting for the task at hand is vital for both achieving optimal baking results and reducing unnecessary strain on your stand mixer's motor and gears. For instance, kneading heavy bread dough requires a low speed (typically speed 2 on many mixers) to allow the dough hook to work the dough effectively without overworking the motor. Whipping cream or egg whites, on the other hand, requires high speeds to incorporate air efficiently.
Attempting to mix heavy batters or doughs at high speeds puts excessive stress on the motor and drive train, potentially leading to premature wear or overheating. Conversely, using speeds that are too low for tasks like whipping won't yield the desired results and extends the run time unnecessarily. Consulting your recipe or the mixer's manual for recommended speed settings helps protect your machine and improves your baking consistency.
Avoiding Overloading Your Stand Mixer
Every stand mixer has a maximum capacity, usually specified in the manual in terms of flour weight for dough, or total volume for batters. Exceeding these limits is one of the most common causes of stand mixer strain, overheating, and reduced lifespan. Attempting to knead dough for three loaves of bread in a mixer designed for two puts significant stress on the motor and gears.
Pay close attention to the batch sizes recommended for your specific mixer model. If a recipe yields a larger quantity than your mixer can handle, divide it into smaller batches. While it might take a little longer to mix multiple batches, it prevents potentially costly damage to your machine. Understanding and respecting your mixer's capacity is a key aspect of long-term stand mixer care.
Storing Your Stand Mixer Attachments Properly
Proper storage of your stand mixer attachments is important not only for keeping them organized but also for protecting them from damage. Leaving attachments loose in a drawer where they can bang against other utensils can cause dents, scratches, or even bend delicate wires on a whisk. Bending a whisk wire, for example, can affect its ability to aerate properly.
Many mixers come with or have available accessory storage solutions, such as in-bowl storage caddies or separate containers. Utilizing these or simply storing attachments neatly in a dedicated drawer or container helps keep them in good condition. Ensure attachments are completely dry before storing them to prevent rust or corrosion. Protecting your attachments is part of ensuring your stand mixer system remains fully functional for all your baking needs.
Conclusion: Ensuring a Long and Productive Life for Your Stand Mixer
Investing in Stand Mixer Care for Consistent Baking Results
Your stand mixer is a powerful tool that can significantly enhance your baking capabilities, from effortlessly kneading bread dough to perfectly whipping cream. However, its performance and lifespan are directly tied to the care you provide. By implementing a routine of regular cleaning and maintenance – knowing how to clean stand mixer thoroughly after messy tasks, wiping it down regularly, and performing periodic checks – you protect its components from the wear and tear caused by food residue and operational stress.
This investment of time in stand mixer care pays dividends in the form of consistent, reliable performance. A well-maintained mixer operates smoothly, tackles challenging recipes with ease, and is less likely to encounter unexpected breakdowns. By following the simple steps outlined, from proper cleaning techniques for the attachments and body to understanding capacity limits and safe storage, you ensure that your stand mixer remains a dependable partner in your kitchen for many years of delicious baking adventures.
Frequently Asked Questions
How often should I clean my stand mixer thoroughly?
It's best to clean your stand mixer thoroughly after each use, at least the bowl and attachments. A more in-depth cleaning focusing on the motor area is recommended every few months or as needed.
What's the best way to clean the stand mixer bowl?
Most stand mixer bowls are dishwasher safe, making cleanup easy. If handwashing, use warm, soapy water and a non-abrasive sponge to avoid scratching the surface.
Can I use any cleaning product on my stand mixer's exterior?
No, avoid harsh chemicals. Use a damp cloth with a mild soap solution to wipe down the exterior. Always unplug the mixer before cleaning!
How do I clean the stand mixer attachments effectively?
Soak attachments in warm, soapy water to loosen any dried dough or batter. Use a small brush to get into crevices. Many attachments are also dishwasher safe.
What should I do if my stand mixer has sticky residue?
For stubborn sticky residue, try a paste of baking soda and water. Apply to the area, let it sit for a few minutes, and then gently scrub. Remember to thoroughly rinse and dry afterward.
Final Reflection: The Enduring Power of a Well-Maintained Stand Mixer
The simple act of cleaning your stand mixer thoroughly isn't just about aesthetics; it's about preserving a valuable tool and extending its lifespan. A well-maintained stand mixer becomes more than an appliance; it becomes a trusted companion in the kitchen, a silent partner in countless culinary creations. This seemingly small act of care directly impacts the quality and enjoyment of your baking and cooking endeavors for years to come.
The impact of proper stand mixer maintenance extends beyond the individual kitchen. It speaks to a larger appreciation for quality craftsmanship and the value of mindful care for our possessions. We live in a culture of disposability, where broken appliances are often replaced rather than repaired. However, taking the time to learn the nuances of cleaning and maintaining our tools, like our stand mixers, fosters a deeper connection with our belongings and promotes a more sustainable approach to consumption. The best things in life are worth fighting for, and worth taking care of.
This sentiment applies not only to relationships but also to the tools that help us create and share joy.
Consider the legacy you're building in your kitchen. Will it be one of discarded appliances and fleeting trends, or one of cherished tools, carefully maintained and passed down through generations? I invite you to take a moment to reflect on your own relationship with your kitchen appliances.
Begin with a thorough cleaning of your stand mixer – a small act that can spark a larger shift in your approach to mindful consumption and the enduring power of well-loved tools. Let the simple act of cleaning become a ritual, a moment of connection with the tools that help you create culinary magic.
Unlock Your Mixer's Full Potential: Simple Steps for Baking Bliss!
Thanks for taking the time to learn how to keep your stand mixer in top shape! We hope you now feel confident in maintaining this essential kitchen tool. Ready to put your newfound knowledge into action?
- Give your mixer a thorough cleaning today: Follow our tips to ensure it's sparkling and ready for your next baking adventure. This is the key to keeping it running smoothly for years to come.
- Share your best stand mixer cleaning tip on our BakeWithEase community forum! Let's help each other keep our mixers in perfect condition.
- Try a new recipe this weekend using your now-pristine stand mixer!
What's your favorite thing to bake with your stand mixer? Let us know in the comments below!