
Dots, Lines, Stars: Simple Piping Techniques for Beginners

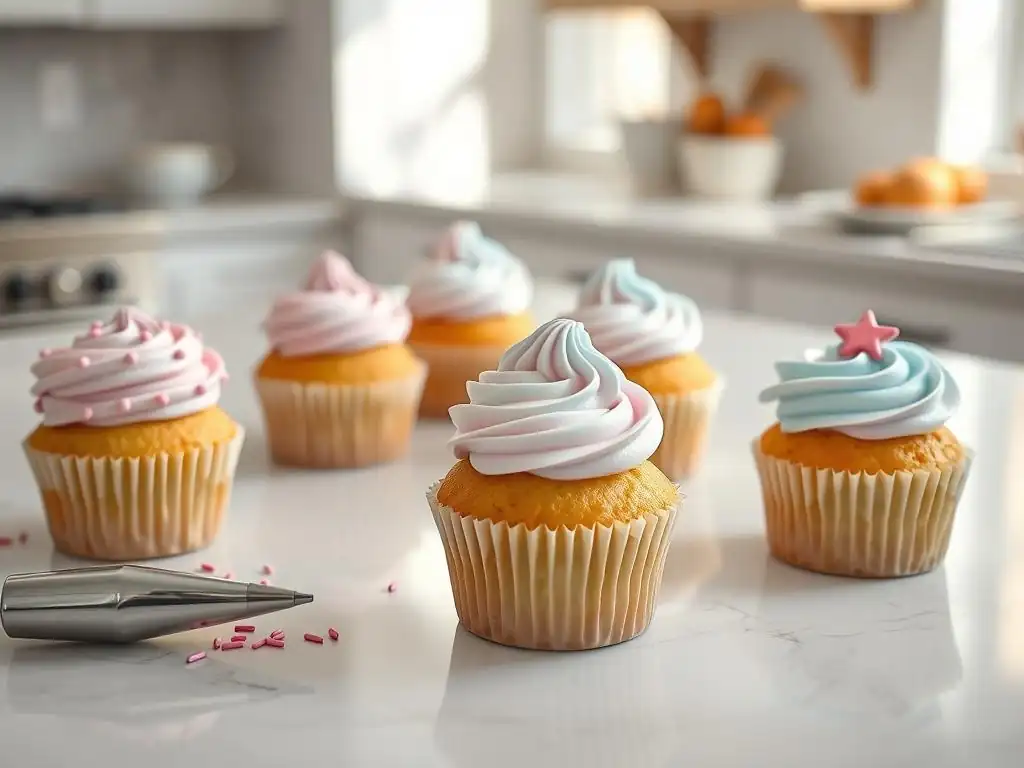
Welcome to BakeWithEase, your kitchen companion for unlocking the joy of baking! Feeling intimidated by elaborate cake decorations? You're in the right place. Discover easy piping techniques for beginners that will transform your desserts from simple to stunning. We'll show you how to create beautiful dots, lines, and stars, opening up a world of creative possibilities. Ready to elevate your baking game? Let's get started – what are the secrets to achieving consistent and professional-looking results, even on your very first try?
- Mastering Cake Decorating: Simple Piping Techniques for Beginners - BakeWithEase
- Introduction to Essential Piping Techniques for Beginners
- Piping Rosettes: A Beginner's Guide to Beautiful Swirls
- Shell Borders: Simple Piping for Elegant Edges
- Piping Leaves: Adding a Natural Touch to Your Treats
- Combining Rosettes, Shells and Leaves: Simple Decorating Ideas
- Essential Tips for Successful Beginner Piping
- Conclusion: Elevate Your Baking with Easy Piping Techniques
-
Frequently Asked Questions
- What are the most basic piping techniques a beginner should learn?
- What kind of frosting is best for practicing piping techniques?
- What's the best way to hold a piping bag for optimal control?
- What are some common mistakes beginners make when piping?
- How do I fix a piping mistake if I mess up a design?
- Final Reflection: Mastering the Art of Simple Piping
- Unleash Your Inner Pastry Chef: Master Piping Today!
Mastering Cake Decorating: Simple Piping Techniques for Beginners - BakeWithEase
Introduction to Essential Piping Techniques for Beginners
Why Master Basic Piping Skills?
Learning easy piping techniques for beginners is a game-changer for anyone looking to elevate their baked goods from simple treats to show-stopping creations. It's about adding that professional touch without needing years of experience. Imagine taking a basic batch of cupcakes and transforming them with beautiful swirls of buttercream, or adding elegant borders to a layer cake – these simple skills make all the difference.
Beyond aesthetics, mastering basic piping gives you control over your frosting and opens up a world of decorative possibilities. You gain confidence in handling baking tools and understanding how different techniques impact the final look. It's a fundamental step for anyone serious about improving their cake decorating abilities, making it an essential skill set in your baking journey.
The Essential Piping Tools for New Bakers
Getting started with easy piping techniques for beginners doesn't require an overwhelming collection of gadgets. The absolute essentials include piping bags (either reusable or disposable), piping tips, and ideally, a coupler. Piping bags come in various sizes; a good starting point is a medium-sized bag, around 12-14 inches, which is comfortable to handle without being too cumbersome.
Piping tips are where the magic happens, shaping the frosting as it's squeezed out. For beginners, a small set of basic tips is perfect. Look for a round tip (like a Wilton 12), a star tip (like a Wilton 1M or 21), and perhaps a leaf tip (like a Wilton 352). A coupler is a handy two-part tool that lets you change tips on a single bag without emptying it, saving time and mess. A basic starter kit might contain 6-12 assorted tips, a few bags, and a coupler, usually costing around $15-$30.
Piping Rosettes: A Beginner's Guide to Beautiful Swirls
Preparing Your Piping Bag for Rosette Decorations
Proper preparation of your piping bag is crucial for successful rosette piping. If using a coupler, drop the inner part into the bag, snip off the end just below it, place your chosen star tip (like a Wilton 1M) over the coupler's end outside the bag, and screw on the outer ring. If not using a coupler, drop the tip into the bag and snip off the end just enough for the tip to peek through.
Filling the bag correctly is also key. Fold down the top edge of the bag to create a cuff. Use a spatula to scoop frosting into the bag, pushing it down towards the tip. Fill the bag no more than two-thirds full; overfilling makes it hard to handle and control pressure. Twist the top of the bag closed to seal the frosting in and push it down towards the tip, eliminating air pockets.
Step-by-Step: Piping Consistent Rosettes
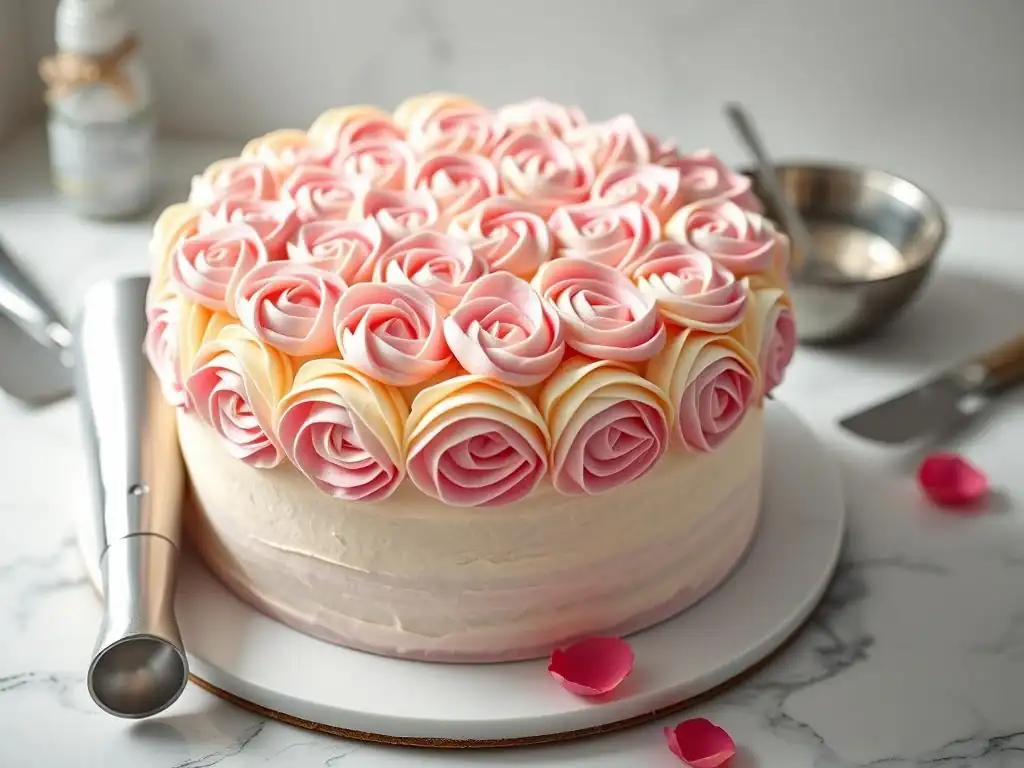
Piping rosettes is one of the most popular and easy piping techniques for beginners. Using a star tip like the Wilton 1M, hold the bag perpendicular to your surface (cake, cupcake, or practice board). Start in the center of where you want the rosette. Apply steady pressure to the bag.
While maintaining pressure, swirl the tip outwards or inwards in a tight spiral. A common method is to start in the center and swirl outwards, completing one full circle or slightly more. To finish the rosette, stop applying pressure and lift the bag straight up quickly. Practice this motion on parchment paper first to get a feel for the pressure and swirling speed required for consistent shapes.
Troubleshooting Common Rosette Piping Issues
Beginners sometimes encounter issues like wobbly rosettes or frosting that breaks or clogs the tip. Wobbly rosettes often result from inconsistent pressure or an uneven swirling motion. Try focusing on a steady hand and maintaining constant pressure throughout the swirl. Practicing on a flat surface helps build muscle memory.
If the frosting is breaking or looks rough, it might be too stiff. You can often fix this by stirring the frosting in a bowl or adding a tiny amount (like half a teaspoon) of milk or cream and mixing until smooth. If the tip is clogging, check if there are any crumbs or lumps in your frosting. Sifting powdered sugar when making buttercream can help prevent this. Ensure you're not overfilling the bag, as this can also make it harder to control the flow.
Shell Borders: Simple Piping for Elegant Edges
Mastering Shell Borders with Piping
Shell borders are a classic, elegant way to finish the edges of cakes or cupcakes, and they are very achievable using easy piping techniques for beginners. You'll typically use a star tip for this, such as a Wilton 21 or 32, which has smaller teeth than the 1M used for rosettes. Hold the bag at about a 45-degree angle to the surface.
Start by applying firm pressure to the bag to create the wide base of the shell. While maintaining pressure, slowly pull the tip back towards yourself in a smooth motion, gradually decreasing the pressure as you pull. This tapering action creates the shell's tail. Just as you reach the desired length for the tail, quickly stop pressure and lift the bag away. The goal is a teardrop shape that looks like a little shell.
Creating Variations of Shell Borders
Once you've mastered the basic shell, you can easily create variations. The size of your shell border is directly related to the size of the star tip you use and the amount of pressure applied. Using a larger tip (like a Wilton 199) will produce bigger, bolder shells, while a smaller tip (like a Wilton 16) creates more delicate ones.
You can also vary the direction. Pipe shells moving forward, backward, or even sideways along the edge. Overlapping shells slightly as you pipe them creates a continuous, braided look that adds texture and interest. Experiment with different tip sizes and movements on a practice board to see the diverse effects you can achieve with this simple technique.
Tips for Consistent Shell Size and Pressure
Consistency is key to a beautiful shell border. The main factors influencing shell size and shape are the amount of pressure you apply and the length of the pulling motion. Aim to apply the same initial pressure for each shell and pull back roughly the same distance before releasing pressure.
It helps to practice piping a long line of shells on parchment paper. Focus on making each shell look uniform. Pay attention to how much pressure you need and how far you pull back. If shells are too short and stubby, you might not be pulling back enough or releasing pressure too soon. If they are too long and thin, you might be pulling too far or not decreasing pressure gradually enough. Repetition builds muscle memory for this easy piping technique for beginners.
Piping Leaves: Adding a Natural Touch to Your Treats
Understanding Leaf Tip Nozzles for Piping
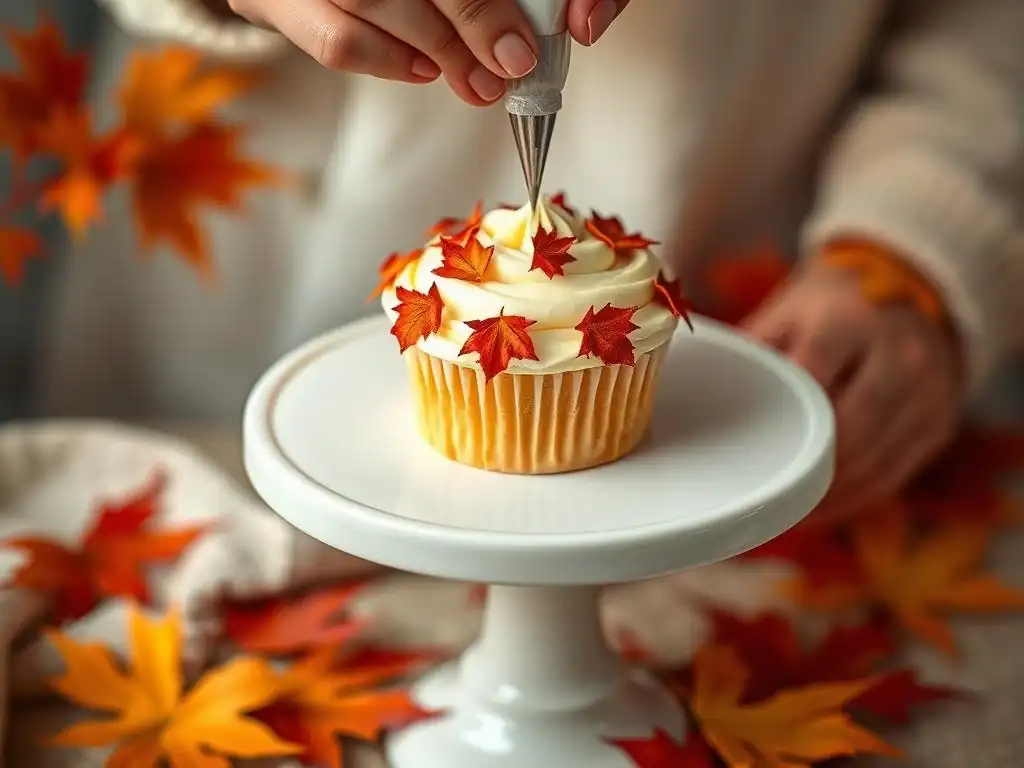
Adding leaves is a fantastic way to complete floral designs piped using easy piping techniques for beginners like rosettes. Leaf tips are distinct from other piping tips; they have a V-shaped opening rather than a simple round or star shape. When frosting is squeezed through this V-shape, it naturally forms a ridge down the center, mimicking the vein of a leaf.
Common leaf tip numbers include Wilton 67, 68, and 352. The size of the tip opening determines the size of the leaf. Holding the tip correctly is important: the V-opening should be positioned so that the two points are horizontal (left and right), with the opening facing towards you. This orientation is essential for achieving the characteristic leaf shape.
Piping Basic Leaf Shapes for Beginners
Piping basic leaves is straightforward once you understand the tip orientation. With the V-tip held horizontally, position it where you want the leaf to start. Apply steady pressure to the bag, allowing the frosting to fan out slightly from the V-opening. As you apply pressure, pull the tip back slightly (perhaps about half an inch to an inch depending on the desired leaf size).
While pulling back, maintain pressure. Just before you finish the leaf, quickly release pressure and pull the tip away. This stop-and-pull motion creates the pointed tip of the leaf. Practice this movement on parchment paper to get a feel for the pressure needed and the distance to pull back for well-formed leaves. The consistency of your green frosting is important here; it should be firm enough to hold its shape but not so stiff that it's difficult to pipe smoothly.
Varying Leaf Sizes and Designs for Visual Appeal
Just like with shells, you can vary the size of your leaves by adjusting the pressure and the distance you pull the tip back. Applying more pressure and pulling back further creates larger leaves, while less pressure and a shorter pull result in smaller ones. Using different sized leaf tips also gives you size variation.
Leaves are most often used to complement piped flowers, like placing several leaves around the base of a rosette. You can also pipe a cluster of leaves on their own for a simple green accent. Experiment with piping leaves at different angles around a central point to create a natural, organic look. Piping leaves is an easy piping technique for beginners that adds significant visual appeal to your baked goods.
Combining Rosettes, Shells and Leaves: Simple Decorating Ideas
Easy Cake Border Ideas using Shells and Rosettes
Once you're comfortable with individual easy piping techniques for beginners, combining them opens up many decorating possibilities. For a simple yet elegant cake border, you can alternate piping shells and rosettes around the base or top edge of a frosted cake. Start with a shell, then pipe a rosette right next to its tail, then another shell next to the rosette, and so on.
Another idea is to pipe a continuous border of overlapping shells first, and then pipe a row of small rosettes just above or below the shell border. This creates a layered effect. Using contrasting frosting colors for the shells and rosettes can make the design pop. Practice these combinations on a flat surface before moving to your cake.
Creating Simple Floral Designs with Leaf Piping
Combining rosettes (as flowers) with leaves is a classic and easy way to create beautiful floral arrangements on cakes or cupcakes. Start by piping a few rosettes in a cluster or scattered across the surface. Once the rosettes are in place, switch to your leaf tip and green frosting.
Pipe leaves around the base of each rosette, positioning them naturally as if they were emerging from beneath the flower. You can pipe two or three leaves per rosette. Vary the angle of the leaves slightly for a more organic look. This simple combination is one of the most effective easy piping techniques for beginners to create attractive, nature-inspired designs.
Decorating Cupcakes: A Beginner's Piping Project
Cupcakes are the perfect canvas for practicing and showcasing easy piping techniques for beginners. You can dedicate each cupcake to a single technique or combine them. A single, large rosette piped using a 1M tip is a popular and simple design.
Alternatively, pipe a border of small shells around the edge of the cupcake's frosted surface. Or, pipe a medium-sized rosette in the center and add two or three small leaves piped around its base. Cupcakes are small, manageable, and allow you to quickly try different techniques and color combinations without committing to a large cake.
Essential Tips for Successful Beginner Piping
Practice Makes Perfect: Improving Your Piping Skills
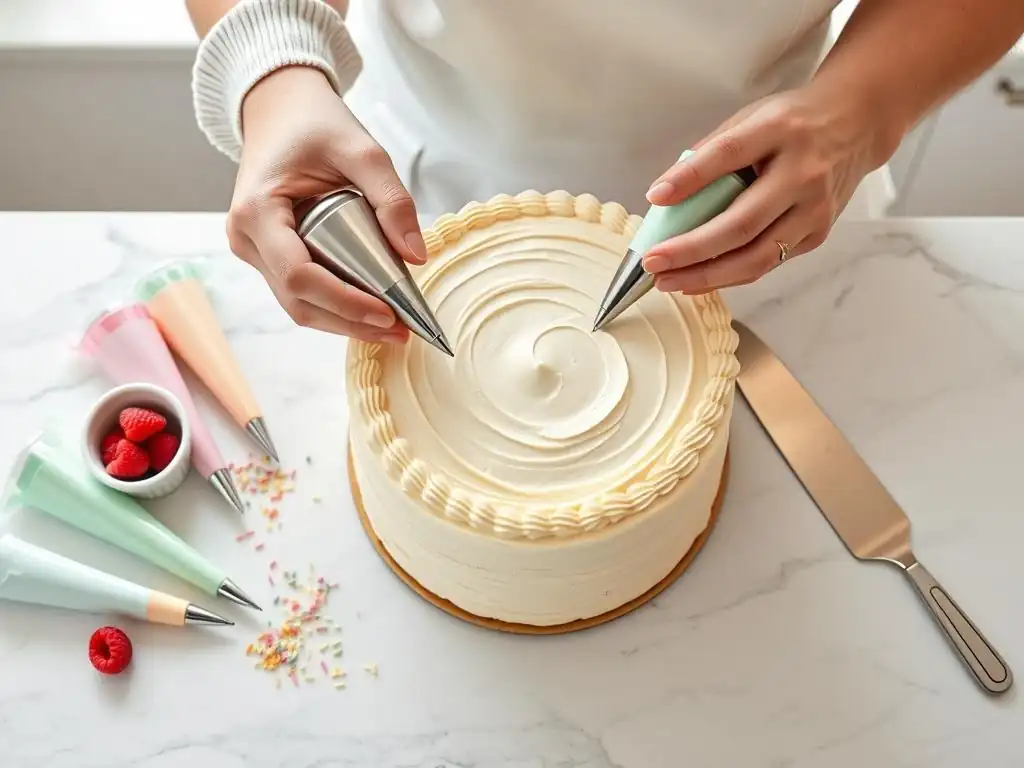
Like any new skill, mastering easy piping techniques for beginners requires practice. Don't expect perfect results on your first try. Set aside dedicated time, perhaps 15-20 minutes a few times a week, specifically for piping practice.
A great way to practice without wasting frosting is to use a batch of buttercream on a piece of parchment paper or a baking sheet. Pipe your shapes (rosettes, shells, leaves), then scrape the frosting back into the bowl, remix it briefly, and pipe again. This allows for repeated practice of pressure control, movement, and consistency without using up ingredients. The more you practice, the more comfortable and controlled your piping will become.
Choosing the Right Frosting Consistency for Piping
The consistency of your frosting is absolutely critical for successful piping, especially when learning easy piping techniques for beginners. Frosting that is too soft will cause piped shapes to lose their definition and melt or sag. Frosting that is too stiff will be difficult to squeeze through the tip and may break or tear as it comes out.
An ideal piping consistency for buttercream is smooth, creamy, and holds a stiff peak when a spatula is lifted. It should be firm enough to hold its shape when piped but soft enough to flow smoothly. If your frosting is too stiff, add liquid (like milk, cream, or water) a tiny bit at a time (e.g., half a teaspoon) and mix well. If it's too soft, add more powdered sugar, a tablespoon at a time, and mix until the desired consistency is reached.
Storing and Handling Piped Decorations
Proper handling and storage are important for maintaining the quality of your piped decorations. When piping, try to handle the bag by the twisted top, keeping warm hands away from the main body of frosting, as this can soften it too much. If your hands are warm, take breaks or use two bags, with the inner bag containing the frosting and the outer bag providing insulation.
Leftover piping frosting should be stored in an airtight container in the refrigerator. Buttercream typically lasts for about 1-2 weeks in the fridge. Before using refrigerated frosting again, let it come to room temperature and then whip it briefly with a mixer or spatula to restore its smooth, pipeable consistency. If you pipe decorations like flowers or shells onto parchment paper, you can often chill them in the refrigerator or freezer until firm before handling or transferring them to the cake.
Conclusion: Elevate Your Baking with Easy Piping Techniques
Recap of Simple Piping Methods
You've now explored some fundamental and easy piping techniques for beginners: the classic rosette, the elegant shell border, and the versatile leaf. These three techniques, along with understanding your basic tools and frosting consistency, form a solid foundation for decorative baking. Rosettes add beautiful swirls, shells provide clean, sophisticated edges, and leaves bring a touch of nature to your designs.
Mastering these simple techniques, like those discussed here, is about building confidence and control. It's not about perfection from day one, but about learning the basic motions and understanding how pressure and tip movement affect the outcome. These easy piping techniques for beginners are accessible to everyone, regardless of prior decorating experience.
Next Steps: Expanding Your Piping Repertoire
Once you feel comfortable with rosettes, shells, and leaves, you're ready to explore further! These easy piping techniques for beginners are just the start. Consider experimenting with other basic tips, such as round tips for piping dots or writing, or open star tips for different textures.
You can also begin experimenting with different frosting colors and layering colors within the same bag for multi-colored effects. Try applying these techniques to different baked goods, like cookies or brownies. Continue practicing, experimenting, and building on these easy piping techniques for beginners, and you'll be amazed at how quickly your decorating skills improve.
Frequently Asked Questions
What are the most basic piping techniques a beginner should learn?
The most basic techniques include creating dots, lines, and stars. These form the foundation for more complex designs and are easy to master.
What kind of frosting is best for practicing piping techniques?
A stable frosting like American buttercream is ideal. It holds its shape well and is forgiving for beginners.
What's the best way to hold a piping bag for optimal control?
Hold the bag with your dominant hand near the top, applying pressure, and guide with your other hand. Maintaining a steady grip and consistent pressure is key.
What are some common mistakes beginners make when piping?
Common mistakes include overfilling the bag, applying uneven pressure, and using the wrong tip. Practice makes perfect and consistent pressure is important.
How do I fix a piping mistake if I mess up a design?
If you make a mistake, gently scrape off the frosting with a spatula and try again. Don't be afraid to practice and experiment to refine your skills.
Final Reflection: Mastering the Art of Simple Piping
The ability to create beautiful, intricate designs with simple piping techniques is more accessible than you might think. This article has explored the fundamental skills needed to transform basic buttercream into stunning decorations, proving that even beginners can achieve professional-looking results with a little practice and patience. The joy of creating something beautiful with your own hands is a powerful and rewarding experience, and it's a skill that can bring immense satisfaction.
The impact of simple piping techniques extends far beyond the creation of visually appealing desserts. It's about fostering creativity, embracing imperfection, and finding joy in the process. Learning these techniques opens doors to personalized celebrations, heartfelt gifts, and the opportunity to share your passion with others. As the saying goes, The best things in life are homemade.
This sentiment rings especially true when considering the personal touch and unique artistry that handmade decorations bring to any occasion. The simple act of creating something beautiful can be incredibly therapeutic and empowering, a quiet rebellion against the mass-produced and a celebration of individual expression.
Now, it's your turn. Pick up a piping bag, choose your favorite frosting, and experiment! Don't be afraid to make mistakes – they are valuable learning opportunities. Embrace the process, celebrate your successes, and most importantly, have fun. The world of cake decorating awaits, and with a little practice and the techniques outlined in this article, you'll be amazed at what you can create. Let your creativity flow, and let your creations bring joy to yourself and others.
Unleash Your Inner Pastry Chef: Master Piping Today!
Thanks for joining us on this piping adventure! We hope you've gained the confidence to create stunning desserts with simple techniques. Ready to transform your baking?
- Practice your favorite technique: Choose one piping style from the article and dedicate 15 minutes to perfecting it. Even small improvements make a big difference!
- Share your creations: Show off your beautiful piped treats on social media using #BakeWithEasePiping – we'd love to see them!
- Experiment with different tips: Try a new piping tip (even a simple change!) and see what unique designs you can create.
Now, tell us: What's your favorite piping technique to try next, and what delicious treat will you decorate with it?