
Bake Easy Bignè (Italian Cream Puffs) at Home

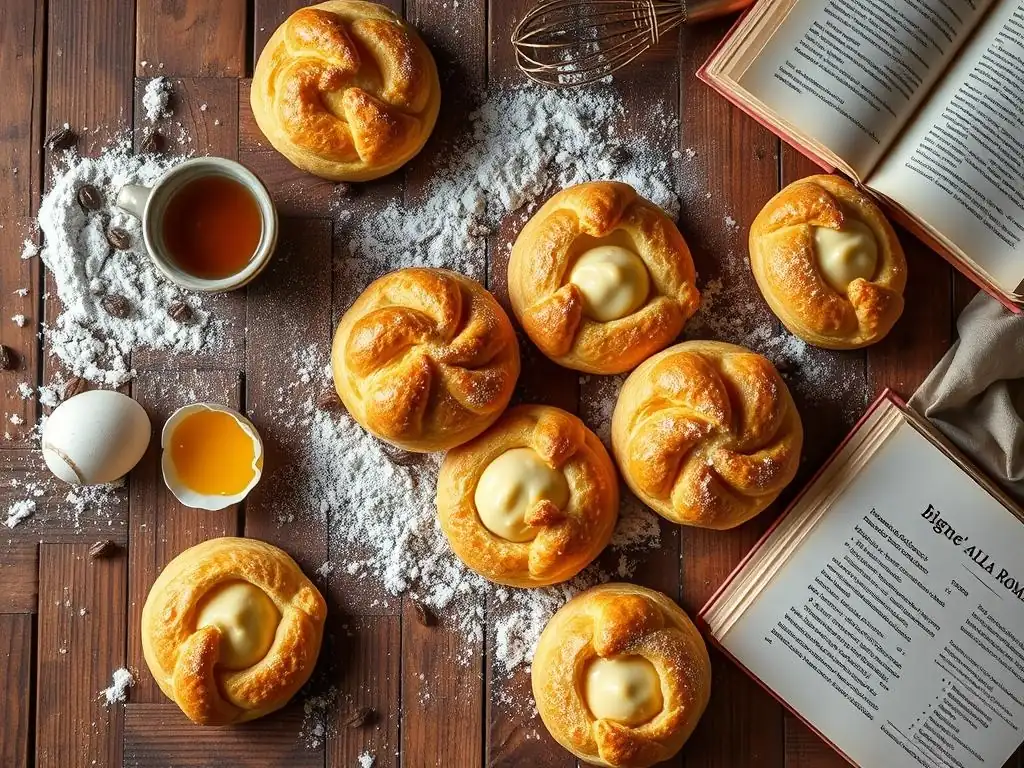
Welcome to BakeWithEase, your haven for baking brilliance! Are you ready to unlock the secret to light-as-air, melt-in-your-mouth perfection? Today, we're diving into the delightful world of Italian baking with a recipe that's surprisingly simple: Easy homemade Italian cream puffs, or Bignè. Prepare to impress your friends and family with these delectable treats – and wonder why you haven't been making them all along! Let's get baking...
- Mastering Chocolate Eclairs: A Detailed Recipe
- Introduction to Eclairs: Elevate Your Baking
- Crafting Perfect Choux Pastry: The Eclair Foundation
- Eclair Recipe: A Step-by-Step Guide to Success
- Creating the Chocolate Pastry Cream Filling
- Assembling and Glazing Your Eclairs
- Tips and Tricks for Baking Perfect Eclairs
- Enjoy Your Homemade Chocolate Eclairs!
-
Frequently Asked Questions
- What exactly are bignè and how do they differ from other cream puffs?
- Are bignè difficult to make at home, especially for a beginner baker?
- What are the key ingredients needed to bake easy homemade Italian cream puffs?
- What kind of filling is traditionally used in bignè, and can I experiment with different flavors?
- How do I ensure my bignè are light and airy, and not dense or flat?
- Final Reflection: The Sweet Simplicity of Homemade Happiness
- Unleash Your Inner Pastry Chef!
Mastering Chocolate Eclairs: A Detailed Recipe
Introduction to Eclairs: Elevate Your Baking
What are Eclairs? A Classic Pastry Defined
Eclairs are elegant French pastries made from choux dough, filled with a creamy filling, and typically topped with a rich glaze, most commonly chocolate. The word "éclair" is French for "lightning," possibly because they are traditionally long and thin, or perhaps because they are so delicious they are eaten in a flash! At their core, eclairs showcase the versatility of choux pastry, transforming simple ingredients into a light, hollow shell perfect for holding luscious fillings.
Unlike denser pastries, the magic of eclairs lies in their airy interior. This unique texture is achieved by the high moisture content in the choux dough, which creates steam during baking, causing the pastry to puff up dramatically and become hollow inside. This hollow space is then the perfect vessel for fillings like pastry cream, whipped cream, or even savory options, making the éclair a truly adaptable classic in the world of patisserie.
Why Bake Eclairs at Home? Freshness and Customization
Baking homemade eclairs offers an unparalleled level of freshness that is difficult to match with store-bought versions. The delicate choux pastry is best enjoyed shortly after baking, when its exterior is still crisp and the interior is perfectly tender. By making eclairs in your own kitchen, you control the entire process, ensuring the highest quality ingredients are used and that the pastries are served at their peak deliciousness.
Furthermore, baking homemade eclairs provides endless opportunities for customization. While the classic chocolate éclair is a beloved staple, you can experiment with a wide variety of fillings and glazes. Imagine eclairs filled with coffee pastry cream and topped with a caramel glaze, or perhaps a raspberry filling with a white chocolate finish. Making them yourself allows you to tailor the flavors precisely to your preference, creating unique treats that cater to specific tastes or dietary needs.
Crafting Perfect Choux Pastry: The Eclair Foundation
Understanding Choux Pastry: Key Ingredients and Their Roles
Choux pastry, or pâte à choux, is surprisingly simple, requiring just four basic ingredients: water (or milk), butter, flour, and eggs. Each component plays a crucial role in developing the unique texture of the pastry. The liquid (water or milk) and butter are first heated together to create a rich base. Using milk can result in a slightly richer, softer dough, while water tends to yield a crispier shell. The fat from the butter contributes to tenderness and flavor.
Once the liquid and butter mixture boils, flour is added all at once and stirred vigorously off the heat to create a thick paste, known as the panada. This process gelatinizes the starch in the flour, allowing it to absorb a significant amount of moisture. This high moisture content is key.
Finally, eggs are beaten in one by one, providing structure and elasticity to the dough. The protein in the eggs helps the pastry hold its shape and rise during baking, while the fat contributes to richness and tenderness. The correct consistency of the finished dough is critical – it should be smooth, glossy, and fall from a spoon in a thick ribbon.
Achieving Light and Airy Choux: Essential Techniques
Achieving light and airy choux pastry requires careful attention to a few key techniques. First, ensure the liquid and butter come to a rolling boil before adding the flour. This ensures the butter is fully melted and the liquid is hot enough to properly cook the flour and form the panada.
Second, cook the panada over medium heat, stirring constantly, for about 1-2 minutes after the flour is incorporated. This step, sometimes called "drying out the dough," helps evaporate excess moisture and ensures the starch is fully gelatinized, which is vital for a good rise. You'll know it's ready when it forms a ball and a thin film coats the bottom of the pot.
Third, allow the panada to cool slightly before adding the eggs. If the dough is too hot, the eggs will cook and scramble, ruining the texture. Transferring the dough to a stand mixer or mixing it in the pot off the heat for a few minutes helps it cool down.
Fourth, add the eggs gradually, one at a time, ensuring each egg is fully incorporated before adding the next. The number of eggs can vary slightly depending on the flour and humidity, so it's important to check the consistency – the dough should be smooth and glossy and hold a soft peak when lifted with a spoon or spatula. Over-mixing after the eggs are added can also negatively impact the rise.
Eclair Recipe: A Step-by-Step Guide to Success
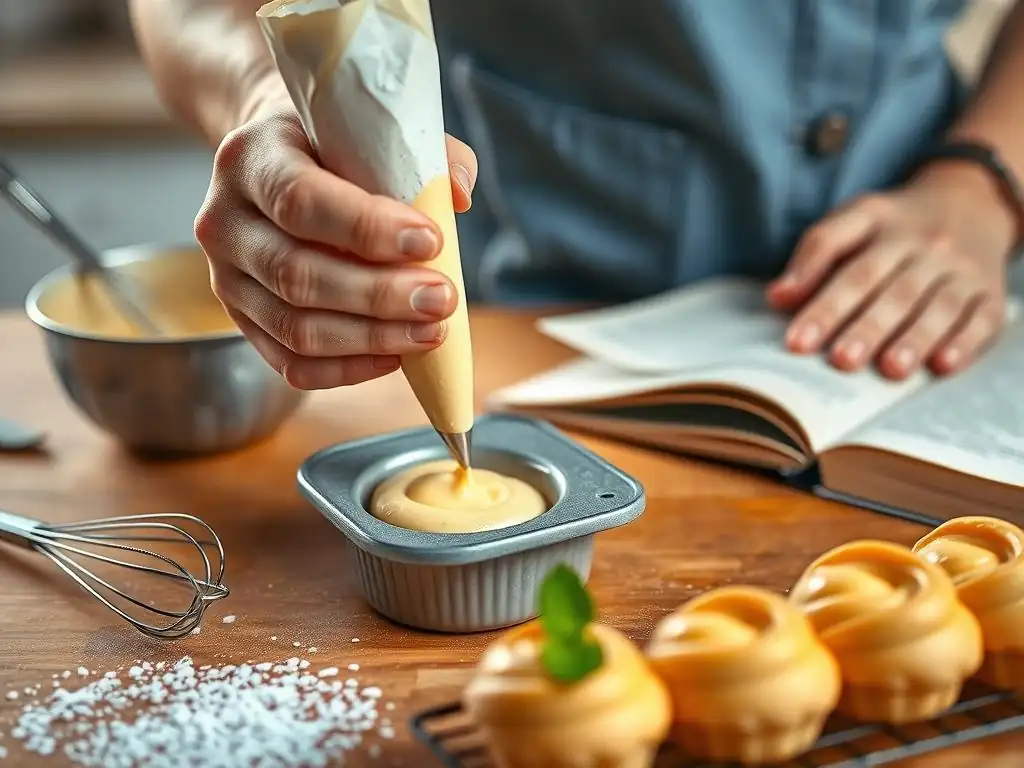
Ingredients for Homemade Chocolate Eclairs
To make delicious homemade chocolate eclairs, you'll need the following ingredients for the choux pastry, pastry cream filling, and chocolate ganache glaze. Using fresh, quality ingredients is paramount for the best results. Ensure your eggs are at room temperature for easier incorporation into the choux dough.
- For the Choux Pastry:
- 1 cup (240ml) water
- 1/2 cup (113g) unsalted butter, cut into cubes
- 1 teaspoon granulated sugar
- 1/4 teaspoon salt
- 1 cup (125g) all-purpose flour, sifted
- 4 large eggs, at room temperature
- For the Pastry Cream Filling:
- 2 cups (480ml) whole milk
- 4 large egg yolks
- 1/2 cup (100g) granulated sugar
- 1/4 cup (30g) cornstarch
- 2 tablespoons unsalted butter, cold and cubed
- 1 teaspoon vanilla extract
- For the Chocolate Ganache Glaze:
- 1 cup (170g) chopped semi-sweet or dark chocolate (about 60% cocoa)
- 1/2 cup (120ml) heavy cream
- 1 tablespoon unsalted butter (optional, for shine)
Equipment Needed for Baking Eclairs
Having the right tools can make the process of baking homemade eclairs much smoother and help ensure consistent results. While you don't need a professional kitchen setup, a few key items are highly recommended. A heavy-bottomed saucepan is essential for making the choux pastry base, as it distributes heat evenly and prevents scorching.
Other useful equipment includes a sturdy whisk or wooden spoon for mixing the panada, a stand mixer with a paddle attachment (though a hand mixer or vigorous stirring by hand works too) for incorporating the eggs, and a piping bag fitted with a large plain or star tip (like an Ateco 808 or 829) for shaping the eclairs. You'll also need baking sheets lined with parchment paper or silicone mats, which prevent sticking and promote even browning.
Measuring cups and spoons, mixing bowls, and a fine-mesh sieve for sifting flour and straining pastry cream are also standard requirements for this easy homemade eclair recipe.
Step 1: Preparing the Choux Pastry
Begin by combining the water, cubed butter, sugar, and salt in your heavy-bottomed saucepan. Place the pan over medium-high heat and stir occasionally until the butter is completely melted and the mixture comes to a rolling boil. This is a critical step; ensure it is boiling vigorously before proceeding.
Once boiling, remove the pan from the heat and add the sifted flour all at once. Stir vigorously with a wooden spoon or sturdy whisk until the mixture comes together to form a thick, smooth ball and pulls away cleanly from the sides of the pan. Return the pan to medium heat and continue to cook the dough, stirring constantly, for about 1-2 minutes to dry it out.
You should see a thin film forming on the bottom of the pot. Transfer the dough to a mixing bowl or the bowl of a stand mixer and let it cool for 5-10 minutes until it's warm but not hot (around 140°F or 60°C).
Step 2: Piping the Eclair Shapes
Once the choux pastry dough has cooled slightly, begin adding the eggs, one at a time. If using a stand mixer, mix on medium speed, adding the next egg only after the previous one is fully incorporated and the dough is smooth again. Scrape down the sides of the bowl as needed.
If mixing by hand, beat vigorously with a wooden spoon after each egg addition. The dough is ready when it is smooth, glossy, and holds a soft peak when lifted with a spoon or spatula; it should fall from the spoon in a thick ribbon (the "bird's beak" stage). You might not need all 4 eggs, or you might need a tiny bit more if your eggs are small – check the consistency carefully.
Transfer the dough to a piping bag fitted with your chosen tip. Line baking sheets with parchment paper or silicone mats. Pipe straight lines of dough onto the prepared baking sheets, aiming for pieces about 4-5 inches long. Leave about 2 inches of space between each éclair as they will expand significantly during baking. For a smoother finish and to prevent cracking, you can gently smooth the tops of the piped dough with a wet finger or a damp pastry brush.
Step 3: Baking Eclairs to Golden Brown
Preheat your oven to 400°F (200°C). Baking choux pastry requires a high initial temperature to create steam and achieve maximum puff, followed by a lower temperature to dry out the shells and make them crisp. Place the piped eclairs in the preheated oven.
Bake for 15 minutes at 400°F (200°C). Do not open the oven door during this crucial phase, as the sudden drop in temperature can cause the pastries to collapse. After 15 minutes, reduce the oven temperature to 350°F (175°C) and continue baking for another 20-25 minutes, or until the eclairs are deeply golden brown, firm to the touch, and feel light when lifted. The darker color indicates the pastry is properly dried out, which is essential to prevent them from collapsing after cooling.
Step 4: Cooling Eclairs for Optimal Texture
Proper cooling is just as important as baking for achieving the perfect texture in your homemade eclairs. Once the eclairs are baked to a deep golden brown and are firm, remove them from the oven. Immediately pierce each éclair in one end (or the bottom) with a sharp knife or skewer. This allows steam to escape from the inside, which helps the pastry dry out further and prevents it from becoming soggy or collapsing as it cools.
Transfer the pierced eclairs to a wire rack to cool completely. Cooling on a wire rack allows air to circulate around the entire pastry, ensuring an even cooling process and preventing condensation from forming on the bottom, which can make them soft. Allow the eclairs to cool for at least 30-60 minutes, or until they are completely at room temperature, before attempting to fill them. Filling warm eclairs will cause the filling to melt and the pastry to become soggy.
Creating the Chocolate Pastry Cream Filling
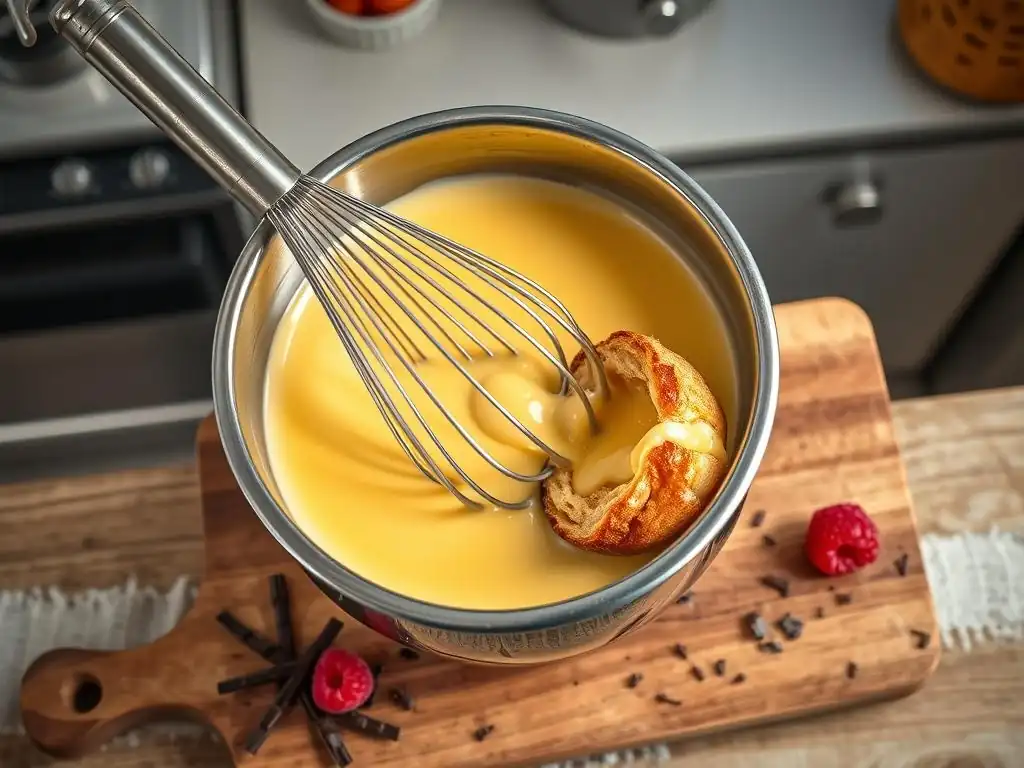
Ingredients for Homemade Pastry Cream
A classic éclair is typically filled with rich, smooth pastry cream, also known as crème pâtissière. This delicious filling provides a perfect contrast to the light choux pastry shell. The core ingredients are simple: milk, egg yolks, sugar, and a thickener, usually cornstarch or flour.
- 2 cups (480ml) whole milk
- 4 large egg yolks
- 1/2 cup (100g) granulated sugar
- 1/4 cup (30g) cornstarch
- 2 tablespoons unsalted butter, cold and cubed
- 1 teaspoon vanilla extract
Using whole milk provides the richest flavor and creamiest texture. The egg yolks contribute richness, color, and help to thicken the cream. Sugar adds sweetness and stability. Cornstarch is the primary thickener, creating a smooth, lump-free consistency. Butter is added at the end for extra richness and a silky mouthfeel, and vanilla extract provides essential flavor.
Preparing the Pastry Cream Filling
To prepare the pastry cream, start by heating the milk in a saucepan over medium heat until it is just simmering – don't let it boil over. While the milk is heating, whisk together the egg yolks and sugar in a separate bowl until light yellow and slightly thickened. Whisk in the cornstarch until no lumps remain; the mixture will be thick and pale.
Once the milk is simmering, temper the egg mixture by slowly pouring about half of the hot milk into the egg yolk mixture while whisking constantly. This gradually raises the temperature of the yolks without scrambling them. Pour the tempered egg mixture back into the saucepan with the remaining hot milk. Return the pan to medium heat and cook, whisking constantly, until the mixture thickens significantly and comes to a boil.
Boil for 1-2 minutes, still whisking, to ensure the cornstarch is fully cooked and the cream is thick. Remove from the heat, whisk in the cold butter and vanilla extract until smooth and glossy. Press a layer of plastic wrap directly onto the surface of the pastry cream to prevent a skin from forming and refrigerate until completely cold and set, at least 2-3 hours.
Assembling and Glazing Your Eclairs
Filling the Eclairs: Achieving Even Distribution
Once the baked choux shells are completely cool and the pastry cream is thoroughly chilled and set, it's time to fill your homemade eclairs. There are a couple of common methods for filling. One method is to slice the éclairs horizontally using a serrated knife. You can then pipe or spoon the pastry cream into the bottom half before replacing the top. This method allows for even distribution and is visually appealing when served sliced.
Alternatively, you can fill the eclairs from the ends or bottom without slicing them open entirely. Use a small paring knife or skewer to make two or three small holes in the bottom or ends of each éclair shell. Fit a piping bag with a long, narrow tip (like a bismarck tip, or simply use a plain tip that fits the hole) and fill it with the chilled pastry cream.
Insert the tip into each hole and gently squeeze the bag until the éclair feels heavy and full. You'll often see the pastry cream start to ooze slightly from the holes when it's full. This method keeps the top of the éclair intact for a smooth glazed surface.
Preparing the Chocolate Ganache Glaze
The classic topping for chocolate eclairs is a simple yet decadent chocolate ganache. This glaze adds richness and a beautiful, glossy finish. You'll need chopped chocolate and heavy cream, with an optional knob of butter for extra shine. Using good quality chocolate with around 60% cocoa content provides a balanced flavor that complements the pastry and filling.
- 1 cup (170g) chopped semi-sweet or dark chocolate
- 1/2 cup (120ml) heavy cream
- 1 tablespoon unsalted butter (optional)
To make the ganache, place the chopped chocolate in a heatproof bowl. Heat the heavy cream in a small saucepan over medium heat until it just begins to simmer around the edges – do not let it boil vigorously. Pour the hot cream over the chopped chocolate. Let it sit undisturbed for 5 minutes to allow the heat from the cream to melt the chocolate.
Then, gently whisk the mixture starting from the center and working outwards until it is smooth, glossy, and emulsified. Whisk in the optional butter until melted and fully incorporated for extra shine. Let the ganache sit for a few minutes to cool slightly and thicken to a dipping consistency before glazing the eclairs.
Glazing the Eclairs: A Smooth Finish
With the eclairs filled and the chocolate ganache prepared and slightly cooled to a dippable consistency, you are ready to apply the glaze. The ganache should be thick enough to coat the éclairs without running off excessively, but still fluid enough to create a smooth surface. If it's too thick, gently warm it slightly over a double boiler or in the microwave in short bursts (stirring between each) until it reaches the right consistency. If it's too thin, let it cool slightly longer.
Hold each filled éclair by the bottom and dip the top surface into the chocolate ganache. Lift the éclair, allowing any excess ganache to drip back into the bowl. Gently place the glazed éclairs onto a wire rack set over a baking sheet (to catch drips) or onto parchment paper. You can leave the glaze smooth or decorate immediately with sprinkles, nuts, or a drizzle of white chocolate before the ganache sets. Allow the ganache to set at room temperature or in the refrigerator for about 15-30 minutes until firm to the touch.
Tips and Tricks for Baking Perfect Eclairs
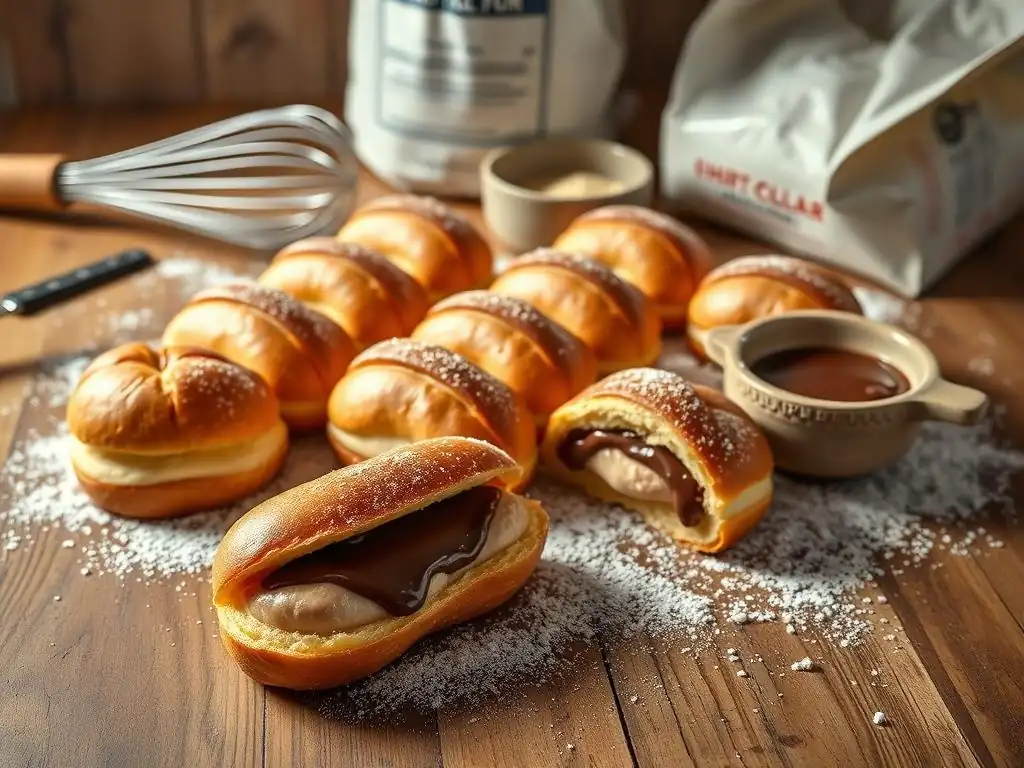
Troubleshooting Common Eclair Baking Issues
Baking choux pastry can sometimes present challenges, but understanding common issues can help you troubleshoot. If your eclairs collapse after baking, it's usually because they weren't baked long enough or at a low enough temperature after the initial puffing phase. They need sufficient time at a lower temperature (around 350°F) to dry out completely inside. Ensure they are deeply golden brown and feel light. Another cause can be opening the oven door too early during the initial high-temperature bake.
If your choux pastry doesn't puff up properly, it could be due to insufficient cooking of the panada (not drying it out enough), adding the eggs when the dough is too hot, or not adding enough eggs (the dough wasn't the right consistency). Over-mixing the dough once the eggs are added can also sometimes affect the rise. Ensure your oven temperature is accurate – using an oven thermometer can be helpful. Uneven shapes during piping can be smoothed out slightly with a wet finger before baking.
Storing Your Homemade Eclairs
Homemade eclairs are best enjoyed the same day they are filled and glazed, as the choux pastry can soften over time, especially once filled with a moist cream. However, if you need to store them, the best approach depends on whether they are filled or unfilled. Unfilled, baked choux shells can be stored in an airtight container at room temperature for 1-2 days, or frozen for up to a month. To refresh frozen shells, bake them at 350°F (175°C) for 5-10 minutes until crisp again.
Filled and glazed eclairs should be stored in a single layer in an airtight container in the refrigerator. They will keep for 1-2 days, but the pastry will gradually soften. To minimize softening, you can store the pastry cream and unfilled shells separately and assemble them closer to serving time. The chocolate ganache can also be stored separately and gently re-warmed and stirred before glazing.
Variations: Exploring Different Glazes and Fillings
While the chocolate pastry cream and ganache éclair is a classic, homemade eclairs offer a fantastic canvas for creativity with different flavors. For fillings, consider a coffee pastry cream (simply infuse the milk with coffee beans or instant coffee), a vanilla bean pastry cream, a chocolate pastry cream (whisk cocoa powder or melted chocolate into the finished cream), whipped cream, or even fruit curds like lemon or passion fruit.
For glazes, beyond classic chocolate ganache, you could use a white chocolate ganache, a caramel glaze, a simple powdered sugar glaze flavored with vanilla or citrus zest, or even a fruit-based glaze made from puréed and strained berries thickened with cornstarch. Experimenting with different combinations allows you to create a variety of easy homemade eclairs tailored to any taste or occasion.
Enjoy Your Homemade Chocolate Eclairs!
Serving Suggestions for Eclairs
Once your easy homemade chocolate eclairs are assembled and the glaze has set, they are ready to be enjoyed! Present them on a serving platter for a beautiful display. For an extra touch, you can dust the platter lightly with cocoa powder or garnish with fresh berries or chocolate shavings.
Eclairs are perfect served with coffee or tea. They make an impressive dessert for dinner parties or a delightful treat for an afternoon snack. Because the pastry is best when crisp, serving them within a few hours of filling and glazing is ideal. Share your delicious creations with friends and family and savor the satisfaction of mastering this classic pastry right in your own kitchen.
Frequently Asked Questions
What exactly are bignè and how do they differ from other cream puffs?
Bignè are the Italian version of cream puffs. The main difference often lies in flavor variations and sometimes slight recipe adjustments, focusing on simplicity. They're typically light and airy.
Are bignè difficult to make at home, especially for a beginner baker?
No, while they may seem intimidating, following a step-by-step guide from BakeWithEase makes baking bignè at home surprisingly easy. We focus on simple recipes and techniques.
What are the key ingredients needed to bake easy homemade Italian cream puffs?
The core ingredients include flour, butter, eggs, water (or milk), and sugar. These are readily available, making bignè a convenient and accessible treat to bake at home.
What kind of filling is traditionally used in bignè, and can I experiment with different flavors?
Traditionally, bignè are filled with pastry cream or whipped cream. However, you can absolutely experiment with various fillings, such as chocolate cream, lemon curd, or even savory options.
How do I ensure my bignè are light and airy, and not dense or flat?
Ensuring proper oven temperature and avoiding opening the oven door during baking are crucial. Also, make sure the dough is the correct consistency before piping.
Final Reflection: The Sweet Simplicity of Homemade Happiness
The art of baking, especially mastering a seemingly complex pastry like the bignè, offers more than just a delicious treat; it unlocks a sense of accomplishment and connection. These delicate, airy puffs, traditionally a symbol of Italian culinary artistry, are surprisingly accessible to home bakers. This article demonstrated that with clear instructions and a little patience, anyone can achieve professional-looking and tasting results.
The enduring appeal of homemade bignè lies not just in their exquisite taste, but in the process itself. It's a journey from simple ingredients to a breathtaking final product, a testament to the transformative power of culinary creation. The best things in life are homemade.
This adage rings especially true when considering the satisfaction derived from creating something beautiful and delicious with your own hands. The act of baking these puffs transcends mere culinary skill; it becomes a meditative practice, a connection to tradition, and a way to share joy with loved ones.
Now, I invite you to roll up your sleeves, gather your ingredients, and embark on your own bignè adventure. Don't be intimidated by the seemingly intricate steps; embrace the challenge, savor the process, and revel in the sweet reward of perfectly puffed pastry. The journey of creating these Italian cream puffs is as fulfilling as the delightful taste itself. Let the aroma of vanilla and the satisfying crunch transport you, and share the joy of your creation with those you cherish. You might just surprise yourself with your newfound baking prowess!
Unleash Your Inner Pastry Chef!
Thanks for joining us on this delicious journey into the world of bignè! We hope you gained the confidence to tackle these seemingly intimidating treats. Now it's time to put your new skills to the test.
- Master the art of the perfect choux pastry: Try baking a batch of bignè this weekend – you’ll be amazed at how easy it is! Experiment with different fillings and toppings to create your signature bignè.
- Share your baking triumphs (or even your baking mishaps!) with us on social media using #BakeWithEaseBignè – we'd love to see your creations!
- Challenge yourself: Try adapting this recipe to create other choux pastry delights, like éclairs or profiteroles.
Ready to create your own masterpiece? What unique flavor combination will you try first?