
Bake Perfect Pizzelle Every Time (Easy Method)

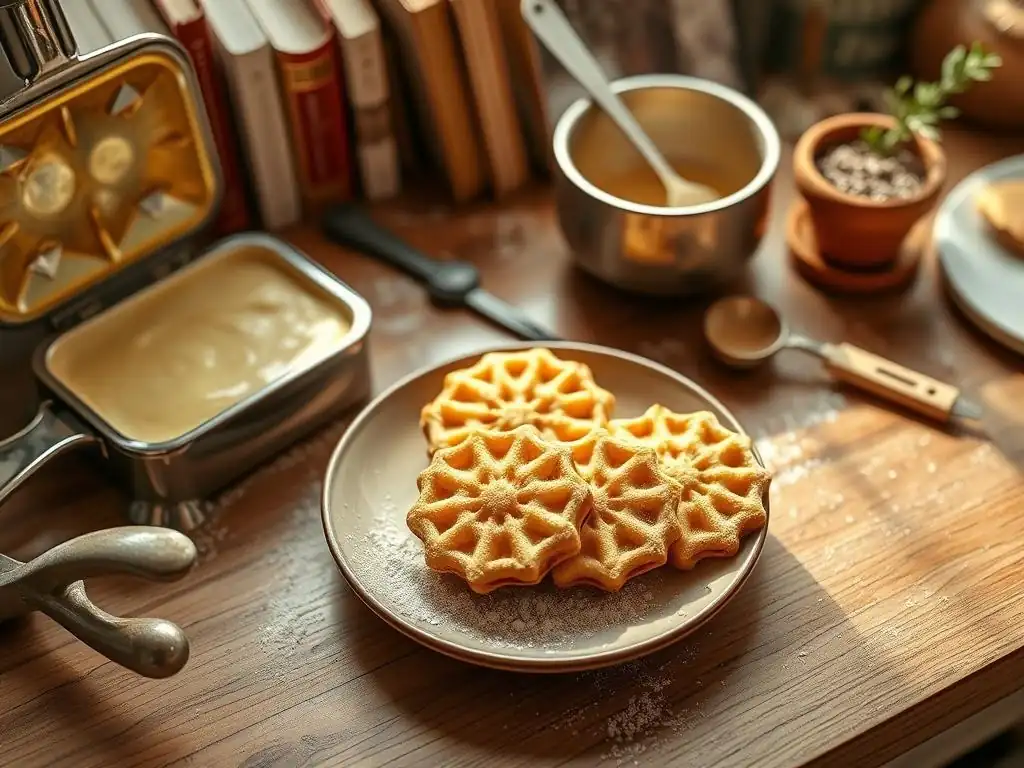
Welcome to BakeWithEase, your kitchen companion for unlocking baking brilliance! Ever dreamt of creating delicate, crispy pizzelle that transport you straight to Italy? Then you're in the right place. This week, we're diving into an easy pizzelle recipe that will have you mastering this classic treat in no time. Discover the secrets to achieving that perfect texture and flavor, and prepare to impress your friends and family. Ready to get started? Let's bake!
- Bake Perfect Pizzelle Every Time (Easy Method) - BakeWithEase
- Introduction: Mastering the Art of Pizzelle Baking
- Understanding Pizzelle: A Baking Tradition
- The Easy Pizzelle Recipe: Step-by-Step Guide
- Troubleshooting Your Pizzelle Baking: Common Issues and Solutions
- Flavor Variations: Expanding Your Pizzelle Recipe Repertoire
- Serving and Enjoying Your Homemade Pizzelle
- Pizzelle Recipe Summary: Easy Reference Guide
- Frequently Asked Questions
- Final Reflection: The Sweet Simplicity of Perfect Pizzelles
- Unleash Your Inner Pizzelle Pro!
Bake Perfect Pizzelle Every Time (Easy Method) - BakeWithEase
Introduction: Mastering the Art of Pizzelle Baking
Discover the Delights of Traditional Italian Pizzelle
Pizzelle are delicate, crisp Italian waffle cookies, traditionally made with a pizzelle iron. They are often flavored with anise or vanilla and are a staple at Italian weddings, Christmas, and Easter celebrations. Their intricate snowflake-like pattern makes them as beautiful as they are delicious. Learning to make these cookies can connect you to a rich cultural heritage and provide a delightful treat for family and friends.
While they might look complex, mastering the basic technique for pizzelle is quite achievable, even for novice bakers. The right recipe and a little practice are all you need to bring the taste of Italy into your home kitchen. This guide focuses on providing easy pizzelle recipe instructions that simplify the process, ensuring you can bake a batch of these crispy cookies without stress.
Why This Easy Pizzelle Recipe Will Change Your Baking Game
Many bakers might feel intimidated by pizzelle, imagining difficult techniques or fussy doughs. However, this easy pizzelle recipe is designed to be straightforward and forgiving, perfect for building confidence. It uses readily available ingredients and focuses on clear, step-by-step instructions that demystify the process. You won't need specialized skills, just a willingness to follow the guide.
By following these easy pizzelle recipe instructions, you'll not only bake beautiful cookies but also gain a foundational understanding of working with a pizzelle iron and a simple batter. This experience can open doors to trying other traditional Italian baked goods. The goal is to make pizzelle baking accessible and enjoyable, proving that delicious, authentic results are possible with an easy-to-follow method.
Understanding Pizzelle: A Baking Tradition
What Are Pizzelle? Exploring the History and Significance
Pizzelle are among the oldest known cookie types, believed to have originated in the Abruzzo region of Italy. Their name comes from the Italian word pizze, meaning round and flat. Historically, they were made using irons that were passed down through generations, often bearing family crests or religious symbols. These irons were typically heated over an open fire, pressing the dough into the distinct patterned shape.
These cookies hold significant cultural importance, especially during holidays and celebrations. They symbolize good luck and are often associated with the Feast of the Epiphany (La Befana). Making pizzelle is often a communal activity, bringing families together. While modern electric irons have replaced the old fire-heated ones, the tradition of sharing and enjoying these crisp cookies remains a cherished part of Italian culture.
The Key Ingredients for Authentic Pizzelle
An authentic, easy pizzelle recipe relies on a few basic ingredients that work together to create the characteristic texture and flavor. The foundation typically includes flour, sugar, eggs, and butter or oil. These provide structure, sweetness, richness, and tenderness. The leavening agent, usually baking powder, helps ensure a light, crisp cookie rather than a dense one.
Flavoring is crucial, with anise being the most traditional choice, often added as extract or anise seeds. Vanilla is another very common and popular alternative, offering a sweeter, more universally appealing taste. A pinch of salt balances the sweetness. Using high-quality ingredients, even in this simple pizzelle recipe, can make a noticeable difference in the final taste and texture of your cookies.
The Easy Pizzelle Recipe: Step-by-Step Guide
Gathering Your Ingredients: A Simple Pizzelle Recipe Checklist
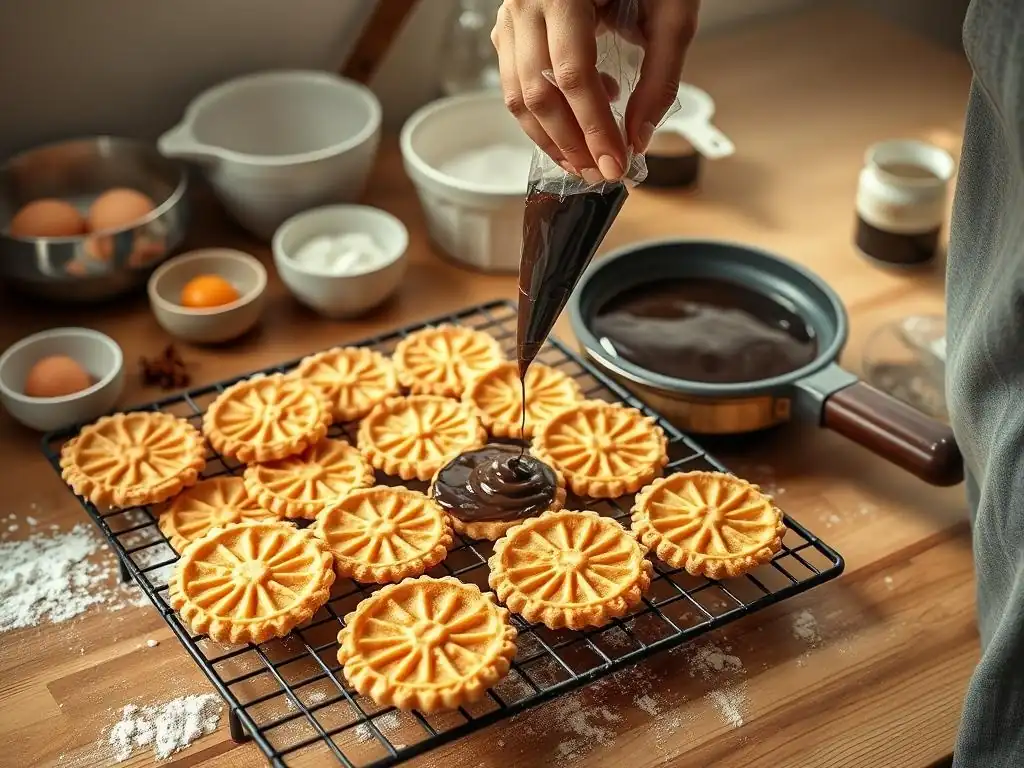
Before you begin making your pizzelle, ensure you have all ingredients measured and ready. This simple pizzelle recipe requires standard pantry staples. Having everything prepped saves time and prevents interruptions during the mixing process. Aim for room temperature eggs and melted butter for optimal batter consistency.
Here is a checklist for your easy pizzelle recipe:
- [ ] All-purpose flour (approximately 1 ½ cups)
- [ ] Granulated sugar (approximately ¾ cup)
- [ ] Large eggs (approximately 3)
- [ ] Unsalted butter, melted and slightly cooled (approximately ½ cup or 1 stick)
- [ ] Baking powder (approximately 2 teaspoons)
- [ ] Salt (approximately ¼ teaspoon)
- [ ] Anise extract or Vanilla extract (approximately 1-2 teaspoons, or to taste)
- [ ] Optional: Anise seeds (approximately 1 teaspoon)
Preparing the Pizzelle Batter: Achieving the Perfect Consistency
Creating the perfect batter is key to successful pizzelle. Start by whisking together the dry ingredients: flour, baking powder, and salt in a medium bowl. In a separate, larger bowl, beat the eggs and sugar together until they are light yellow and slightly thickened, which usually takes about 2-3 minutes with an electric mixer or 5-7 minutes by hand. This step incorporates air and dissolves the sugar.
Next, gradually whisk in the melted butter and your chosen extract (anise, vanilla, etc.) into the egg mixture. Ensure the butter isn't too hot, or it might cook the eggs. Finally, add the dry ingredients to the wet ingredients, mixing just until combined. Be careful not to overmix; a few small lumps are acceptable. The batter should be smooth, thick, and pourable, similar in consistency to pancake batter but slightly thicker. This consistency is vital for easy pizzelle recipe instructions.
Heating and Preparing Your Pizzelle Iron
Properly preparing your pizzelle iron is crucial to prevent sticking and ensure even baking. If you have a new iron or one that hasn't been used in a while, it's wise to condition it according to the manufacturer's instructions. This typically involves heating it, lightly brushing the grids with oil or melted butter, and baking a "test" cookie or two that you discard. For regular use, a light application of cooking spray or brushing with melted butter on the grids before you start baking is usually sufficient.
Preheat your pizzelle iron fully before adding any batter. Most electric irons have an indicator light that signals when the correct temperature is reached. This usually takes about 5-10 minutes. A properly heated iron is essential for achieving the crisp texture and the beautiful, well-defined pattern of the pizzelle. Following these easy pizzelle recipe instructions includes respecting the heating time of your equipment.
Baking Your Pizzelle: Tips for Consistent Results
Baking pizzelle is a quick process, often taking only 60-90 seconds per cookie depending on your iron's wattage and desired crispness. Place a small spoonful (about 1 tablespoon) of batter in the center of each mold on the hot iron. Close the lid firmly but gently. Avoid using too much batter, as it will spread out and overflow the edges. Start with a smaller amount and adjust as needed after the first cookie.
Watch the steam emanating from the iron; it will subside as the cookie bakes. Most irons have indicator lights or timers, but it's also helpful to lift the lid carefully after about 60 seconds to check for doneness. The pizzelle should be golden brown. Use a non-metal spatula or thin knife to carefully lift the hot pizzelle from the iron and immediately place it on a wire cooling rack. For shaped cookies (like cones), you must shape them while still hot and pliable. These easy pizzelle recipe instructions emphasize working quickly once the cookie is baked.
Cooling and Storing Your Pizzelle: Maintaining Crispness
Cooling is a critical step to achieve that signature pizzelle crispness. As soon as you remove the hot pizzelle from the iron, place it in a single layer on a wire cooling rack. Do not stack them while they are warm, as they will steam and become soft. Allow them to cool completely, which usually takes about 10-15 minutes, until they are firm and crisp.
Once fully cooled, store pizzelle in an airtight container at room temperature. Layering them gently between sheets of wax paper can help prevent breakage. Stored properly, they can maintain their crispness for up to two weeks. Avoid refrigerating or freezing pizzelle, as this can introduce moisture and make them soft. These easy pizzelle recipe instructions help ensure your hard work results in perfectly crisp cookies.
Troubleshooting Your Pizzelle Baking: Common Issues and Solutions
Pizzelle Sticking to the Iron? Here's What to Do.
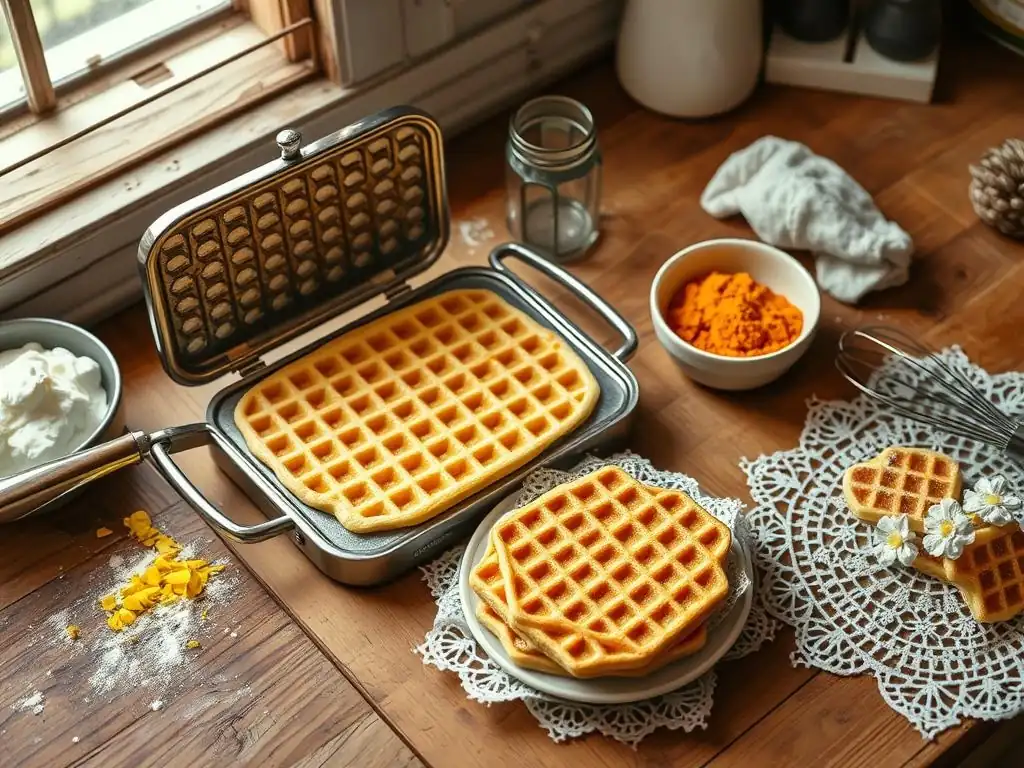
Pizzelle sticking is a common frustration, but it's usually easy to fix. The most frequent cause is insufficient or uneven greasing of the pizzelle iron grids. Ensure you are lightly greasing the iron before baking each batch, or at least every few cookies, especially if using an older or non-stick iron that is showing wear. Melted butter or a non-stick cooking spray designed for high temperatures works well.
Another reason for sticking can be the batter consistency being too thick or too thin, or the iron not being fully preheated. A properly heated iron helps the cookie release cleanly. If you're still having trouble, try slightly adjusting your batter – sometimes a little more fat (butter or oil) can help. Make sure you are lifting the cookie carefully with a thin, non-metal tool to avoid damaging the non-stick surface of your iron. These easy pizzelle recipe instructions aim to minimize sticking by stressing proper preparation.
Pizzelle Not Crispy Enough? Adjusting Your Baking Time.
If your pizzelle are coming out soft or chewy instead of crisp, the primary culprit is likely not baking them long enough. Pizzelle need to be baked until they are golden brown across the entire surface, not just in spots. Lighter colored pizzelle tend to be softer. Try increasing the baking time by 15-30 seconds per cookie.
Ensure your iron is fully preheated and maintaining a consistent temperature. Baking at too low a temperature can result in softer cookies. Also, make sure you are cooling the pizzelle completely on a wire rack in a single layer before storing them. Stacking warm cookies traps steam and prevents them from crisping up properly. Adjusting the baking time based on your specific iron is a key part of mastering easy pizzelle recipe instructions.
Batter Too Thick or Thin? Correcting the Consistency.
The correct batter consistency is crucial for easy pizzelle recipe instructions and perfect results. If your batter seems too thick to spread easily when the iron is closed, it might need a little thinning. You can add a tablespoon of milk or water at a time, mixing gently until you reach a consistency that resembles a thick pancake batter. Be careful not to add too much liquid at once.
Conversely, if your batter is too thin and spreads excessively or yields very fragile cookies, it might need thickening. You can gently whisk in a tablespoon or two of all-purpose flour. Add it gradually and mix until just combined, checking the consistency. Remember that batter can thicken slightly as it sits, especially if using melted butter that might start to firm up. Aim for a consistency that allows the batter to spread under pressure but isn't watery.
Flavor Variations: Expanding Your Pizzelle Recipe Repertoire
Anise Pizzelle: A Classic Flavor Profile
Anise is the traditional and perhaps most iconic flavor for pizzelle. It imparts a distinct, slightly licorice-like taste that many associate with authentic Italian baking. To achieve this classic flavor using easy pizzelle recipe instructions, incorporate 1 to 2 teaspoons of anise extract into the batter along with the wet ingredients. The amount can be adjusted based on your preference for a stronger or milder anise note.
For an even more pronounced anise flavor and a bit of visual interest, you can also add about 1 teaspoon of whole or crushed anise seeds to the dry ingredients. The heat of the iron helps release the aromatic oils from the seeds during baking. This variation is a must-try for those who appreciate traditional tastes and want to bake pizzelle that evoke classic Italian celebrations.
Vanilla Pizzelle: A Simple and Elegant Variation
Vanilla pizzelle offer a sweeter, softer flavor profile that is widely appealing, making them a great choice for those who aren't keen on anise or for serving to a broader audience. Using high-quality vanilla extract is key here; pure vanilla extract provides a much richer flavor than imitation vanilla. Add 1 to 2 teaspoons of vanilla extract to the wet ingredients in your batter.
This variation is incredibly versatile. Vanilla pizzelle can be enjoyed plain, dusted with powdered sugar, or used as a base for various toppings and fillings. The simplicity of the vanilla allows the delicate texture and crispness of the cookie to shine. Including vanilla extract in your easy pizzelle recipe instructions provides a popular alternative to the traditional anise.
Chocolate Pizzelle: A Decadent Twist on a Classic
For chocolate lovers, transforming the classic pizzelle into a chocolate version is a delightful variation. This requires slightly adjusting the dry ingredients. Reduce the amount of all-purpose flour by about ¼ cup and replace it with ¼ cup of unsweetened cocoa powder. Sift the cocoa powder with the flour, baking powder, and salt to avoid lumps.
You can enhance the chocolate flavor further by adding a teaspoon of vanilla extract or even a few drops of almond extract. These flavors pair wonderfully with chocolate. Bake them slightly less intensely than vanilla or anise pizzelle, as cocoa can cause them to look darker faster, potentially masking when they are truly done. Check for crispness rather than just color.
Lemon Pizzelle: A Refreshing Citrus Burst
Lemon pizzelle offer a bright, refreshing alternative, perfect for spring or summer gatherings. To infuse your pizzelle with lemon flavor, add the zest of one large lemon and about 1 teaspoon of fresh lemon juice to the wet ingredients along with the eggs and sugar. For a more intense flavor, you can also add ½ to 1 teaspoon of lemon extract.
Ensure you use only the yellow part of the lemon zest, avoiding the bitter white pith. The combination of zest and juice provides a natural, vibrant lemon taste that complements the sweet, crisp cookie. This variation demonstrates how easily the basic easy pizzelle recipe instructions can be adapted to create new and exciting flavors.
Serving and Enjoying Your Homemade Pizzelle
Traditional Ways to Serve Pizzelle
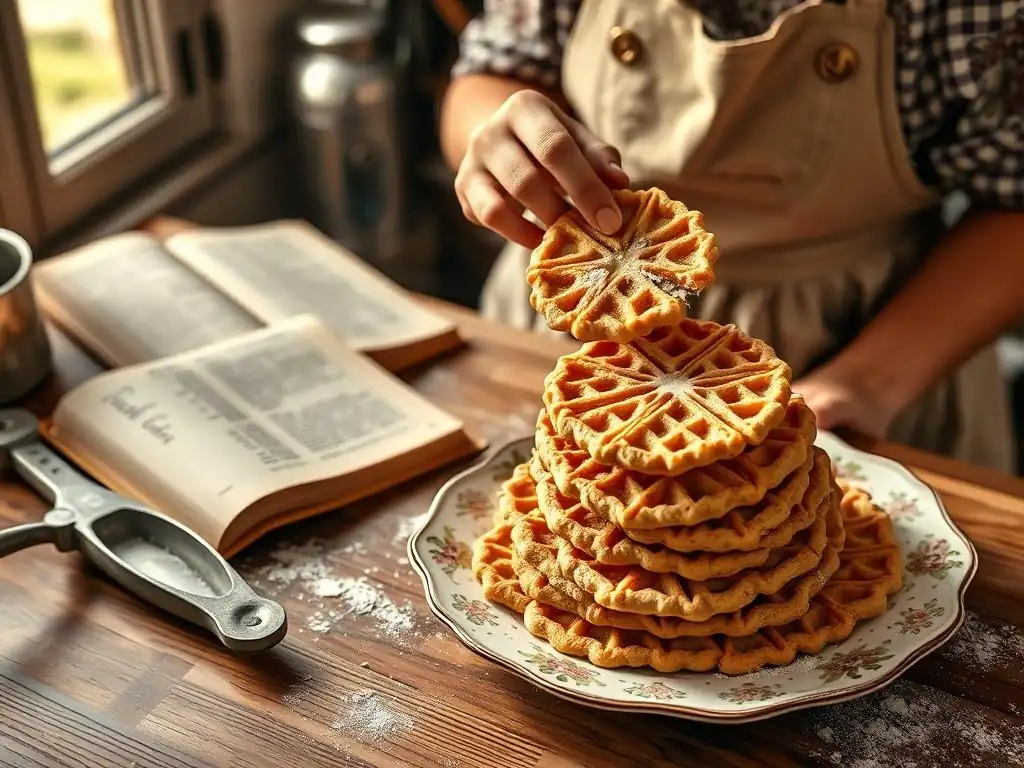
Pizzelle are wonderful enjoyed simply on their own. The most traditional way to serve them is plain, allowing the flavor (anise, vanilla, etc.) and the delicate, crisp texture to be the star. Often, they are stacked high on a plate, showcasing their beautiful patterns. A light dusting of powdered sugar is also a common and elegant finishing touch.
At Italian celebrations, pizzelle are frequently served alongside other traditional cookies and pastries. They pair beautifully with a cup of coffee, espresso, or a sweet dessert wine like Vin Santo. Their light texture makes them a perfect ending to a meal without being overly heavy. Presenting them stacked is a classic visual element of serving homemade pizzelle.
Creative Pizzelle Toppings and Fillings
While delicious plain, pizzelle can also be enhanced with various toppings and fillings. One popular method is to sandwich two pizzelle together with a filling like cannoli cream, ricotta cream, or even Nutella. This creates a delightful cookie sandwich. Ensure the pizzelle are completely cool and crisp before adding any filling to prevent them from becoming soggy.
Alternatively, you can use pizzelle as edible scoops for dips like chocolate fondue or fruit salsas. For a simple yet decadent treat, dip half of a cooled pizzelle in melted chocolate (milk, dark, or white) and sprinkle with nuts, sprinkles, or sea salt before the chocolate sets. These easy pizzelle recipe instructions provide a canvas for your culinary creativity.
Pizzelle as a Dessert Element: Incorporating into Other Recipes
Pizzelle's crisp texture and beautiful shape make them excellent components in other desserts. They can be gently broken into pieces and used as a crunchy topping for ice cream, yogurt, or puddings, similar to waffle cones. Their delicate nature adds an elegant touch to plated desserts.
Another classic use is to shape the hot pizzelle into cones or tubes before they cool. This allows them to be filled with creams, fruits, or whipped cream, creating miniature edible containers. You can even use crumbled pizzelle as a base for a no-bake pie crust. These applications showcase the versatility of the simple pizzelle recipe beyond just a standalone cookie.
Pizzelle Recipe Summary: Easy Reference Guide
Quick Recap of the Pizzelle Recipe
This easy pizzelle recipe provides a straightforward path to baking these classic Italian cookies. The process involves creaming eggs and sugar, adding melted butter and flavorings (like anise or vanilla), incorporating dry ingredients (flour, baking powder, salt) to form a smooth batter, and then baking spoonfuls of batter in a preheated pizzelle iron. The key steps are proper batter consistency, adequate iron preheating and greasing, and careful baking until golden brown.
After baking, immediately transfer the hot pizzelle to a wire rack to cool completely and crisp up before storing them in an airtight container. This simple pizzelle recipe focuses on ease of execution without sacrificing authentic texture and taste. Following these easy pizzelle recipe instructions will help you achieve consistent, delicious results batch after batch.
Essential Tips for Perfect Pizzelle Every Time
- Measure Accurately: Especially flour, use the spoon-and-level method for consistent batter thickness.
- Don't Overmix: Mix the batter just until the dry ingredients are incorporated to avoid tough cookies.
- Preheat Thoroughly: A hot iron is crucial for crispness and preventing sticking. Wait for the indicator light.
- Grease Regularly: Even non-stick irons benefit from a light greasing every few cookies.
- Use the Right Amount of Batter: Start with 1 tablespoon per mold and adjust. Too much causes overflow; too little results in incomplete patterns.
- Bake Until Golden: Aim for an even golden-brown color across the entire cookie for maximum crispness.
- Cool Completely: Always cool pizzelle in a single layer on a wire rack before stacking or storing.
- Store Properly: Use an airtight container at room temperature to maintain crispness.
By following these easy pizzelle recipe instructions and tips, you'll be well on your way to baking perfect pizzelle every time. Enjoy the process and the delicious rewards!
Frequently Asked Questions
How do I know when my pizzelle iron is hot enough?
A good indicator is when a drop of water sizzles and evaporates almost immediately upon contact. You can also test with a small amount of batter; if it cooks and turns golden brown within the recommended time, it's ready.
What can I do if my pizzelles are sticking to the iron?
Ensure your pizzelle iron is properly seasoned before the first use. You can also lightly grease the iron with a non-stick cooking spray between batches, although too much can cause excessive browning.
Can I use a different type of flour for this easy pizzelle recipe?
While all-purpose flour is recommended for the best texture, you can experiment with gluten-free flour blends. However, you may need to adjust the liquid in the recipe to achieve the correct batter consistency.
How long do pizzelles last, and how should I store them?
Pizzelles are best enjoyed fresh, but they can be stored in an airtight container at room temperature for up to a week. They will become softer over time.
What variations can I make to this easy pizzelle recipe?
You can add a variety of flavorings, such as anise extract, vanilla extract, or lemon zest. You can also dust them with powdered sugar after baking for added sweetness.
Final Reflection: The Sweet Simplicity of Perfect Pizzelles
The pursuit of the perfect pizzelle, a seemingly simple endeavor, reflects our deeper human desire for mastery and connection. From the precise measurements to the delicate dance of the iron, creating these crisp, delicate cookies is a journey that transcends mere baking; it's a testament to the power of patience and attention to detail. The ease of this method, however, shouldn't diminish the satisfaction of achieving that perfectly golden-brown, subtly sweet result.
The enduring appeal of pizzelle lies not only in their delicious taste, but also in their ability to evoke memories and forge new traditions. They are a bridge between generations, a culinary heirloom passed down through families, each bite carrying the weight of shared experiences and cherished moments. Food is symbolic of love when words are inadequate.
– Alan D. Wolfelt. This quote perfectly encapsulates the emotional resonance of baking and sharing these little cookies. The simple act of creating something beautiful and delicious can bring immense joy, fostering a sense of community and connection.
Now, I invite you to step away from the screen, gather your ingredients, and embark on your own pizzelle journey. Don't be afraid to experiment, to adjust the recipe to your liking, and most importantly, to savor the process. The perfect pizzelle isn't just about the final product; it's about the journey, the memories made, and the love shared in the making and the eating. So, preheat your iron, gather your loved ones, and let the sweet aroma of perfectly baked pizzelle fill your home with warmth and happiness.
Unleash Your Inner Pizzelle Pro!
Thanks for joining us on this delicious journey into the world of perfect pizzelles! We hope you've gained the confidence to tackle this classic treat with ease. Now it's time to put your new skills to the test!
- Bake a batch of pizzelles using our easy method – and wow your friends and family! Experiment with different flavors and toppings.
- Share your pizzelle creations on social media and tag us @BakeWithEase – we’d love to see your masterpieces!
- Try adapting the recipe to make other delicious treats using your pizzelle iron! What other fun shapes or flavors can you create?
Ready to become a pizzelle master? What innovative twist will you add to your next batch?