
Understanding Your Stand Mixer's Speed Settings: What to Use When

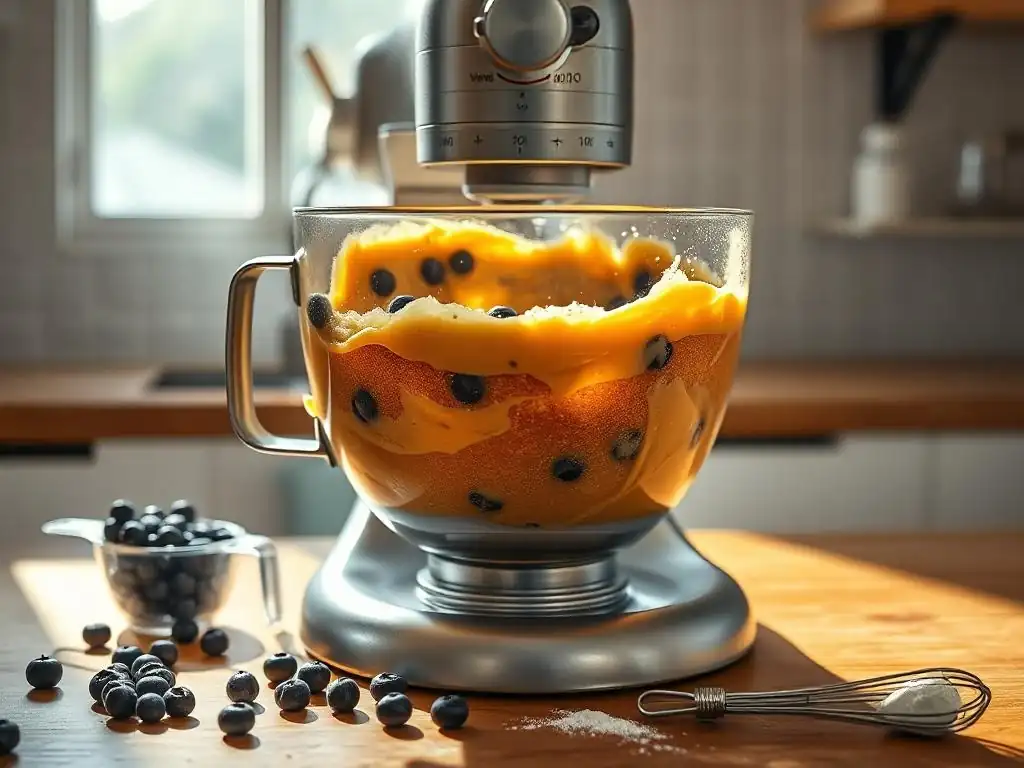
Welcome to BakeWithEase, your trusted companion in the delicious world of baking! Ever wondered if you're truly unlocking your stand mixer's full potential? This guide dives deep into understanding your stand mixer's speed settings, revealing exactly what each setting is best for. Discover the secrets to perfectly whipped cream, flawlessly kneaded dough, and so much more. Are you ready to elevate your baking game? Let's explore!
- Mastering Stand Mixer Speeds for Baking Success
- A Guide to Stand Mixer Speed Control
- Stand Mixer Speeds and Attachments
- Mastering Stand Mixer Speed for Baking Tasks
- Tips for Optimizing Stand Mixer Speed
- Troubleshooting Stand Mixer Speed Issues
- Beyond the Basics: Advanced Techniques
- Conclusion: Mastering Your Stand Mixer
-
Frequently Asked Questions
- What is the purpose of having different speed settings on a stand mixer?
- How do I know which speed setting to use for a particular recipe step?
- What happens if I use too high of a speed when I should be using a low speed?
- Can I use a stand mixer for tasks that require very low speeds, like kneading dough gently?
- Are stand mixer speed settings universal across all brands and models?
- Final Reflection: Mastering the Art of Stand Mixer Speed
- Unlock Your Mixer's Full Potential!
Mastering Stand Mixer Speeds for Baking Success
A Guide to Stand Mixer Speed Control
Why Understanding Stand Mixer Speed Settings Matters
Knowing the best stand mixer speed settings for different tasks is fundamental to achieving consistent and successful baking results. Using the wrong speed can lead to tough bread dough, deflated meringues, or overmixed cake batter, ruining the texture and structure you worked hard to build. Different ingredients and techniques require precise control over the mixing process, and your stand mixer's speed dial is your primary tool for this control.
Furthermore, understanding the specific speeds recommended in recipes—often indicated by numbers from 1 to 10 or descriptive terms like "stir," "whip," or "knead"—ensures you are following the instructions accurately. This precision is particularly important when dealing with delicate ingredients or when developing gluten in bread dough, where slight variations in speed can significantly impact the final product's quality. Mastering these settings is a key step in elevating your baking from simply following instructions to truly understanding the 'why' behind each step.
Common Stand Mixer Speed Settings and Their Uses
Most stand mixers come equipped with a range of speeds, typically from 1 (very low) to 10 (very high), sometimes with a 'stir' or 'fold' setting below 1. The lowest speeds, often Speed 1 or Speed 2, are ideal for gently combining ingredients without splashing, such as incorporating flour into wet ingredients, or for starting to mix heavy doughs before increasing speed. These initial low speeds help prevent a flour cloud from erupting from the bowl!
Mid-range speeds, like Speed 4 to Speed 6, are commonly used for creaming butter and sugar, mixing cake or cookie batters, or mashing potatoes if your mixer has that capability. This range provides enough power to thoroughly combine ingredients and build structure without overworking the mixture too quickly. Higher speeds, typically Speed 8 to Speed 10, are reserved for tasks requiring significant aeration or whipping, such as beating egg whites into stiff peaks or whipping heavy cream into a fluffy topping. Choosing the best stand mixer speed settings from this range depends on the volume and type of mixture.
Stand Mixer Speeds and Attachments
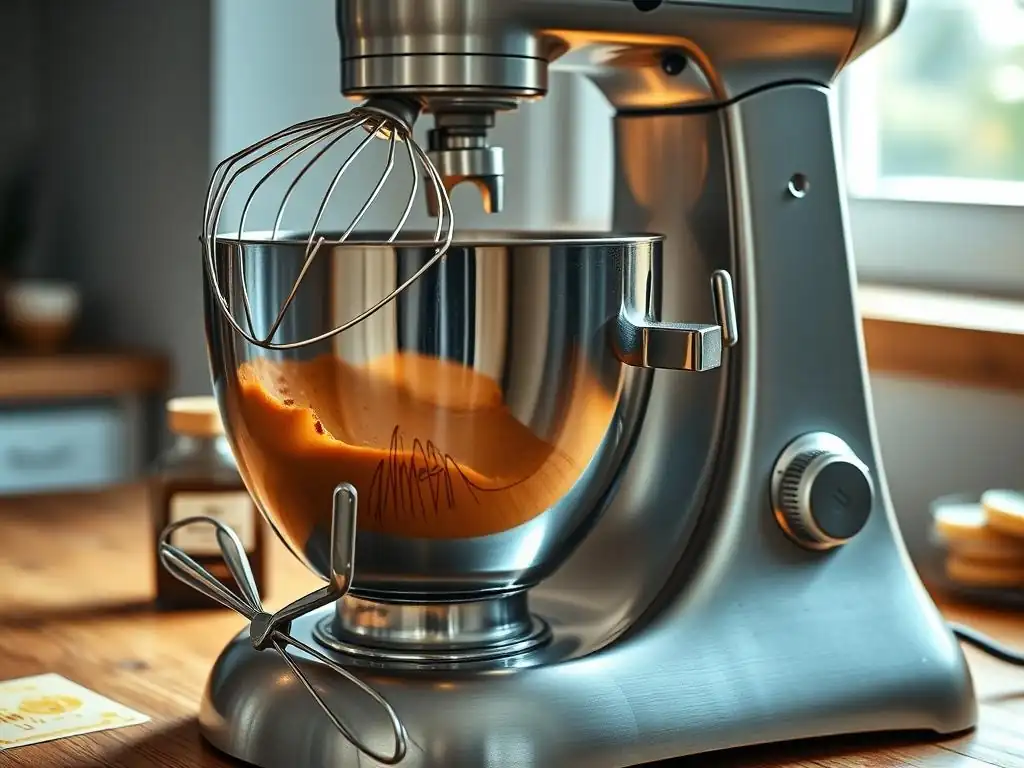
Stand Mixer Speed Chart
Understanding how speeds correlate with common tasks is key to utilizing your stand mixer effectively. While specific speeds can vary slightly by model, a general chart provides a helpful guideline for the best stand mixer speed settings with different attachments.
| Speed Setting | Typical Use | Common Attachment(s) | Notes |
|---|---|---|---|
| Stir / 1 | Combining dry/wet, starting heavy mixtures | Paddle, Dough Hook | Prevents splashing, gentle incorporation |
| 2 | Slow mixing, kneading dough | Paddle, Dough Hook | Primary speed for kneading most bread doughs |
| 3 | Mixing thicker batters | Paddle | Good for combining ingredients in stiffer cookie doughs |
| 4 - 6 | Creaming, mixing cake batters, mashing | Paddle | Versatile range for general mixing, building structure |
| 7 - 8 | Whipping cream, light batters | Whisk, Paddle | Incorporating air, high-speed mixing for lighter tasks |
| 9 - 10 | Whipping egg whites, achieving stiff peaks | Whisk | Maximum aeration for meringues, stable whipped cream |
This chart serves as a starting point for finding the best stand mixer speed settings for your recipes. Always consult your mixer's manual and specific recipe instructions, as they may suggest slightly different speeds based on the volume or type of ingredients.
Using the Right Speed for Different Attachments
Each stand mixer attachment is designed for specific tasks, and pairing it with the correct speed setting is crucial for optimal results and to prevent damage to your mixer. Using the dough hook at high speeds intended for the whisk, for example, can strain the motor. Conversely, trying to whip cream with a paddle attachment on low speed will simply not achieve the desired volume or texture.
The paddle attachment is the most versatile, used for everything from stirring to creaming. The dough hook is specifically for kneading yeast doughs, and it operates most efficiently at low to medium-low speeds. The whisk attachment is designed for incorporating air into mixtures and should primarily be used at medium-high to high speeds. Understanding these basic relationships is fundamental to mastering the best stand mixer speed settings for your baking.
Dough Hook Speed Settings: Bread Making
When using the dough hook for kneading bread dough, the best stand mixer speed settings are typically low, usually Speed 2. Starting on Speed 1 can help bring the shaggy mass together without splashing flour everywhere. Once the dough starts to form a ball, increasing to Speed 2 provides the optimal balance of power and control for developing gluten. Kneading dough at speeds higher than Speed 2 or Speed 3 is generally not recommended; it can overheat the dough, strain the mixer's motor, and potentially overwork the gluten, resulting in tough bread.
A typical recipe might call for kneading on Speed 2 for 6 to 10 minutes. During this time, the dough should transition from sticking to the sides of the bowl to clearing the sides and gathering around the hook. Observing the dough's texture and behavior is just as important as the clock time; you're looking for a smooth, elastic dough that passes the windowpane test.
Paddle Attachment Speed Settings: Cakes and Cookies
The paddle attachment is your workhorse for most batters. For creaming butter and sugar, a medium speed, often Speed 4 or Speed 6, is ideal. This allows the sugar crystals to cut into the butter, creating air pockets essential for light and fluffy cakes and cookies. Creaming typically takes 3 to 5 minutes, or until the mixture is noticeably lighter in color and fluffy in texture.
When adding dry ingredients like flour, reduce the speed to the lowest setting ( Speed 1 or Stir). This prevents the gluten from developing excessively (which can make cakes tough) and minimizes the risk of flour flying out of the bowl. Mix only until the flour is just incorporated, which usually takes only 30 to 60 seconds. Overmixing batters with the paddle, especially at higher speeds, is a common mistake that can lead to dense or tough baked goods.
Whisk Attachment Speed Settings: Meringues and Whipped Cream
The whisk attachment excels at incorporating large amounts of air into liquid mixtures. For whipping egg whites into meringue, start on a medium-low speed ( Speed 4) until the whites become foamy, then gradually increase the speed to high ( Speed 8 or Speed 10). This gradual increase helps build a stable foam structure. Whipping egg whites to stiff, glossy peaks can take anywhere from 5 to 8 minutes on high speed, depending on the quantity and ambient conditions.
Similarly, for whipping heavy cream, begin on a medium speed ( Speed 6) until the cream starts to thicken, then increase to medium-high ( Speed 7 or Speed 8). High speeds ( Speed 9 or Speed 10) can quickly turn cream into butter if you're not careful. Watch the cream closely; it typically takes 2 to 4 minutes to reach stiff peaks, depending on the volume. Stopping at the right moment is key to achieving perfectly whipped cream without curdling.
Mastering Stand Mixer Speed for Baking Tasks
Speed for Kneading Dough: Gluten Development
Developing gluten is the goal when kneading yeast dough, and using the correct stand mixer speed is paramount. As mentioned, Speed 2 is generally considered the optimal speed for most home stand mixers when using the dough hook. This speed provides enough friction and movement to align the gluten proteins into a strong network without generating excessive heat or overworking the dough prematurely.
Kneading on Speed 2 for the recommended time (often 6-10 minutes) allows the gluten to develop gradually, resulting in an elastic dough that stretches without tearing. Over-kneading, especially at higher speeds, can break down the gluten structure, leading to a dense loaf. Under-kneading, on the other hand, results in a weak structure that won't trap gasses effectively, leading to a flat loaf with a tight crumb. Finding the best stand mixer speed settings and time for your specific dough is a skill honed with practice.
Speed for Creaming Butter and Sugar: Light and Fluffy Results
The creaming process, using the paddle attachment on a medium speed (typically Speed 4 to Speed 6), is critical for incorporating air into batters. As the paddle beats the mixture, the sharp edges of the sugar crystals cut into the softened butter, creating tiny air pockets. These air pockets expand during baking, contributing to the cake's or cookie's rise and tender texture.
Creaming should continue until the mixture is pale yellow and significantly increased in volume and fluffiness. This usually takes 3-5 minutes. If the mixture is cold or the speed is too low, the air pockets won't form effectively. If the speed is too high, the butter can melt, causing the air pockets to collapse. Achieving the perfect creamed mixture is a foundational step that highlights the importance of the best stand mixer speed settings for this task.
Speed for Mixing Batters: Avoiding Overmixing
Once the wet ingredients and creamed mixture are combined, adding dry ingredients requires a delicate touch to avoid overdeveloping gluten. For most cake and muffin batters, the best stand mixer speed setting is the lowest one ( Speed 1 or Stir) when incorporating flour. Mix only until the dry ingredients are just combined and no streaks of flour remain. This usually takes less than a minute.
Overmixing develops gluten, which is desirable in bread but detrimental in cakes and muffins, leading to a tough texture. Some recipes might call for slightly higher speeds for short bursts when adding eggs or liquids, but the final incorporation of flour should almost always be on low speed. Understanding when to switch to the lowest speed is a key aspect of using your stand mixer effectively.
Whipping Egg Whites: Stiff Peaks
Whipping egg whites into stiff, stable peaks requires high speed and the whisk attachment. Start at a medium-low speed ( Speed 4) to break up the whites, then increase gradually to high ( Speed 8 or Speed 10). High speed is necessary to rapidly incorporate air and create a strong protein network that can hold its structure.
Whipping too slowly will take an excessively long time and may not achieve maximum volume. Whipping too quickly from the start can create large, unstable bubbles that collapse easily. Achieving stiff peaks means the whites are glossy, hold their shape firmly, and do not slide when the bowl is inverted (caution advised!). This high-speed process is a prime example of using the best stand mixer speed settings for maximum aeration.
Tips for Optimizing Stand Mixer Speed
Recognizing Overmixing or Undermixing
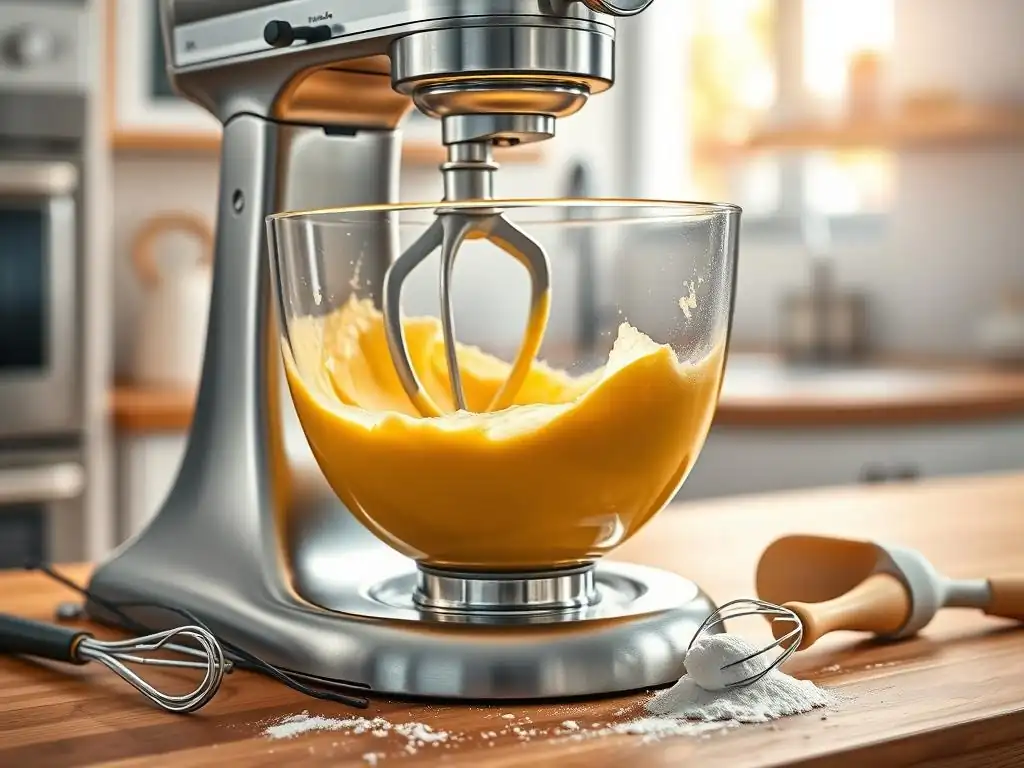
One of the most valuable skills in baking is learning to read your dough or batter to know if it's mixed correctly, regardless of the clock time or speed setting. Undermixed cake batter might have streaks of flour or sugar, resulting in uneven texture. Overmixed cake batter can look dull or stringy and will bake up tough. Undermixed bread dough will be shaggy and tear easily, while overmixed dough can become slack or even soupy.
For bread dough, the windowpane test is a reliable indicator of proper gluten development. For batters, look for a smooth, uniform consistency without visible dry spots or excessive elasticity. Pay attention to the visual cues and texture changes rather than relying solely on prescribed times and speeds. Practice helps you recognize the signs of perfectly mixed ingredients, allowing you to adjust the best stand mixer speed settings or time as needed.
Adjusting Speed Based on Ingredient Consistency
The required speed can sometimes depend on the temperature and consistency of your ingredients. For instance, if your butter is slightly colder than ideal for creaming, you might need to cream for a bit longer or start at a slightly lower speed before increasing. Very thick doughs might require starting at Speed 1 for longer before moving to Speed 2.
Conversely, if you are working with a very small batch of egg whites, they may whip up faster than a large batch, requiring you to reach high speed sooner and watch more carefully to avoid over-whipping. Being mindful of the initial state of your ingredients allows you to make small adjustments to the recommended best stand mixer speed settings and mixing time.
Speed and Batch Size: Finding the Right Balance
The volume of ingredients in your bowl can also influence the best stand mixer speed settings and mixing time. A very small batch might require slightly lower speeds or shorter mixing times to prevent overworking. For example, whipping a single egg white might take less time on high speed than whipping three.
Conversely, mixing a very large, heavy batch of dough might put more strain on the mixer, and while you still shouldn't exceed Speed 2 for kneading, the mixing time might be slightly longer to ensure even development throughout the large mass. Always stay within your mixer's capacity limits, but be aware that batch size is another variable that might subtly affect the optimal speed and duration.
Troubleshooting Stand Mixer Speed Issues
Stand Mixer Running Too Fast or Too Slow
If your stand mixer seems to be running consistently too fast or too slow compared to its labeled speeds, it might indicate an issue. A mixer running too fast, even on its lowest setting, makes gentle incorporation difficult and increases the risk of overmixing. A mixer running too slow might not provide enough power for tasks like kneading or whipping effectively.
This could be due to internal wear or a calibration issue. Before assuming a problem, double-check that you are using the correct attachment for the task and that the bowl is properly seated. If the issue persists, it might require professional service to recalibrate the motor speed or replace internal components. Using the best stand mixer speed settings is only possible if the mixer is operating correctly.
Calibrating Your Stand Mixer Speed
Some stand mixer models, particularly older or professional ones, may have a way to adjust or calibrate the motor speed. This is usually not a user-adjustable setting and requires opening the machine, which should only be done by someone with technical expertise.
Signs that calibration might be needed include inconsistent speeds, a significant deviation from the expected speed for a given setting (e.g., Speed 2 feels more like Speed 4), or difficulty achieving results that were previously routine (like stiff peaks or well-developed dough). If you suspect a calibration issue is preventing you from utilizing the best stand mixer speed settings, consult your mixer's manual or contact the manufacturer for service options.
Beyond the Basics: Advanced Techniques
Using Pulse Function
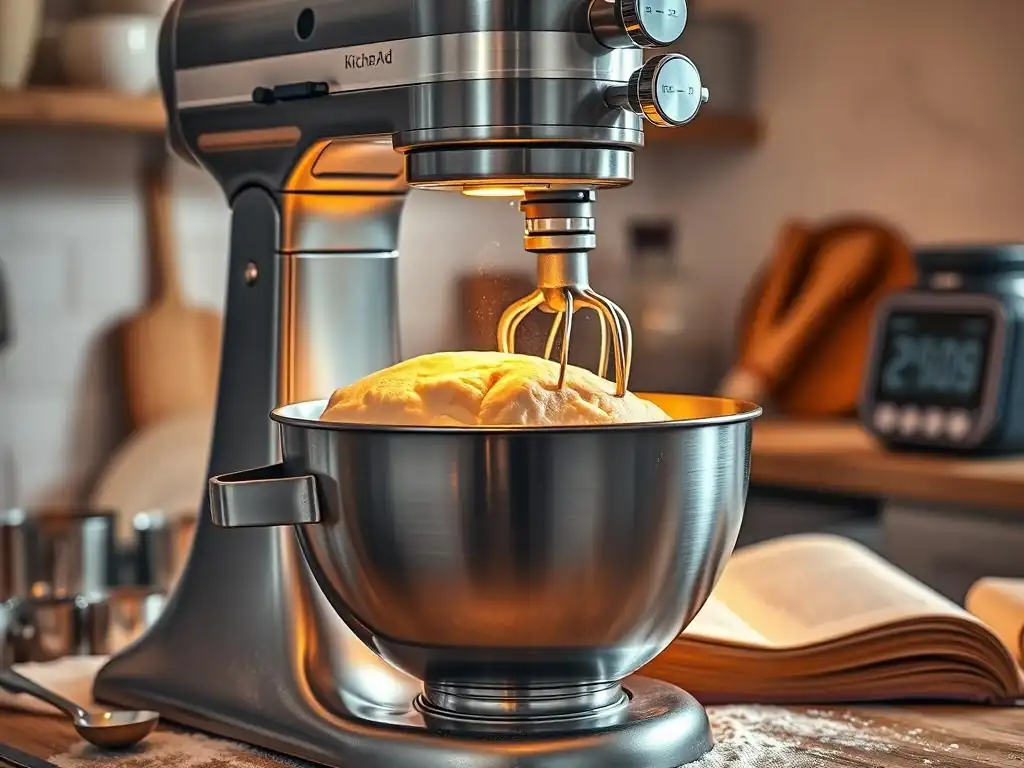
Many stand mixers include a 'pulse' or 'stir' function, often located below Speed 1. This function provides a momentary burst of very low-speed mixing. It's particularly useful for initially combining dry and wet ingredients without creating a cloud of flour, or for gently folding delicate additions like chocolate chips or nuts into a finished batter without crushing them or overmixing.
Think of the pulse function as a manual, very slow stir. It gives you precise control over very short mixing intervals. While not a numbered speed setting, mastering the pulse function is part of understanding how to use the best stand mixer speed settings for specific, gentle actions.
Low Speed Mixing for Delicate Ingredients
Beyond just incorporating flour, low speeds ( Speed 1 or 2) are essential when adding delicate ingredients or when you want to minimize gluten development or aeration. This includes gently folding in whipped cream or meringue into a mousse, adding delicate fruit to a batter, or incorporating melted chocolate.
Using a low speed ensures these additions are evenly distributed without deflating the mixture or causing the batter to toughen. It's about control and finesse, using the mixer's power in its most restrained form to protect the texture you've already built.
High Speed Mixing for Efficiency
While caution is needed with high speeds to avoid overmixing or straining the motor, they are indispensable for tasks requiring rapid aeration or emulsification. Whipping egg whites or cream (as discussed) are prime examples. Another is making certain types of frostings or sauces that require quick, vigorous mixing to emulsify fats and liquids or create a smooth texture.
Using high speed efficiently means knowing when to start, when to stop, and watching the mixture constantly. It's not a set-it-and-forget-it speed. When used correctly for the appropriate task, high speed allows your stand mixer to perform functions that would be very difficult or impossible by hand, showcasing the power available when utilizing the best stand mixer speed settings.
Conclusion: Mastering Your Stand Mixer
Frequently Asked Questions
What is the purpose of having different speed settings on a stand mixer?
Different speeds are designed for different tasks. Low speeds are generally for gentle mixing and incorporating dry ingredients, while higher speeds are for whipping air into mixtures. Using the wrong speed can negatively impact your final product.
How do I know which speed setting to use for a particular recipe step?
Recipes usually specify the speed (low, medium, high), but as a general rule, start low and increase as needed. Look for cues like "cream together" (medium) or "whip until stiff peaks form" (high). Consult your mixer's manual for specific recommendations.
What happens if I use too high of a speed when I should be using a low speed?
Using too high of a speed when a low speed is required can lead to overmixing, which can result in tough or dense baked goods, especially when working with gluten-containing flours. It can also cause ingredients to splatter.
Can I use a stand mixer for tasks that require very low speeds, like kneading dough gently?
Yes, stand mixers often have a very low "stir" or "knead" setting. This setting is ideal for gently combining ingredients or slowly kneading dough without overworking it.
Are stand mixer speed settings universal across all brands and models?
No, speed settings are not universal. While "low," "medium," and "high" are common, the actual RPM (revolutions per minute) can vary. Always refer to your specific stand mixer's manual for the most accurate guidance.
Final Reflection: Mastering the Art of Stand Mixer Speed
Understanding your stand mixer's speed settings isn't just about following a recipe; it's about unlocking the full potential of your kitchen and achieving baking perfection. The seemingly simple dial on your stand mixer holds the key to flawlessly whipped cream, perfectly kneaded dough, and consistently smooth batters. Mastering these speeds transforms a potentially frustrating appliance into a reliable and invaluable kitchen companion.
The impact of understanding these settings extends far beyond the individual baker. It fosters a deeper connection with the process of cooking and baking, encouraging experimentation and a greater appreciation for the nuances of texture and consistency. The best recipes are those that allow for improvisation and creativity, and understanding your tools is the first step towards that freedom.
This quote encapsulates the empowering feeling of truly understanding your equipment, allowing you to confidently adapt recipes and create your own culinary masterpieces.
Now, it's your turn. Take the knowledge gained from this article and apply it to your next baking project. Don't be afraid to experiment with different speeds, observe the changes in your ingredients, and discover the sweet spot for each recipe. Embrace the journey of mastering your stand mixer – the rewards are delicious and the satisfaction immeasurable. Happy baking!
Unlock Your Mixer's Full Potential!
Thanks for diving into the world of stand mixer speed settings! We hope you now feel confident tackling any baking project. Ready to put your newfound knowledge to the test?
- Master your next recipe: Try a new recipe that challenges you to use different mixer speeds—the results will be amazing!
- Share your baking journey: Share your experiences and favorite speed-specific recipes on our social media channels using #BakeWithEaseSpeeds! Let's learn from each other.
- Explore advanced techniques: Consider researching techniques like creaming butter and sugar, or whipping meringue, and how speed impacts the outcome.
So, what delicious creation will you tackle first, and which speed are you most excited to master?