
Bake Authentic French Brioche: A Simple Recipe

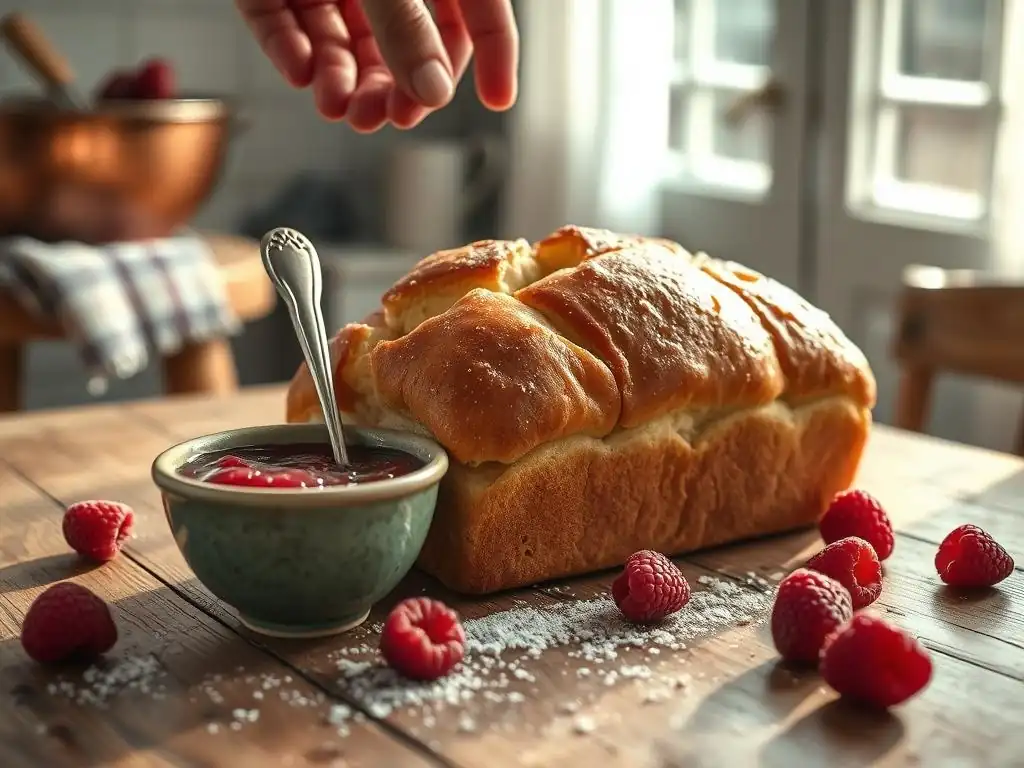
Welcome to BakeWithEase, your guide to unlocking the delicious world of baking! Ever dreamt of crafting that perfect, golden-brown pastry? Then prepare to be amazed. In this article, we'll demystify the process and reveal our secrets to an easy French brioche recipe that will transport your taste buds straight to a Parisian patisserie. Intrigued? Keep reading to discover how simple it is to bake authentic brioche at home!
- Introduction to Authentic French Brioche Baking
- Essential Ingredients for Your Homemade Brioche
- Step-by-Step Guide to Making Easy French Brioche
- Tips and Tricks for Baking the Best Brioche at Home
- Serving Suggestions for Your Delicious Brioche
- Conclusion: Mastering the Art of Brioche Baking with Ease
-
Frequently Asked Questions
- What makes this brioche recipe "easy" compared to other brioche recipes?
- What are the key ingredients that make brioche different from regular bread?
- Can I use a stand mixer, or is this recipe designed for hand kneading?
- What can I do if my brioche dough seems too sticky?
- How do I know when my brioche is fully baked?
- Final Reflection: The Enduring Allure of Simple Pleasures
- Unleash Your Inner Boulanger: Bake Brioche Today!
Introduction to Authentic French Brioche Baking
What Makes Brioche Special? Understanding the Enriched Dough
Brioche stands apart from standard bread doughs primarily due to its high enrichment. Unlike lean doughs made with just flour, water, yeast, and salt, brioche incorporates significant amounts of butter, eggs, and milk. This addition of fats and proteins results in a dough that is exceptionally rich, tender, and flavorful. The process of incorporating these ingredients, especially the large quantity of butter, requires specific techniques like intensive kneading to develop the gluten structure sufficiently to support the heavy load of enrichments, leading to a unique texture that is both soft and slightly dense, with a beautiful, almost cake-like crumb.
The generous use of butter, often comprising 50% or more of the flour weight in classic versions, is a defining characteristic. This fat coats the gluten strands, inhibiting their full development compared to lean doughs, which contributes to the tender crumb. The eggs add richness, color, and act as a leavening agent, while milk provides hydration and a slightly sweet flavor. This combination of ingredients and the specific handling techniques create a bread that is much more akin to a pastry than a typical loaf, perfect for sweet or savory applications.
Why This Easy Brioche Recipe is Perfect for Beginners
Embarking on baking traditional French pastries might seem daunting, but this easy French brioche recipe simplifies the process without sacrificing authenticity. We've streamlined certain steps and focused on clear, achievable instructions that make it accessible even if you've never worked with enriched dough before. The ingredient list uses readily available items, and the techniques are broken down into manageable stages, from mixing to kneading and shaping.
This guide minimizes common pitfalls by providing specific visual cues and timing approximations. For instance, we'll detail what the dough should look and feel like after kneading and during its rises, giving you confidence at each step. By following this straightforward approach, you'll gain valuable experience working with a rich dough and achieve a delicious, golden brioche loaf that tastes like it came from a Parisian boulangerie, proving that baking an authentic French brioche doesn't have to be complicated.
Essential Ingredients for Your Homemade Brioche
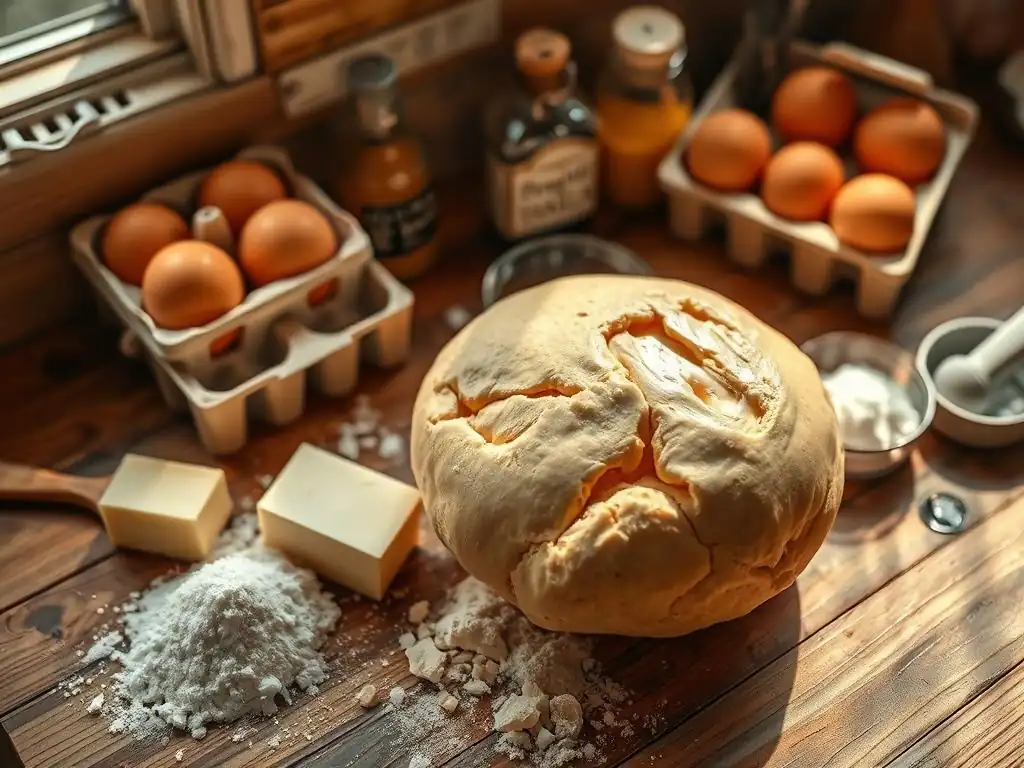
High-Quality Flour: The Foundation of a Great Brioche
Choosing the right flour is crucial for achieving the desired texture in your easy French brioche recipe. A medium-protein bread flour, typically containing around 11-12% protein, is often recommended. This protein content allows for sufficient gluten development, which is necessary to create a strong network capable of holding the high amount of fat and liquid in the dough. While all-purpose flour (around 10-11% protein) can work, it might result in a slightly less structured crumb. Look for unbleached varieties, as they tend to have better flavor and performance.
Using a digital scale to measure your flour by weight is highly recommended for accuracy. A difference of just a few grams can significantly impact the hydration and consistency of the dough. For example, 300 grams of flour is a precise amount, whereas a cup measure can vary widely depending on how the flour is scooped and leveled, potentially adding an extra 20-30 grams. Precise measurement ensures your dough reaches the correct consistency for optimal kneading and rising.
The Importance of Butter in Brioche Dough
Butter is arguably the most important ingredient in brioche, contributing significantly to its flavor, richness, and tender crumb. For the best results in your easy brioche recipe, use unsalted butter with a high fat content, ideally around 82%. Using unsalted butter allows you to control the salt level precisely, which is important for flavor balance and yeast activity. The high fat content ensures maximum richness and contributes to the characteristic golden color and melt-in-your-mouth texture.
The state of the butter when added to the dough is also critical. It should be very cold and cut into small cubes. This cold butter is gradually incorporated into the dough during the kneading process. As the dough is kneaded, the butter pieces are dispersed and eventually emulsified, creating layers within the dough. This technique, similar to making puff pastry or pie crust, contributes to the tender, flaky-like structure of the finished brioche, preventing it from becoming too dense despite its richness.
Sugar and Yeast: Balancing Sweetness and Rise
Sugar in brioche serves multiple purposes beyond just providing sweetness. It feeds the yeast, helping it to produce carbon dioxide gas for leavening. Sugar also contributes to the browning of the crust during baking through the Maillard reaction and caramelization, giving the brioche its appealing golden-brown exterior. Furthermore, sugar helps to keep the finished bread moist and extends its shelf life. The amount of sugar can vary, but a typical easy French brioche recipe might use around 50-70 grams of granulated sugar per 300-400 grams of flour.
Yeast is the leavening agent that makes brioche light and airy despite its richness. Instant dry yeast or active dry yeast can be used. If using active dry yeast, it requires proofing in warm liquid (around 105-115°F or 40-46°C) before adding to the dry ingredients to ensure it's active.
Instant dry yeast can often be added directly to the dry ingredients. The amount of yeast used will influence the rise time; typically, around 7-10 grams of dry yeast per 300-400 grams of flour is sufficient for a standard rise time of 1-2 hours for the first proof. Ensure your yeast is fresh by checking the expiration date.
Other Key Ingredients: Eggs, Milk, and Salt
Eggs are another vital component, adding richness, color, and structure. They contribute proteins that strengthen the dough and fats that tenderize it. Eggs also act as a natural emulsifier, helping to bind the fats and liquids together. Using large eggs is standard in most recipes; a typical easy brioche recipe might call for 2-3 large eggs per batch. The yolks contribute more richness and color, while the whites add structure.
Milk provides hydration and helps create a soft crumb. Whole milk is often preferred for its fat content, which adds to the overall richness of the brioche. It should be warmed slightly (lukewarm, around 90-100°F or 32-38°C) if using active dry yeast to help activate it, but not too hot, as excessive heat can kill the yeast. Salt is essential for flavor balance and also plays a role in controlling yeast activity and strengthening the gluten structure. Using fine sea salt or table salt is fine, typically around 6-8 grams per 300-400 grams of flour.
Step-by-Step Guide to Making Easy French Brioche
Preparing the Brioche Dough: A Detailed Walkthrough
Step 1: Activating the Yeast for Optimal Rise
Begin by preparing your yeast. If using active dry yeast, gently warm the milk to lukewarm (about 105-115°F or 40-46°C). Pour the warm milk into a small bowl, sprinkle the active dry yeast and a pinch of sugar over the top. Let it sit for 5-10 minutes until it becomes foamy and bubbly. This indicates the yeast is alive and active. If using instant dry yeast, you can skip this step and mix it directly with the dry ingredients in Step 2, as it doesn't require proofing.
Step 2: Combining Dry Ingredients: Flour and Sugar
In a large mixing bowl (or the bowl of a stand mixer fitted with the dough hook), whisk together the high-quality bread flour, granulated sugar, and salt. Ensure these dry ingredients are well combined before adding any wet components. This helps distribute the salt and sugar evenly throughout the dough.
Step 3: Incorporating Wet Ingredients: Eggs and Milk
If you activated active dry yeast in Step 1, add the foamy milk mixture to the dry ingredients. If using instant dry yeast, add the lukewarm milk directly to the dry ingredients along with the yeast. Crack the eggs into a separate bowl and lightly beat them, then add the beaten eggs to the mixing bowl.
Step 4: The Key to Success: Kneading the Brioche Dough
This is where the stand mixer truly shines, though hand kneading is possible (it just requires more effort and time, potentially 20-30 minutes). With the dough hook attached, start mixing on low speed to bring the ingredients together. Once a shaggy dough forms, increase the speed to medium-low. You will need to add the cold, cubed butter gradually, a few cubes at a time, allowing each addition to be mostly incorporated before adding more.
This process can take 10-15 minutes. Continue kneading until the dough is smooth, elastic, and passes the windowpane test – you can stretch a small piece of dough thin enough to see light through it without tearing. The dough will be soft and slightly sticky due to the high butter content.
Step 5: First Rise: Achieving the Perfect Dough Texture
Shape the well-kneaded dough into a ball. Place it in a lightly greased bowl, turning to coat. Cover the bowl tightly with plastic wrap or a clean kitchen towel. The first rise, also known as the bulk fermentation, should ideally happen in a warm place, around 75-80°F (24-27°C).
Allow the dough to rise until it has doubled in size, which typically takes 1.5 to 2.5 hours, depending on the temperature and yeast activity. Alternatively, and for a more developed flavor, you can perform a slow, cold fermentation in the refrigerator overnight (8-12 hours). The cold rise yields a richer flavor and is often easier to handle.
Shaping and Baking Your Brioche Loaf
Step 6: Gently Deflating the Dough and Shaping
After the first rise (or the cold rise), gently punch down the dough to release the air. Turn the dough out onto a lightly floured surface. At this point, the dough should be much easier to handle, especially if it had a cold rise.
You can shape the dough into a single loaf, smaller rolls, or the traditional brioche à tête (head). For a simple loaf, gently pat the dough into a rectangle, then fold it in thirds like a letter, and finally roll it up tightly from one end to the other. Pinch the seam closed and tuck the ends under.
Step 7: Second Rise: Patience is Key
Place the shaped dough into a greased loaf pan or onto a baking sheet lined with parchment paper, depending on the shape. Cover the dough loosely with plastic wrap or a light kitchen towel. Allow the dough to rise again in a warm place until it has nearly doubled in size and looks puffy. This second rise (proof) usually takes 45 minutes to 1.5 hours. Be careful not to over-proof, as this can lead to a collapsed loaf in the oven.
Step 8: Egg Wash for a Golden Crust
Towards the end of the second rise, preheat your oven to 350°F (175°C). In a small bowl, whisk together one egg with a tablespoon of milk or water. This mixture is your egg wash. Gently brush the top and sides of the proofed brioche dough with the egg wash. This step is crucial for achieving that beautiful, shiny, deep golden-brown crust characteristic of authentic French brioche.
Step 9: Baking to Perfection: Time and Temperature
Carefully place the pan or baking sheet with the egg-washed brioche into the preheated oven. Bake for 30-40 minutes for a standard loaf size, or until the brioche is deep golden brown and sounds hollow when tapped on the bottom. An internal temperature of 190-200°F (88-93°C) indicates it is fully baked. If the top starts browning too quickly, you can loosely tent it with aluminum foil. Once baked, remove the brioche from the oven and let it cool in the pan for a few minutes before transferring it to a wire rack to cool completely.
Tips and Tricks for Baking the Best Brioche at Home
Troubleshooting Common Brioche Baking Problems
Dough Not Rising? Potential Causes and Solutions
One of the most frustrating issues when baking an easy French brioche recipe is a dough that doesn't rise. The most common culprit is inactive or dead yeast. Ensure your yeast is fresh and stored properly (cool, dry place; opened packages in the fridge or freezer). If using active dry yeast, always proof it first in warm (not hot!)
liquid to check its viability before adding it to the rest of the ingredients. Another factor is temperature; yeast is sensitive to cold. Ensure your rising environment is adequately warm, ideally between 75-80°F (24-27°C). A slightly warm oven (turned off, with the light on) or a proofing box can help.
Over-kneading or under-kneading can also inhibit rise. Under-kneaded dough won't develop enough gluten structure to trap the gases produced by the yeast. Over-kneaded dough can become too tight and resistant. Ensure you knead until the dough passes the windowpane test but is still pliable. Finally, too much salt or adding salt directly on top of the yeast can kill it; make sure salt is mixed into the flour before adding liquids and yeast. If your dough hasn't risen after the usual time, give it more time in a warmer spot.
Brioche Too Dense? How to Achieve a Light and Airy Texture
A dense brioche often results from insufficient rising time or improper kneading. Ensure both the first and second rises are allowed to complete fully. The dough should significantly increase in volume (double or nearly double) before shaping and again before baking. Rushing these stages is a primary cause of density. Also, overworking the dough during shaping can knock out too much air; handle the dough gently after the first rise.
Another factor contributing to density is the balance of ingredients. Too much flour or not enough liquid/fat can create a stiff dough that struggles to rise. Precise measurement, especially of flour by weight, is essential for this easy brioche recipe. Ensure your butter is properly incorporated during kneading; large chunks of unincorporated butter can interfere with gluten development and result in a heavy, dense crumb.
Preventing a Dry Brioche: Moisture Management
Dry brioche can be caused by several factors, including using too much flour, under-kneading, or over-baking. As mentioned, measure flour accurately, preferably by weight. The dough should be soft and slightly sticky after kneading, not stiff. Kneading develops gluten, which helps the dough retain moisture. If the dough is under-kneaded, it might feel dry.
Over-baking is a frequent cause of dry bread. Use an oven thermometer to ensure your oven temperature is accurate, as oven thermostats can be off by 25°F (around 15°C) or more. Bake the brioche until it's golden brown and sounds hollow, or check the internal temperature with an instant-read thermometer (190-200°F or 88-93°C). Baking just to the point of doneness is key to retaining moisture. Proper storage after baking (see below) also helps prevent drying out.
Variations on the Classic Brioche Recipe
Chocolate Chip Brioche: A Sweet Twist
Adding chocolate chips is a delightful way to adapt this easy French brioche recipe. Simply fold in about 100-150 grams of good-quality chocolate chips (dark, milk, or a mix) during the final stages of kneading or just before the first rise. Be careful not to over-mix once the chips are added, as this can break them up and streak the dough. Shape and bake as usual. The chocolate will melt slightly during baking, creating pockets of gooey richness within the tender brioche crumb, perfect for a sweet breakfast or dessert.
Savory Brioche: Adding Herbs and Cheese
Brioche isn't just for sweet applications; it makes a fantastic base for savory additions. To make a savory brioche, slightly reduce the amount of sugar in the recipe (perhaps to 20-30 grams) and increase the salt slightly (to 8-10 grams). Fold in ingredients like chopped fresh herbs (rosemary, thyme, chives), grated hard cheese (Parmesan, Gruyère), or even finely chopped cooked bacon or caramelized onions during the final kneading stage. This savory easy brioche recipe is wonderful served with soups, stews, or simply enjoyed on its own.
Storing Your Freshly Baked Brioche
Once your delicious easy French brioche has cooled completely on a wire rack, it's best enjoyed fresh within a day or two. For short-term storage (1-3 days), wrap the cooled brioche tightly in plastic wrap or store it in an airtight container at room temperature. This helps prevent it from drying out. Avoid storing it in the refrigerator, as this can actually make bread stale faster.
For longer storage, brioche freezes exceptionally well. Slice the cooled loaf or freeze it whole. Wrap it tightly in plastic wrap, then in aluminum foil or place it in a freezer-safe bag. Frozen brioche can last for up to 2-3 months. To thaw, unwrap and let it sit at room temperature or gently warm slices in a toaster or oven.
Serving Suggestions for Your Delicious Brioche
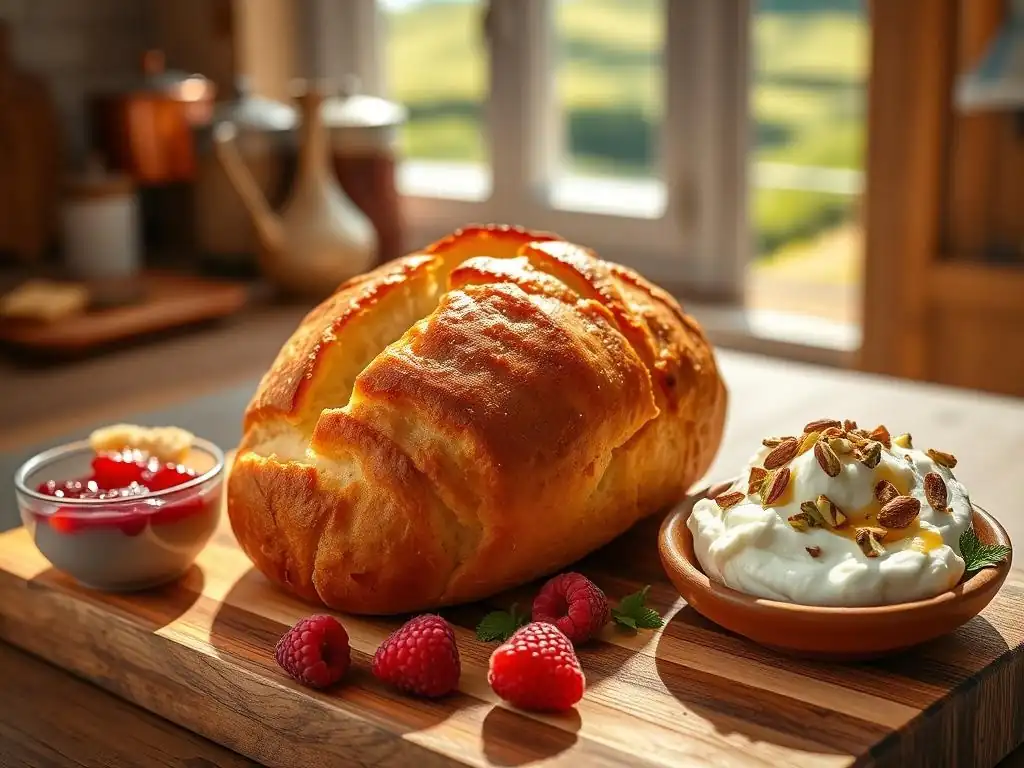
Enjoying Brioche for Breakfast, Brunch, or Dessert
The versatility of this easy French brioche recipe means it can be enjoyed at any time of day. For breakfast, serve slices lightly toasted with butter and jam, or alongside eggs and bacon. Its rich flavor pairs beautifully with coffee or tea. For brunch, it's the perfect base for sweet or savory toppings. As a dessert, a slice of brioche with fresh berries and whipped cream or a drizzle of chocolate sauce is simple yet elegant.
Brioche French Toast: An Indulgent Treat
Brioche makes the most luxurious French toast imaginable. Its rich, tender crumb absorbs the egg mixture beautifully, resulting in slices that are incredibly soft on the inside with a perfectly golden, slightly crispy exterior. Dip thick slices of your homemade easy brioche recipe into a mixture of eggs, milk or cream, sugar, vanilla, and a pinch of cinnamon. Cook on a buttered griddle or pan until golden brown on both sides. Serve with maple syrup, powdered sugar, or fresh fruit for an unforgettable breakfast or brunch.
Brioche Bread Pudding: A Comforting Classic
Leftover brioche (if there is any!) is ideal for making a rich and comforting bread pudding. The slightly stale bread absorbs the custard base exceptionally well, leading to a wonderfully moist and flavorful dessert. Tear or cube the brioche and soak it in a mixture of milk, cream, eggs, sugar, and flavorings like vanilla or cinnamon. Bake until set and golden brown. A batch using about 300-400 grams of brioche and roughly 500ml of liquid base can yield a substantial pudding perfect for sharing.
Conclusion: Mastering the Art of Brioche Baking with Ease
Embrace the Simplicity of This French Brioche Recipe
You've now navigated the steps to create a beautiful, authentic French brioche right in your own kitchen. This easy French brioche recipe demonstrates that achieving bakery-quality results is well within reach for home bakers of all levels. By understanding the role of each ingredient and handling the dough with care during kneading and rising, you've unlocked the secrets to this classic enriched bread. The process, while requiring attention to detail, is incredibly rewarding, culminating in a loaf that is far superior in flavor and texture to anything store-bought.
The satisfaction of pulling a golden, fragrant brioche from your oven is immense. This simple French brioche serves as a versatile foundation, ready to be enjoyed in myriad ways, from a simple slice with butter to decadent French toast or bread pudding. Don't be intimidated by enriched doughs; this easy brioche recipe is designed to build your confidence and prove that mastering French baking classics is achievable and enjoyable.
We love seeing what our community bakes! Your success with this easy French brioche recipe is our success. We encourage you to share photos of your finished brioche loaf, your French toast creations, or any variations you've tried. Connecting with other bakers and celebrating these delicious achievements is what BakeWithEase is all about. Keep practicing, keep experimenting, and most importantly, keep baking with ease!
Frequently Asked Questions
What makes this brioche recipe "easy" compared to other brioche recipes?
This recipe focuses on simplified steps and readily available ingredients, avoiding complex techniques often found in traditional brioche recipes. We also provide clear, concise instructions to minimize confusion.
What are the key ingredients that make brioche different from regular bread?
The significant difference lies in the high butter and egg content. These ingredients enrich the dough, giving brioche its characteristic tender crumb and rich flavor.
Can I use a stand mixer, or is this recipe designed for hand kneading?
While hand kneading is possible, a stand mixer is highly recommended for achieving the best results. It ensures the dough is properly developed and that the butter is fully incorporated.
What can I do if my brioche dough seems too sticky?
A sticky dough is common with brioche due to the high butter content. Try refrigerating the dough for a short period to firm it up. Lightly flouring your hands and work surface will also help during shaping.
How do I know when my brioche is fully baked?
The brioche should be a deep golden brown color. An internal temperature of 190-200°F (88-93°C) indicates that it is fully baked. You can also tap the bottom; it should sound hollow.
Final Reflection: The Enduring Allure of Simple Pleasures
The art of baking, particularly the creation of something as seemingly complex as French brioche, is more accessible than many believe. Mastering this classic pastry isn't about achieving unattainable perfection; it's about embracing the process and savoring the simple pleasures found in creating something delicious from scratch. This recipe, designed for ease of use, proves that even the most sophisticated treats can be within everyone's reach.
The enduring appeal of French brioche lies not just in its rich, buttery flavor, but in its ability to connect us to a culinary heritage and a slower pace of life. It's a reminder to take our time, appreciate the details, and find joy in the tactile experience of kneading dough and the comforting aroma filling the kitchen. The best things in life are simple,
a sentiment perfectly embodied in this humble yet magnificent bread. This recipe, I hope, has helped you experience that simplicity and the profound satisfaction it brings.
Now, I invite you to roll up your sleeves, gather your ingredients, and embark on your own brioche baking adventure. Don't be intimidated by the process; embrace the imperfections, celebrate the successes, and most importantly, enjoy the journey. The taste of freshly baked brioche, warm from the oven, is a reward in itself, a testament to your effort and a delicious reminder that even the simplest acts can bring immense joy. So, what are you waiting for? Let the baking begin!
Unleash Your Inner Boulanger: Bake Brioche Today!
Thanks for joining us on this delicious journey into the world of French brioche! We hope you’ve gained the confidence to tackle this seemingly complex treat. Now it's time to put your newfound skills to the test.
- Bake your own masterpiece! Gather your ingredients and follow the recipe – the aroma alone will be worth it!
- Share your baking triumph! Snap a photo of your golden-brown brioche and share it on social media – tag us @BakeWithEase (fictional social media handle) so we can admire your creation.
- Challenge yourself with variations! Experiment with different additions like chocolate chips, raisins, or even a subtle hint of orange zest.
Ready to experience the pure joy of homemade brioche? What unique twist will you add to your first batch?