
Why Your Rustic Bread Crust Isn't Crispy (And How to Fix It)

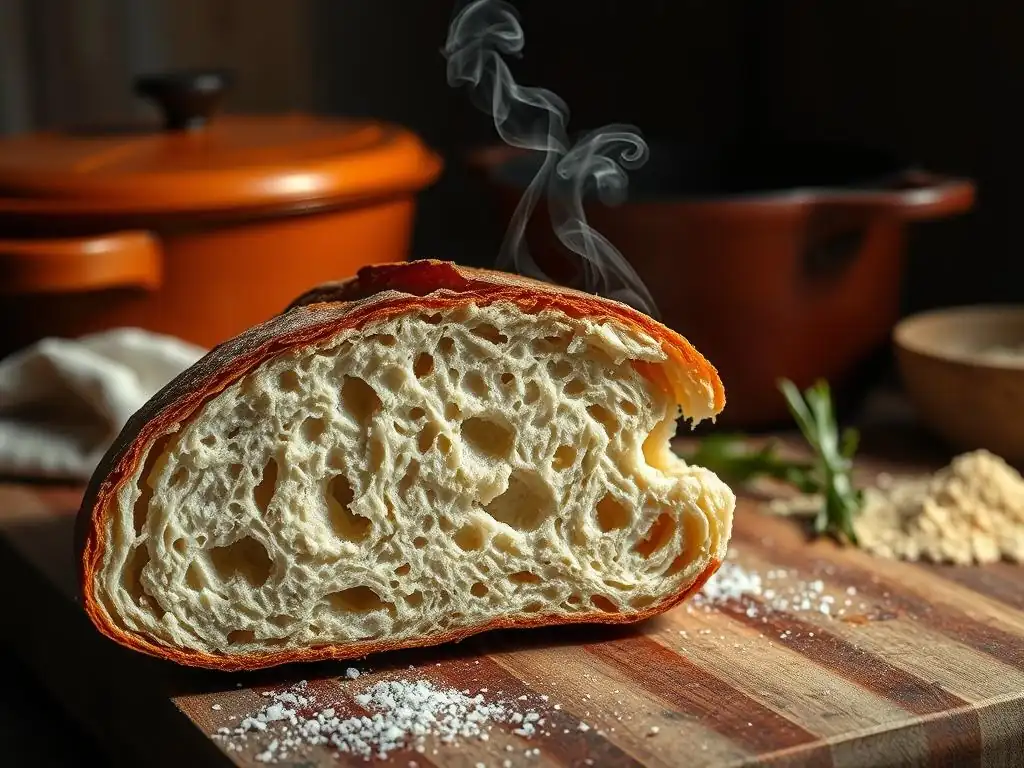
Welcome to BakeWithEase, your guide to baking brilliance! Ever dreamt of that perfect, artisan loaf, but struggle to achieve that desirable crispy rustic bread crust? Unlocking the secret to a truly crackling crust is simpler than you think. Dive into our guide to discover the common pitfalls and easy techniques that will transform your baking and leave you with irresistible, bakery-worthy bread, every single time. Intrigued? Let's get started!
- Why Your Sourdough Crust Isn't Crispy (And How to Fix It)
- Introduction: The Quest for the Perfect Crispy Sourdough Crust
- Understanding the Science Behind a Crispy Crust
- Common Reasons for a Soggy or Soft Sourdough Crust
-
Troubleshooting Your Sourdough Baking Technique
- Checking and Calibrating Your Oven Temperature for a Crispy Crust
- Mastering the Art of Proofing: Avoiding Over-Proofing
- Steam Injection Techniques for a Superb Crust: Achieving the Right Balance
- Achieving the Perfect Bake Time: Visual and Internal Temperature Clues
- Proper Cooling Methods for Maintaining Crispness
- Advanced Techniques for a Superior Crispy Sourdough Crust
- Recipes for Sourdough with a Guaranteed Crispy Crust
- Conclusion: Enjoy Your Perfectly Crispy Sourdough!
-
Frequently Asked Questions
- Why is my rustic bread crust not crispy, even when I follow the recipe?
- What's the best way to create steam in my home oven for a crispy crust?
- What oven temperature is ideal for achieving a crispy rustic bread crust?
- How long should I bake my rustic bread to ensure a crispy crust?
- What ingredients or techniques can I use to enhance the crispiness of my rustic bread crust?
- Final Reflection: The Pursuit of the Perfect Crust
- Unlock Your Crispiest Crust Yet!
Why Your Sourdough Crust Isn't Crispy (And How to Fix It)
Introduction: The Quest for the Perfect Crispy Sourdough Crust
Ah, the sound of a perfectly baked loaf – that satisfying crackle as you slice into a crispy rustic bread crust. It's the hallmark of a successful bake and often the goal for home bakers tackling sourdough. Achieving that ideal texture isn't always straightforward; many bakers encounter the frustrating issue of a beautiful loaf emerging from the oven, only for its crust to soften or become rubbery as it cools.
Getting that coveted crispy rustic bread crust involves understanding a few key principles of baking science and mastering specific techniques. It's a journey that combines heat, moisture, and dough development in just the right way. Don't worry if your crust hasn't been perfect yet; with a little knowledge and practice, you can consistently achieve that delightful crunch that makes rustic bread so irresistible.
Understanding the Science Behind a Crispy Crust
The Role of Starch Gelatinization in Crust Formation
When you bake bread, one of the first things that happens is the gelatinization of starch. As the dough heats up, the starch granules in the flour absorb water and swell. At temperatures typically above 140°F (around 60°C), these swollen granules burst, releasing starch molecules that form a gel-like network. This process is crucial for setting the structure of the crumb, but it also plays a role in the crust.
As the outer layer of the dough reaches higher temperatures and loses moisture through evaporation, this gelatinized starch network dries out and hardens. This hardened layer forms the initial structure of the crust. Without proper gelatinization and subsequent drying, the crust would remain soft and doughy instead of developing into a firm, crispy shell.
How Gluten Network Strength Affects Crust Crispness
The strength of the gluten network, developed through mixing, kneading, and fermentation, is fundamental to the structure of your rustic bread, including the crust. A well-developed gluten network provides the framework that traps gases produced during fermentation, leading to good oven spring. This expansion is vital because it stretches the outer layer of dough thinly.
A thin, well-supported outer layer is more likely to dry out and crisp up properly during baking than a thick, dense one. If the gluten network is weak due to insufficient development or over-fermentation, the loaf won't achieve good oven spring, resulting in a denser structure. This density can hinder proper moisture evaporation from the crust during the later stages of baking, leading to a less crispy or even soft crust.
Moisture's Impact: Evaporation and the Maillard Reaction
Moisture management is perhaps the most critical factor for achieving a crispy rustic bread crust. During the initial phase of baking, steam in the oven keeps the surface of the dough moist and pliable, allowing it to expand fully without cracking prematurely. This steam also helps keep the surface temperature lower initially, which promotes starch gelatinization.
As the bake progresses and the steam is removed or dissipates, the surface temperature of the dough increases dramatically. Water evaporates from the crust, causing it to dry out and harden. Simultaneously, the Maillard reaction and caramelization occur, processes that require high heat and dry conditions. These reactions are responsible for the beautiful brown color and complex flavors of the crust, and they are essential for developing that signature crispy texture. If the crust stays too moist for too long, these reactions are inhibited, and the crust remains pale and soft.
Common Reasons for a Soggy or Soft Sourdough Crust
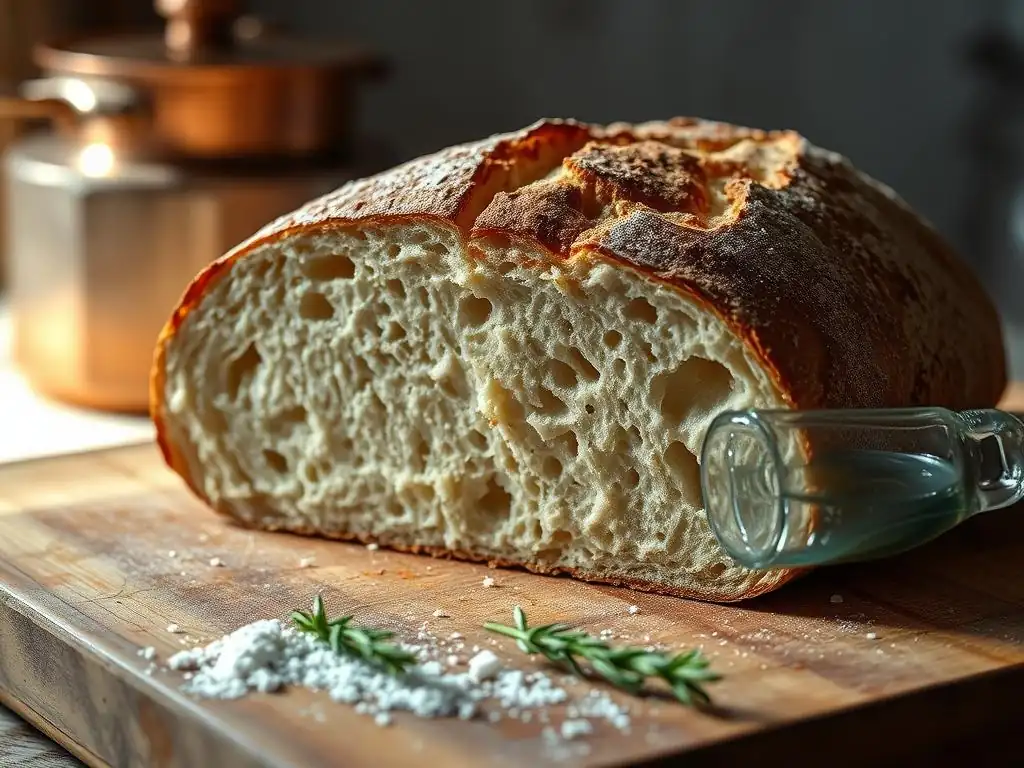
Insufficient Oven Spring: Lack of Initial Expansion
One common culprit for a less-than-crispy crust is insufficient oven spring. Oven spring is the rapid expansion of the dough during the first 10-15 minutes in the hot oven, fueled by trapped gases and steam. If your dough doesn't rise much in the oven, it means the internal structure might be too dense. This density can be caused by an inactive starter, under-proofing, or weak gluten development.
When the loaf doesn't expand properly, the crust remains relatively thick compared to a well-risen loaf. A thicker crust takes longer to dry out and crisp up. Furthermore, a dense crumb retains more moisture, which can migrate to the crust as the bread cools, causing it to soften. Achieving good oven spring is the first step towards a light interior and a potential crispy rustic bread crust.
Over-Proofing: Weakening the Gluten Structure
Proofing is the final rise before baking, and finding the sweet spot is crucial. Over-proofing occurs when the dough ferments for too long or at too warm a temperature, exhausting the available sugars and enzymes. This process also degrades the gluten network, weakening its ability to hold structure and expand in the oven.
An over-proofed loaf often looks puffy but lacks tension. When placed in the oven, it may spread rather than rise upwards, resulting in poor oven spring. The weakened structure cannot support a thin, strong crust, and the excess enzymatic activity can lead to a gummy crumb. This combination of poor structure and potential gumminess makes it very difficult to achieve a truly crispy rustic bread crust that stays crispy.
Too Much Moisture in the Oven: Preventing Crispness
While steam is essential during the initial phase of baking to promote oven spring and a thin crust, too much moisture during the later phase can prevent the crust from crisping up. Steam keeps the surface temperature below the point needed for significant Maillard reactions and drying. If your oven retains too much moisture throughout the entire bake, or if you add steam for too long, the crust will remain pale and soft.
This is particularly true in home ovens, which can sometimes trap moisture effectively. Even if your loaf has good oven spring and a well-developed gluten network, excessive humidity surrounding the bread as it bakes will inhibit the necessary drying and browning processes required for a crispy rustic bread crust. The crust needs a period of dry, high heat to properly harden.
Incorrect Baking Time: Underbaked Interior
Underbaking is another frequent cause of a soft or soggy crust. If you pull your loaf out of the oven too early, the interior may seem done, but it still contains a significant amount of residual moisture. As the bread cools, this trapped moisture seeks equilibrium and migrates outwards, moving from the wetter crumb towards the drier crust.
This migration of moisture directly rehydrates the crust, turning that potentially crispy shell soft and sometimes even rubbery. Ensuring your loaf is baked through is paramount. While the exterior might look done, the internal temperature is the real indicator of whether enough moisture has evaporated from the crumb to prevent it from compromising the crust later.
Cooling the Bread Incorrectly: Condensation Issues
Even if you've baked your rustic bread to perfection with a beautiful crispy crust, improper cooling can ruin everything. Placing a hot loaf directly onto a solid surface, like a countertop or cutting board, prevents air circulation around the bottom and sides. As the hot bread cools, steam continues to escape from the loaf.
This steam gets trapped between the hot crust and the cool surface, leading to condensation. The bottom crust, in particular, absorbs this condensation and becomes soggy. To maintain that hard-earned crispy rustic bread crust all around the loaf, it's essential to allow air to circulate freely during the cooling process.
Troubleshooting Your Sourdough Baking Technique
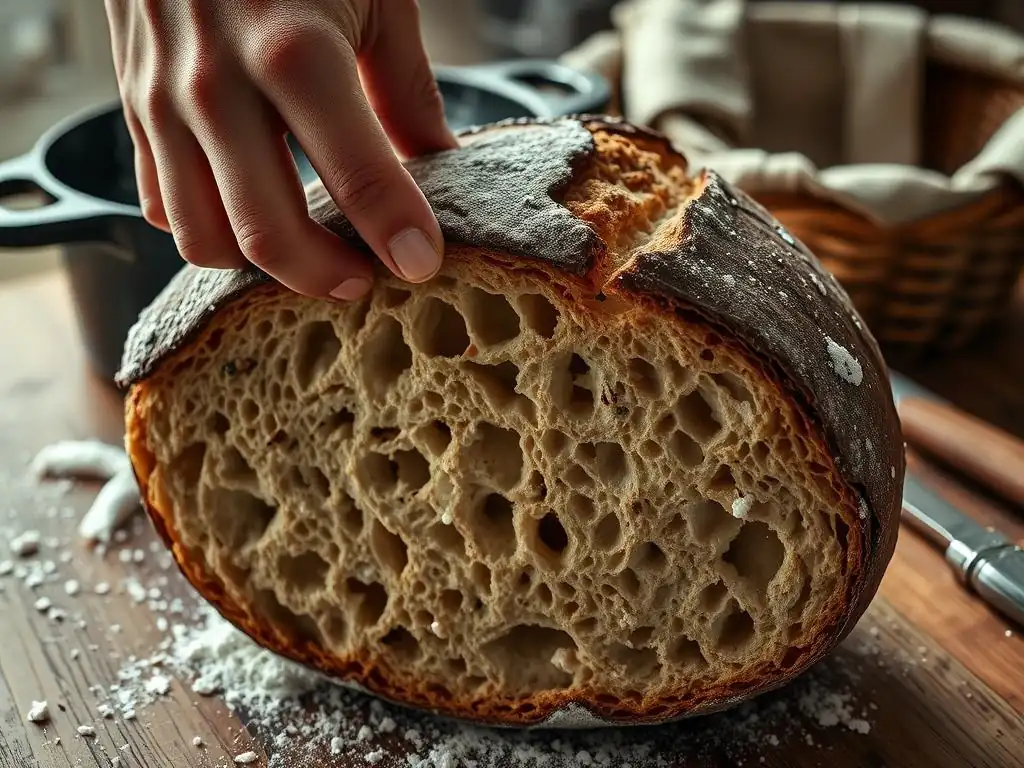
Checking and Calibrating Your Oven Temperature for a Crispy Crust
Achieving a truly crispy rustic bread crust starts with a hot oven. Many home ovens are not accurately calibrated, and the temperature displayed might be significantly different from the actual temperature inside. A common issue is the oven not being hot enough, especially during the crucial first phase of baking when oven spring occurs and the initial crust sets.
Using an independent oven thermometer is a simple yet effective step. Place it in your oven and check the temperature after it has preheated for at least 30-60 minutes. You might find your oven is running 25-50°F (roughly 15-30°C) cooler than it indicates. Adjust your oven setting accordingly to ensure you hit the target temperature specified in your recipe, often in the range of 450-500°F (230-260°C) for rustic loaves. Consistent high heat is key to developing a beautiful, crispy crust.
Mastering the Art of Proofing: Avoiding Over-Proofing
Proper proofing is a delicate balance – under-proofing leads to dense loaves, while over-proofing results in weak structure and poor oven spring, both detrimental to a crispy crust. Pay close attention to your dough, as proofing times are merely guidelines; ambient temperature and dough temperature significantly impact how quickly dough proofs.
Learn to rely on indicators of readiness rather than strictly adhering to a clock. A well-proofed dough should be visibly increased in size (often doubled or slightly less for sourdough), feel airy, and pass the poke test. If it springs back immediately when gently poked, it needs more time. If the indentation remains completely, it's likely over-proofed. Aim for a dough that springs back slowly, leaving a small indentation.
Visual Cues for Perfectly Proofed Dough
Observing the dough's appearance is a primary way to gauge proofing progress. Look for a significant increase in volume – typically a 50-100% rise depending on the recipe and fermentation stage. The surface should appear domed and possibly show small bubbles just beneath the surface, indicating gas production.
Another visual cue is the edge of the dough where it meets the container. It should look rounded and full, not tight or stretched. The dough should also jiggle slightly when the container is gently shaken, suggesting a light and airy structure is developing inside.
Steam Injection Techniques for a Superb Crust: Achieving the Right Balance
Steam is your friend during the initial baking phase (the first 15-20 minutes) as it keeps the crust moist and flexible, allowing the loaf to expand fully. Without adequate steam, the crust can set too early, restricting oven spring and potentially leading to cracks or a less impressive rise. The goal is to create a steamy environment when the dough first enters the hot oven.
Once the loaf has achieved its maximum oven spring and the crust has begun to set, the steam needs to be removed or allowed to dissipate. This shift from a moist to a dry environment is crucial for the crust to transition from pliable to crispy. If steam persists throughout the entire bake, the crust will not dry out sufficiently to become crispy.
Creating Steam: Dutch Oven vs. Lava Rocks vs. Spritzing
One of the most popular and effective methods for creating steam at home is baking in a preheated Dutch oven. The heavy pot and lid trap the moisture released by the bread as it bakes, creating a perfectly steamy micro-environment around the loaf. After the initial baking period (typically 20-25 minutes), you remove the lid, allowing the crust to dry out and crisp up in the dry heat.
Other methods include placing a tray of lava rocks or a cast iron pan on the bottom rack of your oven and pouring hot water into it just as you load the bread (use caution with steam!). Spritzing the oven walls with water is less effective as the steam dissipates quickly. Using a Dutch oven is often recommended for beginners due to its ease of use and reliable results for a crispy rustic bread crust.
Achieving the Perfect Bake Time: Visual and Internal Temperature Clues
Judging when your rustic bread is fully baked is essential for preventing a soft crust. A common visual cue is the color of the crust – it should be deeply browned, not just golden. A pale crust often indicates that the bread is underbaked and hasn't spent enough time in the high heat required for the Maillard reaction and moisture evaporation from the surface.
However, relying solely on visual cues can be misleading, as ovens vary. The most reliable method is to check the internal temperature of the loaf. A fully baked rustic loaf, especially sourdough, should register between 200°F and 210°F (93°C to 99°C) in the center.
Using a Thermometer to Ensure a Fully Baked Loaf
An instant-read thermometer is an invaluable tool for ensuring your rustic bread is baked completely through. Insert the probe into the deepest part of the loaf, avoiding any large air pockets. If the temperature is below the target range (200-210°F / 93-99°C), continue baking and check again in 5-10 minute intervals.
Baking to the correct internal temperature ensures that enough moisture has been driven out of the crumb. This minimizes the amount of moisture that will migrate to the crust during cooling, significantly increasing your chances of maintaining a crispy rustic bread crust. It takes the guesswork out of knowing when your loaf is truly done.
Proper Cooling Methods for Maintaining Crispness
Even a perfectly baked loaf with a promising crispy crust can turn soft if cooled improperly. The cooling phase is just as critical as the baking phase for crust development. As the bread cools, moisture continues to escape as steam from the interior.
If this steam is trapped, it will condense on the crust, making it soggy. This is particularly true for the bottom crust when the loaf is placed directly on a flat surface. Proper air circulation is key to allowing this steam to dissipate freely, ensuring the crust remains dry and crispy as it cools.
Wire Rack Cooling: Allowing Air Circulation
The simplest and most effective method for cooling rustic bread is on a wire rack. As soon as the loaf comes out of the oven, transfer it immediately to a cooling rack. Ensure the rack is elevated so air can circulate freely underneath the loaf as well as around the sides and top.
Allow the bread to cool completely on the rack before slicing. For larger rustic loaves, this can take anywhere from 2 to 4 hours. Slicing too early allows steam to escape rapidly from the interior, which can also sometimes affect crust texture, though the primary issue is the trapped condensation from improper cooling. Patience during the cooling phase is rewarded with a truly crispy rustic bread crust.
Advanced Techniques for a Superior Crispy Sourdough Crust
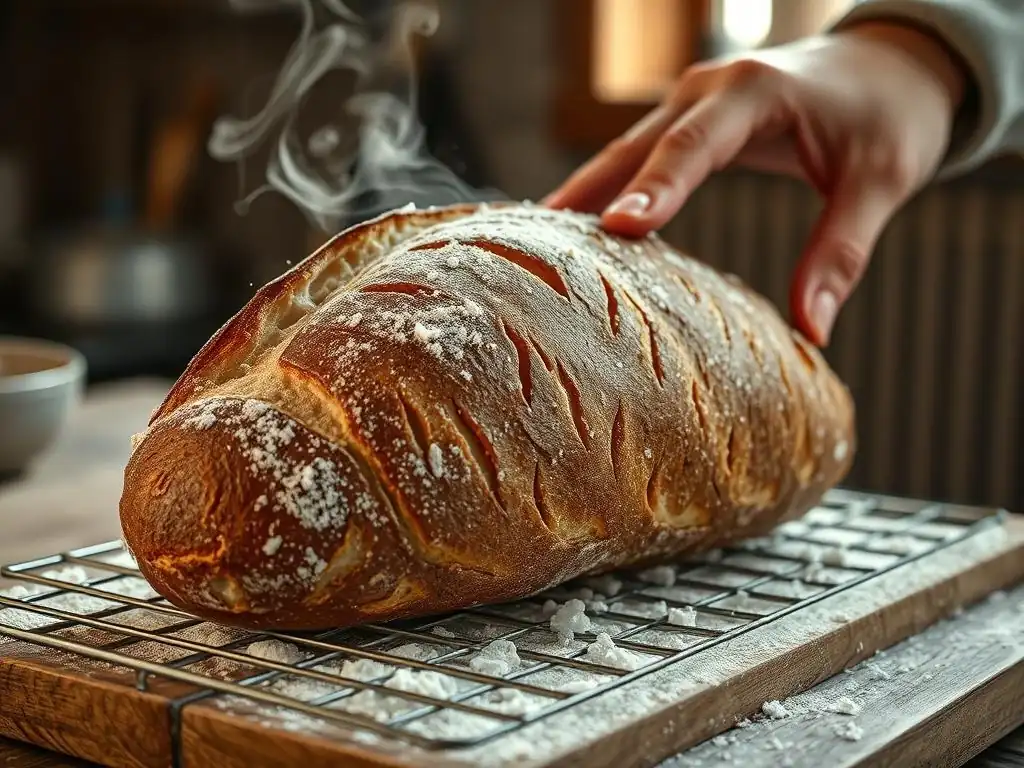
Using a Baking Stone or Steel for Even Heat Distribution
Baking stones and steels are dense materials that absorb and retain heat exceptionally well. When preheated thoroughly in your oven (typically for 30-60 minutes), they provide a very hot surface for your dough to bake on. This thermal mass transfers heat efficiently and evenly to the bottom of the loaf.
This intense heat transfer from the stone or steel helps achieve rapid oven spring and ensures the bottom crust gets just as crispy as the top. It prevents a pale, soft bottom crust, which can be a common issue when baking directly on a baking sheet. Using a stone or steel contributes significantly to an overall crispy rustic bread crust.
The Power of Diastatic Malt Powder in Crust Development
Diastatic malt powder is a natural enzyme-rich supplement that can enhance fermentation and significantly improve crust browning and crispness. It contains enzymes, primarily amylase, that break down starches in the flour into simple sugars. These sugars then become available food for the yeast and bacteria in your sourdough starter, leading to more vigorous fermentation and a better rise.
Crucially for the crust, these extra sugars also contribute directly to the Maillard reaction and caramelization during baking. This results in a deeper, richer brown color and a more pronounced crispy rustic bread crust. Only a tiny amount is needed, typically 0.5% to 1% of the total flour weight (e.g., 5-10 grams per kilogram of flour). Be careful not to use too much, as excessive enzymatic activity can lead to a gummy crumb.
Experimenting with Different Flours for Enhanced Crust Texture
The type of flour you use plays a significant role in the structure and potential crispness of your rustic bread crust. Different flours have varying protein contents and characteristics that affect gluten development and water absorption. Exploring different blends can help you fine-tune your crust texture.
For instance, using a portion of whole wheat flour or rye flour can add depth of flavor and complexity to the crust, and their bran particles can contribute to a slightly different, sometimes more robust, crispy texture compared to using only white flour. However, the protein content of your primary flour is often the most impactful factor for crust strength.
High-Protein Bread Flour: A Game Changer for Crust Crispness
Using a high-protein bread flour (typically 12-14% protein) is often recommended for rustic loaves like sourdough because it helps build a strong, extensible gluten network. A strong gluten network is crucial for achieving good oven spring, as discussed earlier.
A loaf with excellent oven spring develops a relatively thin, well-aerated crust layer. This thinner layer is easier to dry out and crisp up thoroughly during the baking process compared to a thick, dense crust that results from weak gluten and poor rise. Investing in good quality, high-protein bread flour can make a noticeable difference in achieving that sought-after crispy rustic bread crust.
Pre-Heating Your Baking Vessel: Dutch Oven Crispness
When using a Dutch oven or any covered baking vessel, preheating it thoroughly is absolutely non-negotiable for a crispy rustic bread crust. Place the empty Dutch oven (base and lid) in your oven while it preheats and let it heat up for at least 30-60 minutes at your target baking temperature.
Transferring your dough into a screaming hot Dutch oven provides an immediate burst of heat from all sides. This intense heat transfer contributes significantly to oven spring and instantly starts setting the bottom and side crusts. This rapid setting ensures that the crust begins drying out and crisping up from the moment it enters the oven, setting the stage for a successful crispy crust.
Recipes for Sourdough with a Guaranteed Crispy Crust
BakeWithEase Basic Sourdough Recipe for Beginners
This foundational sourdough recipe is designed with simplicity and reliable results in mind, perfect for those new to the sourdough journey but craving a crispy rustic bread crust. It typically involves a moderate hydration level (around 70-75%) which is forgiving yet allows for good dough development.
The focus is on clear steps for mixing, bulk fermentation, shaping, and baking, often recommending the use of a Dutch oven to simplify steam management and ensure excellent initial heat transfer. Following this type of recipe closely, paying attention to proofing cues and baking temperatures, provides a strong starting point for consistently achieving a satisfyingly crispy crust.
High-Hydration Sourdough Recipe with Enhanced Crispness
For bakers looking to push the boundaries and achieve an even more delicate and intensely crispy rustic bread crust, a high-hydration recipe (78-85% hydration or even higher) can be the answer. More water in the dough contributes to a more open, airy crumb structure, which in turn supports a thinner, more fragile crust layer.
These recipes often require more advanced dough handling techniques due to the stickiness of the dough but, when successful, yield loaves with a wonderfully light interior and an exceptionally thin, shattery crust that epitomizes a truly crispy rustic bread crust. Proper shaping and baking with ample steam are critical for success at higher hydrations.
Sourdough Baguette Recipe with Step-by-Step Instructions for a Perfect Crust
Baguettes are the ultimate test of crust development, demanding a thin, blistered, and incredibly crispy exterior. A sourdough baguette recipe specifically focuses on techniques tailored to this shape, including careful shaping to build surface tension and specific baking methods to achieve that characteristic crust.
Baking baguettes often involves steam injection throughout the oven cavity (rather than just a Dutch oven) and baking directly on a hot surface like a stone or steel. The lower dough weight and elongated shape mean they bake faster, requiring precise timing and temperature control to ensure the crust develops fully without the interior drying out too much, resulting in that iconic crispy rustic bread crust.
Conclusion: Enjoy Your Perfectly Crispy Sourdough!
Achieving a consistently crispy rustic bread crust on your sourdough loaves is a rewarding milestone in your baking journey. It's a result of understanding the science behind heat, moisture, and dough structure, and applying proven techniques. From ensuring proper oven temperature and managing steam effectively to mastering proofing and cooling correctly, each step plays a vital role.
Don't be discouraged by less-than-perfect results initially. Baking is a skill honed through practice. By focusing on these key areas – ensuring good oven spring, avoiding over-proofing, managing steam, baking thoroughly to temperature, and cooling properly on a wire rack – you are well on your way to enjoying that delightful crunch every time you slice into your homemade crispy rustic bread crust. Happy baking!
Frequently Asked Questions
Why is my rustic bread crust not crispy, even when I follow the recipe?
The lack of crispiness is often due to insufficient steam during the initial baking phase. Also, the oven temperature may not be high enough, or the bread may not be baked long enough.
What's the best way to create steam in my home oven for a crispy crust?
You can create steam by placing a hot pan of water on the bottom rack of your oven during the first 15-20 minutes of baking. Alternatively, you can use a Dutch oven or a covered baking dish to trap moisture.
What oven temperature is ideal for achieving a crispy rustic bread crust?
Generally, a high oven temperature is crucial, typically between 450°F (232°C) and 500°F (260°C). This intense heat helps to rapidly evaporate moisture from the surface, creating a crisp crust.
How long should I bake my rustic bread to ensure a crispy crust?
Baking time varies depending on the size of the loaf, but it's usually between 30-45 minutes. The crust should be deep golden brown and the internal temperature should reach around 200-210°F (93-99°C).
What ingredients or techniques can I use to enhance the crispiness of my rustic bread crust?
Using bread flour with a high protein content is beneficial. Also, allowing the dough to proof properly and scoring the loaf before baking helps control expansion and contribute to a crispier crust.
Final Reflection: The Pursuit of the Perfect Crust
The quest for a flawlessly crispy rustic bread crust is more than just a culinary pursuit; it's a reflection of our desire for perfection in a world often lacking it. The seemingly simple act of baking bread reveals a complex interplay of factors – hydration, fermentation, oven temperature, and even the type of flour – all impacting the final, crucial element: the crust. This article has explored these intricacies, offering practical solutions to achieve that satisfying crunch.
The pursuit of the perfect crust resonates deeply with our cultural appreciation for artisanal food and the satisfaction of creating something beautiful and delicious from simple ingredients. It's a journey that connects us to ancient traditions and the simple pleasures of life. Bread is the staff of life,
a proverb often repeated, but rarely truly understood until you've wrestled with a doughy loaf and finally achieved that perfect crackle. The journey itself, with its trials and triumphs, is as rewarding as the final product.
Now, consider your own baking journey. What have you learned from this exploration of crust creation? Don't be afraid to experiment, to adjust techniques, and to embrace the imperfections along the way. The next time you pull a loaf from the oven, take a moment to appreciate the artistry involved, the connection to history, and the simple joy of a perfectly crispy crust. The pursuit of perfection is a journey, not a destination, and each loaf baked is a step closer to mastering the art of bread making.
Unlock Your Crispiest Crust Yet!
Thanks for taking the time to explore the secrets of a perfectly crispy rustic bread crust! We hope you gained valuable insights into achieving that satisfying crunch. Ready to put your newfound knowledge to the test?
- Bake your perfect loaf today! Try out the techniques discussed and experience the difference a few small adjustments can make. Don't forget to carefully note your results for future bakes!
- Share your baking journey! Snap a photo of your masterpiece and show us your crisp crust creations on social media using #BakeWithEaseCrispyCrust.
- Explore more advanced bread techniques! Check out our other articles on bread baking for even more tips and tricks to elevate your baking game.
What unique ingredient or technique will you try to enhance your next rustic bread?