
Bake Incredible Whole Wheat Dinner Rolls at Home

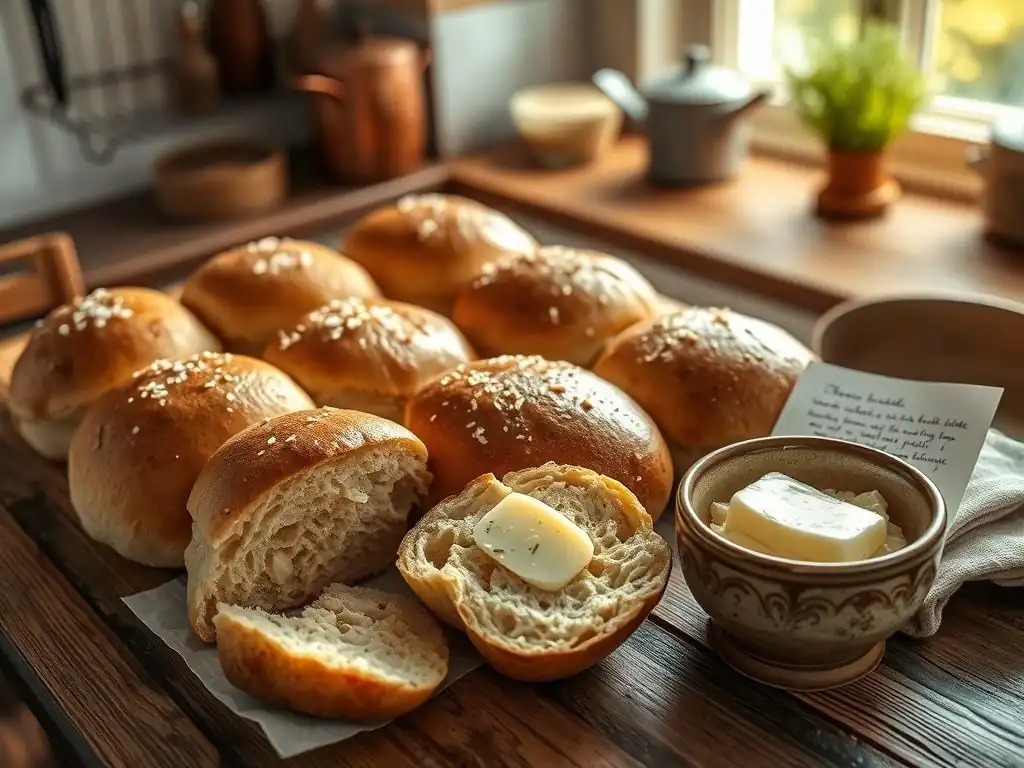
Welcome to BakeWithEase, where the joy of baking becomes effortless! Dive into the delightful world of baking with simplicity as we guide you through the art of creating easy whole wheat dinner rolls that are sure to impress. Whether you're a novice eager to learn or an experienced baker refining your craft, our step-by-step recipe will make your baking experience enjoyable and rewarding. Get ready to unleash your inner baker and discover how simple ingredients can transform into warm, fluffy rolls that elevate any meal. Curious to learn more? Let’s roll up our sleeves and get started!
- Bake Deliciously Soft Whole Wheat Dinner Rolls: An Easy Recipe from Sally's Baking Addiction
- Introduction to Soft Whole Wheat Dinner Rolls
- Mastering the Dough: Ingredients for Perfect Whole Wheat Rolls
-
Step-by-Step Guide to Baking Soft Whole Wheat Dinner Rolls
- Step 1: Activating the Yeast for Optimal Rise
- Step 2: Combining the Wet and Dry Ingredients
- Step 3: Kneading the Dough: Achieving a Smooth and Elastic Texture
- Step 4: First Rise: Letting the Dough Double in Size
- Step 5: Shaping the Dinner Rolls: Techniques for Uniformity
- Step 6: Second Rise: Ensuring a Light and Fluffy Texture
- Step 7: Baking to Golden Perfection: Time and Temperature
- Step 8: Cooling and Serving Your Homemade Rolls
- Tips and Tricks for Baking the Best Whole Wheat Dinner Rolls
- Variations and Adaptations: Exploring Different Flavors
- Storing and Reheating Your Homemade Whole Wheat Rolls
- Enjoy Your Homemade Whole Wheat Dinner Rolls!
-
Frequently Asked Questions
- How difficult is it to make whole wheat dinner rolls from scratch?
- What makes these whole wheat dinner rolls "easy"?
- Can I substitute any ingredients in the whole wheat dinner roll recipe?
- How long does it take to bake whole wheat dinner rolls?
- What's the best way to store leftover whole wheat dinner rolls?
- Final Reflection: The Humble Whole Wheat Roll, A Testament to Home Baking
- Unleash Your Inner Baker: Perfect Whole Wheat Rolls Await!
Bake Deliciously Soft Whole Wheat Dinner Rolls: An Easy Recipe from Sally's Baking Addiction
Introduction to Soft Whole Wheat Dinner Rolls
Why Bake Your Own Whole Wheat Dinner Rolls?
Baking your own easy whole wheat dinner rolls at home offers a truly rewarding experience that goes far beyond just having fresh bread on the table. When you bake homemade whole wheat rolls, you have complete control over the ingredients, ensuring that you're using high-quality flour and avoiding preservatives often found in store-bought varieties.
This control allows you to create rolls that are not only delicious but also tailored to your dietary needs, such as adjusting salt levels or using organic ingredients. The aroma filling your kitchen as these easy whole wheat dinner rolls bake is an incomparable comfort, creating a warm and inviting atmosphere for your family and guests.
Beyond the quality and aroma, baking easy whole wheat dinner rolls from scratch can also be surprisingly economical. A bag of flour, yeast, and a few pantry staples can yield a large batch of rolls for a fraction of the cost of purchasing them pre-made. For example, a typical batch might require about 3-4 cups of whole wheat flour, which costs significantly less than a dozen rolls from a bakery or supermarket.
Furthermore, the process itself is a wonderful activity, whether you're a seasoned baker or just starting out. Following a clear recipe like the one we'll explore helps build confidence in the kitchen and provides a sense of accomplishment when you pull a tray of beautifully golden, soft whole wheat rolls from the oven.
The Sally's Baking Addiction Promise: Foolproof Recipes, Baking Success
Sally's Baking Addiction is renowned for providing reliable, tested recipes that empower home bakers to achieve consistent success. This recipe for easy whole wheat dinner rolls is a prime example of that commitment. Sally's approach often involves clear, step-by-step instructions, detailed explanations of techniques, and helpful tips for troubleshooting common baking issues. This level of detail is invaluable for anyone looking to bake soft, delicious whole wheat rolls, ensuring that even novice bakers can follow along with confidence. The emphasis is on making complex-sounding baking tasks accessible and enjoyable, transforming potentially intimidating processes into manageable steps.
The promise of a foolproof recipe means that the measurements and instructions have been carefully calibrated to yield optimal results. For instance, specific temperature ranges for activating yeast or precise kneading times are provided to guide you towards the perfect dough consistency and rise. This attention to detail minimizes the guesswork and increases your chances of baking tender, fluffy easy whole wheat dinner rolls every time.
By trusting a well-established resource like Sally's Baking Addiction, you benefit from years of recipe development and testing, allowing you to focus on the joy of baking rather than worrying about potential pitfalls. It's about building baking confidence one successful batch of whole wheat rolls at a time.
Mastering the Dough: Ingredients for Perfect Whole Wheat Rolls
High-Quality Whole Wheat Flour: The Foundation of Flavor
Using high-quality whole wheat flour is paramount when baking easy whole wheat dinner rolls. Unlike refined white flour, whole wheat flour includes the bran, germ, and endosperm of the wheat kernel, contributing more fiber, nutrients, and a distinct, slightly nutty flavor. The quality of the flour directly impacts the texture and taste of your final rolls. Look for flour that is freshly milled if possible, as older flour can sometimes affect rise and flavor. Brands known for consistent quality tend to produce better results, ensuring your whole wheat rolls aren't dense or crumbly.
The composition of whole wheat flour also means it absorbs liquid differently than white flour, often requiring slightly more hydration. It contains more protein, which develops gluten structure, but the bran particles can interfere with gluten development, sometimes leading to a slightly heavier loaf if not handled correctly.
This is why recipes for easy whole wheat dinner rolls often include specific liquid ratios and kneading times designed to balance the unique properties of whole wheat flour, helping you achieve a soft, tender crumb despite the higher fiber content. Using the right flour is the first critical step towards baking truly delicious homemade whole wheat rolls.
The Role of Yeast in Light and Airy Rolls
Yeast is the magical ingredient responsible for the rise and airy texture of your easy whole wheat dinner rolls. It's a living microorganism that, when activated by warmth and moisture, consumes sugars and produces carbon dioxide gas. This gas gets trapped within the gluten network of the dough, causing it to expand and rise.
For most home baking, active dry yeast or instant yeast are commonly used. Active dry yeast typically needs to be proofed in warm liquid first (around 105-115°F or 40-46°C), while instant yeast can often be mixed directly with the dry ingredients, as it activates more quickly.
Using the correct amount and ensuring the yeast is active are crucial for baking light and fluffy whole wheat rolls. If your yeast is old or the liquid isn't at the right temperature, it won't activate properly, resulting in dense, flat rolls. A typical recipe for a batch of dinner rolls might use 1 to 2 ¼ teaspoons of yeast.
Proofing active dry yeast involves dissolving it in warm liquid with a pinch of sugar; within 5-10 minutes, it should become foamy and bubbly, indicating it's alive and ready to work. This simple step is vital for successful easy whole wheat dinner rolls.
Sweetness and Softness: Adding Honey
Honey plays a significant role in this recipe for easy whole wheat dinner rolls, contributing both sweetness and helping to achieve a soft texture. As a natural sugar, honey provides food for the yeast, aiding in fermentation and contributing to a good rise. Unlike granulated sugar, honey also helps retain moisture, resulting in rolls that stay soft and fresh for longer. The subtle floral or earthy notes of honey also complement the nutty flavor of whole wheat flour beautifully, adding depth to the overall taste profile of the homemade whole wheat rolls.
The amount of honey used is typically balanced to provide just enough sweetness to enhance the flavor without making the rolls overly dessert-like. A common amount might be 2-3 tablespoons per batch. This level of sweetness is usually preferred for dinner rolls, which are meant to accompany savory meals. Beyond flavor and yeast activity, honey's hygroscopic nature (meaning it attracts and holds moisture) is key to the soft crumb Sally's Baking Addiction recipes are known for. It's an essential component for achieving those wonderfully tender easy whole wheat dinner rolls.
Achieving the Right Texture: Milk and Butter Considerations
Milk and butter are vital for creating tender, rich, and flavorful easy whole wheat dinner rolls. Milk, particularly whole milk, adds richness and helps create a softer crumb compared to using just water. The proteins and fats in milk contribute to the dough's structure and moisture content, resulting in a more tender bite.
Warm milk also helps activate the yeast effectively. The temperature of the milk is important; it should be warm (around 105-115°F or 40-46°C) but not hot, as excessive heat can kill the yeast. Using milk instead of water is a common technique for achieving softer bread products like these homemade whole wheat rolls.
Butter adds richness, flavor, and further contributes to the tender texture of the rolls. Fat inhibits gluten development slightly, which is desirable in soft rolls as it prevents them from becoming tough. Butter also adds moisture and helps the rolls brown nicely in the oven. It's typically added to the dough either melted or softened. Using unsalted butter allows you to control the salt content in the recipe precisely. The combination of warm milk and melted butter creates a moist, pliable dough that is easy to work with and bakes into incredibly soft easy whole wheat dinner rolls.
Step-by-Step Guide to Baking Soft Whole Wheat Dinner Rolls
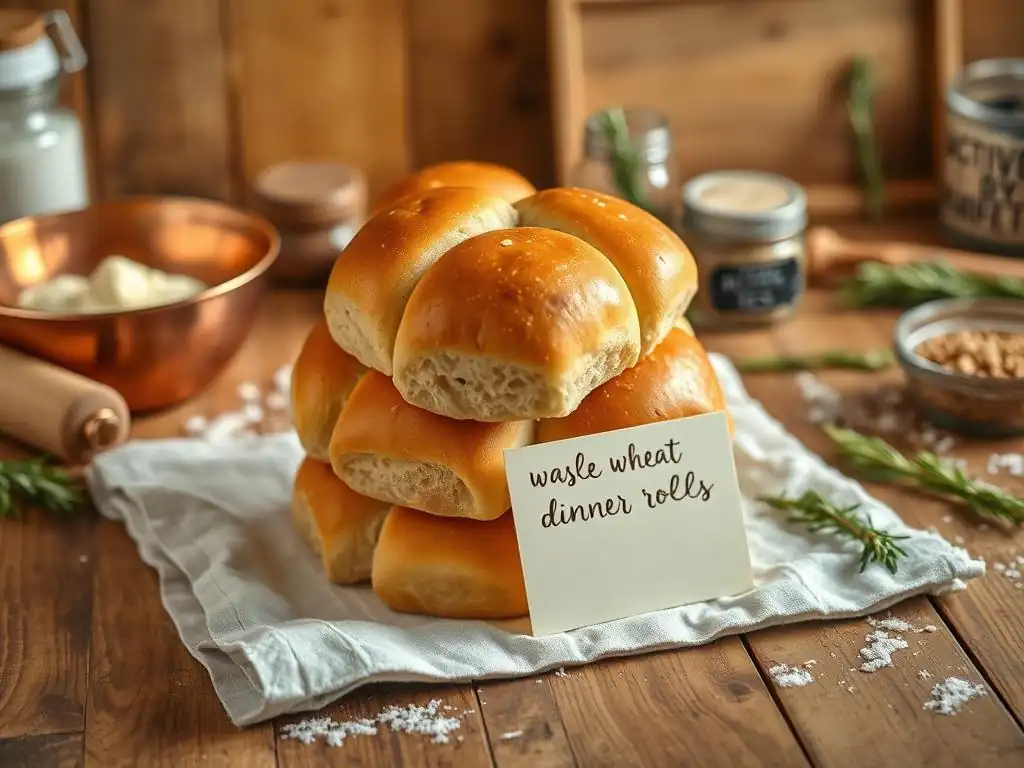
Step 1: Activating the Yeast for Optimal Rise
The first crucial step in baking these easy whole wheat dinner rolls is properly activating the yeast. This usually involves combining the yeast with warm liquid, typically milk or water, and a small amount of sugar or honey, in a bowl. The liquid should be warm, ideally between 105°F and 115°F (40°C to 46°C). Temperatures much lower may not activate the yeast efficiently, while temperatures above 130°F (54°C) can kill it. The sugar or honey provides initial food for the yeast.
After combining, let the mixture sit for about 5 to 10 minutes. During this time, if the yeast is active, it will start to consume the sugar and produce carbon dioxide, causing the mixture to become foamy and bubbly on the surface. This foamy appearance is a clear indicator that your yeast is alive and ready to leaven your dough.
If the mixture doesn't foam, your yeast may be old or the liquid wasn't at the correct temperature, and you'll need to start this step over with fresh yeast. This simple step is essential for a successful rise and light texture in your homemade whole wheat rolls.
Step 2: Combining the Wet and Dry Ingredients
Once your yeast is happily activated and foamy, it's time to combine the wet and dry ingredients to form the initial dough for your easy whole wheat dinner rolls. In a large mixing bowl (or the bowl of a stand mixer), you'll typically combine the activated yeast mixture with the remaining wet ingredients specified in the recipe, such as melted butter, honey, and possibly an egg or two for added richness and structure. Whisk these wet ingredients together briefly to ensure they are well incorporated.
In a separate bowl, measure and whisk together the dry ingredients: the whole wheat flour, salt, and any other dry additions like baking powder (though less common in this type of yeast roll). Gradually add the dry ingredients to the wet ingredients, mixing with a wooden spoon or using the dough hook of a stand mixer on a low speed. Continue mixing until the dough just comes together into a shaggy mass.
At this point, there might still be some dry flour clinging to the sides of the bowl, which is perfectly normal before kneading begins. This initial combination sets the stage for developing the gluten structure needed for soft whole wheat rolls.
Step 3: Kneading the Dough: Achieving a Smooth and Elastic Texture
Kneading is a critical step for developing the gluten structure in your easy whole wheat dinner rolls, which provides strength and elasticity to the dough, allowing it to trap the carbon dioxide produced by the yeast. This process involves working the dough by stretching and folding it. If using a stand mixer with a dough hook, knead on medium speed for typically 6 to 8 minutes. If kneading by hand, turn the shaggy dough out onto a lightly floured surface and knead for about 8 to 10 minutes.
You'll know the dough is properly kneaded when it becomes smooth, elastic, and no longer sticky. It should pass the "windowpane test": gently stretch a small piece of dough; if you can stretch it thin enough to see light through the center without tearing, the gluten is well-developed. Whole wheat dough can feel slightly different due to the bran, but it should still become cohesive and pliable. Proper kneading is essential for achieving a light, airy crumb in your homemade whole wheat rolls, preventing them from being dense.
Step 4: First Rise: Letting the Dough Double in Size
The first rise, or bulk fermentation, is where the yeast gets to work seriously, causing the dough for your easy whole wheat dinner rolls to expand significantly. After kneading, shape the dough into a ball and place it in a lightly oiled bowl, turning the dough to coat all sides. This prevents it from sticking as it rises. Cover the bowl tightly with plastic wrap or a clean kitchen towel to keep the surface of the dough from drying out.
Place the covered bowl in a warm, draft-free place for the dough to rise. An ideal temperature is around 75-80°F (24-27°C). This rise typically takes about 1 to 1.5 hours, or until the dough has visibly doubled in size. The exact time can vary depending on the temperature of your kitchen. To test if it's ready, gently press two fingers into the dough; if the indentations remain, the dough is sufficiently risen. This first rise is crucial for developing flavor and texture in your soft whole wheat rolls.
Step 5: Shaping the Dinner Rolls: Techniques for Uniformity
Once the dough for your easy whole wheat dinner rolls has completed its first rise, gently punch it down to deflate the air. Turn the dough out onto a lightly floured surface. For uniform rolls, it's helpful to weigh the dough and divide it into equal portions. For standard dinner rolls, each portion might weigh approximately 50-60 grams. This ensures that all rolls bake evenly and finish at the same time.
To shape each portion into a smooth ball, take one piece and flatten it slightly. Bring the edges of the dough towards the center and pinch them together to form a seam. Then, flip the dough over so the seam is underneath.
Cup your hand around the dough ball and gently roll it against the counter in a circular motion, applying slight downward pressure, until you have a smooth, round ball. Arrange the shaped rolls on a baking sheet lined with parchment paper, leaving about 1-2 inches of space between them to allow for expansion during the second rise and baking. Consistent shaping leads to consistently beautiful homemade whole wheat rolls.
Step 6: Second Rise: Ensuring a Light and Fluffy Texture
After shaping your easy whole wheat dinner rolls, they need a second rise, also known as proofing. This second rise is shorter than the first but equally important for achieving a light and fluffy texture. Cover the shaped rolls loosely with plastic wrap or a clean kitchen towel to prevent them from drying out. Place the baking sheet in a warm, draft-free spot.
The second rise typically takes about 30 to 45 minutes, or until the rolls look noticeably puffy and have increased in size by about 50-75%. They won't quite double in size this time. Gently pressing a roll should leave a slight indentation that slowly springs back. Over-proofing can lead to rolls that collapse in the oven, while under-proofing results in dense rolls. This second rise is crucial for the final airy crumb structure of your soft whole wheat rolls.
Step 7: Baking to Golden Perfection: Time and Temperature
Baking is the final step to transform your proofed easy whole wheat dinner rolls into golden, delicious bread. Preheat your oven to the temperature specified in the recipe, typically around 375-400°F (190-200°C). A properly preheated oven is essential for even baking and a good crust development. Some recipes recommend an egg wash or milk wash applied just before baking for a glossy, golden finish (more on that later).
Place the baking sheet with the rolls in the preheated oven. The baking time for dinner rolls is relatively short, usually between 15 to 20 minutes. The rolls are done when they are golden brown on top and on the bottom.
You can also test for doneness by tapping the bottom of a roll; it should sound hollow. Avoid opening the oven door too frequently during baking, especially in the first 10-12 minutes, as this can cause the rolls to deflate slightly. Baking to perfection ensures your homemade whole wheat rolls are soft on the inside and beautifully colored on the outside.
Step 8: Cooling and Serving Your Homemade Rolls
Once your beautiful easy whole wheat dinner rolls are baked to a golden perfection, remove them from the oven. While it's tempting to dive right in, allowing them to cool slightly is important. Transfer the rolls from the baking sheet to a wire rack immediately after removing them from the oven. Cooling on a rack allows air to circulate around the rolls, preventing the bottoms from becoming soggy and ensuring a nice, even texture throughout.
Let the rolls cool for at least 10-15 minutes before serving. This cooling period allows the internal structure of the bread to set properly. Slicing or tearing into hot rolls can result in a gummy texture inside. Serving them warm is ideal; you can brush them with a little melted butter just before serving for extra richness and shine. Enjoy your freshly baked, soft whole wheat rolls with butter, jam, or as an accompaniment to your favorite meal. The effort is well worth the reward of these delicious homemade rolls.
Tips and Tricks for Baking the Best Whole Wheat Dinner Rolls
Achieving a Soft Crust: Using a Milk Wash
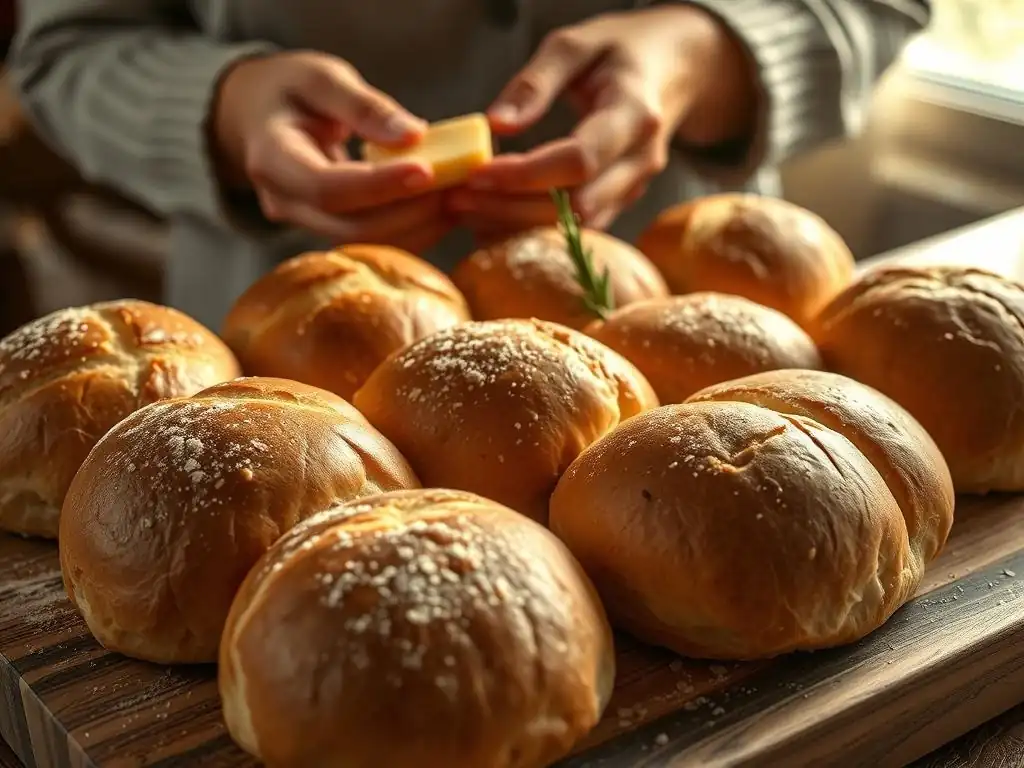
One simple yet effective technique for achieving a soft, golden crust on your easy whole wheat dinner rolls is applying a milk wash before baking. Unlike an egg wash which provides a richer color and shine, a milk wash (using milk or cream) gives the rolls a softer crust and a lovely matte golden finish. The milk sugars caramelize slightly in the oven, contributing to the color, while the moisture helps keep the crust tender.
To apply a milk wash, gently brush the tops of your proofed rolls with milk (any type works, from whole milk to skim) just before placing them in the oven. Be careful not to deflate the rolls while brushing. This step not only enhances the appearance but also contributes to that desirable soft exterior texture of your homemade whole wheat rolls, making them perfect for dinner.
Preventing Dryness: Proper Proofing and Baking Time
Preventing your easy whole wheat dinner rolls from becoming dry is key to their deliciousness. Two crucial factors play a significant role: proper proofing and correct baking time. Under-proofing can lead to a dense texture that feels dry, while over-proofing weakens the gluten structure, potentially leading to a dry, crumbly result after baking. Ensuring your dough doubles in size during the first rise and becomes significantly puffy during the second rise (as described in Steps 4 and 6) is vital for internal moisture.
Equally important is not over-baking the rolls. While you want them to be golden brown and cooked through, baking them for too long at too high a temperature will dry them out. Pay close attention to the baking time specified in the recipe (typically 15-20 minutes at 375-400°F). Use visual cues (golden color) and the hollow sound test to determine doneness. Removing the rolls promptly when they are ready will help retain their internal moisture, resulting in soft, tender homemade whole wheat rolls.
Troubleshooting Common Problems: Dense Rolls
One of the most common frustrations when baking whole wheat rolls is ending up with a dense texture instead of a light and airy one. Several factors can contribute to dense easy whole wheat dinner rolls. The most frequent culprits include inactive yeast, insufficient kneading, under-proofing, or using too much flour. If your yeast didn't foam in Step 1, it wasn't active, and the dough won't rise properly.
Insufficient kneading means the gluten structure hasn't developed enough to support the rise, leading to a heavy crumb. Conversely, too much flour can make the dough stiff and prevent adequate gluten development and rise. Under-proofing is another major cause; if the dough hasn't risen enough during the first or second rise, it won't be light.
Ensure you're using fresh yeast, kneading until the dough is smooth and elastic, measuring flour accurately (preferably by weight), and allowing the dough ample time to rise in a warm spot. Addressing these points will significantly improve your chances of baking light and fluffy homemade whole wheat rolls.
Variations and Adaptations: Exploring Different Flavors
Adding Herbs: Rosemary and Thyme
Adding fresh or dried herbs is a wonderful way to introduce savory flavor variations to your easy whole wheat dinner rolls. Herbs like rosemary and thyme pair exceptionally well with the earthy notes of whole wheat. You can incorporate finely chopped fresh herbs or dried herbs directly into the dough during the mixing stage (Step 2). A common ratio might be 1-2 tablespoons of fresh herbs or 1-2 teaspoons of dried herbs per batch of dough.
For example, adding 1 tablespoon of finely chopped fresh rosemary to the dough adds a fragrant, slightly piney note that is perfect for serving with roasted meats or stews. Similarly, incorporating 1 teaspoon of dried thyme provides a more subtle, earthy flavor. Be sure to distribute the herbs evenly throughout the dough during kneading. These simple additions transform your basic homemade whole wheat rolls into something special, offering a delicious savory twist.
Whole Wheat Rolls with Seeds: Sesame Seeds
Incorporating seeds into your easy whole wheat dinner rolls adds texture, flavor, and nutritional value. Sesame seeds are a popular choice, offering a slightly nutty taste and a pleasant crunch. You can mix seeds directly into the dough towards the end of the kneading process, or you can sprinkle them on top of the rolls just before baking.
If mixing into the dough, add about 2-3 tablespoons of sesame seeds during the last minute of kneading. If sprinkling on top, brush the proofed rolls with a milk wash or egg wash first so the seeds adhere better, then sprinkle generously with sesame seeds. Baking the rolls with seeds on top toasts them slightly, enhancing their flavor. Adding sesame seeds is an easy way to elevate the taste and texture of your homemade whole wheat rolls.
Storing and Reheating Your Homemade Whole Wheat Rolls
Best Practices for Keeping Rolls Fresh
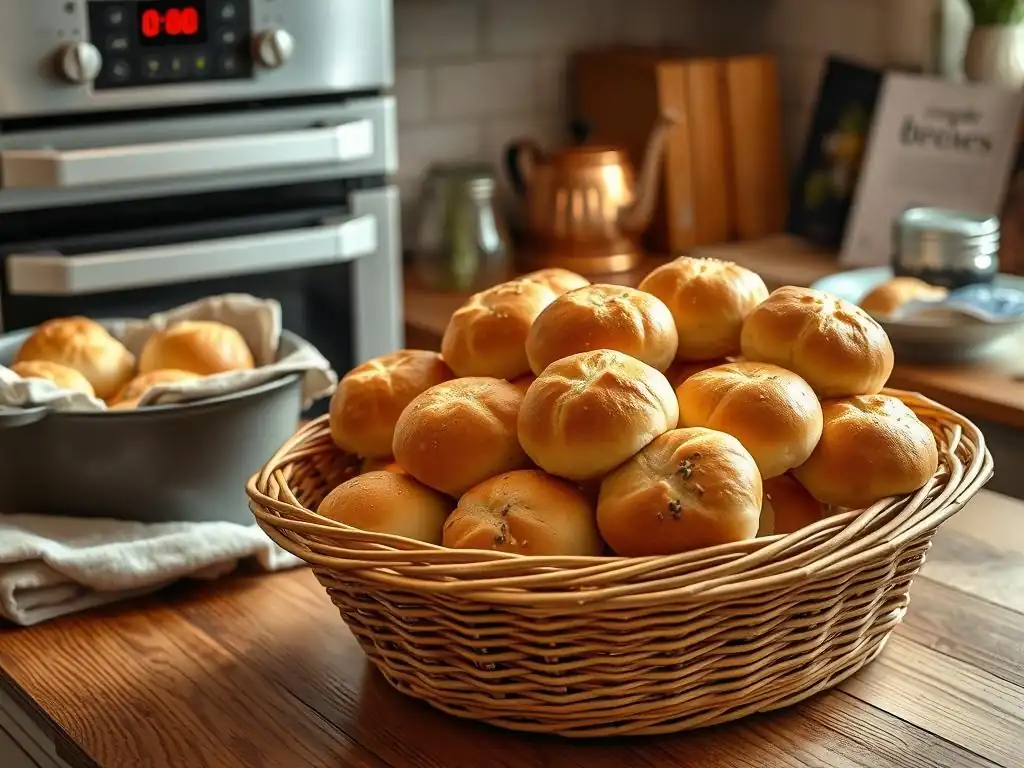
Proper storage is essential to keep your easy whole wheat dinner rolls soft and fresh for as long as possible. Once the rolls have cooled completely on a wire rack (Step 8), store them in an airtight container or a resealable plastic bag at room temperature. Ensure they are completely cool before storing; otherwise, condensation can build up inside the container, making the rolls soggy.
Stored correctly, homemade whole wheat rolls will typically stay fresh and soft for 2 to 3 days at room temperature. For longer storage, you can freeze the rolls. Wrap individual rolls tightly in plastic wrap, then place the wrapped rolls in a freezer-safe bag or container. Frozen whole wheat rolls can be stored for up to 2-3 months. Proper storage ensures you can enjoy your delicious homemade whole wheat rolls whenever you like.
Reheating Tips for Warm and Delicious Rolls
Reheating your easy whole wheat dinner rolls can bring them back to their just-baked warmth and softness. If the rolls are at room temperature and slightly stale, a quick reheat can refresh them. Wrap the rolls loosely in aluminum foil and warm them in a preheated oven at around 300-325°F (150-160°C) for about 5-10 minutes. The foil helps trap moisture, preventing them from drying out.
If reheating frozen rolls, you can thaw them first at room temperature for an hour or two, then reheat as described above. Alternatively, you can reheat them directly from frozen, wrapped in foil, at a slightly lower temperature (around 275-300°F or 135-150°C) for 15-20 minutes, or until heated through. Avoid microwaving for reheating if possible, as it can make the rolls chewy. Following these tips ensures your homemade whole wheat rolls are warm and delicious every time you serve them.
Enjoy Your Homemade Whole Wheat Dinner Rolls!
You've successfully baked a batch of delicious, soft easy whole wheat dinner rolls right in your own kitchen! The aroma, the texture, and the taste of homemade bread are truly unparalleled. Whether you're serving them alongside a holiday meal, using them for sliders, or simply enjoying them with butter and jam, these whole wheat rolls are sure to be a hit.
Sally's Baking Addiction loves seeing your baking creations! If you made these easy whole wheat dinner rolls using their recipe as inspiration, consider sharing a photo of your beautiful batch. Many baking websites and communities encourage bakers to share their successes, providing inspiration and encouragement to others. You can often find specific hashtags or galleries associated with popular recipes. Sharing your perfect homemade whole wheat rolls is a great way to connect with other baking enthusiasts and celebrate your accomplishment.
Frequently Asked Questions
How difficult is it to make whole wheat dinner rolls from scratch?
Making whole wheat dinner rolls from scratch is surprisingly easy! Our recipe focuses on simple techniques and readily available ingredients, even for beginners.
What makes these whole wheat dinner rolls "easy"?
The "easy" comes from using a straightforward recipe with clear instructions. We also emphasize using simple mixing methods and readily available ingredients.
Can I substitute any ingredients in the whole wheat dinner roll recipe?
While we recommend following the recipe for the best results, you can make some substitutions. For example, you could use honey instead of sugar, but be mindful of how substitutions affect the texture and flavor.
How long does it take to bake whole wheat dinner rolls?
The entire process, from mixing to baking, typically takes around 2-3 hours, including proofing time. The actual baking time in the oven is usually around 15-20 minutes.
What's the best way to store leftover whole wheat dinner rolls?
Store leftover rolls in an airtight container at room temperature for up to 2-3 days. For longer storage, you can freeze them for up to 2 months.
Final Reflection: The Humble Whole Wheat Roll, A Testament to Home Baking
The ease of crafting delicious whole wheat dinner rolls at home belies their profound impact on our daily lives. These aren't just simple additions to a meal; they're symbols of comfort, connection, and the enduring power of homemade goodness in a world increasingly dominated by convenience. The satisfying aroma filling your kitchen, the soft texture melting in your mouth – these are experiences that transcend mere sustenance.
The simple act of baking these rolls has resonated far beyond my own kitchen. It's a connection to generations past, a tangible link to traditions of homemaking and shared meals. The process itself is meditative, a quiet counterpoint to the frenetic pace of modern life. The best things in life are homemade.
This sentiment rings truer than ever when considering the simple joy and satisfaction derived from creating something delicious and nourishing with your own hands.
Now, I invite you to embrace the simplicity and satisfaction of baking your own whole wheat dinner rolls. Don't be intimidated by the process; let this article serve as your guide. Imagine the warmth of sharing these rolls with loved ones, the pride in presenting something crafted with care, and the lasting memory of a meal elevated by the simple pleasure of homemade bread. The journey from flour to fluffy roll is a rewarding one – embark on it today.
Unleash Your Inner Baker: Perfect Whole Wheat Rolls Await!
Thanks for joining us on this baking adventure! We hope you’ve gained the confidence to tackle delicious, wholesome whole wheat dinner rolls. Ready to take your baking skills to the next level?
- Bake a batch today! Use the recipe from the article to create your own perfectly fluffy rolls. Imagine the aroma filling your kitchen!
- Share your baking triumph! Post a picture of your rolls on social media and tag us – we'd love to see your creations.
- Experiment with flavors! Try adding herbs, cheese, or even sun-dried tomatoes to your next batch. What unique twist will you discover?
What unexpected ingredient will you add to your next batch of homemade whole wheat rolls?