
Why Rest Matters: PostMix Dough Relaxation for Better Handling

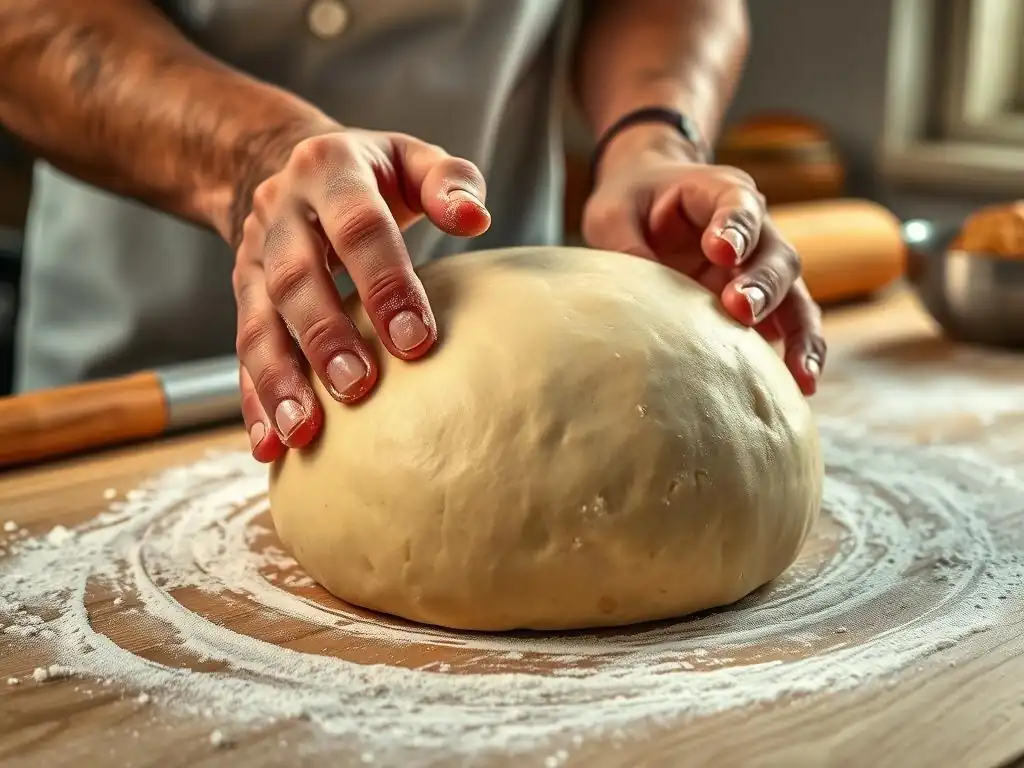
Welcome to BakeWithEase, your passport to a world of effortless baking! Ever wondered why some doughs are a dream to handle while others fight you every step of the way? Uncover the secrets to perfectly pliable dough and superior results as we delve into the importance of letting your dough rest. Discover why rest dough for baking is a game-changer, and learn how this simple technique can elevate your bread baking from good to extraordinary. Curious to know more? Let’s get started!
- Why Rest Matters: Post-Mix Dough Relaxation for Better Baking
- Understanding Dough Relaxation: The Key to Better Baking
- The Benefits of Resting Dough for Baking
- Mastering the Art of Resting Dough: Techniques and Tips
- Troubleshooting Dough Relaxation Issues: Common Problems and Solutions
- Practical Applications: Resting Dough for Specific Baking Projects
- Optimize your Baking: Unlock the Power of Resting Dough
- Conclusion: Embrace the Rest, Elevate Your Baking
- Frequently Asked Questions
- Final Reflection: The Power of Patience in Baking (and Life)
- Unleash Your Dough's Potential: Master the Art of Resting
Why Rest Matters: Post-Mix Dough Relaxation for Better Baking
Understanding Dough Relaxation: The Key to Better Baking
What is Dough Relaxation and Why is it Important?
Dough relaxation, often referred to as resting dough, is a crucial step in the baking process that occurs after the initial mixing. It's the period where the dough is left undisturbed, allowing the gluten network, which was developed during mixing, to loosen up. Think of it like letting muscles relax after a workout; they become less tense and more pliable. This resting phase is vital because the act of mixing and kneading tightens the gluten strands, making the dough elastic but also resistant to stretching.
Without sufficient rest dough for baking, you'd find the dough difficult to handle – it would snap back when you try to shape it, leading to uneven thickness and frustration. This is particularly true for doughs requiring significant shaping, like pizza or certain breads. Allowing the dough to relax makes it much more cooperative, enabling easier rolling, stretching, and forming without tearing. It's a simple step that dramatically improves workability and the final baked good's quality.
The Science Behind Dough Relaxation: Gluten Development & Elasticity
The science behind dough relaxation centers on the gluten network. Flour contains proteins, primarily glutenin and gliadin. When water is added and the dough is mixed or kneaded, these proteins link together to form gluten strands. This network provides structure and elasticity to the dough. Immediately after mixing, these gluten strands are tightly coiled and highly elastic, much like a stretched rubber band. This elasticity causes the dough to resist being stretched or reshaped.
During the resting period, enzymatic activity within the dough begins to break down some of these tight gluten bonds. Specifically, proteases, naturally present in flour, start to cleave the protein chains. While this doesn't weaken the dough overall (unless over-rested), it does make the gluten network less rigid and more extensible. The dough retains its strength but gains flexibility, allowing it to be stretched thinly without tearing. This transformation from a tight, springy mass to a relaxed, pliable one is the core benefit of letting dough rest.
How Rest Affects Dough Handling: From Sticky Mess to Smooth Operator
Immediately after mixing, many doughs, especially those with higher hydration, can feel sticky, shaggy, and difficult to manage. The gluten hasn't fully hydrated or developed evenly, and the structure is tense. Trying to shape or work with dough at this stage often results in it sticking to your hands and the work surface, and it fights back against any attempt to stretch or roll it out. This resistance is a direct result of the tight, unrelaxed gluten network.
Allowing the dough to rest transforms its texture and handling characteristics. After even a short rest of 10-20 minutes (often called an autolyse if done before adding salt/yeast, or simply a bench rest after mixing), you'll notice a remarkable difference. The dough becomes smoother, less sticky, and significantly more pliable. It holds together better and is far easier to shape. This improved handling is a direct consequence of the gluten relaxing and becoming more extensible, making the process of shaping bread loaves, stretching pizza bases, or rolling out pastries a far more pleasant and successful experience.
The Benefits of Resting Dough for Baking
Improved Dough Extensibility: Easier Shaping and Stretching
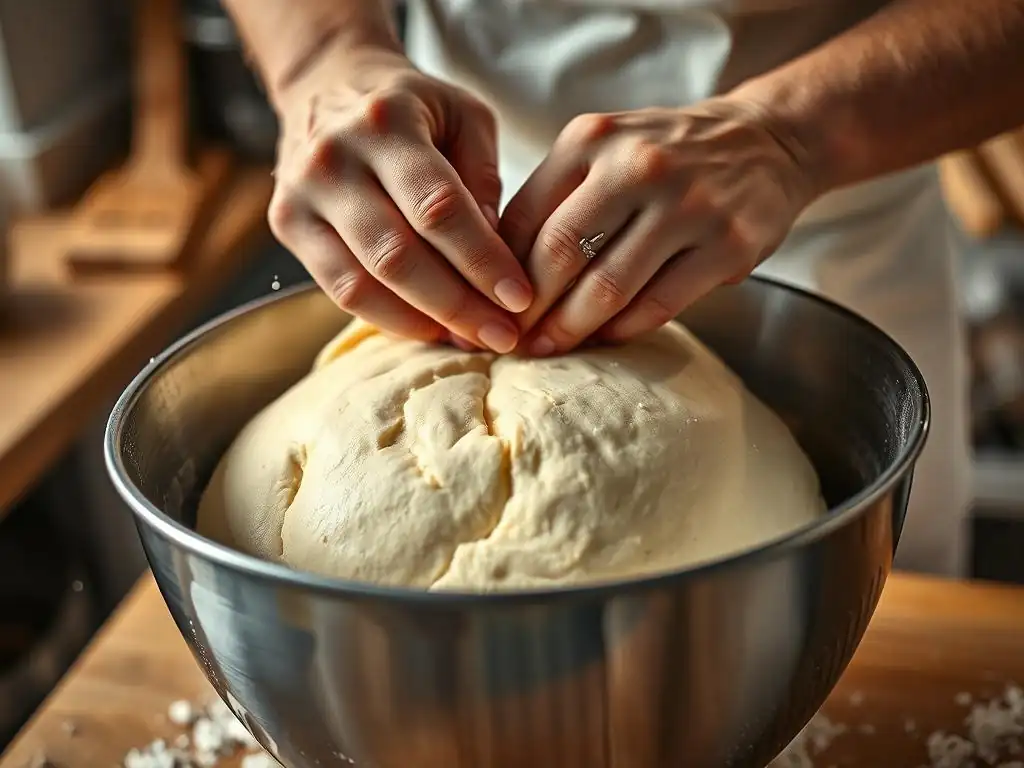
One of the most immediate and noticeable benefits of resting dough is a significant improvement in its extensibility. This refers to the dough's ability to be stretched or elongated without breaking. When dough is freshly mixed, the gluten network is very tight and elastic, causing it to snap back like a rubber band when you try to stretch it. This makes shaping difficult, often resulting in thick, uneven crusts or loaves that are hard to form.
After allowing the dough to rest, the gluten network relaxes. This relaxation allows the dough to stretch much further and more easily. For instance, a pizza dough rested for at least 30-60 minutes at room temperature (or longer in the fridge) can often be stretched by hand into a thin base without tearing, whereas a dough used immediately after mixing would likely resist and rip. This enhanced extensibility is crucial for achieving the desired thickness and shape for various baked goods, from delicate pastry layers to large, thin pizza crusts.
Enhanced Dough Strength: Better Structure and Oven Spring
While relaxation sounds like a weakening process, proper rest actually contributes to overall dough strength in a beneficial way. The resting period allows for more even hydration of the flour particles and continued, albeit slower, gluten development. This doesn't mean the dough becomes tighter; rather, the existing gluten network becomes more homogenous and resilient. This improved structure provides a better framework to support the gases produced during fermentation.
A dough with good strength and extensibility is better equipped to hold its shape during proofing and baking. During baking, the rapid expansion of gases (known as oven spring) causes the dough to rise dramatically. A strong, well-rested dough has the structural integrity to accommodate this expansion, resulting in a lighter, airier crumb and a well-defined shape. Think of a baguette with a beautiful open crumb versus a dense loaf – proper resting plays a key role in achieving that desirable structure and maximizing oven spring.
More Even Baking: Consistent Results Every Time
Resting dough also contributes significantly to achieving more even baking results. When dough is properly relaxed and easy to shape, it's much simpler to create uniform thickness across your baked item. Whether you're rolling out a pie crust, stretching a pizza base, or forming a loaf, uniform thickness means that all parts of the dough will cook at roughly the same rate. This prevents common issues like burnt edges and undercooked centers.
Furthermore, the improved structure and gas distribution that result from proper dough rest contribute to a more consistent internal temperature during baking. The heat penetrates and distributes more evenly throughout a well-structured crumb. This leads to a bake that is uniform in color and texture, both inside and out, ensuring consistent quality batch after batch. Using the right rest dough for baking ensures predictability in your results.
Maximizing Flavor Development Through Dough Rest
Beyond handling and structure, resting dough, particularly for longer periods or in the refrigerator, profoundly impacts flavor development. During rest, especially when yeast or sourdough starter is present, fermentation continues. This process produces a range of organic acids, alcohols, and other compounds that contribute to the complex aromas and tastes we associate with delicious bread and baked goods. Longer, colder rests slow down yeast activity but allow enzymes and lactic acid bacteria (in sourdough) more time to work, producing more nuanced flavors.
For example, a pizza dough rested in the refrigerator for 24-72 hours develops a much deeper, more complex flavor profile compared to one proofed quickly at room temperature. Similarly, chilling cookie dough for 24 hours or more allows the ingredients to meld and sugars to break down slightly, resulting in a richer flavor and often a better texture after baking. The simple act of letting dough rest allows these natural processes to enhance the final taste significantly.
Mastering the Art of Resting Dough: Techniques and Tips
Bulk Fermentation vs. Post-Mix Relaxation: Understanding the Difference
It's important to distinguish between the initial post-mix relaxation and bulk fermentation, although they often overlap. Post-mix relaxation, or autolyse (if just flour and water), is a short rest (10-30 minutes) immediately after combining ingredients (or just flour/water) to allow hydration and initial gluten relaxation before kneading or the main bulk fermentation. This quick rest makes subsequent kneading much easier.
Bulk fermentation, on the other hand, is the primary rise period where the dough doubles or more in size, developing flavor and structure. This phase can last anywhere from 1 hour to several hours at room temperature, or much longer (12-72+ hours) under refrigeration. While the dough is resting during bulk fermentation, it's also actively fermenting and developing gas.
The term "resting dough" often encompasses this entire bulk fermentation phase, as the dough is left undisturbed for extended periods, allowing both relaxation and fermentation to occur simultaneously. Understanding when you need a short, initial rest versus a long, active fermentation is key to recipe success.
Ideal Resting Times for Different Dough Types: A Guide
The optimal time to rest dough varies significantly depending on the type of dough, the desired outcome, and the temperature. There's no single rule, but general guidelines exist.
Resting Pizza Dough: Achieving Optimal Stretch
For pizza dough, a minimum rest of 30-60 minutes at room temperature after mixing is usually sufficient for basic handling. However, for superior flavor and extensibility, resting dough for pizza in the refrigerator for 24-72 hours is highly recommended. This slow, cold rest develops complex flavors and makes the dough incredibly easy to stretch thinly without tearing. A 48-hour cold rest is a popular sweet spot for many pizzaiolos, balancing flavor development and dough handling.
Resting Bread Dough: Promoting Gluten Development
Bread dough typically requires a longer rest, encompassing the bulk fermentation. This might be 1-4 hours at room temperature (around 22-25°C), often with periodic "stretch and folds" every 30-60 minutes during the first half of the rest to build strength. Alternatively, many recipes call for a cold bulk fermentation in the refrigerator for 12-24 hours, which slows fermentation, enhances flavor, and makes shaping chilled dough easier. A short 20-30 minute bench rest after shaping is also common before the final proof.
Resting Cookie Dough: Enhancing Flavor and Texture
Resting cookie dough, specifically chilling it in the refrigerator, is primarily for solidifying the fat (butter) and allowing flavors to meld. A minimum of 30 minutes chilling is often needed just to make the dough firm enough to handle and prevent excessive spread during baking. However, chilling for 24 hours or even up to 72 hours can significantly deepen the flavor, resulting in a richer, more caramelized taste and a chewier texture. The fats solidify, leading to less spread and thicker cookies.
How Temperature Impacts Dough Relaxation: Cold vs. Room Temperature
Temperature plays a critical role in how dough rests and ferments. Resting dough at room temperature (typically 20-25°C) allows for faster fermentation and gluten relaxation. A quick 10-30 minute rest on the counter after mixing is usually sufficient to make the dough easier to handle before kneading or bulk fermentation. Room temperature bulk fermentation is also faster, often taking 1-4 hours for the dough to double in size.
In contrast, resting dough in the refrigerator (around 4°C) significantly slows down yeast activity and fermentation. While slower, this cold rest provides a longer window for enzymes to work on the gluten, leading to increased extensibility over time. It also allows for much greater flavor development as fermentation proceeds slowly, producing more complex compounds. Cold resting dough is excellent for make-ahead doughs, providing flexibility and improving both handling and flavor, albeit requiring much longer rest periods (12+ hours).
Preventing Dough Drying During Resting: Essential Tips
Dough can dry out and form a skin on its surface during resting, especially during longer rests or in dry environments. This skin can inhibit proper rising and lead to a less smooth final product. Preventing this is simple but crucial for successful rest dough for baking.
- Cover the dough: Always cover the dough container or bowl tightly. Plastic wrap, a damp tea towel (ensure it stays damp), or a fitted lid are effective. Ensure the covering makes good contact with the rim of the bowl to prevent air circulation.
- Lightly oil the bowl/dough: Before placing the dough in a bowl to rest, lightly grease the bowl with a neutral oil or cooking spray. You can also lightly brush or spray the surface of the dough itself with oil before covering. This creates a barrier that helps retain moisture.
- Use airtight containers: For longer rests, especially in the refrigerator, using an airtight plastic or glass container with a lid is the most reliable method to prevent drying and maintain humidity around the dough.
Troubleshooting Dough Relaxation Issues: Common Problems and Solutions
Dough Too Elastic: Techniques for Further Relaxation
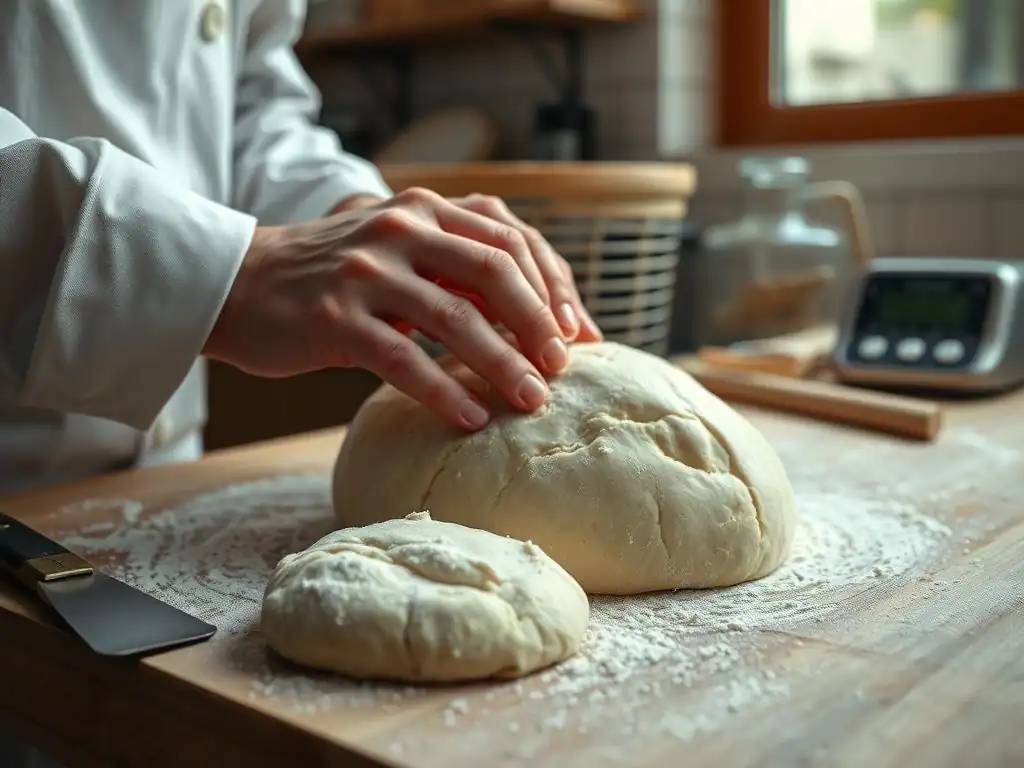
If your dough is extremely elastic and springs back aggressively when you try to shape it, it likely needs more relaxation time. This often happens if you try to shape dough immediately after vigorous kneading or mixing, or if it hasn't rested long enough.
- Extend the rest: Simply give the dough more time to rest. For a dough that's resisting shaping, cover it and let it rest for another 15-30 minutes on the counter. This "bench rest" allows the gluten to relax significantly.
- Gentle handling: When you do resume shaping, handle the dough gently. Avoid aggressive pulling or stretching that can retighten the gluten network.
- Consider temperature: If you're working with a cold dough, letting it warm up slightly at room temperature for 20-30 minutes can also help it relax and become more pliable.
Dough Too Weak: Strengthening the Dough Before Resting
Sometimes, dough can feel too weak, lacking structure and tearing easily. This can happen if the flour has low protein content, if the dough was not kneaded or mixed enough to develop sufficient gluten, or if it has been over-fermented or over-rested (particularly true in very long, warm rests where proteases become overly active).
- Proper kneading/mixing: Ensure you develop sufficient gluten during the initial mixing phase. The dough should pass the "windowpane test" (where a small piece can be stretched thin enough to see light through it without tearing) for many bread types.
- Stretch and Folds: Incorporate stretch and folds during the bulk fermentation phase. Every 30-60 minutes during the first part of the rise, gently stretch and fold the dough over itself 3-4 times. This helps build strength and structure.
- Slightly less hydration: For consistently weak doughs with a specific flour, slightly reducing the water content in future batches can help create a stronger dough structure.
- Adjust rest time/temperature: If over-fermentation is suspected (dough smells strongly alcoholic or acidic, is very fragile), shorten the rest time or use a colder temperature for resting dough in the future.
Over-Proofing During Resting: Signs and Prevention
Over-proofing occurs when the dough rests (ferments) for too long, and the yeast exhausts its food supply, causing the structure to collapse. Signs include a dough that has risen significantly but then starts to deflate, smells strongly of alcohol, is very fragile and tears easily, and lacks elasticity.
- Monitor time and temperature: Pay close attention to the recipe's recommended resting and proofing times, and consider the ambient temperature. Dough ferments faster in warmer conditions.
- Use the poke test: Gently poke the dough with a floured finger. If the indentation springs back immediately, it needs more time. If it stays indented and doesn't spring back at all, it's likely over-proofed. If it slowly springs back part way, it's usually ready.
- Use cold fermentation: For longer rests, always use the refrigerator. Cold temperatures dramatically slow down fermentation, making it much harder to over-proof the dough accidentally.
- Punch down gently (if needed): For some doughs undergoing long room-temperature rests, a gentle "punch down" (more accurately, folding the dough over on itself a few times) can redistribute yeast and food, extending the fermentation window slightly, but cold rest is generally safer for long periods.
Practical Applications: Resting Dough for Specific Baking Projects
Pizza Dough Relaxation: Step-by-Step Guide for Perfect Pizza
Achieving that perfect chewy, airy pizza crust with crispy edges relies heavily on proper dough relaxation. Here’s a simple guide:
- Mix Ingredients: Combine flour, water, yeast, salt, and a little oil according to your recipe. Mix until a shaggy dough forms.
- Initial Rest (Optional Autolyse): Cover and let the dough rest for 20-30 minutes immediately after combining just flour and water (autolyse), or after combining all ingredients. This makes kneading easier.
- Knead: Knead the dough until smooth and elastic, about 5-10 minutes by hand or mixer.
- Bulk Fermentation & Relaxation: Place the dough in a lightly oiled bowl, cover tightly, and let it rest.
- Quick Method: Rest at room temperature (20-25°C) for 1-1.5 hours, or until roughly doubled.
- Preferred Method (Flavor/Handling): Rest in the refrigerator (4°C) for 24-72 hours. This is where the magic happens for flavor and stretchability.
- Divide & Ball: Gently divide the dough into portions and shape each into a smooth ball. Avoid degassing too much.
- Second Rest (Proofing): Place dough balls on a floured tray, cover loosely, and let them rest again.
- Room Temp: 1-2 hours, or until puffy.
- From Fridge: Let cold dough balls sit at room temp for 1-2 hours before shaping.
- Shape & Bake: Gently stretch the relaxed dough balls into pizza bases. The rest has made them pliable and easy to work with.
Sourdough Bread Baking: Integrating Autolyse and Bulk Fermentation
Resting is fundamental in sourdough baking. The process often starts with an autolyse, and the bulk fermentation is the primary long rest period.
- Autolyse: Combine flour and water from your recipe (excluding the starter and salt). Let this mixture rest for 30 minutes to 1 hour. This initial rest allows the flour to fully hydrate and enzymes to start working on gluten, making subsequent mixing much easier and promoting better gluten development.
- Add Starter & Salt: After the autolyse, add your active sourdough starter and salt. Mix to incorporate.
- Bulk Fermentation (The Main Rest): This is the longest rest period. Place the dough in a clear container after mixing. Over 4-6 hours at room temperature (22-25°C), perform a series of stretch and folds (usually 3-5 sets) during the first 2-3 hours, with 30-60 minutes of rest between sets. The dough rests and ferments, gaining strength and volume.
- Cold Retard (Optional Long Rest): For enhanced flavor and easier handling, the bulk fermentation can be followed by a cold rest in the refrigerator for 12-24 hours. This is a form of resting dough that develops characteristic sourdough tang.
- Bench Rest (After Shaping): After pre-shaping loaves, let them rest on the counter, uncovered, for 15-30 minutes before the final shaping. This brief rest allows the gluten to relax after handling, making final shaping easier.
Pie Crust Dough: Chilling and Resting for Flaky Results
Resting pie crust dough, specifically chilling it, is crucial for achieving a flaky texture.
- Mix Ingredients: Combine flour, salt, and cold fat (butter, shortening) until crumbly. Add ice water gradually until dough just comes together. Avoid overmixing.
- Form Disc(s): Gently bring the dough together and form into one or two flat discs. Do not knead.
- Chill/Rest: Wrap the disc(s) tightly in plastic wrap and rest in the refrigerator for at least 30 minutes, ideally 1-2 hours. For make-ahead, it can rest for 2-3 days. This chilling period is essential for resting dough in pie making.
- Why this rest is important: The chilling solidifies the fat, which is key to flakiness. When the cold fat melts in the oven, it creates steam pockets, separating the layers of dough. The rest also allows the flour to fully hydrate and the small amount of gluten developed to relax, making the dough easier to roll without shrinking.
- Roll and Bake: Remove dough from fridge, let it sit for 5-10 minutes if too hard, then roll out gently. The rested dough will be much more pliable and less likely to tear or snap back.
Optimize your Baking: Unlock the Power of Resting Dough
The Impact of Dough Relaxation on Crust Texture
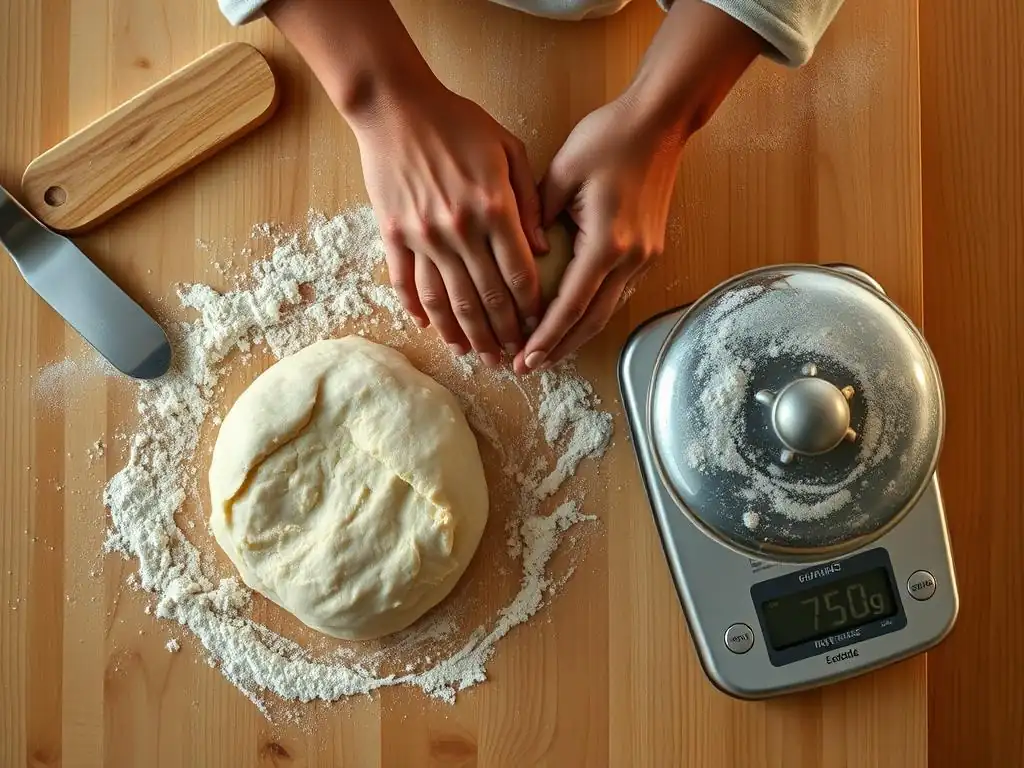
The texture of the final crust is significantly influenced by how well the dough is rested. For lean doughs like bread and pizza, proper resting allows the dough to be shaped thinly and evenly, leading to a crust that bakes up crispy and light. A dough that resists shaping often results in an uneven crust with thick, dense spots and thin, easily burnt spots.
For enriched doughs or pastries like pie crust, the chilling rest ensures the fat remains cold and solid until it hits the oven's heat. This allows the fat to melt and create steam, pushing the dough layers apart and resulting in a wonderfully flaky texture. Without this rest, the fat might melt into the dough prematurely, leading to a tough or greasy crust rather than a flaky one. Mastering the rest dough for baking technique is key to perfect crusts.
Achieving a Better Crumb Structure Through Proper Resting
Resting dough plays a vital role in developing the internal structure, or crumb, of baked goods, particularly bread. During the longer rest periods (bulk fermentation and proofing), the yeast or starter produces carbon dioxide gas. A well-rested dough with a strong yet extensible gluten network is able to trap these gases effectively, creating bubbles that form the crumb structure.
Proper resting allows these gas bubbles to distribute more evenly throughout the dough. It also gives enzymes time to improve the dough's ability to hold its structure. This results in a more open, airy, and uniform crumb, free from large, irregular holes or dense, tight areas. The difference between a dense, heavy loaf and a light, open-crumbed bread often comes down to sufficient rest and proper handling during fermentation.
Resting Dough for Improved Baking Consistency
Consistency is a hallmark of successful baking, and integrating proper dough rest into your routine is a major step towards achieving it. When your dough is consistently well-rested, it behaves predictably during shaping and baking. It stretches the same way each time, rises reliably, and bakes evenly.
By understanding how factors like rest time and temperature affect your dough, you can replicate successful results more easily. Instead of wrestling with a tight, unpredictable dough one day and a weak, sticky one the next, resting dough helps you create a stable, workable foundation every time you bake. This predictability builds confidence and leads to more consistently delicious outcomes, making the effort of resting dough well worth it.
Conclusion: Embrace the Rest, Elevate Your Baking
Frequently Asked Questions
Why is resting dough important after mixing?
Resting allows the gluten to relax after being worked, making the dough easier to handle and preventing it from snapping back when you try to shape it. This relaxation also helps with even rising.
How long should I rest my dough for baking?
Rest times vary depending on the recipe and dough type. A general guideline is 10-30 minutes, but some doughs may benefit from longer rest periods, even overnight in the refrigerator.
What happens if I don't rest my dough?
If you skip the resting period, the dough will be tough and resistant to shaping. This can lead to uneven baking and a less desirable final product, like a dense loaf of bread.
Does resting dough affect the flavor of the baked goods?
While the primary purpose is handling, resting, especially for longer periods, can develop the flavor of the dough. This is due to the slow fermentation process that occurs during rest.
Can I over-rest dough?
Yes, over-resting can lead to over-proofed dough, which can be difficult to work with and may result in a collapsed final product. Keep a close eye on your dough and adjust rest times accordingly.
Final Reflection: The Power of Patience in Baking (and Life)
The art of baking, particularly with challenging doughs like PostMix, hinges on understanding the crucial role of rest. A properly rested dough isn't just easier to handle; it's the foundation for a superior final product, resulting in a lighter crumb, improved texture, and enhanced flavor. This isn't just a baking tip; it's a fundamental principle with far-reaching implications.
The impact of incorporating rest periods into our baking processes extends beyond the immediate improvement in dough manageability. It's a reflection of a broader cultural shift towards appreciating the value of slowing down and allowing processes to unfold naturally. Slow is smooth, smooth is fast
– a maxim often heard in military and high-performance contexts, perfectly encapsulates the benefits of patience in achieving excellence, whether in the kitchen or elsewhere. The mindful incorporation of rest into our baking routine mirrors this principle, reminding us that sometimes, the most effective approach is the one that allows for deliberate pauses and thoughtful consideration.
Consider the parallels in your own life. Are you rushing through tasks, neglecting moments of rest and reflection? Just as a rushed dough yields a less-than-ideal result, so too can a life lived at breakneck speed lead to stress, burnout, and missed opportunities. I invite you to consciously incorporate periods of rest into your daily routine, to observe the transformative effects on your work, your relationships, and your overall well-being. Embrace the power of patience, not just in your baking, but in every aspect of your life. The results, like a perfectly risen loaf, will be truly rewarding.
Unleash Your Dough's Potential: Master the Art of Resting
Thanks for taking the time to learn about the power of resting your PostMix dough! You've just unlocked a key to easier handling and better bakes. Ready to put your newfound knowledge into practice?
- Try a controlled rest today: Experiment with different resting times and observe the difference in your dough's texture and workability. Note your findings – you might be surprised!
- Share your baking journey: Tell us about your experience with dough resting on our BakeWithEase community forum. Let's learn from each other!
- Challenge yourself with a new recipe: Use this improved dough handling technique to tackle a recipe you've always wanted to try – maybe that intricate bread you've been eyeing?
What new baking adventure will you embark on with your perfectly rested dough?