
Combine Royal Icing and Fondant for Unique Cookie Textures

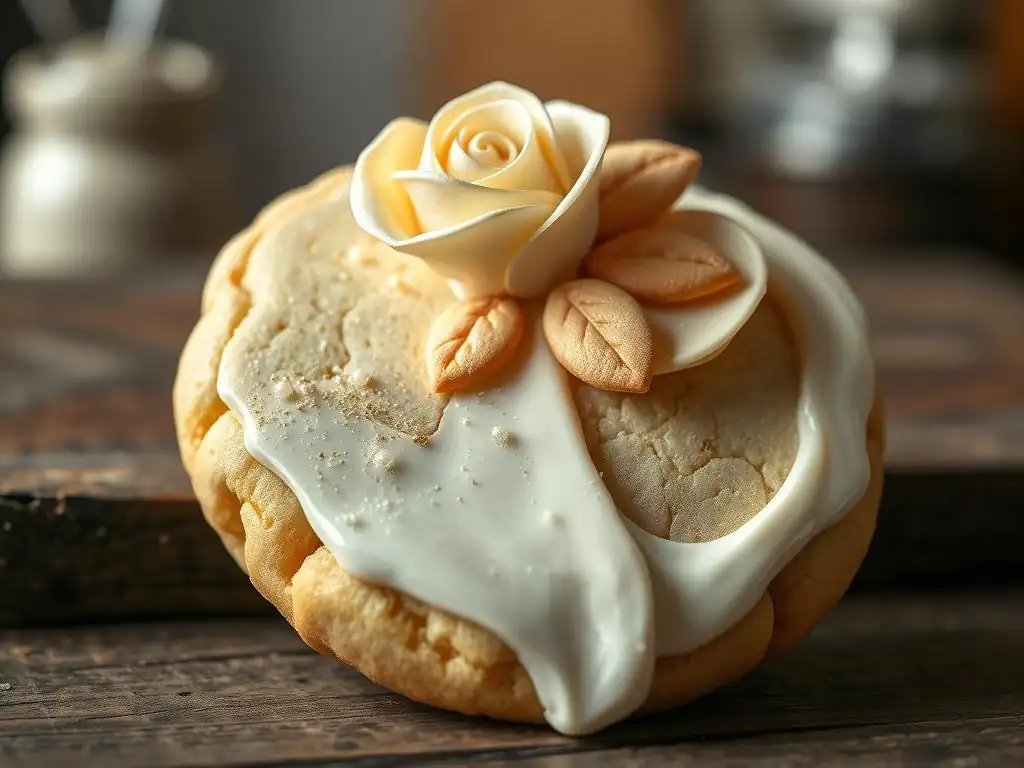
Welcome to BakeWithEase, your guide to unlocking baking brilliance! Ever wondered if you could achieve that perfectly smooth, almost porcelain-like finish on your cookies, while maintaining the delicious, snap-crisp texture underneath? Dive into our latest article and discover the secrets to achieving stunning royal icing fondant cookie texture, a technique that will elevate your pastry game and leave everyone asking for your recipe! Let's explore this innovative approach together and transform your cookies into edible masterpieces.
- Combining Royal Icing and Fondant for Exquisite Cookie Decoration
- Introduction to Royal Icing and Fondant Cookie Decoration
- Mastering Royal Icing: The Palette of Cookie Art
- Mastering Fondant: A Sculptable Medium for Cookies
- Royal Icing Fondant Integration: The Art of Harmonious Design
-
Step-by-Step Guide: Seamlessly Integrating Royal Icing and Fondant on Cookies
- Preparing Cookies for Advanced Decoration: Baking, Shaping, and Leveling
- Applying a Flawless Fondant Base: Achieving a Professional Finish
- Creating Complex Royal Icing Designs: From Monograms to Floral Arrangements
- Advanced Finishing Touches: Adding Gold Leaf, Edible Paints, and Dimensional Elements
- Advanced Techniques: Elevating Your Royal Icing and Fondant Artistry
- Achieving Unique Cookie Effects: Pushing the Boundaries of Texture and Design
- Advanced Tips and Tricks for Flawless Royal Icing and Fondant Cookies
- Examples of Masterful Royal Icing Fondant Cookie Designs
- Conclusion: Unlock Your Cookie Art Potential with Royal Icing and Fondant
-
Frequently Asked Questions
- How does combining royal icing and fondant create unique cookie textures?
- What are the benefits of using both royal icing and fondant on cookies?
- Is it difficult to work with both royal icing and fondant?
- Can I use homemade royal icing and fondant, or should I buy them pre-made?
- What types of cookies work best with this royal icing and fondant combination?
- Final Reflection: Unlocking the Sweet Symphony of Texture
- Unleash Your Inner Cookie Artist: Master New Textures Today!
Taking your cookie decorating skills to the next level involves mastering materials like royal icing and fondant. While both are popular mediums, their combined use unlocks a vast array of advanced techniques that can transform simple cookies into edible works of art. Moving beyond basic flooding and cutouts, decorators can explore methods like sculpting, intricate layering, and realistic texturing. This fusion allows for greater depth, dimension, and complexity in designs, appealing to those who want to create truly unique cookie textures and visual effects.
Advanced decorators often experiment with the properties of each medium – the structural integrity of dried royal icing for fine lines and details, and the malleability of fondant for smooth bases, shapes, and textures. This creative interplay allows for designs that are both visually stunning and structurally sound. For example, a cookie might feature a smooth, vibrant fondant base, providing a perfect backdrop for delicate, raised royal icing patterns, creating a tactile and visually rich experience.
The Synergy of Royal Icing and Fondant: Achieving Diverse Effects
The magic happens when royal icing and fondant are used together, leveraging their individual strengths to create effects neither can achieve alone. Fondant offers a smooth, opaque canvas, ideal for sharp shapes, modeled elements, and embossed textures. Royal icing, on the other hand, provides precision for fine lines, dots, intricate patterns, and dimensional details like brush embroidery or piped lace.
By combining these, you can achieve striking contrasts in finish and texture. Imagine a cookie covered in a matte, textured fondant, with glossy, crisp royal icing details piped on top. This combination provides a depth and visual interest that a single medium often lacks. The ability to layer, inlay, and sculpt with fondant, then enhance or outline with the precision of royal icing, opens up endless possibilities for creating unique royal icing fondant cookie texture and design.
Royal Icing Recipe for Precision Decorating: Achieving Optimal Consistency
Achieving optimal consistency is paramount when working with royal icing for advanced techniques. A standard recipe typically involves confectioners' sugar (powdered sugar), meringue powder or egg whites, and water or lemon juice. The ratio of liquid to sugar dictates the icing's thickness. For fine detail work, like outlining or piping delicate lines, a stiff peak consistency is required. This means the icing holds its shape firmly when piped and doesn't spread.
Conversely, for flooding areas or creating a smooth base layer (though often superseded by fondant for this), a thinner, flood consistency is needed. This icing should flow smoothly but not run off the cookie. A common test is the "10-second rule": when a spoonful of icing is dropped back into the bowl, the surface should become smooth again within approximately 10 seconds. Mastering transitions between these consistencies, often done by adding small amounts of water or more sifted sugar, is crucial for executing complex royal icing designs.
Advanced Techniques for Applying Royal Icing: Overpiping, Brush Embroidery, and Lace
Advanced royal icing application goes far beyond simple flooding. Techniques like overpiping involve piping one layer of icing, letting it set slightly, and then piping another layer directly on top to create raised, dimensional effects, often used for borders or scrolling. Brush embroidery utilizes wet royal icing that is then gently pulled with a brush towards the center of the design, mimicking the look of stitched embroidery.
Creating delicate lace patterns is another advanced skill. This can involve intricate freehand piping of fine lines and dots or using stencils. Some decorators also use a technique where wet-on-wet icing is manipulated with a scribe tool or toothpick to marble colors or create feathered effects. These techniques require steady hands, patience, and precise control over icing consistency and pressure, allowing for stunning detail on your royal icing fondant cookie texture creations.
Troubleshooting Advanced Royal Icing Issues: Color Migration, Matte Finish, and Cratering
Working with royal icing for intricate designs can present specific challenges. Color migration, where dark colors bleed into lighter ones, is a common issue, especially in humid conditions or when using certain food colorings. This can often be mitigated by using high-quality gel colors, allowing each color to dry completely before adding an adjacent one, and controlling humidity.
A matte or dull finish can occur if the icing dries too slowly or in humid environments. Proper drying conditions, ideally with a fan or dehydrator at a low temperature (around 100-110°F or 38-43°C), help achieve a desirable glossy finish. Cratering, where small indentations or holes appear in flooded areas, is often caused by air bubbles trapped in the icing.
Tapping the cookie gently after flooding and using a scribe tool to pop visible bubbles before drying can help prevent this. Addressing these issues is key to achieving a professional royal icing finish, particularly when complementing a smooth fondant base for unique cookie textures.
Advanced Fondant Techniques: Modeling, Draping, and Paneling
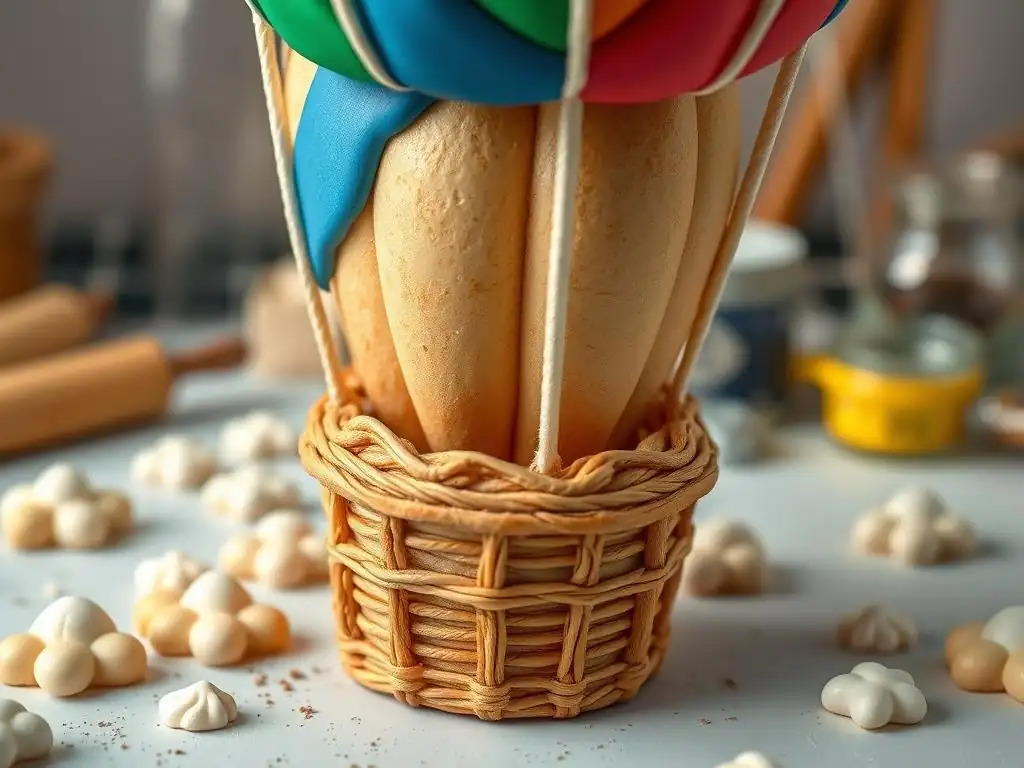
Fondant serves as a versatile, sculptable medium that brings unique possibilities to cookie decoration. Beyond simply covering a cookie, advanced techniques include modeling three-dimensional elements, draping fondant for elegant effects, and paneling for sharp, clean edges. Modeling involves shaping fondant into figures, flowers, or other decorative elements, often using sculpting tools and edible glue.
Draping is particularly useful for creating flowing, fabric-like textures or covering irregularly shaped cookies. Paneling, on the other hand, involves cutting precise shapes of fondant and adhering them to the cookie's surface, often used to create geometric designs or cover specific areas with different colors or textures. These methods allow decorators to build complex structures and add significant dimension to their royal icing fondant cookie texture designs.
Fondant Application Techniques: Achieving Sharp Edges and Seamless Finishes
Applying fondant smoothly and achieving sharp edges is a hallmark of professional cookie decoration. After rolling fondant to an even thickness (typically around 1/8 inch), it's carefully placed over the cookie. Using a fondant smoother is essential to press the fondant onto the cookie, remove air bubbles, and create a smooth surface.
To achieve sharp edges, excess fondant is trimmed closely to the cookie's perimeter. The fondant smoother is then used again, pressing down around the edges and gently tucking the fondant underneath the cookie. For a truly seamless look, especially when covering round cookies, stretching the fondant slightly as you smooth it down can help avoid pleats or folds around the base. Practice is key to mastering the tension and smoothing required for a flawless fondant canvas, perfect for receiving intricate royal icing details.
Advanced Tips for Avoiding Common Fondant Problems: Cracking, Stretching, and Tearing
Working with fondant can sometimes be challenging, with issues like cracking, stretching, and tearing being common frustrations. Cracking often occurs if the fondant is too dry or overworked. Incorporating a small amount of vegetable shortening or food-grade glycerin can improve elasticity. Rolling fondant too thinly can lead to tearing, especially when transferring it to the cookie or stretching it around edges. Aim for a consistent thickness that provides coverage without being fragile.
Stretching unevenly can distort shapes or create thin spots. This is often resolved by rolling the fondant evenly from the center outwards and ensuring it's conditioned properly before use. If fondant becomes sticky, dusting your workspace and hands lightly with cornstarch or confectioners' sugar helps, but use sparingly to avoid drying out the fondant. Understanding how temperature and humidity affect fondant is also crucial; storing it properly and working in a cool, dry environment minimizes problems.
Royal Icing Fondant Integration: The Art of Harmonious Design
Creating Layered Effects: Royal Icing Overlays on a Fondant Canvas
One of the most effective ways to combine these mediums is by applying royal icing designs as overlays on a smooth fondant base. The fondant provides a stable, uniform background, allowing intricate royal icing details to stand out vividly. This technique is perfect for creating designs where the background color needs to be perfectly opaque and flat, like a solid color or a patterned fondant, before delicate patterns are added.
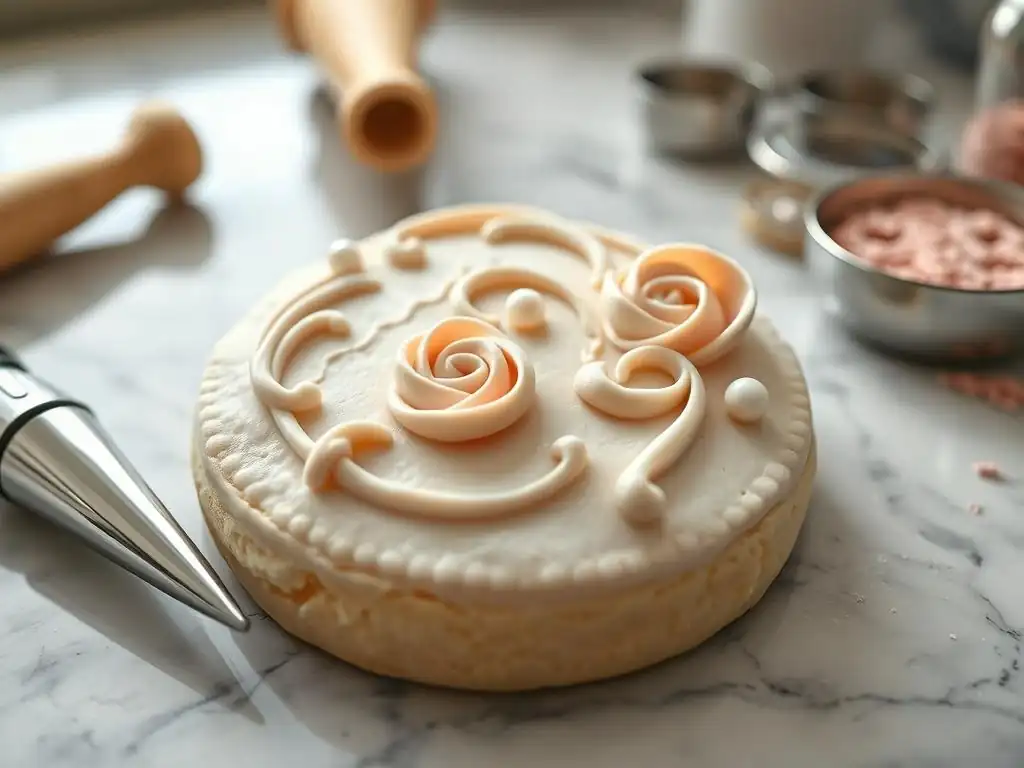
Examples include piping intricate lace patterns, detailed scrolling, monograms, or fine line art directly onto a fondant-covered cookie once the fondant has set slightly. The contrast between the pliable fondant and the crisp, often slightly raised, royal icing creates a beautiful visual and tactile effect. This layered approach is fundamental to achieving complex royal icing fondant cookie texture combinations.
Applying Royal Icing Inlays to Fondant: Achieving a Flush, Seamless Look
For a different effect, royal icing can be inlaid into fondant. This technique involves cutting out shapes from a fondant base, filling the recesses with royal icing, and then allowing it to dry flush with the surrounding fondant surface. This creates a seamless design where different colors or textures meet without one sitting on top of the other.
To achieve this, a cookie is covered in fondant, and then shapes are cut out using a sharp knife or small cutters. Royal icing, typically of a medium consistency, is then carefully piped into these cavities. Once dry, the surface is completely smooth. This method is excellent for geometric patterns, stained-glass window effects, or incorporating contrasting colors that lie perfectly flat against the fondant, contributing to a unique royal icing fondant cookie texture.
Achieving Dimensionality: Sculpting Intricate Fondant Details Enhanced with Royal Icing
Combining sculpting with royal icing allows for highly dimensional designs. Fondant is used to create raised elements, figures, or textures on the cookie surface, and then royal icing is used to add fine details, outlines, shading, or highlights to these sculpted forms. This technique leverages the modeling capabilities of fondant with the precision of royal icing.
For instance, fondant might be shaped into petals for a flower, attached to the cookie, and then fine royal icing lines are piped to create veins on the petals or add definition to the edges. Or, a raised fondant plaque could be added to a cookie, and then intricate royal icing patterns or text are piped onto its surface. This combination adds significant depth and realism to the cookie, showcasing a sophisticated royal icing fondant cookie texture.
The foundation of any successful decorated cookie is a well-baked base. For advanced techniques involving both royal icing and fondant, consistency in shape and size is key. Sugar cookies or shortbread are common choices due to their stable structure. Bake cookies so they are flat and even, avoiding puffy centers or uneven edges. Cooling racks are essential to prevent condensation.
Before decorating, ensure cookies are completely cooled, ideally for several hours or overnight. For perfectly flat surfaces, some decorators gently sand or file the tops of cookies to remove any bumps. Ensuring all cookies are the same thickness and baked consistently helps the fondant lay smoothly and provides a uniform canvas for subsequent royal icing work, contributing to the final royal icing fondant cookie texture.
Applying a Flawless Fondant Base: Achieving a Professional Finish
Applying the fondant base is the first step in the combined decoration process. Roll your conditioned fondant evenly, slightly larger than the cookie. Lightly brush the cookie surface with a thin layer of corn syrup, piping gel, or edible glue – just enough to create tackiness, not so much that it creates a sticky mess. Carefully lift the rolled fondant and center it over the cookie.
Using a fondant smoother, gently press the fondant onto the cookie, working from the center outwards to remove air bubbles. Smooth around the edges, trimming excess fondant with a sharp knife or pizza cutter held at an angle. Use the smoother again to tuck the edges under the cookie and sharpen the side profile. A flawlessly smooth fondant base is crucial; any imperfections here will show through the final royal icing design.
Creating Complex Royal Icing Designs: From Monograms to Floral Arrangements
With the fondant base in place and set (allow at least 30 minutes for the fondant to firm up slightly), it's time for the royal icing work. Use a fine piping tip (like a PME 0 or 1) and stiff consistency royal icing for outlines, intricate details, monograms, or fine scrolling. For complex floral arrangements, you might pipe individual petals or leaves using various tips directly onto the fondant or onto parchment paper to dry and then attach later with a dot of royal icing or edible glue.
Precision is key here. Practice piping on parchment paper first to get a feel for the icing consistency and pressure. For repeating patterns, lightly sketching the design onto the fondant with an edible marker or using a stencil can help guide your piping. Patience is required, especially for detailed work; allow piped lines or areas to dry partially before adding adjacent elements to prevent bleeding and maintain crispness, enhancing the overall royal icing fondant cookie texture.
Advanced Finishing Touches: Adding Gold Leaf, Edible Paints, and Dimensional Elements
Once the main royal icing and fondant work is complete and fully dry, advanced finishing touches can elevate the cookie further. Edible gold or silver leaf can be applied to specific areas of the fondant or royal icing for a touch of luxury. This is best done by brushing a tiny amount of edible glue or clear extract onto the area and then gently pressing the leaf onto it.
Edible paints or dusts mixed with clear extract (like vodka or lemon extract) can be used to add shading, highlights, or vibrant colors to both fondant and dried royal icing details. Brush painting on fondant or adding highlights to sculpted fondant elements with metallic dusts are popular techniques. Dimensional elements, such as pre-made sugar flowers, dragees, or even small modeled fondant pieces, can be attached using royal icing or edible glue, adding final layers of detail to the intricate royal icing fondant cookie texture.
Advanced Techniques: Elevating Your Royal Icing and Fondant Artistry
Creating Multi-Dimensional Fondant Sculptures with Royal Icing Integration
Pushing the boundaries means creating complex, multi-dimensional sculptures using fondant as the primary medium, then integrating royal icing for fine details, textures, or structural support. This could involve building up layers of fondant, modeling intricate figures or objects, and then using royal icing to add painted effects, outline features, or create delicate textures like hair or fabric folds on the sculpted pieces.
For example, modeling a small animal figure from fondant on a cookie might involve using royal icing to pipe tiny eyes, whiskers, or add texture to fur. Or, creating a raised, sculpted floral spray from fondant could be enhanced by piping fine royal icing veins on leaves or adding delicate stamens. This fusion allows for a level of realism and complexity not achievable with either medium alone, resulting in truly unique royal icing fondant cookie texture art.
Mastering Stenciling Techniques for Complex Royal Icing and Fondant Designs
Stenciling is a powerful tool for adding complex and repeatable patterns to both fondant and royal icing. For fondant, stencils can be used with edible dusts, airbrush colors, or even by pressing the stencil into the fondant surface for an embossed effect before it fully dries. This allows for consistent, intricate background patterns or motifs.
When stenciling with royal icing, a medium-stiff consistency icing is key. The stencil is held firmly against the fondant-covered cookie, and icing is spread thinly over the stencil using a palette knife or scraper. The stencil is then carefully lifted straight up to reveal the design. This technique is excellent for creating delicate lace patterns, geometric designs, or repeating motifs quickly and accurately over a smooth fondant base, adding a sophisticated layer to the royal icing fondant cookie texture.
Airbrushing and hand painting with edible colors add depth, shading, and vibrant hues to both fondant and royal icing surfaces. Airbrushing allows for smooth gradients, backgrounds, and quick coloring of large areas of fondant. It can also be used to add subtle shading around royal icing details, making them pop.
Hand painting with edible paints (gel colors diluted with clear extract) allows for more detailed artistic expression. You can paint directly onto dried royal icing or fondant to add fine details, realistic shading, or artistic washes. Combining painted effects on a textured fondant base with delicate piped royal icing details offers a rich artistic canvas, contributing significantly to the final aesthetic and royal icing fondant cookie texture.
Creating Textured Fondant: Embossing, Stamping, and Texturing Mats
Fondant provides an excellent opportunity to introduce texture before adding royal icing details. Embossing folders, texture mats, and even everyday objects like knit fabrics or lace can be pressed into rolled fondant to create intricate patterns and textures. Rolling pins with engraved designs or silicone texture mats are commonly used to imprint wood grain, brick patterns, or delicate floral motifs onto the fondant surface.
Stamps, both food-safe rubber stamps or specifically designed cookie stamps, can also be pressed into fondant to create raised or indented designs. These textured surfaces provide a tactile element and a visually interesting background for subsequent royal icing work. For example, a wood-grain textured fondant base can be enhanced with royal icing "knots" or painted details, creating a realistic royal icing fondant cookie texture.
Replicating Realistic Textures: Wood Grain, Fabric, and Stone Effects
Using a combination of texturing tools, painting, and royal icing, you can realistically replicate materials like wood, fabric, or stone on your cookies. For wood grain, a texture mat or a simple scoring tool can be used on light brown fondant, followed by brushing edible brown dusts or paints into the grooves.
Fabric textures can be replicated using impression mats or by gently pressing actual textured fabric (cleaned and food-safe) into the fondant. Royal icing can then be used to pipe "stitches" or add embroidered details. Stone effects can be created by marbling different colors of grey fondant and then adding cracks or mossy details with royal icing or edible paints. These advanced techniques showcase the versatility of combining royal icing and fondant to achieve unique cookie textures.
One of the most stunning uses of royal icing on fondant is the creation of intricate lace and filigree patterns. The smooth, solid backdrop of the fondant allows the delicate, often freehand, piped lines of royal icing to stand out beautifully. This can range from simple lattice work to complex, flowing lace designs that mimic antique textiles.
Using a very fine piping tip and a steady hand, decorators pipe intricate networks of lines, dots, and scrolls directly onto the fondant. Allowing layers to dry before adding subsequent details builds dimension and prevents lines from merging. This technique demands patience and practice but results in breathtakingly elegant royal icing fondant cookie texture that appears delicate and airy against the solid fondant base.
Choosing High-Quality Ingredients for Optimal Results
The quality of your ingredients significantly impacts the final outcome of your royal icing and fondant cookies. Use fine, pure confectioners' sugar for both mediums; coarser sugar can lead to grainy textures. Meringue powder should be fresh and of good quality for stable royal icing. High-quality pre-made fondant or using a reliable recipe for homemade fondant (often involving gelatin or marshmallows, powdered sugar, and shortening) ensures good elasticity and a smooth finish.
For coloring, use professional-grade gel or paste food colors rather than liquid colors, as they are more concentrated and won't add excessive liquid to your icing or fondant. Investing in quality extracts for flavoring also makes a difference. High-quality ingredients provide a better working experience and contribute to a superior royal icing fondant cookie texture and taste.
Understanding the Properties of Edible Glues and Adhesives
When combining royal icing and fondant, you'll often need edible adhesives. Royal icing itself, when fresh, acts as a glue for attaching fondant to cookies or attaching dried royal icing pieces. However, for attaching dry fondant elements, sugarpaste decorations, or edible pearls/sprinkles to fondant or dried royal icing, dedicated edible glue or a thick paste made from confectioners' sugar and a tiny amount of water (called "sugar glue") is often more effective and dries clearer.
Corn syrup, thinned slightly with water, can also be used as a gentle adhesive, particularly for attaching fondant to the cookie. Understanding which adhesive works best for different applications – from sticking fondant to fondant, fondant to cookie, or royal icing pieces to fondant – is crucial for ensuring your decorative elements stay firmly in place on your royal icing fondant cookie texture creations.
Proper storage is essential to preserve the beauty and freshness of your decorated cookies. Once the royal icing and fondant are completely dry (which can take 24-48 hours depending on humidity and design complexity), store cookies in airtight containers at room temperature. Layering cookies between sheets of parchment paper prevents them from sticking together or damaging the delicate decorations.
Avoid refrigerating or freezing cookies decorated with fondant and royal icing, as condensation upon thawing can cause colors to bleed, fondant to become sticky, or textures to degrade. For display, ensure cookies are kept out of direct sunlight, which can fade colors, especially bright reds and blues. With proper care, these cookies can often be stored and displayed for several weeks, maintaining their intricate royal icing fondant cookie texture and appearance.
(Note: As per instructions, I cannot include actual images. Below are descriptions of hypothetical examples that would typically be showcased.)
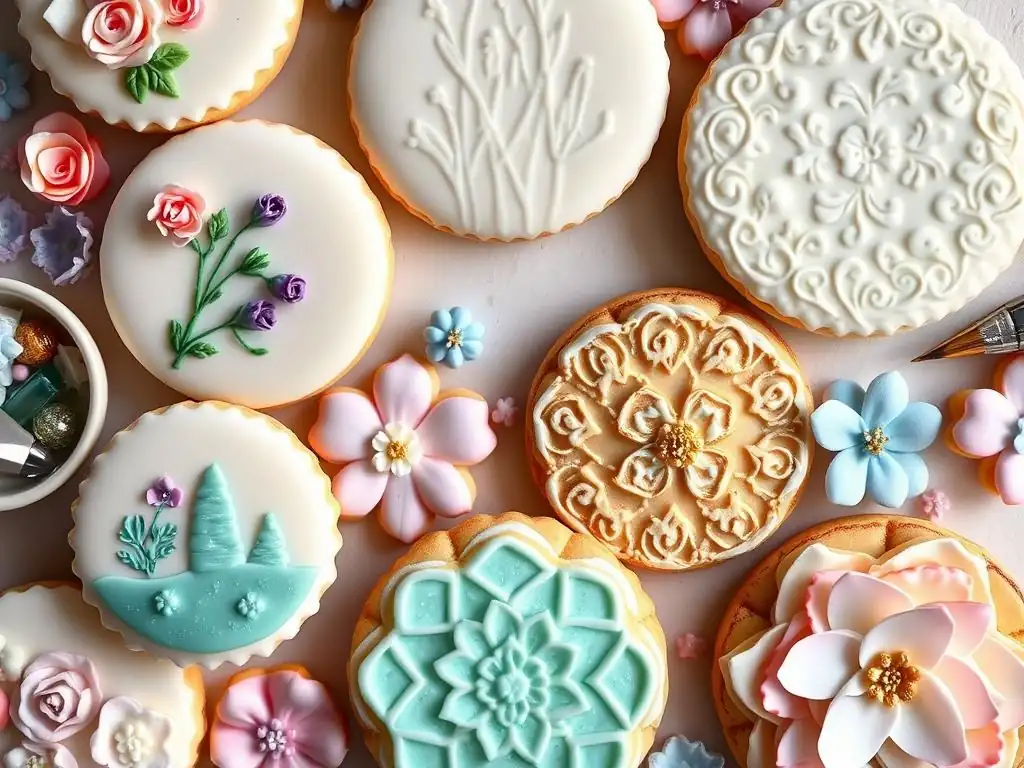
- Example 1: The Vintage Cameo Cookie: A large oval cookie covered in smooth, ivory-colored fondant. A raised fondant cameo profile is attached, and delicate royal icing details are piped around the edge of the cameo and as a fine lace border around the cookie's perimeter, creating a classic royal icing fondant cookie texture with depth.
- Example 2: The Textured Wood & Floral Cookie: A rectangular cookie covered in light brown fondant embossed with a realistic wood grain texture. A cluster of sculpted fondant roses and leaves is arranged in one corner. Fine royal icing lines are piped to add veins to the fondant leaves and subtle highlights to the rose petals, beautifully combining textures.
- Example 3: The Geometric Inlay Cookie: A square cookie covered in white fondant. Geometric shapes (like triangles or diamonds) are cut out of the fondant, and the recesses are filled with vibrant, contrasting colors of royal icing, dried flush with the fondant surface. The result is a modern, seamless royal icing fondant cookie texture with sharp lines and bold color blocks.
Detailed Descriptions of Each Design, Highlighting Advanced Techniques Used
- Vintage Cameo: This design utilizes fondant for the smooth base and the sculpted cameo. The advanced techniques include achieving a flawless fondant application for the base and skillful modeling of the cameo profile. Royal icing is then used for precise overpiping to create the raised frame around the cameo and detailed, freehand piping of fine lace patterns around the cookie edge. The contrast between the matte fondant and the slightly raised, crisp royal icing defines the unique royal icing fondant cookie texture.
- Textured Wood & Floral: Here, the advanced fondant technique is embossing to create the realistic wood grain texture. The floral elements are created using advanced fondant modeling techniques. Royal icing is integrated by piping very fine lines onto the dry fondant leaves to mimic veins and adding tiny dots or brush embroidery elements to the sculpted roses for added realism and texture. This example showcases how texture mats and modeling can be enhanced with precise royal icing details.
- Geometric Inlay: This design highlights the advanced technique of royal icing inlay into fondant. It requires precise cutting of the fondant base and careful flooding of the royal icing into the cut-out areas to achieve a perfectly flush, seamless finish. While seemingly simple, achieving clean lines and a smooth, even surface where the two mediums meet is an advanced skill that creates a striking royal icing fondant cookie texture.
The combination of royal icing and fondant truly unlocks a new dimension in cookie decorating. By understanding the unique properties of each medium and mastering techniques for applying, sculpting, texturing, and integrating them, you can move beyond basic designs and create cookies that are not only delicious but also intricate works of edible art. From realistic textures and multi-dimensional sculptures to delicate lace and seamless inlays, the possibilities for creating unique royal icing fondant cookie texture and design are virtually limitless.
This journey requires patience, practice, and a willingness to experiment. Each technique, from achieving the perfect royal icing consistency to smoothly applying fondant or mastering stenciling, builds upon fundamental skills. As you grow more comfortable, you'll find yourself envisioning increasingly complex designs and having the skills to bring them to life, creating stunning royal icing fondant cookie texture combinations that impress and delight.
Encouragement to Innovate and Develop a Signature Style
Don't be afraid to experiment and combine techniques in new ways. Perhaps you'll discover a novel method for creating a specific royal icing fondant cookie texture, or develop a signature style that blends realistic fondant elements with abstract royal icing patterns. Look to other art forms for inspiration – textiles, architecture, painting – and see how you can translate those ideas into edible designs.
Your unique perspective and creativity are what will set your cookie art apart. Practice the fundamental techniques, but then feel empowered to innovate. The world of advanced cookie decorating with royal icing and fondant is vast and exciting. Grab your tools, prepare your ingredients, and start creating beautiful, textured cookies that are uniquely yours!
Frequently Asked Questions
Combining these two creates a delightful contrast. The royal icing provides a crisp, hard shell while the fondant offers a soft, pliable interior, resulting in a unique textural experience. This blend enhances the overall mouthfeel of the cookie.
Beyond texture, the combination offers visual appeal. Royal icing allows for intricate details and sharp lines, while fondant provides a smooth, even base for vibrant colors and designs, offering versatility in decoration.
Is it difficult to work with both royal icing and fondant?
While both require some practice, neither is inherently difficult. BakeWithEase offers step-by-step guides to help you master each technique. Proper preparation and patience are key to success.
Can I use homemade royal icing and fondant, or should I buy them pre-made?
Both options are viable! Homemade versions offer control over ingredients and cost savings. Pre-made options provide convenience and consistency, especially for beginners. BakeWithEase provides recipes for both.
Sturdy cookies like shortbread or sugar cookies are ideal. Their firm structure can support the weight of both the royal icing and fondant. Avoid cookies that are too soft or crumbly, as they may break under the added layers.
Final Reflection: Unlocking the Sweet Symphony of Texture
The art of combining royal icing and fondant to create unique cookie textures is not merely a culinary technique; it's a gateway to unlocking a whole new dimension of sensory experience. This exploration into the fascinating interplay of these two mediums reveals a world of possibilities, far beyond the limitations of traditional cookie decorating. The techniques discussed, from layering to sculpting, offer a path to crafting truly bespoke treats that delight both the eye and the palate.
The impact of this fusion extends beyond the individual cookie. It represents a broader shift in the baking world, a move away from simple aesthetics towards a more holistic approach to texture and taste. The best things in life are the simplest,
is often said, but sometimes, the most rewarding experiences come from embracing complexity and pushing creative boundaries. This exploration of royal icing and fondant demonstrates that perfectly. The ability to manipulate these materials to create a diverse range of textures—from the crisp snap of a perfectly set royal icing to the smooth, yielding softness of fondant—allows for a level of customization previously unimaginable. This, in turn, elevates the humble cookie to a work of art.
Now, consider your own baking journey. What textures have you explored? What new combinations might you create? Don't be afraid to experiment, to push the boundaries of your own creativity. The techniques outlined in this article are not just recipes; they are a springboard for your own innovative explorations. Embrace the challenge, savor the process, and most importantly, enjoy the delicious results. The world of textured cookies awaits your unique touch.
Thanks for joining us on this delicious journey into the world of cookie decorating! We hope you've gained some exciting new techniques to elevate your baking game. Ready to put your newfound knowledge into practice?
- Try the Royal Icing and Fondant blend: Experiment with different ratios to discover your favorite texture! Don't be afraid to get creative and try unusual flavor combinations!
- Share your creations: Show off your stunning cookie art on social media using #BakeWithEaseRoyalFondant. Let's inspire each other!
- Challenge yourself: Try recreating a design from the article, then push yourself to add a unique twist!
What incredible cookie texture will you create next?