
Your First French Pastry: A Simple Guide to Making Classic Madeleines

Welcome to BakeWithEase!
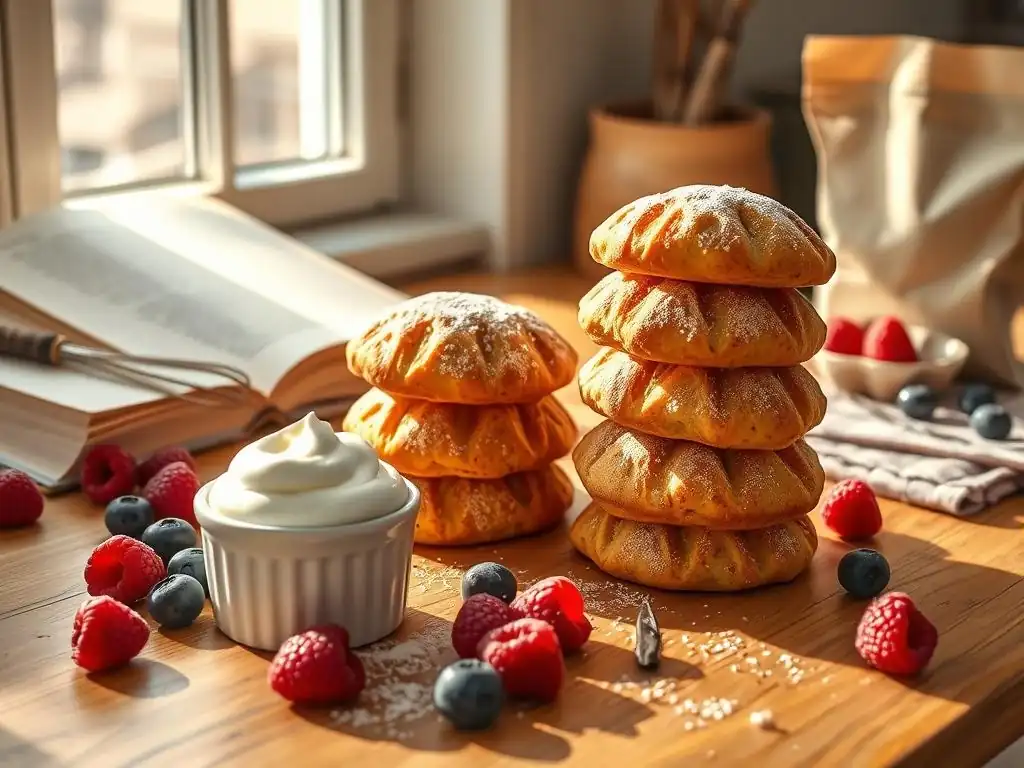
Ever dreamt of creating delicate, shell-shaped French pastries in your own kitchen? You're in the right place. This week, we're demystifying the art of the madeleine. Our easy classic madeleine recipe for beginners breaks down every step, ensuring even novice bakers can achieve buttery, melt-in-your-mouth perfection. Ready to unlock the secrets to this iconic treat? Let's get baking!
- Introduction to Classic Madeleines: A Beginner's Baking Project
- Easy Classic Madeleine Recipe: Step-by-Step
- Baking Your Madeleines: The Simple Method
- Tips and Tricks for Perfect Madeleines Every Time
- Variations on the Classic Madeleine Recipe
- Storing Your Madeleines: Keeping Them Fresh
- Enjoying Your Homemade Madeleines
- Mastering French Pastries: Next Steps After Madeleines
-
Frequently Asked Questions
- What makes this madeleine recipe "easy" for beginners?
- What equipment is absolutely essential for making madeleines?
- Can I substitute ingredients in the recipe to make it gluten-free or dairy-free?
- How do I prevent my madeleines from sticking to the pan?
- How long do madeleines typically stay fresh after baking?
- Final Reflection: The Sweetness of Simplicity and the Joy of Creation
- Unleash Your Inner Pâtissier: Bake Your First Perfect Madeleines!
Introduction to Classic Madeleines: A Beginner's Baking Project
Why Madeleines are Perfect for Beginner Bakers
Starting your journey into French pastry might seem daunting, but classic madeleines offer a wonderfully accessible entry point. Unlike complex layered cakes or delicate macarons, an easy classic madeleine recipe for beginners requires only basic baking techniques: creaming butter and sugar, whisking eggs, and gently folding in flour.
The ingredient list is short and uses common pantry staples like flour, sugar, eggs, and butter. This simplicity minimizes the chances of common baking pitfalls, allowing novice bakers to build confidence without facing overly complicated steps or specialized equipment (beyond a madeleine pan, which is a worthwhile investment for these delightful treats).
Furthermore, madeleines are forgiving in many aspects. While achieving the signature 'hump' is a goal, even a flatter madeleine tastes delicious. The baking time is relatively short, typically between 8 and 12 minutes, meaning you get results quickly and can easily bake multiple batches. This quick turnaround provides ample opportunity for practice and learning from each attempt. Mastering this simple madeleine guide lays a solid foundation for tackling slightly more intricate French desserts down the line, making it an ideal first project for anyone eager to explore the world of pâtisserie.
The history of the madeleine is steeped in legend and culinary lore, though its precise origins are debated. One popular story attributes the creation to a young woman named Madeleine Paulmier in Commercy, Lorraine, in 1755. It is said she baked these small cakes for Stanisław Leszczyński, the Duke of Lorraine and father-in-law of King Louis XV of France, who was so enchanted by them that he named them after her and introduced them to the court at Versailles. This supposedly propelled the madeleine's popularity throughout France and eventually, the world.
Regardless of the exact tale, madeleines became firmly established as a beloved French petit four or tea cake by the 19th century. Marcel Proust's famous literary moment in In Search of Lost Time, where the taste of a madeleine dipped in tea triggers a flood of childhood memories, cemented their iconic status in French culture and beyond. This literary association highlights the nostalgic and comforting quality of these delicate, shell-shaped treats, making them more than just a cookie, but a symbol of cherished moments and simple pleasures.
Easy Classic Madeleine Recipe: Step-by-Step
Gathering Your Ingredients: What You'll Need for Perfect Madeleines
Making perfect classic madeleines begins with assembling the right ingredients. For an easy classic madeleine recipe, the focus is on quality and accuracy in measurement. You'll need granulated sugar, all-purpose flour, large eggs, unsalted butter, a touch of vanilla extract, and optionally, some lemon zest for brightness.
Ensuring your ingredients are at room temperature, especially the eggs, helps create a smooth, emulsified batter that contributes to a tender crumb. Approximately 100 grams of sugar, 100 grams of flour, 2 large eggs, and 100-120 grams of melted butter are standard starting points for a batch of about 12-18 madeleines, depending on your pan size.
Essential Ingredients for Authentic Madeleines
- All-Purpose Flour
- Granulated Sugar
- Large Eggs
- Unsalted Butter
- Vanilla Extract
- A pinch of Salt
Ingredient Substitutions (Optional)
While the classic recipe is simple and best for beginners, you can explore minor variations. For instance, brown sugar can be used instead of granulated sugar for a slightly deeper, caramel note, though this will alter the classic texture slightly. Gluten-free all-purpose flour blends can sometimes work, but they may require adjustments to liquid content and can affect the signature hump.
For a dairy-free version, melted coconut oil or a plant-based butter substitute can replace unsalted butter, though results may vary in flavor and texture compared to the traditional butter-rich version. Remember that these substitutions can change the outcome, so for your very first attempt following this simple madeleine guide, sticking to the essential ingredients is recommended.
Equipment Checklist: Ensuring Success with the Right Tools
Having the correct tools makes the baking process much smoother and increases your chances of success with this easy classic madeleine recipe. The most crucial piece of equipment is, undoubtedly, the madeleine pan. These metal pans have shell-shaped indentations that give the cookies their characteristic form. While non-stick pans are widely available and highly recommended for beginners, traditional metal pans can also be used, requiring careful greasing and flouring.
Beyond the specific pan, standard baking tools are necessary. You'll need mixing bowls (at least two), a whisk or electric mixer (handheld or stand), rubber spatulas for folding and scraping, measuring cups and spoons or, preferably, a digital kitchen scale for accurate weighing (especially of flour and sugar, which can vary significantly by volume).
A small sieve for sifting flour is also helpful to ensure a light texture. Having all your tools ready before you begin assembling the ingredients will streamline the process and help you focus on the simple steps of this easy classic madeleine recipe beginners can master.
Must-Have Tools for Baking Madeleines
- Madeleine Pan (non-stick recommended)
- Mixing Bowls (medium and large)
- Whisk or Electric Mixer
- Rubber Spatulas
- Measuring Cups and Spoons (or Kitchen Scale)
- Small Sieve
Baking Your Madeleines: The Simple Method
Step 1: Preparing the Madeleine Batter
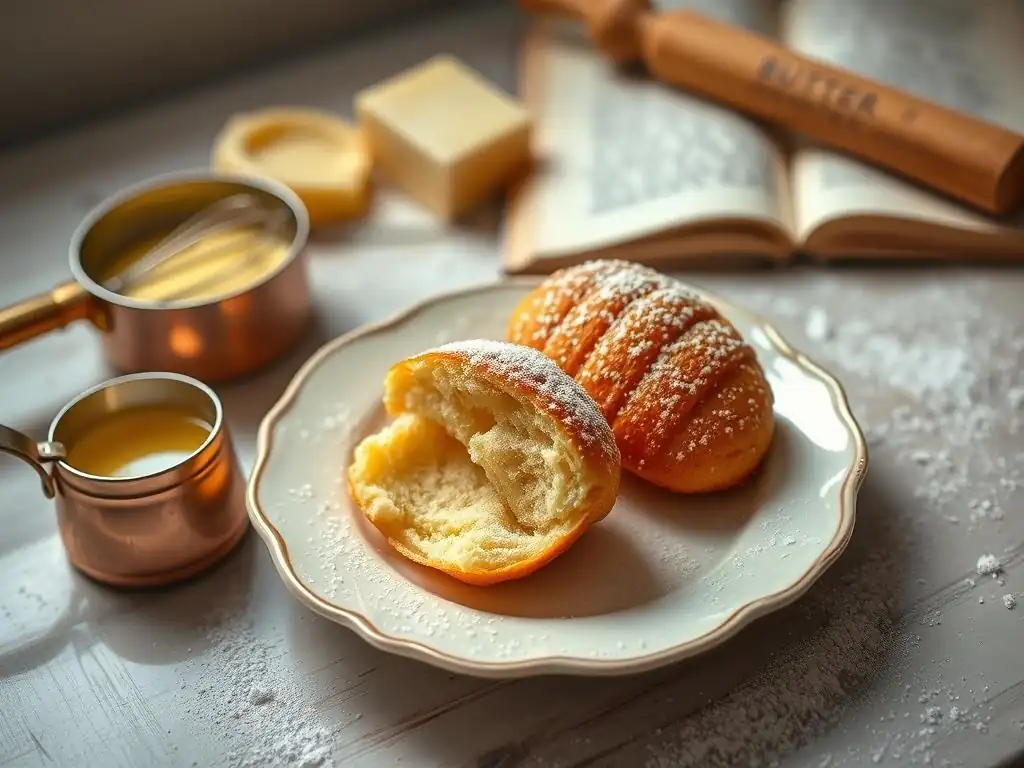
The first step in creating your easy classic madeleine recipe is preparing the batter. This typically involves combining the dry and wet ingredients in a specific order to develop the right structure and consistency. Start by sifting your all-purpose flour and salt into a bowl.
Sifting helps aerate the flour and removes any lumps, contributing to a lighter texture in the final madeleine. Some recipes also include a small amount of baking powder (perhaps 1/2 teaspoon per 100g flour) to aid in lift, though classic versions often rely solely on the leavening from properly whisked eggs and the chilling process.
Mixing the Dry Ingredients
In a medium bowl, whisk together the sifted flour and salt. If using baking powder, add it here and whisk to distribute evenly. This simple step ensures the leavening and seasoning are spread throughout the batter, so every madeleine is consistent. Set this bowl aside while you prepare the wet ingredients.
Combining Wet and Dry Ingredients: Achieving the Right Consistency
In a separate, larger bowl, whisk together the granulated sugar and eggs until the mixture is pale yellow and slightly thickened. This process incorporates air, which is crucial for leavening. Next, gently fold the dry ingredients into the egg mixture using a spatula, mixing just until no streaks of dry flour remain. Avoid overmixing, as this can develop the gluten too much, resulting in tough madeleines. Finally, gently fold in the melted and slightly cooled unsalted butter and vanilla extract (and lemon zest, if using). The batter should be smooth and thick, not runny.
Step 2: Chilling the Batter: Why It's Crucial for Madeleines
Chilling the madeleine batter is arguably the most critical step for achieving the coveted "hump" and a perfect texture. As the batter chills, typically for at least 1-2 hours, or even overnight, several things happen. The flour hydrates fully, leading to a more tender crumb. More importantly, the butter solidifies within the batter. When the cold batter hits the hot oven, the solidified butter melts rapidly, creating steam. This burst of steam, combined with the air incorporated during whisking and any leavening agent used, forces the center of the madeleine upwards, forming the characteristic dome.
Moreover, chilling the batter allows the flavors to meld and deepen. The rest period gives the ingredients time to interact, resulting in a richer, more nuanced taste. While it adds waiting time to your easy classic madeleine recipe, the difference in the final product's appearance, texture, and flavor is significant. Aim for a minimum of one hour, but chilling overnight in the refrigerator can yield even better results, making the batter very firm before baking.
Step 3: Preparing Your Madeleine Pan: Preventing Sticking
Properly preparing your madeleine pan is essential to ensure your beautiful shell-shaped cookies release cleanly after baking. Even if you're using a non-stick pan, a little extra preparation goes a long way in preventing sticking and ensuring golden, crisp edges. The most common method is to grease and flour the pan. Using melted butter or a non-stick baking spray is effective. If using butter, you can melt a small amount (perhaps 1-2 tablespoons) and use a pastry brush to coat each cavity thoroughly, getting into all the shell details.
Greasing and Flouring Your Madeleine Pan
After greasing, lightly flour the pan. Add a spoonful or two of all-purpose flour to the greased pan, then tilt and tap the pan over a sink or trash can to distribute the flour into every corner of the cavities, knocking out any excess. The flour adheres to the grease, creating a barrier that prevents the batter from sticking.
For chocolate madeleines, you might use cocoa powder instead of flour for a cleaner look. Alternatively, some bakers swear by using a non-stick cooking spray that contains flour, which combines both steps into one. Whichever method you choose, ensure every part of every cavity is coated.
Step 4: Baking the Madeleines: Achieving the Golden-Brown Hue
Baking is where the magic happens, transforming your simple batter into elegant madeleines. Preheat your oven to a relatively high temperature, typically between 350°F (175°C) and 400°F (200°C), depending on your oven and desired result. A slightly higher temperature helps encourage the rapid rise needed for the hump. While the oven preheats, take your chilled batter from the refrigerator. Spoon or pipe the cold batter into the prepared madeleine cavities, filling them about two-thirds to three-quarters full. Avoid overfilling, as the batter will spread and rise.
Oven Temperature and Baking Time
A common temperature range for classic madeleines is 375°F (190°C). Bake for approximately 8 to 12 minutes. The precise time will vary based on your oven's calibration, the size of your pan cavities, and how full you filled them. Begin checking around the 8-minute mark. The madeleines should puff up significantly in the center, forming the characteristic hump, and the edges should turn a beautiful golden brown.
Recognizing When Your Madeleines Are Perfectly Baked
Perfectly baked madeleines will have a distinct golden-brown color around the edges and a slightly lighter, but still cooked, center, particularly on the hump. The surface should spring back gently when lightly touched. If they look pale or feel very soft in the center, they likely need another minute or two. Be careful not to overbake, as this can result in dry, hard madeleines. Aim for that perfect balance of a slightly crisp edge and a tender, moist interior.
Step 5: Cooling and Releasing the Madeleines
Once your madeleines are perfectly baked and have reached that lovely golden hue, it's time to remove them from the pan. This step needs to be done relatively quickly while they are still warm to prevent them from sticking as they cool and contract. Have a wire cooling rack ready nearby.
Removing Madeleines from the Pan
Carefully take the hot madeleine pan from the oven. Place the pan on a heatproof surface. Within a minute or two of coming out of the oven, gently invert the pan over the cooling rack. The madeleines should ideally release easily with a light tap or two. If any are stubborn, you can carefully use a small offset spatula or the tip of a knife to gently loosen the edges, but avoid forcing them, especially in a non-stick pan where you don't want to scratch the surface.
Cooling Madeleines for Optimal Texture
Once removed from the pan, transfer the madeleines directly onto the wire cooling rack in a single layer. This allows air to circulate around them, preventing them from becoming soggy and allowing the edges to crisp up slightly as they cool. While they are tempting to eat immediately, allowing them to cool for at least 5-10 minutes improves their texture. They are best enjoyed warm or at room temperature, ideally within a few hours of baking for the freshest taste and texture.
Tips and Tricks for Perfect Madeleines Every Time
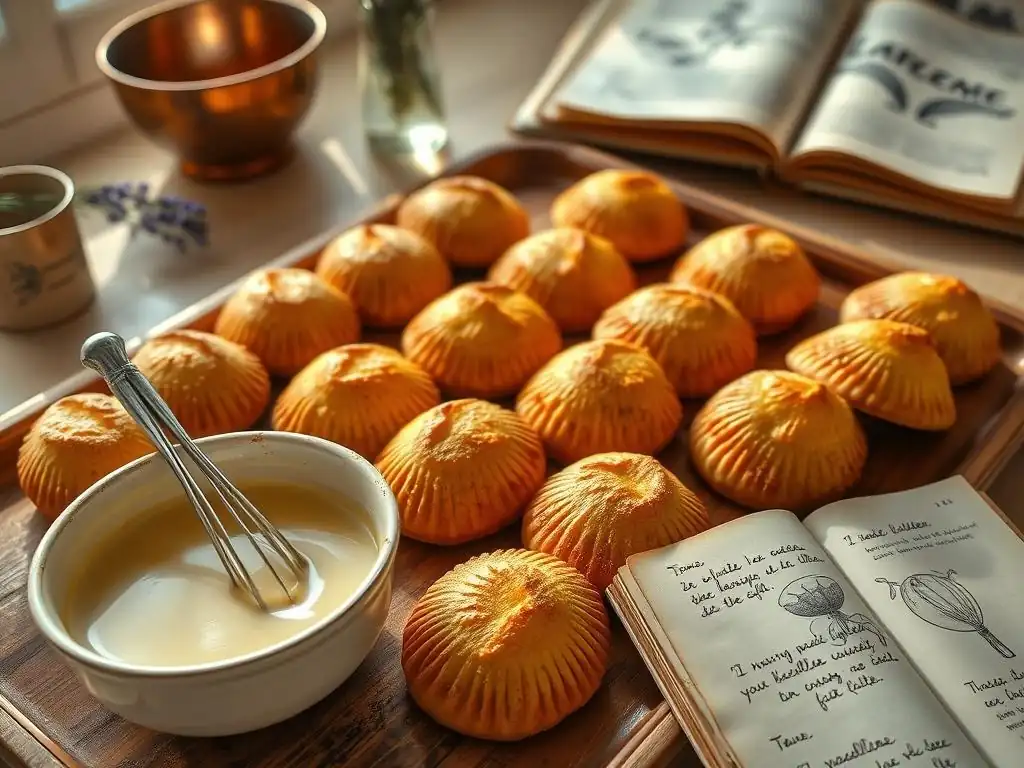
Achieving beautiful, delicious madeleines consistently involves a few key tips that go beyond the basic steps of this easy classic madeleine recipe. Paying attention to these details can elevate your results significantly.
Achieving the Signature "Hump" on Madeleines
The iconic hump is a hallmark of a well-made madeleine. As mentioned earlier, chilling the batter is the most critical factor. Using cold batter in a preheated, relatively hot oven creates the necessary thermal shock for the rapid rise.
Some bakers also advocate for slightly warmer melted butter (around 40-45°C or 104-113°F) folded into the batter right before chilling, as this can help the butter solidify into tiny pockets that create more steam when they hit the heat. Ensuring your oven is fully preheated to the correct temperature is also vital; if the oven isn't hot enough, the batter will spread before it rises.
Preventing Dry Madeleines: Hydration is Key
Dry madeleines are often a result of overbaking or using too much flour. Weighing your flour using a kitchen scale (e.g., 100 grams) is far more accurate than using volume measurements (like cups), which can easily result in adding too much dry ingredient. Bake them only until they are golden brown and the center springs back; don't wait until they are deeply colored all over.
Another factor is the quality and temperature of your butter and eggs. Using room temperature eggs and properly melted (but not hot) butter ensures the batter emulsifies correctly, leading to a moist crumb. Chilling the batter also allows the flour to hydrate fully, which contributes to tenderness.
Troubleshooting Common Madeleine Baking Issues
Even with a simple madeleine guide, you might encounter issues. Don't be discouraged! Baking is a learning process.
Why are my Madeleines flat?
Flat madeleines are almost always due to insufficient thermal shock. This means either your batter wasn't cold enough, your oven wasn't hot enough, or the baking time was too short at a lower temperature. Ensure the batter chills for at least 1-2 hours (or overnight) and that your oven is accurately preheated to a temperature like 375°F (190°C) or 400°F (200°C) before you put the pan in.
Why are my Madeleines sticking to the pan?
Sticking is usually a result of inadequate pan preparation. Ensure you are thoroughly greasing and flouring (or using baking spray with flour) every single cavity, getting into all the details of the shell shape. Letting the madeleines cool too long in the hot pan before attempting to release them can also cause them to stick as they contract. Try to invert the pan within a minute or two of removing it from the oven.
Why are my Madeleines not golden brown?
Lack of color can mean the oven temperature is too low or the baking time is too short. Ensure your oven thermometer is accurate and that you are baking for the full recommended time until the edges are visibly golden. Sometimes, the position in the oven matters; try baking on the middle rack. If using a very dark non-stick pan, they might brown faster than in a lighter metal pan.
Variations on the Classic Madeleine Recipe
Once you've mastered the easy classic madeleine recipe, you can easily introduce variations to add different flavors. The base batter is incredibly versatile.
Lemon Madeleines: Adding a Citrus Twist
Adding lemon zest is a simple and popular variation that provides a bright, refreshing flavor. Simply whisk the zest of one organic lemon into the sugar and egg mixture at the beginning, allowing the oils from the zest to infuse into the batter. You can also add a few drops of lemon extract, but zest provides a more natural, vibrant flavor. Approximately 1-2 teaspoons of finely grated zest per standard batch is usually sufficient.
Chocolate Madeleines: Indulge Your Sweet Tooth
For chocolate lovers, converting this simple madeleine guide into a chocolate version is straightforward. Reduce the amount of all-purpose flour slightly (e.g., by 20-30 grams) and replace it with unsweetened cocoa powder. Sift the cocoa powder along with the flour and salt. You can also fold in miniature chocolate chips (about 50-75 grams) into the chilled batter just before portioning it into the pan for pockets of melted chocolate.
Honey Madeleines: A Touch of Sweetness
Replacing some or all of the granulated sugar with honey adds a different kind of sweetness and a lovely subtle flavor. If using all honey, you might need to slightly reduce the liquid elsewhere in the recipe or increase the flour marginally, as honey is a liquid sweetener. Substituting about half the sugar with honey (e.g., 50 grams sugar, 50 grams honey) is a good starting point that maintains much of the classic texture while adding a unique note.
Storing Your Madeleines: Keeping Them Fresh
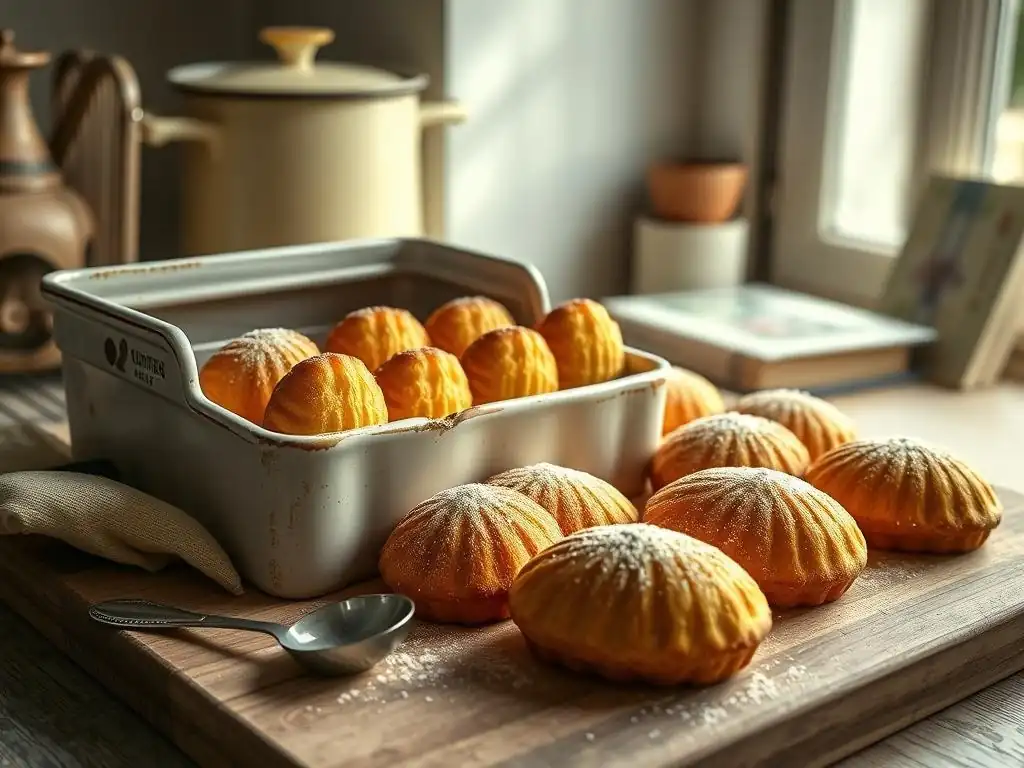
Madeleines are truly best enjoyed fresh, ideally within a few hours of baking when their edges are slightly crisp and the interior is tender. However, if you have leftovers, proper storage can help preserve their quality for a little longer.
Best Practices for Storing Homemade Madeleines
Allow the madeleines to cool completely on a wire rack before storing them. Once fully cooled, store them in an airtight container at room temperature. Avoid refrigerating them, as this can dry them out and negatively affect their texture. If you plan to store them for more than a day, you can place a piece of parchment paper between layers to prevent sticking. Some bakers find that adding a slice of fresh bread to the container can help keep them moist, though this is debated.
How Long Do Madeleines Stay Fresh?
Stored properly at room temperature in an airtight container, classic madeleines are typically best consumed within 2-3 days. After this time, they tend to lose their delicate texture and can become dry. If you need to store them for longer, they can be frozen. Once cooled, wrap them tightly in plastic wrap, then place them in a freezer-safe bag or container. They can be frozen for up to 1-2 months. Thaw them at room temperature, and you can gently warm them in a low oven (around 250°F or 120°C) for a few minutes to refresh their texture slightly.
Enjoying Your Homemade Madeleines
You've successfully baked your first batch using this easy classic madeleine recipe for beginners – congratulations! Now comes the best part: enjoying the fruits of your labor.
Serving Suggestions: Pairing Madeleines with Tea or Coffee
Madeleines are traditionally served as a petit four with coffee or tea. Their delicate, buttery flavor pairs beautifully with a hot beverage. Imagine a warm madeleine, fresh from the oven, alongside a steaming cup of Earl Grey or a robust black coffee. This classic pairing is simple yet elegant and perfectly highlights the madeleine's charm. They are also wonderful served with hot chocolate.
Elevating Your Madeleines: Dusting with Powdered Sugar
While delicious plain, a simple dusting of powdered sugar adds a touch of elegance and extra sweetness. Once the madeleines have cooled slightly but are still warm, place a few in a fine-mesh sieve held over a plate or serving platter. Gently tap the sieve to sprinkle a light, even layer of powdered sugar over the shells. This simple finish makes them look even more inviting and adds a delightful visual appeal.
Mastering French Pastries: Next Steps After Madeleines
Baking these easy classic madeleines is a fantastic first step into the world of French pastry. You've practiced essential techniques like creaming, folding, and understanding the importance of temperature.
Exploring Other Beginner-Friendly French Pastries
With the confidence gained from this simple madeleine guide, you can explore other French treats that are also relatively accessible for beginners. Consider trying Financiers, small almond cakes often baked in rectangular molds, which use similar techniques but feature brown butter. Another option is a simple fruit tart with a press-in pastry crust, which introduces you to pastry dough without the complexity of lamination required for croissants. Even simple choux pastry (for eclairs or profiteroles) can be a manageable next challenge, as it involves cooking a dough on the stovetop before baking.
Recommended Recipes
Look for recipes for Financiers (often called 'Friands' in some regions), Tarte Tatin (an upside-down caramelized apple tart), or basic Choux Pastry. These next steps build upon the skills you used for your easy classic madeleine recipe beginners, introducing new techniques like making brown butter, working with fruit fillings, or cooking dough, without jumping straight into the most challenging areas of pâtisserie. Each successful bake will further your skills and deepen your appreciation for the art of French baking.
Frequently Asked Questions
What makes this madeleine recipe "easy" for beginners?
This recipe prioritizes simple steps and easily accessible ingredients, making it perfect for those new to baking French pastries. We also provide clear, concise instructions.
What equipment is absolutely essential for making madeleines?
You'll need a madeleine pan to achieve the shell-like shape. A whisk and mixing bowls are also essential, but most kitchens already have those.
Can I substitute ingredients in the recipe to make it gluten-free or dairy-free?
Yes, you can! Look for gluten-free flour blends specifically designed for baking and use a dairy-free butter alternative. Adjustments to baking time may be needed.
How do I prevent my madeleines from sticking to the pan?
Grease the madeleine pan thoroughly with melted butter and dust with flour. Alternatively, use a baking spray with flour included for non-stick baking.
How long do madeleines typically stay fresh after baking?
Madeleines are best enjoyed fresh, but they will stay soft for about 2-3 days if stored in an airtight container at room temperature. They tend to dry out quickly.
Final Reflection: The Sweetness of Simplicity and the Joy of Creation
The seemingly simple act of baking a madeleine holds a surprising power: it connects us to culinary traditions, fosters creativity, and offers a tangible sense of accomplishment. More than just a recipe, mastering this classic French pastry is a gateway to a world of baking possibilities, a world readily accessible to even the most novice baker. In a world often dominated by complexity and instant gratification, the deliberate process of making madeleines offers a welcome counterpoint.
The enduring appeal of the madeleine lies not only in its delicate flavor and charming shell-shape, but also in its ability to evoke feelings of nostalgia and comfort. It's a recipe passed down through generations, a testament to the power of simple ingredients transformed into something beautiful. As I learned during the process of writing this guide, the true magic lies not just in following the instructions precisely, but in the subtle nuances of technique and the personal touch each baker brings to the process. The best things in life are simple.
This sentiment rings especially true when considering the humble yet rewarding experience of baking these little cakes.
Now, I invite you to embrace the challenge, to gather your ingredients, and to embark on your own madeleine journey. Don't be afraid to experiment, to adjust the recipe to your liking, and to savor the sweet reward of your labor. Remember the feeling of accomplishment, the pride in creating something delicious with your own hands. Let the simple act of baking a madeleine be a reminder of the joy found in the everyday, the beauty in simplicity, and the boundless potential within each of us to create something truly special.
Unleash Your Inner Pâtissier: Bake Your First Perfect Madeleines!
Thanks for joining us on this delicious journey into the world of French baking! We hope you've gained the confidence to tackle even the most delicate pastries. Now it's time to put your newfound skills to the test.
- Bake your own batch of madeleines today! Use our recipe as a springboard – experiment with different extracts, glazes, or even add some fresh berries.
- Share your baking triumphs (and any hilarious kitchen mishaps!) with us on social media using #BakeWithEaseMadeleines. Let's inspire each other!
- Explore our other easy-to-follow recipes to expand your baking repertoire and discover new culinary adventures.
What unique twist will you add to your first perfect madeleine? Let us know in the comments below!