
Your Guide to Perfectly Swirled Cinnamon Rolls Every Time

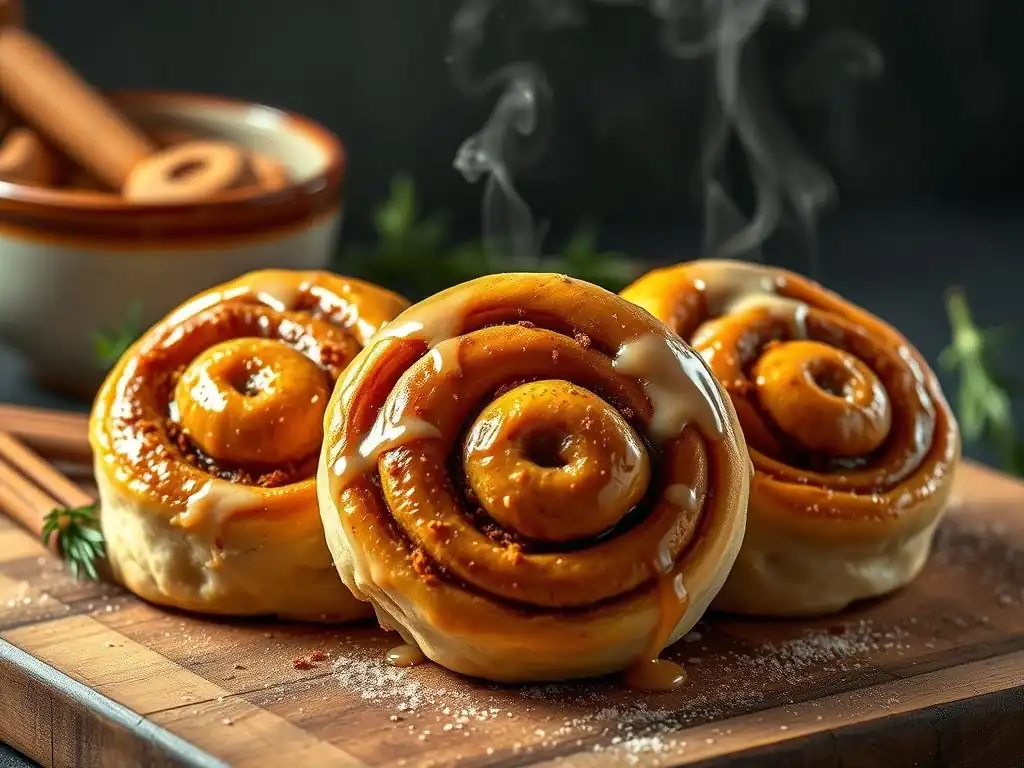
Welcome to BakeWithEase, where baking becomes a joy, not a chore! Ever dream of pulling a tray of warm, fragrant cinnamon rolls from the oven, each one boasting a perfectly swirled center? We've unlocked the secrets! Dive into our guide and discover how to achieve bakery-quality results at home. What's the key to that irresistible swirl and tender crumb? Let's find out...
- BakeWithEase' Guide to Swirl Perfection: Mastering Cinnamon Rolls
- Achieving the Perfect Swirl: A Step-by-Step Cinnamon Roll Recipe
- The Art of the Swirl: Detailed Instructions for Cinnamon Roll Success
- Troubleshooting Common Cinnamon Roll Swirl Problems
- Tips and Tricks for Elevating Your Swirled Cinnamon Roll Game
- Enjoy Your Perfectly Swirled Cinnamon Rolls!
-
Frequently Asked Questions
- How can I ensure my cinnamon roll dough is soft and pliable?
- What's the secret to getting a perfectly swirled cinnamon roll?
- My cinnamon roll filling always leaks out during baking, what am I doing wrong?
- What's the best way to proof cinnamon rolls for a light and fluffy texture?
- Can I freeze cinnamon rolls, and if so, at what stage should I freeze them?
- Final Reflection: The Sweet Science of the Perfect Swirl
- Unleash Your Inner Baker: Perfect Cinnamon Rolls Await!
BakeWithEase' Guide to Swirl Perfection: Mastering Cinnamon Rolls
Welcome to BakeWithEase! Today, we're diving into the comforting world of cinnamon rolls, specifically focusing on how to achieve that coveted, perfectly swirled cinnamon roll every single time. It's not just about taste; the visual appeal of a neat, tight swirl adds to the overall enjoyment and tells a story of careful craftsmanship. Whether you're aiming to impress guests or simply treat yourself to a beautiful bake, mastering the swirl is a key step in your baking journey.
This guide will walk you through the essential steps, from dough preparation to the final frosting flourish. We'll share techniques and tips honed over countless batches, ensuring your perfectly swirled cinnamon roll recipe yields consistently delicious and beautiful results. Get ready to transform simple ingredients into bakery-worthy treats right in your own kitchen.
Achieving the Perfect Swirl: A Step-by-Step Cinnamon Roll Recipe
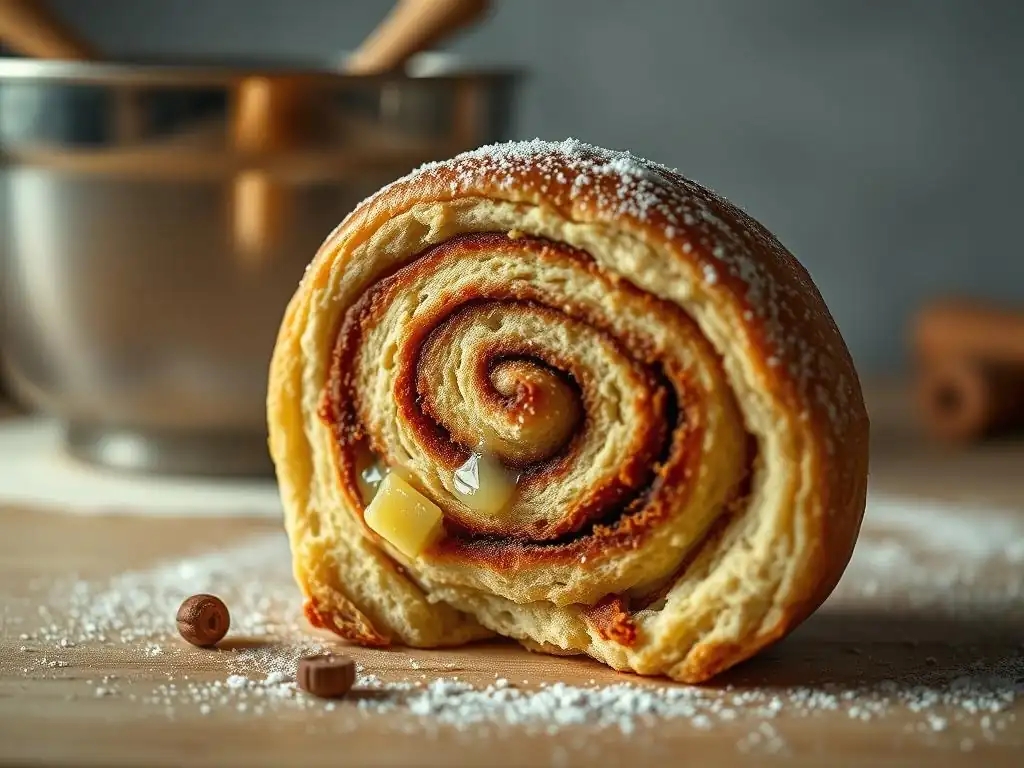
Creating a perfectly swirled cinnamon roll involves attention to detail at each stage. From activating your yeast correctly to rolling the dough with just the right tension, every step contributes to the final outcome. This comprehensive recipe breaks down the process, making it accessible for intermediate bakers looking to perfect their technique.
We'll cover everything from selecting the best ingredients for a tender dough and flavorful filling to the precise method for rolling and cutting your rolls. Following this step-by-step guide will not only help you bake delicious cinnamon rolls but also build confidence in handling yeasted doughs and achieving professional-looking results. Let's get started on your path to the ultimate perfectly swirled cinnamon roll recipe.
Why Swirl is Key: The Importance of Shape in Cinnamon Rolls
The swirl in a cinnamon roll is far more than just decoration; it's fundamental to its texture, flavor distribution, and overall eating experience. A well-defined swirl ensures that each bite contains a balanced ratio of soft dough, sweet cinnamon filling, and often, the luscious frosting. When the swirl is tight and consistent, the filling remains nestled within the layers of dough during baking, preventing it from leaking out and caramelizing excessively on the bottom of the pan, which can lead to tough spots.
Moreover, the layered structure created by the swirl contributes significantly to the tender, pull-apart texture that is the hallmark of a great cinnamon roll. The multiple thin layers of dough, separated by the filling, bake up light and airy, contrasting beautifully with the dense, rich center. Without a proper swirl, you might end up with a less appealing, more bread-like texture with uneven pockets of filling, detracting from the classic cinnamon roll experience. Achieving a perfectly swirled cinnamon roll is truly about optimizing both form and function.
Ingredients for the Perfectly Swirled Cinnamon Rolls Recipe
Crafting the ideal cinnamon roll starts with quality ingredients. The precise measurements and types of ingredients used for the dough, filling, and frosting all play a critical role in achieving that tender texture, rich flavor, and, of course, the defined swirl. Think of this list as the foundation for your perfectly swirled cinnamon roll recipe success.
Ensuring your ingredients are fresh, especially the yeast, is paramount. Using room-temperature ingredients for the dough, like milk and eggs, helps the yeast activate properly and promotes a smooth, pliable dough. For the filling, using real butter and good quality cinnamon makes a noticeable difference in flavor intensity.
Dough Ingredients: The Foundation of Your Cinnamon Rolls
The dough is the backbone of your perfectly swirled cinnamon roll. It needs to be rich enough for tenderness but strong enough to hold its shape and structure during the rolling and baking process. A typical enriched dough includes milk, sugar, butter, eggs, flour, yeast, and salt.
For a standard batch yielding about 12-15 rolls, you might use around 4-5 cups of all-purpose flour, 1 cup of warm milk (around 105-115°F), 1/2 cup of sugar, 1/3 cup of melted butter, 2 large eggs, 2 1/4 teaspoons of active dry yeast (or instant yeast), and 1 teaspoon of salt. The quality of the flour, such as using a good bread flour for a slightly chewier texture or all-purpose for a softer crumb, can influence the dough's handling and the final swirl.
Cinnamon Filling Ingredients: Flavor and Swirl Definition
The filling provides the signature flavor and helps define the layers of your perfectly swirled cinnamon roll. A classic filling combines softened butter, brown sugar, and cinnamon. The butter acts as a binder, holding the sugar and spice together and preventing them from leaking out during baking.
A common ratio for the filling for 12-15 rolls is 1/2 cup of softened unsalted butter, 1 cup of packed light brown sugar, and 2-3 tablespoons of ground cinnamon. Some recipes add a pinch of salt to balance the sweetness, or a teaspoon of vanilla extract for added depth. Using softened, not melted, butter is crucial as it spreads easily without being greasy and helps the filling adhere to the dough during rolling, which is key for a tight, perfectly swirled cinnamon roll.
Cream Cheese Frosting Ingredients: The Finishing Touch
No perfectly swirled cinnamon roll is complete without a generous dollop of tangy cream cheese frosting. This sweet and slightly tart topping complements the rich cinnamon filling beautifully and adds moisture to the baked roll.
A standard cream cheese frosting recipe for a batch of rolls typically calls for 4 ounces of softened cream cheese, 1/4 cup of softened unsalted butter, 1-2 cups of powdered sugar (depending on desired thickness and sweetness), and 1/2 teaspoon of vanilla extract. A tablespoon or two of milk or cream can be added to achieve the desired consistency for easy spreading or drizzling. Ensuring the cream cheese and butter are properly softened is essential for a smooth, lump-free frosting.
The Art of the Swirl: Detailed Instructions for Cinnamon Roll Success
Mastering the swirl is the pinnacle of creating a truly perfectly swirled cinnamon roll. It involves careful handling of the dough, precise application of the filling, and a specific rolling technique. Follow these detailed steps to ensure your rolls have those beautiful, tight spirals every time.
This section breaks down the process into manageable stages, focusing on the techniques that directly impact the swirl. Pay close attention to dough temperature, rolling dimensions, and the method of rolling to achieve optimal results. Practice makes perfect, but starting with the right approach makes a significant difference in your first attempt at a perfectly swirled cinnamon roll recipe.
Step 1: Preparing the Dough – A Baker's Essential
The quality of your dough directly impacts how well it rolls and holds its shape, which is fundamental to a perfectly swirled cinnamon roll. Proper hydration, gluten development, and proofing are key.
Beginning with activating the yeast ensures your dough will rise properly, giving you that light, fluffy texture. Mixing and kneading develop the gluten structure needed for elasticity, and the initial rise allows flavors to develop and the dough to become pliable for rolling.
Activating the Yeast: A Crucial First Step
Yeast is a living organism, and activating it properly is the first non-negotiable step in any yeasted dough recipe. For active dry yeast, you typically dissolve it in a warm liquid (like milk or water) that is between 105°F and 115°F (40°C-46°C), along with a pinch of sugar.
Within 5-10 minutes, the mixture should become foamy and bubbly on the surface, indicating the yeast is alive and active. If it doesn't foam, your liquid might have been too hot (killing the yeast) or too cold (inhibiting activation), or the yeast might be old; in this case, you need to start over with new yeast.
If you're using instant yeast, you can often mix it directly with the dry ingredients, but proofing it in warm liquid first is still a good way to verify its vitality, especially if you're unsure of its age. Ensuring vigorous yeast activity provides the necessary lift for a tender dough that will roll without tearing and hold the filling effectively, setting the stage for a perfectly swirled cinnamon roll.
Mixing the Dough: Achieving the Right Consistency
The goal when mixing cinnamon roll dough is to achieve a soft, slightly sticky consistency that is still manageable. If using a stand mixer, combine the activated yeast mixture, remaining wet ingredients (eggs, melted butter), sugar, and salt. Gradually add the flour, mixing on low speed with a dough hook until the dough comes together. Increase the speed to medium-low and knead for 5-8 minutes. The dough should pull away from the sides of the bowl but still stick slightly to the bottom.
If kneading by hand, mix the ingredients in a large bowl until a shaggy dough forms, then turn it out onto a lightly floured surface. Knead for 8-12 minutes, adding just enough flour to prevent excessive sticking. The dough is properly kneaded when it is smooth, elastic, and springs back slowly when gently poked. Over-kneading can result in tough rolls, while under-kneading won't provide enough structure for a defined swirl.
First Rise: Allowing the Dough to Develop Flavor
The first rise, also known as bulk fermentation, is crucial for both developing flavor and making the dough easy to handle for rolling. Place the kneaded dough in a lightly oiled bowl, turning to coat. Cover tightly with plastic wrap or a damp towel. Let it rise in a warm, draft-free place until doubled in size, typically 60-90 minutes at room temperature (around 70-75°F or 21-24°C).
Factors like room temperature and the vitality of your yeast will affect the rise time. A slightly slower, cooler rise (like in a cool pantry or even the refrigerator overnight) can develop more complex flavors, although it will take longer. The dough should look puffy and light; you can test readiness by gently pressing two fingers into the dough – if the indentations remain, it's ready. This properly risen dough is pliable and perfect for rolling thin, uniform layers for a perfectly swirled cinnamon roll.
Step 2: Rolling Out the Dough and Creating the Swirl
This is arguably the most critical stage for achieving that signature perfectly swirled cinnamon roll look. How you shape the dough and apply the filling directly impacts the definition and tightness of the swirl.
Precision and care are key here. Avoid adding too much flour when rolling, as this can dry out the dough. Ensure the filling is spread evenly right to the edges to guarantee flavor in every part of the swirl.
Shaping the Dough: Achieving the Perfect Rectangle
Once the dough has completed its first rise, gently punch it down to release the air. Turn the dough out onto a lightly floured surface. The goal is to roll the dough into a large rectangle. Aim for dimensions roughly 12-18 inches wide and 18-24 inches long, depending on how many rolls you want and how thick you want the dough layer to be (a thinner dough yields more turns in the swirl). The thickness should be relatively uniform, about 1/4 to 1/3 inch thick.
Using a rolling pin, start from the center and roll outwards, working your way to the edges. Lift and rotate the dough occasionally if needed to prevent sticking and to maintain the rectangular shape. Ensure the corners are as square as possible; this helps create uniform rolls when cutting. A well-shaped rectangle is the foundation for a tight, perfectly swirled cinnamon roll.
Spreading the Cinnamon Filling: Ensuring Even Distribution
With your dough rolled into a large rectangle, it's time to spread the softened butter and cinnamon-sugar mixture. Use an offset spatula or the back of a spoon to spread the softened butter evenly over the entire surface of the dough, going all the way to the edges. Ensure the butter is soft enough to spread easily without tearing the dough.
Next, sprinkle the cinnamon-sugar mixture evenly over the buttered surface. Make sure to cover the entire rectangle, right up to the edges. The butter helps the sugar and cinnamon adhere to the dough, preventing the filling from spilling out during rolling and baking. Even distribution of the filling is essential for a consistently flavorful and perfectly swirled cinnamon roll from the center to the outer edge.
Rolling the Dough: The Technique for Tight Swirls
This is where the magic happens to create a perfectly swirled cinnamon roll. Starting from one of the longer sides of the rectangle, begin rolling the dough up tightly into a log. Use your fingers to tuck the edge in and create a tight coil from the start. As you roll, try to maintain even tension across the width of the dough, ensuring the log is uniform in thickness.
Roll the dough all the way to the opposite long edge. Once rolled, the seam should be on the bottom. Gently press along the seam to seal it closed. This tight rolling technique is crucial for preventing the layers from separating during baking and ensures you get that beautiful, defined spiral when you slice the log. A tightly rolled log is the secret to a picture-perfect, perfectly swirled cinnamon roll.
Step 3: Cutting and Shaping the Cinnamon Rolls
Once your dough log is perfectly rolled and sealed, the next step is dividing it into individual rolls. The method you use for cutting can significantly impact the shape and integrity of the swirl.
Consistency in size is important for even baking. Allowing the cut rolls a second rise helps them become light and airy before hitting the oven.
Using the Right Tool: Knife vs. Dental Floss
There are two popular methods for cutting the dough log into individual rolls: using a sharp knife or using dental floss. A sharp chef's knife can work well, but it can sometimes compress the dough layers, slightly distorting the swirl. For the cleanest cut that preserves the perfectly swirled shape, many bakers prefer using unflavored dental floss or thin kitchen twine.
To cut with floss, slide a long piece of floss under the log at the desired cutting point. Cross the ends of the floss over the top of the log and pull them in opposite directions, slicing cleanly through the dough. This method applies minimal pressure, resulting in neat, well-defined swirls. Aim for rolls that are roughly 1.5 to 2 inches thick for a good balance of dough and filling.
Evenly Spacing the Rolls: Consistency is Key
After cutting, arrange the rolls in a baking pan. A standard 9x13 inch baking dish typically fits 12-15 rolls comfortably. Choose a pan with high sides to help the rolls support each other as they rise and bake. Lightly grease the pan with butter or non-stick spray.
Place the cut rolls, swirl-side up, in the prepared pan. Leave a small amount of space between each roll (about 1/2 inch). They will expand significantly during the second rise and baking, filling the pan. Placing them relatively close helps them rise upwards rather than outwards, resulting in tall, soft rolls with beautifully preserved swirls. Consistent spacing ensures they bake evenly, preventing some from drying out while others are undercooked.
Second Rise: Preparing for Baking
The second rise, or proofing, is essential for achieving a light and fluffy texture in your perfectly swirled cinnamon rolls. Cover the pan of cut rolls loosely with plastic wrap or a clean kitchen towel. Let them rise in a warm, draft-free place until they are puffy and have nearly doubled in size, typically 30-60 minutes. They should be touching each other and look soft and pillowy.
This second rise allows the yeast to produce more gas, creating air pockets within the dough layers. This expansion is what gives cinnamon rolls their signature soft, pull-apart texture. Don't rush this step; properly proofed rolls will bake up beautifully, holding their perfectly swirled shape and achieving an ideal texture.
Step 4: Baking Your Swirled Cinnamon Rolls to Golden Perfection
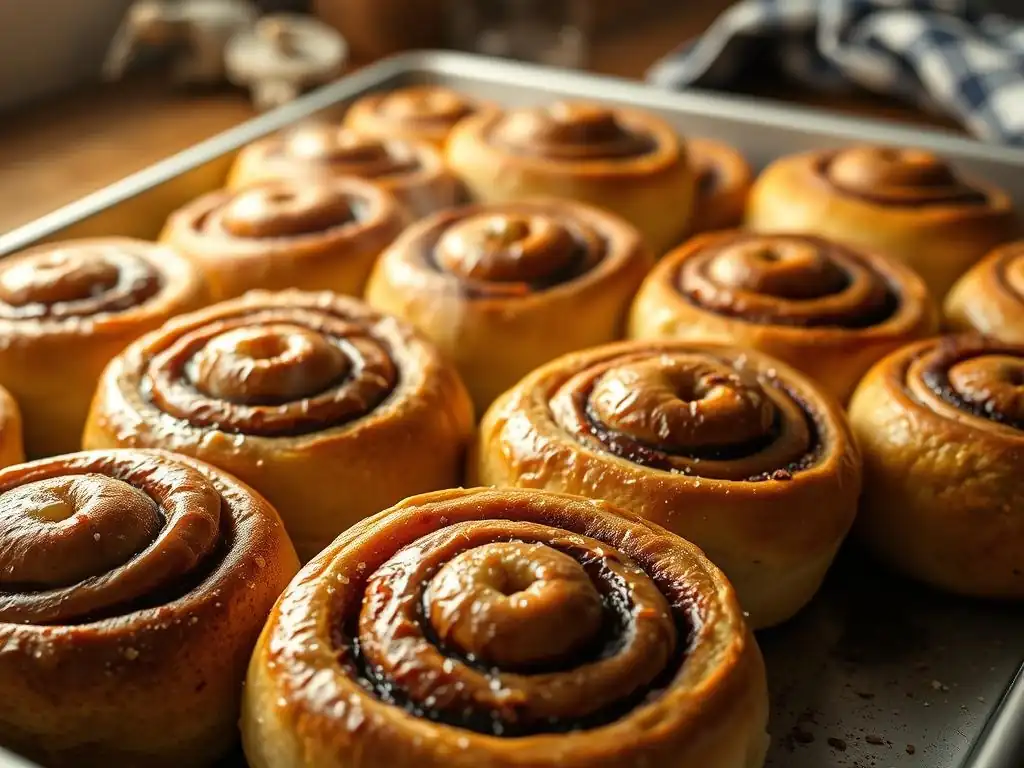
Baking is the final transformation, turning proofed dough into warm, fragrant, perfectly swirled cinnamon rolls. The correct oven temperature and baking time are crucial to ensure they are cooked through without becoming dry or having the filling leak excessively.
Monitoring the rolls as they bake is important, as oven temperatures can vary. You're looking for a specific color and texture to indicate doneness.
Oven Temperature and Baking Time: Avoiding Over-Baking
Preheat your oven to the correct temperature, typically 350°F (175°C). Baking at this moderate temperature allows the rolls to cook through evenly without the outside browning too quickly. Place the pan in the center of the preheated oven.
Baking time usually ranges from 20 to 30 minutes, depending on the size of your rolls and your oven. Begin checking for doneness around the 20-minute mark. You want the rolls to be golden brown on top and cooked through in the center. Over-baking is a common mistake that leads to dry rolls and a hardened filling.
Achieving a Golden Brown Crust: Monitoring Doneness
To check if your perfectly swirled cinnamon rolls are done, look for a uniform golden brown color across the tops and edges. The centers should look set, not raw or doughy. You can also gently lift one of the rolls from the edge of the pan; the bottom should be a light golden brown. Some bakers use an instant-read thermometer inserted into the center of a middle roll (avoiding the filling) – an internal temperature of around 190-200°F (88-93°C) indicates the dough is fully cooked.
If the tops are browning too quickly but the centers aren't done, you can loosely tent the pan with aluminum foil for the remaining baking time. This helps reflect heat and prevents further browning. Removing the rolls from the oven at just the right moment ensures a tender crumb and a perfectly swirled cinnamon roll ready for frosting.
Step 5: Cream Cheese Frosting and Serving
The finishing touch for most perfectly swirled cinnamon rolls is a rich, creamy frosting. Applying it while the rolls are still warm allows it to melt slightly, creating a luscious glaze that seeps into the layers.
The consistency of your frosting is key for easy application and visual appeal. Serving them warm is highly recommended for the ultimate experience.
Making the Cream Cheese Frosting: Smooth and Tangy
To make the classic cream cheese frosting, ensure your cream cheese and butter are properly softened to room temperature. In a mixing bowl, beat the softened cream cheese and butter together until smooth and creamy, with no lumps. This usually takes 2-3 minutes with an electric mixer.
Gradually add the powdered sugar, one cup at a time, mixing on low speed until just combined. Be careful not to overmix, which can incorporate too much air. Add the vanilla extract and milk or cream (if using) and mix until you reach the desired consistency. You want a smooth, spreadable frosting – add a little more liquid if it's too thick, or a little more powdered sugar if it's too thin. The tanginess of the cream cheese is a wonderful contrast to the sweet, perfectly swirled cinnamon roll.
Frosting Application: Enhancing the Swirl Appeal
Once the cinnamon rolls are out of the oven, let them cool in the pan for about 5-10 minutes. This allows them to set slightly but keeps them warm enough for the frosting to melt beautifully. You can either generously spread the frosting over the entire pan of rolls or frost individual rolls.
For a classic look, apply a generous amount of frosting evenly over the tops of the warm rolls using an offset spatula. The warmth of the rolls will cause the edges of the frosting to soften and melt slightly, creating a lovely glaze that highlights the contours of the perfectly swirled cinnamon roll. For a more rustic look, you can simply drizzle the frosting over the tops.
Serving Your Perfectly Swirled Cinnamon Rolls: Warm and Fresh
Cinnamon rolls are undoubtedly best served warm, ideally within an hour or two of baking. The dough is softest, the filling is gooey, and the frosting is perfectly melted. You can serve them directly from the pan or transfer individual rolls to plates.
If you've frosted the entire pan, you can cut them using a knife or lift them out with a spatula. The distinct layers of your perfectly swirled cinnamon roll will be visible, promising a delightful texture and flavor experience. Enjoy the fruits of your labor!
Troubleshooting Common Cinnamon Roll Swirl Problems
Even with a great recipe, sometimes things don't go exactly as planned when aiming for a perfectly swirled cinnamon roll. Identifying common issues and knowing how to fix them or prevent them next time is part of the baking process.
Here are some frequent challenges bakers face and practical tips to help you overcome them, ensuring your next batch of perfectly swirled cinnamon rolls turns out flawlessly.
Dough Too Sticky: Tips for Handling Difficult Dough
A dough that is excessively sticky can be challenging to roll out thinly and evenly, which is essential for a perfectly swirled cinnamon roll. This is often due to too much hydration (too much liquid) or insufficient kneading.
- Add flour cautiously: If the dough is too sticky after the initial mix, add flour one tablespoon at a time while kneading until it reaches a manageable consistency that is still soft and slightly tacky. Avoid adding large amounts of flour at once, as this can result in a dry, tough dough.
- Use a bench scraper: A bench scraper is invaluable for handling sticky dough, allowing you to scrape it from the work surface and fold it over during kneading without getting your hands completely covered.
- Chill the dough: If the dough is simply too soft and warm to handle after the first rise, pop it in the refrigerator for 15-30 minutes. Cooling the butter and other fats in the dough will firm it up, making it much easier to roll and shape for your perfectly swirled cinnamon roll.
Filling Leaking Out: Preventing a Messy Bake
Filling leakage is a common issue that results in caramelized sugar on the bottom of the pan and less filling inside the rolls. This can happen if the butter in the filling is melted instead of softened, if the dough isn't rolled tightly enough, or if the rolls are spaced too far apart.
- Use softened butter: Ensure the butter in your filling is only softened, not melted. Softened butter helps the filling stick to the dough layers during rolling and baking.
- Roll tightly: The tighter you roll the dough log, the less likely the filling is to escape. Roll with even tension from one end to the other, sealing the seam well.
- Place rolls close together: Arranging the rolls relatively close in the pan (about 1/2 inch apart) provides structural support for each roll as it bakes, helping to contain the filling within the perfectly swirled layers.
Uneven Swirls: Achieving Consistent Results
Uneven swirls can result from an irregularly shaped dough rectangle or inconsistent tension when rolling the log. This impacts both the appearance and the distribution of filling in your perfectly swirled cinnamon roll.
- Roll a perfect rectangle: Take the time to roll your dough into as perfect a rectangle as possible, with square corners. This ensures the log is uniform in width and thickness.
- Roll with even tension: As you roll the dough log, apply consistent pressure across the entire width. Avoid rolling one end tighter than the other.
- Cut with floss: Using dental floss or kitchen twine helps create clean cuts that don't compress the dough, preserving the distinct layers and resulting in more uniform, perfectly swirled cinnamon rolls.
Dry Cinnamon Rolls: Maintaining Moisture
Dry cinnamon rolls can be caused by over-baking, using too much flour during kneading or rolling, or an issue with the initial dough hydration. A perfectly swirled cinnamon roll should be soft and tender.
- Measure flour accurately: Use a kitchen scale for the most accurate flour measurement, or the spoon-and-level method (spoon flour into the measuring cup and level off). Too much flour is a frequent culprit for dry dough.
- Don't over-knead: Kneading develops gluten, but over-kneading can make the dough tough and dry. Stop kneading once the dough is smooth and elastic.
- Monitor baking time: Start checking for doneness at the lower end of the recommended baking time range. Remove the rolls from the oven as soon as they are golden brown and the centers are cooked through (check internal temperature if unsure).
- Properly proof: Under-proofed dough can result in a dense, dry texture. Ensure your rolls have nearly doubled in size during the second rise.
Tips and Tricks for Elevating Your Swirled Cinnamon Roll Game
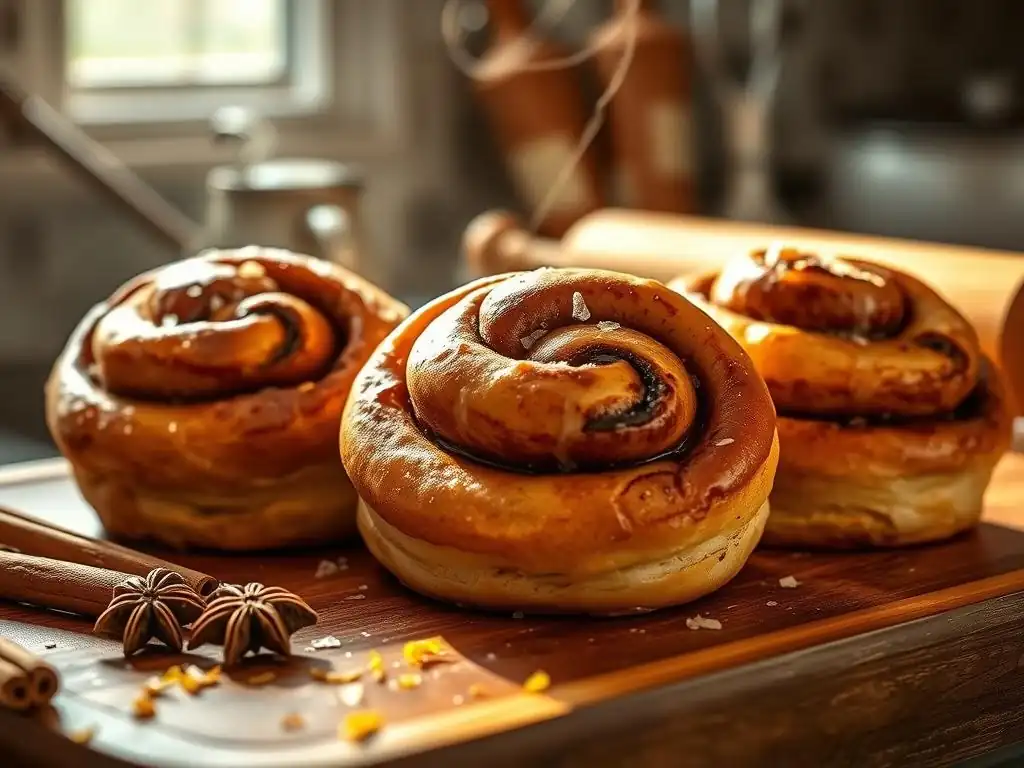
Once you've mastered the basics of creating a perfectly swirled cinnamon roll, you can experiment with variations and techniques to make them even better. These tips can add extra flavor, texture, or convenience to your baking process.
Think of these as ways to personalize your perfectly swirled cinnamon roll recipe and take it to the next level, whether through subtle flavor enhancements or making them ahead of time.
Enhancing the Flavor: Adding Extracts and Spices
While cinnamon is the star, you can enhance the overall flavor profile of your perfectly swirled cinnamon roll with a few additions.
- Vanilla Extract: Add a teaspoon of pure vanilla extract to the dough and/or the frosting for a richer, more complex flavor.
- Cardamom: A pinch of ground cardamom in the dough or filling pairs beautifully with cinnamon, adding a warm, slightly floral note. Try adding 1/2 teaspoon to the dry ingredients of the dough or the cinnamon-sugar mixture.
- Nutmeg or Allspice: A tiny pinch of freshly grated nutmeg or a dash of allspice can add depth to the cinnamon filling. Use sparingly, perhaps 1/4 teaspoon.
Variations on the Classic Recipe: Exploring Different Fillings
The perfectly swirled technique isn't limited to just cinnamon. You can adapt this recipe to create other delicious swirled buns.
- Pecan or Walnut: Add finely chopped toasted pecans or walnuts to the cinnamon filling for extra texture and nutty flavor. Around 1/2 cup is a good starting point.
- Fruit: A thin layer of fruit compote (like apple or berry) can be spread over the buttered dough before the cinnamon-sugar, but be careful not to make it too wet, which can make the dough soggy. A thicker, jam-like consistency works best.
- Chocolate: Swapping some of the cinnamon-sugar for cocoa powder and mini chocolate chips can create delicious chocolate swirls.
Make-Ahead Instructions: Preparing Cinnamon Rolls in Advance
You can prepare your perfectly swirled cinnamon rolls the day before you plan to bake them, making them perfect for a leisurely weekend breakfast.
- After the second rise: After cutting and placing the rolls in the pan for their second rise, instead of letting them rise at room temperature, cover the pan tightly with plastic wrap and refrigerate overnight (up to 12-18 hours). The cold temperature slows down the yeast activity.
- Baking from cold: The next morning, remove the pan from the refrigerator and let the rolls sit at room temperature for 60-90 minutes while you preheat the oven. They will finish proofing as they warm up. Bake as directed. This method allows you to wake up and bake fresh, perfectly swirled cinnamon rolls with minimal effort.
Enjoy Your Perfectly Swirled Cinnamon Rolls!
Frequently Asked Questions
How can I ensure my cinnamon roll dough is soft and pliable?
The key to a soft dough is using warm milk and allowing the dough to rise properly. Don't skip the kneading step, as it develops the gluten needed for a tender crumb.
What's the secret to getting a perfectly swirled cinnamon roll?
Roll the dough into a thin, even rectangle and spread the filling evenly. Then, roll tightly and slice cleanly with dental floss or a sharp serrated knife.
My cinnamon roll filling always leaks out during baking, what am I doing wrong?
Make sure your filling is not too wet. Also, ensure the cinnamon rolls are tightly sealed before baking to prevent leakage.
What's the best way to proof cinnamon rolls for a light and fluffy texture?
Proof them in a warm, draft-free place until they almost double in size. Avoid over-proofing, which can lead to a flat and dense texture after baking. You can also do an overnight proof in the fridge.
Can I freeze cinnamon rolls, and if so, at what stage should I freeze them?
Yes, you can freeze them either before or after baking. For best results, freeze them before baking after they've been shaped, then thaw and proof before baking.
Final Reflection: The Sweet Science of the Perfect Swirl
The pursuit of the perfectly swirled cinnamon roll transcends mere baking; it's a testament to the power of precision and patience in achieving culinary excellence. This guide has explored the intricacies of yeast activation, dough manipulation, and the art of the perfect swirl, offering a detailed roadmap to cinnamon roll nirvana. But beyond the technical aspects, it's a journey into the heart of home baking, a space where simple ingredients transform into something truly magical.
The enduring appeal of the cinnamon roll lies not just in its deliciousness, but in its ability to evoke feelings of warmth, comfort, and shared experience. It's a treat that connects generations, a symbol of home and hospitality. Baking is at once child's play and adult joy. And love, of course.
– This sentiment perfectly captures the essence of this seemingly simple pastry, transforming a routine task into an act of love and care. The impact of a perfectly executed cinnamon roll extends beyond the individual, fostering connection and creating lasting memories.
Now, I invite you to take what you've learned and embark on your own cinnamon roll adventure. Don't be afraid to experiment, to tweak the recipe to your liking, and to savor the process as much as the final product. The journey to the perfect swirl is as rewarding as the destination itself. Remember the joy of the process, the satisfaction of a job well done, and the delicious reward that awaits. Let the aroma of warm cinnamon fill your kitchen and your heart. Go forth and swirl!
Unleash Your Inner Baker: Perfect Cinnamon Rolls Await!
Thanks for joining us on this delicious journey to cinnamon roll perfection! We hope you’ve gained the confidence to tackle this classic treat with ease. Now it's time to put your newfound skills to the test.
- Bake a batch of your own amazing cinnamon rolls: Use the recipe and tips from the article to create a masterpiece. Don't be afraid to experiment with different fillings or frostings!
- Share your creations: Tag us on social media with your photos – we'd love to see your perfectly swirled cinnamon rolls! Use #BakeWithEaseCinnamonRolls.
- Challenge a friend to a cinnamon roll bake-off: See who can create the most delicious and visually stunning rolls!
Ready to share the sweet aroma of freshly baked cinnamon rolls with the world? What unique twist will you add to your next batch?