
Why Temperature Matters in GlutenFree Bread Baking

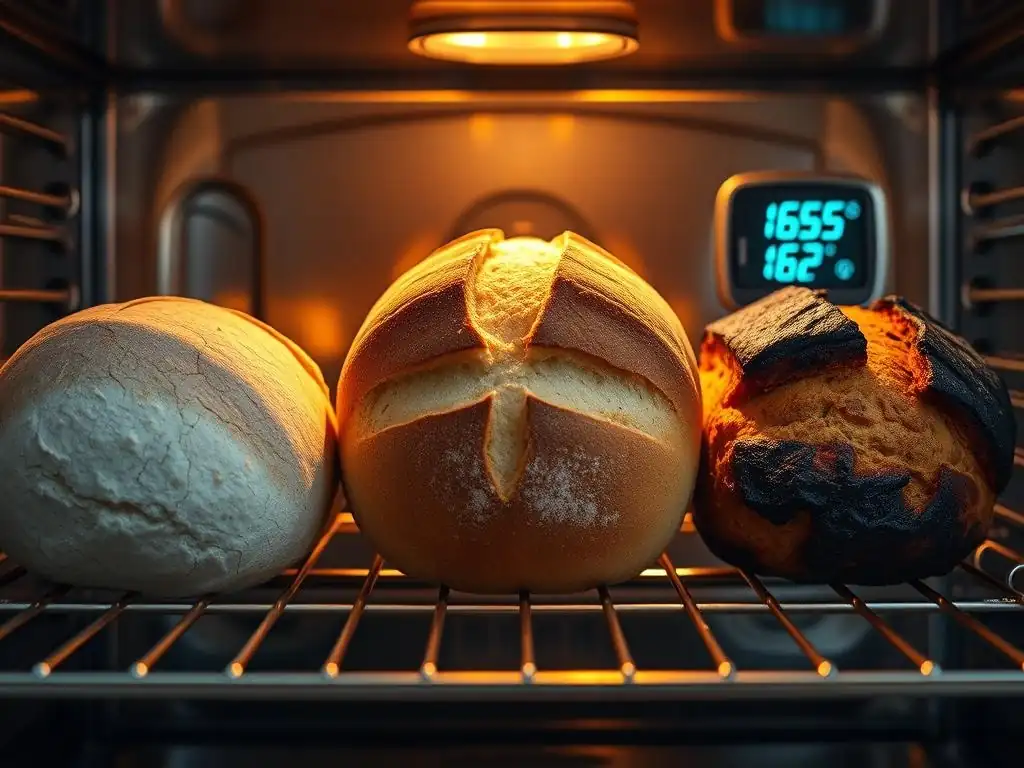
Welcome to BakeWithEase, your kitchen companion for all things baking! Ever wondered if the secret to perfectly risen gluten-free bread lies in more than just ingredients? Discover the crucial role of glutenfree bread baking temperature in achieving that coveted light and airy texture. Unlocking this key detail will transform your baking results – read on to find out why!
- Understanding the Importance of Temperature in Gluten-Free Baking
- The Science Behind Gluten-Free Bread Baking Temperature
- Temperature Guidelines for Gluten-Free Bread Ingredients
- Oven Temperature: The Critical Factor for Gluten-Free Bread
- Dough Temperature: Achieving Optimal Results
- Troubleshooting Temperature-Related Issues in Gluten-Free Bread
- Mastering Gluten-Free Bread Baking with Temperature Control
- Advanced Techniques: Using Temperature to Customize Gluten-Free Bread
-
Frequently Asked Questions
- How does oven temperature affect gluten-free bread?
- What is the ideal internal temperature for fully baked gluten-free bread?
- Why is temperature more important in gluten-free bread baking compared to traditional bread?
- Can I adjust the baking temperature if my gluten-free bread is browning too quickly?
- What happens if the oven temperature is too low when baking gluten-free bread?
- Final Reflection: The Crucial Role of Temperature in Gluten-Free Baking Success
- Unleash Your Gluten-Free Baking Potential!
Understanding the Importance of Temperature in Gluten-Free Baking
The Unique Challenges of Gluten-Free Bread
Baking gluten-free bread presents a distinct set of challenges compared to traditional wheat-based baking. Without gluten, the protein network that provides structure, elasticity, and chewiness in conventional bread is absent. This means gluten-free doughs often rely on alternative binders like xanthan gum, psyllium husk, or starches to mimic some of gluten's functions.
These binders behave differently, affecting how the dough handles, rises, and sets. Furthermore, gluten-free flours, such as rice flour, tapioca starch, and potato starch, absorb liquids differently and gelatinize at varying temperatures, making precise control over the entire baking process, especially temperature, absolutely critical for a successful loaf.
The lack of gluten also impacts the dough's ability to trap gases produced by yeast, often resulting in a denser crumb structure. Achieving a light, airy texture and a well-formed loaf requires careful manipulation of hydration levels, mixing techniques, and crucially, temperature at every stage. From hydrating flours to fermenting the dough and finally baking, the glutenfree bread baking temperature significantly influences the final outcome, determining everything from the rise and crumb to the crust color and overall texture. Mastering these temperature nuances is key to overcoming the inherent difficulties of gluten-free dough.
Key Role of Temperature in Gluten-Free Bread Success
Temperature is not just a factor in gluten-free baking; it is arguably the most critical environmental variable. It dictates the speed and effectiveness of yeast activity during fermentation, influences how starches absorb water and gelatinize, and directly impacts the setting of the final structure during baking.
Incorrect temperatures at any point can lead to a range of issues, from a dense, gummy interior to a pale, hard crust, or even a loaf that collapses after baking. For instance, dough that is too cold will result in slow, sluggish yeast activity, leading to poor rise, while dough that is too warm can cause yeast to overproduce gas too quickly, potentially leading to collapse or off-flavors.
Moreover, the specific glutenfree bread baking temperature in the oven plays a vital role in how the starches in the flour blend gelatinize and how any added binders set. If the oven temperature is too low, the loaf may spread rather than rise and develop a thick, undesirable crust before the interior is fully cooked.
Conversely, if it's too high, the crust can burn before the inside has a chance to cook through, leaving a raw or gummy center. Understanding and controlling temperature throughout the process is fundamental to achieving that coveted light, airy texture and a satisfying crust in gluten-free loaves.
The Science Behind Gluten-Free Bread Baking Temperature
How Temperature Affects Gluten-Free Starches
Gluten-free flours are primarily composed of starches, and temperature profoundly impacts how these starches behave. When liquid is added to flour, the starch granules begin to absorb water. As the temperature increases during mixing or initial proofing, this absorption continues. However, the most dramatic effect occurs during baking.
As the internal temperature of the dough rises, typically between 140°F and 180°F (60°C and 82°C), the starch granules undergo gelatinization. They swell significantly, absorbing more water, and then rupture, releasing amylose and amylopectin molecules that form a viscous network. This gelatinization process is essential for setting the structure of gluten-free bread, providing firmness and preventing collapse.
Different starches gelatinize at different temperature ranges. For example, tapioca starch begins to gelatinize at a relatively low temperature, around 122°F (50°C), contributing to softness and chewiness. Rice starch, commonly used in gluten-free blends, gelatinizes at higher temperatures, typically between 150°F and 175°F (65°C and 79°C), providing structure.
Potato starch also gelatinizes at higher temperatures, similar to rice starch, and contributes to a light texture. If the glutenfree bread baking temperature in the oven is not sufficient, or the baking time is too short, the starches may not fully gelatinize, resulting in a dense, gummy, or wet interior. Adequate heat ensures this crucial structural transformation occurs, leading to a properly set crumb.
The Impact of Temperature on Yeast Activity in Gluten-Free Dough
Yeast is a living organism, and its activity is highly sensitive to temperature. In gluten-free bread making, yeast is responsible for fermentation, consuming sugars in the dough and producing carbon dioxide gas, which causes the dough to rise. The optimal temperature range for most commercial yeasts (like active dry or instant yeast) is typically between 75°F and 85°F (24°C and 29°C) for bulk fermentation. Within this range, yeast produces gas at a steady, predictable rate, allowing the dough to develop flavor and texture without over-proofing too quickly or under-proofing.
Temperatures outside this ideal range can significantly alter the fermentation process. Below 70°F (21°C), yeast activity slows down considerably, leading to prolonged proofing times and potentially less overall rise. While cold fermentation (like in a refrigerator, around 35-40°F / 2-4°C) can develop complex flavors, it requires much longer periods.
Above 95°F (35°C), yeast becomes hyperactive, producing gas very rapidly, which can exhaust the yeast and lead to over-proofing or collapse. Temperatures exceeding 130°F (54°C) will kill the yeast. Therefore, maintaining the correct glutenfree bread baking temperature for the dough during proofing is vital for achieving the desired rise and a well-developed crumb structure.
Protein Coagulation and Temperature in Gluten-Free Bread
While gluten-free bread lacks the primary protein network of wheat, many recipes incorporate other protein sources, such as eggs, dairy (like milk or yogurt), or plant-based proteins (like protein powders or chickpea flour), which contribute to structure and richness. Like starches, proteins undergo changes when exposed to heat. This process is called coagulation, where the protein molecules denature and unfold, then bond together to form a solid network. In traditional baking, gluten proteins coagulate, contributing significantly to the bread's set structure.
In gluten-free baking, the coagulation of proteins from ingredients like eggs is crucial for providing additional structural support alongside the gelatinized starches and added binders. Egg proteins, for instance, begin to coagulate around 140-155°F (60-68°C) and are fully set by about 160°F (71°C). This happens concurrently with starch gelatinization during the baking phase.
Ensuring the glutenfree bread baking temperature is sufficient and maintained allows these proteins to properly set, contributing to a stable crumb structure that doesn't collapse or become excessively dense. Without adequate heat, these proteins may not fully coagulate, resulting in a weaker structure and potentially a gummy or unset interior.
Temperature Guidelines for Gluten-Free Bread Ingredients
Ideal Temperature for Gluten-Free Flour and Starches
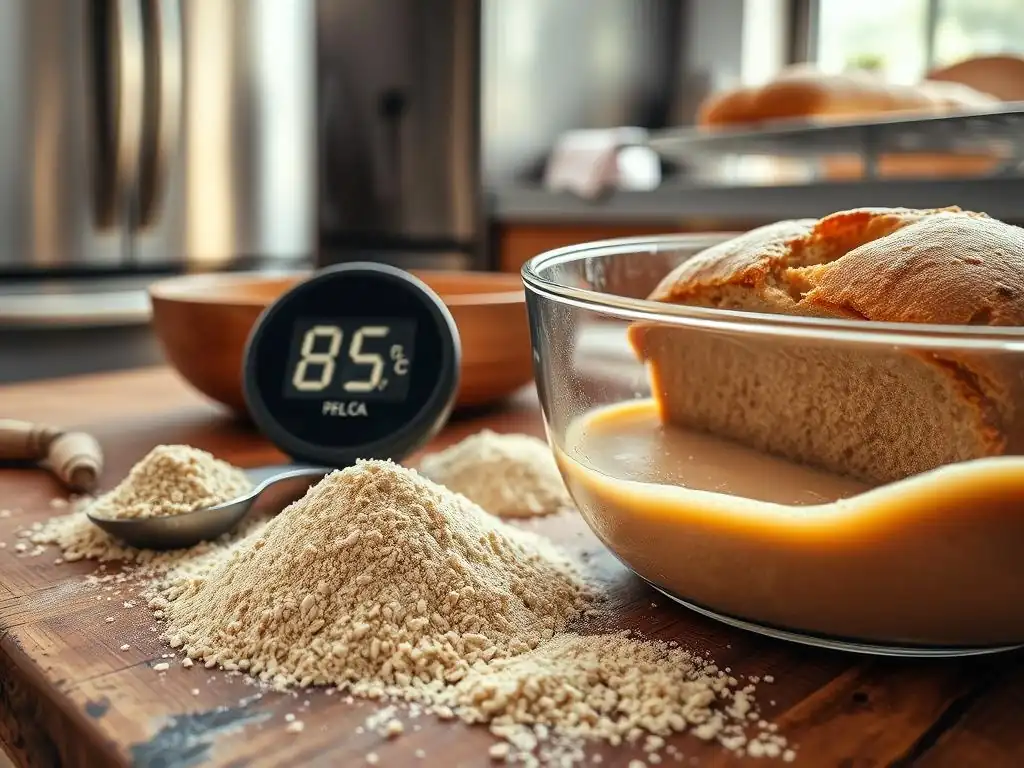
The temperature of your dry ingredients, primarily gluten-free flours and starches, might seem less critical than liquids or the oven, but it still plays a role, especially in initial mixing and dough temperature. Ideally, gluten-free flours should be at room temperature, typically between 68°F and 75°F (20°C and 24°C). Using very cold flour straight from a cold pantry or refrigerator can significantly lower the overall dough temperature when combined with liquids, slowing down yeast activity. Conversely, using overly warm flour isn't usually an issue but could contribute to a dough that proofs too quickly if combined with warm liquids.
Storing gluten-free flours in airtight containers at a consistent room temperature is the best practice. Avoid using flours that feel unusually cold or warm. If your kitchen is particularly cold, you might gently warm the flours slightly by placing them in a bowl near a warm spot (but not hot!) for a short period before mixing. Maintaining ingredients at a consistent temperature helps ensure that the initial dough temperature is within the desired range for optimal yeast activity, directly impacting the success of your glutenfree bread baking temperature journey from the start.
Best Temperature for Liquids in Gluten-Free Bread Recipes
The temperature of the liquids used in gluten-free bread dough is one of the most critical factors for controlling initial dough temperature and yeast activation. For recipes using active dry yeast, the liquid (usually water or milk) needs to be warm enough to activate the yeast, typically between 105°F and 115°F (40°C and 46°C). This range is warm to the touch but not hot. If the liquid is too cold, the yeast won't activate properly. If it's too hot, it can kill the yeast. Using a thermometer is highly recommended to ensure accuracy.
For recipes using instant yeast, the liquid temperature can be slightly cooler, often just warm tap water around 80°F to 90°F (27°C to 32°C), as instant yeast can be mixed directly with dry ingredients. However, even with instant yeast, using very cold liquids will lower the overall dough temperature, slowing down proofing. Using liquids within the recommended range helps achieve an initial dough temperature that promotes healthy yeast activity and sets the stage for proper fermentation, ultimately impacting the final glutenfree bread baking temperature outcome.
Yeast Activation: Precise Temperature Control for Gluten-Free Dough
Precise temperature control is paramount for successful yeast activation and fermentation in gluten-free dough. As mentioned, active dry yeast requires hydration in warm liquid (105-115°F / 40-46°C) for about 5-10 minutes until it becomes foamy, indicating it's alive and active. Instant yeast can be mixed directly with dry ingredients and warm liquid (80-90°F / 27-32°C), but the dough temperature itself is key for fermentation. The ideal dough temperature for bulk fermentation is often targeted around 75-85°F (24-29°C).
Achieving and maintaining this dough temperature requires attention to ingredient temperatures, mixing friction (though less significant in quick gluten-free doughs), and the ambient temperature of the proofing environment. A simple instant-read thermometer is an invaluable tool for checking the liquid and dough temperatures. If your kitchen is cold, you might need to warm your liquids slightly more or find a warmer spot for proofing.
If it's too warm, cooler liquids or a cooler proofing spot might be needed. Consistent dough temperature ensures predictable yeast activity, leading to a well-risen loaf when it's time for the final glutenfree bread baking temperature in the oven.
Oven Temperature: The Critical Factor for Gluten-Free Bread
Recommended Oven Temperatures for Different Gluten-Free Breads
The oven temperature is arguably the single most important glutenfree bread baking temperature setting. Unlike wheat bread where high initial temperatures create oven spring and set a gluten structure, gluten-free bread relies on heat to gelatinize starches and set binders. The recommended range varies slightly depending on the type and size of the loaf, but a common range is between 350°F and 375°F (175°C and 190°C). Some recipes might start at a slightly higher temperature for the first 10-15 minutes to encourage initial rise and crust development before reducing it to ensure the interior cooks thoroughly.
For smaller loaves or rolls, 375°F (190°C) might be appropriate for the entire bake time. For larger loaves, starting at 375°F (190°C) and then reducing to 350°F (175°C) after the initial rise or crust sets (around 10-15 minutes) can prevent the crust from burning before the interior reaches its target internal temperature, typically 200-210°F (93-99°C). Baking too low can result in a pale, dense loaf, while baking too high can lead to a burnt crust and raw interior. Always follow recipe-specific recommendations, but understand the general principles behind the chosen glutenfree bread baking temperature.
The Importance of a Reliable Oven Thermometer
Relying solely on your oven's built-in thermostat can be a recipe for disappointment in gluten-free baking. Many home ovens are notoriously inaccurate, often being off by 25°F (14°C) or even more in either direction. Given how critical precise glutenfree bread baking temperature is for starch gelatinization and setting the structure, an inaccurate oven can easily lead to baking failures like gummy centers or burnt crusts. A simple, inexpensive oven thermometer placed inside your oven can show you the true temperature, allowing you to adjust your oven dial accordingly.
Before baking, preheat your oven for at least 20-30 minutes with the oven thermometer inside. Check the thermometer reading and compare it to your oven's setting. If your oven is set to 375°F (190°C) but the thermometer reads 350°F (175°C), you know you need to set your oven dial higher, perhaps to 400°F (200°C), to achieve the desired actual temperature. This simple step of using a reliable oven thermometer can dramatically improve the consistency and success of your gluten-free bread baking.
Calibrating Your Oven for Accurate Gluten-Free Baking
Once you have a reliable oven thermometer, you can effectively "calibrate" your baking process to your oven's quirks. Instead of blindly following a recipe's temperature setting, you use the oven thermometer to hit the actual target glutenfree bread baking temperature. For example, if a recipe calls for 375°F (190°C), and your thermometer consistently shows your oven runs 25°F (14°C) cool, you'll know to set your oven dial to approximately 400°F (200°C) to achieve an actual temperature of 375°F (190°C) inside the oven.
Some ovens have a manual calibration setting in their control panel, allowing you to permanently adjust the thermostat to compensate for inaccuracies. Consult your oven's manual to see if this is an option. Even without this feature, simply knowing the discrepancy thanks to your thermometer allows you to make manual adjustments every time you bake. This attention to achieving the correct glutenfree bread baking temperature is a hallmark of successful gluten-free bakers and significantly reduces the variable of oven inaccuracy.
Dough Temperature: Achieving Optimal Results
Measuring Gluten-Free Dough Temperature Accurately
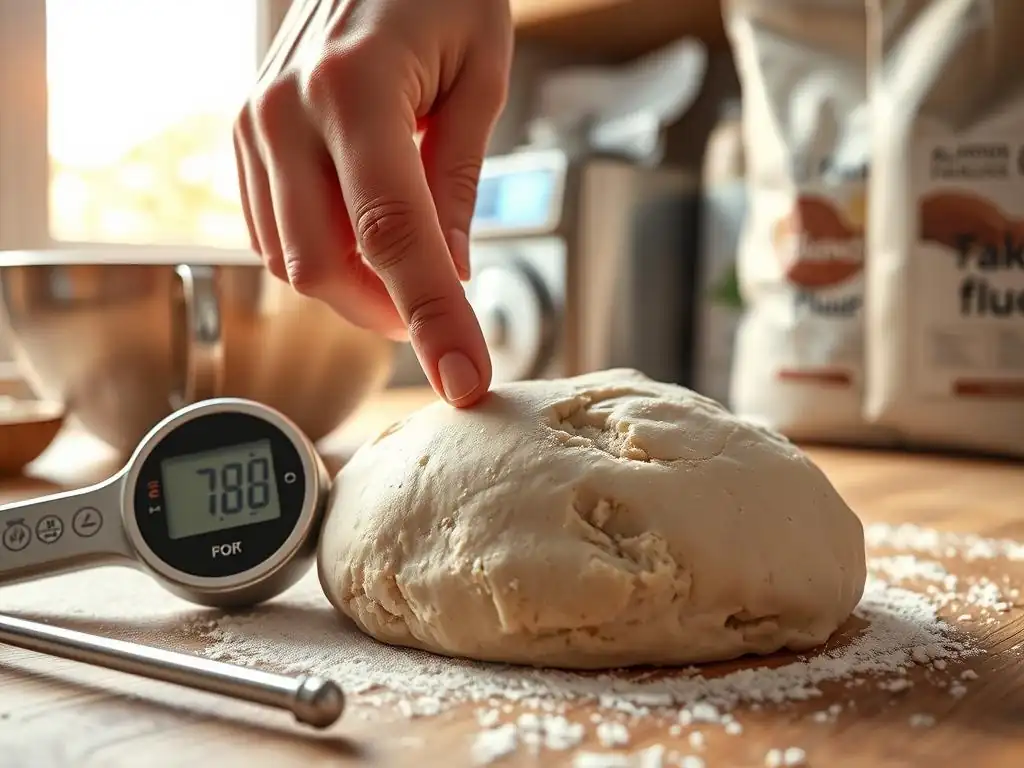
Measuring the temperature of gluten-free dough is a useful practice, especially during bulk fermentation. While gluten-free doughs are often wetter and less cohesive than wheat doughs, you can still get a good reading using an instant-read thermometer. After mixing, insert the thermometer probe into the center of the dough mass, avoiding touching the bottom or sides of the bowl. Hold it there for a few seconds until the reading stabilizes. Repeat in a couple of different spots to get an average temperature.
Knowing the dough temperature allows you to confirm if it's within the optimal range for yeast activity, typically 75-85°F (24-29°C). If it's too low, you know proofing will be slow, and you might need to find a warmer spot. If it's too high, proofing will be fast, and you'll need to monitor it closely to prevent over-proofing. This simple measurement helps you control the pace of fermentation, a key factor in achieving a well-risen loaf with a good crumb texture before it hits the final glutenfree bread baking temperature in the oven.
Adjusting Dough Temperature for Ambient Conditions
The ambient temperature of your kitchen significantly affects the dough temperature and the rate of proofing. In a warm kitchen (above 75°F / 24°C), dough will proof faster. In a cool kitchen (below 70°F / 21°C), it will proof much slower.
You can adjust your starting liquid temperature slightly to help hit your target dough temperature. If your kitchen is cold, use liquids closer to the upper end of the recommended range (e.g., 110-115°F for active dry yeast). If your kitchen is warm, use liquids closer to the lower end (e.g., 105°F for active dry yeast or 80-85°F for instant yeast).
During proofing, you might need to find a warm spot if your kitchen is cool. This could be near a sunny window (but not hot enough to kill yeast), on top of a refrigerator, or in an oven with just the light on (which typically creates a temperature around 80-90°F / 27-32°C).
Conversely, if your kitchen is too warm, you might need to proof in a slightly cooler room or even consider a short period in the refrigerator if the dough is rising too fast. Managing dough temperature ensures consistent proofing regardless of external conditions, leading to better results when the dough reaches the glutenfree bread baking temperature.
Proofing Temperature: Creating the Ideal Environment for Gluten-Free Bread
The proofing environment's temperature is crucial for the final rise of your gluten-free dough before baking. As discussed, the ideal dough temperature for proofing is typically between 75°F and 85°F (24°C and 29°C). Maintaining this temperature allows the yeast to produce gas at a steady rate, causing the dough to increase significantly in volume and develop a light, airy structure. Too cold a proofing environment will result in a slow or stalled rise, leading to a dense loaf. Too warm an environment can cause the dough to over-proof quickly, potentially collapsing or developing a coarse, uneven crumb.
Creating a consistent proofing environment is key. Some methods include:
- Using an oven with the light on: This often provides a gentle warmth in the ideal range.
- Placing the dough in a microwave (turned off) with a cup of hot water: The steam and residual heat create a warm, moist environment.
- Using a proofing box or bread proofer: Dedicated appliances that maintain a precise temperature and humidity.
Monitoring the dough's volume increase rather than strictly relying on time is important, as temperature variations can alter proofing speed. When the dough has nearly doubled (or as specified in your recipe), it's ready for the final glutenfree bread baking temperature in the preheated oven.
Dense or Gummy Gluten-Free Bread: Temperature Problems and Solutions
One of the most common complaints about gluten-free bread is a dense or gummy texture, and temperature issues are frequently the culprit.
- Problem: Insufficient oven temperature or baking time.
- Why: If the glutenfree bread baking temperature is too low or the loaf isn't baked long enough, the starches may not fully gelatinize and set, leaving a wet, gummy interior. Proteins also won't coagulate properly for structure.
- Solution: Always use an oven thermometer to verify your oven's actual temperature. Ensure the oven is fully preheated. Bake until an internal thermometer inserted into the center of the loaf registers 200-210°F (93-99°C). If the crust is browning too quickly, tent the loaf loosely with foil.
- Problem: Dough proofed at too low a temperature.
- Why: Slow yeast activity leads to poor gas production and insufficient rise, resulting in a dense loaf even if baked properly.
- Solution: Ensure your liquids are at the correct temperature for yeast activation. Proof the dough in a warm environment (75-85°F / 24-29°C) until it has significantly increased in volume according to the recipe.
Addressing these temperature points can often resolve issues with dense or gummy glutenfree bread baking temperature outcomes.
Over-Proofing vs. Under-Proofing: Recognizing Temperature Signs
Temperature directly influences the rate of proofing, leading to either over-proofing or under-proofing if not managed.
- Under-Proofing: Occurs when the dough hasn't risen enough before baking.
- Temperature Link: Often caused by proofing at too low a temperature, slowing yeast activity.
- Signs: Dough hasn't increased sufficiently in volume (less than doubled). Loaf has poor oven spring, dense crumb, and potentially large tunnels.
- Solution: Ensure proper dough and proofing temperatures (75-85°F / 24-29°C). Allow adequate time for the dough to rise according to visual cues (volume increase) rather than just the clock, especially in cooler conditions.
- Over-Proofing: Occurs when the dough has risen too much and the yeast has expended its energy or the structure has weakened.
- Temperature Link: Often caused by proofing at too high a temperature, accelerating yeast activity, or simply proofing for too long.
- Signs: Dough may have risen dramatically and then started to deflate slightly. Loaf collapses in the oven or has a coarse, uneven crumb with large holes and a gummy texture.
- Solution: Monitor proofing closely, especially in warm conditions. Aim for the recommended volume increase (often "nearly doubled"). If the kitchen is warm, use slightly cooler liquids or find a cooler spot to proof.
Recognizing these signs and linking them back to the glutenfree bread baking temperature during proofing is key to correcting the issue in future bakes.
Crust Issues: Adjusting Temperature for Perfect Gluten-Free Bread Crust
Temperature plays a significant role in the development of the crust in gluten-free bread.
- Problem: Pale, soft crust.
- Temperature Link: Oven temperature too low, or not enough initial high heat.
- Solution: Ensure your oven is accurately preheated using an oven thermometer to the correct glutenfree bread baking temperature (often 350-375°F / 175-190°C). Some recipes benefit from starting at a slightly higher temperature (e.g., 400°F / 200°C) for the first 10-15 minutes to encourage crust formation before reducing the heat. Ensure adequate baking time until the internal temperature is reached.
- Problem: Thick, hard, or burnt crust.
- Temperature Link: Oven temperature too high, or baking for too long at a high temperature.
- Solution: Verify your oven temperature with a thermometer – it might be running hot. Reduce the oven temperature slightly if the crust is browning too fast. If starting at a high temperature, reduce it earlier in the bake time. If the crust is browning well before the interior is cooked, loosely tent the loaf with aluminum foil for the remainder of the baking time.
Adjusting the oven's glutenfree bread baking temperature and monitoring the loaf visually are essential steps for achieving a desirable crust while ensuring the interior is perfectly cooked.
Mastering Gluten-Free Bread Baking with Temperature Control
Tips and Tricks for Consistent Temperature Management
Achieving consistent results in gluten-free bread baking hinges on diligent temperature management throughout the process. Here are some practical tips:
- Use an instant-read thermometer for liquids to activate yeast (105-115°F / 40-46°C for active dry yeast).
- Use an oven thermometer to verify your oven's actual temperature and adjust your dial accordingly.
- Measure the dough temperature after mixing to ensure it's in the optimal range for proofing (75-85°F / 24-29°C).
- Find a consistently warm spot for proofing (e.g., oven with light on, microwave with hot water).
- Monitor the internal temperature of the finished loaf (200-210°F / 93-99°C) to ensure it's fully baked, regardless of external appearance or time.
By incorporating these simple temperature checks and adjustments, you eliminate significant variables, leading to more predictable and successful glutenfree bread baking temperature outcomes every time you bake.
Sourdough Gluten-Free Bread: Temperature's Impact on Flavor and Texture
Temperature plays an even more nuanced role in gluten-free sourdough bread baking. The fermentation is driven by a wild yeast and lactic acid bacteria culture (the starter), which is highly sensitive to temperature.
- Starter Health: Maintaining a consistent feeding schedule and temperature for your gluten-free sourdough starter is crucial for its health and activity. Ideal temperatures for maintenance are often between 70-78°F (21-26°C). Colder temperatures slow activity; warmer temperatures accelerate it.
- Bulk Fermentation: The temperature during bulk fermentation (the first rise of the dough) significantly impacts both the rise and the flavor development. Warmer temperatures (78-85°F / 26-29°C) lead to faster rising and potentially more lactic acid production (mellow tang). Cooler temperatures (70-75°F / 21-24°C) slow the rise and often favor acetic acid production (sharper tang).
- Proofing: Final proofing temperature also affects the final rise and crumb structure. Cooler proofing (e.g., overnight in the refrigerator at 38-45°F / 3-7°C) develops more complex flavors and strengthens the dough structure, often leading to a better oven spring when it hits the high glutenfree bread baking temperature.
Mastering temperature control in gluten-free sourdough allows you to manipulate fermentation speed and flavor profile, adding another layer of skill to your baking.
Resources for Learning More About Gluten-Free Bread Baking Temperatures
Improving your understanding of glutenfree bread baking temperature can significantly elevate your results. Numerous resources are available to deepen your knowledge:
- Reputable gluten-free baking blogs and websites often provide detailed guides and troubleshoot temperature issues.
- Cookbooks specifically focused on gluten-free bread baking frequently dedicate sections to the science of ingredients and the role of temperature.
- Online baking forums and communities offer opportunities to ask questions and learn from the experiences of other gluten-free bakers.
- Educational videos demonstrating techniques and temperature checks can provide visual guidance.
Investing time in learning about these temperature principles is one of the most impactful steps you can take to master the art of gluten-free bread.
Advanced Techniques: Using Temperature to Customize Gluten-Free Bread
Experimenting with Different Temperatures for Unique Textures
Once you've mastered the basic glutenfree bread baking temperature guidelines, you can experiment with temperature variations to achieve specific textures.
- Crisper Crust: Some bakers achieve a crispier crust by starting the bake at a higher temperature (e.g., 400-425°F / 200-220°C) for the first 10-15 minutes in a preheated Dutch oven or on a baking stone, then reducing the temperature (e.g., 375°F / 190°C) for the remainder of the bake. The initial high heat creates rapid steam and crust development.
- Softer Crust: Baking at a consistent, slightly lower temperature (e.g., 350°F / 175°C) for the entire bake time can sometimes result in a softer crust. Adding steam to the oven during the first part of the bake can also contribute to a thinner, more tender crust.
- Chewier Crumb: While gluten-free bread won't replicate wheat chewiness, manipulating hydration and baking temperature can influence crumb texture. Ensuring thorough baking at the correct glutenfree bread baking temperature (reaching 200-210°F internal temp) ensures proper starch gelatinization, which is key to avoiding gumminess and achieving a more desirable, less crumbly texture.
Carefully documenting your experiments with temperature adjustments and their impact on the final loaf will help you refine your techniques.
Temperature's Effect on Crumb Structure: Open Crumb vs. Tight Crumb
The internal structure, or crumb, of gluten-free bread is heavily influenced by temperature throughout the process.
- Open Crumb: Achieving a more open, airy crumb in gluten-free bread is challenging but possible. It often requires optimal yeast activity from proofing at the correct temperature (75-85°F / 24-29°C), sufficient hydration, and adequate oven spring facilitated by the correct initial glutenfree bread baking temperature and potentially steam. Under-proofing or insufficient heat can lead to a tight, dense crumb.
- Tight Crumb: A consistently tight crumb can result from various temperature issues, including under-proofing (too cold or too short proof time), baking at too low an oven temperature preventing full rise and starch gelatinization, or insufficient steam in the oven hindering initial expansion.
Understanding how temperature affects yeast fermentation, gas retention (aided by binders), and starch setting allows bakers to troubleshoot and adjust techniques to move closer to their desired crumb structure.
Understanding the Role of Temperature in Specific Gluten-Free Flour Blends
Different gluten-free flour blends contain varying ratios of flours and starches, each with unique temperature responses.
- High-Starch Blends: Blends heavy in tapioca, potato, or corn starch rely significantly on proper gelatinization, which happens at specific temperature ranges during baking (140-180°F / 60-82°C internal temp). Ensuring the correct glutenfree bread baking temperature and bake time is paramount to avoid a gummy or unset interior.
- Blends with Whole Grains/Nut Flours: Blends containing brown rice, sorghum, or almond flour may absorb liquids differently and can sometimes dry out faster. Baking at a slightly lower temperature (e.g., 350°F / 175°C) for a longer duration might be beneficial to ensure the interior cooks fully without the exterior becoming too hard or burnt.
- Blends with Binders: Flours with added binders like xanthan gum or psyllium husk often require specific hydration and mixing temperatures to activate the binders effectively. While not strictly baking temperature, the initial dough temperature influences how these binders perform during proofing and ultimately contribute to the structure that sets at the final glutenfree bread baking temperature.
Becoming familiar with how your specific blend behaves at different temperatures through careful observation and temperature monitoring will greatly improve your baking consistency.
Frequently Asked Questions
How does oven temperature affect gluten-free bread?
Oven temperature plays a crucial role in gluten-free bread baking because it directly impacts the bread's structure and texture. Too low, and the bread won't rise properly; too high, and it will burn before it's cooked through.
What is the ideal internal temperature for fully baked gluten-free bread?
The ideal internal temperature for gluten-free bread is typically between 200-210°F (93-99°C). Using a thermometer is the best way to ensure that your bread is fully cooked.
Why is temperature more important in gluten-free bread baking compared to traditional bread?
Gluten-free bread relies on alternative flours and binders, which behave differently than gluten. Precise temperature control is necessary to help these ingredients properly set and prevent a gummy texture.
Can I adjust the baking temperature if my gluten-free bread is browning too quickly?
Yes, you can lower the oven temperature by 25°F (14°C) and increase the baking time. Covering the bread loosely with aluminum foil during the last part of baking can also help prevent excessive browning.
What happens if the oven temperature is too low when baking gluten-free bread?
If the oven temperature is too low, the gluten-free bread may not rise adequately, resulting in a dense and gummy texture. It may also take significantly longer to bake, potentially drying out the crust.
Final Reflection: The Crucial Role of Temperature in Gluten-Free Baking Success
Mastering temperature is not merely a technical detail in gluten-free bread baking; it's the cornerstone of achieving a consistently delicious and satisfying loaf. Ignoring the nuances of heat control can lead to dense, gummy, or crumbly results, undermining the very essence of a successful gluten-free bake. This article has explored the multifaceted ways temperature impacts each stage of the process, from ingredient activation to final oven spring.
The impact of temperature extends beyond the individual baker; it shapes the entire gluten-free baking experience. The quest for a perfect gluten-free loaf is a journey shared by millions, a testament to the desire for inclusive and delicious food. The frustration of a failed bake is often rooted in a misunderstanding of temperature's role. As one experienced gluten-free baker eloquently put it: Gluten-free baking is a science, and temperature is its most critical variable. It's the key that unlocks the potential of our ingredients.
This quote underscores the importance of understanding the subtle yet profound influence of temperature on the final product.
Now, consider your own baking journey. Have you experienced the frustration of a dense loaf or the joy of a perfectly risen crumb? Reflect on the temperature settings you've used and the results you've achieved. I encourage you to experiment, to meticulously track your temperatures, and to observe the impact on your gluten-free bread. Each bake is a learning opportunity, a step closer to mastering the art of gluten-free baking and unlocking the potential for consistently delicious results. Embrace the science, and savor the rewards.
Unleash Your Gluten-Free Baking Potential!
Thanks for taking the time to explore the fascinating world of gluten-free bread baking and the crucial role temperature plays! We hope you gained valuable insights into achieving consistently delicious results. Now it's time to put your new knowledge into action.
- Master the perfect temperature: Experiment with your oven's temperature settings using the tips from this article to find what works best for your specific recipe and oven. This is your key to gluten-free baking success!
- Share your baking triumphs (and challenges!): Let's build a community! Share your baking experiences – both successes and learnings – in the comments below. What temperature adjustments did you make, and what were the results?
- Explore our other gluten-free recipes: Discover more delicious gluten-free recipes and baking techniques on BakeWithEase.com to continue your baking journey.
Ready to bake the most amazing gluten-free bread you've ever tasted? What temperature adjustment will you try first?