
Simple Components, Stunning Plated Desserts

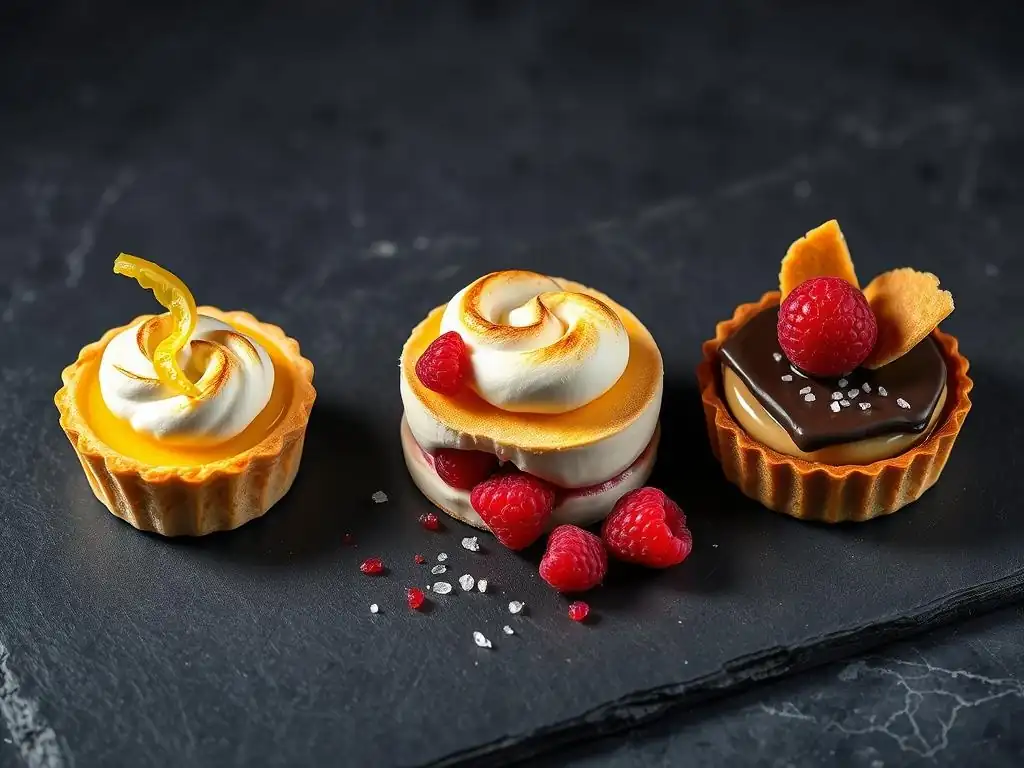
Welcome to BakeWithEase, your guide to baking brilliance! Ever wondered how to transform simple ingredients into a stunning plated dessert that rivals those in a five-star restaurant? Prepare to be amazed as we unveil the secrets to creating elegant desserts with ease. Get ready to explore the art of presentation and discover how a few thoughtful touches can elevate your baking to a whole new level. What makes a dessert truly unforgettable? Let's find out!
- Simple Components, Stunning Plated Desserts: Elegant Dessert Recipes for Home Bakers
- Mastering Plated Desserts: A Guide for Home Bakers
- Understanding the Art of Plated Desserts
- Essential Elements for Elegant Home-Plated Desserts
- Elegant Plated Dessert Recipes: Easy-to-Make, Impressive Presentation
- Plating Techniques: Elevating Dessert Presentation
- Common Plating Pitfalls to Avoid
- Perfecting Elegant Dessert Presentation
- Advanced Plated Dessert Techniques
-
Frequently Asked Questions
- What are the key elements of an elegant plated dessert according to BakeWithEase?
- Where can I find simple yet elegant plated dessert recipes on BakeWithEase.com?
- Are the plated dessert recipes on BakeWithEase suitable for beginner bakers?
- Does BakeWithEase offer tips on the presentation aspect of plated desserts?
- What types of desserts can be adapted into elegant plated desserts using BakeWithEase's guidance?
- Final Reflection: The Art of Simplicity in Elegant Plated Desserts
- Unleash Your Inner Pastry Chef!
Simple Components, Stunning Plated Desserts: Elegant Dessert Recipes for Home Bakers
Mastering Plated Desserts: A Guide for Home Bakers
Creating beautiful, restaurant-quality desserts might seem intimidating, but the truth is, stunning plated desserts are often built from simple, well-executed components. This guide will show home bakers how to elevate their dessert game using basic techniques and accessible ingredients, transforming familiar sweets into elegant presentations. It's less about complex molecular gastronomy and more about thoughtful assembly, balance, and visual appeal. By focusing on quality ingredients and fundamental plating principles, you can impress guests and elevate your own baking enjoyment.
This article delves into understanding the core concepts behind elegant dessert plating, exploring essential tools and ingredients, and providing simple yet sophisticated elegant plated dessert recipes designed specifically for the home kitchen. We'll break down each recipe into manageable steps and discuss how to arrange the components on the plate to create a visually harmonious and delicious experience. Get ready to unlock the secrets to making your desserts look as good as they taste, proving that elegant dessert plating is within everyone's reach.
Understanding the Art of Plated Desserts
Plated desserts represent the final flourish of a meal, offering a memorable conclusion that engages multiple senses. They are more than just a slice of cake or a scoop of ice cream; they are compositions designed to delight the eye and palate simultaneously. The art lies in combining different textures, temperatures, and flavors in a single presentation, creating a dynamic and satisfying experience.
Successfully creating elegant plated desserts at home requires attention to detail and a willingness to experiment with arrangement. It's about telling a story on the plate, guiding the diner's eye through the various elements, and ensuring each bite offers a balanced combination of tastes and sensations. While professional kitchens might use highly specialized equipment, home bakers can achieve impressive results with standard tools and a focus on clean execution.
Defining Plated Desserts
A plated dessert is a dessert portion served individually on a plate, typically composed of several distinct components arranged together. Unlike a whole cake or pie served family-style, each element on a plated dessert is thoughtfully considered for its flavor, texture, and visual contribution to the overall presentation. Think of it as a mini-landscape of deliciousness.
These components often include a main item (like a mousse, tartlet, or panna cotta), accompanied by sauces, garnishes, crumbs, fruits, or other complementary textures. The key is that each part plays a specific role, enhancing the others without overwhelming the palate. The goal is to create a harmonious bite that offers layers of flavor and texture, presented in an aesthetically pleasing manner.
The Role of Visual Aesthetics in Dessert Presentation
Visual aesthetics are paramount in plated desserts. Before the first bite, the eyes consume the dish, setting expectations and influencing the perception of flavor. A beautifully plated dessert can make even simple ingredients feel special and sophisticated. Studies have even suggested that attractive food presentation can enhance the perceived taste and enjoyment of a dish.
Consider the use of negative space – the empty area on the plate that allows the components to stand out. Think about color contrast, the arrangement of elements, and the cleanliness of the plate edges. These details transform dessert from just food into an experience. Mastering visual aesthetics is a crucial step in creating truly elegant plated dessert recipes.
Fundamental Plating Techniques
Basic plating techniques are accessible to any home baker and form the foundation of elegant dessert presentation. Simple actions like using a spoon to create a swoosh or smear of sauce, carefully placing components with tweezers or small tongs, and considering height and dimension can dramatically improve a dessert's appearance.
Other fundamental techniques include using ring molds for perfect circles of mousse or cake, dusting surfaces with cocoa powder or powdered sugar using stencils, and creating clean lines with piped creams or ganaches. Practice with these simple methods will build confidence and skill, making the creation of elegant plated desserts a natural part of your baking process.
Essential Elements for Elegant Home-Plated Desserts
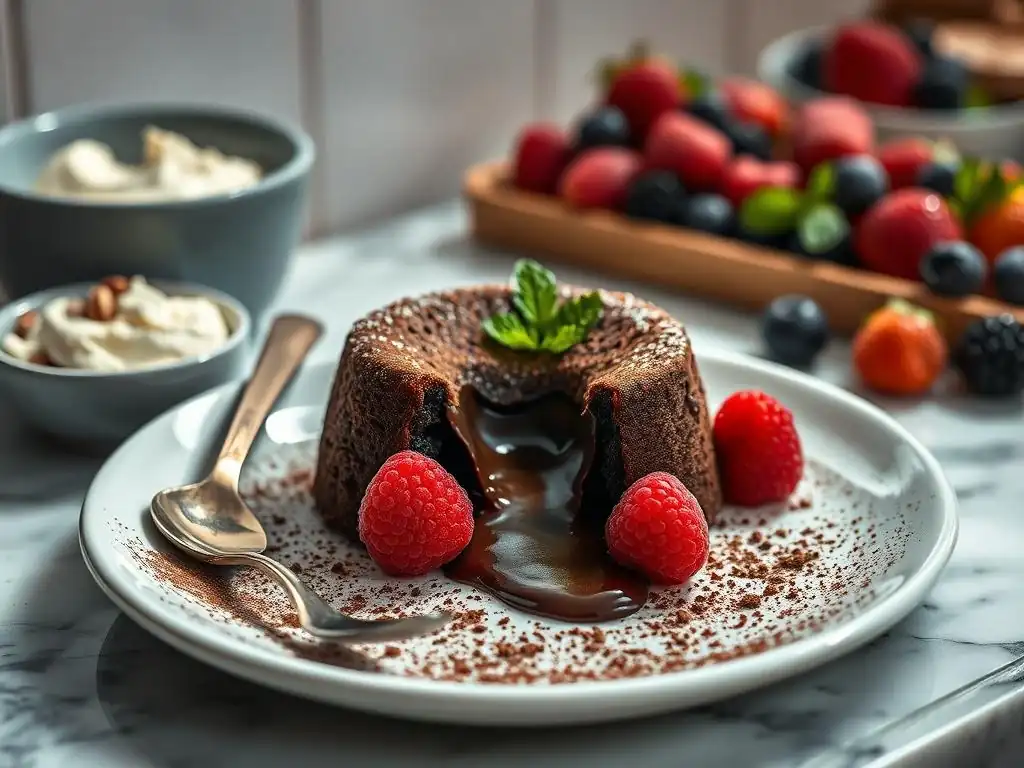
Creating beautiful plated desserts at home starts with having the right foundation: quality ingredients, a few key tools, and solid basic baking skills. You don't need a professional pastry kitchen to produce stunning results. Focus on these core elements, and you'll be well on your way to mastering elegant dessert plating.
Having a small arsenal of versatile components ready can also speed up the process. Think about making a batch of simple syrup, toasting some nuts, or preparing a basic chocolate ganache ahead of time. These elements can be stored and used to quickly assemble various elegant plated dessert recipes when inspiration strikes or guests arrive.
Selecting Quality Ingredients
The flavor of any dessert is only as good as its ingredients. For elegant plated desserts, where components are often distinct and prominent, using high-quality ingredients is crucial. This doesn't necessarily mean expensive, but rather fresh, flavorful, and appropriate for the task.
For example, using fresh, ripe berries will yield a more vibrant sauce than frozen ones (though frozen can work if prepped correctly). Choosing good quality chocolate, real vanilla extract, and fresh dairy will make a noticeable difference in the final taste and texture of your components. Approximately 70% of the success of a simple recipe often relies on the quality of just 3-4 key ingredients. Investing slightly more in these core items pays dividends in flavor.
Key Plating Tools
You don't need dozens of specialized tools for elegant dessert plating at home. A few key items can make a significant difference.
- Spoons: Essential for creating swooshes of sauce or quenelles of sorbet/mousse.
- Squeeze Bottles: Perfect for precise dots or lines of sauce. A set of three small plastic bottles costs around $5-10.
- Offset Spatula: Useful for spreading layers smoothly or lifting delicate components. A small one (4-6 inches) is versatile.
- Tweezers (optional): For placing small garnishes like microgreens or edible flowers with precision. A basic set can be found for about $10-15.
- Ring Molds (optional): Help create perfectly shaped rounds of mousse, cake, or tartare. A small set of varying sizes is useful.
- Fine-mesh Sieve: For dusting powdered sugar or cocoa powder cleanly.
These tools, most of which you might already own or can acquire affordably, are fundamental for executing clean and precise elegant dessert plating techniques.
Mastering Basic Baking Skills
While some elegant plated dessert recipes might seem complex, they are often built upon fundamental baking skills. Proficiency in making a stable mousse, achieving the right consistency for a sauce, baking a tender shortbread, or whipping cream to stiff peaks are all vital. Consistency in execution is key.
Understanding how temperature affects different components – like ensuring chocolate doesn't seize or that a crème brûlée sets correctly – is also crucial. Practice makes perfect; the more comfortable you are with these basic techniques, the easier it will be to assemble beautiful and delicious plated desserts. Aim for smooth sauces, evenly baked components, and stable structures.
Elegant Plated Dessert Recipes: Easy-to-Make, Impressive Presentation
Here are a few elegant plated dessert recipes designed with the home baker in mind. They use relatively simple components that come together to create stunning visual and flavor combinations. Each recipe is broken down into its key parts, followed by suggestions for elegant plating.
These recipes are chosen for their balance of textures and flavors, and their components can often be prepared ahead of time, making assembly on the plate much easier. The focus is on achieving impressive results without requiring advanced techniques or exotic ingredients, proving that creating elegant plated dessert recipes is achievable for anyone.
Recipe 1: Dark Chocolate Avocado Mousse with Salted Caramel and Cocoa Nibs
This mousse is surprisingly rich and creamy, with the avocado providing structure and healthy fats without a strong flavor. Paired with sweet and salty caramel and bitter, crunchy cocoa nibs, it offers a delightful contrast of tastes and textures on the plate.
The core of this elegant plated dessert recipe is a simple blend, requiring minimal cooking. The magic happens in the chilling and the careful assembly with the accompanying elements.
Ingredients for Dark Chocolate Avocado Mousse
- 2 ripe avocados
- 1/2 cup unsweetened cocoa powder (approx. 45g)
- 1/2 cup maple syrup or agave nectar (approx. 120ml)
- 1/4 cup plant-based milk (almond, soy, or oat) (approx. 60ml)
- 1 tsp vanilla extract
- Pinch of salt
Combine all ingredients in a blender or food processor and blend until perfectly smooth and creamy, scraping down the sides as needed. This usually takes 2-3 minutes of processing. Taste and adjust sweetener if necessary, though the amount listed typically provides a balanced sweetness against the dark cocoa.
Pour the mousse into individual serving dishes or a larger bowl and chill for at least 2 hours, or until firm. Chilling is essential not only for texture but also for allowing the flavors to meld and the avocado taste to disappear almost entirely, leaving behind a rich, chocolatey depth.
Preparing the Salted Caramel
- 1 cup granulated sugar (approx. 200g)
- 1/4 cup water (approx. 60ml)
- 1/2 cup heavy cream (approx. 120ml), warmed
- 2 tbsp unsalted butter (approx. 30g), cut into cubes
- 1/2 tsp sea salt, or to taste
Combine sugar and water in a saucepan over medium heat. Stir until sugar dissolves, then stop stirring. Let the mixture boil until it turns an amber color. This typically takes 8-10 minutes. Keep a close eye as it can burn quickly once it starts changing color.
Carefully pour in the warm cream (it will bubble up vigorously). Whisk until smooth. Remove from heat and whisk in the butter and salt until melted and combined. Let cool slightly before using. The salted caramel can be made several days ahead and stored in the refrigerator; gently warm it to a pourable consistency before plating.
Assembling the Plated Dessert
To plate this elegant dessert, spoon a portion of the chilled mousse onto a plate. You can use a spoon to create a smooth dome or a quenelle shape. Alternatively, if the mousse is firm enough, use a warm spoon to scoop quenelles.
Drizzle the salted caramel sauce artistically around the mousse, perhaps a swoosh or a few dots. Sprinkle cocoa nibs over the mousse and around the plate for crunch and a hint of bitterness. Adding a small sprig of fresh mint or a single raspberry can provide a pop of color. This simple assembly highlights the textures and flavors beautifully.
Recipe 2: Strawberry Basil Sorbet with Balsamic Glaze and Crispy Wonton Strips
This light and refreshing sorbet gets an aromatic twist from the basil, which pairs surprisingly well with sweet strawberries. The balsamic glaze adds a sophisticated depth and tang, while the crispy wonton strips provide a delightful, unexpected crunch, creating a multi-sensory experience perfect for an elegant plated dessert.
The components of this elegant plated dessert recipe are straightforward: a simple sorbet base, a reduced balsamic glaze, and quickly fried wontons. The elegance comes from the combination of flavors and textures and the careful arrangement on the plate.
Making the Strawberry Basil Sorbet
- 4 cups fresh strawberries, hulled and sliced (approx. 600g)
- 1 cup granulated sugar (approx. 200g)
- 1 cup water (approx. 240ml)
- 1/4 cup fresh basil leaves (approx. 10g)
- 2 tbsp lemon juice (approx. 30ml)
Combine sugar and water in a saucepan and heat until sugar dissolves, creating a simple syrup. Add the basil leaves to the hot syrup, remove from heat, and let steep for about 15-20 minutes. This infuses the syrup with the basil's aroma. Strain out the basil leaves and let the syrup cool completely.
Combine the cooled basil syrup, sliced strawberries, and lemon juice in a blender and blend until very smooth. Pour the mixture into an ice cream maker and churn according to the manufacturer's instructions. This typically takes 20-30 minutes. For a firmer sorbet, transfer to a freezer-safe container and freeze for at least 2-3 hours.
Preparing the Balsamic Glaze
- 1 cup balsamic vinegar (approx. 240ml)
- 1 tbsp brown sugar (optional, approx. 15g)
Pour the balsamic vinegar into a small saucepan. If using, add the brown sugar. Bring to a simmer over medium heat, then reduce heat to low and let it gently reduce. This process concentrates the flavor and thickens the vinegar into a syrup-like glaze.
Simmer for 15-25 minutes, or until the vinegar has reduced by about half and coats the back of a spoon. Be careful not to reduce it too much, as it will thicken further as it cools. Let it cool completely before using. The glaze should be thick enough to drizzle but not so thick that it's hard to pour.
Plating the Sorbet for a Sophisticated Look
Scoop one or two quenelles of the firm sorbet onto a chilled plate. A quenelle is an oval shape formed using two spoons. Practice scooping between the spoons until you achieve a smooth, elongated oval.
Drizzle the cooled balsamic glaze around the sorbet. Place a few crispy wonton strips next to or lightly leaning against the sorbet for height and texture. Garnish with a small fresh basil leaf or a thin slice of strawberry. The contrast of the vibrant red sorbet, dark glaze, and golden wontons makes for a visually striking and elegant plated dessert.
Recipe 3: Earl Grey Tea Infused Crème brûlée with Lavender Shortbread and Honeycomb
This elegant plated dessert recipe combines classic French technique with aromatic infusions and contrasting textures. The smooth, creamy crème brûlée infused with Earl Grey tea is complemented by delicate lavender-scented shortbread and brittle, sweet honeycomb.
Each component offers a unique sensory experience – the smooth custard, the crisp sugar crust, the fragrant crumble, and the crunchy honeycomb. Bringing them together on a plate creates a sophisticated and memorable dessert.
Achieving the Silky Smooth Texture of Crème brûlée
- 2 cups heavy cream (approx. 480ml)
- 1 cup whole milk (approx. 240ml)
- 1 vanilla bean, split and scraped, or 1 tsp vanilla extract
- 4 Earl Grey tea bags or 2 tbsp loose leaf tea
- 8 large egg yolks
- 1/2 cup granulated sugar (approx. 100g), plus extra for brûlée topping
Preheat oven to 325°F (160°C). Heat cream, milk, vanilla bean (or extract), and tea in a saucepan over medium heat until just simmering. Remove from heat, cover, and let steep for 15-20 minutes. Remove tea bags or strain out loose leaves. Reheat the mixture gently if necessary.
In a separate bowl, whisk egg yolks and sugar until pale and slightly thickened. Gradually whisk the warm tea-infused cream mixture into the egg yolks to temper them. Strain the custard through a fine-mesh sieve into a clean bowl or measuring cup to remove any solids and ensure a silky texture. Pour custard into individual ramekins (about 6-8 standard size).
Place ramekins in a large baking dish and carefully pour hot water into the dish to come halfway up the sides of the ramekins. Bake for 30-40 minutes, or until the edges are set but the center is still slightly jiggly. Remove ramekins from water bath and let cool completely on a wire rack, then chill in the refrigerator for at least 4 hours, or preferably overnight.
Baking the Lavender Shortbread
- 1 cup unsalted butter (approx. 225g), softened
- 1/2 cup powdered sugar (approx. 60g)
- 1 tsp dried culinary lavender buds, finely crushed
- 1 tsp vanilla extract
- 2 cups all-purpose flour (approx. 250g)
- Pinch of salt
Preheat oven to 325°F (160°C). Cream together the softened butter and powdered sugar until light and fluffy. Stir in the crushed lavender and vanilla extract. Gradually add the flour and salt, mixing until just combined and a dough forms. Do not overmix.
Gather the dough, shape it into a disc, wrap in plastic wrap, and chill for at least 30 minutes. On a lightly floured surface, roll out the dough to about 1/4 inch thick. Cut into desired shapes (squares, rectangles, or use a small cookie cutter). Place on a baking sheet lined with parchment paper. Bake for 15-20 minutes, or until edges are lightly golden. Let cool completely on the baking sheet. You will only need a few pieces per plate, so the rest can be stored in an airtight container.
Crafting the Honeycomb for Added Texture
- 1/2 cup granulated sugar (approx. 100g)
- 1/4 cup liquid glucose or corn syrup (approx. 60ml)
- 2 tbsp honey (approx. 30ml)
- 2 tbsp water (approx. 30ml)
- 1 1/2 tsp baking soda (approx. 7g)
Line a baking sheet with parchment paper or a silicone mat and lightly grease the sides of a medium saucepan. Combine sugar, glucose/corn syrup, honey, and water in the saucepan. Heat over medium heat, stirring until the sugar dissolves. Once boiling, stop stirring and let the mixture cook until it reaches 300°F (150°C) on a candy thermometer. This is the hard crack stage.
Immediately remove from heat and quickly whisk in the baking soda. The mixture will foam up dramatically. Pour the mixture quickly onto the prepared baking sheet and let it spread naturally. Do not stir or touch it. Let cool completely, about 30-60 minutes. Once cooled and hard, break the honeycomb into small, irregular pieces. Store in an airtight container at room temperature, as humidity will make it sticky.
To assemble the plated dessert, sprinkle a thin layer of granulated sugar evenly over the chilled crème brûlée surface. Use a kitchen torch to melt and caramelize the sugar until it forms a hard, amber crust. This takes about 30-60 seconds per ramekin. Let the sugar cool and harden for a few minutes.
Place the ramekin on the plate. Arrange a few pieces of lavender shortbread and a few shards of honeycomb around or next to the crème brûlée. The contrast of textures and flavors – creamy, crunchy, brittle, aromatic, sweet, and slightly bitter from the brûlée crust – makes this an incredibly elegant plated dessert.
Plating Techniques: Elevating Dessert Presentation
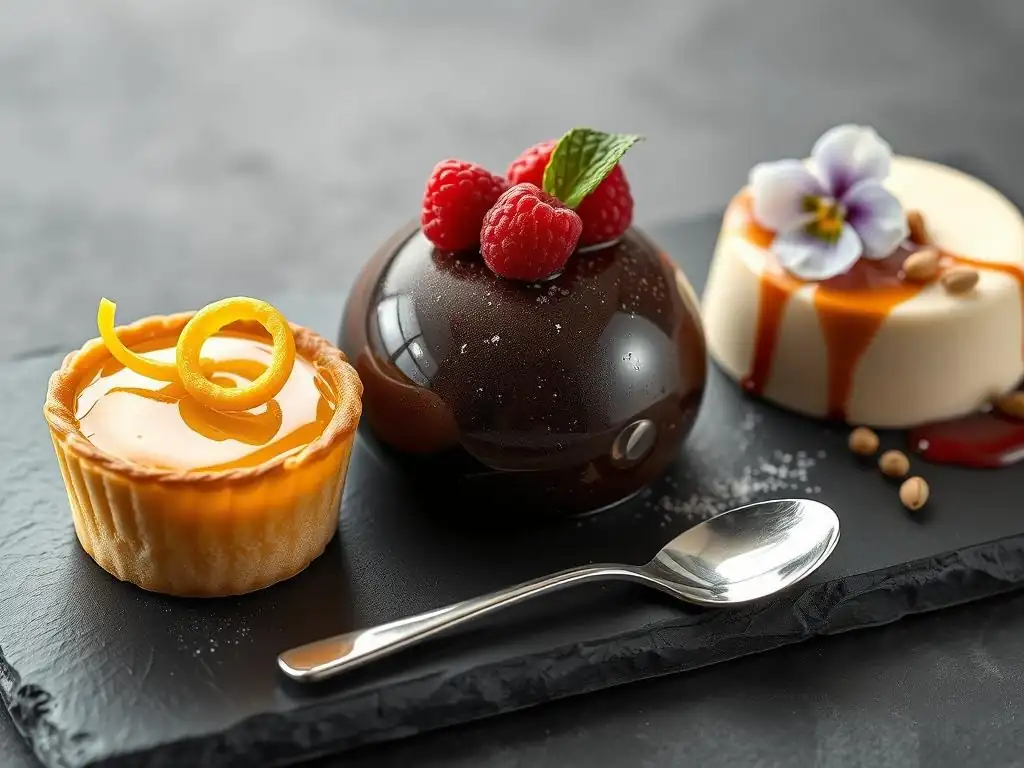
Once your components are ready, the real art of creating elegant plated desserts comes into play during assembly. Thoughtful plating techniques can transform simple ingredients into a visually stunning masterpiece. It's about balance, flow, and creating interest on the plate.
Remember that the plate is your canvas. Consider its size, shape, and color when planning your arrangement. White plates are often preferred as they make colors pop, but don't be afraid to experiment with other options that complement your dessert.
The Principle of Odd Numbers: Achieving Visual Harmony
A common guideline in visual composition is the principle of using odd numbers of elements. Arranging components in groups of three or five often feels more natural and dynamic than even numbers. For example, placing three small scoops of sorbet or five berries around a central item can create a sense of balance without being symmetrical or static.
This principle applies to small garnishes as well. Instead of two mint leaves, try three. If using cookies, place three or five small ones rather than two or four large ones. This technique, simple as it is, subtly enhances the visual appeal of your elegant plated dessert.
Utilizing Color and Texture Effectively
Color and texture are powerful tools in dessert plating. Use contrasting colors to make elements stand out – like the dark balsamic glaze against the bright strawberry sorbet, or the golden caramel on dark chocolate mousse. A splash of vibrant fruit coulis or a sprinkle of bright green pistachios can add visual excitement.
Similarly, incorporating different textures is key to an engaging plated dessert. Pair smooth elements (like mousse or crème brûlée) with crunchy ones (like cocoa nibs, shortbread, or honeycomb). Add a soft element (like a piece of cooked fruit) or a chewy one (like a caramel swirl). This variety makes each bite interesting and prevents the dessert from being monotonous.
Strategic Use of Sauces and Garnishes
Sauces and garnishes aren't just for flavor; they are integral to the visual design of elegant plated desserts. Sauces can be used to create patterns, lines, or pools on the plate. A simple swoosh made with the back of a spoon is a classic technique. Squeeze bottles allow for more intricate dots or grids.
Garnishes should enhance, not overpower, the main dessert. They can add height, color, texture, or a hint of freshness. Think small sprigs of mint, edible flowers, chocolate shavings, toasted nuts, fruit slices, or delicate sugar work. Place them thoughtfully to guide the eye and add visual interest without cluttering the plate.
Creating Height and Dimension
Flat desserts can look less exciting than those with varying levels. Creating height adds drama and makes your elegant plated dessert more visually appealing. This can be achieved in several ways.
Stacking components (like layering shortbread and cream), leaning elements against each other (like shortbread leaning on a crème brûlée ramekin), or building a small mound of crumble or garnish can add vertical interest. Even a simple quenelle of ice cream or sorbet adds dimension. Using a small ramekin for a crème brûlée inherently provides height, allowing you to build components around it.
Common Plating Pitfalls to Avoid
While aiming for elegance, it's easy to fall into common traps that can detract from your dessert's presentation. Being aware of these pitfalls will help you create cleaner, more professional-looking plates.
Avoid rushing the plating process. Take your time to place each component intentionally. A few extra seconds of careful placement can make a significant difference in the final look of your elegant plated dessert.
Avoiding Plate Clutter
One of the most common mistakes is putting too many elements on the plate or placing them too close together. This results in a cluttered, messy appearance that distracts from the beauty of individual components. Remember the power of negative space; the empty areas on the plate are just as important as the filled ones.
Focus on a few well-executed components rather than trying to include everything you've made. Approximately 60-70% of the plate should remain empty to allow the dessert to breathe visually. Less is often more when it comes to elegant dessert plating.
Balancing Flavors and Textures
Just as visual balance is important, so is the balance of flavors and textures. Ensure that the components you choose complement each other rather than clash. A dessert that is all sweet or all soft can be monotonous.
Pair rich, creamy elements with something acidic or tart (like fruit). Combine smooth textures with crunchy ones. Make sure no single flavor or texture dominates the plate. The goal is a harmonious bite where different sensations work together to create a more complex and satisfying experience. This careful consideration is vital for truly successful elegant plated dessert recipes.
Maintaining Component Temperatures
Serving components at their optimal temperatures is crucial for both flavor and texture. Hot sauces should be warm, not boiling. Cold elements like sorbet or mousse should be properly chilled and firm, not melting.
Plating can take time, so work efficiently, especially with temperature-sensitive items. Have chilled plates ready for cold desserts and warm plates (if appropriate, though less common for desserts than mains) for warm components. Ensuring correct temperatures guarantees that your elegant plated dessert tastes as good as it looks.
Perfecting Elegant Dessert Presentation
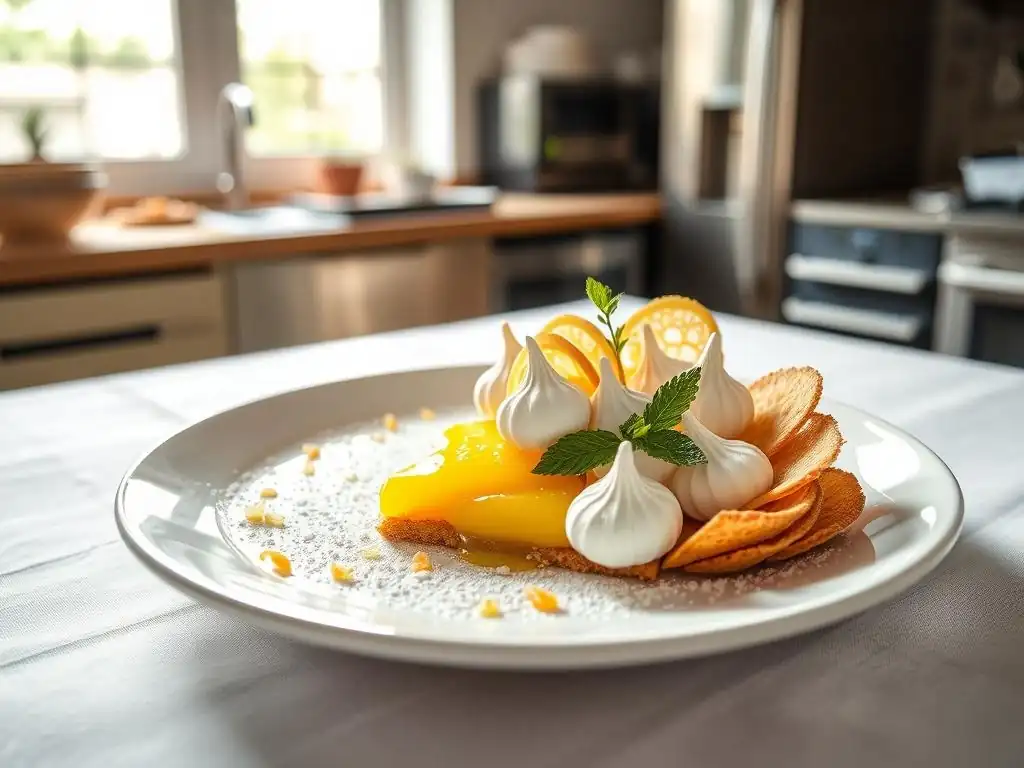
Mastering the art of elegant dessert plating is an ongoing journey of learning and practice. Each dessert you plate is an opportunity to refine your skills and explore new creative possibilities. Don't be discouraged if your first attempts aren't perfect; focus on improvement with each try.
The most skilled pastry chefs spent countless hours practicing simple techniques before moving on to complex designs. Embrace the process and enjoy the creative aspect of transforming delicious components into beautiful presentations.
Refining Plating Skills Through Practice
Consistent practice is key to improving your plating skills. Try plating the same dessert multiple times, experimenting with different arrangements each time. Work on perfecting specific techniques, like creating a smooth sauce swoosh or scooping a perfect quenelle.
Take photos of your plated desserts to evaluate your work objectively. What looks good? What could be improved? Focus on one or two techniques at a time until you feel confident. Regular practice, even just once a week, will lead to noticeable improvement in your ability to create elegant plated desserts.
Finding Creative Inspiration
Look for inspiration everywhere! Browse food magazines, follow pastry chefs on social media, or observe the plating in restaurants. Pay attention to how different elements are arranged, the use of color, and the overall style.
Don't just copy designs directly, but use them as a starting point for your own creativity. Consider what elements you have and how you can arrange them in a unique way. Think about the theme or flavor profile of your dessert and how the plating can reflect that. A rustic apple crumble might call for a different plating style than a delicate chocolate mousse.
Finally, share your elegant plated dessert creations! Serve them to friends and family, or share photos online. Getting feedback can be helpful, but most importantly, sharing your work allows you to celebrate your progress and inspire others.
The joy of baking and plating is amplified when shared. Don't be afraid to showcase your elegant plated dessert recipes and the effort you put into making them beautiful. Happy plating!
Advanced Plated Dessert Techniques
Frequently Asked Questions
What are the key elements of an elegant plated dessert according to BakeWithEase?
The key elements usually involve a balance of flavors, textures, and visual appeal. It's about creating a harmonious experience with each bite.
Where can I find simple yet elegant plated dessert recipes on BakeWithEase.com?
BakeWithEase.com offers a range of recipes in the plated dessert section, focusing on desserts composed of simple components. Look for recipes tagged with "elegant" or "plated".
Are the plated dessert recipes on BakeWithEase suitable for beginner bakers?
Yes, BakeWithEase aims to provide recipes for all skill levels, including beginners. Look for recipes with step-by-step guides and "easy-to-find ingredients."
Does BakeWithEase offer tips on the presentation aspect of plated desserts?
Absolutely! BakeWithEase provides tips on plating techniques, including how to use sauces, garnishes, and other elements to create a visually stunning dessert.
What types of desserts can be adapted into elegant plated desserts using BakeWithEase's guidance?
Many desserts can be adapted! BakeWithEase provides inspiration for transforming pastries, cakes, and even cookies into sophisticated plated creations, emphasizing simple components.
Final Reflection: The Art of Simplicity in Elegant Plated Desserts
The pursuit of elegant plated desserts doesn't require elaborate techniques; rather, it's a celebration of thoughtfully chosen, high-quality components. Mastering the art of simplicity unlocks a world of stunning visual appeal and exquisite taste, proving that less can truly be more in the culinary arts.
The impact of visually appealing food on our dining experience is undeniable. It elevates a simple meal into a memorable occasion, fostering a sense of occasion and appreciation. The food you eat can be either the safest and most life-giving medicine or the slowest poison.
- Ann Wigmore. This quote, while addressing broader health aspects, highlights the profound connection between what we consume and our overall well-being, a connection amplified by the artistry of presentation. The elegance of a plated dessert isn't just about aesthetics; it's about enhancing the entire sensory experience, making the dessert even more enjoyable.
Now, consider your own culinary journey. What simple components resonate most with you? What flavors and textures create a symphony on your palate? I encourage you to experiment, to explore the potential of seemingly ordinary ingredients, and to discover the joy of crafting your own stunning, elegant plated desserts. Don't be afraid to break free from complex recipes; embrace the beauty of simplicity and let your creativity shine through. The most memorable desserts are often the ones born from a deep understanding of fundamental flavors and a commitment to artful presentation.
Unleash Your Inner Pastry Chef!
Thanks for joining us on this delicious journey into the world of plated desserts! We hope you've gained some confidence in creating stunning masterpieces with simple components. Ready to take your baking to the next level?
- Master a new plating technique: Try one of the techniques discussed today on your next dessert. Even a small change can make a big impact!
- Share your creations: Post a picture of your plated dessert on social media and tag us @BakeWithEase – we'd love to see your culinary artistry!
- Explore more dessert recipes: Dive deeper into our recipe archive on bakewithease.com and discover even more ways to impress your friends and family.
What surprising ingredient will you elevate to create your next stunning plated dessert?