
Easy Recipe for Traditional Ukrainian Paska (Easter Bread)

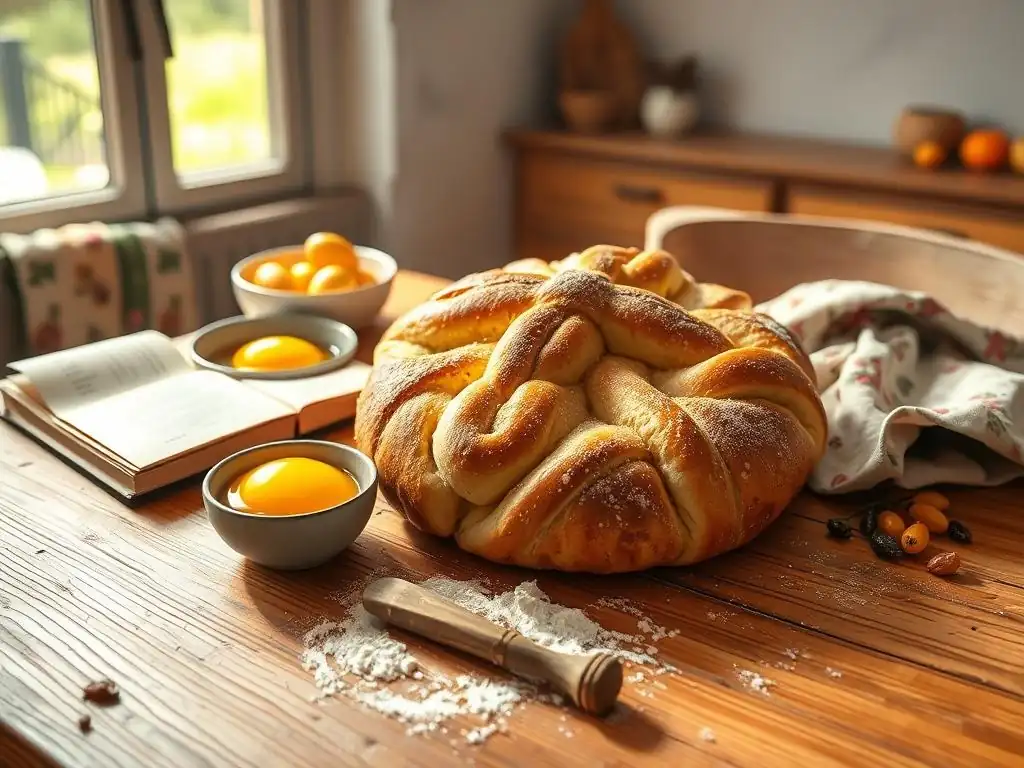
Welcome to BakeWithEase, your guide to effortless baking! Ever dreamt of creating a beautiful, aromatic Paska bread but thought it was too complicated? Think again! Discover our Easy Ukrainian Paska Recipe and unlock the secrets of this traditional Easter treat. Get ready to impress your family and friends with a delightful masterpiece. Ready to bake?
- Easy Recipe for Traditional Ukrainian Paska (Easter Bread) - BakeWithEase
- Introduction to Ukrainian Paska: A BakeWithEase Tradition
- BakeWithEase's Simplified Paska Recipe: Ingredients and Equipment
- Step-by-Step Guide to Making Easy Ukrainian Paska Dough
- Shaping and Proofing Your Ukrainian Easter Bread
- Baking Your Traditional Ukrainian Paska
- Cooling and Serving Your Easy Homemade Paska
- Tips and Tricks for Baking the Best Paska
- Enjoy Your Delicious Homemade Ukrainian Paska!
-
Frequently Asked Questions
- What makes this Paska recipe "easy"?
- What are the key ingredients in this Easy Ukrainian Paska recipe?
- How long does it take to make this Easy Ukrainian Paska from start to finish?
- What are some tips for ensuring a light and fluffy texture in my Easy Ukrainian Paska?
- Can I customize this Easy Ukrainian Paska recipe with different decorations?
- Final Reflection: A Taste of Tradition, A Bridge to Connection
- Unleash Your Inner Baker: Craft a Stunning Paska!
Easy Recipe for Traditional Ukrainian Paska (Easter Bread) - BakeWithEase
Introduction to Ukrainian Paska: A BakeWithEase Tradition
What is Paska? Exploring Ukrainian Easter Bread
Paska is a rich, sweet, brioche-like bread deeply rooted in the cultural and religious traditions of Ukraine and other Eastern European countries. It's a centerpiece of the Easter table, baked specifically for the holiday to be blessed in church on Holy Saturday or Easter Sunday. This celebratory bread is often decorated with symbolic dough shapes like crosses, braids, and flowers, representing themes of resurrection, eternal life, and prosperity. The dough itself is enriched with eggs, butter, and sugar, giving it a tender crumb and slightly sweet flavor, distinct from everyday bread.
Historically, baking Paska was a ritualistic process, often starting on Maundy Thursday or Good Friday, performed with reverence and care. The quality of the Paska was seen as a reflection of the baker's skill and piety, and a well-risen, beautiful loaf was considered a good omen for the year ahead. While the traditions vary slightly by region and family, the core idea of Paska as a sacred, festive bread remains constant, bringing families together to share in the joy of Easter. Our goal at BakeWithEase is to make creating this meaningful bread accessible through an easy Ukrainian Paska recipe.
Why Bake Paska at Home? An Easy Baking Project
Baking Paska at home allows you to connect deeply with a cherished cultural tradition and share a truly special bread with your loved ones during the Easter season. While it might seem daunting, especially for a rich dough, mastering an easy Ukrainian Paska recipe is entirely achievable for bakers of all levels. The process, from mixing the fragrant dough to watching it rise and bake into a golden dome, is incredibly rewarding. The aroma filling your kitchen alone is a wonderful part of the Easter experience.
Beyond the cultural connection, homemade Paska simply tastes superior to store-bought versions. You control the quality of ingredients, ensuring a fresh, flavorful loaf free from preservatives. Plus, you can customize it slightly, perhaps adding a touch more vanilla, a hint of orange zest, or experimenting with different decorations. Making this Easy Ukrainian Paska Recipe is not just about baking; it's about creating memories and sharing a symbol of hope and renewal with your family and friends, making your Easter celebration even more meaningful.
BakeWithEase's Simplified Paska Recipe: Ingredients and Equipment
Essential Ingredients for Authentic Ukrainian Paska
To bake a delicious and authentic Paska following our easy Ukrainian Paska recipe, you'll need key ingredients that contribute to its rich texture and flavor. Start with about 500-600 grams of all-purpose flour, though the exact amount can vary based on humidity and how your dough feels. You'll need about 10-15 grams of active dry yeast or instant yeast – choosing instant yeast simplifies the process as it can often be mixed directly with dry ingredients. For richness, gather about 4-5 large eggs (at room temperature are best) and roughly 150-200 grams of unsalted butter, melted and slightly cooled.
Sweetness comes from around 100-150 grams of granulated sugar, and flavor is enhanced by a pinch of salt (about 5-7 grams), vanilla extract (a teaspoon or two), and often lemon or orange zest for brightness. Milk is crucial for the dough's hydration; about 200-250 ml of warm milk (around 100-110°F or 38-43°C if using active dry yeast) is typically needed. Some recipes also include a tablespoon or two of sour cream or yogurt for extra tenderness. Optional additions like raisins or candied citrus peel (around 50-100 grams) can be folded in during kneading for added flavor and texture.
Baking Equipment Checklist for Easy Paska Preparation
Having the right tools on hand makes baking this easy Ukrainian Paska recipe much smoother and more enjoyable. You'll need a large mixing bowl, ideally a sturdy one made of glass, ceramic, or metal, capable of holding at least 4-5 quarts to accommodate the dough as it rises. A stand mixer with a dough hook attachment is incredibly helpful for kneading the rich dough, saving significant time and effort compared to hand kneading. If kneading by hand, a clean, spacious work surface is essential.
Measuring cups and spoons are necessary for accurately portioning ingredients. A kitchen scale is also highly recommended, especially for flour, as measuring by weight (grams) is more precise than by volume (cups). You'll need a liquid measuring cup for the milk. For baking the Paska, you'll need round baking pans, traditionally tall, cylindrical pans.
You can use standard cake pans (like 6-inch or 8-inch round pans with at least 3-inch sides) or even clean, greased coffee cans lined with parchment paper. Parchment paper is also useful for lining pans and covering the dough during rising. Finally, a wire cooling rack is crucial for cooling the baked Paska evenly.
Step-by-Step Guide to Making Easy Ukrainian Paska Dough
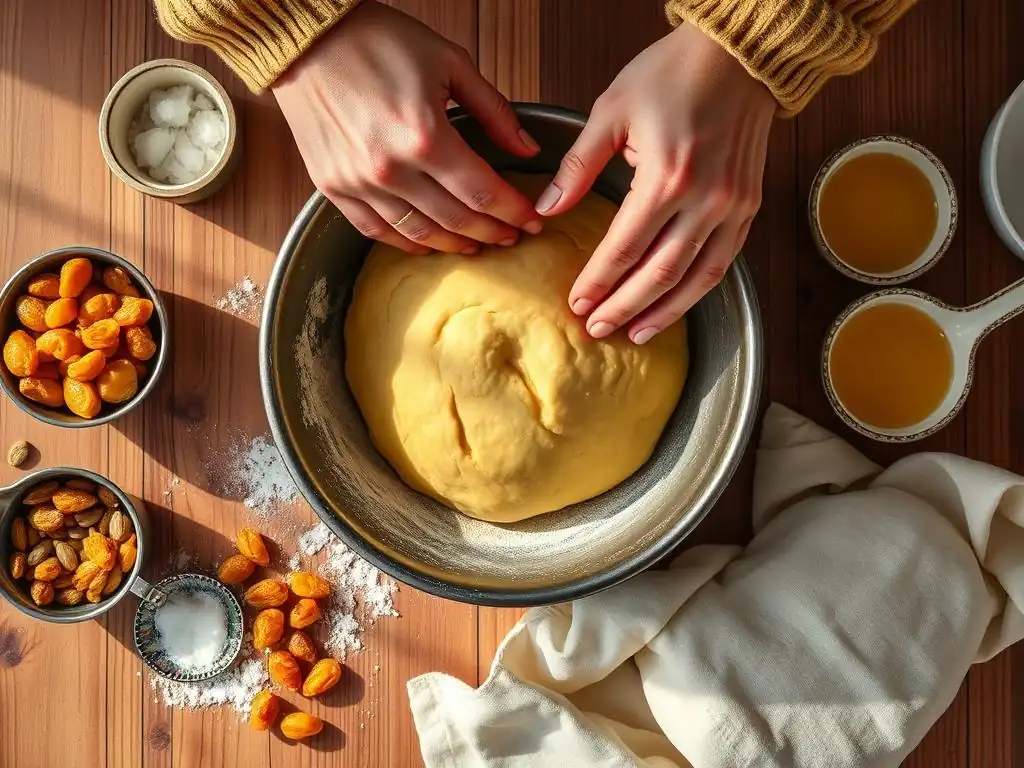
Step 1: Activating the Yeast for Paska Dough
The first step in our easy Ukrainian Paska recipe involves activating the yeast, which is essential for a light and airy loaf. If you are using active dry yeast (typically 10-15 grams for this recipe size), you'll need to "proof" it. Gently warm the milk (200-250 ml) to a temperature between 100°F and 110°F (38°C-43°C).
If the milk is too hot, it can kill the yeast; too cool, and the yeast won't activate effectively. Pour the warm milk into a small bowl, stir in a teaspoon or two of sugar (taken from the total recipe amount), and then sprinkle the active dry yeast over the top.
Let this mixture sit undisturbed for about 5-10 minutes. You should see the yeast become foamy or bubbly on the surface. This indicates that the yeast is alive and active, ready to make your dough rise. If you don't see this frothy layer, your yeast might be old or the milk wasn't the right temperature, and it's best to start this step over with fresh yeast. If you are using instant yeast, you can often skip this proofing step and mix it directly with the dry ingredients, as per package instructions, simplifying this easy Ukrainian Paska recipe even further.
Step 2: Combining Wet and Dry Ingredients for the Dough
Once your yeast is active (or if using instant yeast and mixing dry), it's time to combine the wet and dry components for your easy Ukrainian Paska dough. In a large mixing bowl (or the bowl of your stand mixer), whisk together the flour (start with about 500 grams), the remaining sugar (100-150 grams total), and the salt (5-7 grams). Make sure the salt isn't directly touching the yeast initially, as salt can inhibit yeast activity. Create a well in the center of the dry ingredients.
Into the well, pour the activated yeast mixture (or the warm milk if using instant yeast mixed with dry ingredients). Add the room temperature eggs (4-5), the melted and slightly cooled butter (150-200 grams), vanilla extract (1-2 teaspoons), and any zest you are using. Begin mixing these ingredients together. If using a stand mixer, start on a low speed with the dough hook.
If mixing by hand, use a sturdy spoon or spatula. Mix until a shaggy dough forms and most of the flour is incorporated. At this point, the dough will likely be very sticky, which is expected for a rich dough like Paska.
Step 3: Kneading the Paska Dough: Tips and Techniques
Kneading is a crucial step in developing the gluten structure needed for a soft, elastic Paska, even with an easy Ukrainian Paska recipe. If using a stand mixer, attach the dough hook and knead on medium-low speed for about 8-10 minutes. The dough will initially stick to the sides of the bowl, but as it kneads, it should start to pull away, forming a ball.
It will remain soft and somewhat sticky, but should be elastic when gently stretched. If the dough seems excessively wet and isn't coming together after a few minutes, you can add flour, one tablespoon at a time, allowing it to incorporate before adding more. Avoid adding too much flour, which can result in a dry loaf.
If kneading by hand, turn the shaggy dough out onto a lightly floured surface. Knead by folding the dough over on itself, pushing down with the heel of your hand, rotating, and repeating. This process will take longer than with a mixer, likely 15-20 minutes.
The dough will be sticky; use a bench scraper to help gather it and scrape your hands clean as needed. Resist the urge to add too much flour. The dough is properly kneaded when it is smooth, elastic, and passes the windowpane test: you can gently stretch a small piece of dough into a thin membrane without it tearing.
Step 4: First Rise: Allowing the Dough to Double
After kneading, the dough needs time to rise and develop flavor, a process called fermentation. Lightly grease a clean, large bowl with oil or cooking spray. Gather the kneaded dough into a ball and place it in the greased bowl, turning it to coat the surface with a little oil. This prevents it from drying out. Cover the bowl tightly with plastic wrap or a clean kitchen towel.
Place the covered bowl in a warm, draft-free place. An oven with just the light on is an ideal spot, typically providing a temperature of around 80-85°F (27-29°C). The dough needs to double in size, which usually takes about 1 to 1.5 hours, though it can take longer depending on the room temperature (up to 2 hours or more in a cooler environment).
Don't rush this step; a proper first rise is key to a light texture in your easy Ukrainian Paska recipe. You can gently press two fingers into the dough; if the indentation remains, it's ready. If it springs back quickly, it needs more time.
Shaping and Proofing Your Ukrainian Easter Bread
Step 5: Shaping the Paska: Traditional and Modern Methods
Once the dough has doubled in size, gently punch it down to release the air, then turn it out onto a lightly floured surface. For a classic Paska shape, the dough is typically formed into a round loaf. You can divide the dough into portions if using multiple smaller pans. To shape, gently round the dough ball, tucking the edges underneath to create tension on the surface. Place the shaped dough into your prepared round baking pan(s), which should be well-greased and possibly lined with parchment paper for easy removal.
Beyond the simple round loaf, traditional Paska often features decorative elements made from a small portion of the dough (usually set aside before the first rise). These decorations can include braids, crosses, flowers, or bird shapes, each carrying symbolic meaning. For instance, a cross represents the crucifixion, while braids might symbolize the Holy Trinity or eternity.
To create these, roll small pieces of dough into ropes or shapes and arrange them on top of the main dough ball in the pan. Keep the decorations relatively simple for an easy Ukrainian Paska recipe, as complex designs can sometimes overproof or burn during baking.
Step 6: Decorating the Paska: Symbolic Toppings and Designs
Decorating the Paska is a creative and symbolic step in preparing this special Easter bread. As mentioned, traditional decorations are made from reserved dough. You might take about 100-150 grams of the dough before the first rise, keep it covered, and use it after the main dough is shaped and placed in the pan.
Roll out thin ropes and twist them into braids to encircle the top edge, or form simple crosses to place in the center. For flowers, roll small balls and flatten them into petals, arranging them around a central ball. Use a little water to help the decorations adhere to the surface of the main dough.
Before the second rise, you can brush the entire surface of the Paska, including the decorations, with an egg wash (one egg beaten with a tablespoon of milk or water). This gives the bread a beautiful golden shine as it bakes. Some bakers also add poppy seeds or sesame seeds to the top before baking for extra texture and visual appeal. Remember that these decorations will expand as the bread rises and bakes, so leave a little space between elements. Keeping the designs relatively simple ensures success with your easy Ukrainian Paska recipe.
Step 7: Second Rise: Preparing for Baking
After shaping and decorating, the Paska needs a second rise, also known as proofing. This allows the dough to lighten up again before baking and achieve its final volume. Cover the shaped Paska(s) loosely with plastic wrap or a clean kitchen towel. Be careful not to let the covering touch the surface of the dough, especially if you have added delicate decorations.
Place the covered pan(s) in a warm, draft-free spot for the second rise, similar to the first rise. This typically takes about 30-60 minutes. The dough should increase significantly in size, though it won't quite double like in the first rise. It should look puffy and feel light.
To test if it's ready, gently press the side of the dough with your fingertip; if the indentation springs back slowly or only partially, it's ready for baking. If it springs back quickly, it needs more time. Overproofing can cause the bread to collapse in the oven, so watch it carefully during this final rise for your easy Ukrainian Paska recipe.
Baking Your Traditional Ukrainian Paska
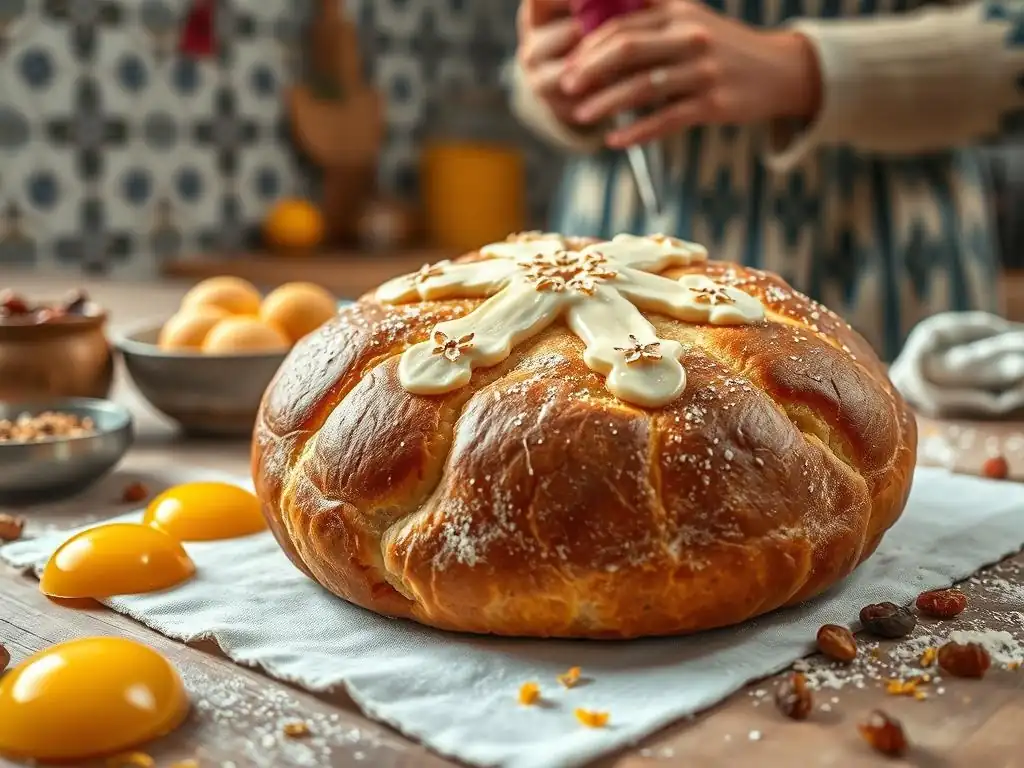
Step 8: Baking Time and Temperature for Perfect Paska
Baking is where the magic happens, transforming the proofed dough into a beautiful golden Paska. Preheat your oven to 350°F (175°C). It's crucial that the oven is fully preheated before you place the bread inside to ensure even baking and a good oven spring. Place the pan(s) with the proofed Paska on a rack in the center of the oven. Avoid placing them too close to the top element, especially if your Paska is tall, to prevent the top from burning before the inside is cooked.
The baking time will vary depending on the size of your Paska loaves. A large loaf (made from the full recipe in a single pan) might take 40-60 minutes to bake. Smaller loaves (divided into two or three pans) will bake faster, likely in 30-45 minutes.
You'll know the Paska is done when the crust is a deep golden brown and the internal temperature reaches 190-200°F (88-93°C) when measured with an instant-read thermometer inserted into the thickest part of the loaf. If the top starts browning too quickly before the inside is done, you can loosely tent the top with aluminum foil.
Step 9: Achieving a Golden Brown Crust: Tips for Baking
A beautiful, evenly golden brown crust is a hallmark of a perfect Paska. The egg wash applied before the second rise significantly contributes to this rich color and a slight sheen. As the Paska bakes at 350°F (175°C), the sugars in the dough and the egg wash caramelize, creating that desirable finish. Ensure your oven temperature is accurate; an oven thermometer can help verify this.
If you notice the top browning too quickly, especially with decorative elements that might be thinner, loosely covering the top of the pan with a piece of aluminum foil is the standard method to prevent scorching while the rest of the loaf finishes baking. Do this after the Paska has achieved some initial color, perhaps 20-30 minutes into the bake.
For added steam in the oven (which can help with oven spring and crust development, though less critical for a rich dough like Paska), you could place a shallow pan of hot water on the bottom rack of the oven when you preheat it, but this is optional for an easy Ukrainian Paska recipe. Ensure the bread is fully baked through; an underbaked Paska will be dense and gummy inside.
Cooling and Serving Your Easy Homemade Paska
Step 10: Cooling the Paska: Preventing Soggy Bottoms
Proper cooling is just as important as baking for achieving the best texture in your easy Ukrainian Paska recipe. As soon as the Paska comes out of the oven, it's still cooking internally from residual heat, and steam is escaping. Leaving it in the hot pan can trap this steam, leading to a soggy bottom crust. After letting it rest in the pan for just a few minutes (about 5-10 minutes), carefully remove the Paska from the pan. If using coffee cans, you might need to carefully cut away the can or the parchment paper.
Transfer the Paska immediately to a wire cooling rack. The rack allows air to circulate freely around all sides of the bread, allowing steam to escape and preventing condensation from forming on the bottom. Let the Paska cool completely on the rack before slicing. This can take several hours, especially for a large loaf. Slicing hot bread can compress the crumb and make it seem gummy, whereas cooled bread will have a much better texture. Patience during this cooling phase is key to enjoying the fruits of your easy Ukrainian Paska recipe effort.
Serving Suggestions for Ukrainian Easter Bread
Paska is traditionally served as part of the Easter breakfast or brunch, often alongside other blessed foods like ham, sausages, cheese, and decorated eggs (pysanky). The sweet, rich bread complements savory dishes beautifully. It's typically sliced and enjoyed simply, allowing its flavor and texture to shine. Some people like to spread butter or jam on slices, similar to how you might enjoy challah or brioche.
Beyond the main Easter meal, leftover Paska makes delicious toast or French toast. Its slightly sweet, eggy nature is perfect for soaking up the custard mixture, resulting in a rich and satisfying breakfast. A slice of Paska with a cup of tea or coffee is also a wonderful way to enjoy it throughout the Easter week. Sharing your homemade Paska with family and friends is a central part of the tradition, making this easy Ukrainian Paska recipe a focal point of your holiday celebration.
Tips and Tricks for Baking the Best Paska
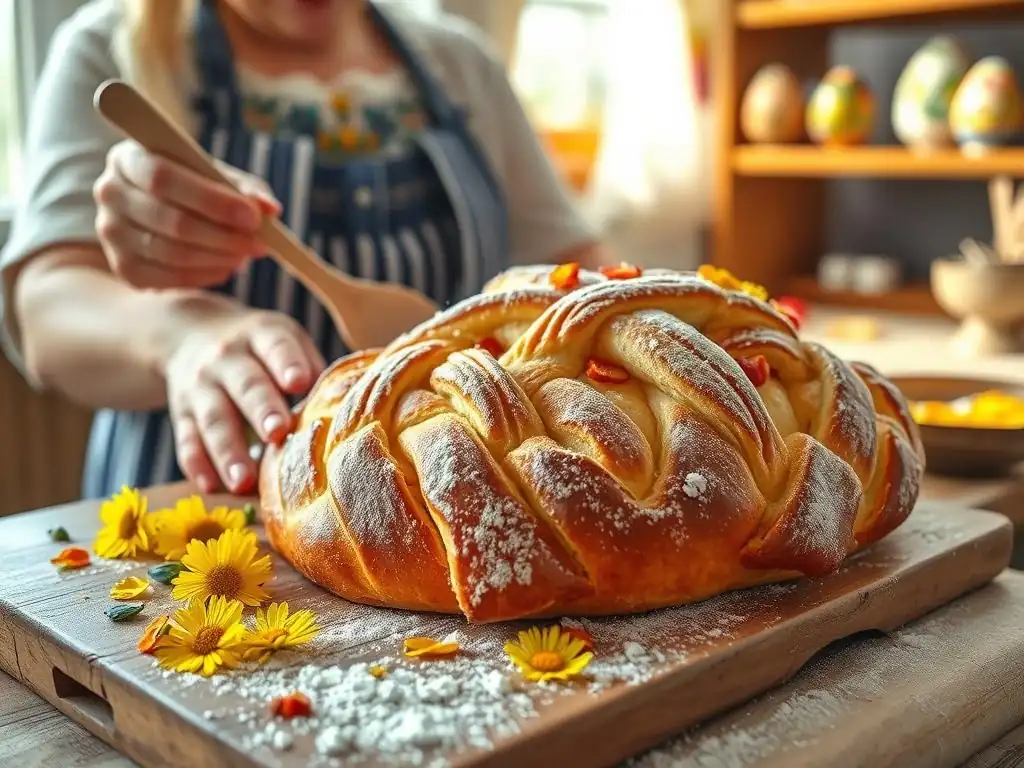
Troubleshooting Common Paska Baking Problems
Even with an easy Ukrainian Paska recipe, you might encounter common issues. If your dough isn't rising, ensure your yeast was active (Step 1 check) and that your rising environment is warm enough (above 70°F or 21°C is usually needed, ideally 80-85°F or 27-29°C). Cold temperatures dramatically slow down yeast activity. If the dough is too dense, it might be due to adding too much flour during kneading, not kneading enough to develop gluten, or insufficient rising time. Rich doughs like Paska can take longer to rise than lean doughs due to the fat and sugar content.
If the top browns too quickly while the inside is underbaked, your oven might be too hot or the Paska is too close to the top element. As mentioned, tenting with foil is the solution. If the bread collapses after baking, it could be overproofed during the second rise or taken out of the oven before it was fully baked (check the internal temperature).
A Paska with a tough crust might be due to baking at too high a temperature or not having enough moisture in the dough or oven environment. Practice makes perfect, and each bake teaches you more about handling this specific easy Ukrainian Paska recipe.
Storing Your Paska: Keeping it Fresh
Proper storage helps keep your homemade Paska fresh and delicious for several days. Once completely cooled, wrap the loaf tightly in plastic wrap, then place it in a large resealable plastic bag or an airtight container. Stored this way at room temperature, Paska will typically stay fresh for 3-4 days. Avoid refrigerating Paska, as this can actually dry out the bread and make it stale faster.
If you won't be eating the Paska within a few days, it freezes beautifully. Once cooled, wrap it tightly in plastic wrap, then wrap it again in aluminum foil or place it in a freezer-safe bag. Frozen Paska can be stored for up to 2-3 months. To thaw, simply unwrap it and let it sit at room temperature. For best results, you can gently warm slices in a toaster or oven after thawing. Freezing is a great option if you bake multiple loaves from your easy Ukrainian Paska recipe.
Variations on the Traditional Paska Recipe: BakeWithEase Experiments
While the traditional easy Ukrainian Paska recipe is wonderful on its own, there's room for creative variations once you feel comfortable with the basic process. You can experiment with adding different flavorings to the dough. Consider incorporating the zest of other citrus fruits, like orange or grapefruit, for a brighter aroma. Ground spices like cardamom, nutmeg, or even a hint of saffron can add layers of traditional flavor found in other European sweet breads.
For texture variations, try adding dried cranberries, chopped apricots, or even chocolate chips alongside or instead of raisins. You could also brush the baked and cooled Paska with a simple sugar glaze (powdered sugar mixed with a little milk or lemon juice) for extra sweetness and a glossy finish, sometimes topped with sprinkles. While these additions diverge slightly from the strictest tradition, they allow you to personalize your easy Ukrainian Paska recipe and make it your own while still honoring the spirit of this beloved Easter bread.
Enjoy Your Delicious Homemade Ukrainian Paska!
Frequently Asked Questions
What makes this Paska recipe "easy"?
This recipe focuses on simplified steps and readily available ingredients, making it accessible even for novice bakers. It avoids complex techniques often associated with traditional Paska.
What are the key ingredients in this Easy Ukrainian Paska recipe?
The key ingredients include flour, sugar, eggs, butter, yeast, and milk. Optional additions like raisins and candied citrus peel can enhance the flavor.
How long does it take to make this Easy Ukrainian Paska from start to finish?
While the actual baking time is relatively short, the entire process, including rising, takes approximately 3-4 hours. Plan accordingly for the dough to rise properly.
What are some tips for ensuring a light and fluffy texture in my Easy Ukrainian Paska?
Ensure your yeast is active and the dough is properly proofed. Also, avoid over-mixing the dough, as this can result in a dense bread.
Can I customize this Easy Ukrainian Paska recipe with different decorations?
Absolutely! Feel free to get creative with decorations using dough crosses, braids, or sprinkles. Egg wash provides a golden-brown finish.
Final Reflection: A Taste of Tradition, A Bridge to Connection
The enduring appeal of traditional recipes like Ukrainian Paska lies not just in the delicious result, but in the story they tell – a story of heritage, community, and the enduring power of shared culinary experiences. In a world increasingly dominated by fast food and convenience, taking the time to bake a Paska, even with a simplified recipe, offers a powerful counterpoint; a chance to reconnect with something deeper than ourselves.
Baking Paska has always been more than just a culinary task for me; it's a tangible link to my family history, a way to honor generations past who meticulously crafted this bread, imbuing it with love and tradition. Food is symbolic of love when words are inadequate.
– Alan D. Wolfelt. This quote perfectly encapsulates the emotional weight Paska carries, transcending its simple ingredients to become a symbol of hope, renewal, and the enduring strength of the human spirit, especially relevant in times of hardship and uncertainty.
Now, I invite you to consider your own culinary traditions. What recipes hold special meaning for you? What stories do they tell? Perhaps this simplified Paska recipe will inspire you not only to bake a delicious bread, but also to explore your own heritage, to share your culinary traditions with others, and to create new memories around the simple act of making and sharing food. Let the aroma of freshly baked Paska fill your home, and may it be a symbol of connection, hope, and the enduring power of tradition.
Unleash Your Inner Baker: Craft a Stunning Paska!
Thanks for joining us on this delicious journey into the heart of Ukrainian Easter tradition! We hope you've gained a new appreciation for the rich history and satisfying process of baking Paska. Now it's time to bring that deliciousness to life.
- Bake your own Paska masterpiece! Use our recipe as your guide, but don't be afraid to experiment with flavors and decorations. It's your creation!
- Share your baking journey! Snap a picture of your Paska and tag us on social media – we'd love to see your beautiful results!
- Explore other traditional Easter breads: Discover the diverse world of Easter baking by exploring other recipes on our website – perhaps you'll find a new favorite tradition!
Ready to share the joy of homemade Paska with your loved ones this Easter?