
Easy Pear Tart with a Simple Shortcrust

Welcome to BakeWithEase, your culinary haven for all things baking!
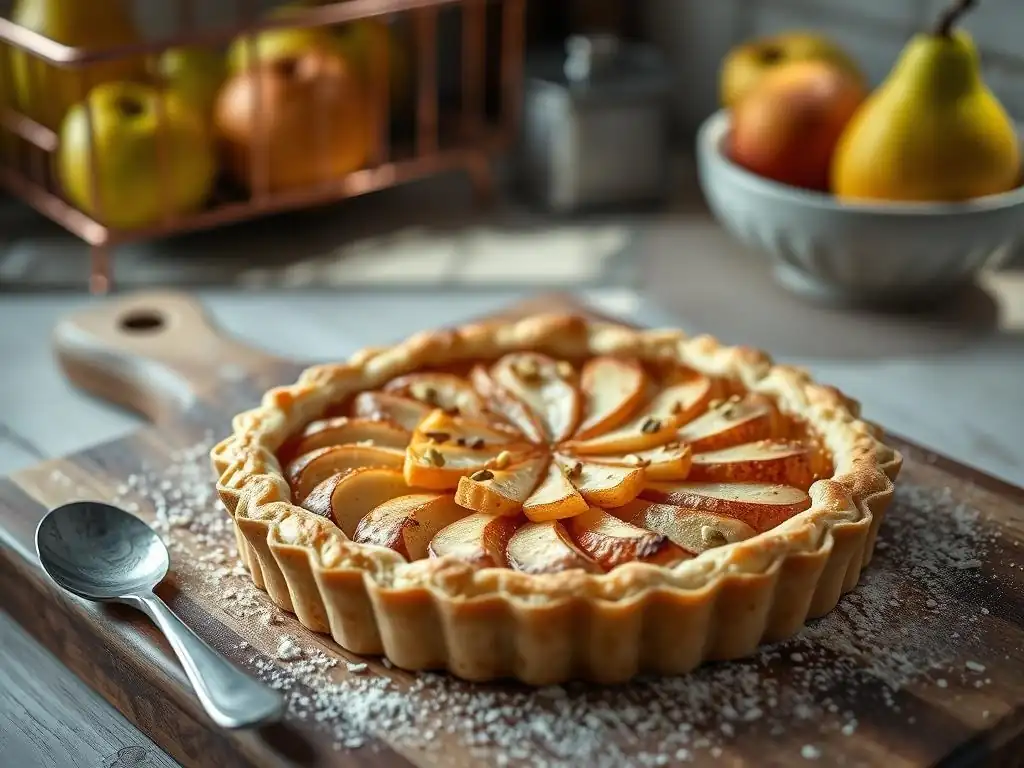
Ever dreamed of creating a show-stopping dessert without the fuss? In this article, we're demystifying the art of pastry with our easy pear tart recipe. Imagine biting into a perfectly crisp shortcrust, filled with tender, caramelized pears – and it's all simpler than you think. Ready to unlock the secrets to effortless elegance in the kitchen? Let's get baking!
- Easy Pear Tart with a Simple Shortcrust - BakeWithEase
- Introduction: Discover the Delight of an Easy Pear Tart
- Crafting the Simple Shortcrust: Your Tart's Foundation
- The Sweet Pear Filling: Simple and Delicious
- Assembling Your Easy Pear Tart: Simple Steps to Beauty
- Baking Your Easy Pear Tart to Golden Perfection
- Serving and Storing Your Easy Pear Tart
- Variations and Adaptations: Personalize Your Easy Pear Tart
- Troubleshooting Your Easy Pear Tart: Common Issues and Solutions
- Conclusion: Savor Your Delicious Easy Pear Tart!
- Frequently Asked Questions
- Final Reflection: The Enduring Allure of Simple Baking
- Unleash Your Inner Baker: Make This Pear Tart Today!
Easy Pear Tart with a Simple Shortcrust - BakeWithEase
Introduction: Discover the Delight of an Easy Pear Tart
Welcome to BakeWithEase: Your Path to Simple Baking Joys
Welcome to BakeWithEase, where we believe that delicious baking should be accessible to everyone! Our mission is to demystify the process, offering simple recipes, practical tips, and techniques that allow you to create impressive treats without the fuss. Whether you're just starting your baking journey or looking for straightforward ways to expand your repertoire, you'll find guidance and inspiration here.
We focus on recipes that deliver maximum flavor with minimal complexity, proving that you don't need to be a pastry chef to bake something truly wonderful. From flaky pies to moist cakes and, of course, delightful tarts, we're here to help you build confidence in the kitchen, one successful bake at a time. This easy pear tart recipe is a perfect example of how simple ingredients and clear steps can lead to a stunning dessert.
Why This Easy Pear Tart Recipe is a Must-Try
This easy pear tart recipe stands out for its simplicity and elegant result. Unlike complex layered tarts, this version relies on a straightforward shortcrust and a naturally sweet pear filling, making it ideal for bakers of all skill levels. It requires minimal specialized equipment – just a standard tart pan, a rolling pin, and your hands!
The beauty of this easy pear tart recipe lies in its balance. The simple shortcrust provides a tender, buttery base that perfectly complements the soft, fragrant pears. It's a dessert that feels sophisticated enough for a special occasion but is easy enough to whip up on a weeknight. Plus, pears are often more forgiving than some other fruits when baked, ensuring a lovely texture every time.
Crafting the Simple Shortcrust: Your Tart's Foundation
Ingredients for a Simple Shortcrust
A simple shortcrust requires just a few basic ingredients, typically found in any pantry. For a standard 9-inch tart pan, you will need approximately 250 grams (about 2 cups) of all-purpose flour, 125 grams (about 1/2 cup or one stick) of cold, unsalted butter cut into small cubes, a pinch of salt, and about 60-80 ml (4-5 tablespoons) of ice water. Some recipes might include a tablespoon or two of sugar, especially for a sweet crust like the one used in this easy pear tart recipe.
The quality of your ingredients matters, particularly the butter. Using good quality cold butter is crucial for achieving that desirable flaky yet tender texture. The flour provides the structure, while the ice water helps bind everything together without developing too much gluten, which can make the crust tough. Accuracy in measuring, especially the water, is key to a successful dough.
Step-by-Step Guide to Making Simple Shortcrust: The BakeWithEase Way
Making this simple shortcrust involves a few easy steps. First, combine the flour and salt (and sugar, if using) in a large bowl. Add the cold butter cubes and cut them into the flour using a pastry blender, your fingertips, or a food processor until the mixture resembles coarse crumbs with some pea-sized pieces of butter remaining. This step is vital for creating layers of flakiness.
Next, gradually add the ice water, one tablespoon at a time, mixing gently with a fork or your hands until the dough just comes together. Be careful not to overwork the dough. It should be shaggy but hold together when you squeeze a small amount. Gather the dough into a disc, wrap it tightly in plastic wrap, and flatten it slightly before chilling. This easy pear tart recipe relies on a well-chilled dough for best results.
Tips for a Tender Crust: Chilling and Handling the Dough
Chilling the dough is arguably the most important step for a tender shortcrust. After making the dough, it needs to chill in the refrigerator for at least 30-60 minutes. This allows the gluten to relax (preventing toughness) and solidifies the butter, which creates steam pockets during baking for flakiness. Chilling also makes the dough much easier to handle and roll out.
When handling the dough, work quickly and use minimal flour on your surface and rolling pin. Excessive flour can make the crust dry and tough. Roll the dough evenly from the center outwards, rotating it occasionally to prevent sticking and ensure an even thickness, aiming for about 1/8 inch (3-4 mm). If the dough becomes too soft while rolling, pop it back in the fridge for 10-15 minutes. Patience here pays off for your easy pear tart recipe's foundation.
The Sweet Pear Filling: Simple and Delicious
Pear Filling Ingredients: What You'll Need
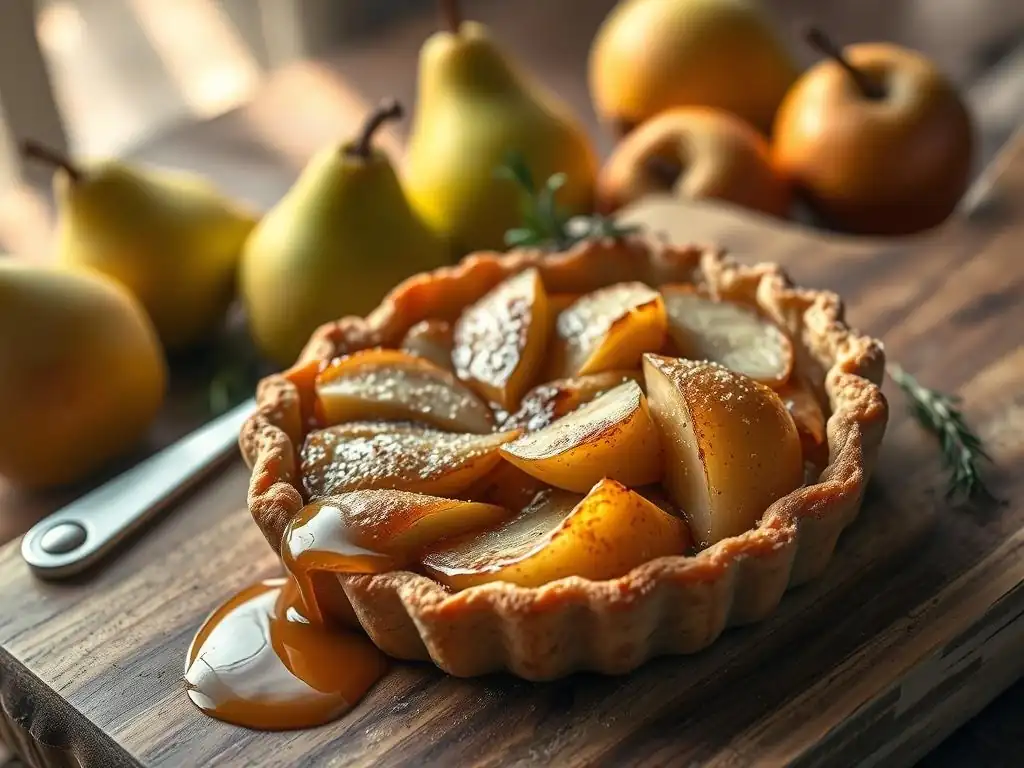
For the simple pear filling in this easy pear tart recipe, you'll need ripe but firm pears. About 4-6 medium-sized pears (like Bosc, Anjou, or Bartlett) are usually sufficient for a 9-inch tart. You'll also need sugar (around 1/4 to 1/2 cup, depending on the sweetness of your pears and preference), a tablespoon or two of flour or cornstarch to help thicken the juices, a pinch of ground cinnamon or nutmeg, and perhaps a squeeze of lemon juice to brighten the flavor and prevent browning.
Optional additions could include a tiny pinch of ground ginger or a splash of vanilla extract for extra depth. The key is to keep the ingredients simple to let the natural flavor of the pears shine. Using firm pears ensures they hold their shape during baking, while ripeness guarantees sweetness.
Preparing the Pears: Slicing and Enhancing Flavor
Start by peeling, coring, and slicing your pears. Aim for slices about 1/4 inch thick – thin enough to cook through but thick enough to maintain structure. A mandoline can help achieve uniform slices, but a sharp knife works perfectly well. Placing the sliced pears in a bowl, gently toss them with the sugar, flour or cornstarch, spice (cinnamon or nutmeg), and lemon juice (if using).
Ensure the slices are evenly coated. The sugar will begin to draw out some moisture from the pears, which the flour or cornstarch will help manage during baking. This simple preparation enhances the pears' natural sweetness and ensures the filling sets nicely. This minimal effort is part of what makes this an easy pear tart recipe.
Enhancing Pear Flavor: Simple Additions
While the natural flavor of baked pears is delightful on its own, a few simple additions can elevate it further in this easy pear tart recipe. A small amount of ground spice, like cinnamon or nutmeg (perhaps 1/4 teaspoon), adds warmth without overpowering the delicate pear taste. For a slightly richer flavor, you could consider adding a tiny grate of fresh ginger or a very small pinch of cardamom.
Another simple way to enhance the flavor is with a splash of vanilla extract (about 1/2 teaspoon) mixed into the pear slices. If you enjoy a hint of warmth, a tablespoon of a complementary liqueur like pear brandy or even a dark rum could be added to the pear mixture, though this step is entirely optional and keeps the recipe simpler if omitted. These small touches can make a big difference.
Assembling Your Easy Pear Tart: Simple Steps to Beauty
Rolling Out the Simple Shortcrust: Achieving Uniform Thickness
Once your simple shortcrust dough is well-chilled, remove it from the refrigerator. Lightly flour a clean work surface and your rolling pin. Place the dough disc in the center and begin rolling from the middle outwards, rotating the dough frequently and adding minimal flour as needed to prevent sticking. Aim for a circle or square large enough to fit your tart pan, with about an inch or two overhang.
The goal is an even thickness of approximately 1/8 inch (3-4 mm) across the entire sheet. This ensures the crust bakes evenly. To transfer the dough to the tart pan, you can gently roll it around your rolling pin and then unroll it over the pan, or carefully fold it in half or quarters before lifting and unfolding it into the pan. Press the dough gently into the bottom and up the sides of the pan, ensuring it fits snugly into the fluted edges. Trim any excess overhang, leaving about 1/2 inch around the edge.
Docking and Blind Baking: Preventing a Soggy Bottom
To prevent the bottom crust of your easy pear tart from becoming soggy, especially with the juicy pear filling, docking and blind baking are recommended steps. Docking involves pricking the bottom of the dough all over with a fork. This allows steam to escape during baking, preventing large bubbles and ensuring the crust stays flat.
Blind baking (partially baking the crust before adding the filling) is the most effective way to ensure a crisp bottom. After docking, line the dough with parchment paper or foil and fill it with pie weights, dried beans, or rice. Bake in a preheated oven at around 375°F (190°C) for about 15-20 minutes, or until the edges are lightly set.
Remove the weights and paper/foil and bake for another 5-10 minutes until the bottom looks dry and slightly golden. Let it cool slightly before adding the filling. This extra step is crucial for a perfect easy pear tart recipe base.
Arranging the Pear Slices: Creating a Beautiful Pattern
Arranging the pear slices is where you add a touch of artistry to your easy pear tart. While you could simply pile the pears in, arranging them creates a beautiful visual effect. A common method is to start from the outside edge of the blind-baked crust and overlap the pear slices in a circular pattern, working your way towards the center.
You can stand the slices up slightly to create height or lay them flat in concentric circles. Experiment with different patterns – slices laid flat can look like scales, while slightly angled slices create a more dynamic look. Ensure the slices are relatively close together, as they will soften and shrink slightly during baking. This step transforms simple ingredients into an appealing dessert.
Optional: Simple Pear Glaze for a Polished Finish
For an extra layer of shine and flavor on your easy pear tart, consider adding a simple glaze after baking. A quick pear or apricot glaze works wonderfully. Heat about 2-3 tablespoons of pear jelly, jam, or apricot jam (strained for smoothness if desired) with a teaspoon of water or lemon juice in a small saucepan over low heat until melted and smooth.
Once the tart is out of the oven and still warm, gently brush the glaze over the baked pear slices using a pastry brush. This adds a lovely sheen and helps lock in moisture, making the tart look professionally finished. It's a simple step that elevates the presentation of your homemade easy pear tart recipe.
Baking Your Easy Pear Tart to Golden Perfection
Oven Temperature and Baking Time: Achieving Golden Perfection
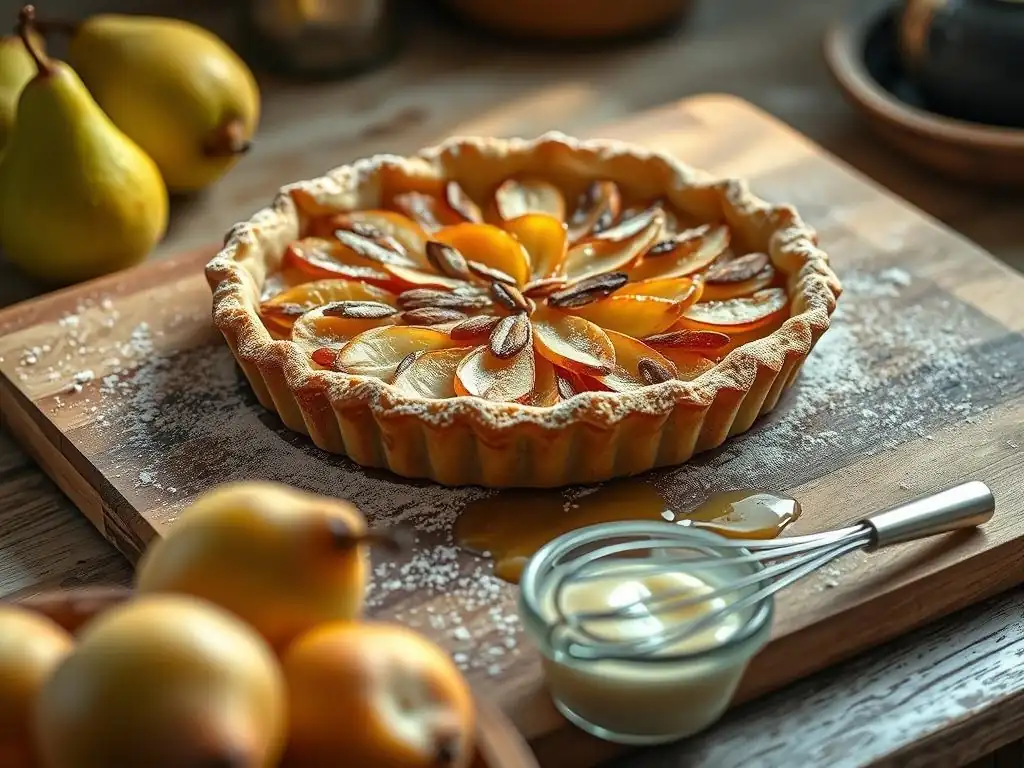
Baking your easy pear tart requires the right temperature and time to ensure the crust is golden and the filling is tender. After assembling the tart with the prepared pears in the blind-baked crust, place it in a preheated oven, typically set around 375°F (190°C). The baking time will vary slightly depending on your oven and the thickness of your pear slices, but it generally takes about 35-50 minutes.
You're looking for the crust edges to be golden brown and the pear slices to be tender when pierced with a knife or fork. The filling juices should also look slightly thickened and perhaps be bubbling gently around the edges. If the edges of the crust start browning too quickly, you can loosely cover them with strips of foil.
Monitoring Your Tart: Ensuring Even Baking and Color
Keep an eye on your easy pear tart as it bakes. About halfway through the estimated baking time (around 20-25 minutes), check its progress. If one side is browning faster than the other, rotate the tart pan 180 degrees. This helps ensure even heat distribution and uniform color across the crust.
Also, observe the pears. They should soften and release some of their juices, which will then mingle with the sugar and thickener. If the pears look like they are drying out or the crust is getting too dark, you may need to adjust the temperature slightly or use the foil technique mentioned earlier. Consistent monitoring is key to a perfectly baked easy pear tart recipe.
Cooling and Setting: Allowing the Tart to Set
Once your easy pear tart is baked to golden perfection and the pears are tender, remove it from the oven. It's crucial to let the tart cool properly before slicing and serving. Allow it to cool on a wire rack for at least 1-2 hours, or even longer, until it has cooled significantly or reached room temperature.
During this cooling period, the filling will continue to set as the starches absorb the juices and the tart structure firms up. Slicing a hot tart can result in a messy, runny filling. Patience here ensures clean slices and the best texture for your easy pear tart recipe.
Serving and Storing Your Easy Pear Tart
Serving Suggestions: Warm or Cold with Cream or Ice Cream
Your delicious easy pear tart can be enjoyed in several ways! Serving it slightly warm is popular, as it enhances the aroma and tenderness of the pears and crust. You can gently reheat individual slices in a low oven (around 300°F or 150°C) for 5-10 minutes.
This easy pear tart recipe is wonderful on its own, but it pairs beautifully with accompaniments. A dollop of freshly whipped cream adds richness, while a scoop of vanilla bean ice cream provides a delightful contrast in temperature and texture. Consider a drizzle of caramel sauce for an extra touch of indulgence.
Storing Leftover Pear Tart: Maintaining Freshness
If you have any leftover easy pear tart (a rare occurrence! ), proper storage will help maintain its freshness. Once the tart has completely cooled to room temperature, cover it loosely with plastic wrap or aluminum foil, or store slices in an airtight container.
Leftover tart can be stored at room temperature for about 1-2 days. For longer storage, or if your kitchen is warm, it's best to refrigerate it. Stored in the refrigerator, it should remain fresh for 3-4 days. The crust may soften slightly in the fridge, but the flavor will still be lovely.
Freezing Pear Tart: [Instructions for Freezing and Thawing]
Yes, you can freeze your baked easy pear tart! Ensure the tart is completely cooled first. For best results, wrap the entire tart or individual slices tightly in plastic wrap, then wrap again with aluminum foil. Place the well-wrapped tart in a freezer-safe bag or container.
Frozen baked pear tart can be stored for up to 2-3 months. To thaw, remove from the freezer and unwrap. Let it thaw overnight in the refrigerator. To serve warm, you can reheat the thawed tart in a moderate oven (350°F or 175°C) until warmed through, which might take 15-25 minutes for a whole tart or less for slices. Reheating can also help crisp up the crust slightly.
Variations and Adaptations: Personalize Your Easy Pear Tart
Different Pear Varieties: [Recommendations for Different Pear Types]
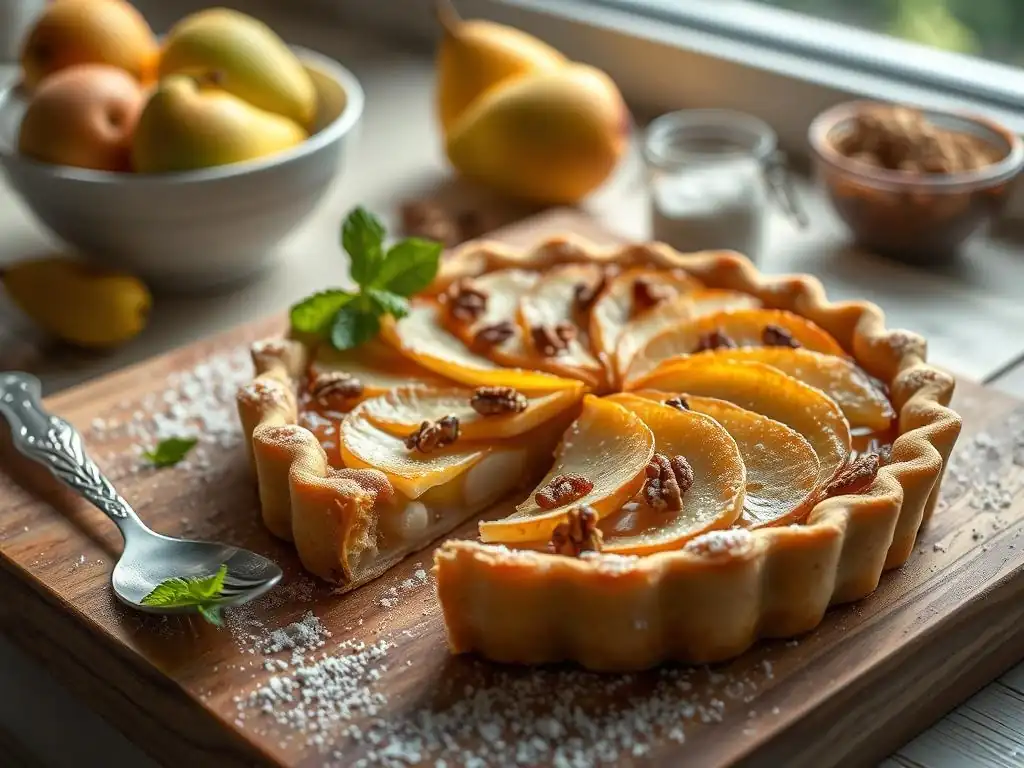
The type of pear you use in your easy pear tart recipe can subtly change the flavor and texture. While many varieties work, some are better suited for baking than others. Bosc pears hold their shape well and have a slightly firmer texture and spicy-sweet flavor. Anjou pears are also good all-rounders, maintaining their form and offering a mild, sweet taste.
Bartlett pears soften considerably when baked, almost melting into the filling, which some people prefer for a softer texture. Comice pears are very sweet and juicy but can become quite soft. Avoid overly soft or mushy pears like Seckel for baking, as they can turn to mush. Using a mix of 2-3 varieties can offer complexity in texture and flavor in your easy pear tart.
Simple Flavor Boosts: [Ideas for Enhancing Pear Flavor]
Beyond the basic cinnamon or nutmeg, you can easily boost the flavor of your easy pear tart filling. A sprinkle of ground ginger or cardamom adds warmth. For a touch of richness, consider adding a tablespoon of finely chopped crystallized ginger to the pear mixture.
A little citrus zest, like lemon or orange, can brighten the flavor profile significantly. Try adding the zest of half a lemon or a quarter of an orange along with the juice. For a slightly different sweetness, a tablespoon of brown sugar can be used alongside or instead of white sugar, adding a hint of caramel. These simple additions keep the recipe easy while adding layers of flavor.
Gluten-Free Pear Tart: [Substitutions for Gluten-Free Baking]
Adapting this easy pear tart recipe to be gluten-free is achievable. The primary substitution is the flour in the shortcrust. Use a good quality all-purpose gluten-free flour blend (one that contains xanthan gum is usually best for pastry). You'll use the same amount (approx. 250g or 2 cups) and follow the same method for cutting in the butter and adding ice water.
Gluten-free dough can sometimes be a bit more delicate or crumbly, so handle it gently. Chilling is even more important. The pear filling itself is naturally gluten-free, so no changes are needed there. The baking time and temperature should remain similar, though always monitor closely as gluten-free crusts can sometimes brown faster. Baking a delicious, easy pear tart recipe is possible even without gluten.
Troubleshooting Your Easy Pear Tart: Common Issues and Solutions
Soggy Bottom Crust: [Tips to Avoid a Soggy Crust]
A soggy bottom is a common pastry woe, but easily avoided in your easy pear tart recipe. The most effective method is blind baking the crust before adding the filling, as detailed earlier. Baking the crust partially until it's dry and slightly golden sets the structure before the moist filling is added.
Ensuring your pear slices are tossed with a thickener like flour or cornstarch (1-2 tablespoons for a 9-inch tart) is also crucial. This helps absorb the juices released by the fruit during baking. Arrange the pears in a single layer rather than piling them high, as excess fruit can generate too much moisture. Using firm, ripe (not overripe) pears also helps, as they release less liquid.
Pear Filling Too Runny: [Solutions for a Too-Liquid Filling]
If your easy pear tart filling turns out too runny, it's likely due to insufficient thickener or using very juicy pears. Ensure you're using the recommended amount of flour or cornstarch (1-2 tablespoons per tart). If your pears are exceptionally juicy, you might need to increase the thickener slightly, perhaps by half a tablespoon.
Allowing the tart to cool completely before slicing is also essential. The filling continues to set as it cools. If you slice it while hot, the liquid hasn't had time to firm up. For a tart that's already baked and runny, you can try refrigerating it overnight; sometimes, the chilling process helps the filling set further. For future bakes, consider briefly pre-cooking the pear slices with the sugar and thickener for a few minutes on the stovetop until slightly softened and the juices thicken before adding them to the crust.
Burnt Edges: [Preventing and Addressing Burnt Edges]
Burnt crust edges can happen if your oven runs hot or if the tart bakes for a long time. The easiest way to prevent this is to shield the edges with foil. About halfway through the baking time, if the edges are already golden, gently wrap strips of aluminum foil around the perimeter of the tart. You can purchase pre-made pie crust shields, or simply tear strips of foil about 2 inches wide and crimp them around the edge.
If you notice the edges are getting too dark during baking and haven't shielded them yet, quickly add the foil. If the edges are already slightly burnt after baking, you can carefully trim them away before serving, though prevention is always better. Keeping an eye on your easy pear tart and rotating it helps ensure even baking and color.
Conclusion: Savor Your Delicious Easy Pear Tart!
BakeWithEase: Making Delicious Baking Simple
At BakeWithEase, our goal is to show you that creating delicious, impressive baked goods doesn't have to be complicated. This easy pear tart recipe is a perfect example – simple ingredients, straightforward steps, and a beautiful, tasty result. We hope this guide empowers you to try this recipe and discover the joy of making a classic tart from scratch.
Baking should be a relaxing and rewarding experience, not a source of stress. By breaking down recipes into manageable steps and providing helpful tips, we aim to make your time in the kitchen enjoyable and successful. This easy pear tart recipe is just one of many simple delights you can create.
We love seeing what our community bakes! After you've made your easy pear tart using this recipe, snap a photo and share it with us. We're always inspired by your creativity and success stories. Let us know how it turned out and what variations you tried! Happy baking!
Frequently Asked Questions
What makes this pear tart recipe "easy"?
This recipe is considered "easy" because it features a simple shortcrust and uses easy-to-find ingredients. The step-by-step guide also simplifies the baking process.
What kind of pears work best in this tart?
While any pear can be used, firmer varieties like Bosc or Anjou pears hold their shape well during baking. Comice pears can also be used if you prefer a softer texture.
Can I use pre-made pie crust instead of making the shortcrust?
Yes, you can absolutely use pre-made pie crust to save time. Just ensure it's a shortcrust pastry for the best results and flavor.
How do I prevent the tart crust from getting soggy?
To avoid a soggy crust, blind bake the crust before adding the pear filling. You can also brush the baked crust with melted chocolate or egg wash.
How should I store leftover pear tart?
Leftover pear tart should be stored in the refrigerator, covered, for up to 3-4 days. It's best served slightly warmed or at room temperature.
Final Reflection: The Enduring Allure of Simple Baking
The humble pear tart, a seemingly simple dessert, speaks volumes about the power of accessible recipes and the joy of creating something beautiful from basic ingredients. It's a testament to the fact that extraordinary flavors don't require extraordinary effort, a truth particularly resonant in our busy modern lives. The ease of this recipe, coupled with the undeniable deliciousness of the final product, makes it a perfect example of how accessible culinary artistry can be.
This recipe, and the process of making it, has reminded me of the importance of slowing down and appreciating the small moments. The gentle scent of baking pears, the satisfying crumble of the shortcrust, the simple act of creating something delicious with your own hands – these are the things that truly nourish the soul. The best things in life are simple.
This old adage rings truer than ever when considering the enduring appeal of a perfectly baked pear tart. It's a recipe that transcends generations, a comforting classic that continues to find its place on tables across the world.
Now, I invite you to try this recipe. Don't be intimidated by the seemingly simple instructions; embrace the process. Let the aroma of warm pears fill your kitchen, and savor the satisfaction of creating something delicious and beautiful for yourself, your family, or your friends. Remember the joy of simple baking, and let it inspire you to create more moments of warmth and connection in your own life. The possibilities, like the variations on this pear tart, are endless.
Unleash Your Inner Baker: Make This Pear Tart Today!
Thanks for taking the time to explore this easy pear tart recipe! We hope you gained some confidence in creating delicious, homemade desserts. Ready to take your baking skills to the next level?
- Bake your own masterpiece! Grab those pears and get started – the recipe is waiting for you. This is your chance to impress yourself (and maybe some friends! ).
- Share your creation: Snap a picture of your finished tart and share it on social media using #BakeWithEasePearTart – we’d love to see your baking journey!
- Explore more easy recipes: Head over to BakeWithEase.com to discover a whole world of simple yet stunning desserts.
So, what incredible flavor combinations will you try in your next baking adventure?