
Baking Focaccia Like an Italian Nonna: Simple Steps


Welcome to BakeWithEase, your haven for unlocking the joy of baking! Are you ready to experience the irresistible aroma and satisfying crunch of freshly baked focaccia? Dive in and discover our Easy homemade focaccia recipe, a deceptively simple path to crafting a masterpiece that will transport you straight to Italy. But that's just the beginning... what secrets will you uncover as you explore the world of effortless baking with us?
- Baking Focaccia Like an Italian Nonna: Simple Steps - BakeWithEase
- Introduction: Embrace the Art of Homemade Focaccia
-
Mastering the Easy Homemade Focaccia Recipe: A Step-by-Step Guide
- Gathering Your Ingredients for Authentic Focaccia
- Step 1: Preparing the Focaccia Dough
- Step 2: The First Rise: Patience is Key
- Step 3: Shaping the Focaccia Dough
- Step 4: The Second Rise: Developing Flavor and Texture
- Step 5: Baking Your Focaccia to Golden Perfection
- Step 6: Adding Toppings for a Flavorful Focaccia
- Step 7: Cooling and Enjoying Your Homemade Focaccia
- Tips and Tricks for Perfecting Your Focaccia Recipe
- Exploring Focaccia Variations: Beyond the Basics
- Conclusion: Unleash Your Inner Nonna and Bake Delicious Focaccia
-
Frequently Asked Questions
- How difficult is the Easy Homemade Focaccia Recipe from BakeWithEase.com for a beginner baker?
- What makes BakeWithEase.com's focaccia recipe different from other online recipes?
- What are the key ingredients needed for this focaccia recipe?
- Can I customize the toppings on my focaccia using the BakeWithEase.com recipe?
- How long does it take to make the Easy Homemade Focaccia Recipe from start to finish?
- Final Reflection: The Enduring Magic of Homemade Focaccia
- Unlock Your Inner Nonna: Bake the Perfect Focaccia!
Baking Focaccia Like an Italian Nonna: Simple Steps - BakeWithEase
Introduction: Embrace the Art of Homemade Focaccia
Discover the Authentic Flavors of Italian Focaccia
Focaccia, a beloved flatbread from Italy, is celebrated for its simple yet profound flavors and wonderfully chewy texture. Originating from Liguria, it has evolved into countless regional variations across Italy, each boasting unique characteristics. At its heart, authentic focaccia relies on a few humble ingredients: high-quality olive oil, flour, water, yeast, and salt. The magic lies in the technique and the quality of these components, resulting in a bread that is both rustic and elegant, perfect for dipping in olive oil, serving alongside meals, or enjoying on its own.
Learning the art of making homemade focaccia connects you to centuries of Italian culinary tradition. It's a tactile experience, from feeling the dough's elasticity to creating those signature dimples. While seemingly simple, achieving that perfect balance of a crisp bottom, soft interior, and flavorful crust requires attention to detail and patience. The aroma alone as it bakes is enough to transport you straight to a bustling Italian bakery, promising a delicious reward for your efforts.
Why Bake Your Own Focaccia Bread?
There's a unique satisfaction that comes from baking bread from scratch, and crafting your own easy homemade focaccia recipe is particularly rewarding. Unlike some complex bread projects, focaccia is relatively forgiving and accessible for bakers of all skill levels. Making it at home allows you complete control over the ingredients, ensuring you use the freshest and highest quality items, especially that crucial olive oil, which significantly impacts the final taste.
Beyond the ingredient control, baking focaccia at home is often more cost-effective than purchasing artisanal loaves. A simple focaccia uses basic pantry staples, and a batch can easily feed a family or group of friends. Furthermore, the experience itself is a joy – the meditative process of kneading (or simply folding!) the dough, watching it rise, and finally pulling a golden-brown loaf from your oven. This simple homemade focaccia recipe offers a gateway into the world of bread baking, building confidence and delivering delicious results every time.
Mastering the Easy Homemade Focaccia Recipe: A Step-by-Step Guide
Gathering Your Ingredients for Authentic Focaccia
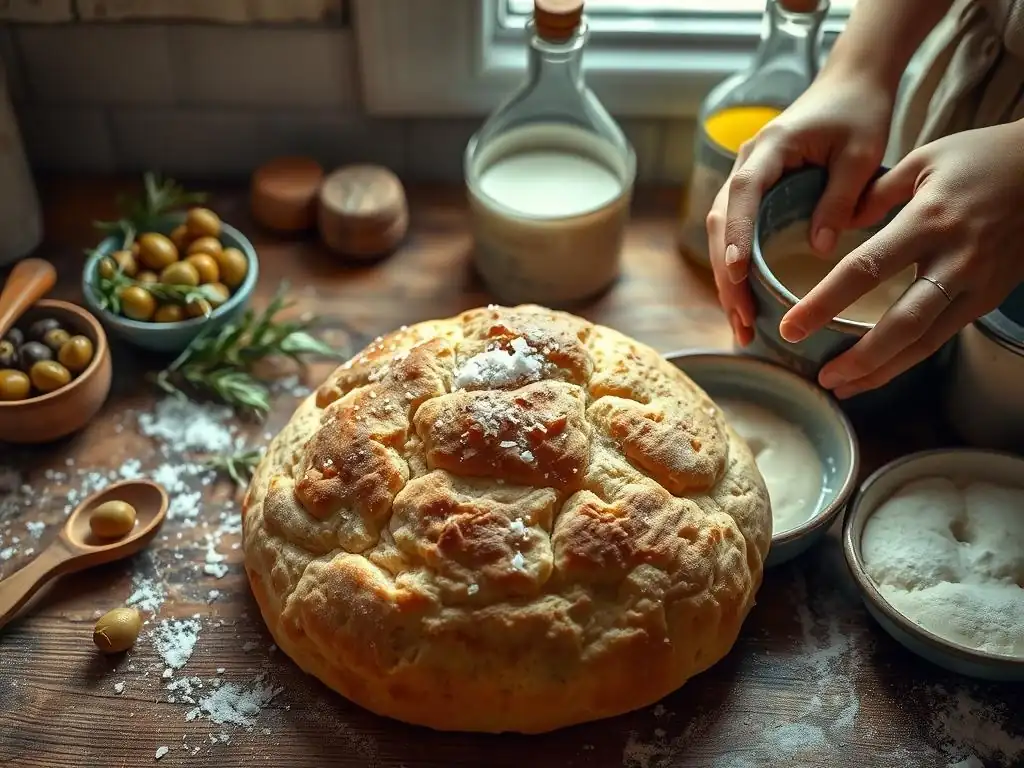
To embark on your journey to bake delicious focaccia like an Italian Nonna, you'll need a few key ingredients. The beauty of an easy homemade focaccia recipe lies in its simplicity, meaning the quality of each component truly shines through. Before you begin, gather everything you need and measure precisely. Having all ingredients ready helps the process flow smoothly and ensures you don't miss a step in this simple focaccia bread recipe.
The core ingredients are flour, water, yeast, salt, and olive oil. While the list is short, variations in each ingredient can lead to different results. For instance, the type of flour affects the texture, and the quality of olive oil is paramount for flavor. Ensure your yeast is fresh and active, and use good quality salt, preferably sea salt, for the best taste.
The Importance of Quality Olive Oil in Focaccia
Olive oil is not just an ingredient in focaccia; it's a star player. It contributes significantly to the bread's flavor, aroma, and texture. Using a high-quality extra virgin olive oil, ideally Italian, is crucial. Look for oils that are cold-pressed, as this process retains more of the natural flavors and beneficial compounds. A good olive oil will have a fruity, sometimes peppery, and slightly bitter taste, adding depth and richness that permeates the dough as it bakes and creates that signature crispy bottom.
Beyond flavor, olive oil affects the focaccia's texture and moisture. It keeps the interior tender and moist while contributing to the desirable crispness of the crust. When you pour a generous amount of olive oil into the pan before adding the dough, it essentially fries the bottom of the bread as it bakes, creating that characteristic golden, slightly crisp layer. This step is non-negotiable for achieving authentic results with your easy homemade focaccia recipe.
Flour Power: Choosing the Right Flour for Focaccia
Choosing the correct flour is vital for the structure and texture of your homemade focaccia. While all-purpose flour can work, many traditional recipes and professional bakers prefer using bread flour or Italian '00' flour. Bread flour typically has a higher protein content, usually between 12-14%, which develops more gluten when kneaded. This gluten network provides the structure needed for the dough to rise well and creates that desirable chewy texture characteristic of classic focaccia.
Italian '00' flour, often used for pasta and pizza, is very finely milled and typically has a protein content ranging from 10% to 12.5%. While slightly lower in protein than some bread flours, its fine texture leads to a very smooth dough and a tender crumb. Experimenting with different flours can help you discover your preferred texture for this simple focaccia bread recipe. Some bakers even blend flours, combining the strength of bread flour with the tenderness of '00' or even adding a small amount of whole wheat flour for nutty flavor notes.
Essential Ingredients: Yeast, Salt, and Water
Yeast is the leavening agent that makes your focaccia light and airy. Most easy homemade focaccia recipes call for active dry yeast or instant yeast. Active dry yeast usually requires proofing in warm water first, while instant yeast can often be mixed directly into the dry ingredients. Ensure your yeast is not expired; inactive yeast is a common reason for bread that doesn't rise. A small packet of yeast, typically 2.25 teaspoons or about 7 grams, is sufficient for a standard focaccia batch using 3-4 cups of flour.
Salt is indispensable for flavor and also plays a role in regulating yeast activity and strengthening the gluten structure. Use non-iodized salt like sea salt or kosher salt for the best flavor. Avoid using too little salt, as it can result in bland bread, but too much can inhibit the yeast. Water quality and temperature also matter. Lukewarm water (around 105-115°F or 40-46°C) is ideal for activating yeast. Using filtered water is recommended if your tap water has a strong chlorine taste, as chlorine can negatively affect yeast.
Step 1: Preparing the Focaccia Dough
The first step in making this easy homemade focaccia recipe is bringing all your ingredients together to form the dough. While some recipes involve extensive kneading, many modern approaches utilize a no-knead or minimal-knead method, relying on time and folding to develop gluten. This makes the process much simpler, perfect for a beginner's simple focaccia bread recipe. Start by combining your wet ingredients (water, olive oil) with the yeast, then gradually add the dry ingredients (flour, salt).
Mixing can be done by hand in a large bowl or using a stand mixer fitted with a dough hook. Mix until the ingredients are just combined and a shaggy dough forms. At this stage, the dough will likely be quite wet and sticky – this is desirable for a moist focaccia. Avoid the temptation to add too much extra flour, as this will result in a dry, dense loaf. A brief mixing period, perhaps 5-7 minutes in a stand mixer or a few minutes by hand followed by some resting periods, is often sufficient.
Activating the Yeast: The First Step to Perfect Focaccia
If you are using active dry yeast for your easy homemade focaccia recipe, the very first step is usually to activate it. This involves dissolving the yeast in a small amount of warm water, typically around 105-115°F (40-46°C), often with a pinch of sugar or a teaspoon of honey to give the yeast something to feed on. Let this mixture sit for 5-10 minutes.
You'll know the yeast is active and ready when it becomes foamy and bubbly on the surface. If it doesn't foam, your yeast might be dead or the water temperature was wrong, and you should start over with fresh yeast.
For instant yeast, this proofing step is often skipped, as instant yeast is designed to be mixed directly with the dry ingredients. However, even with instant yeast, ensuring your water is the correct temperature when combined with the flour is important for optimal yeast activity throughout the dough's rising periods. Always check the yeast packet instructions, as different brands may have slightly different recommendations.
Mixing the Dough: Achieving the Right Consistency
Once your yeast is ready (or if using instant yeast), you combine the water, yeast, and a portion of the olive oil in a large bowl. Gradually add the flour and salt. Mix until a rough, sticky dough comes together. Focaccia dough is typically wetter than many other bread doughs; it should be too sticky to handle comfortably without oiled hands. This high hydration is key to achieving a light, airy interior crumb.
After the initial mix, you can either knead the dough for 5-10 minutes until it becomes smoother and slightly elastic, or, for an even easier approach, use a series of "stretch and folds." This involves letting the dough rest for 15-30 minutes, then wetting your hands and gently stretching one side of the dough up and folding it over the center. Rotate the bowl and repeat this process 3-4 times. Repeat these stretch and folds every 30-45 minutes for about 2-3 hours. This gentle method develops gluten effectively without intensive kneading, perfect for an easy homemade focaccia recipe.
Step 2: The First Rise: Patience is Key
The first rise, or bulk fermentation, is a critical stage where the yeast works its magic, producing carbon dioxide gas that makes the dough expand and develop flavor. After mixing and performing any initial folds, cover the bowl tightly with plastic wrap or a damp towel to prevent the dough from drying out. Place the bowl in a warm, draft-free spot. The ideal temperature for rising dough is typically between 75-80°F (24-27°C).
Allow the dough to rise until it has roughly doubled in size. This can take anywhere from 1.5 to 4 hours, depending on the temperature of your room and the activity of your yeast. You can tell the dough is ready when it looks puffy and springs back slowly when gently poked with a finger. Don't rush this step; allowing sufficient time for the first rise is essential for developing a good structure and rich flavor in your simple focaccia bread recipe.
Creating the Ideal Environment for Dough Rising
To ensure your focaccia dough rises properly during the first fermentation, finding a warm and consistent environment is helpful. A kitchen counter away from drafts is often sufficient in a warm home. If your kitchen is cool, you can create a warmer spot. One common method is to turn your oven off but turn on the oven light; this usually generates enough gentle heat to create a suitable rising temperature. Place the covered bowl inside the turned-off oven with the light on.
Alternatively, you can place the covered bowl on top of your refrigerator or in a microwave (turned off). Some people even use a proofing box or a yogurt maker with a proofing setting. The key is to maintain a temperature that encourages yeast activity without getting too hot, which could kill the yeast. Aiming for that 75-80°F (24-27°C) range will give you reliable results for your easy homemade focaccia recipe.
Understanding the Dough's Transformation
During the first rise, several important transformations occur within the focaccia dough. The yeast consumes sugars in the flour and produces carbon dioxide gas, which gets trapped in the gluten network, causing the dough to inflate and become airy. Simultaneously, enzymes in the flour break down complex starches into simpler sugars, which the yeast can then consume.
This fermentation process also develops the complex flavors and aromas that are characteristic of well-made bread. The longer the fermentation (within limits), the more nuanced the flavor will be. The gluten network also continues to relax and strengthen during this period, especially if you perform stretch and folds. By the end of the first rise, the dough should feel alive, bubbly, and significantly increased in volume, ready for the next shaping step in your simple focaccia bread recipe journey.
Step 3: Shaping the Focaccia Dough
Once the first rise is complete and the dough has doubled, it's time to transfer it to the baking pan and shape it. This step is relatively simple for focaccia, as the shaping is more about gently spreading the dough than creating a tight structure like a boule. Generously oil your baking pan – a 9x13 inch rectangular pan or a 10-12 inch round pan are common sizes for a standard recipe using 3-4 cups of flour. Use plenty of that good quality olive oil, ensuring the bottom and sides are well coated.
Gently pour or scrape the dough from the bowl into the prepared pan. The dough will be soft and bubbly. At this point, resist the urge to punch down the dough aggressively. You want to preserve as much of the gas created during the first rise as possible. Just let it settle into the pan for a few minutes before you start spreading.
Gently Transferring the Dough to the Baking Sheet
Transferring the wet, airy focaccia dough from the mixing bowl to the baking pan requires a gentle touch to avoid deflating it. First, ensure your baking pan is thoroughly coated with a generous amount of olive oil. You can use a spatula or scraper to help ease the dough out of the bowl. If the dough is particularly sticky, lightly oil your hands as well.
Once the dough is in the pan, it won't immediately fill the corners. Let it rest for about 10-15 minutes. This short rest period allows the gluten to relax, making the dough much easier to spread without tearing or shrinking back.
After resting, you can begin to gently push and coax the dough towards the edges of the pan using your fingertips, being careful not to press out all the air bubbles. If the dough resists and springs back, let it rest for another 5-10 minutes before continuing to spread. This gentle approach is key to a light and airy simple focaccia bread recipe.
Creating the Signature Focaccia Dimples
The characteristic dimples are a hallmark of focaccia and are created just before the second rise and baking. Once the dough is spread out in the pan, generously drizzle more olive oil over the surface. Then, using oiled fingertips, gently but firmly press straight down into the dough, creating indentations that go almost to the bottom of the pan. Don't be afraid to press! These dimples serve several important purposes.
The dimples hold the olive oil and any toppings you add, allowing them to permeate the bread as it bakes. They also create variations in the dough's thickness, resulting in a wonderful contrast between the crispy peaks and the soft, chewy valleys after baking. Creating these dimples is a satisfying part of making an easy homemade focaccia recipe and is essential for achieving the correct texture and appearance. Ensure you space the dimples fairly evenly across the entire surface.
Step 4: The Second Rise: Developing Flavor and Texture
After shaping the dough and creating the dimples, cover the pan loosely with plastic wrap or a clean kitchen towel. This begins the second rise, also known as the proofing stage. During this period, the dough will relax further, expand, and become even more airy. Place the covered pan in a warm, draft-free spot, similar to the first rise.
The second rise is typically shorter than the first, usually lasting 30-60 minutes, or until the dough looks visibly puffy and expanded, filling the pan nicely. You'll notice the dimples might puff up slightly, but they should still be visible. This resting time allows the gluten structure to relax fully before baking, resulting in a more tender crumb. It also continues the fermentation process, further enhancing the flavor profile of your simple focaccia bread recipe.
Allowing the Dough to Relax and Expand
The second rise is crucial for achieving the final desired texture of your homemade focaccia. After the dough has been handled and shaped, the gluten can be a bit tense. The proofing period allows these gluten strands to relax, which is essential for the dough to expand properly in the oven (oven spring) and result in a soft, open crumb structure. If you bake the dough before it has adequately proofed, it can result in a dense, tight crumb.
During this expansion phase, the yeast continues to produce gas, causing the dough to increase in volume again. The dough should look airy and feel light. Gently poke the dough; if the indentation springs back very slowly or partially remains, it is likely ready to bake. Over-proofing can also be an issue, potentially leading to a dough that collapses in the oven, so keep an eye on it, especially in a warm environment. A well-proofed dough is key to the success of your easy homemade focaccia recipe.
Step 5: Baking Your Focaccia to Golden Perfection
Baking is where your simple focaccia bread recipe comes to life, transforming the proofed dough into a fragrant, golden loaf. Getting the oven temperature and baking time right is crucial for achieving that perfect balance of a crispy exterior and a soft, airy interior. Have your oven fully preheated before the dough goes in.
The timing will vary depending on your oven and the size/thickness of your focaccia. For a standard 9x13 inch pan, baking typically takes between 20 to 30 minutes. You're looking for a beautiful golden-brown color across the top and especially around the edges. The bottom should also be golden and crisp.
Preheating Your Oven for Optimal Baking
Preheating your oven thoroughly is a non-negotiable step for baking any bread, including this easy homemade focaccia recipe. A properly preheated oven ensures that the dough experiences immediate and consistent heat from all sides, which is vital for good oven spring – the final burst of rising that occurs when the dough hits the hot oven. For focaccia, a high temperature is usually recommended, typically between 400°F and 450°F (200°C to 230°C).
Preheating for at least 20-30 minutes after the oven indicates it has reached the target temperature is often necessary. This allows the oven walls and rack to heat up fully, providing radiant heat that helps create that desirable crispy crust on your focaccia. Some bakers even place a baking steel or stone in the oven during preheating to enhance bottom crust crispness.
The Perfect Baking Time and Temperature for Focaccia
The ideal temperature range for baking focaccia is generally between 400°F and 450°F (200°C to 230°C). Baking at a high temperature helps to quickly set the crust while allowing the interior to cook through and remain moist. The baking time depends on the exact temperature, the size and material of your pan, and the thickness of the dough.
For a focaccia baked at 425°F (220°C) in a 9x13 inch pan, expect it to bake for approximately 20 to 25 minutes. Check for doneness by looking for a deep golden-brown color on top and around the edges. You can also carefully lift the focaccia out of the pan (use oven mitts!) and check the bottom; it should be golden brown and feel firm. If it's not quite done, you can return it to the oven for a few more minutes. Trust your eyes and nose – it should look and smell like perfectly baked bread!
Step 6: Adding Toppings for a Flavorful Focaccia
While plain focaccia drizzled with olive oil and sprinkled with salt is divine on its own, adding toppings elevates its flavor profile and visual appeal. The best time to add toppings is after the second rise, just before placing the pan in the oven. Drizzle another generous amount of olive oil over the proofed dough and within the dimples before adding your chosen toppings.
Common toppings range from simple herbs and garlic to vegetables and cheeses. The key is not to overcrowd the focaccia, allowing the bread's flavor to remain prominent. Press larger toppings gently into the dough so they don't fall off during baking.
Classic Focaccia Topping Ideas: Rosemary and Sea Salt
The most classic and arguably the most beloved topping for focaccia is fresh rosemary and flaky sea salt. This combination perfectly complements the rich flavor of the olive oil and the simple bread base. To prepare, strip fresh rosemary needles from the stems and scatter them evenly over the surface of the proofed dough, pressing them lightly into the dimples.
Follow the rosemary with a generous sprinkling of flaky sea salt, such as Maldon or fleur de sel. The large crystals of flaky salt provide bursts of salinity and a pleasant textural crunch that regular table salt cannot replicate. This simple yet elegant topping highlights the quality of the olive oil and the bread itself, embodying the spirit of a true easy homemade focaccia recipe.
Creative Focaccia Topping Combinations
Beyond the classic, the possibilities for focaccia toppings are virtually endless, allowing you to get creative with your simple focaccia bread recipe. Consider thinly sliced red onion, cherry tomatoes (halved or quartered), olives (kalamata or Castelvetrano are excellent choices), or thinly sliced potatoes or zucchini. Pressing these vegetables into the dough helps them cook evenly and stay in place.
Other delicious combinations include:
- Caramelized onions and Gorgonzola cheese
- Thinly sliced garlic and parsley
- Sun-dried tomatoes and basil
- Roasted red peppers and goat cheese
- Fig and prosciutto (add prosciutto after baking)
Remember to consider how much moisture toppings will release; very wet toppings might make the dough soggy. A light drizzle of olive oil over the toppings before baking helps them crisp up nicely.
Step 7: Cooling and Enjoying Your Homemade Focaccia
Once your focaccia emerges from the oven, golden and fragrant, the final step before enjoying it is allowing it to cool slightly. While it's tempting to dive right in, giving the bread a few minutes to rest improves its texture and makes it easier to slice. Carefully remove the focaccia from the hot pan using a spatula or by inverting it onto a wire rack (be mindful of the hot oil).
Let the focaccia cool on the wire rack for at least 10-15 minutes. This allows steam to escape, preventing the bottom crust from becoming soggy and letting the internal structure set. The aromas filling your kitchen during this cooling period are part of the joy of making an easy homemade focaccia recipe.
Allowing the Focaccia to Cool Slightly
Immediately slicing into piping hot bread can sometimes result in a gummy texture, as the internal structure hasn't fully set. Allowing your freshly baked focaccia to cool on a wire rack for at least 10-15 minutes is important. The wire rack ensures air circulates around the entire loaf, preventing condensation from forming on the bottom crust and keeping it crisp.
During this cooling time, the internal temperature of the focaccia stabilizes, and the moisture within the bread redistributes evenly. This results in a better overall texture – a soft, open crumb and a perfectly crisp crust. While waiting is hard, this brief pause significantly enhances the eating experience of your simple focaccia bread recipe.
Serving Suggestions for Freshly Baked Focaccia
Freshly baked homemade focaccia is incredibly versatile and can be enjoyed in numerous ways. Its primary use is often as a table bread, perfect for tearing off chunks and dipping into high-quality extra virgin olive oil, perhaps seasoned with balsamic vinegar or herbs. Serve it warm alongside soups, stews, or pasta dishes.
It also makes an excellent base for sandwiches or paninis; simply slice it horizontally. Use it to mop up sauces, serve it as part of an antipasto platter with cured meats, cheeses, and marinated vegetables, or enjoy it on its own as a delicious snack. The simplicity of a well-made easy homemade focaccia recipe makes it a perfect accompaniment to a wide range of meals.
Tips and Tricks for Perfecting Your Focaccia Recipe
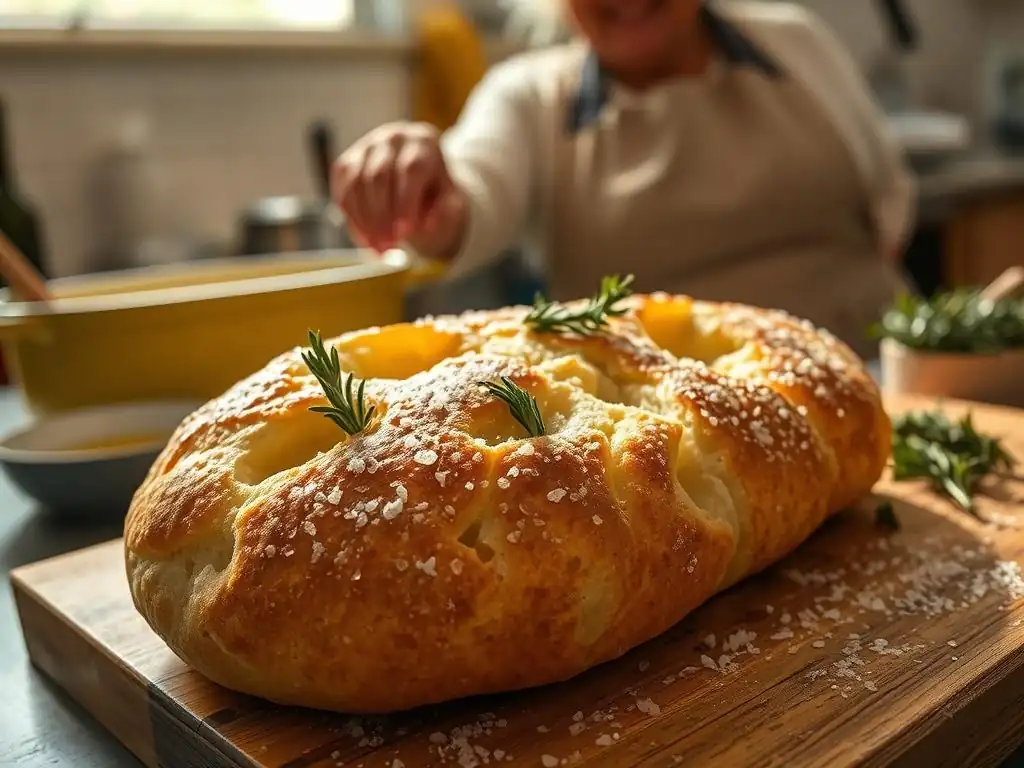
Baking focaccia is generally forgiving, but a few tips can help you achieve consistently excellent results with your easy homemade focaccia recipe. Pay close attention to the dough's hydration; a wetter dough is key to that airy texture. Don't be afraid of sticky dough – embrace it! Use plenty of olive oil, both in the dough and in the pan, as it's essential for flavor and texture.
Another crucial tip is patience during the rising periods. Allowing the dough sufficient time to ferment develops both volume and flavor. Don't rush the process, especially the first bulk fermentation. Finally, bake until it's truly golden brown; pale focaccia often lacks the desired crispness and depth of flavor.
Achieving the Perfect Crust: Secrets Revealed
A great focaccia boasts a contrast between its soft, airy interior and its wonderfully crisp, golden crust. Several factors contribute to this. Firstly, the generous amount of olive oil used in the pan creates a frying effect on the bottom crust as it bakes, resulting in a beautiful crispness. Ensure the entire bottom surface of the pan is coated with at least 3-4 tablespoons of oil for a standard pan size.
Secondly, baking at a high temperature (400-450°F or 200-230°C) helps the crust brown and crisp up quickly. Ensure your oven is fully preheated. Finally, the dimples you create on the surface allow the top crust to become crispy in places while remaining softer in the valleys where the oil pools, adding textural variation. Using flaky sea salt sprinkled over the top also contributes to a delightful crunch.
Troubleshooting Common Focaccia Baking Problems
Even with an easy homemade focaccia recipe, you might encounter issues. If your focaccia is dense, it could be due to using too much flour (dough was too dry), not allowing enough time for the rises (under-proofed), or using inactive yeast. Ensure you measure accurately and give the dough sufficient time in a warm environment.
If the bottom is not crisp, you likely didn't use enough olive oil in the pan or your oven wasn't hot enough. If the top is pale, it might need a few more minutes in the oven, or perhaps your oven temperature is inaccurate. If the dough shrinks back when you try to shape it, let it rest for a longer period (10-15 minutes) to allow the gluten to relax before gently coaxing it into shape.
Storing Your Focaccia for Maximum Freshness
Homemade focaccia is best enjoyed the day it's baked, ideally warm from the oven. However, if you have leftovers, proper storage will help maintain its quality for a day or two. Allow the focaccia to cool completely before storing.
Store cooled focaccia wrapped tightly in plastic wrap or aluminum foil at room temperature. For longer storage, you can slice the cooled focaccia and freeze portions wrapped well. To reheat, a quick warm-up in a toaster oven or a few minutes in a regular oven at around 350°F (175°C) can help revive the crust. Avoid refrigerating focaccia, as it can cause the bread to dry out and become stale more quickly.
Exploring Focaccia Variations: Beyond the Basics
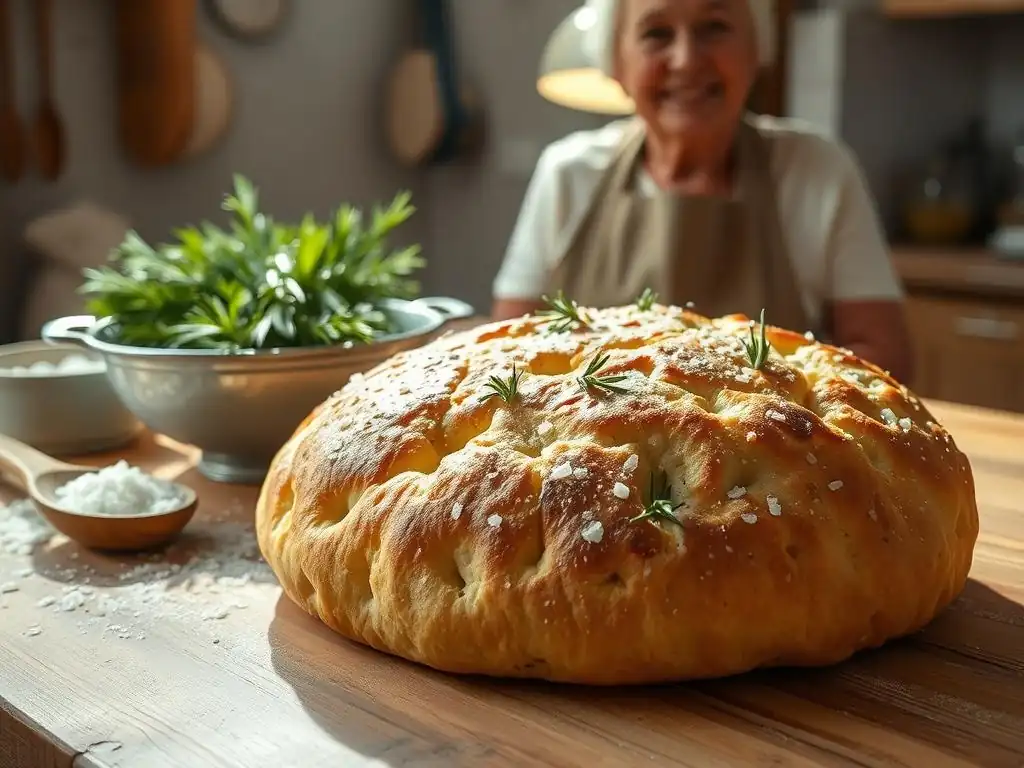
Once you've mastered the basic easy homemade focaccia recipe, you're ready to explore the incredible diversity of this Italian flatbread. Focaccia serves as a fantastic canvas for various flavors and textures. Different regions of Italy boast their unique styles, and you can also experiment with different flours and additions to the dough itself.
Don't be afraid to get creative! Think about regional Italian ingredients or simply what you have fresh in your kitchen. From sweet variations to savory, the world of focaccia is vast and inviting.
Regional Focaccia Styles
Italy is home to many distinct focaccia variations, each rooted in local traditions and ingredients. Focaccia Genovese, from Liguria, is the classic, thin version known for its generous olive oil and flaky salt. Focaccia di Recco, also from Liguria, is a unique, thin unleavened bread filled with Stracchino cheese, baked until bubbly and crisp – a very different style from the standard leavened focaccia.
In Puglia, you'll find Focaccia Barese, which often incorporates mashed potatoes or semola flour into the dough, resulting in a softer, more cake-like texture. It's typically topped with cherry tomatoes and olives. Exploring these regional differences highlights how a simple concept can evolve into such varied and delicious forms across Italy, each offering inspiration for your own easy homemade focaccia recipe adventures.
Experimenting with Different Flours and Ingredients
Adding different flours to your easy homemade focaccia recipe can significantly alter the final texture and flavor. While bread flour and '00' are standard, try substituting a portion (say, 10-20%) with whole wheat flour for a nuttier flavor and denser crumb, or with semola rimacinata (twice-milled durum wheat) for a slightly yellower crumb and unique texture, common in Southern Italy.
You can also enrich the dough itself. Some recipes include a small amount of milk or even mashed potato (as in Focaccia Barese) for added tenderness and moisture. Incorporating ingredients like herbs, roasted garlic, or even a bit of sun-dried tomato paste directly into the dough during mixing can infuse flavor throughout the bread, adding another layer to your simple focaccia bread recipe.
Conclusion: Unleash Your Inner Nonna and Bake Delicious Focaccia
Enjoy the Simplicity and Satisfaction of Homemade Bread
Baking focaccia from scratch is a deeply satisfying experience. Starting with simple ingredients and transforming them into a fragrant, beautiful loaf is rewarding. This easy homemade focaccia recipe is designed to be accessible, proving that you don't need to be an expert baker to create delicious, authentic-tasting bread at home. The process is forgiving, the ingredients are basic, and the results are consistently delightful.
There's a unique connection to tradition when you make bread by hand, a feeling of carrying on time-honored practices. The aromas that fill your kitchen as the focaccia bakes are intoxicating, promising the simple pleasure of tearing into a warm, rustic loaf. Embrace the process, trust the dough, and enjoy the journey of making this simple focaccia bread recipe.
One of the greatest joys of baking is sharing the finished product with loved ones. Your homemade focaccia, made with care following this easy homemade focaccia recipe, is perfect for sharing. Serve it warm as an appetizer, bring it to a potluck, or simply enjoy it together around the dinner table. The act of breaking bread is a universal symbol of community and connection.
Gathering around a table, tearing off pieces of warm focaccia, dipping it in olive oil, and savoring the simple, fresh flavors is a beautiful experience. Your friends and family will appreciate the effort and the delicious result. So go ahead, bake that focaccia like an Italian Nonna, and share the love that goes into every simple focaccia bread recipe.
Frequently Asked Questions
How difficult is the Easy Homemade Focaccia Recipe from BakeWithEase.com for a beginner baker?
The recipe is designed to be beginner-friendly, focusing on simple steps and easy-to-find ingredients. You'll find clear instructions to guide you.
What makes BakeWithEase.com's focaccia recipe different from other online recipes?
Our Easy Homemade Focaccia Recipe emphasizes techniques inspired by Italian Nonnas, focusing on flavor development and a simple process. It's all about ease and great taste!
What are the key ingredients needed for this focaccia recipe?
You'll primarily need flour, water, yeast, olive oil, and salt. The recipe encourages using high-quality olive oil for the best flavor.
Can I customize the toppings on my focaccia using the BakeWithEase.com recipe?
Absolutely! The recipe provides a base, and you're encouraged to get creative with toppings. Olives, rosemary, and tomatoes are classic choices.
How long does it take to make the Easy Homemade Focaccia Recipe from start to finish?
While active preparation time is minimal, the dough requires several hours for proofing. Plan for about 4-5 hours including proofing and baking.
Final Reflection: The Enduring Magic of Homemade Focaccia
The simple act of baking focaccia, far from being just a culinary pursuit, connects us to a rich culinary heritage and offers a surprisingly profound sense of accomplishment. In a world increasingly dominated by convenience foods, taking the time to knead dough, coaxing it to rise, and finally, witnessing the transformation into a golden-brown, bubbly masterpiece, is a powerful antidote to the frenetic pace of modern life. This simple recipe, designed for ease of access, unlocks a gateway to a more mindful and rewarding approach to cooking.
The scent of freshly baked focaccia, that intoxicating blend of olive oil, herbs, and yeast, evokes a powerful sense of nostalgia and connection, transporting us to sun-drenched Italian kitchens. Food is symbolic of love when words are inadequate.
- Alan D. Wolfelt. This sentiment rings especially true when considering the act of sharing homemade focaccia – a gesture of care and generosity that transcends mere sustenance. It's a tangible expression of love, passed down through generations, a testament to the enduring power of simple pleasures and shared experiences.
Now, I invite you to take this recipe and make it your own. Experiment with different herbs, add your favorite cheeses or roasted vegetables, and let your creativity flow. Don't be afraid to embrace the imperfections; the beauty of homemade focaccia lies in its unique character, its rustic charm.
More than just a recipe, this is an invitation to slow down, connect with your hands, and savor the simple joy of creating something delicious and meaningful. The next time you crave comfort, remember the magic of homemade focaccia – a taste of Italy, a taste of home, a taste of love.
Unlock Your Inner Nonna: Bake the Perfect Focaccia!
Thanks for joining us on this focaccia journey! We hope you've gained some valuable tips and tricks to elevate your baking game. Now it's time to put your newfound knowledge into practice.
- Bake your own masterpiece! Grab those ingredients and try making your own focaccia using our simple steps. Experiment with different herbs and toppings—let your creativity shine!
- Share your creation! Show us your stunning focaccia on social media using #BakeWithEaseFocaccia. We love to see what our community bakes!
- Explore our other recipes: Dive deeper into the world of Italian baking with our collection of authentic recipes, designed for both beginners and experienced bakers.
Ready to transform your kitchen into a little corner of Italy? What unique topping will you experiment with first?