
Bake Traditional Jewish Rye Bread at Home

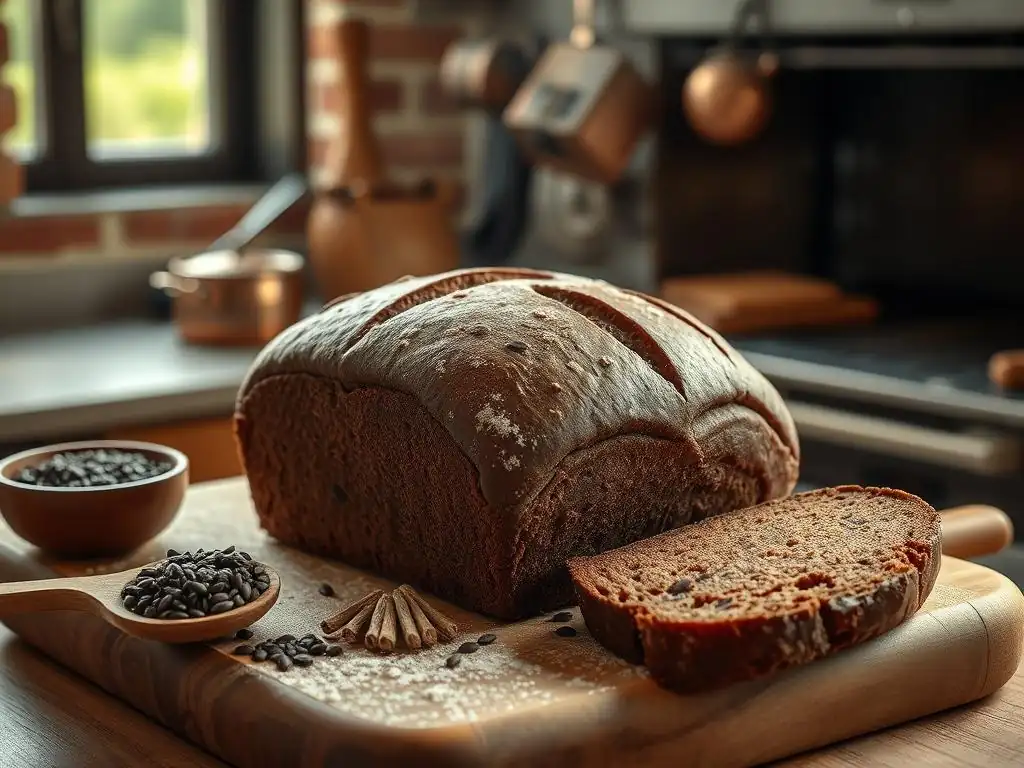
Welcome to BakeWithEase, your guide to unlocking the joys of baking! Ever dreamed of filling your kitchen with the aroma of freshly baked rye? In this guide, we'll demystify the process of creating easy homemade Jewish rye bread, offering a simple recipe and step-by-step instructions. Curious about achieving that perfect crust and complex flavor? Dive in and discover the secrets to this classic loaf – your baking journey starts now!
- Baking Authentic Jewish Rye Bread at Home: A Guide
- Introduction to Baking Jewish Rye Bread
- Key Ingredients for Authentic Jewish Rye Bread
- Step-by-Step Jewish Rye Bread Recipe
- Tips and Tricks for Perfect Jewish Rye Bread
- Serving and Storing Homemade Jewish Rye Bread
- Variations on Traditional Jewish Rye Bread
- Conclusion: The Joy of Baking Jewish Rye
- Frequently Asked Questions
- Final Reflection: The Enduring Legacy of a Simple Loaf
- Unleash Your Inner Baker: Craft the Perfect Rye!
Baking Authentic Jewish Rye Bread at Home: A Guide
Introduction to Baking Jewish Rye Bread
Why Bake Your Own Rye Bread?
Baking bread at home offers a unique sense of accomplishment and fills your kitchen with an irresistible aroma. When you bake your own easy homemade Jewish rye bread, you gain complete control over the ingredients, ensuring a loaf free from preservatives or artificial flavors often found in store-bought versions. This allows you to tailor the texture and flavor precisely to your liking, achieving that perfect balance of tangy, earthy, and slightly sweet notes that define classic Jewish rye.
Beyond the quality, the process of baking is incredibly rewarding. Kneading the dough, watching it rise, and finally pulling a warm, crusty loaf from the oven connects you to a timeless craft. Making easy homemade Jewish rye bread from scratch is not just about the final product; it's about the journey of transforming simple ingredients into something truly special, a tangible result of your effort and care.
The Unique Flavors of Homemade Rye
Homemade Jewish rye bread boasts a distinctive flavor profile that sets it apart. The primary taste comes from the rye flour, which contributes an earthy, slightly sour, and complex base. This is beautifully complemented by the addition of caraway seeds, which provide warm, anise-like notes that are characteristic of this bread. Often, a touch of sweetness from molasses or honey is included, adding depth and balancing the tanginess.
The fermentation process, especially if using a rye starter or a longer sponge method, further develops these flavors, introducing subtle sour notes that enhance the overall complexity. The combination of these elements results in a bread that is hearty, flavorful, and incredibly versatile, perfect for classic deli sandwiches, toasting, or simply enjoying with butter. Mastering easy homemade Jewish rye bread unlocks a world of authentic taste experiences.
Key Ingredients for Authentic Jewish Rye Bread
Rye Flour: Selecting the Right Type
The heart of any rye bread is, naturally, rye flour. For authentic Jewish rye, a medium rye flour is often preferred, though light or dark rye can also be used depending on the desired outcome. Rye flour behaves differently than wheat flour; it contains less gluten, resulting in a denser loaf. Medium rye strikes a good balance, providing substantial rye flavor without making the bread overly heavy. It typically has a protein content lower than wheat flour, often around 8-10%.
Using a blend of rye and bread flour (a high-gluten wheat flour, typically 12-14% protein) is common in easy homemade Jewish rye bread recipes. The wheat flour provides the necessary gluten structure to help the loaf rise and hold its shape, counteracting the lower gluten content of the rye. A common ratio might be 60-70% bread flour to 30-40% rye flour, though variations exist to achieve different textures and flavor intensities.
The Role of Caraway Seeds
Caraway seeds are arguably the most iconic flavor component in Jewish rye bread. These small seeds, often used whole, contribute a warm, slightly peppery, and distinctly aromatic flavor reminiscent of anise or licorice. Their presence is crucial for achieving the traditional taste profile. The amount used can vary, but a typical recipe for a standard loaf might call for anywhere from 1 to 3 tablespoons of caraway seeds, depending on how pronounced you want the flavor to be.
Incorporating caraway seeds into your easy homemade Jewish rye bread dough ensures their flavor permeates throughout the loaf during baking. Some bakers also sprinkle seeds on top before baking for added aroma and visual appeal. The warm, earthy notes of the caraway seeds pair perfectly with the tang of the rye, creating a complex and satisfying bite that is instantly recognizable as Jewish rye.
Other Essential Ingredients: Water, Salt, Yeast, and Molasses
Beyond the flours and caraway, several other ingredients play vital roles. Water is essential for hydrating the flours and activating the yeast. The hydration level (water weight as a percentage of flour weight) for rye bread is typically high, often ranging from 65% to 80%, contributing to the bread's moist crumb. Salt is crucial for flavor, controlling yeast activity, and strengthening the gluten structure (from the wheat flour component). Standard salt content is usually around 1.8-2% of the total flour weight.
Yeast, whether active dry, instant, or fresh, is the leavening agent that makes the bread rise. The quantity depends on the type of yeast and the desired fermentation time, but a typical loaf might use 1-2 teaspoons of active dry yeast. Molasses or another sweetener like honey or sugar provides food for the yeast and adds a characteristic depth of color and subtle sweetness to easy homemade Jewish rye bread, balancing the savory and tangy notes.
Step-by-Step Jewish Rye Bread Recipe
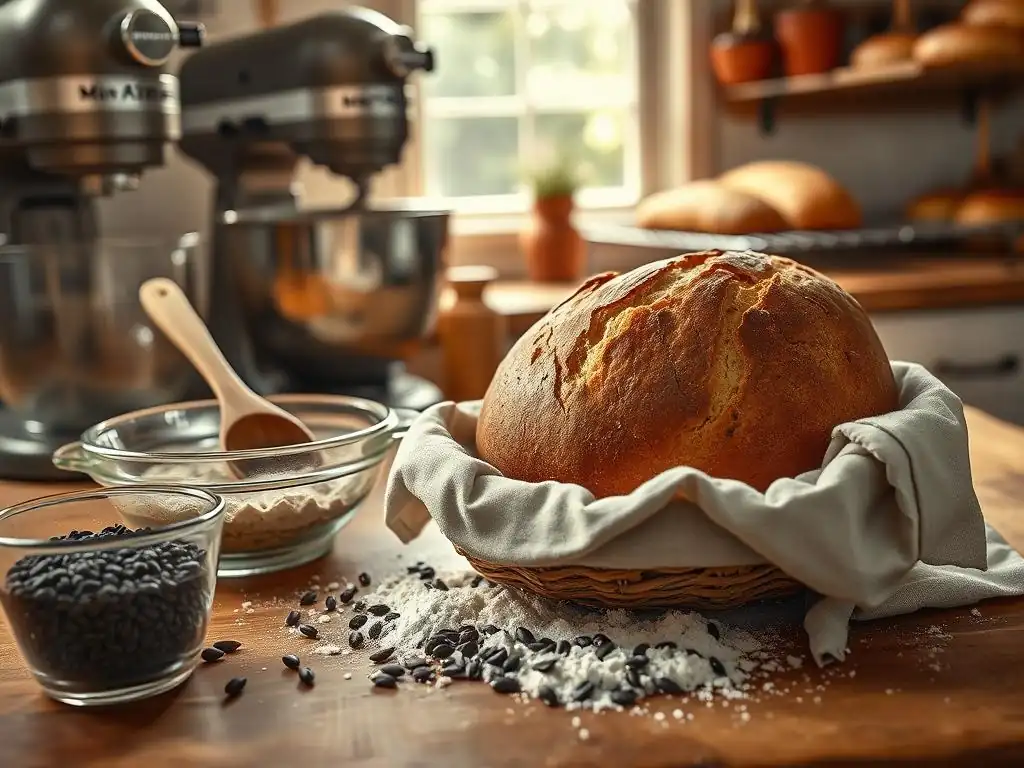
Step 1: Preparing the Rye Starter or Sponge
Many authentic Jewish rye recipes begin with a pre-ferment, either a rye starter (sourdough) or a sponge (a mixture of rye flour, water, and yeast left to ferment briefly). A sponge is simpler for beginners. To create a sponge, you might mix half of the rye flour, half of the water, and all of the yeast called for in the recipe. Let this mixture sit at room temperature for 30-60 minutes, or until bubbly and active. This step develops flavor and gives the rye flour a head start in hydrating.
Using a rye sourdough starter adds significant tangy depth. If using a starter, you'll typically feed it 4-12 hours before baking to ensure it's active and bubbly. A typical starter might be 100% hydration (equal parts flour and water by weight). Incorporating 10-30% of the total flour weight as active starter can replace some or all of the commercial yeast and contribute wonderful sour notes to your easy homemade Jewish rye bread.
Step 2: Mixing the Dough
Once your sponge is active or your starter is ready, it's time to mix the main dough. Combine the sponge/starter with the remaining water, flour (both rye and wheat), salt, caraway seeds, and molasses. Mix everything together in a large bowl or stand mixer until a shaggy dough forms. Rye dough can be quite sticky due to the properties of rye flour's starches and pentosans.
Knead the dough for 5-10 minutes if using a stand mixer with a dough hook, or 10-15 minutes by hand. The dough will become smoother but may remain stickier than a pure wheat dough. The goal is to develop the gluten structure from the wheat flour. Don't be tempted to add excessive amounts of flour; a slightly sticky dough is desirable for a moist crumb in your easy homemade Jewish rye bread.
Step 3: Bulk Fermentation: Achieving the Proper Rise
Bulk fermentation, or the first rise, is crucial for flavor development and dough structure. Place the kneaded dough in a lightly oiled bowl, cover it, and let it rise in a warm place. The ideal temperature for yeast activity is typically between 75-80°F (24-27°C). Rising times can vary significantly depending on the temperature and the amount of yeast/starter used, but it often takes 1 to 2 hours, or until the dough has roughly doubled in size.
During bulk fermentation, you might perform a "stretch and fold" every 30-45 minutes during the first hour. This involves gently stretching the dough from the edges and folding it over onto itself, rotating the bowl. This technique helps build strength in the dough's structure without intensive kneading and distributes the yeast and gases evenly, contributing to a better rise and texture in your easy homemade Jewish rye bread.
Step 4: Shaping the Rye Loaf
After the bulk fermentation, gently turn the dough out onto a lightly floured surface. The goal is to handle the dough as little as possible to avoid degassing it too much. Shape the dough into a round or oval loaf, depending on your preference or if you are using a proofing basket or loaf pan. For a traditional long, oval loaf, gently pat the dough into a rectangle, then fold the top down about two-thirds of the way, press the seam, and then fold the bottom up over the rest, sealing the final seam.
Tuck the ends under to create tension on the surface. If using a loaf pan, shape it to fit the pan. If using a proofing basket (banneton), shape it slightly smaller than the basket. The surface tension created during shaping helps the loaf hold its form and rise upwards during the second proof and baking, ensuring a well-shaped easy homemade Jewish rye bread.
Step 5: Proofing: Developing the Ideal Texture
The second rise, or proofing, allows the shaped loaf to lighten and increase in volume before baking. Place the shaped loaf seam-side down in a floured proofing basket or seam-side up in a greased loaf pan. Cover the dough loosely with plastic wrap or a damp towel to prevent drying. Proofing time also varies based on temperature and yeast activity, but typically takes 45-90 minutes.
The dough should look visibly larger and feel light and airy. A good test is the "poke test": gently poke the side of the loaf with a floured finger. If the indentation springs back slowly but not completely, the dough is ready to bake. If it springs back immediately, it needs more time. If it stays indented completely, it might be over-proofed. Proper proofing is key to achieving a light, open crumb in your easy homemade Jewish rye bread.
Step 6: Baking the Rye Bread
Preheat your oven with a baking stone or steel inside, if using, to a high temperature, typically between 400-450°F (200-230°C). Creating steam in the oven during the initial baking phase is highly recommended for a good crust. You can do this by placing a tray of water on the bottom rack or by quickly adding ice cubes to a hot pan placed below the baking surface just as you load the bread.
Carefully transfer the loaf to the hot baking surface (or place the loaf pan in the oven). Score the top of the loaf with a sharp knife or lame before baking; this allows the bread to expand predictably.
Bake for 20-25 minutes with steam, then remove the steam source (water pan) and reduce the temperature slightly (e.g., to 375-400°F or 190-200°C) and bake for another 20-30 minutes, or until the crust is deep golden brown and the internal temperature reaches 200-210°F (93-99°C) when measured with an instant-read thermometer. Baking to the correct internal temperature ensures your easy homemade Jewish rye bread is cooked through.
Step 7: Cooling and Slicing
Once baked, immediately transfer the loaf to a wire rack to cool completely. Cooling is a critical step that allows the internal structure of the bread to set and moisture to distribute evenly. Slicing into a hot loaf can result in a gummy texture. Allow the bread to cool for at least 1-2 hours, preferably longer, especially for a dense rye loaf.
As the bread cools, it will continue to cook slightly from residual heat, and moisture will redistribute, resulting in the best possible texture and flavor. Patience during this cooling phase will be rewarded with perfectly sliced, delicious easy homemade Jewish rye bread. The waiting might be the hardest part!
Tips and Tricks for Perfect Jewish Rye Bread
Achieving a Dark, Shiny Crust
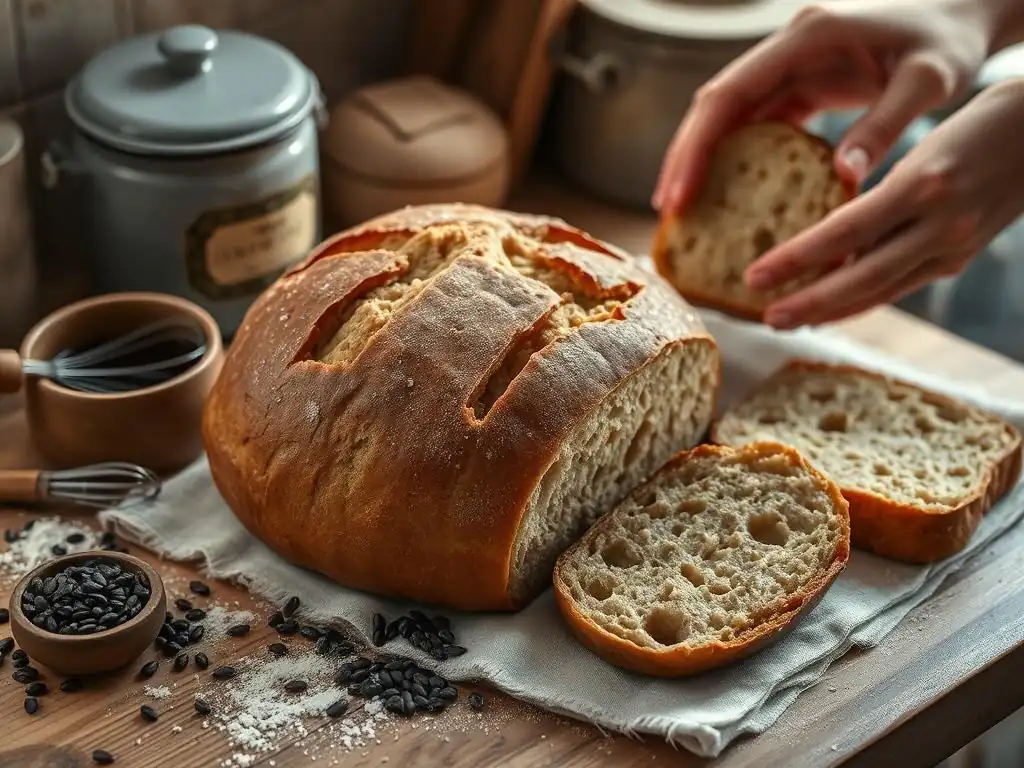
A hallmark of classic Jewish rye bread is its dark, often shiny crust. This is partly achieved through the Maillard reaction during baking, enhanced by ingredients like molasses or sugar in the dough. Baking at a high initial temperature (400-450°F) helps set the crust quickly. Using steam during the first part of the bake is also crucial; it keeps the surface of the dough moist, allowing it to expand fully before hardening and contributing to a thinner, crisper crust that can achieve a better color.
For an extra shiny finish, some bakers brush the hot loaf with a cornstarch wash or a mixture of water and cornstarch (boiled briefly until thickened) immediately after it comes out of the oven. Another technique is to brush the loaf with water just before placing it in the oven. Experimenting with these methods can help you achieve the desired deep color and appealing sheen on your easy homemade Jewish rye bread.
Troubleshooting Common Baking Issues
Baking can sometimes present challenges. If your rye bread is too dense, it could be due to insufficient kneading (if using wheat flour), under-proofing, or using too high a percentage of rye flour without adequate gluten support. Ensure your yeast is active and your dough has doubled during bulk fermentation and shown signs of readiness during proofing. If the crust is too hard, increase the steam during baking or reduce the baking temperature slightly after the initial phase.
Sticky dough is common with rye, but if it's unmanageable, slightly reduce the hydration in your next attempt or use wet hands/a scraper during handling. If your loaf spreads out instead of rising up, it might be over-proofed or lacked sufficient surface tension during shaping. Pay close attention to the feel and appearance of the dough at each stage when making easy homemade Jewish rye bread, and don't be discouraged by initial imperfections.
Enhancing Flavor: Adding Sourness and Depth
For a tangier Jewish rye, incorporating a rye sourdough starter is the most effective method. Sourdough starters produce lactic and acetic acids during fermentation, contributing complex sour notes. Using a larger percentage of starter (e.g., 20-30% of total flour weight) and allowing for a longer, cooler bulk fermentation (perhaps overnight in the refrigerator after an hour or two at room temperature) can significantly increase the sourness.
Another way to add depth is to use a longer sponge fermentation (several hours or overnight). Some recipes also include a small amount of vinegar or lemon juice, although this provides a different, less complex sourness than fermentation. Adding a small amount of cocoa powder or instant coffee granules (as little as a teaspoon per loaf) can also deepen the color and add subtle, almost imperceptible bitter notes that enhance the overall complexity of your easy homemade Jewish rye bread flavor.
Serving and Storing Homemade Jewish Rye Bread
Enjoying Freshly Baked Rye
There's nothing quite like a slice of warm, freshly baked easy homemade Jewish rye bread. It's perfect simply slathered with butter. For a classic experience, pair it with cured meats like pastrami or corned beef for an epic sandwich. It also makes fantastic toast, especially with cream cheese or smoked salmon. The hearty flavor stands up well to strong toppings.
Consider using slices for open-faced sandwiches, or cubed and toasted for croutons in soups or salads. The robust flavor profile makes it a versatile base for countless culinary creations. Sharing a still-warm loaf straight from your oven is a simple pleasure that highlights the rewards of baking easy homemade Jewish rye bread.
Proper Storage for Freshness
To keep your easy homemade Jewish rye bread fresh, allow it to cool completely before storing. Store the loaf at room temperature, wrapped in a clean linen towel or placed in a paper bag. This allows the crust to remain relatively crisp while protecting the interior. Avoid plastic bags or airtight containers at room temperature for long-term storage (more than a day or two), as they can trap moisture and make the crust soggy and potentially encourage mold growth.
For longer storage, sliced or whole loaves can be frozen. Wrap tightly in plastic wrap, then in aluminum foil or a freezer bag. Frozen rye bread can last for several months. Thaw at room temperature. To refresh a slightly stale loaf, sprinkle it lightly with water and warm it in a moderate oven (300-325°F or 150-160°C) for 10-15 minutes.
Variations on Traditional Jewish Rye Bread
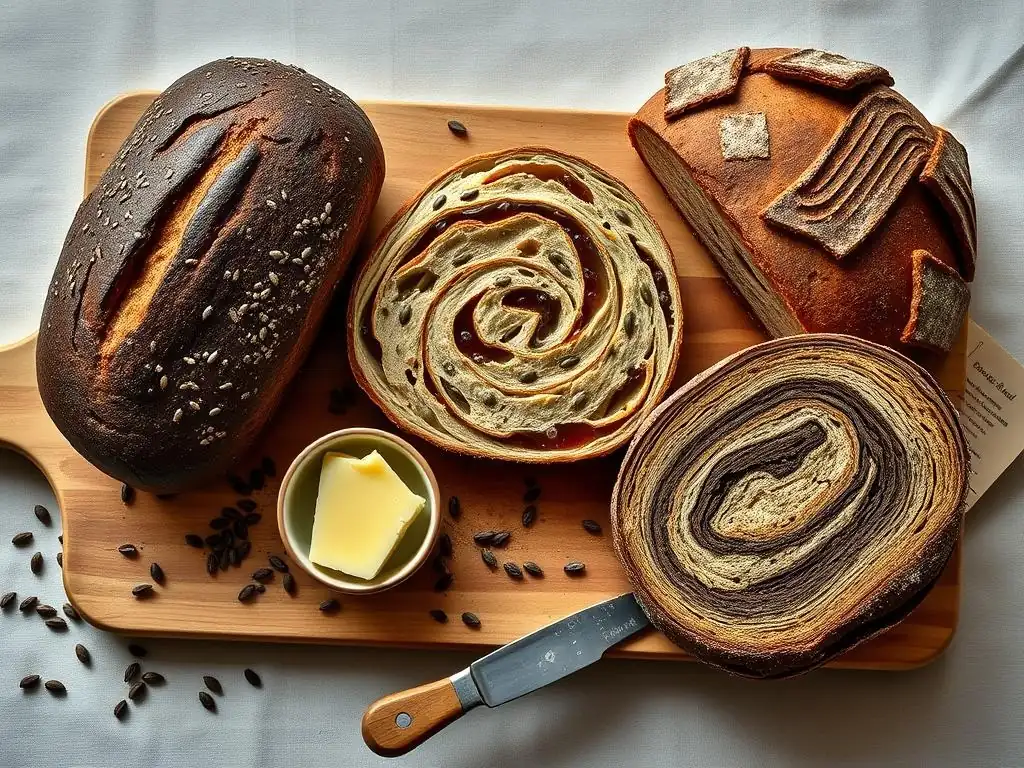
Seeded Rye Bread: Incorporating Poppy Seeds
While caraway is traditional, incorporating other seeds is a popular variation, creating seeded rye bread. Poppy seeds are a common addition, offering a delicate, nutty flavor and a pleasing texture contrast. They can be added to the dough along with the caraway seeds, typically 1-2 tablespoons per loaf, or sprinkled generously on top of the loaf before baking, sometimes held in place with an egg wash or water brush.
Other seeds like sesame seeds, dill seeds, or even fennel seeds can be used, sometimes in combination with caraway, to create different flavor profiles. Experimenting with a mix of seeds allows you to personalize your easy homemade Jewish rye bread, adding layers of aroma and crunch. A popular combination is a mix of caraway, poppy, and sesame seeds on the crust.
Light Rye vs. Dark Rye: Flour and Flavor Differences
The terms "light" and "dark" rye bread often refer to the type of rye flour used and sometimes the inclusion of coloring agents like molasses or cocoa. Light rye flour is milled from the inner part of the rye berry and has less bran and germ, resulting in a lighter color and milder flavor, with a texture closer to wheat bread. Bread made primarily with light rye flour will be less dense and have a more subtle rye taste.
Dark rye flour is milled from the whole rye berry, including the bran and germ. This gives it a darker color, a stronger, more robust flavor, and results in a denser loaf. Pumpernickel is an extreme example of dark rye, often using coarse rye meal and a very long, slow bake. When making easy homemade Jewish rye bread, using medium rye flour often provides the classic balance, but adjusting the ratio of light, medium, or dark rye flour allows you to control the intensity of the rye flavor and the density of the crumb.
Pumpernickel Rye: Exploring a Darker Variation
Pumpernickel is a distinct type of dark rye bread, traditionally made with coarse rye meal or chopped rye berries (pumpernickel meal) and sometimes uses a sourdough starter, molasses, and a very long, slow baking time, often at low temperatures (as low as 250°F or 120°C) for many hours. This slow bake caramelizes the sugars in the rye and molasses, contributing to its deep color, slightly sweet flavor, and dense, moist texture.
While not the same as traditional Jewish rye, pumpernickel is a member of the rye bread family and shares some characteristics. Some "pumpernickel rye" recipes are essentially dark Jewish rye bread with added coloring (like cocoa or coffee) and perhaps a longer bake than standard Jewish rye. Exploring pumpernickel offers a journey into the darker, denser, and often sweeter side of rye baking, a fascinating contrast to the classic easy homemade Jewish rye bread.
Conclusion: The Joy of Baking Jewish Rye
The Satisfaction of Homemade Bread
Baking easy homemade Jewish rye bread is a rewarding experience from start to finish. There's immense satisfaction in mastering the nuances of working with rye flour, understanding fermentation, and shaping a beautiful loaf. The aroma that fills your home as it bakes is unmatched, and the pride you feel when slicing into your own creation is truly special. It's a tangible connection to traditional foodways and a demonstration of skill.
Each loaf you bake is a learning opportunity, allowing you to refine your technique and adapt the process to your environment and preferences. The journey of making easy homemade Jewish rye bread fosters patience and attention to detail, skills that extend beyond the kitchen.
Bread is often a symbol of community and sharing. Presenting a loaf of your freshly baked easy homemade Jewish rye bread to family and friends is a wonderful way to share the fruits of your labor and the warmth of your kitchen. Whether it's served at a meal, given as a gift, or used to build the perfect sandwich for a loved one, homemade bread carries a personal touch that store-bought versions simply cannot replicate.
The act of sharing something you've created with your own hands strengthens connections and creates memorable moments. Enjoy the process, savor the flavor, and share the joy of your easy homemade Jewish rye bread with those around you.
Frequently Asked Questions
What makes Jewish rye bread different from other rye breads?
Jewish rye bread typically features caraway seeds and often uses a sourdough starter for a tangy flavor. It's also often made with a higher proportion of rye flour.
Can I make Jewish rye bread if I don't have a sourdough starter?
Yes, you can. While a sourdough starter adds a distinct flavor, you can use commercial yeast as a substitute. This will result in a bread with a slightly different, but still delicious, rye flavor.
What kind of rye flour is best for this recipe?
For the best results, use a medium or dark rye flour. Light rye flour is also acceptable, but will produce a bread with a milder rye flavor.
How do I know when the Jewish rye bread is done baking?
The bread is done when it has an internal temperature of 200-210°F (93-99°C). The crust should also be a deep brown color and sound hollow when tapped.
What are some good serving suggestions for homemade Jewish rye bread?
Jewish rye bread is excellent for sandwiches, especially with corned beef or pastrami. It also pairs well with soups and salads, or simply enjoyed with a smear of cream cheese.
Final Reflection: The Enduring Legacy of a Simple Loaf
The comforting aroma of freshly baked rye bread, a staple in Jewish kitchens for generations, transcends mere sustenance; it's a powerful symbol of heritage, community, and enduring tradition. This seemingly simple act of baking, as detailed in this guide to easy homemade Jewish rye bread, connects us to a rich history and allows us to share a piece of that legacy with loved ones. The accessibility of this recipe, designed for home bakers of all skill levels, makes this connection even more profound.
The enduring appeal of Jewish rye bread lies not just in its delicious, slightly tangy flavor, but in its ability to evoke memories and foster a sense of belonging. It's a bread that has nourished families for centuries, bridging generations and cultures. Food is symbolic of love when words are inadequate.
– Alan D. Wolfelt. This quote perfectly encapsulates the emotional weight carried by this simple loaf, a testament to the power of shared culinary experiences and the stories they tell. The process of making it, from kneading the dough to the satisfying crust, becomes a meditative act, connecting us to something larger than ourselves.
Now, I invite you to roll up your sleeves, gather your ingredients, and embark on this culinary journey. Don't be intimidated by the seemingly complex process; the rewards are immeasurable. The taste of homemade Jewish rye bread, warm from the oven, is a taste of history, a taste of home, and a taste of connection.
Share this experience with your family and friends, and let the aroma fill your kitchen with the warmth of tradition and the joy of shared creation. Let the simple act of baking become a testament to the enduring power of heritage and the beauty of simple pleasures.
Unleash Your Inner Baker: Craft the Perfect Rye!
Thanks for joining us on this delicious journey into the world of traditional Jewish rye bread! We hope you've gained valuable insights and inspiration to elevate your baking skills. Ready to get your hands kneading?
- Bake your own loaf today! Use the recipe and tips from this article as your guide. Don't be afraid to experiment – even small tweaks can make a big difference.
- Share your baking triumphs (and challenges!) on social media. Use #BakeWithEaseRye to connect with fellow bakers and inspire others.
- Explore our other traditional bread recipes on BakeWithEase.com – discover your next culinary adventure!
What unique twist will you add to your homemade Jewish rye? Let’s hear about it in the comments!