
How to Proof Whole Wheat Bread for Maximum Rise

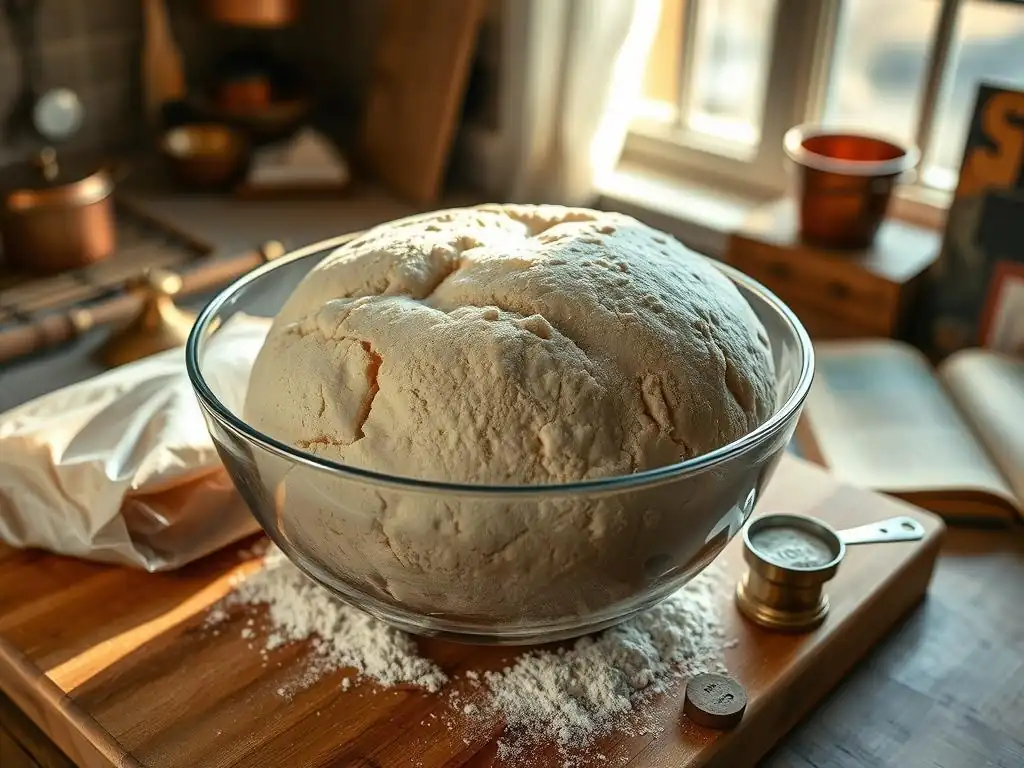
Welcome to BakeWithEase, your guide to unlocking baking confidence! Are you ready to achieve the perfect rise in your whole wheat bread? This article dives deep into essential whole wheat bread proofing tips, revealing the secrets to a light, airy loaf. Discover how to optimize your proofing environment and techniques for maximum flavor and volume. Eager to learn more? Let's get baking!
- How to Proof Whole Wheat Bread for Maximum Rise: BakeWithEase's Guide
- Introduction: Achieving the Perfect Whole Wheat Bread Proof
- Understanding Whole Wheat Dough: The Proofing Challenge
- Essential Whole Wheat Bread Proofing Tips for Optimal Rise
- Troubleshooting Common Whole Wheat Bread Proofing Problems
- Advanced Whole Wheat Bread Proofing Techniques
- Proofing Whole Wheat Bread: Step-by-Step Instructions
- Whole Wheat Bread Baking After Proofing: What's Next?
- Conclusion: BakeWithEase's Tips for Perfect Whole Wheat Bread, Every Time
-
Frequently Asked Questions
- What is the importance of proofing whole wheat bread dough?
- How long should I proof whole wheat bread dough?
- What is the ideal temperature for proofing whole wheat bread?
- What are some signs that my whole wheat bread dough is properly proofed?
- What happens if I over-proof my whole wheat bread dough?
- Final Reflection: The Humble Rise of Whole Wheat
- Unleash Your Inner Baker: Perfect Whole Wheat Loaves Await!
How to Proof Whole Wheat Bread for Maximum Rise: BakeWithEase's Guide
Introduction: Achieving the Perfect Whole Wheat Bread Proof
Why Proper Proofing is Crucial for Whole Wheat Bread
Proper proofing, also known as fermentation, is arguably the most critical stage in the bread-making process, especially when working with whole wheat flour. It's during this time that yeast consumes sugars in the dough, producing carbon dioxide gas and alcohol. This gas gets trapped within the gluten structure of the dough, causing it to expand and rise. Without adequate proofing, your whole wheat loaf will be dense, heavy, and lack the desirable airy texture and complex flavor that fermentation develops. It's the foundation for a light crumb and a well-structured loaf.
Furthermore, proofing significantly impacts the flavor profile of your bread. The longer and slower the fermentation, the more complex and nuanced the flavors become as enzymes break down starches and proteins. For whole wheat bread, which can sometimes be perceived as flat in taste compared to white bread, proper proofing unlocks deeper, nuttier, and more satisfying characteristics. Mastering these whole wheat bread proofing tips is key to transforming a simple mix of flour and water into a truly delicious bake.
BakeWithEase's Promise: Simple Steps to a Risen Loaf
At BakeWithEase, we believe that baking delicious bread, including whole wheat varieties, should be accessible and enjoyable for everyone. We understand that proofing can sometimes feel like a mysterious or intimidating step, especially with the unique properties of whole wheat dough. Our goal is to demystify the process and provide clear, actionable whole wheat bread proofing tips that guarantee a successful rise every time.
We've broken down the essential techniques and considerations into simple, easy-to-follow steps. Whether you're a complete beginner or looking to refine your whole wheat baking skills, this guide will equip you with the knowledge to achieve consistent, beautiful, and perfectly proofed loaves. Say goodbye to flat bread and hello to impressive oven spring with our straightforward approach.
Understanding Whole Wheat Dough: The Proofing Challenge
The Difference Between Whole Wheat and White Bread Dough
Whole wheat flour differs significantly from refined white flour, and these differences directly impact the proofing process. White flour is made from the endosperm of the wheat kernel, which is primarily starch and protein (gluten). Whole wheat flour, on the other hand, includes the bran and germ along with the endosperm. The bran and germ contain beneficial fiber, vitamins, and minerals, but they also have sharp edges that can cut through the developing gluten strands during kneading and proofing.
This presence of bran and germ means that whole wheat dough tends to develop a weaker gluten structure compared to white dough. A weaker gluten network is less effective at trapping the carbon dioxide gas produced by the yeast. Consequently, whole wheat dough often rises more slowly and requires more careful handling during proofing to achieve the same volume increase as a white loaf. Understanding this fundamental difference is the first step in mastering whole wheat bread proofing tips.
Key Factors Affecting Whole Wheat Dough Rise
Several factors collectively influence how well whole wheat dough proofs. The first is the hydration level of the dough; whole wheat flour absorbs more water than white flour due to the bran, and adequate hydration is crucial for yeast activity and gluten development. A dough that is too dry will be stiff and resist rising. Yeast activity itself is paramount, depending on the type of yeast used (active dry, instant, sourdough) and its viability.
Temperature plays a critical role, as yeast is most active within a specific range, typically between 75°F and 85°F (24°C-30°C). Temperatures too low slow fermentation drastically, while temperatures too high can kill the yeast. The amount of salt in the dough also impacts yeast activity – too much salt can inhibit it. Finally, the overall composition of the dough, including any additions like seeds or nuts, can affect its structure and proofing behavior. Balancing these elements is key to effective whole wheat bread proofing tips.
Essential Whole Wheat Bread Proofing Tips for Optimal Rise
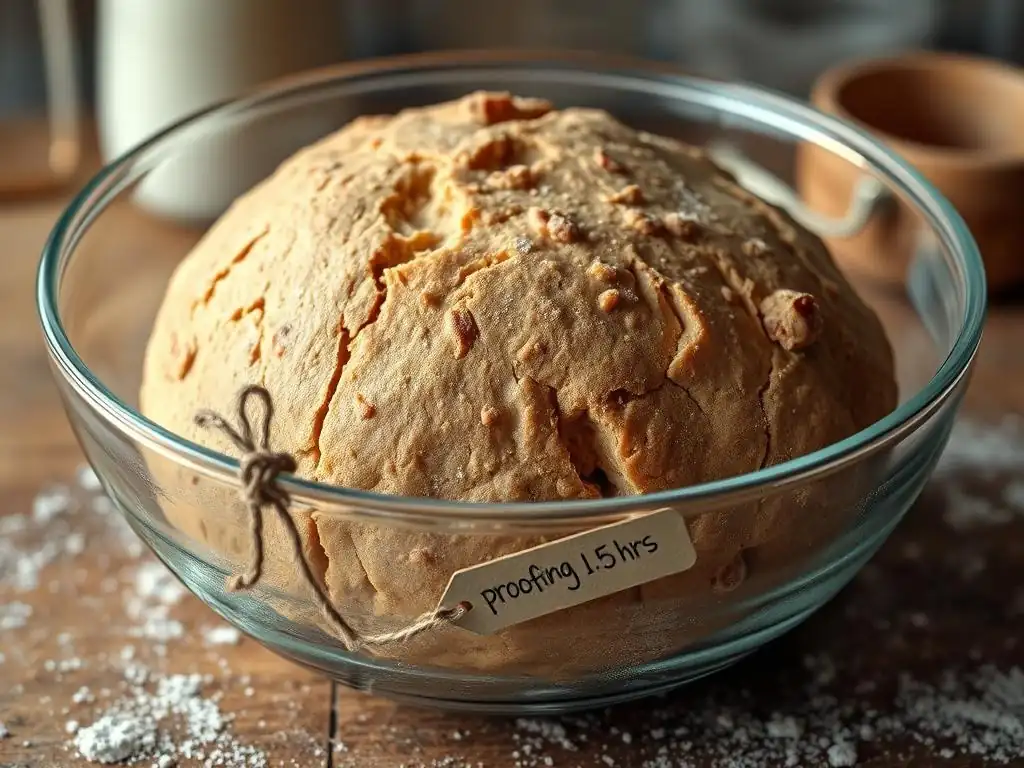
Tip 1: The Importance of Yeast Activity in Whole Wheat Bread
The success of your whole wheat bread proofing hinges on vibrant, active yeast. Yeast are living microorganisms that convert sugars into gas, and their health directly correlates to how well your dough will rise. Using yeast that is old, improperly stored, or exposed to excessive heat can result in slow or non-existent proofing. For instance, if you're using active dry yeast, which typically comes in small packets or jars, check the expiration date. Even within date, if stored improperly (e.g., in a warm, humid pantry), its viability can decrease significantly.
Instant yeast is generally more robust and can often be mixed directly into the dry ingredients, but it too has a shelf life. A common sign of poor yeast activity is dough that shows minimal or no change in volume after the expected proofing time. If you suspect your yeast might be sluggish, performing a simple test before adding it to your flour can save you time and ingredients and is one of the most fundamental whole wheat bread proofing tips.
Testing Your Yeast for Proofing Success
To test active dry yeast, you'll need a small amount of warm water (around 105-115°F or 40-46°C), a pinch of sugar, and the yeast itself. Add about 1 teaspoon of sugar to 1/4 cup of warm water, then sprinkle 2 1/4 teaspoons (one standard packet) of active dry yeast over the top. Do not stir initially. Let it sit for 5-10 minutes. If the yeast is alive and active, a foamy layer should form on the surface, indicating the yeast is consuming the sugar and producing gas.
If you don't see significant foam or bubbling, your yeast may be dead or inactive, and it's best to discard it and use fresh yeast. For instant yeast, while you can mix it directly, a similar test can be done with slightly cooler water (around 100-105°F or 38-40°C) if you want to be absolutely sure. This simple check is a crucial step among whole wheat bread proofing tips to ensure your efforts aren't wasted on inactive yeast.
Tip 2: Mastering the Ideal Proofing Temperature for Whole Wheat Dough
Temperature is a critical environmental factor for successful whole wheat bread proofing. Yeast activity is highly dependent on temperature; it thrives in warmth but can be killed by excessive heat. The optimal temperature range for proofing is generally considered to be between 75°F and 85°F (24°C-30°C). Within this range, yeast ferments actively, producing gas at a good pace without overworking the gluten structure prematurely.
Proofing at temperatures below this range will slow down the rise significantly. For example, proofing at room temperature (around 70°F or 21°C) might take 2-3 hours or even longer for the first rise, whereas proofing in a slightly warmer spot (80°F or 27°C) could cut that time down to 60-90 minutes. Conversely, temperatures above 90°F (32°C) can accelerate fermentation too quickly, potentially leading to a rough texture or killing the yeast altogether. Finding a consistently warm spot is vital for reliable whole wheat bread proofing tips.
Creating a Warm and Humid Environment for Proofing
Achieving a consistent proofing temperature can be challenging depending on your kitchen environment. One common and effective method is to use your oven (when turned OFF). Simply turn on the oven light – the heat generated by the bulb is often enough to create a warm microclimate around 75-80°F (24-27°C). Place your covered dough inside. Another technique is to heat the oven briefly to its lowest setting (around 150°F or 65°C), then turn it OFF completely before placing the dough inside. Never proof dough in a hot oven.
Humidity is also beneficial during proofing as it prevents the surface of the dough from drying out and forming a crust, which would restrict the rise. You can add humidity to your proofing environment by placing a pan of hot water on the rack below your dough in the oven, or by lightly misting the inside of the container covering your dough. Combining warmth and humidity provides the ideal conditions for effective whole wheat bread proofing tips.
Tip 3: The Right Proofing Time for Whole Wheat Bread
Determining the correct proofing time is crucial – it's not about following a clock rigidly but observing the dough itself. Whole wheat dough typically requires a longer proofing time than white dough due to its weaker gluten structure and the presence of bran inhibiting gluten development. The first rise (bulk fermentation) usually continues until the dough has roughly doubled in volume. This can take anywhere from 1 to 3 hours at room temperature (70°F/21°C) or significantly less in a warmer environment (75-85°F/24-30°C).
After shaping, the second rise (final proof) is shorter, often lasting 45-90 minutes, and aims for about a 50-80% increase in volume. A key test for readiness during the final proof is the "poke test." Gently press a floured finger into the side of the dough about half an inch deep. If the indentation springs back immediately, the dough is under-proofed. If it stays indented without springing back at all, it's likely over-proofed. The ideal is when the indentation slowly springs back only halfway. This test is one of the most reliable whole wheat bread proofing tips.
Avoiding Over-Proofing and Under-Proofing
Both under-proofing and over-proofing can negatively impact your whole wheat bread. Under-proofed dough hasn't developed enough gas, resulting in a dense loaf with a tight crumb and potentially large, irregular holes. The crust might also crack excessively in the oven. An example of under-proofing might be dough that has only increased by 30% in volume after the expected time, and the poke test shows it springing back fully.
Over-proofed dough, on the other hand, has exhausted its gas production potential, and the gluten structure may have started to collapse. This often results in a loaf that rises quickly in the oven but then collapses, yielding a gummy texture and a flat top. The flavor can also become overly sour or alcoholic. An over-proofed dough will feel very puffy and fragile, and the poke test will leave a permanent indentation. Learning to recognize these signs is vital for effective whole wheat bread proofing tips.
Tip 4: Shaping Techniques That Enhance Proofing
The way you shape your whole wheat dough before the final proof significantly influences its ability to hold its structure and rise during baking (oven spring). Proper shaping creates tension on the surface of the dough, forming a "skin" that helps contain the gases produced during proofing and baking. Without this tension, the dough can spread outwards rather than rising upwards. For a boule (round loaf), this involves folding the edges into the center and then using your hands to pull the dough towards you on an un-floured surface, creating surface tension.
For a batard (oval loaf), you might fold the dough into thirds like a letter, then roll it up tightly, sealing the seam. The goal is always to create a taut surface without tearing the dough. This tension, combined with the support of a proofing basket or mold, helps the dough maintain its shape and encourages an upward expansion in the oven. Mastering gentle but firm shaping is among the crucial whole wheat bread proofing tips.
Gentle Handling for Maximum Rise
Whole wheat dough is more delicate than white dough due to the bran particles interfering with the gluten network. Therefore, gentle handling throughout the shaping and proofing process is essential. Avoid aggressive degassing or punching down the dough too forcefully after the first rise. While a light degas is necessary to redistribute yeast and even out the temperature, you want to preserve as much of the accumulated gas as possible for the final proof and oven spring.
When transferring shaped dough to a proofing basket or baking surface, do so carefully to avoid deflating it. A well-proofed whole wheat loaf is fragile and can collapse if handled roughly. Think of it like a delicate balloon; you want to move it smoothly and minimally. Gentle handling, combined with good shaping, ensures that the efforts you put into proofing are rewarded with a beautiful, well-risen loaf. This is a key component of effective whole wheat bread proofing tips.
Tip 5: Using a Banneton Basket for Improved Proofing
Using a banneton, or proofing basket, is a highly recommended technique for proofing whole wheat dough, especially for freeform loaves like boules or batards. Bannetons are typically made from rattan, cane, or wood pulp and are lined with linen. They are floured before use and the shaped dough is placed seam-side up (if baking seam-side down) or seam-side down (if scoring the top) inside. The basket supports the dough as it rises, preventing it from spreading outwards and encouraging it to rise upwards.
The material of the banneton also helps wick away a small amount of moisture from the surface of the dough, creating a slightly drier skin. This drier surface makes it easier to score the dough just before baking and contributes to a crispier crust. For whole wheat dough, which can sometimes be prone to spreading due to its weaker gluten, the structure provided by a banneton is invaluable for achieving a good shape and height during proofing.
How Banneton Baskets Aid in Whole Wheat Bread Structure
The primary benefit of using a banneton is the structural support it provides during the final proof. As the whole wheat dough relaxes and expands, the rigid sides of the basket hold it in shape. This is particularly helpful when proofing dough that is relatively wet, which is often desirable for better flavor and texture in whole wheat bread. Without this support, a wet dough might simply spread into a flat disc.
When the dough is carefully inverted onto a baking surface, the tension created by proofing within the banneton helps the loaf hold its form and encourages a strong upward burst (oven spring) in the hot oven. The pattern from the banneton can also leave an attractive spiral or lined design on the finished crust, although this is secondary to its primary function of providing crucial support during the final rise. Incorporating a banneton is a valuable addition to your whole wheat bread proofing tips.
Troubleshooting Common Whole Wheat Bread Proofing Problems
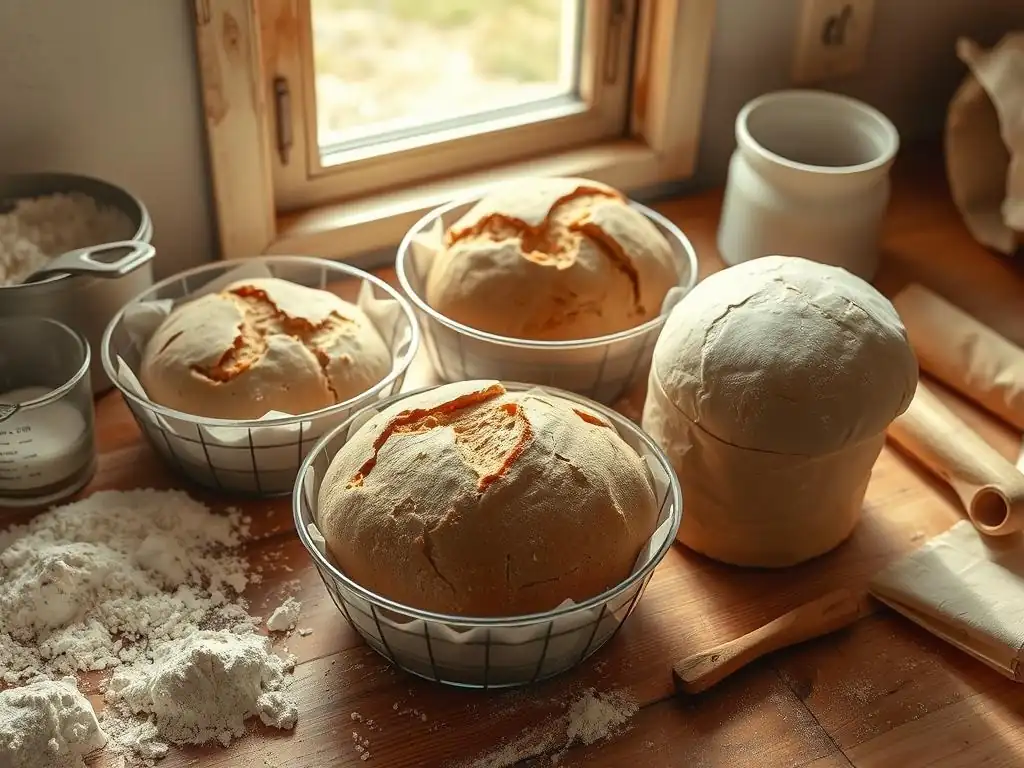
Dough Not Rising? Potential Causes and Solutions
If your whole wheat dough isn't rising as expected, several factors could be at play. The most common culprit is inactive or dead yeast. As mentioned earlier, testing your yeast before starting is a simple preventative measure. If the yeast tested fine, the issue might be temperature. Dough proofing in a cold environment (below 70°F or 21°C) will be very slow. Try moving it to a warmer spot, like an oven with the light on, to see if fermentation kickstarts.
Another reason could be insufficient kneading or gluten development. Whole wheat dough requires thorough kneading (either by hand or mixer) to develop a strong enough gluten network to trap gas. If the dough feels shaggy and doesn't pass the windowpane test (stretching a small piece thin enough to see light through without tearing), it might need more kneading.
Lastly, adding salt directly on top of yeast or using excessively hot water can kill yeast; ensure ingredients are mixed properly and water temperature is correct (around 105-115°F for active dry, 100-105°F for instant). Reviewing these points is key for effective whole wheat bread proofing tips.
Dense Bread? Addressing Proofing Issues
A dense whole wheat loaf is often a symptom of under-proofing or issues with gluten development. If your dough didn't double in volume during the first rise or didn't show significant increase during the second, it likely didn't produce enough gas to create an open crumb structure. Ensure you are allowing adequate time for proofing based on your kitchen temperature and using the poke test to gauge readiness.
Insufficient hydration can also lead to dense bread, as a dry dough is stiff and harder for yeast to inflate. Whole wheat flour typically needs more water than white flour; try increasing the hydration slightly in your recipe next time. Poor gluten development from inadequate kneading or using low-protein flour can also result in a crumb that cannot hold its structure, leading to density. Focusing on proper kneading and proofing times are essential whole wheat bread proofing tips to combat density.
Over-Proofed Dough: Salvaging Your Whole Wheat Loaf
An over-proofed whole wheat dough is characterized by being overly puffy, potentially starting to deflate, and leaving a permanent indentation during the poke test. While you can't fully rescue the ideal texture, you can often salvage the loaf. If the dough hasn't completely collapsed, handle it extremely gently. Try shaping it very loosely and bake it immediately. It might still rise somewhat in the oven, although the oven spring will likely be less vigorous than with perfectly proofed dough.
If the dough has significantly collapsed and appears deflated or spread out, you can gently punch it down one more time, reshape it, and give it a very short second proof (perhaps 15-30 minutes, just until it looks slightly puffy again) before baking. This won't restore the full potential, but it can result in a more acceptable loaf than baking a completely deflated dough.
Alternatively, over-proofed dough can sometimes be repurposed into flatbreads or pizza dough, where a less airy texture is acceptable. Learning to recognize the signs of over-proofing is crucial for refining your whole wheat bread proofing tips.
Advanced Whole Wheat Bread Proofing Techniques
Using a Proofer for Consistent Results
For bakers seeking maximum consistency in their whole wheat bread proofing, a dedicated proofing box or proofer can be an excellent investment. These devices provide a controlled environment with precise temperature and humidity settings, eliminating variables caused by fluctuating kitchen conditions. A typical home proofer can maintain temperatures within a degree or two and prevent the dough surface from drying out.
Using a proofer means you can more accurately predict proofing times based on your recipe and desired temperature. For instance, proofing whole wheat dough at a steady 80°F (27°C) in a proofer might consistently take 75 minutes for the first rise, whereas this could vary by an hour or more in an uncontrolled environment. While not strictly necessary for good results, a proofer elevates your ability to apply whole wheat bread proofing tips with unparalleled precision, leading to more reliable outcomes.
Cold Proofing Whole Wheat Dough for Enhanced Flavor
Cold proofing, also known as retarding, involves proofing the dough slowly in the refrigerator, typically at temperatures between 35°F and 40°F (2°C-4°C). At these low temperatures, yeast activity is significantly slowed down, but enzymes in the flour continue to break down complex carbohydrates and proteins. This enzymatic action develops more complex flavors and aromas in the dough over a longer period, often 12 to 48 hours.
Cold proofing is a popular technique for whole wheat sourdough and yeasted breads alike. It not only enhances flavor but also strengthens the dough's gluten structure slowly and makes the dough easier to handle and score after chilling. While it requires planning ahead due to the extended time, the resulting depth of flavor and improved texture are well worth the wait. Incorporating cold proofing into your repertoire is an advanced but highly rewarding set of whole wheat bread proofing tips.
Proofing Whole Wheat Bread: Step-by-Step Instructions
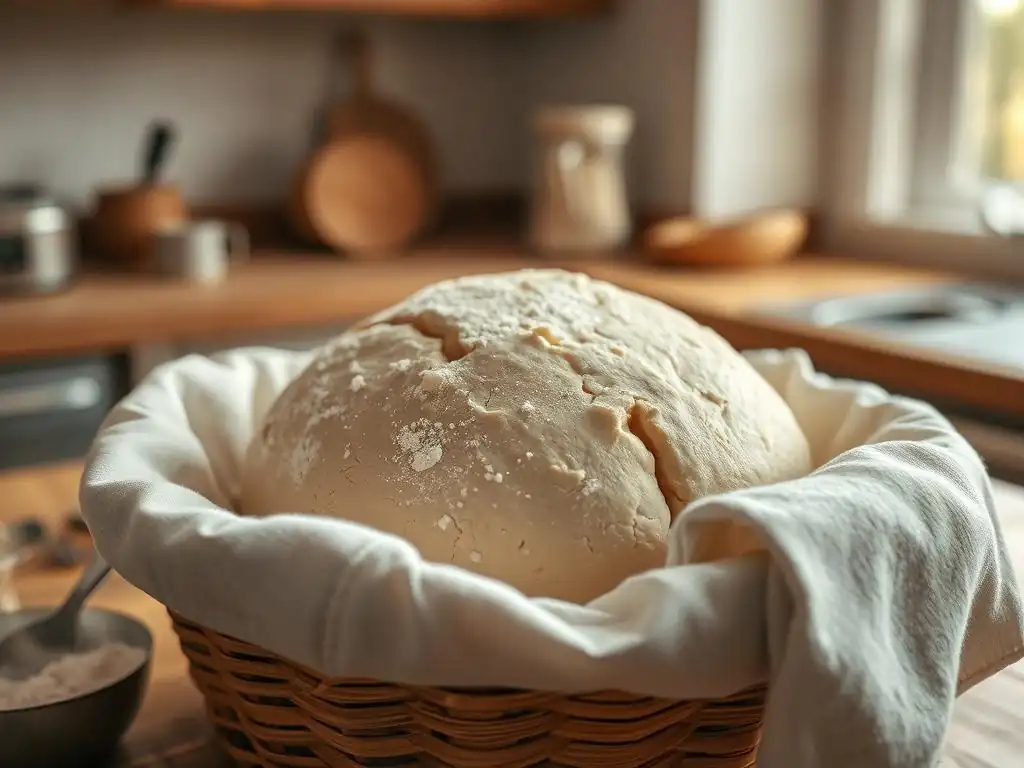
Step 1: Preparing Your Whole Wheat Dough for Proofing
After kneading your whole wheat dough to develop gluten and incorporating all ingredients, it's ready for the first rise, or bulk fermentation. Gather the dough into a smooth ball and place it in a clean bowl. It's helpful to lightly grease the bowl with a neutral oil or cooking spray to prevent the dough from sticking as it rises.
Cover the bowl snugly. Options include using plastic wrap, a damp tea towel, or a dedicated bowl cover. Covering prevents the surface of the dough from drying out and forming a skin, which would restrict the rise. Place the covered bowl in a warm, draft-free location, ideally between 75°F and 85°F (24°C-30°C), for the first stage of whole wheat bread proofing.
Step 2: Creating the Ideal Proofing Environment
As discussed, consistency in temperature and humidity is key. If your kitchen is cool, use the oven-with-light-on method or place the bowl in a warm spot near a heater (but not too close!). For added humidity, especially if using a tea towel, make sure the towel is damp (not dripping wet) or place a small dish of hot water nearby.
Monitor the temperature of your proofing location if possible, perhaps with a simple oven thermometer. Aim for that sweet spot where the yeast is happy and active. Remember that drafty areas can cause temperature fluctuations, hindering an even rise. A stable, warm, and slightly humid environment provides the best conditions for applying whole wheat bread proofing tips.
Step 3: Monitoring the Dough's Progress
During the first rise (bulk fermentation), observe your whole wheat dough periodically. The primary indicator that it's ready is its volume increase – it should roughly double in size. Depending on temperature, this could take anywhere from 1 to 3 hours. The dough should look visibly puffier and feel lighter.
For the second rise (final proof) after shaping, the dough won't double again. It typically increases by about 50-80% in volume. Use the poke test (gently pressing a floured finger into the dough) to determine readiness. If the indentation slowly springs back halfway, it's ready. If it springs back immediately, it needs more time. If it stays indented, it's likely over-proofed. Regular monitoring helps you catch the dough at its peak for optimal whole wheat bread proofing.
Step 4: Knowing When Your Dough is Ready to Bake
The poke test is your best friend for knowing when your whole wheat dough has finished its final proof and is ready to bake. As described above, the ideal state is when a gentle poke leaves an indentation that slowly fills back about halfway. The dough should look visibly puffy and feel airy, but not fragile to the point of collapsing.
Baking the dough at this precise moment is crucial for achieving maximum oven spring. If you bake too early (under-proofed), the dough will expand rapidly in the oven, potentially resulting in large, uneven holes or blowouts. If you bake too late (over-proofed), the dough may have already exhausted its rising power and could collapse in the oven. Trusting the poke test is one of the most reliable whole wheat bread proofing tips for perfect timing.
Whole Wheat Bread Baking After Proofing: What's Next?
Scoring Techniques for Optimal Oven Spring
Once your whole wheat dough is perfectly proofed and ready for the oven, scoring is an important final step before baking. Scoring involves making shallow cuts on the surface of the loaf with a sharp razor blade (called a lame) or a very sharp knife. These cuts serve as controlled vents, allowing the rapidly expanding gases inside the dough to escape in a predictable manner during the initial phase of baking (oven spring).
Without scoring, the crust will resist the internal pressure, and the dough might burst unpredictably at its weakest point, resulting in a less attractive loaf. For whole wheat bread, which can have a slightly tougher crust due to the bran, scoring is particularly beneficial. Simple patterns like a single slash down the length of an oval loaf or a cross on a round loaf are common.
The depth should be about 1/4 to 1/2 inch deep, and the cuts should be made confidently and quickly. Proper scoring works in tandem with effective whole wheat bread proofing tips to guide the final rise.
Baking Your Proofed Whole Wheat Loaf
Immediately after scoring, transfer your proofed whole wheat loaf to a preheated oven. The high heat of the oven causes the trapped gases in the dough to expand rapidly, leading to oven spring – the final burst of rising that occurs within the first 10-15 minutes of baking. Baking in a hot environment, often between 400°F and 475°F (200°C-245°C), is crucial for this rapid expansion.
Many bakers use a Dutch oven or a baking stone with steam to create a humid environment in the oven, which delays crust formation and allows for maximum expansion. The humidity helps keep the surface pliable, letting the dough expand fully before the crust sets.
Baking time will vary depending on the size and shape of the loaf and your oven, but a typical 1.5 to 2-pound whole wheat loaf might bake for 30-45 minutes, reaching an internal temperature of around 200-210°F (93-99°C) when fully baked. The perfect bake is the culmination of careful whole wheat bread proofing tips and proper oven technique.
Conclusion: BakeWithEase's Tips for Perfect Whole Wheat Bread, Every Time
Mastering the Art of Whole Wheat Bread Proofing
Mastering whole wheat bread proofing is an art that combines understanding the unique properties of whole wheat flour with careful observation and attention to environmental factors. It's not just about letting dough sit; it's about providing the optimal conditions for yeast activity and gluten development to create a light, airy, and flavorful loaf. From ensuring your yeast is active and finding the right temperature and humidity, to recognizing the signs of readiness through the poke test and using techniques like bannetons and proper shaping, each step contributes to success.
Remember that practice makes perfect. Your first few whole wheat loaves might not be ideal, but by applying these whole wheat bread proofing tips and paying attention to how your dough responds, you'll quickly learn to adjust times and techniques to suit your specific environment and recipe. Embrace the process, learn from each bake, and enjoy the journey towards consistently excellent whole wheat bread.
Enjoying Your Homemade, Perfectly Proofed Whole Wheat Bread
There's immense satisfaction in pulling a beautifully risen, golden-brown whole wheat loaf from your oven. The aroma filling your kitchen is a reward in itself, a testament to your patience and skill in nurturing the dough through its crucial proofing stages. Slice into your creation and admire the open, airy crumb structure – the direct result of applying effective whole wheat bread proofing tips.
Enjoy your homemade whole wheat bread simply with butter, or use it as the base for delicious sandwiches, toast, or even croutons. Share it with friends and family, or savor it yourself. Every bite is a reminder of the simple magic that happens when flour, water, yeast, and time come together, guided by careful technique. Congratulations on mastering the proof!
Frequently Asked Questions
What is the importance of proofing whole wheat bread dough?
Proofing allows the yeast in the dough to ferment and produce carbon dioxide, which makes the bread rise. Whole wheat flour can inhibit rise, so proper proofing is crucial for a light and airy texture.
How long should I proof whole wheat bread dough?
Proofing time varies, but typically whole wheat bread dough needs 1-2 hours for the first proof and 30-60 minutes for the second proof. Monitor the dough's volume, not just the time.
What is the ideal temperature for proofing whole wheat bread?
The ideal temperature range for proofing is 75-85°F (24-29°C). A warm, draft-free environment helps the yeast to activate efficiently and promote optimal rising.
What are some signs that my whole wheat bread dough is properly proofed?
The dough should have nearly doubled in size and feel light and airy. When gently poked, it should slowly spring back, leaving a slight indentation.
What happens if I over-proof my whole wheat bread dough?
Over-proofed dough will collapse easily when handled and may have a sour smell. The resulting bread will likely have a dense and unpleasant texture.
Final Reflection: The Humble Rise of Whole Wheat
The perfect loaf of whole wheat bread, with its satisfying chew and robust flavor, hinges on a single, often overlooked step: proofing. This seemingly simple process is the cornerstone of a successful bake, impacting not only the texture but also the overall nutritional value and enjoyment of the final product. Mastering proofing techniques unlocks the potential for consistently delicious, healthy bread, a far cry from the dense, disappointing loaves that can result from improper fermentation.
The journey of whole wheat bread, from flour to finished loaf, is a testament to the power of patience and observation. Understanding the nuances of proofing – the subtle shifts in dough texture, the delicate balance of temperature and time – is a deeply rewarding experience. Bread making is a journey of discovery, a dance between science and art.
This quote, though not directly about proofing, perfectly encapsulates the process of creating a truly exceptional loaf. The impact of proper proofing extends beyond the individual baker; it contributes to a broader appreciation for the craft of bread making, fostering a connection to traditional techniques and the simple pleasures of homemade food.
Now, consider your own baking journey. Have you experienced the frustration of a collapsed loaf? Or the joy of a perfectly risen masterpiece? The knowledge gained from understanding whole wheat bread proofing isn't just about technique; it's about cultivating a deeper understanding of the ingredients, the process, and the satisfaction of creating something delicious and nourishing with your own hands.
Take the time to observe your dough, to experiment with different temperatures and times, and to truly appreciate the magic of fermentation. The reward? A loaf of bread that will not only nourish your body but also feed your soul.
Unleash Your Inner Baker: Perfect Whole Wheat Loaves Await!
Thanks for joining us on this journey to mastering whole wheat bread! We hope you've gained valuable insights into achieving that perfect rise. Now it's time to put your newfound knowledge into practice.
- Bake a test loaf today! Use your favorite recipe (or try a new one!) and focus on the proofing techniques we discussed. Note down any adjustments you make for future bakes.
- Share your baking triumphs (and challenges!) with our community in the comments below. Let's learn from each other!
- Consider experimenting with different whole wheat flour types to see how they affect your rise.
What unique ingredient or technique will you try to perfect your whole wheat bread baking?