
Using Your Sourdough Starter for Amazing Rye Bread

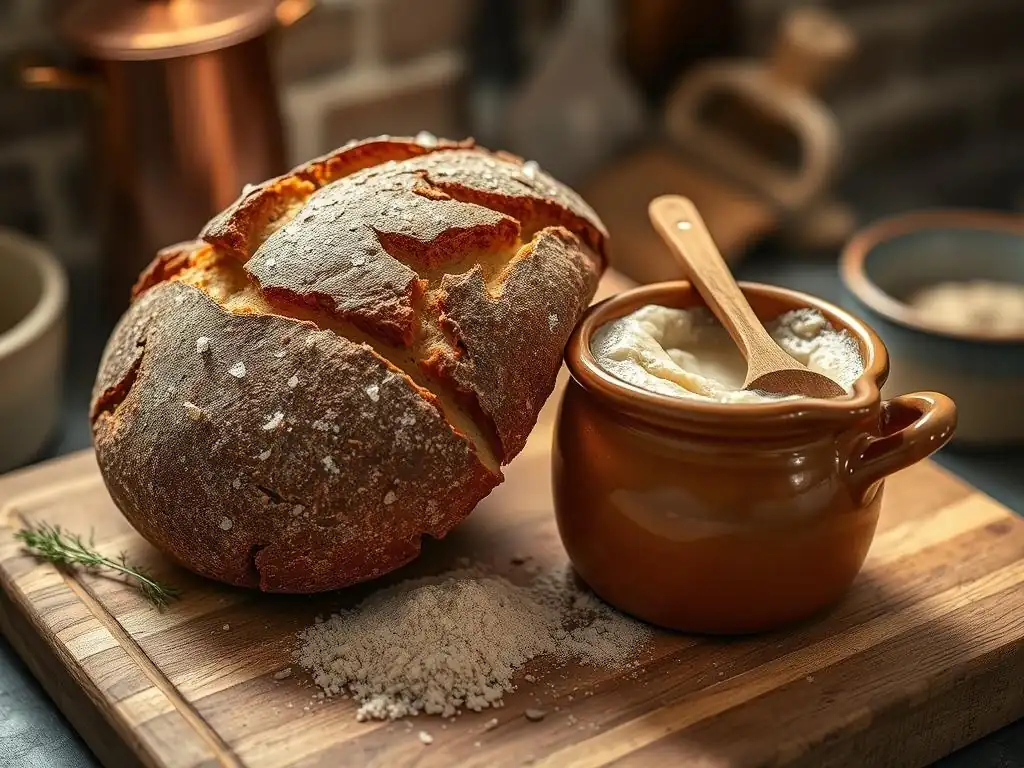
Welcome to BakeWithEase, your kitchen companion for crafting delicious baked goods! Ever wondered how to transform your sourdough starter into a truly exceptional loaf? Unleash the tangy magic of your starter and discover the secrets to baking a perfect Sourdough Starter Rye Bread. Prepare to be amazed at how simple ingredients and our step-by-step guidance can elevate your baking game – let's get started and unlock the flavors within!
- Using Your Sourdough Starter for Amazing Rye Bread: A BakeWithEase Guide
- Introduction to Sourdough Rye Bread and Your Starter
- Preparing Your Sourdough Starter for Rye Bread
- Essential Ingredients for Authentic Sourdough Rye Bread
- Sourdough Rye Bread Recipe: A Step-by-Step Guide
- Troubleshooting Common Sourdough Rye Bread Issues
- Tips and Tricks for Mastering Sourdough Rye Bread
- Exploring Variations: Different Rye Bread Recipes Using Sourdough
- Conclusion: Enjoying Your Homemade Sourdough Rye Bread
- Frequently Asked Questions
- Final Reflection: The Enduring Magic of Sourdough Rye
- Unleash the Rye Power of Your Starter!
Using Your Sourdough Starter for Amazing Rye Bread: A BakeWithEase Guide
Introduction to Sourdough Rye Bread and Your Starter
Why Bake Rye Bread with Sourdough Starter? Unlocking Flavor and Texture
Baking rye bread using a sourdough starter offers a depth of flavor and a unique texture that are simply unmatched by commercial yeast versions. The slow fermentation process breaks down starches and proteins in the rye flour, releasing complex aromatic compounds. This fermentation also produces lactic and acetic acids, contributing to the characteristic tangy profile of sourdough rye bread. Unlike wheat, rye flour contains pentosans, which are complex carbohydrates that can create a sticky, dense crumb. Sourdough fermentation helps manage these pentosans, leading to a moister, more tender crumb structure compared to rye breads made solely with commercial yeast.
Furthermore, using a sourdough starter in your rye bread enhances its keeping qualities. The acidity produced during fermentation acts as a natural preservative, inhibiting the growth of mold and staling. A well-baked sourdough rye loaf can remain fresh and delicious for several days, sometimes even up to a week when stored properly, far longer than many quick breads or yeasted loaves. This longevity, combined with the incredible flavor development, makes mastering sourdough starter rye bread a truly rewarding baking pursuit for any home baker.
Understanding the Role of Sourdough Starter in Rye Bread Baking
Your sourdough starter is the heart and soul of your rye bread, acting as both the leavening agent and a primary flavor contributor. It's a living culture of wild yeasts and lactic acid bacteria, which work in synergy to make the dough rise and develop its characteristic sourness. In rye bread, the starter's acidity is particularly beneficial because rye flour has a lower gluten content and higher levels of amylase enzymes compared to wheat. Without the acidity from the sourdough, these enzymes can break down the starch too quickly during baking, resulting in a gummy, dense loaf.
The wild yeasts in the starter produce carbon dioxide gas, causing the dough to expand, while the lactic acid bacteria contribute significantly to the bread's flavor profile. The balance between lactic and acetic acids can be influenced by the starter's hydration and feeding schedule; a wetter starter often favors lactic acid (milder tang), while a stiffer, cooler starter can produce more acetic acid (sharper tang). When baking sourdough starter rye bread, understanding this dynamic helps you manipulate your starter to achieve your desired flavor outcome in the final loaf.
Preparing Your Sourdough Starter for Rye Bread
Assessing Your Sourdough Starter's Activity for Rye Bread Success
Before you even think about mixing your sourdough starter into rye bread dough, you need to ensure it's healthy and active. A vigorous starter is crucial for providing the lift needed, especially in doughs containing a high percentage of rye flour which is less structured than wheat. To assess activity, feed your starter and observe its behavior.
Within 4-8 hours at room temperature (around 70-75°F or 21-24°C), a healthy starter should significantly increase in volume, ideally doubling or tripling, and show numerous bubbles throughout. A reliable test is the float test: drop a small spoonful of starter into a glass of water; if it floats, it's generally ready to use for leavening.
An inactive or sluggish starter will result in a flat, dense rye bread. If your starter doesn't pass the float test or isn't showing significant bubble activity and rise after feeding, it might need a few days of regular feeding (once or twice daily) to regain its strength. Using a starter at its peak fermentation, usually when it has reached its maximum volume and is just starting to recede, ensures it has the most leavening power available to work with the challenging structure of rye dough.
Feeding Your Sourdough Starter: A Rye Flour Boost
While you can certainly use a starter fed solely on wheat flour for your sourdough starter rye bread, giving it a boost with rye flour can enhance the flavor and sometimes even the activity. Rye flour is rich in nutrients that the wild yeasts and bacteria in your starter thrive on.
To transition or boost, simply replace a portion or all of the usual flour in your starter's feeding with rye flour (light, medium, or dark). For example, if you typically feed 50g starter with 50g all-purpose flour and 50g water, you could try feeding it with 50g starter, 25g all-purpose flour, 25g rye flour, and 50g water for a few feedings leading up to baking.
Feeding your starter with rye flour a few times before baking rye bread can also help it adapt to processing the specific compounds in rye, potentially leading to better dough structure and flavor development in the final loaf. Maintain your usual hydration level (e.g., 100% hydration, meaning equal weights of flour and water) unless your recipe specifies using a stiffer starter. Observe how your starter responds to the rye flour; some starters become incredibly vigorous with the addition of rye.
Achieving Peak Fermentation: When is Your Starter Ready for Rye?
Timing is everything when using your sourdough starter for rye bread. The ideal time to use your starter is when it has reached its peak activity after feeding. This is typically when it has doubled or tripled in volume, is full of bubbles, and the surface is dome-shaped before starting to show signs of collapsing. Using a starter at this peak ensures maximum leavening power, which is particularly important for the heavier, less extensible rye dough.
Monitoring your starter in the hours after feeding is crucial. Depending on the temperature of your kitchen and the starter's individual vigor, peak fermentation can occur anywhere from 4 to 12 hours after feeding. If you use the starter too early (before peak), it may not have enough strength to lift the heavy rye dough.
If you use it too late (after it has significantly fallen), much of its leavening power will have been expended. The float test is a good indicator, but visually observing its rise and fall is the most reliable method for timing its use in sourdough starter rye bread.
Essential Ingredients for Authentic Sourdough Rye Bread
Choosing the Right Rye Flour: Light, Medium, or Dark?
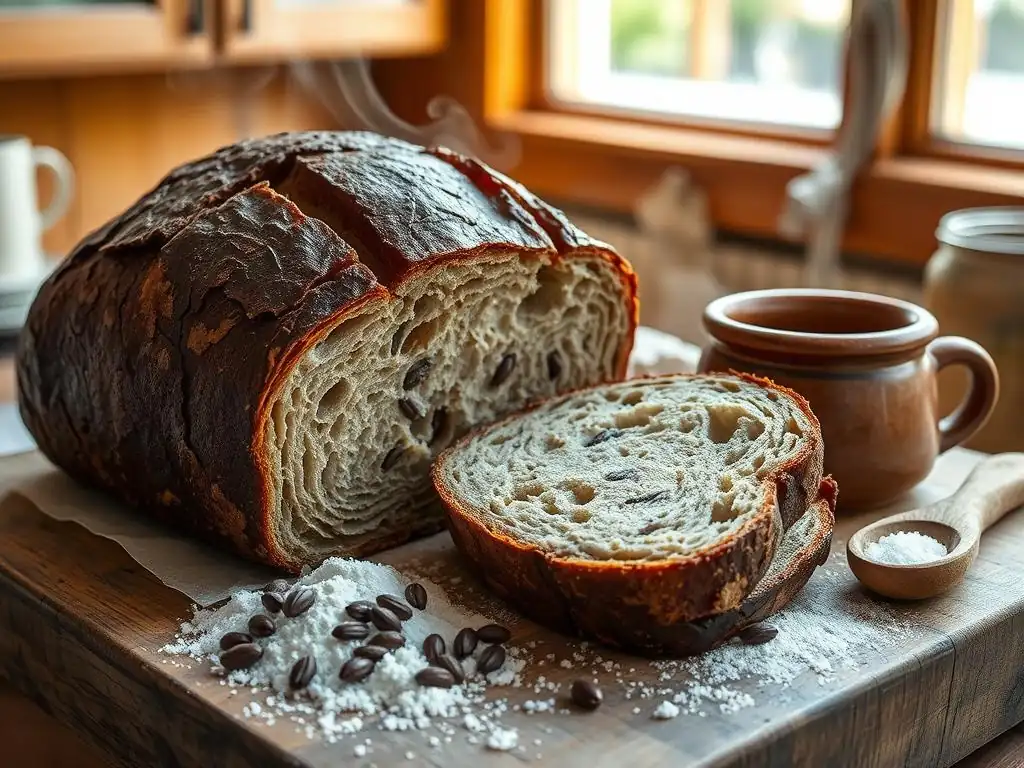
The type of rye flour you choose significantly impacts the flavor, color, and texture of your sourdough starter rye bread. Rye flour is categorized by its extraction rate, which is the percentage of the grain that remains after milling. Light rye flour has the bran and germ removed, resulting in a milder flavor and lighter color, similar to white wheat flour.
It contains the least amount of pentosans. Medium rye flour includes some of the bran and germ, offering a more pronounced rye flavor and darker color. Dark rye flour, also known as pumpernickel or whole rye flour, is milled from the entire grain, including all the bran and germ.
Dark rye flour provides the strongest, most complex flavor and darkest color but is also the most challenging to work with due to its high pentosan content and lack of gluten. For beginners making sourdough starter rye bread, starting with a mix of light or medium rye flour and strong wheat flour (like bread flour) is often recommended (e.g., 40-60% rye). More experienced bakers might tackle recipes with 80-100% dark rye flour. The choice depends on your desired flavor intensity and baking experience level, but using a good quality rye flour is fundamental.
The Importance of Gluten Development in Rye Bread Dough
Unlike wheat flour, rye flour contains very little gluten-forming protein. The protein it does contain behaves differently than wheat gluten. This is why rye doughs tend to be stickier and denser. While sourdough starter rye bread relies heavily on the starter's acidity and the structure provided by pentosans and starch gels for its crumb, some level of structure is still needed. If your recipe includes wheat flour (which is common in many sourdough rye bread recipes, often 30-70% wheat), proper gluten development from the wheat component is critical.
For recipes containing wheat flour, techniques like mixing (even if minimal) and the long fermentation time provided by the sourdough starter help develop the wheat gluten network. This network provides elasticity and strength, allowing the dough to trap the gases produced by the starter and rise. Even in high-percentage or 100% rye doughs, minimal mixing and the action of the sourdough acids on the pentosans help create a gel-like structure that supports the loaf. Understanding this difference in structure development is key to successfully handling and baking sourdough starter rye bread.
Other Key Ingredients: Caraway Seeds, Salt, and Water
Beyond your active sourdough starter and rye flour, a few other ingredients are fundamental to classic sourdough starter rye bread. Salt is essential for flavor, controlling fermentation rate, and strengthening the gluten network (in recipes containing wheat). Typically, salt makes up about 1.8% to 2.2% of the total flour weight in a recipe. Using non-iodized salt like sea salt or kosher salt is often preferred by bakers.
Water plays a crucial role in hydration, activating the flour, and facilitating fermentation. The hydration level of sourdough rye bread dough can vary widely, from as low as 65% for stiffer doughs to over 85% for wetter, more open-crumbed loaves. The amount of water needed also depends on the type of rye flour used, as dark rye absorbs more water than light rye.
Finally, caraway seeds are a traditional and highly recommended addition to sourdough rye bread, providing a distinctive aromatic and slightly peppery flavor that pairs perfectly with the tang of the sourdough and the earthiness of the rye. They are typically added at a rate of 1-3% of the total flour weight.
Sourdough Rye Bread Recipe: A Step-by-Step Guide
Step 1: Mixing the Rye Bread Dough with Sourdough Starter
Mixing sourdough starter rye bread dough is often simpler than mixing wheat doughs, especially for high-rye recipes, as extensive kneading isn't required or even beneficial due to the low gluten content. Begin by combining your active sourdough starter with the water and dissolving the salt. In a separate bowl, weigh your rye flour and any wheat flour the recipe calls for. Gradually add the wet ingredients to the dry, mixing with a spoon or your hands until just combined and no dry pockets of flour remain. If using caraway seeds, mix them in now.
The dough will be quite sticky and may feel different from wheat dough – less elastic and more like a thick paste or clay, especially with higher percentages of rye. Avoid the urge to add too much extra flour, as this will result in a dry loaf. For recipes with a significant amount of wheat flour (say, 50% or more), you might perform a few minutes of gentle kneading or a series of stretch-and-folds during the bulk fermentation to help develop the wheat gluten. For very high-rye doughs, simply ensuring all ingredients are evenly incorporated is sufficient.
Step 2: Bulk Fermentation: Developing Flavor and Structure
Bulk fermentation, also known as the first rise, is where the magic happens for your sourdough starter rye bread. During this period, the wild yeasts produce carbon dioxide, causing the dough to slowly expand, while the lactic acid bacteria produce acids that develop flavor and help condition the rye flour's pentosans. Place your mixed dough in a lightly oiled container large enough to allow for expansion. Cover it to prevent drying.
The duration of bulk fermentation depends heavily on the temperature of your kitchen and the activity of your starter. At a room temperature of around 72°F (22°C), this might take anywhere from 3 to 6 hours. You are looking for a noticeable increase in volume, maybe 30-50%, and the surface should show some bubbles.
For recipes with wheat flour, you might perform 1-3 sets of stretch-and-folds during the first hour or two to build strength. High-rye doughs generally don't require stretch-and-folds; they are best left undisturbed. This slow fermentation is crucial for the characteristic tang of sourdough starter rye bread.
Step 3: Shaping Your Sourdough Rye Loaf
Shaping sourdough starter rye bread dough can be different from shaping wheat loaves because the dough is often stickier and less elastic. For high-rye doughs, minimal handling is best. Turn the dough out onto a lightly floured surface. Gently pat or fold it into your desired shape, such as a boule (round) or a batard (oval). Avoid degassing the dough too much; handle it with care to preserve the air pockets created during fermentation.
If you are using a recipe with a significant percentage of wheat flour, you can shape more traditionally, using tension-building techniques like folding the edges into the center and then rounding or elongating the loaf. However, even with wheat, rye dough tends to be less cooperative than pure wheat dough. Consider shaping directly into your proofing basket or baking tin, as high-rye doughs can be difficult to transfer once proofed. Lightly flour your hands and surface, or use a bench scraper, to manage the stickiness.
Step 4: Proofing the Shaped Rye Bread Dough
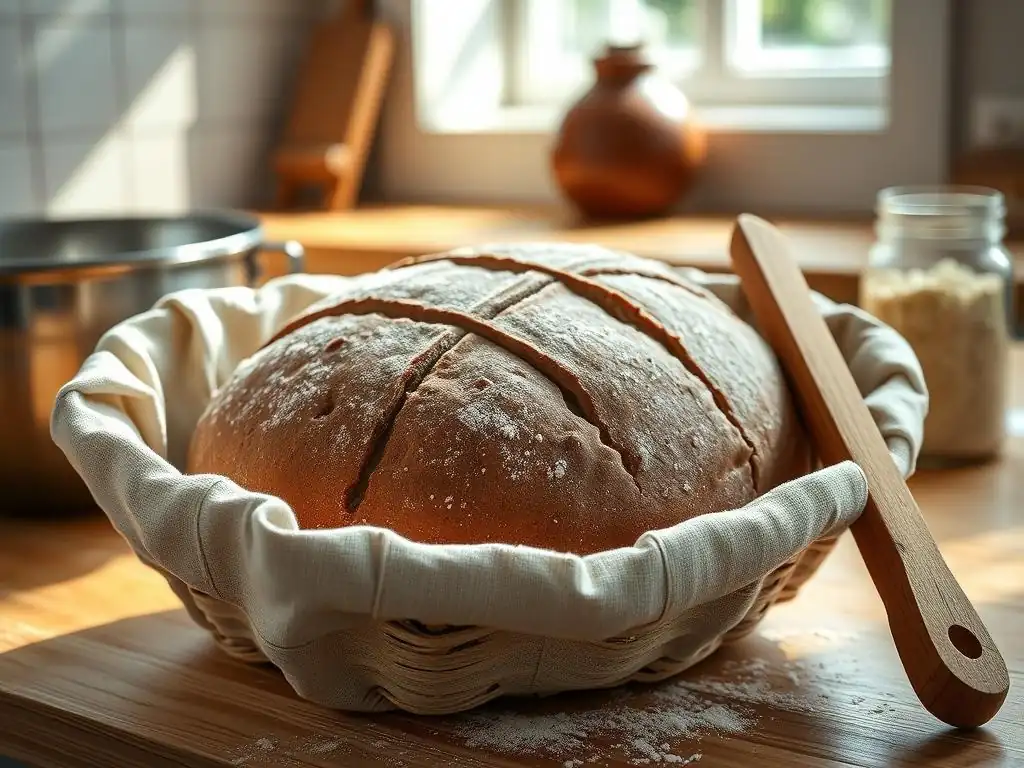
Proofing, the final rise before baking, allows the shaped sourdough starter rye bread loaf to build up enough gas for a good oven spring. Place your shaped dough seam-side up in a well-floured proofing basket (banneton) or seam-side down in a greased baking tin. Cover the dough to prevent a skin from forming. The proofing time and temperature will again depend on your kitchen conditions and the dough itself.
A common approach is to cold proof the dough in the refrigerator for 8-16 hours. Cold proofing slows down fermentation, allowing flavors to deepen, and makes the sticky rye dough easier to handle and score. Alternatively, you can proof at room temperature for 1-3 hours. The dough is ready to bake when it looks visibly expanded and feels light and airy, but still has some resistance when gently poked (the 'poke test'). Over-proofing is a common issue with rye doughs, leading to a loaf that collapses in the oven, so err on the side of slightly under-proofed if unsure.
Step 5: Baking Your Sourdough Rye Bread to Perfection
Baking sourdough starter rye bread requires high heat to achieve a good oven spring and a well-developed crust. Preheat your oven with your baking vessel (like a Dutch oven, baking stone, or baking steel) inside to a high temperature, typically 450-475°F (230-245°C). Baking in a Dutch oven or with steam is highly recommended, especially for loaves containing wheat, as the initial steamy environment allows the crust to expand fully before hardening.
Carefully transfer your proofed loaf to the preheated vessel. Score the top of the loaf with a sharp knife or lame; scoring helps control where the bread expands. Bake covered (or with steam) for the first 20-25 minutes. This initial phase is crucial for oven spring.
Then, remove the lid (or steam source) and continue baking for another 20-30 minutes, or until the crust is a deep brown color and the internal temperature reaches around 200-210°F (93-99°C). The total baking time for a standard loaf is usually 40-55 minutes. Allow the bread to cool completely on a wire rack before slicing; slicing warm rye bread can result in a gummy texture.
Troubleshooting Common Sourdough Rye Bread Issues
Dense and Gummy Rye Bread: Causes and Solutions
One of the most frustrating issues when baking sourdough starter rye bread is ending up with a dense, gummy crumb. This is often caused by a combination of factors related to rye flour's unique properties. Insufficient fermentation is a primary culprit; if the sourdough starter wasn't active enough, or the bulk fermentation and proofing times were too short, the dough won't have developed enough structure or gas to rise properly. The sourdough's acidity is also key to managing rye's pentosans; an underdeveloped starter or fermentation won't provide enough acidity.
Another common cause is slicing the bread before it has cooled completely. Rye bread, especially those with high rye percentages, needs a significant amount of time to cool and for the internal structure to set. Slicing too early traps moisture and results in a gummy texture. To fix this, ensure your starter is vigorous, allow adequate fermentation time (longer and cooler is often better for flavor and structure), and always let the loaf cool fully on a wire rack for several hours, ideally 4-6, before cutting into it.
Preventing a Flat and Spreading Loaf
A loaf of sourdough starter rye bread that spreads out rather than rising upwards during baking can be disappointing. This is frequently due to underdeveloped dough structure or over-proofing. If your recipe includes wheat flour, insufficient gluten development (not enough mixing or stretch-and-folds) means the dough lacks the strength to hold its shape. Even with high-rye doughs, over-proofing can weaken the fragile structure built during fermentation, causing it to collapse under its own weight.
To prevent spreading, ensure adequate structure development for your specific recipe (proper mixing/folding for wheat-based, careful handling for high-rye). Pay close attention during proofing; dough that is ready should still have some firmness when gently poked and not feel completely slack. Using a well-floured proofing basket provides support during the final rise. Baking in a Dutch oven or a loaf tin offers external support during the initial oven spring, helping the loaf hold its shape.
Dealing with Over-Proofed or Under-Proofed Dough
Properly assessing the proofing stage is crucial for sourdough starter rye bread. An over-proofed dough will look very puffy and may even show small bubbles on the surface; when poked, the indentation will remain completely. Baking an over-proofed loaf often results in a lack of oven spring and a flat, dense loaf because the yeast has exhausted itself. If you suspect your dough is slightly over-proofed but not completely collapsed, you can sometimes salvage it by shaping it gently again and giving it a very short final proof (15-30 minutes) before baking at a slightly higher temperature.
Under-proofed dough, on the other hand, will feel dense and spring back quickly when poked. Baking under-proofed dough leads to a very dense crumb, often with large, irregular holes concentrated near the crust and a pale crust color. The loaf might also burst unexpectedly in the oven. If you realize your dough is under-proofed before baking, you can extend the final proofing time at room temperature until it passes the poke test. Learning to recognize the 'feel' of correctly proofed rye dough takes practice, but it's a key skill for successful sourdough starter rye bread.
Tips and Tricks for Mastering Sourdough Rye Bread
Achieving a Crispy Crust on Your Rye Bread
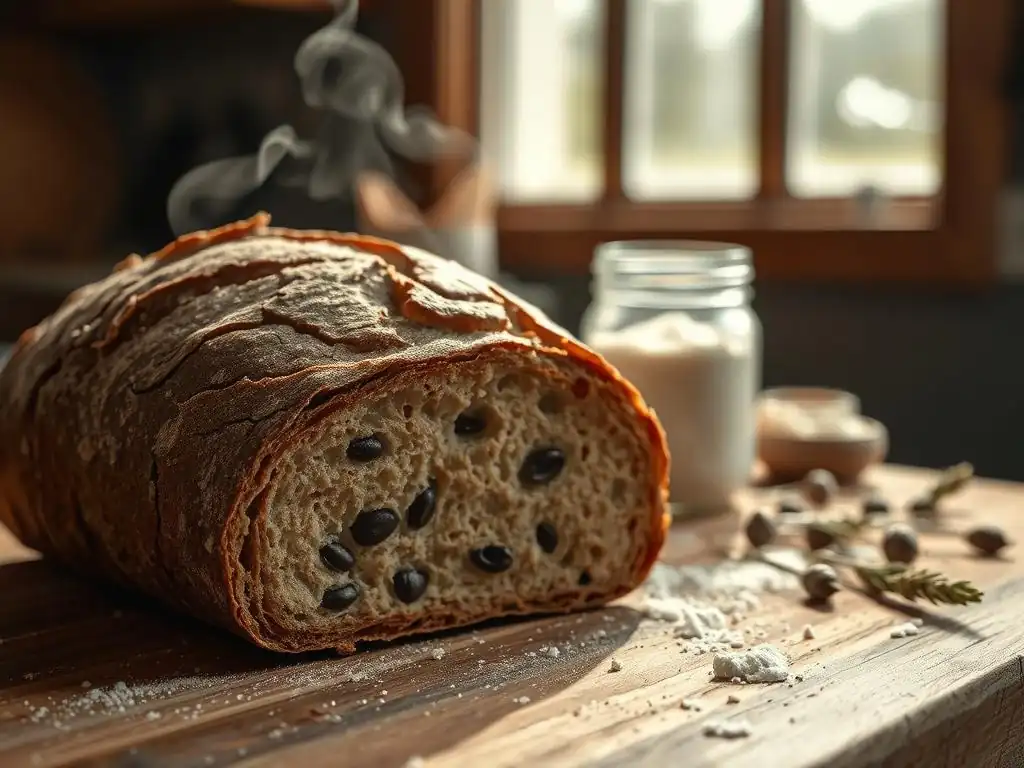
A beautiful, crispy crust is a hallmark of great sourdough starter rye bread. Achieving this requires high heat and moisture in the oven during the initial phase of baking. Baking in a preheated Dutch oven is one of the most effective methods for home bakers, as it traps the steam released by the dough, creating a moist environment similar to a professional steam-injected oven. Preheat the Dutch oven with the lid on to 450-475°F (230-245°C) for at least 30 minutes before loading the bread.
If you don't have a Dutch oven, you can create steam by placing a tray or cast-iron pan on the bottom rack of your oven while it preheats. Just before loading the bread onto a preheated baking stone or steel, carefully pour a cup of hot water into the hot tray to generate steam. Be cautious of the steam.
After the initial steaming period (usually 20-25 minutes), remove the Dutch oven lid or the steam tray to allow the crust to dry out and crisp up for the remainder of the bake. Ensuring the bread is baked thoroughly until the internal temperature is 200-210°F (93-99°C) also helps develop a good crust.
Enhancing the Flavor Profile of Your Sourdough Rye
The flavor of your sourdough starter rye bread is a complex interplay between the rye flour, the sourdough culture, and fermentation time. To deepen the characteristic tang and complexity, consider incorporating a rye levain or preferment. This involves feeding a small amount of your starter with rye flour and water several hours before mixing the main dough, allowing it to become very active and acidic. Using this rye-specific preferment adds a more pronounced rye flavor to the final loaf.
Cold fermentation is another powerful tool for flavor development. After a relatively short bulk fermentation at room temperature (maybe 1-2 hours), transfer the dough to the refrigerator for a slow, cold proofing period of 12-24 hours. The cold temperature slows yeast activity but allows the lactic acid bacteria to continue producing flavorful acids.
Using a higher percentage of dark rye flour will also naturally result in a more intense, earthy flavor compared to using light rye. Adding ingredients like toasted caraway seeds, fennel seeds, or even a touch of molasses or dark beer can further enhance the traditional flavors of sourdough starter rye bread.
Storing Your Sourdough Rye Bread for Maximum Freshness
Proper storage is key to enjoying your homemade sourdough starter rye bread for as long as possible. Once the loaf has cooled completely on a wire rack (this is non-negotiable for texture! ), store it at room temperature.
Avoid refrigerating rye bread, as this can actually speed up the staling process, making the crumb dry and hard. The best way to store a whole or partial loaf is by wrapping it in a linen bread bag, a cotton towel, or placing it cut-side down on a cutting board and covering it with a bowl. These methods allow the crust to breathe while protecting the interior from drying out.
For longer storage, sourdough rye bread freezes exceptionally well. Slice the cooled loaf and place the slices in a freezer-safe bag or container, removing as much air as possible. Frozen slices can be easily thawed individually or toasted directly from frozen. A whole or half loaf can also be wrapped tightly in plastic wrap and then aluminum foil before freezing. Properly stored at room temperature, a sourdough starter rye bread loaf can often stay fresh and delicious for 3-5 days thanks to the natural preserving qualities of the sourdough fermentation.
Exploring Variations: Different Rye Bread Recipes Using Sourdough
Dark Rye Bread with Sourdough Starter: A Deeper Flavor
Dark rye bread made with a sourdough starter is known for its intense, earthy flavor and dense, moist crumb. These recipes often use a high percentage, sometimes even 100%, of whole or dark rye flour. Because dark rye has no gluten and high pentosan content, these doughs are very sticky and behave more like a thick batter or paste than traditional bread dough. They are often mixed with a spoon and simply poured or scraped into a loaf tin rather than shaped freely.
The long, slow fermentation characteristic of sourdough is particularly crucial for dark rye. It helps the sourdough's acidity break down the pentosans, improving the crumb structure and preventing gumminess. Baking times are often longer and at lower temperatures than for wheat loaves (e.g., 350°F or 175°C for over an hour) to ensure the interior is fully cooked. While challenging, mastering dark sourdough starter rye bread yields a deeply satisfying loaf, perfect for open-faced sandwiches or pairing with strong cheeses.
Light Rye Bread with Sourdough Starter: A Milder Option
Light rye bread using a sourdough starter offers a gentler introduction to rye baking. These recipes typically use a blend of light or medium rye flour and a significant percentage of strong wheat flour (often 50-70% wheat). This combination leverages the structure-building capabilities of wheat gluten while still benefiting from the flavor and keeping qualities of the sourdough and the subtle taste of the lighter rye.
The dough for light sourdough starter rye bread is usually easier to handle and shape than high-rye doughs, behaving more like a sticky wheat dough. It allows for traditional shaping and scoring, and often achieves better oven spring and a less dense crumb. The flavor is less intense than dark rye, offering a pleasant tang from the sourdough paired with a mild rye note. This makes it a versatile loaf, great for everyday sandwiches and toast, and a good starting point for those new to baking sourdough starter rye bread.
Adding Seeds and Grains for Texture and Nutrition
Incorporating seeds and grains is a popular way to add texture, flavor, and nutritional value to sourdough starter rye bread. Common additions include caraway seeds (classic! ), sunflower seeds, pumpkin seeds (pepitas), flax seeds, sesame seeds, and whole or cracked rye berries. These can be added directly to the dough during the mixing stage. The amount can vary, but typically ranges from 10% to 30% of the total flour weight.
For a softer texture and easier incorporation, some seeds or grains benefit from being soaked in water (or even hot water) for a few hours before adding them to the dough. This is often called a soaker. For example, cracked rye berries or flax seeds can be soaked until they absorb the water and soften. Adding a soaker introduces extra hydration, which needs to be accounted for in the main dough recipe. Seeds can also be used to coat the outside of the shaped loaf before proofing, adding a crunchy exterior texture to your sourdough starter rye bread.
Conclusion: Enjoying Your Homemade Sourdough Rye Bread
Frequently Asked Questions
What makes sourdough rye bread different from other rye breads?
Sourdough rye bread uses a sourdough starter instead of commercial yeast. This natural fermentation gives it a tangy flavor and often a chewier texture compared to rye breads made with baker's yeast.
Can I use any sourdough starter for rye bread?
Yes, you can! However, a rye flour-fed starter will enhance the rye flavor in your bread. Using a wheat-based starter will still work, but the rye notes will be less pronounced.
What's the best type of rye flour to use in sourdough rye bread?
The best type depends on your preference. Light rye flour results in a milder flavor and lighter color, while dark rye flour gives a stronger flavor and darker color. A blend is also common.
How long should I proof my sourdough rye bread?
Proofing time varies depending on the temperature and activity of your starter. Look for a significant increase in volume and a slightly jiggly texture. Over-proofing can lead to a flat loaf.
My sourdough rye bread is dense. What could be the reason?
Several factors can contribute to a dense loaf. Common causes include using an inactive starter, not developing enough gluten, or over-proofing the dough. Ensure your starter is bubbly and active before using it.
Final Reflection: The Enduring Magic of Sourdough Rye
The humble sourdough starter, a living testament to patience and culinary tradition, unlocks a world of flavor possibilities, none more rewarding than the rich, complex depths of a perfectly crafted rye bread. This isn't just about baking; it's about connecting with a process that has spanned centuries, a process that transforms simple ingredients into something truly extraordinary. The current surge in home baking, fueled by a desire for connection and control over our food, makes mastering sourdough rye more relevant than ever.
The journey of nurturing a starter and using it to create this dense, flavorful bread is a deeply personal one. It's a testament to the power of slow food, a counterpoint to the fast-paced, often impersonal nature of modern life. Bread is the staff of life,
they say, and in the case of sourdough rye, it's a staff imbued with history, patience, and a profound sense of accomplishment. The subtle tang, the satisfying chew, the aroma that fills your kitchen – these are rewards that extend far beyond the simple act of eating.
Consider the possibilities. Imagine the satisfaction of sharing a loaf of your own homemade sourdough rye with friends and family, the pride in presenting something crafted with your own hands and nurtured with your own care. This isn't just a recipe; it's a journey of discovery, a testament to the enduring power of tradition, and a delicious way to connect with something deeper than yourself. Now, take that starter, and let the baking begin.
Unleash the Rye Power of Your Starter!
Thanks for joining us on this sourdough rye adventure! We hope you now feel confident in harnessing the power of your starter to create truly amazing bread. Ready to take your baking to the next level?
- Bake your own glorious rye loaf today! Use the recipe and tips from this article as a springboard—experiment with different flours and techniques to find your perfect rye.
- Share your rye baking journey with our community! Post a photo of your masterpiece on social media using #BakeWithEaseRye. Let's inspire each other.
- Dive deeper into the world of sourdough by exploring other recipes and techniques on our website. Discover the amazing versatility of your starter!
What unique twist will you add to your next rye bread creation? Let us know in the comments below!