
How to Get a Uniform Size for All Your Rolls

Welcome to BakeWithEase, your guide to confident baking! Ever wondered how professional bakeries achieve those perfectly sized bakery rolls every single time? We're about to unlock the secrets! Discover the simple techniques and expert tips that will transform your bread baking, ensuring uniform size and consistent results. Get ready to elevate your rolls from homemade to bakery-worthy – let's get started!
- Bake Consistent Dinner Rolls at Home
- Essential Tools for Sizing Dinner Rolls
- Step-by-Step Guide to Perfectly Sized Dinner Rolls
- Tips and Tricks for Consistent Roll Sizes
- Troubleshooting Common Roll-Sizing Issues
- Enjoy Your Perfectly Sized Dinner Rolls!
- Frequently Asked Questions
- Final Reflection: The Enduring Quest for the Perfect Roll
- Unlock Perfectly Even Rolls Every Time!
Bake Consistent Dinner Rolls at Home
Achieving perfectly sized bakery rolls at home might seem like a challenge, but with the right techniques and tools, it's entirely within reach. Consistent sizing not only makes your dinner rolls look professionally made but also ensures they bake evenly, resulting in a superior texture and flavor in every bite. Whether you're aiming for small, delicate dinner rolls or larger, substantial buns, uniformity is the key to baking success.
This guide will walk you through the essential steps, from preparing your dough to the final bake, focusing on methods that guarantee perfectly sized bakery rolls every time. We'll cover the importance of accurate measurements, proper dough handling, and simple techniques that can transform your home baking results. Get ready to impress your family and friends with consistently beautiful and delicious dinner rolls.
Why Uniform Dinner Rolls Matter
Producing perfectly sized bakery rolls is more than just an aesthetic choice; it significantly impacts the quality of your bake. When rolls are uniform in size and shape, they rise and bake at the same rate. This means you avoid the common problem of some rolls being overbaked and dry while others remain undercooked and doughy on the same baking sheet.
Beyond the practical benefits of even baking, uniform rolls present beautifully. Imagine a basket of perfectly sized bakery rolls at your dinner table – it adds a touch of elegance and care to any meal. This consistency is what sets apart a good baker from a great one, demonstrating attention to detail and mastery of the craft.
The Importance of Consistent Size and Shape for Dinner Rolls
The consistency in size and shape directly influences the baking time and internal temperature achieved by each roll. A batch of rolls with significant size variations might see smaller rolls reaching an internal temperature of 200°F (93°C) and becoming fully baked or even slightly overbaked, while larger rolls are still only at 170°F (77°C) and require more time. This leads to an uneven bake across the batch.
Furthermore, consistent shaping contributes to an even rise during proofing and baking. Rolls that are shaped haphazardly might develop irregularly, leading to dense spots or uneven crust development. For instance, a poorly shaped roll might collapse slightly on one side, affecting its texture and appearance compared to its perfectly shaped counterparts. Aiming for perfectly sized bakery rolls ensures predictability in your baking process.
Essential Tools for Sizing Dinner Rolls
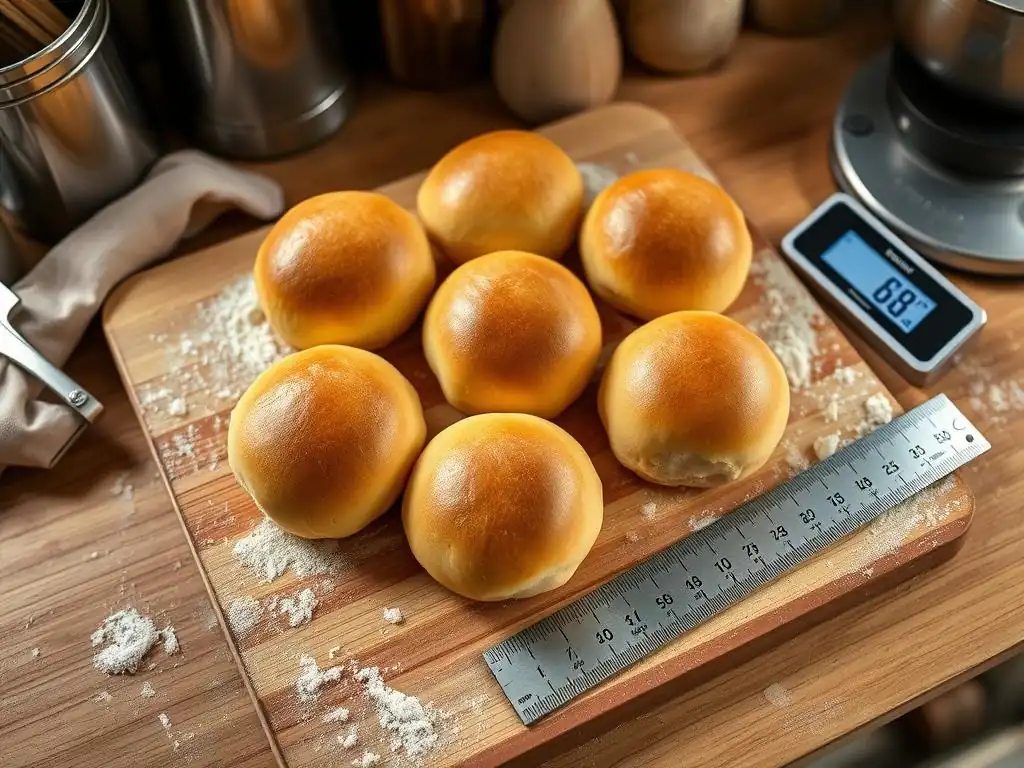
Achieving perfectly sized bakery rolls relies on a few key tools that bring precision to your baking. While experienced bakers might eyeball dough portions with surprising accuracy, using specific instruments removes the guesswork, especially for beginners or when baking large batches. These tools are relatively inexpensive and become indispensable once you incorporate them into your routine.
The two most critical tools for ensuring consistent dinner roll size are a reliable kitchen scale and a sturdy dough scraper. While rolling pins and measuring cups have their place in baking, these two items are paramount when it comes to dividing and portioning dough for uniform results. Investing in quality versions of these tools will significantly improve your baking consistency.
Kitchen Scale: Precise Measurements for Consistent Rolls
A digital kitchen scale is arguably the most important tool for achieving perfectly sized bakery rolls. Measuring ingredients by weight is inherently more accurate than by volume (cups), but weighing dough portions takes this precision a step further. Instead of trying to visually divide a bulk dough into equal pieces, you simply weigh each portion to ensure they are identical.
For example, if your recipe yields 12 dinner rolls and the total dough weight after mixing and kneading is 960 grams, you would divide 960 by 12 to get 80 grams per roll. Using your kitchen scale, you can then weigh out 12 individual dough portions, each weighing exactly 80 grams. This level of accuracy guarantees that each roll starts with the same amount of dough, leading to uniform size after baking. Most standard digital kitchen scales are accurate to within 1-2 grams, which is sufficient for this purpose.
Dough Scraper: Evenly Dividing Dough for Uniform Rolls
A dough scraper, also known as a bench scraper or bench knife, is essential for handling and dividing dough cleanly and efficiently. While you could use a knife, a bench scraper is designed specifically for dough, allowing you to cut through the mass without tearing or stretching it excessively. This is crucial for maintaining the dough's structure and ensuring clean cuts for even portions.
Beyond dividing, a dough scraper is invaluable for gathering dough from your work surface, cleaning up sticky residue, and even transferring delicate dough portions. When dividing dough for perfectly sized bakery rolls, you'll use the scraper to make clean cuts based on the weights measured on your scale. A sharp edge on your scraper helps achieve this with minimal distortion to the dough pieces. They are typically made of stainless steel or plastic, with stainless steel offering better durability and a sharper edge for cutting.
Step-by-Step Guide to Perfectly Sized Dinner Rolls
Achieving perfectly sized bakery rolls involves following a consistent process from start to finish. Each stage, from preparing the dough to the final bake, plays a role in the ultimate uniformity of your rolls. By paying attention to detail at each step, you can significantly improve the consistency of your results.
This step-by-step guide breaks down the process into manageable stages, highlighting the techniques specifically aimed at ensuring uniform size and shape. We'll focus on how to use your tools effectively and implement practices that minimize variations within your batch of dinner rolls.
Step 1: Preparing Your Dough
The foundation of perfectly sized bakery rolls is a well-prepared dough with consistent consistency. Variations in hydration or mixing can lead to dough that is difficult to handle and divide evenly. Ensure you follow your recipe precisely, measuring ingredients accurately, preferably by weight, to achieve the correct dough texture.
Kneading is also crucial. Whether by hand or machine, knead the dough until it reaches the proper development specified in your recipe, usually passing the windowpane test for enriched doughs. Over- or under-kneaded dough can behave unpredictably during dividing and shaping, making it harder to achieve uniformity. Aim for a smooth, elastic dough that is easy to handle but not overly sticky.
Ensuring Consistent Dough Consistency
A consistent dough consistency is vital before you even think about dividing. If parts of your dough are stickier or drier than others, they will weigh the same but behave differently when shaped and baked. This can happen if ingredients aren't mixed thoroughly or if the dough isn't kneaded uniformly.
Ensure all ingredients are fully incorporated and the dough is kneaded to a uniform texture throughout. If using a stand mixer, scrape down the sides and bottom of the bowl occasionally to ensure all ingredients are mixed in. For hand kneading, turn and fold the dough methodically to develop gluten evenly. A dough that feels uniform to the touch is ready for the next step: dividing.
Step 2: Dividing the Dough
This is the most critical step for achieving perfectly sized bakery rolls. Precise division ensures that each roll starts with the exact same amount of dough, eliminating the primary source of size variation. While estimating might work for casual baking, accuracy here is key for uniformity.
Having your kitchen scale and dough scraper ready is essential. You'll work with the bulk dough, carefully portioning it into the predetermined weights. Don't rush this step; taking a few extra minutes here will pay dividends in the final baked product.
Using a Kitchen Scale for Precise Division
After your dough has completed its first rise (bulk fermentation), gently deflate it and turn it out onto a lightly floured surface. Place your kitchen scale nearby. Zero out a bowl or container on the scale, then pinch or cut off a piece of dough. Place the dough piece on the scale and adjust by adding or removing small amounts until the scale displays the target weight for each roll (e.g., 80 grams).
Repeat this process for the entire batch of dough. For instance, if you're making 12 rolls at 80 grams each, you will weigh out 12 individual portions. It's helpful to place the weighed portions on a lightly floured or parchment-lined surface in an organized manner as you work, perhaps in rows or a grid, to keep track of how many you have. This method is far superior to simply cutting the dough into what looks like equal pieces.
Dough Scraper Techniques for Even Sizes
Once you have your bulk dough on the work surface, use your dough scraper to help manage it. If the dough is large, you might first divide it into halves or quarters before weighing. Use the scraper to make clean, decisive cuts through the dough. Avoid sawing back and forth, which can tear the dough.
When weighing, use the scraper to cut off a piece that looks close to your target weight. Place it on the scale and use the scraper or your fingers to pinch off small amounts if it's over, or add a small piece if it's under. The scraper is also useful for gathering any scraps created during the weighing process to incorporate back into the remaining bulk dough before portioning the last few rolls.
Step 3: Shaping Your Rolls
Even with perfectly weighed dough portions, inconsistent shaping can still lead to variations in size and appearance. The goal is to create tight, smooth balls of dough with a sealed bottom. This tension helps the rolls hold their shape and rise evenly during proofing and baking.
There are several techniques for shaping rolls, but the most common involves creating surface tension. Practice is key here; you'll develop a feel for how to create a smooth, taut surface without tearing the dough.
Techniques for Creating Round and Consistent Shapes
One popular method is the "claw" technique: Place a dough portion on a lightly floured surface. Cup your hand around the dough, with your fingertips touching the surface. Gently move your hand in a circular motion, applying slight downward pressure. This action rounds the dough and creates tension on the surface, tucking the edges underneath to form a smooth ball.
Another technique is the "fold and tuck": Flatten the dough portion slightly. Fold the edges towards the center, creating a rough ball shape. Then, flip the dough over so the seam is underneath. Using your hands or the work surface, gently cup the dough and roll it in a circular motion to smooth out the top and seal the bottom seam. Ensure the seam is well-sealed to prevent it from opening during proofing or baking. Consistent shaping is vital for achieving perfectly sized bakery rolls that look and bake uniformly.
Step 4: Proofing Your Rolls
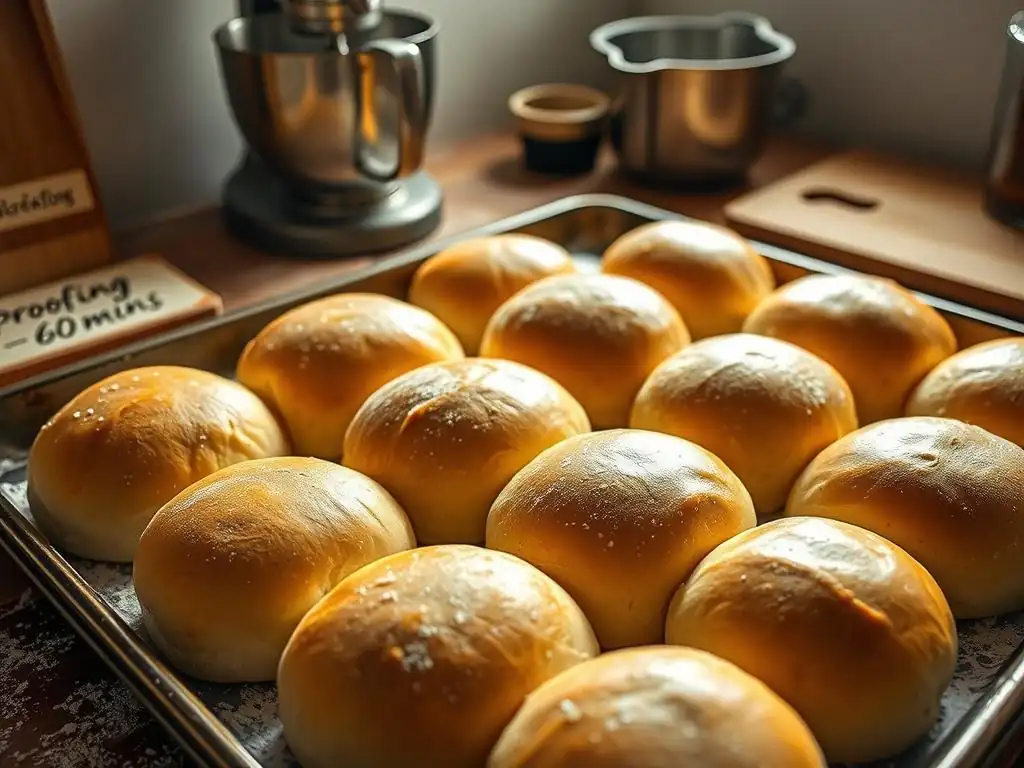
Proofing, the final rise before baking, is another stage where consistency matters. Uniformly sized and shaped rolls will proof at a similar rate when placed in the same environment. Providing the right conditions ensures they all reach the optimal volume and texture before hitting the oven.
The temperature and humidity of the proofing environment play a significant role. Too cold, and proofing will be slow or stalled; too warm, and the rolls might overproof quickly.
The Role of Proofing in Achieving Uniform Texture
Proper proofing allows the yeast to produce gases, expanding the dough and creating the light, airy texture desired in dinner rolls. When rolls are uniform in size and shape, they expand predictably. Placing them in a consistent environment, like a draft-free spot or a proofing box, ensures they all achieve the same level of readiness for baking.
If rolls are proofed unevenly (e.g., some are overproofed and bubbly, others are underproofed and dense), they will not bake uniformly, even if they started at the same weight. Overproofed rolls might collapse in the oven, while underproofed rolls will have a tighter crumb. Aim for rolls that are visibly puffy and have increased in size, but still spring back slowly when gently poked. This indicates they are perfectly proofed and ready for baking, contributing to perfectly sized bakery rolls with consistent texture.
Step 5: Baking Your Rolls
Baking is the final step where all your efforts in precise sizing and shaping come together. An evenly heated oven and correct baking time are essential to ensure all your perfectly sized bakery rolls bake through and develop a consistent crust color.
Placing rolls evenly spaced on a baking sheet is also important to allow hot air to circulate around each one. Overcrowding the pan can lead to uneven baking, with rolls on the edges browning faster than those in the center.
Oven Temperature and Baking Time for Consistent Baking
Preheating your oven thoroughly to the specified temperature is crucial. Most dinner roll recipes call for temperatures between 350°F and 400°F (175°C - 200°C). Using an oven thermometer is highly recommended, as many home ovens can be off by as much as 25-50°F (15-30°C). Baking at the correct temperature ensures the rolls rise properly and the crust develops evenly.
Baking time will vary depending on the size of your rolls and your oven. For average-sized dinner rolls (around 60-80g), baking typically takes 15-25 minutes. Look for a golden brown color and an internal temperature of 190-200°F (88-93°C) using an instant-read thermometer. Since your rolls are perfectly sized, they should all reach this temperature around the same time, ensuring a consistent bake across the entire batch.
Tips and Tricks for Consistent Roll Sizes
Beyond the fundamental steps, a few additional tips and tricks can help you consistently achieve perfectly sized bakery rolls. These insights come from experience and address common challenges bakers face when aiming for uniformity.
Incorporating these practices into your routine can make the process smoother and your results even more reliable. They complement the core techniques of weighing and shaping, adding layers of precision to your baking.
Weighing Dough Portions: The Most Accurate Method
As emphasized earlier, weighing dough portions is the gold standard for achieving consistent size. While visual estimation can improve with practice, it will never be as accurate as using a scale. Even small variations in dough weight (e.g., 5-10 grams difference per roll) can lead to noticeable differences in size after baking.
Make weighing a non-negotiable step in your process when uniformity is a priority. It adds minimal time but significantly boosts consistency. Think of it like measuring flour by weight instead of volume – it's a fundamental shift towards precision baking that yields superior results, especially for perfectly sized bakery rolls.
Visual Cues for Judging Size Without a Scale
While a scale is best, if you find yourself without one, you can improve your visual estimation skills. After dividing dough visually for a batch, try to arrange the portions and compare them. Pick the one that looks average-sized and use it as a benchmark. Then, try to make the other portions match it.
Another technique is to roll the dough into a log after the first rise and then divide the log into equal segments using a ruler or by eye. This is less accurate than weighing but can help create more consistently sized pieces than simply pinching off random chunks. Remember, even with visual cues, expect some variation compared to using a scale for perfectly sized bakery rolls.
Practice Makes Perfect: Honing Your Skills
Like any baking skill, achieving perfectly sized bakery rolls consistently requires practice. Don't be discouraged if your first batch isn't perfectly uniform. Each time you bake, you'll get a better feel for the dough, learn how to handle it more effectively, and improve your shaping techniques.
Keep notes on your process – the total dough weight, target weight per roll, and any challenges you faced. This reflection will help you refine your approach for future batches. Over time, dividing and shaping will become more intuitive, and your ability to produce perfectly sized bakery rolls will significantly improve.
Troubleshooting Common Roll-Sizing Issues
Even when following best practices, you might encounter issues that affect the size and shape of your dinner rolls. Understanding common problems and how to address them can help you salvage a batch or improve your technique for the next bake.
Troubleshooting involves identifying the likely cause of the inconsistency, whether it's related to dough handling, proofing, or baking. Addressing these issues systematically will lead to more reliable results and help you achieve perfectly sized bakery rolls more consistently.
Rolls Baking Unevenly: Addressing Size Variations
If your rolls are baking unevenly – some are dark brown and done, while others are pale and need more time – the primary culprit is likely significant size variations before baking. Smaller rolls will always bake faster than larger ones.
- Solution: Go back to Step 2 (Dividing the Dough) and focus on precise weighing. Ensure each dough portion is within a few grams of the target weight. If you didn't weigh, commit to using a scale for your next batch. Also, check your oven for hot spots using an oven thermometer and rotate your baking sheet halfway through the baking time to promote even browning.
Dough Too Sticky or Dry: Adjusting for Easier Handling
Dough consistency significantly impacts how easily you can divide and shape it uniformly. Very sticky dough is hard to handle without adding excessive flour, which can change the hydration and make rolls denser. Dry dough can be crumbly and difficult to form into smooth balls.
- Solution: If dough is too sticky after mixing, knead in a small amount of flour (a tablespoon at a time) until it's manageable but still soft. If it's too dry, knead in a tiny amount of water. Ensure you measure ingredients accurately from the start, ideally by weight, to prevent these issues. Proper dough consistency makes achieving perfectly sized bakery rolls much simpler.
Dense or Flat Rolls: Addressing Proofing and Baking Issues
Sometimes rolls might look uniformly sized before baking but end up dense or flat, losing their shape and affecting their final size and texture. This is often related to proofing or baking issues, rather than the initial dough division size.
- Solution: Dense rolls can result from underproofing or underbaking. Ensure your rolls are fully proofed (puffy and spring back slowly when poked) before baking. Use an oven thermometer to confirm your oven temperature is correct and bake until the internal temperature reaches 190-200°F (88-93°C). Flat rolls can be caused by overproofing (leading to collapsed structure) or insufficient shaping (not creating enough surface tension). Ensure you don't let rolls proof too long and practice your shaping techniques to create tight balls.
Enjoy Your Perfectly Sized Dinner Rolls!
Congratulations on mastering the techniques for creating perfectly sized bakery rolls! The effort you put into precise weighing, careful shaping, and consistent baking has resulted in a batch of beautiful, uniform rolls that are ready to be enjoyed. The satisfaction of pulling a tray of consistently golden-brown, perfectly shaped rolls from the oven is immense.
These uniformly sized rolls not only look professional but also offer a delightful eating experience, knowing that each one has the same wonderful texture and crust. Share them with pride, knowing you've elevated your home baking skills.
Serving Suggestions and Recipe Ideas
Perfectly sized bakery rolls are incredibly versatile. Serve them warm with butter as a classic accompaniment to dinner. Their uniform size makes them ideal for sliders – simply slice them horizontally and fill with your favorite meats, cheeses, or vegetables.
Use them to make mini sandwiches for picnics or parties. Their consistent size also makes them excellent for bread baskets at gatherings. Experiment with different recipes – from classic white dinner rolls and soft potato rolls to slightly sweet brioche buns or whole wheat options. The techniques for achieving uniform size apply to almost any roll recipe, ensuring your perfectly sized bakery rolls are always a hit.
Frequently Asked Questions
How important is uniform size when baking rolls?
Uniform size is crucial for even baking. Rolls of the same size will bake at the same rate, preventing some from being overcooked while others are undercooked.
What's the best tool to measure dough for perfectly sized bakery rolls?
A kitchen scale is the most accurate tool. It allows you to weigh each portion of dough, ensuring each roll is the exact same weight and, therefore, size.
Can I achieve uniform size without a kitchen scale?
Yes, you can! Use a dough scraper to divide the dough into roughly equal portions. Then, visually compare the portions and adjust to get them as close in size as possible.
What happens if my rolls aren't perfectly uniform in size?
Slight variations are usually fine. However, significant size differences can lead to uneven baking and inconsistent texture. The larger rolls may be doughy inside, while the smaller ones might be burnt.
What are some tips for shaping rolls after dividing the dough?
Shape each portion into a tight ball. Use consistent pressure and motion to ensure all rolls have a similar shape and density. This contributes to uniform baking and appearance.
Final Reflection: The Enduring Quest for the Perfect Roll
The pursuit of the perfectly sized bakery roll is more than just a culinary quest; it's a reflection of our desire for consistency, precision, and ultimately, a satisfying experience. From the artisan baker meticulously shaping each roll to the home cook striving for uniform results, the quest for consistent sizing speaks to a deeper human need for order and predictability in a world often characterized by chaos. This seemingly simple act of achieving uniform size holds a surprising amount of significance.
The impact of perfectly sized rolls extends beyond the individual baker or consumer. It speaks to a broader cultural appreciation for craftsmanship and attention to detail. The visual appeal of a tray of evenly sized rolls is undeniable, hinting at the care and skill involved in their creation. This resonates with our innate appreciation for aesthetics and quality. The details are not the details. They make the design.
– Charles Eames. This quote perfectly encapsulates the importance of seemingly small details, like roll size, in achieving overall excellence.
Now, consider your own baking journey. Perhaps you've struggled with inconsistent sizing, leading to uneven baking and frustration. But remember, the journey towards perfection is a process of learning and refinement. I encourage you to embrace the challenge, to experiment with the techniques outlined in this article, and to find joy in the small victories along the way. The perfectly sized roll isn't just a goal; it's a testament to your dedication and skill, a delicious reward for your efforts, and a symbol of the satisfying precision you can achieve in any endeavor.
Unlock Perfectly Even Rolls Every Time!
Thanks for taking the time to learn how to achieve consistently sized rolls! You've now got the baking knowledge to create beautiful, uniform loaves. Ready to put your new skills into action?
- Bake a batch of perfectly sized rolls using your newfound technique – and watch your family's faces light up!
- Share your baking triumph on social media using #BakeWithEasePerfectRolls – let's inspire other bakers!
- Challenge yourself by trying a new roll recipe – and let us know how your perfectly sized creations turn out in the comments below!
What innovative roll shapes will you create with your perfectly even dough?