
Upgrading from a Hand Mixer? Why a Stand Mixer is a GameChanger

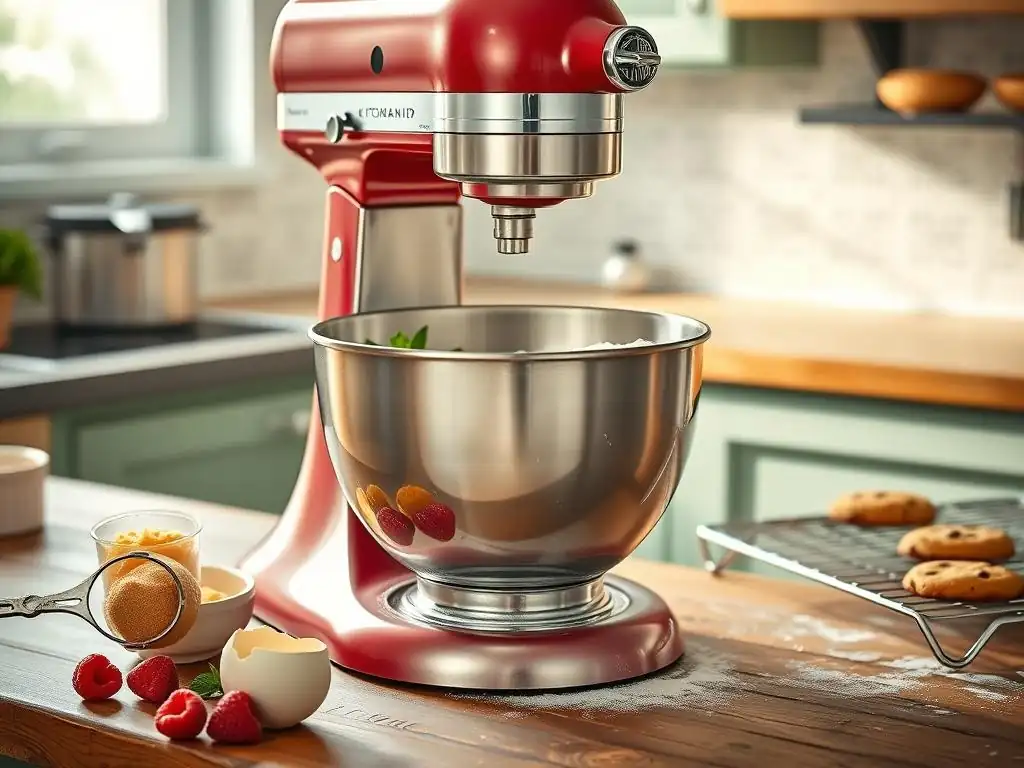
Welcome to BakeWithEase, your trusted guide to effortless baking! Thinking about taking your baking to the next level? This guide dives into the world of stand mixers, offering essential stand mixer beginner tips that will transform your approach to everything from delicate meringues to perfectly kneaded dough. Discover why upgrading from a hand mixer is a game-changer and unlock a whole new world of baking possibilities... Are you ready to elevate your creations?
- Upgrading to a Stand Mixer: A Baker's Perspective
- Is a Stand Mixer Right for You? Evaluating Your Baking Needs
- Stand Mixer Advantages: Exploring the Benefits
- Choosing a Stand Mixer: A Guide to Selection Criteria
- Stand Mixer Recommendations: Comparisons and Key Features
- Stand Mixer Usage: Tips and Techniques
- Maintenance and Storage: Keeping Your Mixer in Top Shape
-
Frequently Asked Questions
- What are the main advantages of using a stand mixer over a hand mixer, especially for beginners?
- Is a stand mixer a worthwhile investment if I'm just starting out with baking?
- What are some common mistakes beginners make when using a stand mixer?
- Can I use the same recipes with a stand mixer that I used with my hand mixer?
- What are some essential accessories or attachments I should consider getting for my stand mixer as a beginner?
- Final Reflection: The Joy of Kneading: More Than Just a Kitchen Gadget
- Unleash Your Inner Baker: Take the Next Step!
Upgrading to a Stand Mixer: A Baker's Perspective
Is a Stand Mixer Right for You? Evaluating Your Baking Needs
Baking Volume: Hand Mixer vs. Stand Mixer
When you first start baking, a hand mixer often seems sufficient. It's compact, relatively inexpensive, and handles tasks like whipping cream or mixing a small batch of cookies fairly well. However, as your passion for baking grows, you might find yourself attempting larger recipes or more challenging doughs.
This is where the limitations of a hand mixer become apparent. Imagine needing to whip 6-8 egg whites for a large meringue or trying to mix batter for a quadruple batch of cupcakes for a party; a hand mixer requires you to hold it constantly, and its motor may struggle with the volume and consistency, leading to uneven results or even overheating.
A stand mixer, on the other hand, is built for volume and endurance. Its powerful motor and stable base allow it to handle significant quantities of ingredients effortlessly. Kneading dough for two large loaves of rustic bread, mixing thick brownie batter for a party-sized pan, or whipping a gallon of cream is well within the capabilities of most stand mixers.
This capacity difference is a primary reason enthusiastic bakers consider the upgrade, enabling them to scale up recipes and tackle ambitious projects without the physical strain and technical limitations imposed by a hand mixer. It's a key element when considering stand mixer beginner tips for those moving beyond basic baking.
Recognizing the Limitations of Your Hand Mixer
Beyond just volume, hand mixers have inherent limitations in power and consistency, especially for heavier tasks. Trying to knead bread dough with a hand mixer is often a frustrating and ineffective endeavor. The dough will wrap around the beaters, strain the motor, and you'll likely end up needing to finish the kneading by hand anyway. Similarly, achieving perfectly stiff peaks for meringue or consistently emulsified mayonnaise can be challenging; maintaining the correct angle and speed while holding the mixer steady is difficult, leading to variable results.
Furthermore, the physical effort required to operate a hand mixer for extended periods can be tiring. Whipping cream for several minutes or mixing a dense batter leaves your arm fatigued.
This can detract from the joy of baking, turning challenging recipes into chores. Recognizing these points – difficulty with heavy doughs, inconsistency in delicate mixtures, and physical strain during prolonged use – is a clear sign that you may have outgrown your hand mixer and are ready to explore the benefits of a stand mixer, which offers significant advantages for tackling these very issues, providing helpful stand mixer beginner tips for new users.
Why a Stand Mixer is a Valuable Addition for Enthusiastic Bakers
For those who bake regularly, experiment with different types of recipes (especially breads and pastries), or bake for larger groups, a stand mixer isn't just a convenience; it's a transformative tool. It automates the most labor-intensive mixing tasks, freeing up your hands and energy. This allows you to focus on other aspects of the baking process, like preparing pans, measuring ingredients, or cleaning as you go. The power and stability of a stand mixer ensure that even the toughest doughs are kneaded properly and batters are mixed uniformly every time.
Moreover, a stand mixer opens up a world of baking possibilities that are difficult or impossible with a hand mixer alone. With the right attachments, you can not only mix and knead but also make pasta, grind meat, stuff sausages, spiralize vegetables, and much more, though the core benefit for baking remains paramount. For enthusiastic home bakers looking to improve their technique and expand their repertoire, investing in a stand mixer is a logical next step that significantly enhances capability and enjoyment, providing a solid foundation for applying stand mixer beginner tips to a wider range of recipes.
Stand Mixer Advantages: Exploring the Benefits
Hands-Free Mixing: Time Efficiency and Multitasking
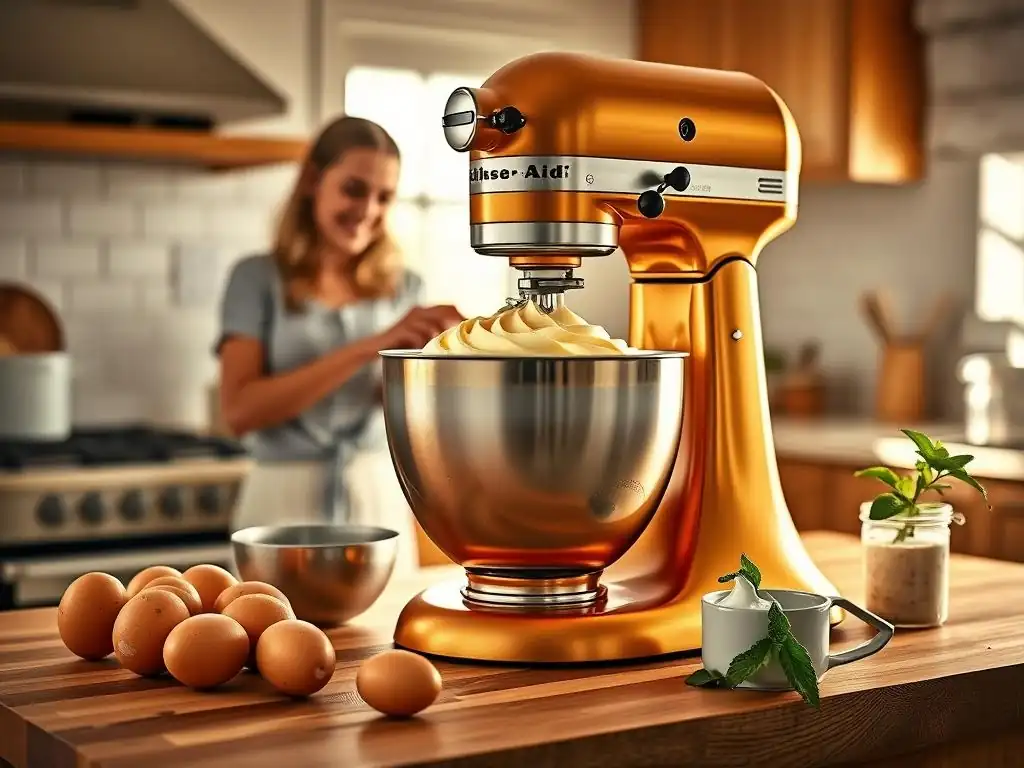
One of the most immediate and significant advantages of a stand mixer is the hands-free operation it provides. Once you've added your ingredients and turned the mixer on, it performs the mixing task independently. This is a stark contrast to a hand mixer, which requires constant attention and physical effort.
Imagine a recipe that calls for beating eggs and sugar for 8-10 minutes; with a hand mixer, that's 8-10 minutes of holding the mixer steady. With a stand mixer, you simply set the speed and let it work while you grease pans, measure the next ingredients, preheat the oven, or even start on the washing up.
This ability to multitask dramatically improves efficiency in the kitchen. You can move through recipes more quickly and with less stress, especially for complex bakes involving multiple steps or components. For anyone seeking stand mixer beginner tips to simplify their baking process, understanding the value of this hands-free capability is crucial. It transforms the baking experience from a single, demanding task into a more fluid process where different activities can happen concurrently, making ambitious recipes feel much more approachable.
Consistent Results: Achieving Uniform Batters and Doughs
Consistency is key in baking, and a stand mixer excels at providing it. Because the bowl and the mixing attachment are fixed in relation to each other, and the motor provides consistent power, the mixing action is uniform throughout the process. This ensures that all ingredients are incorporated evenly, leading to homogenous batters free of dry pockets or unmixed clumps. For instance, when making a cake batter, uniform mixing results in a fine, even crumb structure.
For doughs, especially bread doughs requiring significant kneading, a stand mixer develops gluten far more effectively and consistently than hand kneading or using a hand mixer. The dough hook attachment works the dough against the side of the bowl, stretching and folding it repeatedly to build a strong gluten network. This consistent kneading process is vital for achieving light, airy bread with good volume and texture. For those learning stand mixer beginner tips, mastering the correct mixing times and speeds on a stand mixer is a straightforward path to consistently reliable baking outcomes.
Versatility: Expanding Baking Capabilities with Attachments
While the core function of a stand mixer is mixing, its true versatility comes from the range of attachments available. Most stand mixers come standard with three primary attachments, each designed for specific tasks: a dough hook, a wire whip, and a paddle attachment. Understanding how to use these is essential for stand mixer beginner tips. Beyond these, many models offer power hubs that can connect dozens of optional accessories, transforming the mixer into a multi-purpose kitchen machine, but for baking purposes, the standard attachments are the most frequently used and most beneficial.
Dough Hook for Bread: Mastering Homemade Bread
The dough hook is specifically designed for kneading yeast doughs, such as those for bread, pizza, and pasta. Its shape varies slightly between manufacturers (some are C-shaped, others spiral), but the function is the same: to grab, stretch, and fold the dough against the sides of the bowl. This action mimics hand kneading but is far more efficient and less strenuous.
Using the dough hook on a stand mixer allows you to easily develop the gluten structure necessary for well-risen, chewy bread. A typical kneading time for many bread recipes in a stand mixer is around 6-10 minutes on a low to medium-low speed, which is significantly faster and more effective than the 15-20 minutes often required for hand kneading. Mastering the dough hook is a fundamental skill for any baker looking to delve into the world of homemade bread using their stand mixer.
Wire Whip for Meringues: Achieving Light and Airy Meringues
The wire whip, also known as a whisk attachment, is designed to incorporate air into mixtures. It's indispensable for tasks like whipping egg whites for meringues, soufflés, or macarons, whipping heavy cream for toppings or fillings, and making light, airy batters like sponge cake or angel food cake.
Achieving stiff, glossy peaks for meringue requires consistent high-speed whipping, which is difficult to sustain with a hand mixer without tiring your arm or causing the mixture to collapse. A stand mixer can maintain a steady high speed for the necessary duration, ensuring optimal volume and stability. For stand mixer beginner tips focused on delicate tasks, learning to use the whisk attachment correctly is key to achieving professional-looking results in recipes relying on aeration.
Paddle Attachment for Cookies: Perfecting Cookie Dough
The paddle attachment, also called the flat beater, is the workhorse attachment for most general mixing tasks. It's used for creaming butter and sugar, mixing cake batters, muffin batters, quick breads, and most famously, cookie dough. Its design allows it to thoroughly mix ingredients without incorporating too much air or developing gluten unnecessarily.
When making cookies, using the paddle attachment to cream butter and sugar incorporates just enough air to give cookies lift and texture, while mixing in flour and other dry ingredients efficiently without overmixing, which can lead to tough cookies. It's also excellent for combining ingredients for frostings or mashed potatoes. For newcomers seeking stand mixer beginner tips, the paddle attachment will likely be the most frequently used tool for everyday baking tasks like cookies and cakes.
Choosing a Stand Mixer: A Guide to Selection Criteria
Buying your first stand mixer is an exciting step, but with many options available, it can feel overwhelming. Considering a few key factors will help you choose the right model for your needs and budget. Thinking about these criteria is an important part of gathering practical stand mixer beginner tips before making a purchase.
Budget: Finding the Right Mixer within Your Price Range
Stand mixers represent a significant investment compared to hand mixers, with prices ranging from under $100 to well over $600. Setting a budget upfront helps narrow down your options. It's important to balance cost with performance and durability, as a cheaper mixer that can't handle the tasks you need it for isn't a good value in the long run.
Entry-Level Options: Stand Mixers Under $300
In the under $300 range, you'll find smaller capacity mixers, often with bowl sizes around 4.5 to 5 quarts, and motors typically in the 250-350 watt range. These are suitable for small households or bakers who primarily make cookies, cakes, and occasional light bread doughs. Brands like Hamilton Beach, Cuisinart, and some KitchenAid Classic models fall into this category.
While they offer the basic benefits of hands-free mixing, they may struggle with very stiff doughs or large batches compared to more powerful models. They are a good starting point for those specifically looking for stand mixer beginner tips on an entry-level machine.
Mid-Range Mixers: Balancing Performance and Price
The $300-$500 range is where you'll find many popular models that offer a good balance of performance, features, and durability. This includes many KitchenAid Artisan models (often 5-quart bowls, 325 watts) and mixers from brands like Breville or higher-end Cuisinart models. These mixers generally have more robust construction, more powerful motors (often 300-500 watts), and larger capacity bowls (5-6 quarts), making them capable of handling more frequent use, larger batches, and tougher doughs like bread dough with greater ease. This range is often the sweet spot for enthusiastic home bakers.
High-End Mixers: Investing in Durability and Power
Mixers priced over $500 typically offer the highest capacity, most powerful motors (often 500 watts and up), and most durable construction, designed for frequent, heavy-duty use. Brands like Bosch, Ankarsrum, and larger KitchenAid Pro Line models fall into this category, often featuring bowl-lift designs and capacities from 6 quarts upwards. These are ideal for serious bakers who make large quantities, frequently bake multiple loaves of bread, or use their mixer for a wide variety of tasks beyond typical baking. While a significant investment, they are built to last and perform reliably under demanding conditions.
Key Features to Consider
Beyond budget, several features differentiate stand mixer models and impact their suitability for your baking habits. Evaluating these features is crucial when gathering stand mixer beginner tips before purchasing your first machine.
Bowl Size: Matching Capacity to Your Baking Needs
Stand mixer bowl sizes are typically measured in quarts and range from about 3.5 quarts for compact models up to 8 quarts or more for professional-style mixers. A 4.5 to 5-quart bowl is generally sufficient for a small family or occasional baker, capable of handling standard recipes like a batch of 3-4 dozen cookies or dough for 1-2 loaves of bread.
If you frequently bake large batches, entertain often, or make multiple loaves of bread at once, a 6-quart or larger bowl would be more appropriate. Keep in mind that maximum capacity ratings are often for lighter tasks like whipping cream; the capacity for heavy bread dough is usually less. Consider the typical volume of your recipes to choose a bowl size that won't be constantly overflowing or too large for small tasks.
Motor Power: Ensuring Sufficient Power for Various Recipes
The wattage of a stand mixer's motor is a key indicator of its power, although design and gearing also play a significant role. Lower wattage motors (under 300W) are fine for light mixing and whipping but may struggle or overheat when kneading stiff bread dough or mixing thick batters.
Motors in the 300-500 watt range offer a good balance for most home baking tasks, including regular bread making. Higher wattage motors (500W+) are found in heavy-duty mixers designed to handle large volumes of tough doughs without strain. If you plan to bake bread regularly or make large batches, opting for a mixer with a more powerful motor (ideally 300W or higher, with 400W+ being preferable for frequent bread baking) is a wise choice for long-term performance and durability.
Speed Settings: Achieving Precise Mixing Control
Most stand mixers offer multiple speed settings, typically ranging from a low "stir" speed to a high "whip" speed. The number of speeds varies by model, often between 6 and 12. More speed settings allow for greater control over the mixing process. A very low speed is essential for gently incorporating dry ingredients without creating a cloud of flour or overdeveloping gluten. Medium speeds are used for creaming and mixing batters. High speeds are for whipping air into egg whites or cream.
Having a range of speeds enables you to follow recipes more precisely and adapt the mixing process based on the ingredients and desired outcome. For stand mixer beginner tips, starting on low speeds and gradually increasing is generally recommended to prevent splashing and ensure ingredients are properly combined before vigorous mixing.
Tilt-Head vs. Bowl-Lift: Understanding Design Differences
Stand mixers come in two main designs: tilt-head and bowl-lift. In a tilt-head model, the head of the mixer tilts back to allow easy access to the bowl and attachment. These are generally smaller, less expensive, and suitable for lower capacities (typically 4.5-5.5 quarts). They are often preferred for home use due to their compact size and ease of adding ingredients.
Bowl-lift models have a stationary head, and the bowl is raised into the mixing position by a lever. This design is more common in larger, heavy-duty mixers (typically 5.5 quarts and up) as it provides greater stability and support for mixing large, heavy batches of dough. While access to the bowl might be slightly less convenient than a tilt-head, their robustness makes them the preferred choice for serious bread bakers and those needing maximum capacity. Consider your typical batch size and counter space when deciding between these two designs as part of your stand mixer beginner tips research.
Stand Mixer Recommendations: Comparisons and Key Features
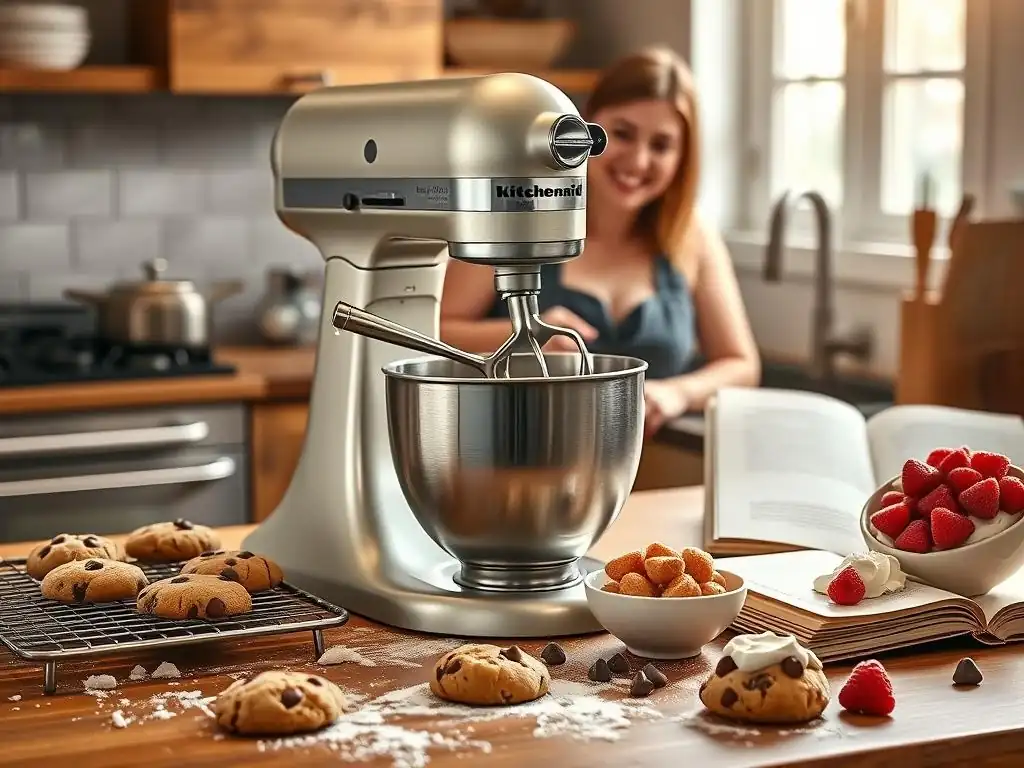
While many brands make stand mixers, a few are consistently popular and well-regarded by home bakers. Comparing some common models can help illustrate the differences in features and target users.
KitchenAid Artisan Series: A Popular Choice
The KitchenAid Artisan series is arguably the most iconic and popular stand mixer line for home bakers. Known for its distinctive design, wide range of colors, and robust construction, the Artisan typically features a 5-quart stainless steel bowl and a 325-watt motor. It uses a tilt-head design and offers 10 speed settings. It comes standard with a flat beater, wire whip, and dough hook.
Pros: Durable, Versatile, Wide Color Selection
KitchenAid mixers are renowned for their durability; many bakers report using theirs for decades. The Artisan model is versatile enough for most home baking tasks, from whipping cream to kneading bread dough (though heavy, frequent bread baking might challenge the motor over time). A major draw is the extensive range of colors available, allowing it to be a stylish addition to any kitchen.
Furthermore, the power hub is compatible with a vast array of optional attachments (pasta makers, grinders, etc. ), significantly expanding its functionality beyond basic mixing. This versatility is a key aspect for those seeking comprehensive stand mixer beginner tips.
Cons: Premium Price
The primary drawback of the KitchenAid Artisan is its price point, which is typically in the mid-to-high range ($300-$500+ depending on sales and specific model variations). While the quality justifies the cost for many, it represents a significant investment compared to entry-level mixers. Some users also find the 325W motor, while sufficient for most tasks, can strain with very stiff, large batches of dough.
Bosch Universal Plus: High Capacity for Large Batches
Less common in North America than KitchenAid but highly regarded, especially by serious bread bakers, is the Bosch Universal Plus. It features a unique design with a motor located beneath the bowl and uses a central column for attachments. It boasts an impressive 6.5-quart capacity and a powerful 800-watt motor.
Pros: Powerful Motor, Large Capacity, Excellent Kneading
The Bosch Universal Plus is a powerhouse, particularly excelling at kneading large quantities of dough. Its design and powerful motor handle multiple loaves of heavy bread dough with ease, making it a favorite for prolific bread bakers. The large bowl capacity is ideal for big batches of cookies, cakes, or meringues. Its kneading action is often praised for developing gluten exceptionally well. For stand mixer beginner tips focused on bread making, the Bosch is often highlighted for its capability.
Cons: Bulky Design
The unique design of the Bosch Universal Plus, while functional, is quite different from traditional stand mixers and can appear bulky. Some users find the central column slightly less convenient for scraping down the sides of the bowl compared to a tilt-head or standard bowl-lift design. The range of colors and optional attachments is also typically less extensive than KitchenAid.
Smeg Stand Mixer: Stylish and Functional
The Smeg stand mixer stands out primarily for its distinctive retro design, fitting seamlessly into kitchens with other Smeg appliances. It typically features a 4.8-quart stainless steel bowl and a 600-watt motor. It uses a tilt-head design and offers 10 variable speeds.
Pros: Retro Design, Good Performance, User-Friendly
The undeniable appeal of the Smeg mixer is its aesthetics; it's a statement piece on the counter. Beyond looks, it offers solid performance for typical home baking tasks with its reasonably powerful 600W motor and user-friendly tilt-head design. It handles batters, creams, and moderate amounts of dough effectively. Its controls are intuitive, making it easy for newcomers applying stand mixer beginner tips.
Cons: Limited Attachments Compared to KitchenAid
While Smeg offers standard attachments (whisk, paddle, dough hook) and some optional accessories, the ecosystem of compatible attachments is significantly smaller than KitchenAid's. If you anticipate wanting to use your stand mixer for tasks like making pasta or grinding meat with manufacturer-specific attachments, the Smeg might be less versatile in that regard compared to competitors with broader attachment ranges.
Stand Mixer Usage: Tips and Techniques
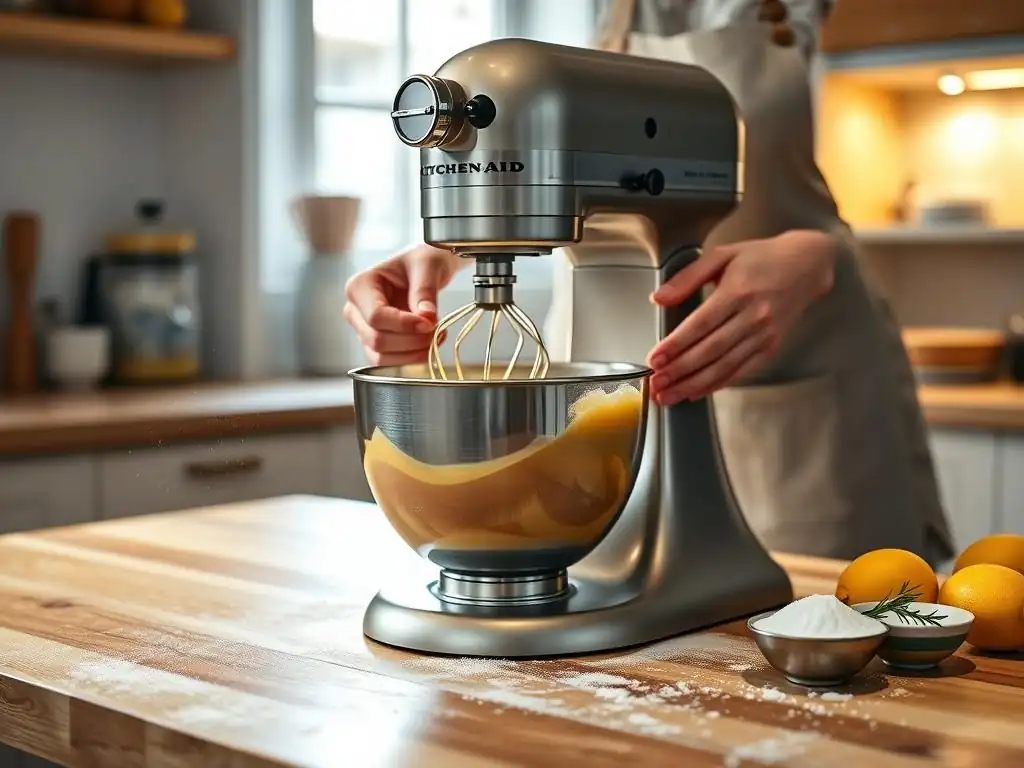
Getting a stand mixer is just the first step; learning how to use it effectively is key to maximizing its potential, especially for beginners. Here are some essential stand mixer beginner tips to get you started.
Attachment Usage: A Practical Guide
Knowing which attachment to use for which task is fundamental.
- Paddle Attachment: Use this for creaming butter and sugar, mixing cake batters, cookie doughs, quick breads, and frostings. Start on a low speed to combine ingredients, then increase to medium speed for creaming (typically 2-3 minutes until light and fluffy) or mixing batters.
- Wire Whip: Use this for whipping egg whites, heavy cream, and light batters like sponge cake. Start on medium-low speed until the mixture is foamy, then gradually increase to high speed. Watch closely to avoid over-whipping.
- Dough Hook: Use this for kneading yeast doughs like bread, pizza, or pasta. Always use a low speed (typically speed 2 on most mixers) to knead. Higher speeds can strain the motor and cause the mixer to walk on the counter. Knead until the dough is smooth and elastic, usually 6-10 minutes depending on the recipe and mixer.
It's helpful to scrape down the sides and bottom of the bowl occasionally with a spatula while mixing, especially with the paddle attachment, to ensure all ingredients are fully incorporated.
Avoiding Common Errors: Optimizing Performance
Even with a powerful stand mixer, mistakes can happen.
- Overmixing: This is a common error, particularly when adding flour. Once flour is added to batters or doughs, mix just until combined on a low speed. Overmixing develops too much gluten in cakes and muffins, resulting in a tough texture. For cookies, overmixing after adding flour can also lead to less tender results.
- Using the Wrong Speed: As mentioned, using too high a speed for kneading dough can damage the mixer. Using too low a speed for whipping won't incorporate enough air. Refer to your mixer's manual and recipe instructions for recommended speeds.
- Ignoring Mixer Capacity: Trying to mix a batch of dough that exceeds your mixer's recommended capacity for heavy mixtures can strain the motor and lead to poor results. Always check your manual for capacity guidelines, especially for bread dough.
- Not Scraping the Bowl: Ingredients can stick to the sides or bottom of the bowl, not getting fully mixed into the main batter or dough. Periodically stopping the mixer and scraping down the bowl ensures everything is incorporated evenly. This is a simple but effective stand mixer beginner tip.
Maintenance and Storage: Keeping Your Mixer in Top Shape
Proper care and storage will ensure your stand mixer lasts for many years, protecting your investment.
Cleaning Techniques: Ensuring Longevity
Always unplug your mixer before cleaning. The bowl and attachments (paddle, whisk, dough hook) are often dishwasher safe, but checking your manual is essential. For sticky dough residue or dried batter, soaking the bowl and attachments in warm, soapy water before washing can make cleaning easier.
The mixer body itself should be wiped down with a damp cloth. Avoid getting water into the motor vents or the power hub. Clean the area where the attachment connects to the mixer head, removing any food debris. Clean spills immediately to prevent them from hardening. For attachments that are not dishwasher safe (some older wire whips have aluminum parts that can discolor), wash them by hand and dry them thoroughly to prevent rust or corrosion. Regular cleaning after each use is the best way to maintain your mixer.
Storage: Protecting Your Investment
Store your stand mixer in a cool, dry place. If you have limited counter space, consider where you will store it when not in use – its weight and size mean it's not easily moved in and out of low cabinets. Ensure the power cord is neatly wrapped and not dangling where it could be tripped over or damaged.
Protecting the mixer from dust is also important; many companies sell custom-fit covers, or a simple cloth cover can work. Store attachments clean and dry, either in the bowl itself or in a dedicated drawer or container. Proper storage prevents dust and damage, keeping your mixer ready for your next baking adventure. Caring for your machine is as important as learning stand mixer beginner tips for using it!
Frequently Asked Questions
What are the main advantages of using a stand mixer over a hand mixer, especially for beginners?
A stand mixer provides hands-free operation, allowing you to focus on other tasks while it mixes. It also offers more power and consistency for better results, particularly with heavier doughs and batters. Finally, stand mixers offer versatility with attachments.
Is a stand mixer a worthwhile investment if I'm just starting out with baking?
While a hand mixer is sufficient for simple tasks, a stand mixer is a significant upgrade if you plan to bake regularly. It saves time and effort, helping you achieve professional-quality results even as a beginner.
What are some common mistakes beginners make when using a stand mixer?
Overmixing is a frequent issue, leading to tough or dense baked goods. Also, forgetting to scrape down the bowl sides results in uneven mixing. Finally, using the wrong attachment can negatively impact the batter or dough.
Can I use the same recipes with a stand mixer that I used with my hand mixer?
Yes, you can generally adapt hand mixer recipes for a stand mixer. However, pay attention to mixing times – stand mixers are more powerful, so you may need to reduce mixing time. Also, monitor the batter's consistency closely.
What are some essential accessories or attachments I should consider getting for my stand mixer as a beginner?
The paddle attachment is crucial for creaming butter and sugar. A dough hook is essential for bread making. A whisk attachment is great for achieving light and airy mixtures like whipped cream or meringue.
Final Reflection: The Joy of Kneading: More Than Just a Kitchen Gadget
The humble stand mixer has transcended its role as a mere kitchen appliance; it's become a symbol of culinary empowerment, a gateway to baking adventures previously unimaginable for the beginner baker. From perfectly aerated meringues to flawlessly smooth doughs, the stand mixer unlocks a world of possibilities, making complex recipes accessible and enjoyable. This isn't just about convenience; it's about unlocking creativity and confidence in the kitchen.
The impact of the stand mixer extends beyond individual kitchens; it's woven into the fabric of modern baking culture. It's the silent partner in countless home-baked goods, fueling family traditions and fostering a sense of accomplishment. The satisfying whir of the motor, the smooth consistency of the batter – these are sensory experiences that connect us to a richer, more fulfilling culinary journey. Baking is at once child's play and adult joy. And love, of course.
– Alma Flor Ada. This quote perfectly encapsulates the transformative power of a tool that simplifies the process, allowing us to focus on the joy of creation.
Now, consider your own kitchen. What recipe have you been hesitant to try? What culinary dream have you put on hold? This is your invitation to embrace the possibilities. Don't let fear or perceived complexity hold you back. Take the leap, explore the world of stand mixers, and discover the joy of kneading, whipping, and creating delicious memories, one batch at a time. The journey begins with a single click of the power button.
Unleash Your Inner Baker: Take the Next Step!
Thanks for diving into the world of stand mixers! We hope you've gained a clearer picture of how this kitchen powerhouse can elevate your baking game. Ready to experience the difference firsthand?
- Invest in your baking dreams: Browse our curated selection of stand mixers to find the perfect fit for your kitchen and baking style. Consider your needs and budget—we've got options for everyone!
- Share your baking journey: Tag us in your stand mixer creations on social media! Let's inspire each other with delicious recipes and baking tips. We'd love to see what you bake!
- Explore advanced techniques: Master new recipes and techniques designed specifically for stand mixers. Our recipe library is a fantastic resource for expanding your baking repertoire.
What exciting recipe are you going to tackle with your new (or soon-to-be-new!) stand mixer?