
Creating a Robust Sourdough Starter Specifically for Pizza Dough

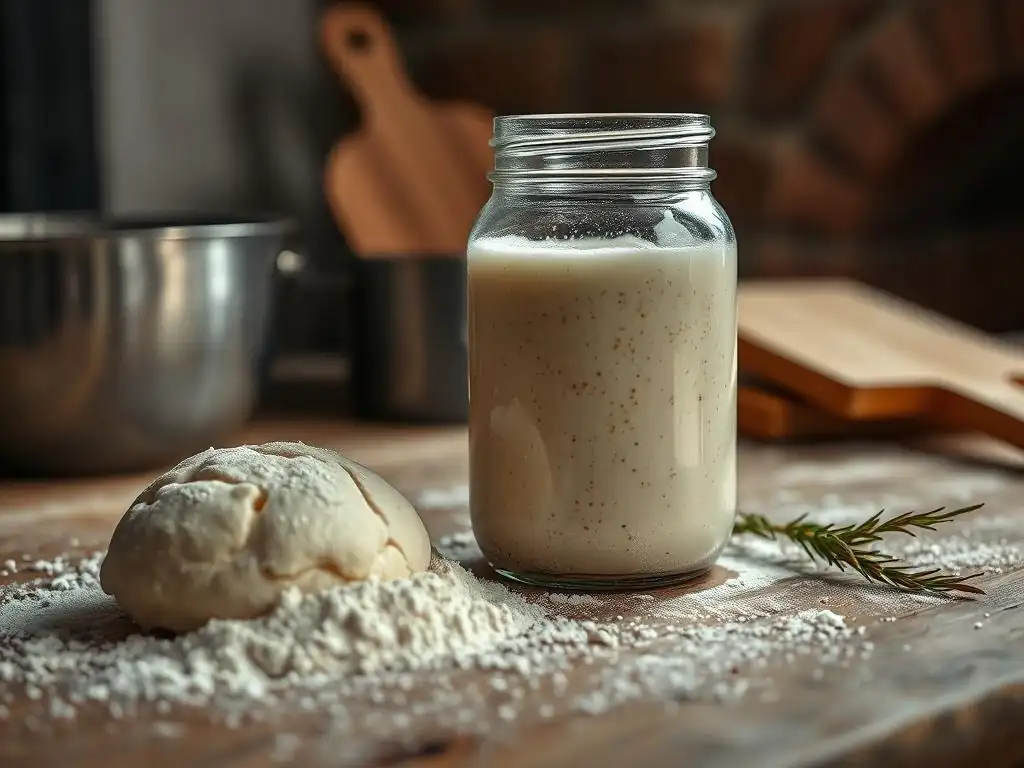
Welcome to BakeWithEase, where baking becomes a joy, not a chore! Are you ready to unlock the secret to truly exceptional pizza? Beyond the perfect sauce and toppings lies the key: a robust sourdough starter. Discover how to cultivate a sourdough starter specifically tailored for pizza dough, and prepare to be amazed by the flavor and texture it brings. Intrigued? Let's get started and transform your pizza nights forever!
- Introduction: Why a Dedicated Sourdough Starter for Pizza?
- Building a Pizza-Focused Sourdough Starter: Step-by-Step Guide
- Achieving Optimal Starter Strength for Pizza Dough
- Sourdough Starter Pizza Dough Recipe: Putting Your Starter to Work
- Maintaining Your Pizza Sourdough Starter for Long-Term Use
- Troubleshooting Sourdough Pizza Dough Issues Related to the Starter
- Conclusion: Enjoying the Flavor and Benefits of Homemade Sourdough Pizza
-
Frequently Asked Questions
- How is a sourdough starter for pizza dough different from a regular sourdough starter?
- What kind of flour is best for feeding a sourdough starter intended for pizza dough?
- How often should I feed my sourdough starter if I plan to use it mostly for pizza dough?
- What are some signs that my sourdough starter is ready to be used for making pizza dough?
- Can I use a regular sourdough starter for pizza dough, or do I have to create a special one?
- Final Reflection: The Heart of the Pizza, the Soul of the Starter
- Unleash Your Inner Pizzaiolo: Craft the Perfect Sourdough Starter!
Introduction: Why a Dedicated Sourdough Starter for Pizza?
Understanding the Unique Needs of Pizza Dough Fermentation
Creating the perfect pizza dough requires a specific fermentation process, and a dedicated sourdough starter can be the key to achieving that coveted light, airy, yet chewy crust. Unlike a dense loaf of bread, pizza dough benefits from a relatively faster, more vigorous fermentation that produces significant carbon dioxide quickly. This rapid gas production is crucial for developing those beautiful large bubbles and open crumb structure characteristic of artisanal pizza, especially when cooked at high temperatures in a pizza oven or on a stone.
A sourdough starter optimized for pizza dough often thrives on slightly different conditions than a general-purpose bread starter. We aim for a starter that is highly active and reaches its peak strength relatively quickly, perhaps within 4-6 hours after feeding at room temperature (around 75°F or 24°C). This ensures it has the necessary leavening power without developing excessive acidity that could make the pizza crust overly sour. The microbial balance shifts slightly towards yeasts and bacteria that favor faster fermentation and gas production, contributing to the ideal texture and rise needed for a perfect pizza crust.
Why Not Use My Existing Starter? Considerations for Flavor & Texture
While you can certainly make pizza dough with any active sourdough starter, tailoring one specifically for pizza can yield superior results in terms of both texture and flavor. A starter maintained primarily for rustic loaves might be kept at a lower hydration (like 80%) or fed less frequently, leading to a slower fermentation profile and potentially a more acidic tang. This can be wonderful for bread but might not produce the light, bubbly crust desired for pizza.
A dedicated sourdough starter for pizza dough is often maintained at a higher hydration level, perhaps 100% or even 110-120%. This higher water content can encourage different microbial activity and results in a looser starter that is easier to mix into dough and promotes faster fermentation. Furthermore, by consistently feeding a starter with flour types and at ratios optimized for pizza, you cultivate a microbial population that is perfectly primed to leaven your pizza dough efficiently, leading to a better rise, a more desirable texture, and a balanced flavor profile that complements your toppings without being overwhelmingly sour.
Building a Pizza-Focused Sourdough Starter: Step-by-Step Guide
Step 1: Choosing the Right Flour for Your Pizza Starter
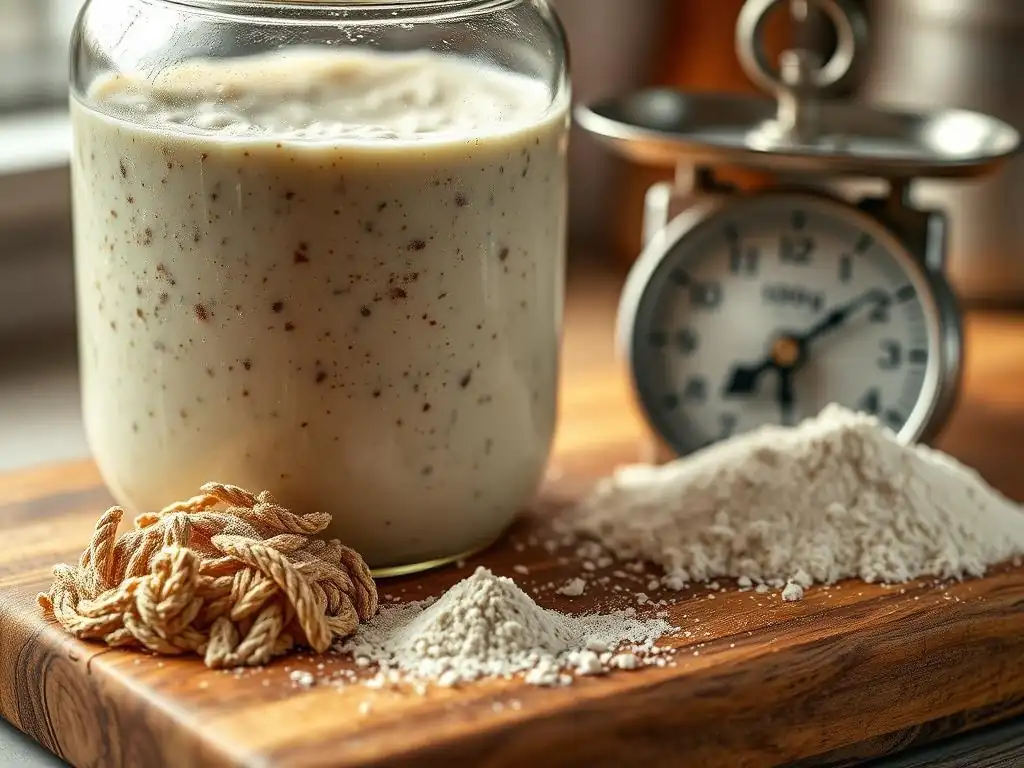
Selecting the right flour is paramount when building a robust sourdough starter for pizza dough. The flour provides the necessary starches and proteins to feed the wild yeasts and bacteria, influencing the starter's activity, flavor, and strength. Using a high-quality, unbleached flour is essential, as bleached flours can sometimes inhibit microbial growth. The protein content of the flour also plays a role; a higher protein flour can build a stronger gluten network in the starter itself, which helps trap gas and indicates vitality.
For a sourdough starter intended for pizza dough, many bakers find success using bread flour or a blend. Bread flour typically has a protein content of 12-14%, providing ample food for the microbes and contributing to a vigorous, bubbly starter.
While you could use all-purpose flour (around 10-11.5% protein), you might find the starter slightly less robust or take a bit longer to mature. Some enthusiasts even like to include a small percentage (say, 10-20%) of whole wheat or rye flour in the initial stages or occasional feedings, as these flours are rich in nutrients that can kickstart activity, but the bulk should be a good quality white flour for consistency and a milder flavor profile suitable for pizza.
Best Flour Types for Sourdough Pizza: A Detailed Comparison
Let's break down common flour choices for your sourdough starter specifically for pizza dough:
- Bread Flour: Protein Content: 12-14%. Pros: High protein provides excellent structure and food for microbes, leading to a strong, active starter. Promotes good rise. Widely available. Cons: Can be slightly more expensive than all-purpose.
- All-Purpose Flour (Unbleached): Protein Content: 10-11.5%. Pros: Accessible and affordable. Can work well, especially if it's unbleached and of good quality. Cons: May result in a slightly less vigorous starter compared to bread flour.
- Whole Wheat Flour: Protein Content: 13-14%. Pros: Very nutritious for microbes, can boost initial activity. Adds a distinct, slightly tangy flavor. Cons: Can make the starter very dense. The bran can sometimes make it harder to assess activity visually. The strong flavor might not be desired for a delicate pizza crust. Best used in small quantities or for initial boosts.
- Rye Flour: Protein Content: 10-13%. Pros: Excellent source of nutrients for kickstarting a starter, often used in initial builds. Very reliable for capturing wild yeasts. Cons: Creates a very different texture than wheat-based starters. Strong flavor. Best used in small quantities or for initial boosts, then transition to wheat.
For a dedicated sourdough starter for pizza dough, a high-quality unbleached bread flour is often the top recommendation due to its balance of protein, availability, and neutral flavor profile that allows the pizza's toppings to shine.
Step 2: Initial Mixing and Fermentation: The First Rise
To begin building your sourdough starter for pizza dough, you'll combine equal parts flour and water by weight. A common starting point is 50 grams of your chosen flour (like bread flour) and 50 grams of lukewarm water (around 75-80°F or 24-27°C). Lukewarm water helps activate the enzymes in the flour and provides a favorable environment for microbial growth. Mix these together in a clean jar or container until no dry flour remains. The mixture will be quite thick at first, resembling a paste or thick batter.
Cover the container loosely – a lid resting on top, cheesecloth secured with a band, or plastic wrap with a few holes poked in it will allow gases to escape while preventing the starter from drying out. Place your new starter in a warm spot, ideally between 70-80°F (21-27°C). Over the next 24 hours, you might see little to no activity, or perhaps just a few tiny bubbles.
This initial period is crucial for the wild yeasts and bacteria present in the flour and air to wake up and begin multiplying. Don't be discouraged if nothing seems to happen immediately; the microbial party is just getting started!
Step 3: Feeding Your Starter: Establishing a Regular Routine
After the initial 24 hours, you'll begin the regular feeding process. Discard about half of the starter (this reduces the volume and concentrates the microbial population you want to encourage) and feed the remainder with fresh flour and water. For the first few days, a 1:1:1 ratio (starter:flour:water by weight) is standard.
For example, if you kept 50g of starter, you would add 50g of fresh flour and 50g of water. Mix thoroughly. You'll repeat this process, ideally every 24 hours for the first week or so, or until you start seeing consistent signs of activity like bubbles and growth.
As your sourdough starter for pizza dough matures, typically within 7-14 days, you should observe it consistently doubling in size within 4-12 hours after feeding and developing a pleasant, slightly tangy aroma. At this point, you can transition to feeding twice a day if you want to accelerate its strength, or continue once a day if progress is good. The key is consistency and observation.
Always use a clean jar and utensils to minimize the risk of mold or unwanted bacteria. Mark the level of the starter after feeding with a rubber band or marker to easily track its growth.
Optimal Feeding Ratios for a Pizza Dough Starter
While a 1:1:1 ratio is a good starting point for establishing a sourdough starter for pizza dough, adjusting the ratio can influence its behavior and strength, especially as it matures.
- 1:1:1 (Starter:Flour:Water): Good for the initial stages of building a starter and for maintaining a starter at room temperature when you bake frequently. Results in faster fermentation due to a higher inoculation rate, requiring more frequent feeding (potentially twice a day) once the starter is active.
- 1:2:2 (Starter:Flour:Water): Provides more food for the microbes, allowing for a longer fermentation cycle between feedings. Useful when your starter is active and you want to feed it once a day. It dilutes the existing starter more, potentially leading to a slightly milder flavor initially.
- 1:3:3 or Higher (Starter:Flour:Water): Used when you need to feed your starter less frequently (e.g., every 24-48 hours) or when you are building up a larger quantity of starter for a big bake. This ratio significantly dilutes the existing starter, slowing down fermentation and reducing acidity buildup between feedings.
For a robust sourdough starter for pizza dough that you plan to use regularly, feeding at a 1:1:1 or 1:2:2 ratio at room temperature often works best to maintain peak activity. If storing in the fridge, higher ratios (like 1:4:4 or 1:5:5) before refrigeration can help it last longer between feedings.
Recognizing Signs of a Healthy and Active Starter
Knowing what a healthy and active sourdough starter for pizza dough looks and smells like is crucial. Visual cues are your primary indicators. After feeding, a healthy starter will begin to produce bubbles throughout the mixture. These bubbles will migrate to the surface, creating a foamy or bubbly top layer. As the starter ferments, it will increase in volume, ideally doubling or even tripling in size within a predictable timeframe (e.g., 4-8 hours at optimal temperature). Marking the level after feeding is an excellent way to track this rise.
Beyond visual cues, the aroma is another key indicator. A healthy, active sourdough starter for pizza dough should smell pleasant – yeasty, slightly tangy, perhaps faintly like yogurt or fruit. It should not smell strongly of acetone, nail polish remover, or exhibit any foul odors, which can indicate issues like excessive acidity or unwanted bacteria. The texture will also change; it will become lighter and more airy as gas is produced. A starter that consistently rises and falls predictably after feeding, smells good, and is bubbly is ready to leaven your pizza dough effectively.
Step 4: Monitoring and Adjusting: Troubleshooting Your Starter
Building a sourdough starter for pizza dough isn't always a straight line; sometimes issues arise. Regular monitoring helps you catch problems early. Pay attention to the starter's rise and fall pattern, the size and number of bubbles, the consistency, and the smell. Keep a small journal or notes on your phone to track feeding times, ratios, temperature, and observed activity. This historical data can be invaluable in diagnosing problems. For instance, if your starter suddenly becomes sluggish, checking your notes might reveal a recent change in flour brand or room temperature.
Adjusting your feeding schedule, ratio, or even location (to find a warmer spot) are common ways to troubleshoot. Remember that environmental factors like temperature and humidity significantly impact starter activity. A few degrees difference can slow things down considerably. Don't be afraid to experiment slightly with your routine based on your observations. The goal is a starter that reliably doubles or triples in size within a consistent window after feeding.
Dealing with Inactivity: Reviving a Sluggish Starter
If your sourdough starter for pizza dough seems inactive or sluggish – meaning it's not rising much, has few bubbles, or takes a very long time to show signs of life after feeding – several factors could be at play. Low temperature is a common culprit; try moving your starter to a warmer location, perhaps near a warm appliance (but not on it, which can overheat) or in a proofing box if you have one. Feeding with slightly warmer water (up to 85°F or 30°C, but no hotter to avoid killing the microbes) can also help.
Another reason for inactivity might be insufficient feeding or too much old starter remaining. Try increasing your feeding ratio (e.g., from 1:1:1 to 1:2:2 or 1:3:3) to provide more fresh food relative to the existing starter population. Feeding twice a day for a few days can also give it a significant boost by providing a constant supply of nutrients and removing acidic waste products more frequently.
Ensuring you are using good quality, unbleached flour is also key; sometimes simply switching flour brands can make a difference. Patience is vital; sometimes a sluggish starter just needs a little time and consistent, proper care to bounce back.
Addressing Off-Flavors: Common Starter Problems and Solutions
A healthy sourdough starter for pizza dough should have a pleasant, tangy, yeasty aroma. If your starter develops off-flavors or smells strongly of acetone (nail polish remover) or alcohol, it's often a sign that it's hungry and producing these byproducts as it runs out of food. This typically happens when the starter is left too long between feedings, especially at room temperature.
To combat off-flavors and excessive acidity, increase the frequency of your feedings. If you were feeding once a day, switch to twice a day. If you were feeding twice a day, ensure you are feeding when the starter has peaked and just begun to fall, not long after it has completely collapsed.
You can also try increasing the feeding ratio (e.g., 1:2:2 or 1:3:3) to provide more food relative to the starter volume, which helps dilute the acidic environment and provides a longer buffer before it gets hungry again. If the off-flavor is very strong or unpleasant, you can discard a larger portion than usual before feeding (e.g., keep only 10-20g of starter and feed it with 50g flour and 50g water) to further dilute the problematic compounds and encourage a fresher microbial balance. Persistent foul odors might indicate contamination, in which case it's often best to start fresh.
Achieving Optimal Starter Strength for Pizza Dough
Understanding Starter Strength: Doubles in Size & Float Test
A key indicator of a sourdough starter's readiness and strength for leavening pizza dough is its ability to reliably double in size after feeding. This expansion is a direct result of the yeast activity producing carbon dioxide gas. When your starter consistently doubles (or even triples) within a predictable timeframe after being fed at its peak hydration and temperature, it demonstrates it has sufficient active yeast population to provide the necessary lift for your pizza dough. For a pizza starter kept at 100%+ hydration at 75°F (24°C), doubling within 4-8 hours is a good sign of peak strength.
Another popular test for starter strength, particularly for doughs where you want significant lift, is the float test. To perform the float test, gently take a small spoonful of your starter when it is at its peak (fully risen and bubbly, just before it starts to fall) and drop it into a glass of water. If the starter floats, it means it is sufficiently full of gas bubbles, indicating a high level of activity and readiness to leaven dough.
If it sinks, it might need more time to ferment, a warmer environment, or more consistent feeding to build strength. While the float test isn't foolproof, combined with consistent doubling, it's a reliable indicator of a robust sourdough starter for pizza dough.
Techniques to Boost Starter Activity Before Making Pizza Dough
Sometimes your starter might be healthy but needs a little extra boost to be at its absolute peak for pizza night. One effective technique is to time your feeding so that your starter is at its peak volume and activity when you are ready to mix your dough. For many starters, this means feeding it 4-8 hours before you plan to use it, depending on your kitchen temperature and typical starter behavior. Using slightly warmer water (around 80-85°F or 27-30°C) for this final feeding can also help invigorate the microbes.
Another excellent method to ensure maximum leavening power and enhanced flavor for your pizza dough is to create a levain or pre-ferment using your mature sourdough starter. This involves taking a small amount of your active starter and feeding it separately with the specific flour and water ratio you plan to use for the dough. This pre-ferment is then allowed to ferment until it reaches its peak activity, at which point it is added to the main dough mixture.
Pre-Fermenting (Levain) for Enhanced Pizza Dough Flavor
Using a levain is a common practice in artisanal baking and is highly recommended when using a sourdough starter for pizza dough. It ensures that you are adding a highly active, freshly fed culture to your dough, which translates to more predictable and vigorous fermentation. To create a levain for pizza, you might take 20 grams of your mature starter and feed it with 100 grams of flour and 100 grams of water (a 1:5:5 ratio, creating a 100% hydration levain).
Allow this levain to ferment in a warm spot until it has significantly increased in volume (at least doubled, ideally tripled) and is full of bubbles, which typically takes 4-8 hours depending on the temperature. Using a levain freshly peaked ensures maximum leavening power. Furthermore, building a levain concentrates the desired flavors and acids from the starter, distributing them more evenly throughout the dough and contributing to that characteristic sourdough tang in your pizza crust without making it overly sour. This process effectively 'boosts' the portion of the sourdough starter intended for the pizza dough, ensuring a successful bake.
Sourdough Starter Pizza Dough Recipe: Putting Your Starter to Work
Classic Neapolitan Sourdough Pizza Dough Recipe
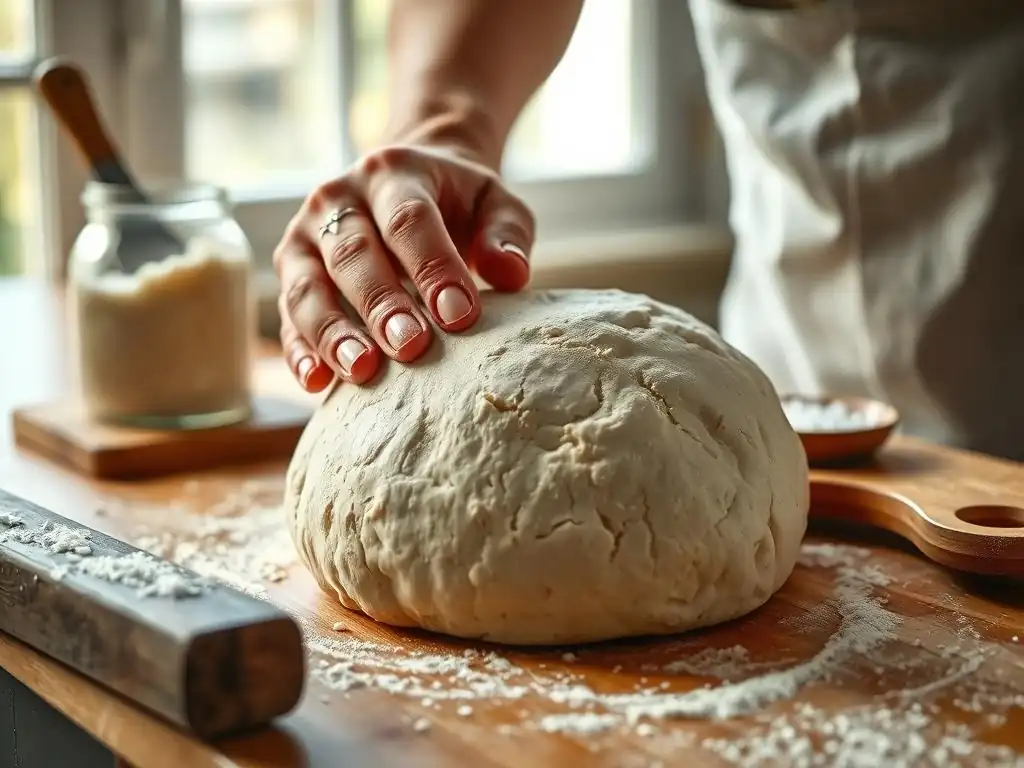
Here is a simple recipe for a classic Neapolitan-style sourdough pizza dough using your robust sourdough starter for pizza dough. This recipe yields approximately two 12-14 inch pizzas.
- Ingredients:
- 100 grams active sourdough starter (levain), peaked
- 300 grams lukewarm water (approx 80°F / 27°C)
- 450 grams "00" pizza flour (or high-quality bread flour)
- 10 grams fine sea salt
- 5 grams olive oil (optional, for easier handling)
- Instructions:
- In a large mixing bowl, whisk together the active sourdough starter and lukewarm water until the starter is mostly dissolved.
- Add the flour and salt. If using, add the olive oil.
- Mix with a spoon or by hand until a shaggy dough forms and no dry flour remains.
- Turn the dough out onto a lightly floured surface and knead for 10-15 minutes, or use a stand mixer with a dough hook for 7-10 minutes, until the dough is smooth and elastic. It should pass the windowpane test (stretch a small piece thinly without tearing).
- Place the dough in a lightly oiled bowl, cover tightly with plastic wrap, and let it rest at room temperature for 2-4 hours, or until it has noticeably increased in volume (by about 30-50%).
- Divide the dough into two equal portions. Gently shape each portion into a ball by tucking the edges underneath.
- Place the dough balls into separate lightly oiled containers or on a floured tray, ensuring space for expansion. Cover tightly.
- Cold Fermentation: For best flavor development and easier handling, refrigerate the dough for 24-72 hours. This slow, cold fermentation is key to a great sourdough pizza crust.
- Before Baking: Remove the dough from the refrigerator 2-3 hours before you plan to bake to allow it to come to room temperature and become relaxed and pliable.
Tips for Working with Sourdough Pizza Dough: Handling & Shaping
Working with high-hydration sourdough pizza dough can be a bit sticky initially, but its extensibility is what gives you that airy crust. Once your cold-fermented dough has come to room temperature, resist the urge to add excessive flour during shaping. Too much flour will make the crust tough. Instead, use a minimal amount of flour on your work surface and hands, or even a little semolina flour, which helps prevent sticking without incorporating into the dough as much.
Handle the dough gently to preserve the gas bubbles developed during fermentation. Avoid kneading or degassing it aggressively. Start by gently pressing the center of the dough ball outwards with your fingertips, leaving a small rim for the crust. Then, lift the dough and gently stretch it using the backs of your hands, rotating it as you go.
The weight of the dough itself helps stretch it. If the dough resists stretching, let it rest for 5-10 minutes (a process called benching) to allow the gluten to relax before continuing. Practice makes perfect! The goal is a thin center with a slightly thicker, airy edge.
Maintaining Your Pizza Sourdough Starter for Long-Term Use
Storage Options: Refrigerator vs. Room Temperature
Once your sourdough starter for pizza dough is mature and consistently active, you have options for how to store it based on your baking frequency.
- Room Temperature Storage: If you plan to bake pizza (or other sourdough goods) several times a week, keeping your starter at room temperature is ideal. This maintains its peak activity. You will need to feed it regularly, typically once or twice a day, depending on the temperature of your kitchen and the feeding ratio you use. A 1:1:1 or 1:2:2 ratio fed daily works well for frequent use. Keep it in a warm spot (70-75°F / 21-24°C) for consistent activity.
- Refrigerator Storage: If you only bake pizza occasionally, perhaps once a week or less, storing your sourdough starter for pizza dough in the refrigerator is the most convenient option. The cold temperature significantly slows down microbial activity, reducing the need for frequent feeding. Before refrigerating, feed your starter as usual, let it sit at room temperature for 1-2 hours to kickstart fermentation, and then place it in the fridge. Feedings can be reduced to once a week or even every two weeks, depending on how long it stays viable in your fridge. Use a larger feeding ratio before storing (e.g., 1:4:4 or 1:5:5) to provide more food for the longer storage period.
Regular Feeding Schedule: Keeping Your Starter Ready for Pizza Night
Establishing a regular feeding schedule is crucial for maintaining a healthy and active sourdough starter for pizza dough, regardless of storage method.
- Room Temperature (Daily Use): Feed 1-2 times per day. A common schedule is feeding in the morning and again in the evening, especially if using a 1:1:1 ratio. Aim to feed when the starter is at or slightly past its peak (doubled/tripled and potentially just starting to recede). This ensures a continuous cycle of activity. Example: Feed 8 AM, Feed 8 PM.
- Refrigerator (Weekly Use): Feed once every 1-2 weeks. Take the starter out, let it warm up for a few hours, discard most, feed it with fresh flour and water (e.g., 1:4:4 ratio), let it sit at room temperature for 1-2 hours, then return it to the fridge.
Consistency is key. Try to feed around the same time each day (or week) to help regulate the starter's cycle. A well-maintained sourdough starter for pizza dough will be ready to use with minimal fuss when pizza cravings strike.
Reviving Your Starter After Refrigeration: A Quick Guide
When you're ready to make pizza after storing your sourdough starter for pizza dough in the refrigerator, you'll need to revive it to peak activity.
- Take your starter out of the fridge.
- Discard most of the starter, leaving a small amount (e.g., 20-30 grams).
- Feed the remaining starter with fresh flour and water at a ratio that will quickly build activity, such as 1:1:1 or 1:2:2 (e.g., 20g starter + 40g flour + 40g water). Use lukewarm water (around 80°F / 27°C).
- Place the starter in a warm spot (75-80°F / 24-27°C).
- Feed it every 12 hours using the same ratio until it consistently doubles or triples in size within 4-8 hours and passes the float test. This usually takes 1-3 feedings.
- Once it is consistently active and bubbly, it is ready to be used to make your pizza dough!
This revival process ensures your sourdough starter has the necessary vigor to properly leaven your pizza dough after its cold dormancy.
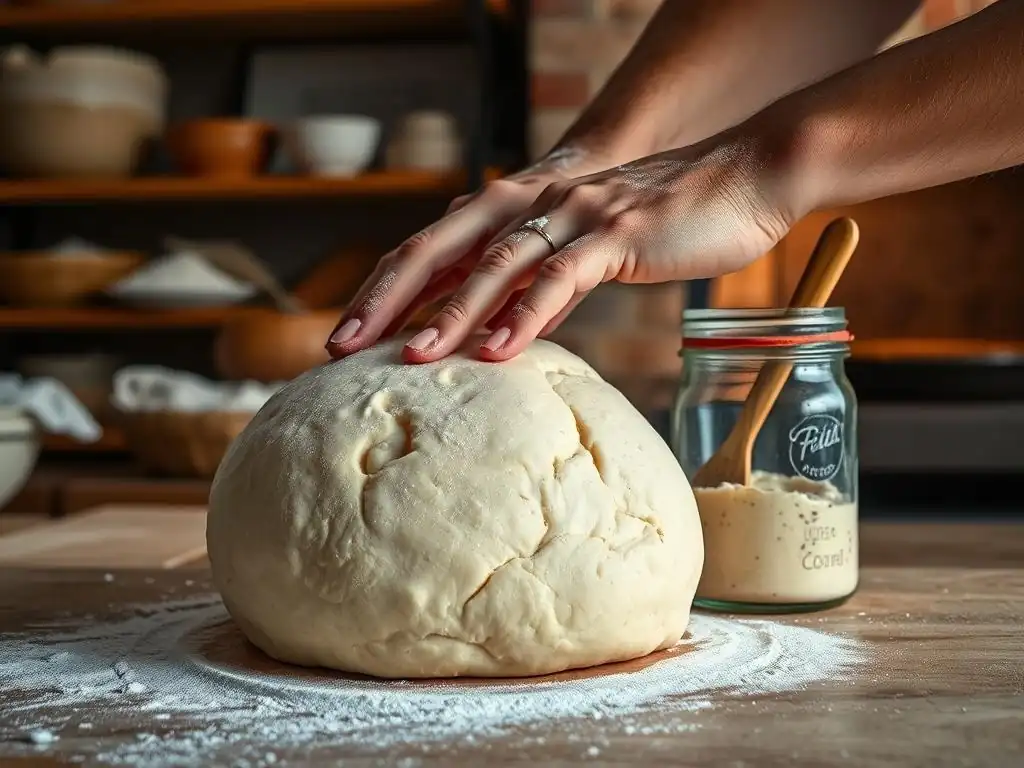
Even with a great sourdough starter for pizza dough, sometimes issues can arise with the dough itself. Many common problems can be traced back to the starter's condition or how it was used.
Dough Not Rising: Starter Activity Concerns
If your sourdough pizza dough isn't rising as expected during the bulk fermentation or proofing stages, the most likely culprit is an inactive starter. This could mean:
- Starter Wasn't at Peak: You used your sourdough starter before it had reached its peak activity after feeding. It didn't have enough gas production power built up.
- Starter Was Weak: The starter itself wasn't consistently strong or healthy, possibly due to infrequent feeding, wrong temperature, or poor quality flour over time.
- Too Cold: Your dough's fermentation environment is too cold, slowing down even an active starter's work significantly. Sourdough fermentation is highly temperature-dependent. Aim for a dough temperature around 75-80°F (24-27°C) for active rising.
Solution: Ensure your starter is consistently doubling/tripling and passing the float test before using it. Use it right at its peak. Provide a warmer environment for your dough fermentation. If the starter seems weak overall, spend a few days or a week reviving it with consistent, proper feedings at room temperature before attempting dough again.
Dough Too Sticky: Starter Hydration and Flour Balance
While sourdough pizza dough is typically higher hydration than many bread doughs (often 65-75%+ hydration relative to the flour), excessive stickiness can sometimes be related to the starter or the overall dough composition.
- Starter Hydration: If your sourdough starter for pizza dough is kept at a very high hydration (say, 150%) and you don't adjust the water in your main dough recipe accordingly, the total hydration might be too high for the flour type.
- Flour Quality: The protein content and absorption rate of your main dough flour vary. If using a weaker flour, it might not absorb as much water, leading to a stickier dough even at standard hydration levels.
- Insufficient Development: The gluten hasn't been sufficiently developed through kneading or stretching and folding. Gluten provides the structure to manage hydration.
Solution: Ensure your total dough hydration is appropriate for the flour you are using (check flour specifications if possible). If your starter is higher hydration, reduce the water slightly in the main dough mix. Ensure you are developing the dough properly through adequate kneading or stretch-and-fold techniques until it is smooth and elastic. Using minimal flour or semolina during handling helps manage stickiness without changing the dough structure.
Pizza Crust Too Sour: Managing Starter Acidity
A hallmark of sourdough is its tang, but an overly sour pizza crust can overpower the toppings. This is usually related to the acidity developed in the sourdough starter for pizza dough.
- Over-Fermented Starter: The starter was left too long between feedings, allowing acetic acid (the vinegary tang) to build up.
- Using Starter Past Peak: Using starter long after it has peaked means you're incorporating a higher concentration of acids relative to active yeast.
- Long, Warm Fermentation: While cold fermentation is good, excessively long or warm bulk fermentation of the dough can also increase acidity.
Solution: Feed your sourdough starter for pizza dough more frequently, especially if keeping it at room temperature. Aim to use the starter right at its peak activity, not hours after it has fallen. When making the dough, ensure your bulk fermentation isn't excessively long or warm; transition to cold fermentation in the fridge once the dough has increased by about 30-50%. Using a higher feeding ratio (like 1:2:2 or 1:3:3) for your starter can also help keep acidity lower between feedings.
Conclusion: Enjoying the Flavor and Benefits of Homemade Sourdough Pizza
The Rewards of Baking with a Dedicated Pizza Sourdough Starter
Baking pizza with a homemade sourdough starter is an incredibly rewarding experience. It connects you to an ancient baking tradition and allows you to create a pizza crust with unparalleled depth of flavor and a unique texture that simply cannot be replicated with commercial yeast alone. A dedicated sourdough starter for pizza dough, nurtured and maintained with care, provides reliable leavening, contributing to a beautiful, airy, and slightly tangy crust that serves as the perfect base for your favorite toppings.
Beyond the superior taste and texture, there's a profound satisfaction in using a culture you've kept alive and thriving. It adds a personal touch to your homemade pizza nights, transforming them from simple meals into culinary events.
Mastering the nuances of your sourdough starter for pizza dough allows for endless experimentation with hydration, fermentation times, and flour blends, opening up a world of possibilities for crafting your perfect pizza. The journey of maintaining the starter and perfecting the dough is as enjoyable as savoring the delicious result – a truly robust, flavorful, and satisfying sourdough pizza baked right in your own kitchen.
Frequently Asked Questions
How is a sourdough starter for pizza dough different from a regular sourdough starter?
A sourdough starter for pizza dough is often fed with a higher protein flour like bread flour to encourage stronger gluten development, leading to a more elastic and chewy crust. The hydration level might also be slightly adjusted for optimal rise and flavor.
What kind of flour is best for feeding a sourdough starter intended for pizza dough?
Using bread flour or a high-protein flour is highly recommended. These flours provide the necessary gluten for a robust starter which results in a better pizza crust.
How often should I feed my sourdough starter if I plan to use it mostly for pizza dough?
Maintaining a regular feeding schedule is key. Typically, feeding it once or twice a day is recommended, especially when it's actively used for pizza making. A consistent schedule ensures the starter's strength and predictability.
What are some signs that my sourdough starter is ready to be used for making pizza dough?
Look for a doubling in size after feeding, along with a bubbly texture and a slightly tangy, but not overly sour, aroma. These indicate peak activity and readiness for baking.
Can I use a regular sourdough starter for pizza dough, or do I have to create a special one?
Yes, you can absolutely use a regular sourdough starter. However, feeding it with bread flour for a few days before making pizza will boost its strength and gluten development, ultimately improving your pizza dough's texture and rise.
Final Reflection: The Heart of the Pizza, the Soul of the Starter
The quest for the perfect pizza begins, not in the oven, but with a thriving sourdough starter. This seemingly simple organism holds the key to unlocking unparalleled flavor and texture in your homemade pies, a fact increasingly appreciated by home bakers seeking authentic, artisanal results. The dedication to nurturing a starter specifically tailored for pizza dough—one that thrives on the unique demands of this process—is a journey worth undertaking.
The impact of sourdough on the culinary landscape is undeniable, moving beyond a mere ingredient to become a symbol of slow food, patience, and connection to the craft. It's more than just baking; it's a mindful practice, a testament to the power of fermentation. Bread is the staff of life,
they say, and with a robust sourdough starter, that staff becomes a truly magnificent, flavorful, and deeply satisfying experience. The subtle tang, the airy crumb, the perfectly charred crust—these are the rewards of nurturing a living culture, a testament to the enduring power of tradition.
Now, consider your own journey. Will you embark on the adventure of cultivating your own pizza-perfect starter? The process demands patience, yes, but the rewards—the taste of a pizza unlike any other, the satisfaction of creating something truly special from scratch—are immeasurable. Embrace the challenge, nurture your starter, and discover the transformative power of a simple, yet extraordinary, ingredient. The taste of your next pizza will thank you for it.
Unleash Your Inner Pizzaiolo: Craft the Perfect Sourdough Starter!
Thanks for joining us on this sourdough journey! You've now unlocked the secrets to creating a starter specifically designed to elevate your pizza dough game. Ready to put your new knowledge into practice?
- Begin your sourdough starter today! Follow the detailed instructions from the article, noting the specific hydration levels for optimal pizza dough results. This is your first step towards incredibly flavorful and airy pizzas.
- Share your starter journey! Post a picture of your bubbly starter on social media using #BakeWithEaseSourdoughPizza and inspire others to bake their own delicious sourdough pizzas.
- Explore variations! Experiment with different flours or feeding schedules to personalize your starter and discover your perfect pizza dough recipe.
What unique flavor profile will your sourdough starter bring to your next pizza masterpiece?