
The Perfect Proof: Visual Cues for Advanced Pizza Dough Readiness

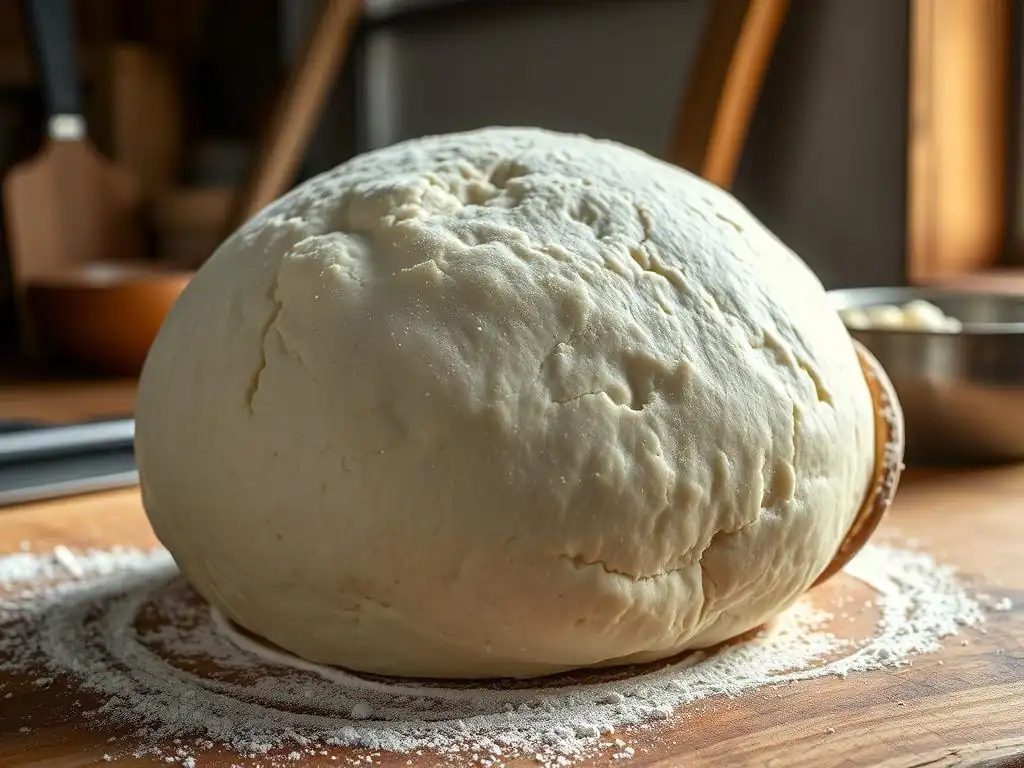
Welcome to BakeWithEase! Ever wondered if your sourdough pizza dough is really ready for the oven? We're diving deep into the art of sourdough pizza dough proofing, beyond just time and temperature. Discover the subtle visual cues that separate a good crust from a great one, and unlock the secrets to pizza perfection. Ready to elevate your pizza game? Let's get baking!
- Mastering Pizza Dough Proofing: Visual Cues for Optimal Results
- Introduction to Pizza Dough Proofing: Beyond the Recipe
- Understanding the Importance of Proper Proofing for Pizza
- Visual Cues for Assessing Pizza Dough Proofing
- Advanced Techniques for Monitoring Pizza Dough Proofing
- Factors Affecting Pizza Dough Proofing Time
- Troubleshooting Common Pizza Dough Proofing Issues
- Achieving the Perfect Pizza: From Proof to Plate
- Conclusion: Mastering Visual Cues for Pizza Dough Proofing Success
-
Frequently Asked Questions
- What are the key visual cues to look for when proofing sourdough pizza dough?
- How does temperature affect the sourdough pizza dough proofing process?
- What happens if I over-proof my sourdough pizza dough?
- Can I proof sourdough pizza dough in the refrigerator?
- How do I know when my sourdough pizza dough is ready to be shaped?
- Final Reflection: The Art and Science of Sourdough Pizza Dough Proofing
- Unlock Your Pizza-Making Potential!
Mastering Pizza Dough Proofing: Visual Cues for Optimal Results
Introduction to Pizza Dough Proofing: Beyond the Recipe
Baking a truly great pizza involves more than just a fantastic recipe; it's about understanding the nuances of dough development. While many focus on ingredients and baking temperatures, the often-overlooked stage of proofing is absolutely critical. This is the process where yeast works its magic, producing carbon dioxide that makes the dough light and airy, developing flavor, and creating that perfect crust texture we all crave.
For those venturing into more advanced techniques, especially with sourdough, mastering the art of proofing through visual cues becomes paramount. It's not just about following a clock; it's about learning to read your dough.
Moving beyond basic time-based instructions allows you to adapt to variables like ambient temperature, humidity, and the specific activity of your yeast or sourdough starter. Relying on visual indicators gives you a much more accurate assessment of readiness than a timer ever could.
This is particularly true when working with sourdough pizza dough proofing, as the starter's activity can vary significantly. By training your eye to spot the right signs – volume increase, surface texture, and the feel of the dough – you gain the confidence to consistently produce superior pizza, whether you're using commercial yeast or a vibrant sourdough culture.
Understanding the Importance of Proper Proofing for Pizza
Why Proofing Matters for Pizza Dough Texture and Flavor
Proofing is the engine that drives the transformation of simple flour and water into a complex, flavorful dough. During this resting period, yeast (or wild yeast in sourdough) ferments sugars, producing carbon dioxide gas and alcohol. The gas gets trapped within the gluten structure, causing the dough to rise and become airy.
This expansion is crucial for achieving a light, open crumb structure in the final crust. Furthermore, the fermentation process develops a myriad of complex flavors and aromas. In sourdough pizza dough proofing, this is even more pronounced, as lactic and acetic acids produced by bacteria contribute characteristic tanginess and depth that cannot be replicated with commercial yeast alone.
Insufficient proofing results in a dense, heavy crust because not enough gas has been produced to lighten the dough. Conversely, over-proofing can lead to a dough that collapses, is difficult to handle, and results in a crust with poor structure. The sweet spot of proper proofing ensures optimal gas production for lightness while maintaining the structural integrity needed for shaping and baking. It's the critical step that elevates a decent dough to an exceptional one, giving your pizza that desirable chewiness and robust flavor profile.
The Risks of Under-Proofing Pizza Dough
Under-proofed pizza dough is a common pitfall, often resulting from impatience or misjudging the dough's activity. When dough hasn't proofed enough, the yeast hasn't had sufficient time to produce adequate carbon dioxide. This leads to a dough that feels tight, dense, and resistant to stretching. When baked, an under-proofed dough will rise aggressively and unevenly in the oven (known as oven spring), potentially causing large, undesirable bubbles or a tough, chewy crust. The flavor will also be underdeveloped, lacking the nuances that fermentation brings, especially in sourdough pizza dough proofing where acid development is key.
Imagine trying to stretch a stiff rubber band versus a relaxed one; under-proofed dough behaves similarly. It fights back, making shaping difficult and often resulting in a smaller pizza or a thicker, less appealing crust. The internal structure will be tight and uniform, lacking the desirable open crumb. Recognizing the signs of under-proofing – minimal volume increase, a very dense feel, and resistance to stretching – is essential for course correction, whether that means extending the proofing time or adjusting the environment.
The Dangers of Over-Proofing Pizza Dough
While under-proofing results in a dense crust, over-proofing presents a different set of challenges, often leading to a dough with compromised structure. When dough proofs for too long, the yeast consumes most of the available sugars, and the gluten structure, stretched by the gas, begins to weaken and break down. This results in a dough that appears excessively large, feels fragile, and may even start to deflate or collapse in the proofing container. It becomes sticky, difficult to handle, and loses its elasticity.
Attempting to shape over-proofed dough is frustrating; it tears easily and lacks the tension needed to form a proper crust. When baked, it may not achieve good oven spring, resulting in a flat, sometimes gummy crust.
The flavor can also become overly acidic or boozy due to excessive fermentation, which is particularly a concern with sourdough pizza dough proofing if left too long. Recognizing the signs – a dough that has significantly expanded and perhaps started to shrink back, smells strongly of alcohol or acid, and feels very fragile – is crucial to salvage what you can or learn for the next batch.
Visual Cues for Assessing Pizza Dough Proofing
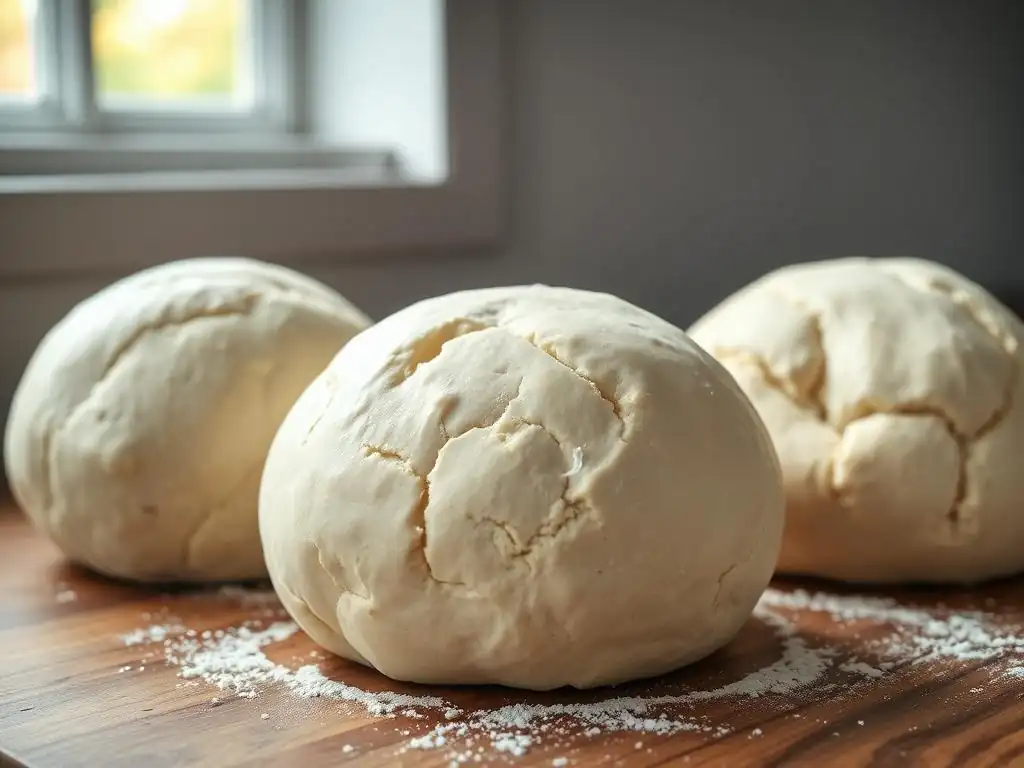
Volume Increase: How Much Should Pizza Dough Rise?
One of the most straightforward visual cues for pizza dough proofing is the increase in volume. As yeast produces gas, the dough expands, and tracking this growth provides a primary indicator of fermentation progress.
For typical pizza dough made with commercial yeast, you're often looking for the dough to roughly double in size during the primary proof, and perhaps increase by 50-75% during a secondary proof or bulk fermentation. However, this isn't a rigid rule, especially with sourdough pizza dough proofing, which may not always double but show significant expansion, perhaps 60-100% depending on the starter's activity and proofing temperature.
Using a clear container or marking the initial dough level can help you accurately gauge the rise. While recipes often specify a target volume increase (e.g., "double in size"), it's important to remember this is an approximation. The rate of increase is also informative; if the dough is rising very quickly, it might finish proofing sooner than expected. Conversely, a slow rise indicates a need for more time or a warmer environment. Pay attention to the appearance of the rise as well – it should look airy and evenly expanded, not just a dense block getting bigger.
Surface Appearance: Identifying Bubbles and Skin Texture
The surface of your pizza dough offers valuable clues about its internal activity and readiness. As fermentation progresses, small bubbles of carbon dioxide migrate to the surface, becoming visible just beneath the skin. A properly proofed dough will typically show a smooth, slightly taut surface with numerous tiny bubbles evident, especially around the edges or visible through a clear container. These bubbles are a sign that the yeast is actively producing gas and the gluten structure is holding it effectively.
The texture of the dough's skin is also indicative. Initially, dough might look rough or shaggy. As it proofs, the surface becomes smoother and more uniform. If the surface appears dry and cracked, it indicates a lack of humidity during proofing, which can hinder proper development.
Conversely, an overly wet or sticky surface might suggest too much moisture or that the gluten structure is starting to break down from over-proofing. For sourdough pizza dough proofing, you might see more prominent bubbles due to the longer fermentation and development of the gluten network. A healthy, proofed dough will have a smooth, slightly glossy surface, indicating good internal structure and gas production.
The Poke Test: A Baker's Secret for Gauging Dough Readiness
The poke test is a classic, tactile method used by bakers to determine if dough is properly proofed. It assesses the dough's elasticity and how well it retains its shape after being gently indented. This test is particularly useful when visual cues like volume increase might be ambiguous or when working with different dough types, including sourdough pizza dough proofing. It provides direct feedback on the dough's internal structure and gas retention capabilities.
The principle is simple: how the dough springs back after being poked indicates its readiness. If it springs back too quickly, it needs more time. If it collapses completely, it's likely over-proofed. The ideal result falls somewhere in between, suggesting the dough has enough structure to hold its form but is relaxed enough to be shaped easily.
Performing the Poke Test on Pizza Dough
To perform the poke test, lightly flour your finger to prevent sticking. Gently but firmly press your finger about half an inch (roughly 1-1.5 cm) into the surface of the dough. Hold the indentation for a second or two, then withdraw your finger. Observe how quickly and completely the indentation fills back in. Repeat this test in a couple of different spots on the dough to get a representative assessment.
Ensure you are gentle when poking to avoid deflating the dough unnecessarily. The test should be a light touch, not a deep prod. This method is particularly helpful during the later stages of proofing when you are trying to pinpoint the optimal moment for shaping. It provides a more nuanced assessment than just looking at the volume or surface bubbles alone.
Interpreting the Results of the Poke Test
Interpreting the results of the poke test requires a little practice, but the guidelines are clear:
- If the indentation springs back immediately and completely: The dough is under-proofed. It is still too tight and needs more time to relax and develop gas. Continue proofing and test again later.
- If the indentation remains fully or partially visible and springs back very slowly: The dough is likely perfectly proofed. It has enough structure to hold the indentation temporarily but is relaxed and airy. This is the ideal stage for shaping.
- If the indentation remains and the dough seems to deflate or collapse around it: The dough is over-proofed. The gluten structure has weakened, and it cannot hold its shape. While you can sometimes salvage over-proofed dough (e.g., by gently reshaping or using it for focaccia), it won't produce the ideal pizza crust.
This test is a crucial skill for anyone serious about baking, especially for achieving perfect sourdough pizza dough proofing where timing can be variable based on starter activity.
Advanced Techniques for Monitoring Pizza Dough Proofing
Temperature Control: Optimizing Proofing Environment
Controlling the proofing environment's temperature is a critical advanced technique for consistent results. Yeast activity is highly sensitive to temperature; warmer temperatures speed up fermentation, while cooler temperatures slow it down.
Standard pizza dough proofing often occurs at room temperature (around 70-75°F or 21-24°C), but professional bakers often utilize controlled environments like proofing boxes or even retard the dough in the refrigerator (cold proofing) to develop more complex flavors over a longer period. For example, a cold proof at 39°F (4°C) can slow fermentation significantly, allowing sourdough pizza dough proofing to extend over 24-72 hours, resulting in a more complex flavor profile and easier-to-handle dough.
Using a thermometer to monitor your dough's internal temperature or the ambient temperature of your proofing area ensures accuracy. Small variations in room temperature can drastically alter proofing times. If your kitchen is cooler, finding a warmer spot (like inside an oven with the light on, which usually reaches around 80-90°F or 27-32°C) can accelerate proofing. Conversely, if it's too warm, moving the dough to a cooler spot or even briefly refrigerating it can slow things down. Precise temperature control allows you to predict and manage proofing times more effectively, leading to consistent outcomes.
Humidity Considerations: Maintaining Ideal Moisture Levels
Humidity plays a significant role in preventing the dough's surface from drying out during proofing. A dry surface forms a skin that restricts the dough's expansion, leading to uneven proofing and a tougher crust. Maintaining adequate humidity keeps the dough's surface pliable, allowing it to expand freely as gas is produced internally. This is especially important during longer proofing periods or in dry climates.
To maintain humidity, proofing containers should be covered tightly. Using plastic wrap, a damp towel, or a lid creates a humid microclimate around the dough. Some bakers use a proofing box with a water tray or place the dough in a slightly warm, turned-off oven alongside a pan of hot water. Aim for a relative humidity of around 75-80% if possible, though simply preventing the surface from drying is the primary goal. This attention to detail ensures that the dough expands evenly and the surface remains soft and supple, ready for shaping into a perfect pizza base.
Factors Affecting Pizza Dough Proofing Time
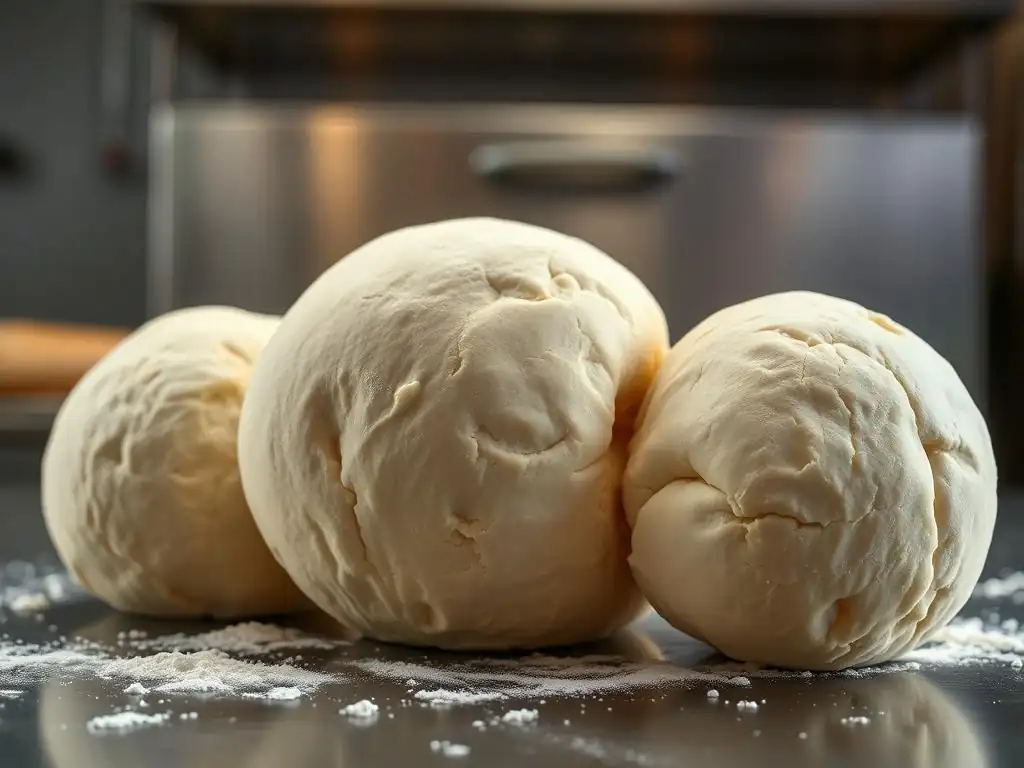
Yeast Activity: The Key to Consistent Proofing
The activity level of your yeast is perhaps the single most influential factor determining proofing time. Active dry yeast, instant yeast, and fresh yeast all have different levels of potency and require different handling. Instant yeast is typically the most vigorous and fastest-acting, often requiring shorter proofing times. Active dry yeast needs to be rehydrated first and is slightly slower. Fresh yeast is also quite active but has a shorter shelf life. The amount of yeast used in a recipe also directly impacts the speed of fermentation; more yeast means faster proofing.
When using sourdough for pizza dough proofing, the activity of your starter is paramount. A vibrant, recently fed starter that is active and bubbly will proof dough much faster than a sluggish, hungry one. Factors like the starter's hydration level, the type of flour it's fed, and its feeding schedule all influence its potency. Experienced sourdough bakers often assess their starter's readiness (e.g., how long after feeding it peaks) before using it in a dough to better predict proofing times. Consistent yeast or starter activity is key to achieving predictable proofing results.
Flour Type and Hydration: How They Impact Proofing Rate
The type of flour used significantly affects both the dough's structure and the rate of fermentation. Flours with higher protein content, like bread flour or high-gluten flour (often used in pizza dough), develop a stronger gluten network.
This stronger structure can trap more gas, allowing the dough to achieve greater volume, but the fermentation itself might proceed slightly differently compared to lower-protein flours. Whole wheat or other whole grain flours contain more nutrients that yeast can feed on, potentially speeding up initial fermentation, but the bran can also interfere with gluten development, sometimes leading to a less airy result unless specific techniques are used.
Dough hydration (the ratio of water to flour) also plays a role. Higher hydration doughs are typically looser and the yeast has easier access to fermentable sugars, potentially leading to faster fermentation. However, higher hydration doughs can also be trickier to handle and assess proofing visually, as they tend to spread rather than just rise vertically. Lower hydration doughs are stiffer and may proof more slowly. Understanding how your specific flour blend and hydration level interact with yeast activity is crucial for accurately predicting and managing sourdough pizza dough proofing times.
Ambient Temperature: Adjusting Proofing Time Based on Your Kitchen
As mentioned earlier, ambient temperature is a major variable. A difference of just a few degrees can significantly alter how long it takes for dough to proof. For instance, a dough that might take 2 hours to proof at 75°F (24°C) could take 3-4 hours at 68°F (20°C) and potentially less than 1.5 hours at 80°F (27°C). This variability is why relying solely on time is unreliable and why visual and tactile cues are so important.
You must be prepared to adjust proofing times based on the temperature of your kitchen. If it's a warm summer day, your dough will proof faster. In a cold winter kitchen, it will take longer. Learning to identify the visual cues discussed earlier allows you to react to these environmental changes. If your kitchen is cool, you might need to find a warmer spot or simply be patient and allow more time for sourdough pizza dough proofing. If it's warm, keep a closer eye on the dough to prevent over-proofing. Being adaptable is key to consistent pizza perfection.
Troubleshooting Common Pizza Dough Proofing Issues
Dough Not Rising: Identifying and Resolving Slow Proofing
One of the most frustrating issues is dough that seems sluggish or isn't rising at all. Several factors can contribute to slow proofing. The most common culprits include:
- Inactive Yeast or Starter: The yeast might be old, killed by hot water, or, in the case of sourdough, the starter might be weak or unfed.
- Too Cold Temperature: The proofing environment is too cool for optimal yeast activity.
- Insufficient Time: The dough simply hasn't been given enough time to ferment.
- Too Little Yeast/Starter: The recipe might call for too little leavening relative to the amount of flour.
- Salt or Sugar Contact: Salt or excessive sugar can inhibit yeast activity if mixed directly without flour buffer.
To resolve slow proofing, first check the temperature of your proofing environment and the dough itself. Try moving it to a warmer spot (75-85°F or 24-29°C). If using active dry yeast, ensure it was properly bloomed.
If using sourdough, ensure your starter is active before mixing the dough. Giving the dough more time is often the simplest solution. If you suspect inactive yeast, you might need to start over, but sometimes adding a very small amount of instant yeast (e.g., 0.1-0.2% of the flour weight) can give a slow sourdough dough a boost, though this isn't traditional for pure sourdough pizza dough proofing.
Dough Collapsing: Addressing Over-Proofing and Solutions
Dough that collapses or deflates easily is a clear sign of over-proofing. This means the gluten structure has been stretched too thin and is breaking down. While ideally you catch the dough before this happens using visual cues and the poke test, it's sometimes salvageable.
If the dough has only slightly over-proofed and is still somewhat manageable, you can try gently punching it down very lightly to redistribute the gas, then reshape it and give it a very short, perhaps 15-30 minute, secondary proof before shaping for pizza. However, if the dough is severely over-proofed, sticky, and tearing easily, it's often best repurposed. It can be gently stretched and baked into a rustic focaccia, where its lack of structure is less critical.
Alternatively, you can sometimes punch it down, refrigerate it for several hours or overnight to slow fermentation dramatically, and then attempt to shape it the next day, though the texture may not be ideal. Prevention through attentive monitoring of sourdough pizza dough proofing is always better than trying to fix over-proofed dough.
Uneven Proofing: Techniques for Achieving Uniform Dough Development
Sometimes, you'll notice parts of the dough proofing faster than others, leading to an uneven texture. This can happen if the dough is not mixed uniformly, if temperature varies within the proofing container or environment, or if the dough is not shaped into a relatively even mass before proofing.
To achieve more uniform proofing:
- Ensure thorough mixing: Ingredients, especially yeast/starter and salt, should be evenly distributed.
- Shape into a smooth ball: Before placing the dough in the proofing container, shape it into a smooth, taut ball. This creates surface tension and helps the dough rise evenly.
- Use a consistent proofing container: A round or square container helps the dough rise predictably.
- Maintain consistent temperature: Avoid drafty spots or placing the container near a heat source on one side only. Using a proofing box or oven with the light on provides a more uniform temperature.
- Fold or punch down (optional): For longer bulk proofs, a gentle fold or punch down halfway through can redistribute yeast and temperature, promoting more even development, especially with sourdough pizza dough proofing.
Paying attention during initial mixing and shaping, and ensuring a stable proofing environment, significantly reduces the likelihood of uneven proofing.
Achieving the Perfect Pizza: From Proof to Plate
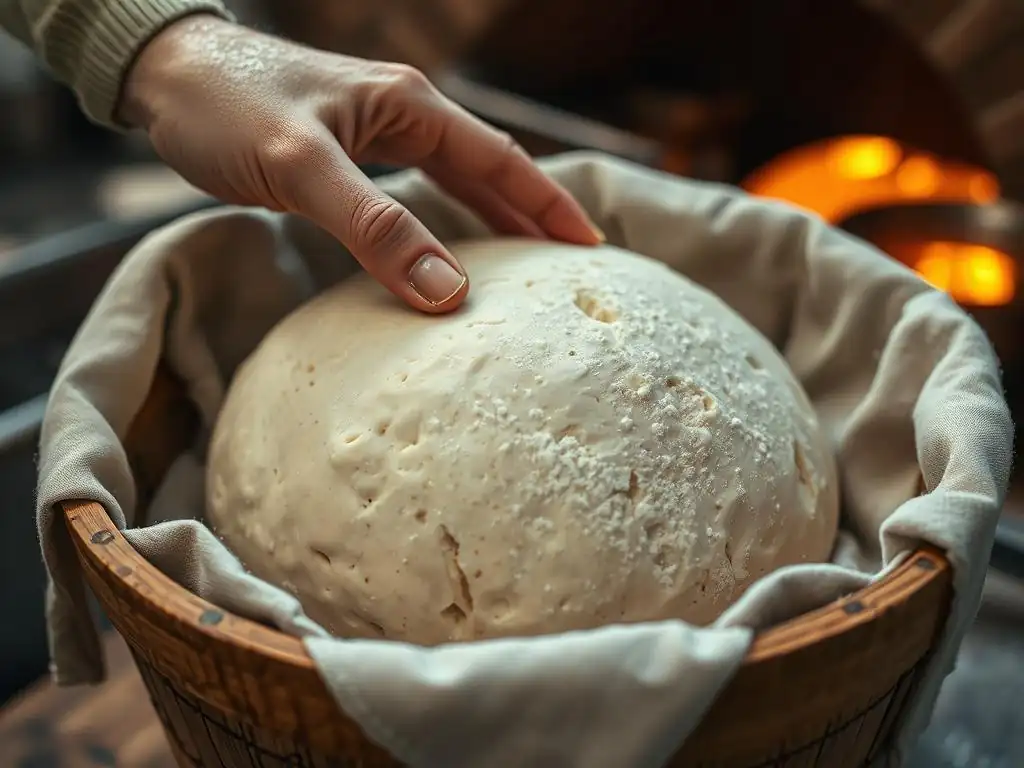
Shaping and Stretching Perfectly Proofed Pizza Dough
Once your pizza dough has reached its perfect state of proofing, handling it correctly during shaping is vital. A properly proofed dough should be relaxed, airy, and easy to stretch without tearing. Avoid aggressively punching down the dough, which can expel too much precious gas. Instead, gently ease the dough out of its container onto a lightly floured surface.
Using your fingertips, gently press the dough from the center outwards, leaving a small rim for the crust. Avoid using a rolling pin, which can crush the air bubbles. Instead, use your hands to gently stretch and rotate the dough, allowing gravity to help. The dough should feel pliable and expand easily. If it resists stretching and springs back, it might need a few minutes to relax (a mini-rest). This gentle handling preserves the airy structure developed during sourdough pizza dough proofing, ensuring a light and bubbly crust.
Baking Techniques for Optimal Crust and Flavor
The final step to a perfect pizza is the bake. High temperatures are key to achieving a crispy crust and good oven spring. Home ovens typically reach 500-550°F (260-290°C). Preheating your oven with a pizza stone or steel for at least 30-60 minutes is essential to store enough thermal energy for a quick, efficient bake. A pizza steel generally transfers heat more effectively than a stone, leading to a crispier bottom crust.
Slide the shaped and topped pizza onto the preheated stone or steel using a pizza peel. The intense heat from below instantly sets the base, while the oven's ambient heat cooks the toppings and puffs up the crust. Baking time is usually short, typically 5-10 minutes depending on the oven temperature and desired crust doneness. For sourdough pizza dough proofing, the longer fermentation contributes to better browning and a more complex flavor during the bake. Keep an eye on the pizza as it bakes, rotating it if necessary for even cooking.
Enjoying Your Homemade Pizza: Serving Suggestions
Once your perfectly proofed and baked pizza emerges from the oven, the final step is simple: enjoy it! Allow the pizza to cool for just a minute or two before slicing; this helps the cheese set slightly and prevents everything from sliding off.
Serve immediately to experience the optimal texture of the crust – crispy on the outside, airy and tender within, especially if you've mastered sourdough pizza dough proofing. Pair with a simple salad or a glass of wine. The satisfaction of biting into a pizza with a crust you've nurtured from flour and water through careful proofing is immense. Remember the visual cues and techniques you used, and apply them to your next batch for continuous improvement!
Conclusion: Mastering Visual Cues for Pizza Dough Proofing Success
Mastering pizza dough proofing, particularly for sourdough pizza dough proofing, is a journey that moves beyond rigid time schedules and into the realm of sensory observation. By learning to read the visual cues your dough provides – its volume increase, the appearance of its surface bubbles, and its reaction to the gentle poke test – you gain the ability to adapt to varying conditions and yeast activity.
This understanding allows you to consistently achieve the optimal state of proofing, leading to dough that is easy to shape, develops incredible flavor, and bakes into a crust with that perfect balance of crispness and airy chew. Embrace these visual guides, practice the techniques, and elevate your homemade pizza from good to truly exceptional.
Frequently Asked Questions
What are the key visual cues to look for when proofing sourdough pizza dough?
Look for a doubling in size, increased air bubbles, and a slightly domed appearance. These signs indicate active fermentation and a well-proofed dough.
How does temperature affect the sourdough pizza dough proofing process?
Higher temperatures will accelerate the proofing process, while lower temperatures will slow it down. Maintaining a consistent temperature is crucial for predictable results.
What happens if I over-proof my sourdough pizza dough?
Over-proofed dough will become deflated and sticky, making it difficult to handle. It will also result in a flat and dense pizza crust.
Can I proof sourdough pizza dough in the refrigerator?
Yes, cold-proofing in the refrigerator slows down fermentation, developing more complex flavors. This method requires a longer proofing time.
How do I know when my sourdough pizza dough is ready to be shaped?
The dough should be light and airy, with a slightly tangy aroma. Gently poke the dough; a slow spring-back indicates readiness.
Final Reflection: The Art and Science of Sourdough Pizza Dough Proofing
The perfect rise isn't just about timing; it's about understanding the visual cues that signal a sourdough pizza dough's readiness. Mastering this skill elevates your pizza-making experience from a simple recipe to a true culinary art, transforming your home kitchen into a Neapolitan pizzeria. The subtle shifts in texture and appearance are the key to unlocking that perfect, airy crust.
The journey of sourdough pizza dough proofing is a fascinating microcosm of the larger fermentation process, a dance between yeast, bacteria, and time. It's a testament to the power of observation and patience, mirroring the slow-food movement's emphasis on mindful creation. The best things in life are worth waiting for,
and this certainly applies to the rewarding process of perfectly proofed sourdough pizza dough. The subtle changes in the dough's appearance—from its initial modest rise to its final, almost ethereal lightness—are a constant source of wonder and learning, reminding me of the intricate beauty found in even the simplest of processes.
Now, it's your turn. Take what you've learned about visual cues—the gentle dome, the delicate air bubbles, the subtle give—and apply it to your next sourdough pizza dough. Don't just rely on timers; trust your eyes, your intuition, and the subtle whispers of the dough itself. Embrace the process, savor the anticipation, and experience the unparalleled satisfaction of crafting a pizza with a crust that's as perfect as the ingredients within. The journey to the perfect pizza begins with understanding the perfect proof.
Unlock Your Pizza-Making Potential!
Thanks for diving into the world of perfect pizza dough! You've now got the visual cues to nail that ideal texture every time. Ready to put your newfound skills to the test?
- Craft your masterpiece: Try making a pizza tonight using your new dough-reading skills! Embrace the experimentation!
- Share your success: Snap a picture of your perfectly risen dough or finished pizza and share it on social media—tag us @BakeWithEase! Let’s see those culinary creations!
- Explore advanced techniques: Dive deeper into our other articles on advanced baking techniques – you might discover a new favorite!
What unique pizza topping will you create with your perfectly-proven dough?