
GlutenFree Multigrain Bread Recipe Packed with Flavor

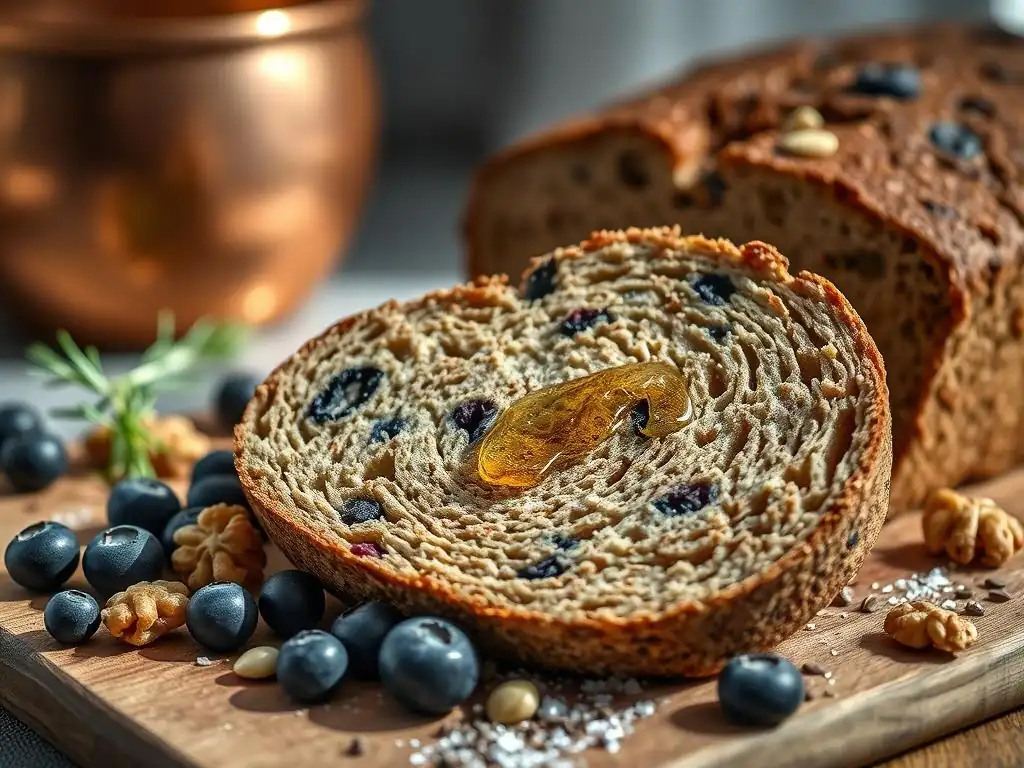
Welcome to BakeWithEase, your trusted companion on your baking journey! Are you ready to unlock the secrets to a truly exceptional, GlutenFree Multigrain Bread that doesn't compromise on flavor or texture? Discover our step-by-step guide and learn how to create this wholesome masterpiece in your own kitchen. But that's just the beginning! We've got a whole world of baking adventures waiting for you, from tantalizing pastries to perfect sourdough. What will you bake next?
Baking bread at home is a rewarding experience, and it's entirely possible to create delicious, satisfying loaves even when following a gluten-free diet. This guide is designed to help you master a fantastic gluten-free multigrain bread recipe that doesn't compromise on flavor or texture. We'll walk through the essential ingredients, techniques, and tips to ensure your gluten-free baking journey is successful and enjoyable.
- Introduction to Gluten-Free Multigrain Bread Baking
- Understanding Gluten-Free Baking Ingredients
-
BakeWithEase's Flavor-Packed Gluten-Free Multigrain Bread Recipe: A Step-by-Step Guide
- Ingredients You'll Need for Your Gluten-Free Multigrain Loaf
- Equipment Required for Successful Gluten-Free Bread Baking
- Step 1: Preparing the Gluten-Free Dough
- Step 2: Incorporating Multigrains for Texture and Flavor
- Step 3: Shaping and Proofing Your Gluten-Free Multigrain Bread
- Step 4: Baking to Perfection: Achieving a Golden Crust
- Tips and Tricks for the Best Gluten-Free Multigrain Bread
- Variations and Customizations for Your Gluten-Free Multigrain Bread
- Storing and Serving Your Homemade Gluten-Free Multigrain Bread
- Troubleshooting Common Gluten-Free Bread Baking Problems
- Enjoy Your Delicious Gluten-Free Multigrain Bread
-
Frequently Asked Questions
- What makes this gluten-free multigrain bread recipe different from others?
- Are the ingredients in this gluten-free multigrain bread recipe easy to find?
- Can I customize the multigrain blend in this bread recipe?
- What are some tips for achieving the best rise with gluten-free bread?
- How should I store this gluten-free multigrain bread to keep it fresh?
- Final Reflection: The Joy of Gluten-Free, Flavor-Packed Baking
- Unleash Your Inner Baker: Make This Gluten-Free Bread Today!
Introduction to Gluten-Free Multigrain Bread Baking
Embarking on the journey of baking gluten-free bread opens up a world of possibilities for those with sensitivities or preferences. Moving away from traditional wheat-based recipes requires understanding new ingredients and techniques, but the result is a wholesome, homemade loaf you can trust. This particular gluten-free multigrain bread recipe focuses on delivering robust flavor and a pleasing texture, often a challenge in gluten-free baking.
Discover the Joy of Baking Gluten-Free Bread at Home
There's a unique satisfaction in pulling a warm, fragrant loaf of bread from your oven, and this is absolutely achievable with gluten-free baking. Unlike store-bought options which can sometimes be dry or lack flavor, baking your own allows complete control over ingredients, ensuring freshness and quality. It's also a fantastic way to avoid hidden additives and tailor the bread precisely to your dietary needs and taste preferences, making this gluten-free multigrain bread recipe a staple in your kitchen.
Moreover, mastering gluten-free bread baking builds confidence and culinary skill. You learn how different flours interact, the importance of binders, and the nuances of dough hydration without gluten's elastic structure. This hands-on process demystifies what might seem complicated, turning it into an accessible and enjoyable part of your routine. Successfully baking a beautiful loaf of gluten-free multigrain bread from scratch is a truly joyful accomplishment.
Why Choose This Gluten-Free Multigrain Bread Recipe?
This specific gluten-free multigrain bread recipe stands out because it's meticulously developed to tackle common gluten-free challenges like dense texture and blandness. By carefully selecting a blend of flours and incorporating a generous amount of nutritious seeds and grains, we ensure every slice is packed with flavor and has a satisfying chew. The addition of seeds like flax, chia, and sunflower not only boosts the nutritional profile but also adds delightful pops of texture.
Furthermore, this recipe is designed with simplicity in mind, making it approachable for bakers of all levels. We break down each step, explaining the why behind the techniques, such as the importance of proper hydration or the role of proofing time. Our goal is to equip you with the knowledge to bake this delicious gluten-free multigrain bread recipe successfully time after time, achieving consistent, bakery-quality results in your own kitchen.
Understanding Gluten-Free Baking Ingredients
Gluten-free baking relies on a diverse array of ingredients that perform the functions typically handled by wheat gluten. Understanding these components is key to successful bread making. From the base flours to the binders and inclusions, each ingredient plays a vital role in the final texture, flavor, and structure of your gluten-free multigrain bread recipe.
Key Gluten-Free Flours for Multigrain Bread
Gluten-free bread often uses a blend of flours to achieve the desired structure and nutritional balance. Common choices include rice flour (brown or white), sorghum flour, millet flour, and buckwheat flour. Brown rice flour, for instance, provides a good base with a slightly nutty flavor, while sorghum flour adds tenderness and a mild sweetness. A typical blend might contain approximately 40% brown rice flour, 30% sorghum flour, and 30% other flours like tapioca starch or potato starch to improve texture and binding.
Using a variety of flours in this gluten-free multigrain bread recipe not only enhances the nutritional value but also contributes to a more complex flavor profile, moving beyond the sometimes-monotonous taste of single-flour breads. For example, buckwheat adds an earthy depth, and millet contributes a subtle sweetness and fine texture. Experimenting with different ratios within the blend can significantly impact the final outcome, allowing you to customize your multigrain loaf.
The Role of Binders in Gluten-Free Bread
Without the elastic network provided by gluten, gluten-free bread requires alternative binders to hold the dough together and give it structure. The most common binders are xanthan gum and psyllium husk. Xanthan gum, typically used at a rate of about 1 teaspoon per cup of gluten-free flour blend, provides elasticity and prevents crumbling. Psyllium husk, often used at a slightly higher ratio, perhaps 1 tablespoon per cup of flour blend, absorbs significant amounts of water and provides structure and a slightly chewy texture, mimicking some of gluten's properties.
In this gluten-free multigrain bread recipe, a combination of binders is often most effective. For instance, using 1 teaspoon of xanthan gum along with 1-2 tablespoons of whole psyllium husks (or ground psyllium at a lower amount) can create a dough that is easier to handle and a loaf with better volume and crumb structure. These binders are crucial for preventing the bread from becoming dense or falling apart, ensuring your multigrain creation holds its shape beautifully.
Adding Multigrain Goodness: Seeds and Grains
The "multigrain" aspect of this gluten-free multigrain bread recipe comes from the inclusion of various seeds and grains. These additions are not just for show; they significantly enhance flavor, texture, and nutritional value. Popular choices include flax seeds, chia seeds, sunflower seeds, pumpkin seeds, and even cooked quinoa or millet. Flax and chia seeds, when soaked, also contribute binding properties due to their mucilaginous nature.
Incorporating about 1/4 to 1/2 cup of a mix of these seeds and grains into the dough adds delightful crunch and visual appeal. For example, adding 2 tablespoons of chia seeds and 2 tablespoons of sunflower seeds provides a good balance of texture and nutrients. Soaking some of the seeds, like flax and chia, in a small amount of water before adding them to the dough can also improve the bread's moisture and prevent them from absorbing too much liquid from the dough itself, which helps prevent dryness.
BakeWithEase's Flavor-Packed Gluten-Free Multigrain Bread Recipe: A Step-by-Step Guide
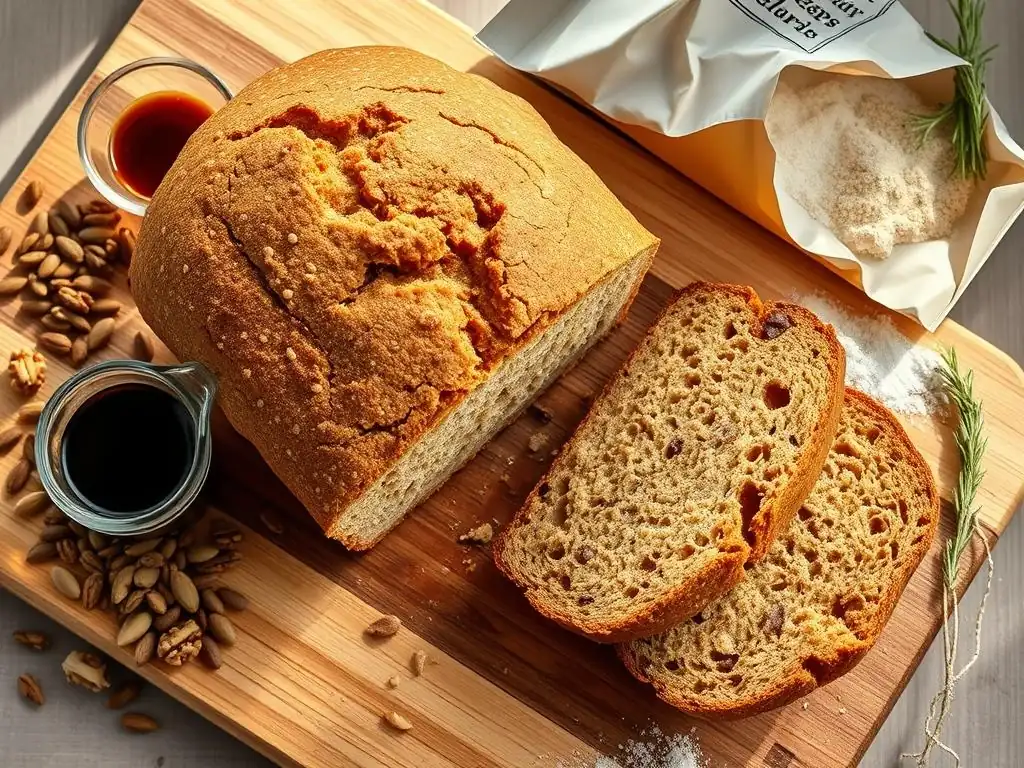
Ready to bake? This section provides a detailed, step-by-step guide to making our signature flavor-packed gluten-free multigrain bread recipe. Follow these instructions carefully, and you'll be rewarded with a delicious, wholesome loaf. Remember that gluten-free dough can be different from wheat dough, often being stickier or more like a thick batter, but trust the process!
Ingredients You'll Need for Your Gluten-Free Multigrain Loaf
Gathering all your ingredients before you begin ensures a smooth baking process. Accuracy in measuring gluten-free flours and binders is particularly important. Use a scale for best results, or the scoop-and-level method if using measuring cups.
*   Gluten-Free Flour Blend: 2 cups (approx. 280g), a mix of brown rice, sorghum, and starches recommended
*   Whole Psyllium Husks: 2 tablespoons (or 1.5 tablespoons ground psyllium)
*   Xanthan Gum: 1 teaspoon
*   Active Dry Yeast: 2.25 teaspoons (one standard packet)
*   Sugar or Honey: 1 tablespoon (feeds the yeast)
*   Salt: 1 teaspoon
*   Warm Water: 1.5 cups (approx. 105-115°F or 40-46°C)
*   Olive Oil or Melted Coconut Oil: 2 tablespoons
*   Apple Cider Vinegar: 1 teaspoon (helps with crumb structure)
*   Mixed Seeds & Grains: 1/4 to 1/2 cup (e.g., sunflower, pumpkin, flax, chia)
Ensure your yeast is fresh by proofing it in a small amount of the warm water with the sugar; it should become foamy within 5-10 minutes. The quality of your gluten-free flour blend can significantly impact the outcome, so using a reliable blend or creating your own consistent mix is crucial for this gluten-free multigrain bread recipe.
Equipment Required for Successful Gluten-Free Bread Baking
Having the right tools makes the baking process much easier and contributes to better results. You don't need a professional setup, but a few key items are very helpful for this gluten-free multigrain bread recipe.
- Large Mixing Bowl
- Measuring Cups and Spoons (or a Digital Scale for accuracy)
- Whisk
- Spatula or Wooden Spoon
- Loaf Pan (standard 9x5 inch)
- Parchment Paper
- Wire Cooling Rack
- Optional: Stand Mixer with Paddle Attachment (makes mixing easier)
Using parchment paper to line the loaf pan is highly recommended as gluten-free bread can sometimes stick. A digital scale provides the most accurate measurements for flour and binders, which is particularly beneficial in gluten-free baking where ratios are sensitive.
Step 1: Preparing the Gluten-Free Dough
Begin by whisking together the dry ingredients in your large mixing bowl: the gluten-free flour blend, psyllium husks, xanthan gum, yeast, sugar, and salt. Make sure these are well combined, as proper distribution of binders and yeast is vital for the structure and rise of your gluten-free multigrain bread recipe.
In a separate bowl or directly in the center of the dry ingredients (if using a stand mixer), combine the warm water, oil, and apple cider vinegar. Pour the wet ingredients into the dry ingredients. Mix on low speed with a stand mixer, or vigorously with a spatula or wooden spoon, until everything is just combined. The dough will be quite wet and sticky, more like a thick batter than traditional wheat dough. Mix for another 2-3 minutes to activate the binders and develop structure.
Step 2: Incorporating Multigrains for Texture and Flavor
Now it's time to add the "multigrain" goodness to your gluten-free multigrain bread recipe. Gently fold in your mixed seeds and grains. If you are using flax or chia seeds, ensure they have been pre-soaked if desired, and add them along with their soaking liquid.
Mix just until the seeds and grains are evenly distributed throughout the sticky dough. Avoid overmixing at this stage. The goal is to integrate the seeds without deflating the airy structure you've started to build. This step is crucial for achieving the signature texture and nutritional boost of this delicious multigrain loaf.
Step 3: Shaping and Proofing Your Gluten-Free Multigrain Bread
Line your loaf pan with parchment paper, leaving some overhang on the sides to help lift the bread out later. Wet your hands slightly or use a greased spatula to transfer the sticky dough into the prepared loaf pan. Smooth the top of the dough with the wet spatula.
Cover the loaf pan loosely with plastic wrap or a damp tea towel. Place the pan in a warm, draft-free place to proof. Gluten-free bread typically doesn't double in size like wheat bread; it will usually rise by about 30-50% over 45-60 minutes. The dough should look visibly puffier and feel lighter. Don't over-proof, as this can cause the loaf to collapse during baking.
Step 4: Baking to Perfection: Achieving a Golden Crust
Preheat your oven to 375°F (190°C). For a better crust, some bakers like to place a pan of hot water on the bottom rack to create steam. Once preheated and proofed, place your loaf pan in the oven.
Bake for 45-60 minutes. The baking time can vary based on your oven and the size of your loaf. The bread is done when the crust is a deep golden brown, and the internal temperature reaches around 200-210°F (93-99°C) when measured with an instant-read thermometer. If the top is browning too quickly, you can loosely tent it with foil during the last 15-20 minutes of baking.
Tips and Tricks for the Best Gluten-Free Multigrain Bread
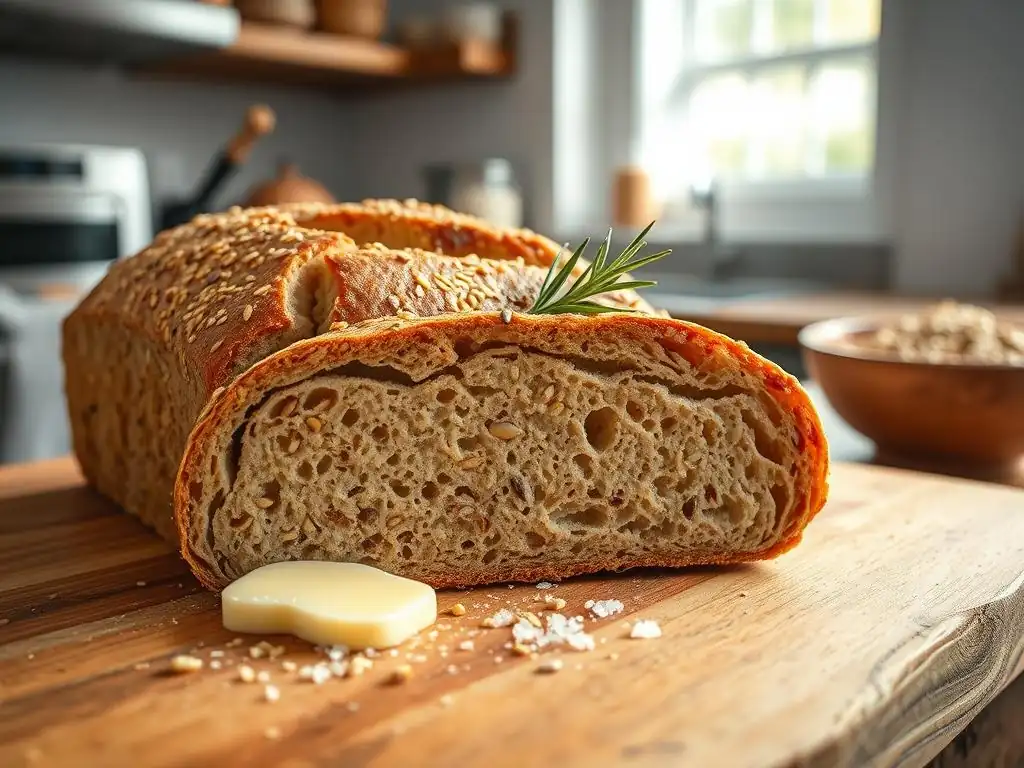
Baking gluten-free bread can have a slight learning curve compared to traditional baking. These tips and tricks, specifically tailored for this gluten-free multigrain bread recipe, will help you troubleshoot common issues and achieve consistently excellent results.
Preventing a Dense Gluten-Free Bread
Density is a common challenge in gluten-free baking due to the lack of gluten's airy structure. To combat this in your gluten-free multigrain bread recipe, ensure your yeast is active and that your leavening agents (yeast plus potentially baking powder or soda if the recipe calls for it, though this one primarily uses yeast) are fresh. Proper mixing to hydrate the binders (xanthan gum, psyllium) is also crucial; they need time and moisture to develop their gel-like properties that trap air.
Another key factor is hydration. Gluten-free doughs often require more liquid than wheat doughs. Ensure you use the full amount of liquid specified in the recipe, even if the dough seems very wet – this is normal for many gluten-free bread recipes. Over-measuring flour or under-measuring liquid are primary culprits for dense bread. Additionally, avoid over-handling the dough once the binders are hydrated; gentle shaping is best.
Maximizing Flavor in Gluten-Free Multigrain Bread
Beyond the inherent flavor of the multigrains, you can enhance the taste of your gluten-free multigrain bread recipe through several methods. Toasting the seeds and grains lightly before adding them to the dough brings out their nutty flavors. You can do this in a dry pan over medium heat for a few minutes until fragrant.
Using a flavorful liquid base instead of plain water, such as a milk alternative (like almond or oat milk) or even a bit of vegetable broth, can add subtle richness. Incorporating a small amount of a natural sweetener like honey or maple syrup (as included in this recipe) not only feeds the yeast but also contributes a pleasant background sweetness that balances the earthy notes of the multigrains. High-quality salt is also essential for bringing out all the flavors.
Achieving the Perfect Crust on Your Gluten-Free Loaf
Getting a good crust on gluten-free bread can sometimes be tricky. For this gluten-free multigrain bread recipe, baking at the correct temperature is vital – 375-400°F (190-200°C) is typically effective. Starting with a slightly higher temperature for the first 10-15 minutes can help set the crust quickly.
Creating steam in the oven during the initial baking phase also helps. You can do this by placing a metal pan on the bottom rack while the oven preheats and carefully pouring about a cup of hot water into it just before you put the bread in.
This steam keeps the surface of the dough moist, allowing it to expand fully before the crust hardens, resulting in a lighter crumb and a crispier crust. Baking until the internal temperature is correct (200-210°F) ensures the loaf is cooked through, preventing a gummy interior often associated with underbaked gluten-free bread, while also contributing to a firm crust.
Variations and Customizations for Your Gluten-Free Multigrain Bread
One of the joys of baking at home is the ability to customize. This gluten-free multigrain bread recipe serves as an excellent base for exploring different flavors and textures. Don't be afraid to experiment once you've successfully baked the core recipe a few times.
Adding Nuts and Dried Fruits for Extra Flavor
To add more richness and sweetness to your gluten-free multigrain bread recipe, consider incorporating chopped nuts or dried fruits. Walnuts, pecans, or almonds (about 1/4 cup) can add a lovely crunch and earthy flavor. Dried cranberries, raisins, or chopped apricots (about 1/4 to 1/3 cup) introduce bursts of sweetness.
Add nuts or dried fruits during the same step as the seeds and grains, folding them gently into the dough. For example, adding 1/4 cup chopped walnuts and 1/4 cup dried cranberries creates a delightful combination of textures and sweet-savory notes. Be mindful that dried fruits can add moisture, so if using a large amount, you might need a tiny adjustment to the liquid, though usually, the quantities suggested here won't require it.
Exploring Different Gluten-Free Flour Blends
While the recipe suggests a blend of rice, sorghum, and starches, you can certainly experiment with other gluten-free flour combinations. Using a store-bought all-purpose gluten-free blend is an easy option, but ensure it contains a mix of whole grains and starches and preferably includes a binder (if it doesn't, add the xanthan gum specified in the recipe).
You could try incorporating flours like teff, amaranth, or oat flour (ensure certified gluten-free oats). For instance, substituting some of the brown rice flour with teff flour can add a slightly malty flavor and darker color. Just remember that different flours absorb liquid differently, so you might need to slightly adjust the amount of water when modifying the blend for your gluten-free multigrain bread recipe. Start with small adjustments, perhaps swapping out only 1/4 cup of the specified flour blend for a new flour, and note the results.
Sweet vs. Savory: Adjusting the Recipe to Your Taste
This gluten-free multigrain bread recipe is inherently versatile and can lean sweet or savory depending on minor adjustments. For a slightly sweeter loaf, you can increase the sugar or honey amount by another tablespoon or two, or add a touch of cinnamon (about 1/2 teaspoon) along with the dry ingredients.
To make it more savory, reduce or omit the added sugar (the yeast will still activate with the sugars present in the flour). You can also incorporate savory additions like dried herbs (rosemary, thyme - 1-2 teaspoons), garlic powder (1/2 teaspoon), or even grated cheese (1/4 cup, added with the seeds). Replacing some of the water with vegetable or chicken broth can also enhance the savory profile.
Storing and Serving Your Homemade Gluten-Free Multigrain Bread
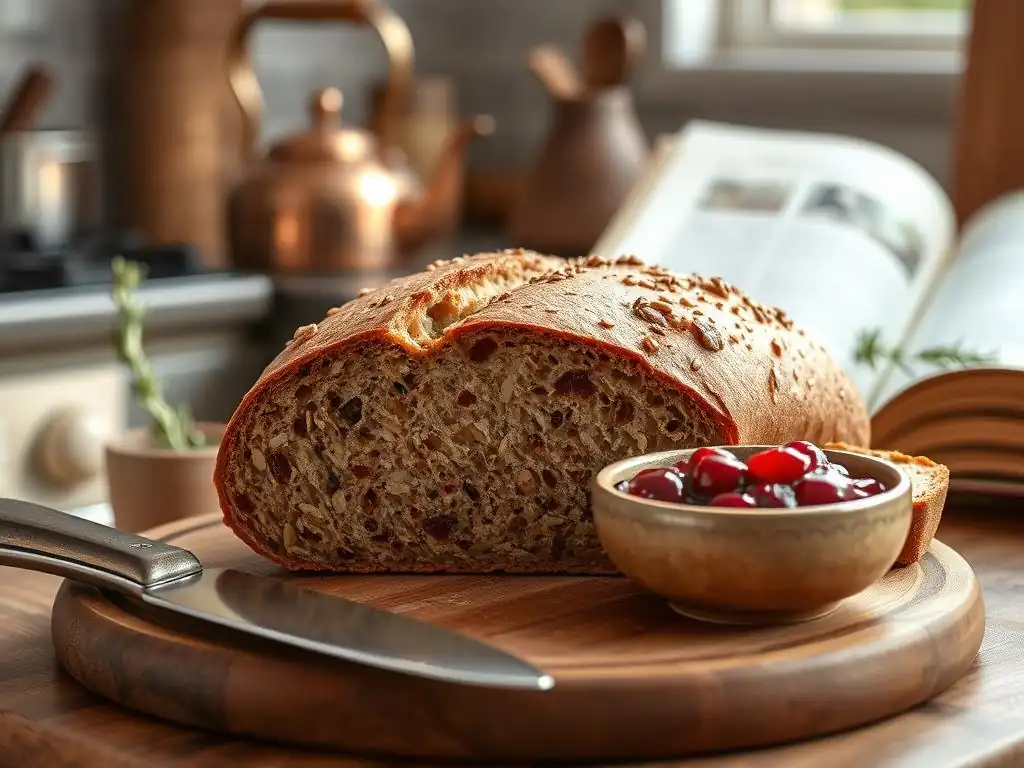
Once your delicious gluten-free multigrain bread recipe loaf is baked and cooled, proper storage is key to maintaining its freshness. Gluten-free bread can dry out faster than wheat bread, so keeping it correctly stored ensures you can enjoy its flavor and texture for longer.
Proper Storage Techniques for Freshness
Allow your gluten-free multigrain bread recipe to cool completely on a wire rack before slicing or storing. Slicing warm bread can make it gummy. Once fully cooled (this can take 2-3 hours), the best way to store it for immediate consumption (within 2-3 days) is at room temperature in a bread box or wrapped tightly in plastic wrap or beeswax wrap, then placed in a resealable bag.
For longer storage, slicing the cooled loaf and freezing the slices is highly recommended. Stack slices with parchment paper in between to prevent sticking, then place them in a freezer-safe bag or container. Frozen slices can be kept for up to 3 months. You can then toast slices directly from frozen for a quick and easy serving.
Serving Suggestions and Pairing Ideas
Your homemade gluten-free multigrain bread recipe is incredibly versatile! Enjoy it simply toasted with butter or your favorite spread. It makes fantastic sandwiches, holding up well to various fillings. Try it with avocado and a sprinkle of Everything Bagel seasoning, or with classic deli meats and cheese.
For breakfast, it's perfect for French toast or topped with nut butter and sliced banana. Its hearty texture and nutty flavor from the multigrains also make it a great accompaniment to soups and stews. Consider serving it alongside a warm bowl of lentil soup or a hearty beef stew to soak up all the delicious broth.
Troubleshooting Common Gluten-Free Bread Baking Problems
Even with a reliable gluten-free multigrain bread recipe, sometimes things don't go exactly as planned. Understanding common issues and how to address them will help you refine your technique and improve future bakes.
Addressing a Sticky Dough
A sticky dough is very common in gluten-free bread baking, often because these doughs are higher in hydration than wheat doughs to compensate for the lack of gluten elasticity. If your dough for this gluten-free multigrain bread recipe seems excessively sticky and difficult to handle even with wet or oiled hands, double-check your flour measurements. Too little flour relative to liquid is the main cause.
Ensure you are using accurate measurements, preferably by weight (grams). If measuring by volume, make sure you're not scooping flour directly from the bag, which can compact it; spoon it into the cup and level it off. If the dough is still too sticky after mixing according to the recipe, you can try adding a tablespoon or two more of your flour blend, mixing it in thoroughly, but avoid adding too much, as this will lead to a dry, dense loaf. Working with wet hands or a greased spatula during shaping is usually sufficient for handling the sticky dough.
Fixing a Collapsed Loaf
A loaf that rises nicely during proofing but then collapses in the oven or shortly after coming out can be disheartening. This often happens in gluten-free baking due to over-proofing or insufficient structure. If your gluten-free multigrain bread recipe loaf collapsed, it might have risen too much during the proofing stage before it had enough structural support from the binders to hold that height during baking.
Ensure you are proofing for the recommended time (around 45-60 minutes) and that the dough has only increased by about 30-50% in volume, not doubled. Also, verify that you used the correct amounts of psyllium husk and xanthan gum, as these binders are crucial for providing internal structure. Baking at the correct temperature is also important; if the oven is too cool, the crust sets too slowly, and the internal structure doesn't solidify before gravity takes over.
Avoiding a Gummy Texture
A gummy or wet texture inside your gluten-free multigrain bread recipe is typically a sign of underbaking or improper cooling. Gluten-free flours, especially starches, require adequate time and temperature to cook through and set properly.
Ensure you are baking the loaf for the full recommended time, or until the internal temperature reaches 200-210°F (93-99°C) using an instant-read thermometer. This is the most reliable indicator of doneness. Just because the crust looks golden doesn't mean the inside is fully cooked. Equally important is allowing the bread to cool completely on a wire rack. As the bread cools, residual heat continues the cooking process, and the internal structure sets. Slicing into a warm loaf will almost always result in a gummy texture. Patience during the cooling phase is key!
Enjoy Your Delicious Gluten-Free Multigrain Bread
Congratulations! You've successfully baked a flavorful, wholesome loaf using this gluten-free multigrain bread recipe. This homemade bread is not just an alternative; it's a truly delicious addition to your table, proving that gluten-free baking can be both simple and incredibly rewarding.
A Healthy and Flavorful Alternative
This gluten-free multigrain bread recipe offers a nutritious option packed with fiber, vitamins, and minerals from the diverse flours and seeds. It provides a satisfying taste and texture experience without the gluten, making it perfect for those with celiac disease or gluten sensitivity, or anyone simply looking to incorporate more variety into their diet. Enjoy the rich flavors and hearty texture you created yourself!
We love seeing what you bake! Share photos of your beautiful gluten-free multigrain bread recipe loaf and tell us about your baking experience. Connect with us on social media or leave a comment on the website. Your success inspires other home bakers in the BakeWithEase community. Keep baking, keep experimenting, and keep enjoying the process!
Frequently Asked Questions
What makes this gluten-free multigrain bread recipe different from others?
This recipe focuses on flavor and texture, often lacking in gluten-free breads. We achieve this through a specific blend of gluten-free flours and the addition of carefully selected multigrains for enhanced taste and nutritional value.
Are the ingredients in this gluten-free multigrain bread recipe easy to find?
Yes! We've designed the recipe using commonly available gluten-free flours and multigrain blends found in most supermarkets or online retailers. We also provide substitution suggestions if needed.
Can I customize the multigrain blend in this bread recipe?
Absolutely! While we provide a recommended blend, feel free to experiment with your favorite gluten-free grains and seeds. Just be mindful of the overall liquid absorption and adjust accordingly.
What are some tips for achieving the best rise with gluten-free bread?
Gluten-free dough often requires a little extra help. We recommend using xanthan gum to provide structure and proofing in a warm, humid environment to encourage optimal rise.
How should I store this gluten-free multigrain bread to keep it fresh?
For optimal freshness, store the cooled bread in an airtight container at room temperature for a few days. You can also slice and freeze it for longer storage, thawing slices as needed.
Final Reflection: The Joy of Gluten-Free, Flavor-Packed Baking
The demand for delicious and nutritious gluten-free options continues to rise, and this recipe offers a vibrant response to that need. This isn't just about avoiding gluten; it's about embracing a world of flavor and texture previously thought inaccessible to those with dietary restrictions. We've proven that a gluten-free multigrain bread can be both satisfying and incredibly flavorful, challenging the common perception of bland, dense gluten-free alternatives.
The journey of creating this recipe, from initial experimentation to the final, perfectly textured loaf, highlighted the importance of mindful ingredient selection and precise technique. It's a testament to the power of culinary creativity and the potential for deliciousness even within dietary constraints. The best bread is made with love, and a little bit of experimentation.
– This unspoken truth guided my process, and I hope it inspires you as well.
Now, I invite you to take this recipe and make it your own. Experiment with different grains, seeds, and spices to discover your perfect combination. Don't be afraid to tweak the recipe, to personalize it, to make it truly yours. The joy of baking lies not just in the final product, but in the process of creation, the exploration of flavors, and the satisfaction of sharing something delicious with loved ones. Embrace the challenge, embrace the flavor, and embrace the joy of gluten-free baking.
Unleash Your Inner Baker: Make This Gluten-Free Bread Today!
Thanks for taking the time to explore this delicious gluten-free multigrain bread recipe! We hope you found some inspiration and new baking ideas. Now it's time to put your skills to the test!
- Bake this bread! Follow the recipe and enjoy the amazing flavor and texture of this wholesome loaf. Let the aroma fill your kitchen!
- Share your baking journey! Post a picture of your creation on social media and tag us – we’d love to see it!
- Explore more gluten-free recipes on our site for even more delicious and healthy baking options.
Ready to experience the joy of baking this incredible gluten-free bread? What unique twist will you add to this recipe to make it your own?