
Reviving Overproofed Dough: Advanced Fixes for a Second Chance

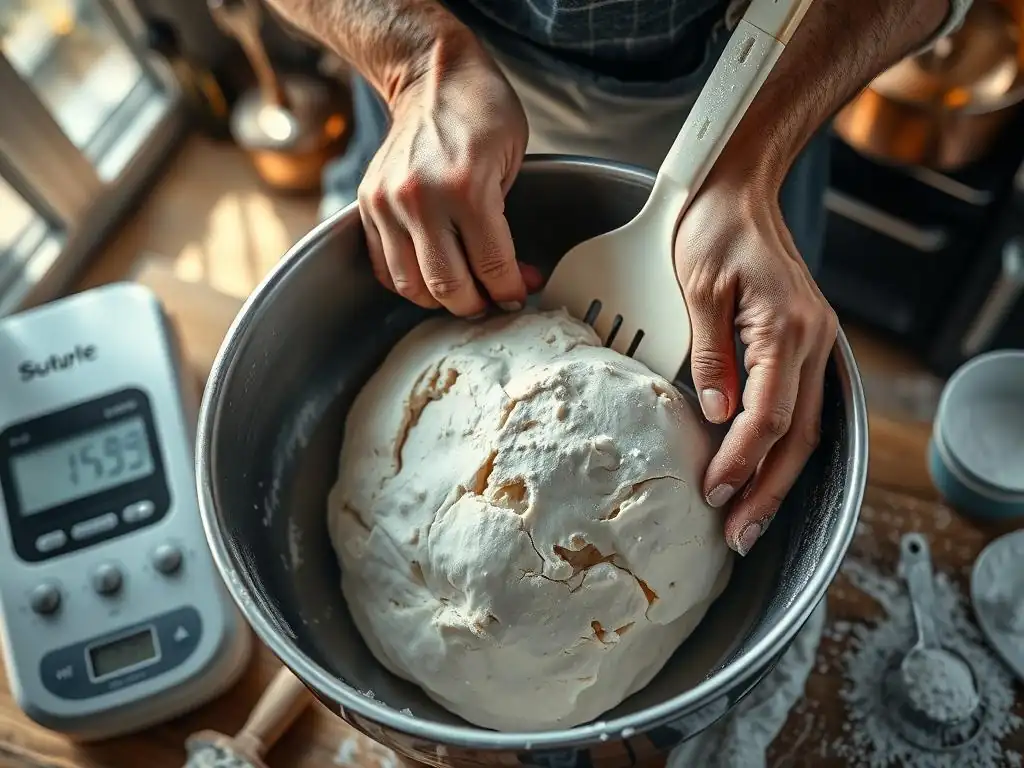
Welcome to BakeWithEase, where baking becomes a joy! Have you ever watched your bread dough rise a little too high, leaving you wondering if it's destined for the bin? Don't despair! Our latest article delves into the secrets of overproofed dough salvage tips, offering advanced techniques to rescue your baking projects and transform potential disasters into delicious triumphs. Curious how to breathe new life into your dough? Let's get started!
- Reviving Overproofed Dough: Advanced Fixes for a Second Chance - BakeWithEase
- Understanding Overproofed Dough: Recognizing the Signs
- Overproofed Dough Salvage Tips: Advanced Techniques for Rescue
- Overproofed Pizza Dough: Specific Salvage Strategies
- Preventing Overproofing: Proactive Dough Management
- Troubleshooting: Common Issues When Rescuing Overproofed Dough
- Baking with Salvaged Dough: Expectations and Adjustments
- Conclusion: Mastering the Art of Dough Revival
- Frequently Asked Questions
- Final Reflection: The Sweet Taste of Second Chances
- Rescue Your Dough: Bring Your Bread Back to Life!
Reviving Overproofed Dough: Advanced Fixes for a Second Chance - BakeWithEase
Dealing with dough that has proofed for too long can be frustrating, especially when you've invested time and effort. Overproofing is a common mishap, but it doesn't always spell disaster. With the right techniques, you can often bring your dough back from the brink and still bake something delicious. This guide offers advanced overproofed dough salvage tips to help you understand what went wrong and how to apply effective rescue strategies.
Understanding Overproofed Dough: Recognizing the Signs
Knowing how to spot overproofed dough is the first step in attempting a rescue. It's a state where the yeast has produced too much gas, and the gluten structure, which holds that gas, has weakened significantly. Catching it early improves your chances of success.
Identifying Overproofed Dough: A Baker's Checklist
When dough proofs perfectly, it doubles in size, feels airy, and springs back slowly when gently poked. Overproofed dough, however, shows different characteristics. One key sign is excessive volume gain, often more than double or even triple, followed by a potential collapse or deflation. For example, a dough meant to double in 1.5 hours at 24°C might look ready in just 45 minutes but then start to sag after an hour.
Another tell-tale sign is the smell. Instead of a pleasant, slightly yeasty aroma, overproofed dough can develop a strong, sometimes pungent or alcoholic odor, indicating that the yeast has consumed most of the available sugars and is entering a different metabolic stage. The texture will also be noticeably different; it might feel fragile, sticky, and lack elasticity. A poke test on overproofed dough will likely result in the indentation remaining without springing back, or the dough might even deflate upon touching.
The Science Behind Overproofing: What Happens to the Dough
Overproofing occurs when the yeast remains active for too long, consuming the available sugars and producing carbon dioxide gas and alcohol. Initially, this gas production is beneficial, expanding the dough and creating an open structure. However, yeast activity also triggers enzymatic processes within the dough. Specifically, enzymes called proteases start breaking down the gluten proteins.
Gluten is the network of proteins that gives dough its structure and elasticity, allowing it to trap the gases produced by the yeast. When proteases work for an extended period, especially at warm temperatures, they weaken this gluten network. As the gluten breaks down, it can no longer hold the accumulating gas effectively. This results in the dough losing tension, becoming fragile, and eventually collapsing. The sugars available for the Maillard reaction (which contributes to crust browning) and yeast activity in the oven are also depleted, potentially leading to a paler crust and less oven spring.
Overproofed Dough Salvage Tips: Advanced Techniques for Rescue
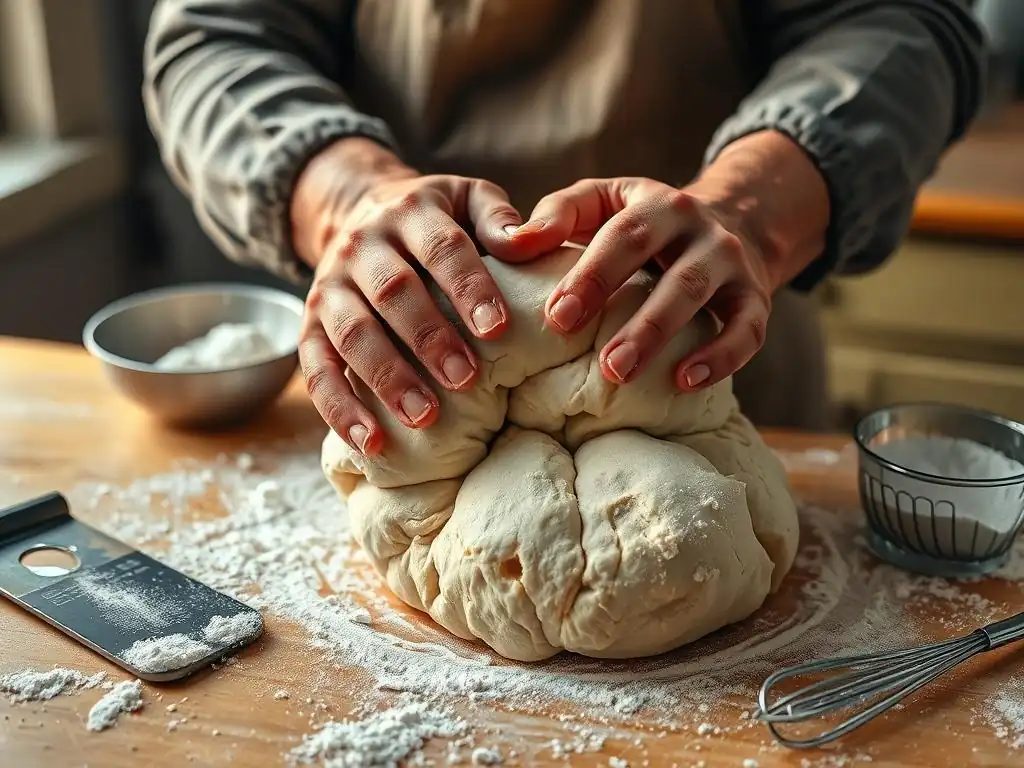
Salvaging overproofed dough requires understanding the underlying issues – weakened gluten and excessive gas/yeast activity – and applying techniques to counteract them. These overproofed dough salvage tips focus on rebuilding structure and rebalancing the dough.
Technique 1: The Gentle Knock-Back - Reclaiming Dough Elasticity
The knock-back, or degassing, is a standard step in many bread recipes, but it can be a particularly effective overproofed dough salvage tip when done gently. Its purpose is to redistribute the yeast and sugar, even out the temperature, and expel some of the excess gas, allowing the gluten to relax and be re-worked.
How to Gently Degas Overproofed Dough: A Step-by-Step Guide
To gently degas overproofed dough, avoid the aggressive punching often shown in older recipes. Instead, turn the dough out onto a lightly floured surface. Using wet hands or a dough scraper, gently fold the edges of the dough towards the center. Work your way around the dough, effectively deflating it without tearing or stretching it too much. Aim to form a relatively smooth ball or log.
Once folded, you can gently press down on the dough to release more gas, but again, avoid forceful punching. The goal is to collapse the large gas pockets and bring the dough back to a more manageable state, allowing the weakened gluten strands to come into closer contact so they can potentially bond again during a brief rest or subsequent step. This process typically takes only a minute or two for a standard loaf-sized dough (around 500g flour).
When and Why to Use the Knock-Back Method
The gentle knock-back is most effective when the dough is only slightly overproofed – perhaps it has doubled and is just starting to look a little too airy or show signs of slight deflation. It works by giving the yeast a temporary setback and allowing you to reshape the dough, often followed by a much shorter secondary proofing period or heading straight to baking if the dough is still holding some structure.
Use this method when the dough hasn't completely collapsed and still has some semblance of elasticity, though it might feel weaker than intended. It's less effective for severely overproofed dough that is completely slack and tearing easily, as the gluten structure is too far gone for simple manipulation to rebuild it significantly. The knock-back helps redistribute nutrients and yeast cells, potentially giving the dough a final, albeit smaller, push in the oven.
Technique 2: The Dough Strengthening Mix-In - Adding Structure and Integrity
When dough is significantly overproofed, the gluten structure may be severely compromised. Simply degassing might not be enough. Adding a small amount of fresh flour and potentially other strengthening ingredients can provide the necessary structure to salvage the dough. This is a more advanced overproofed dough salvage tip for challenging cases.
Incorporating Flour and Other Ingredients to Revitalize Weak Dough
To incorporate flour into overproofed dough, turn the dough out onto a clean surface. Sprinkle a small amount of flour (start with 1-2 tablespoons for a typical 500g flour recipe) over the dough. Gently fold and knead the dough just enough to incorporate the new flour. Avoid overworking, as the existing gluten is weak. You are essentially adding new protein and structure to the mix.
For even greater effect, consider incorporating a small amount of vital wheat gluten (often just 1-2 teaspoons per 500g flour). This concentrated protein source can significantly boost the dough's structural integrity quickly. Another option is to incorporate a small piece of fresh, active dough if you happen to have some on hand – the active yeast and fresh gluten network can help revitalize the overproofed batch. Work these additions in gently until just combined.
Choosing the Right Flour for Overproofed Dough Recovery
When adding flour to overproofed dough, the type of flour matters. Using bread flour is often the best choice because it has a higher protein content (typically 12-14%) compared to all-purpose flour (10-12%). The extra protein helps to quickly rebuild the weakened gluten network.
While whole wheat or rye flours can add structure due to their fiber content, they can also make the dough denser and may absorb liquid differently, potentially making the dough harder to handle. Stick to bread flour or all-purpose flour with a relatively high protein content (check the package if possible, aiming for 11% or higher) for the most straightforward overproofed dough salvage attempt using this method. The goal is to add strength without introducing new complexities.
Technique 3: The Cold Fermentation Reset - Slowing Down Yeast Activity
One of the most effective overproofed dough salvage tips, particularly if you catch the dough just as it's becoming overproofed, is to dramatically slow down the yeast activity. Cold fermentation in the refrigerator is an excellent way to do this.
Using Cold Temperatures to Rebalance Overproofed Dough
Cold temperatures significantly slow down yeast activity. While yeast doesn't stop working entirely in the fridge, its metabolic rate is drastically reduced. For context, yeast activity can decrease by roughly half for every 8°C (about 15°F) drop in temperature below its optimal range. Placing overproofed dough in a refrigerator, typically maintained between 2-4°C (35-39°F), nearly halts the rapid gas production that caused the overproofing.
This cold period allows the weakened gluten structure a chance to firm up slightly. It also gives enzymes like proteases less time to break down gluten further. While the gluten won't magically repair itself completely, the cold environment stabilizes the dough and prevents further deterioration, buying you time and making the dough easier to handle and reshape once it warms up slightly.
Cold Fermentation Times for Best Results
The ideal cold fermentation time for salvaged overproofed dough depends on how overproofed it was initially. If it was only slightly overproofed, a cold rest of 4-12 hours might be sufficient to slow things down and allow you to reshape and bake.
For dough that was more significantly overproofed and perhaps required a gentle knock-back or flour mix-in, a longer cold fermentation period of 12-24 hours, or even up to 48 hours, might be beneficial. This extended cold rest further develops flavor and gives the dough maximum time to recover some stability. When you're ready to bake, take the dough out of the fridge and let it warm up slightly (perhaps 30-60 minutes) before attempting to shape or bake, as cold dough is less pliable.
Overproofed Pizza Dough: Specific Salvage Strategies
Pizza dough often presents unique challenges when it comes to overproofing. Its typically high hydration and the desire for a light, airy crust mean that a healthy, active dough is crucial. When pizza dough overproofs, the results can be particularly disappointing.
Why Pizza Dough is Particularly Vulnerable to Overproofing
Pizza dough, especially popular Neapolitan or New York styles, often uses relatively high hydration levels, sometimes 65% or more water compared to the flour weight. Higher hydration makes the dough softer and more extensible, but it also means the gluten structure needs to be robust to support the water and trap gases. This delicate balance can be easily disrupted.
Furthermore, many pizza dough recipes call for relatively short, warm proofing times followed by high-temperature baking. This encourages rapid gas production. If left unchecked for even a short period beyond its peak, perhaps just 30-60 minutes too long in a warm kitchen, the dough can quickly overproof, losing its structure and becoming sticky and difficult to handle. The window between perfectly proofed and overproofed can be surprisingly narrow for some pizza dough recipes.
Repairing Overproofed Pizza Dough: A Pizza Maker's Guide
Salvaging overproofed pizza dough requires careful handling. The goal is to restore just enough structure to allow for stretching and baking without making the crust too dense. One effective overproofed dough salvage tip for pizza is to gently degas the dough (as described in Technique 1) and then reshape it into balls.
After reshaping, give the dough balls a very short rest, perhaps 15-30 minutes at room temperature, before attempting to stretch them. Alternatively, place the reshaped dough balls back into the refrigerator for a few hours (4-8 hours is often sufficient for pizza dough) to firm up the gluten and slow any remaining yeast activity. This cold rest makes the dough much easier to handle and stretch without tearing. Avoid adding excessive flour when handling, as this can make the crust tough.
Adjusting Hydration Levels in Overproofed Pizza Dough for Pizza
Overproofed dough often feels excessively wet and sticky because the weakened gluten can no longer hold the water effectively. When dealing with overproofed pizza dough that feels too sticky, resist the urge to dump large amounts of flour onto it or your work surface. This can drastically change the hydration ratio and result in a tough crust.
Instead, use a minimal amount of flour on your hands and work surface, just enough to prevent sticking. If the dough is severely slack and sticky, you can gently fold in a tiny amount (perhaps 1-2 teaspoons per pizza dough ball) of fresh flour, ideally bread flour, using the technique described earlier. Work it in just until the dough is manageable. Alternatively, rely on the cold fermentation reset (Technique 3) to firm up the dough, making it easier to handle without adding extra flour.
Preventing Overproofing: Proactive Dough Management
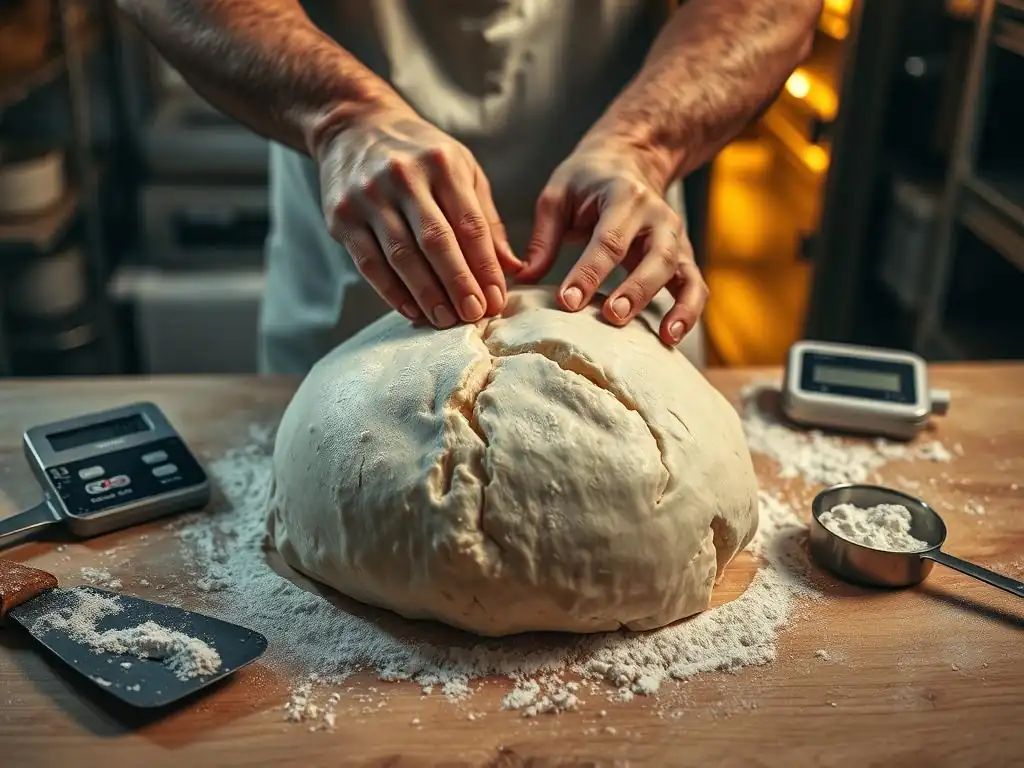
While overproofed dough salvage tips are useful, prevention is always better than a cure. Understanding and controlling the factors that influence proofing time will significantly reduce the chances of overproofing.
Mastering Proofing Time: Avoiding Overproofed Dough in the First Place
Proofing time isn't an exact science, as it's heavily influenced by temperature, yeast activity, and ingredients. However, understanding the typical ranges for your recipe is key. Most standard bread doughs made with commercial yeast will double in volume at room temperature (20-24°C / 68-75°F) within 1 to 2 hours.
To avoid overproofing, start checking your dough before the recipe's stated proofing time is up. Look for visual cues (discussed below) rather than relying solely on the clock. If you anticipate being away or know your kitchen is warm, consider reducing the amount of yeast slightly or starting the proof in a cooler spot. For example, reducing instant yeast from 1% to 0.7% of the flour weight can add significant buffer time to the proof.
Temperature Control: Your Ally in Perfect Proofing
Temperature is arguably the most critical factor in controlling yeast activity. Warmer temperatures accelerate fermentation, while cooler temperatures slow it down. The "ideal" proofing temperature varies depending on the desired outcome, but a consistent temperature is more important than a specific number.
Aim for a stable environment, ideally between 24-26°C (75-79°F) for many standard recipes, unless the recipe specifies otherwise (e.g., for slow, cold proofs). Avoid placing dough directly in a sunny window or next to a hot oven. If your kitchen is cold, find a warmer spot or use a proofing box or the oven with the light on (ensure it doesn't get too hot, ideally below 30°C / 86°F). Conversely, if your kitchen is very warm, proofing might take only half the time stated in the recipe, so monitor closely or consider proofing in a slightly cooler area.
Visual Cues: Learning to Read Your Dough's Progress
Learning to read your dough is a skill developed with practice, but certain visual cues are reliable indicators of proofing progress. Start by observing the dough's volume increase. For the first rise, dough is typically ready when it has roughly doubled in size.
Look at the surface: perfectly proofed dough will have a smooth, domed surface, perhaps with a few small bubbles visible just beneath the skin. The poke test is also invaluable: gently press your finger into the dough about half an inch deep. If the indentation springs back immediately, the dough needs more time. If it stays completely, it's likely overproofed. If it springs back slowly, leaving a small indentation, it's usually perfectly proofed and ready for the next step.
Troubleshooting: Common Issues When Rescuing Overproofed Dough
Even with the best overproofed dough salvage tips, you might encounter common issues during the rescue process or when baking the salvaged dough. Knowing how to address these can improve your results.
Dealing with Sticky, Unmanageable Dough
Overproofed dough often becomes excessively sticky and difficult to handle due to the breakdown of gluten and the release of moisture. If your salvaged dough is still very sticky after attempting a rescue technique, avoid the temptation to add large amounts of flour while shaping.
Instead, use minimal flour on your hands and work surface, or try using wet hands or a dough scraper to manipulate the dough. If adding a small amount of flour didn't help, giving the dough a period of cold rest (Technique 3) is often the most effective way to make it less sticky and more manageable. Cold temperatures firm up the dough structure, making it easier to shape without it sticking everywhere. Patience and gentle handling are key.
Preventing Dough Collapse During Baking
A major risk when baking overproofed or salvaged dough is that it might collapse in the oven instead of achieving oven spring. This happens because the weakened gluten structure cannot support the final burst of gas production stimulated by the oven's heat. While you can't fully restore the original strength, you can take steps to minimize collapse.
Ensure the dough has had adequate time to recover some structure, ideally through a cold rest. Handle the dough gently during shaping to preserve any remaining gas and structure. Baking the dough in a supportive environment, like a loaf pan or a Dutch oven, can provide physical support as it bakes, helping it hold its shape and potentially achieve some limited rise. A slightly hotter oven temperature initially might also help set the crust quickly, providing a scaffold for the interior.
Baking with Salvaged Dough: Expectations and Adjustments
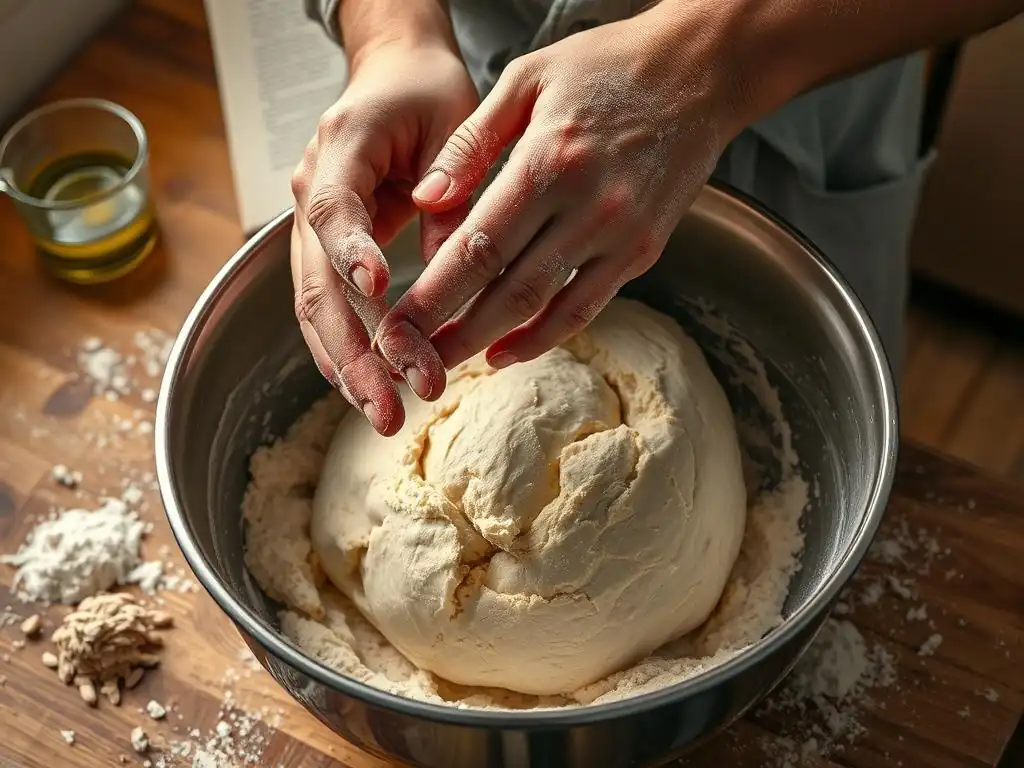
It's important to manage your expectations when baking with dough that has been rescued from overproofing. While you can often produce a perfectly edible loaf or pizza, the final product will likely differ from one made with perfectly proofed dough.
Understanding the Texture and Flavor of Baked Salvaged Dough
Baked goods made from salvaged overproofed dough may have a denser texture compared to their perfectly proofed counterparts. The weakened gluten structure means the dough couldn't trap as much gas, resulting in a less open crumb structure. The crust might also be paler because the yeast consumed more of the available sugars during the extended proofing time, leaving fewer for the Maillard reaction during baking.
In terms of flavor, salvaged dough can sometimes have a slightly tangier or more alcoholic note. This is due to the increased metabolic activity of the yeast and potentially other microorganisms (like lactobacilli in sourdough) over the extended proofing period. While not always undesirable, especially in certain bread types, it's a characteristic difference to expect.
Adjusting Baking Times for Overproofed Dough
While the core baking temperature might remain the same as the original recipe, you might need to make slight adjustments to the baking time when working with salvaged overproofed dough. Because the dough may not achieve as much oven spring and might be slightly denser, it could potentially require a few extra minutes of baking to ensure the interior is fully cooked.
Conversely, if the dough is very fragile and seems likely to collapse, a slightly shorter bake might be necessary to prevent it from drying out completely. Monitor the internal temperature (aim for 93-99°C / 200-210°F for most bread) and the color of the crust to determine doneness, rather than relying solely on the clock. Pay close attention, as salvaged dough can sometimes brown unevenly or more quickly on the surface if residual sugars are concentrated there.
Conclusion: Mastering the Art of Dough Revival
Encountering overproofed dough is a learning opportunity, not a failure. By understanding the signs, the science behind it, and applying advanced overproofed dough salvage tips, you can rescue many batches that would otherwise be discarded. Techniques like the gentle knock-back, adding structure with flour, and especially using the cold fermentation reset, provide powerful tools for recovery.
While salvaged dough may yield slightly different results in texture and flavor, it's a testament to a baker's adaptability. Learning to prevent overproofing through careful timing and temperature control is the ultimate goal, but knowing how to troubleshoot and apply these overproofed dough salvage tips ensures that your baking journey is filled with fewer disappointments and more delicious successes. Keep baking, keep learning, and embrace the challenge!
Frequently Asked Questions
How can I tell if my dough is overproofed?
Overproofed dough often appears deflated and sticky, and may have a sour or alcoholic smell. It might also collapse easily when touched.
What's the first thing I should try if I suspect my dough is overproofed?
The initial step is often to gently deflate the dough and reshape it. This redistributes the gases and strengthens the gluten structure.
Can I still bake with slightly overproofed dough?
Yes, you can often still bake with slightly overproofed dough. Expect a denser texture and perhaps a less oven spring.
Are there any ingredients I can add to overproofed dough to improve it?
Adding a small amount of flour can help to absorb excess moisture and strengthen the gluten, potentially improving the dough's structure.
When is overproofed dough beyond saving?
If the dough has completely collapsed, has a very strong, unpleasant odor, and is extremely sticky and unmanageable, it's likely beyond salvaging.
Final Reflection: The Sweet Taste of Second Chances
The fight against overproofed dough isn't just a battle in the kitchen; it's a metaphor for resilience in the face of setbacks. Many bakers, both amateur and professional, have experienced the disheartening slump of a dough that's risen too far, seemingly beyond repair. This article has explored various techniques to salvage such situations, offering practical solutions and a renewed perspective on what was once considered a culinary catastrophe. The ability to revive overproofed dough is a testament to the power of resourcefulness and the rewarding nature of perseverance.
The impact of this seemingly small culinary challenge extends far beyond the baking bowl. It speaks to a larger cultural narrative of embracing imperfection and finding opportunity within failure. We live in a society that often prioritizes perfection, leading to feelings of inadequacy when things don't go as planned. Learning to salvage overproofed dough, however, teaches us a valuable lesson in adaptability and problem-solving. It reminds us that even in the face of apparent defeat, there's often a path to redemption. The greatest glory in living lies not in never falling, but in rising every time we fall.
- Nelson Mandela. This quote perfectly encapsulates the spirit of reclaiming a ruined dough and transforming it into something delicious.
Now, consider your own "overproofed dough" moments – those times when a project, a relationship, or even a personal goal seems irrevocably compromised. Remember the techniques discussed in this article: the gentle kneading, the strategic additions, the patient waiting. Apply that same mindful approach to your own life. Don't be afraid to experiment, to adapt, and to find creative solutions. You might be surprised at the delicious results you can achieve when you embrace the possibility of a second chance, transforming what seemed like a failure into something truly remarkable.
Rescue Your Dough: Bring Your Bread Back to Life!
Thanks for taking the time to learn how to revive overproofed dough! You've now got the knowledge to tackle even the trickiest baking situations. Ready to put your newfound skills to the test?
- Immediately try the repair method outlined in the article that best suits your situation – you might be surprised at the results!
- Share your baking triumphs (and challenges!) in the comments below. Let's learn from each other's experiences.
- Explore other advanced baking techniques on BakeWithEase.com to further expand your skills.
What unexpected ingredient or technique will you try next to rescue your dough from disaster?