
Easy NoKnead Sourdough Rye Bread Recipe

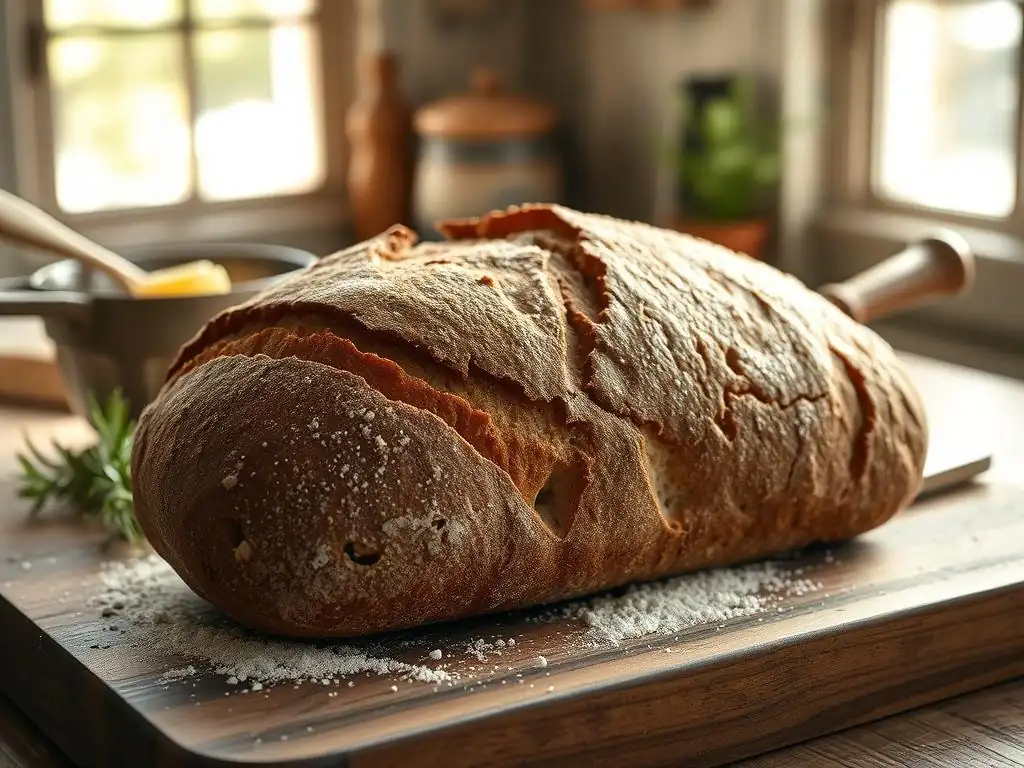
Welcome to BakeWithEase, your trusted companion in the kitchen! Discover the joy of baking, regardless of your skill level. Ever dreamed of crafting a delicious, crusty loaf of sourdough rye bread with minimal effort? Our guide to easy noknead sourdough rye baking unlocks the secrets to artisan-quality bread at home. Read on to learn how simple it is to create a flavorful and satisfying loaf!
- Easy No-Knead Sourdough Rye Bread Recipe: BakeWithEase
- Introduction to Effortless Sourdough Rye Baking
- Understanding Sourdough Rye: Key Ingredients & Their Roles
-
The Easy No-Knead Sourdough Rye Bread Recipe: A Step-by-Step Guide
- Step 1: Preparing Your Rye Sourdough Starter
- Step 2: Mixing the Dough: The No-Knead Technique
- Step 3: Bulk Fermentation: Developing Flavor and Structure
- Step 4: Shaping Your Sourdough Rye Loaf
- Step 5: Proofing the Shaped Rye Dough
- Step 6: Baking Your No-Knead Sourdough Rye Bread
- Step 7: Cooling and Enjoying Your Freshly Baked Rye Bread
- Tips for Perfecting Your No-Knead Sourdough Rye
- Variations & Add-ins for Your Sourdough Rye Recipe
- Storing and Enjoying Your Homemade Sourdough Rye
- Conclusion: Embrace the Ease of No-Knead Sourdough Rye
-
Frequently Asked Questions
- What makes this sourdough rye recipe "no-knead"?
- What kind of rye flour should I use for this recipe?
- How long does the sourdough starter need to be active before baking?
- Can I substitute any ingredients in this Easy NoKnead Sourdough Rye Bread?
- How do I store my Easy NoKnead Sourdough Rye Bread after baking?
- Final Reflection: The Unexpected Joys of Effortless Sourdough Rye
- Unleash Your Inner Baker: Craft the Perfect Rye
Easy No-Knead Sourdough Rye Bread Recipe: BakeWithEase
Introduction to Effortless Sourdough Rye Baking
Discover the Simplicity of No-Knead Sourdough Rye Bread
Embarking on the sourdough journey can seem daunting, especially when visions of vigorous kneading and complex schedules fill your mind. However, mastering an easy no-knead sourdough rye loaf is far more accessible than you might think. This method dramatically simplifies the process, relying on time rather than manual effort to develop the gluten structure necessary for a beautiful crumb. It's a perfect entry point for beginners or a welcome relief for experienced bakers seeking a less labor-intensive way to enjoy the tangy depth of sourdough rye.
The beauty of this easy no-knead sourdough rye approach lies in its minimal hands-on time. Unlike traditional methods that require 10-15 minutes of stretching and folding, the no-knead technique often involves just a few initial mixes followed by a long, slow fermentation. This extended rest period, typically ranging from 12 to 24 hours at room temperature (around 68-75°F or 20-24°C), allows enzymes to break down proteins and carbohydrates, naturally strengthening the dough and building complex flavors. The result is a rustic, flavorful loaf with a satisfying crust and a moist, dense crumb characteristic of rye.
Why Choose a No-Knead Method for Sourdough Rye?
Opting for a no-knead method when baking sourdough rye bread offers distinct advantages. Firstly, rye flour behaves differently than wheat flour due to its lower gluten content and higher levels of pentosans, which are water-absorbing gums. Traditional kneading can make high-rye doughs sticky and difficult to handle. The no-knead method sidesteps this issue entirely, as you are not required to develop gluten structure through physical manipulation. Instead, the dough hydrates thoroughly over time, and the limited gluten available develops slowly and naturally.
Secondly, the long fermentation inherent in the easy no-knead sourdough rye process significantly enhances flavor development. The wild yeasts and lactic acid bacteria in the sourdough starter have ample time to produce a wider range of organic acids and volatile compounds, contributing to the characteristic tang and aroma of sourdough.
This slow process also makes the bread potentially more digestible for some individuals compared to quick-rise loaves. Furthermore, the hands-off nature means less time spent actively working the dough and more time letting the magic happen on its own, making it ideal for busy schedules – mix before bed, bake in the morning!
Understanding Sourdough Rye: Key Ingredients & Their Roles
The Power of Rye Flour in Sourdough Baking
Rye flour is a fascinating ingredient that brings unique qualities to bread, especially when combined with sourdough. Unlike wheat, rye contains fewer gluten-forming proteins (glutenin and gliadin). While it does contain some, the gluten network formed is weaker and less elastic. This is why high-rye breads tend to be denser and flatter than wheat loaves. However, rye flour is rich in soluble fibers, particularly pentosans, which absorb significantly more water than wheat starch – sometimes up to 10 times their weight! This high water absorption contributes to the moist, long-lasting crumb of rye bread.
The composition of rye also influences fermentation. Rye flour ferments differently than wheat, often producing a more acidic dough. This acidity is beneficial in sourdough rye baking as it helps the weak gluten structure maintain stability during fermentation and baking. The complex carbohydrates in rye also provide a rich food source for the sourdough starter, promoting robust activity. When making an easy no-knead sourdough rye, understanding these properties helps manage expectations regarding dough handling (it will be stickier) and final texture (it will be denser than a typical wheat loaf).
Sourdough Starter: The Heart of Flavor and Rise
Your active sourdough starter is the irreplaceable engine driving your easy no-knead sourdough rye bread. It's a living culture, a symbiotic community of wild yeasts and lactic acid bacteria thriving on a mixture of flour and water. The wild yeasts consume sugars in the flour, producing carbon dioxide gas which causes the bread to rise. The lactic acid bacteria produce various organic acids, primarily lactic and acetic acid, which give sourdough its signature tangy flavor and contribute to its structure and shelf life.
An active starter is crucial for success. It should be fed regularly and show clear signs of vitality: doubling or tripling in size within 4-8 hours after feeding (depending on temperature and hydration), having numerous bubbles visible throughout and on the surface, and smelling pleasantly tangy, sometimes slightly alcoholic.
Using a starter that is past its peak or not sufficiently active will result in a dense, under-risen loaf. For this easy no-knead sourdough rye recipe, using a starter fed with a mix including some rye flour can further enhance the rye flavor profile and ensure the starter is well-adapted to the rye-rich environment of the dough.
Essential Ingredients for Your No-Knead Rye Bread
Beyond your vigorous sourdough starter and the star ingredient, rye flour, several other basic components are essential for crafting your easy no-knead sourdough rye bread. High-quality bread flour or all-purpose flour often accompanies rye flour in recipes; this wheat flour provides gluten structure to help the loaf hold its shape and achieve better volume than a 100% rye loaf. The ratio of rye to wheat flour will significantly impact the bread's density and flavor intensity. A common starting point might be 40-60% rye flour blended with wheat.
Water is another critical component, hydrating the flours and allowing the starter to work effectively. The hydration level (ratio of water to flour) will determine the dough's consistency, with higher hydration resulting in a wetter, stickier dough that is typical for no-knead methods and beneficial for rye.
Salt is vital for flavor, controlling fermentation speed, and strengthening the gluten network (even the weak one in rye). While some recipes might include a touch of sweetener like molasses or honey, or even caraway seeds for classic rye flavor, the core ingredients for an easy no-knead sourdough rye are simply active sourdough starter, rye flour, wheat flour, water, and salt.
The Easy No-Knead Sourdough Rye Bread Recipe: A Step-by-Step Guide
Step 1: Preparing Your Rye Sourdough Starter
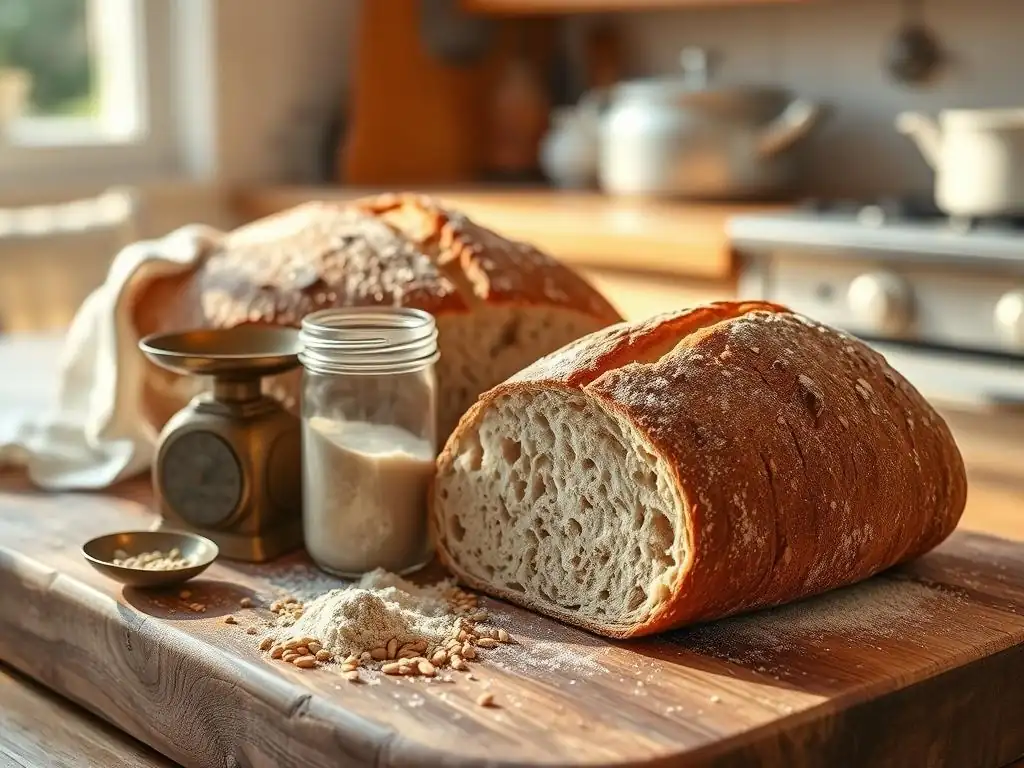
To begin your easy no-knead sourdough rye journey, ensure your starter is active and ready. This typically involves feeding your starter 4-8 hours before you plan to mix the dough, using a ratio that allows it to peak around the time you need it.
For example, feeding 50g of starter with 100g of flour (a mix of rye and wheat is good here) and 100g of water (1:2:2 ratio) at room temperature (around 75°F or 24°C) might take 4-6 hours to reach its peak. You know it's ready when it has roughly doubled or tripled in volume, has a domed top, and passes the float test (a small dollop dropped in water floats).
Measure out the required amount of active starter for your recipe, typically between 100-200 grams for a standard loaf. Return the rest of your starter to its usual storage method (counter or fridge). Using a starter at its peak ensures maximum leavening power for your easy no-knead sourdough rye dough, providing the necessary lift during the long fermentation period. Don't skip this activation step; it's fundamental to a well-risen loaf.
Step 2: Mixing the Dough: The No-Knead Technique
The mixing step for an easy no-knead sourdough rye is refreshingly simple. In a large mixing bowl, combine your measured active sourdough starter with the specified amount of lukewarm water (around 80-85°F or 27-29°C is ideal). Whisk gently to break up the starter. Then, add your rye flour, wheat flour, and salt. If your recipe includes other dry ingredients like seeds or caraway, add them now.
Using a sturdy spoon or spatula, mix everything together until no dry pockets of flour remain. The dough will be shaggy, wet, and sticky – this is perfectly normal for a high-hydration, no-knead rye dough. Do not attempt to knead it smooth like a traditional bread dough. Just ensure all ingredients are incorporated. Scrape down the sides of the bowl, cover tightly with plastic wrap or a damp towel, and let it rest. This initial mixing is the most "active" part of preparing your easy no-knead sourdough rye dough.
Step 3: Bulk Fermentation: Developing Flavor and Structure
Bulk fermentation is where the magic truly happens for your easy no-knead sourdough rye. This is the long, hands-off rest period where the starter works its wonders, producing gases that create air pockets and developing complex flavors. Place your covered bowl in a warm, draft-free spot. The ideal temperature range is typically between 70-78°F (21-26°C). If your kitchen is cooler, the fermentation will take longer; if warmer, it will be faster.
Allow the dough to ferment for 12 to 18 hours, or until it has significantly increased in volume (often doubling or close to it) and the surface shows numerous bubbles. The dough might also appear more airy and slightly domed. The exact time will vary based on your starter's activity and room temperature.
During this time, you are not required to perform any folds, staying true to the easy no-knead sourdough rye philosophy. This extended rest allows the rye flour to fully hydrate and the natural enzymes to begin breaking down starches into sugars for the yeast, contributing significantly to the final taste and texture.
Step 4: Shaping Your Sourdough Rye Loaf
After the long bulk fermentation, your easy no-knead sourdough rye dough will be soft, bubbly, and sticky. Lightly flour your work surface with rice flour (which is less likely to stick) or wheat flour. Gently scrape the dough out of the bowl using a bowl scraper. Avoid degassing the dough too much; handle it with care to preserve the air pockets.
Shape the dough into a round or oval loaf depending on how you plan to proof and bake it. Since rye dough is less elastic, shaping is more about coaxing it into a taut form than creating strong surface tension. For a boule (round), gently fold the edges into the center several times, then flip the dough over and lightly cup your hands around it, rotating to create surface tension.
For a batard (oval), fold one third down, then the other third up over it, and finally fold it in half lengthwise, sealing the seam. Be gentle; aggressive handling will deflate your easy no-knead sourdough rye.
Step 5: Proofing the Shaped Rye Dough
Proofing is the final rise before baking, allowing the shaped loaf to lighten up further. It's crucial for achieving good oven spring. Place your shaped easy no-knead sourdough rye dough seam-side up in a floured proofing basket (banneton) or a bowl lined with a floured linen towel. Ensure the basket/bowl is well-floured, especially if using high-rye dough, as it is prone to sticking. Rice flour works exceptionally well for preventing sticking.
Cover the proofing basket with plastic wrap or a plastic bag to prevent the dough from drying out. You can proof at room temperature for 1-3 hours, or for a longer, flavor-developing proof, refrigerate the dough for 8-16 hours. A refrigerated proof also makes the sticky rye dough much easier to handle when transferring it to the baking vessel. The dough should look puffy but not overly expanded; an over-proofed rye loaf can collapse in the oven. Pressing gently with a floured finger should leave a slight indentation that springs back slowly.
Step 6: Baking Your No-Knead Sourdough Rye Bread
Baking your easy no-knead sourdough rye typically involves a hot oven and some method to create steam, which helps the crust expand before hardening. Preheat your oven with your baking vessel (like a Dutch oven, baking stone with a steam tray, or clay baker) inside to a high temperature, usually 450-500°F (230-260°C), for at least 30-60 minutes. A Dutch oven is ideal for no-knead loaves as it traps steam effectively.
Carefully invert your proofed dough into the preheated Dutch oven or onto your hot baking surface. Score the top of the loaf with a sharp razor blade or knife – a simple cross or a single slash works well for rye. Quickly cover the Dutch oven (if using) or add steam to your oven, then bake for 20-25 minutes with the lid on (or with steam).
This creates a moist environment for maximum oven spring. After this initial phase, remove the lid (or steam setup) and continue baking for another 20-30 minutes, or until the crust is deeply browned and the internal temperature reaches 200-210°F (93-99°C).
Step 7: Cooling and Enjoying Your Freshly Baked Rye Bread
Patience is key after baking your beautiful easy no-knead sourdough rye loaf. Resist the urge to slice into it immediately! Transfer the hot bread to a wire rack to cool completely. This cooling period is crucial for several reasons. Internally, the bread is still cooking as steam escapes and the crumb structure sets. Slicing too early can result in a gummy texture.
A standard-sized loaf typically needs at least 2-3 hours to cool fully. For denser rye loaves, cooling for 4 hours or even longer is recommended for the best texture and flavor. As it cools, the crust will crisp up further, and the complex flavors developed during the long fermentation will become more pronounced. Once your easy no-knead sourdough rye is completely cool, slice it with a serrated knife and savor the fruits of your simple labor.
Tips for Perfecting Your No-Knead Sourdough Rye
Achieving the Ideal Dough Consistency
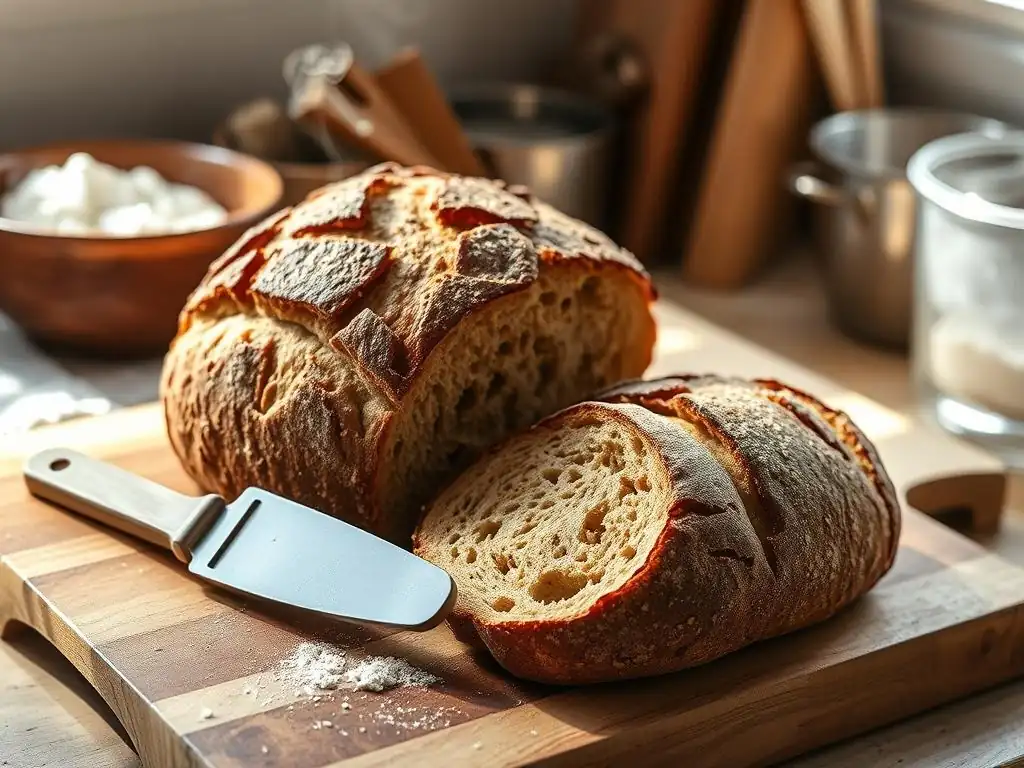
Mastering the feel of the dough is key to consistent results with your easy no-knead sourdough rye. The hydration level in no-knead rye recipes is often high (75% or more relative to the flour weight), resulting in a very wet and sticky dough. It should resemble a thick batter or a very wet dough that cannot be handled easily without wet hands or a scraper.
If your dough feels too stiff after mixing, you may need to add a tablespoon or two of water. If it feels excessively soupy, you might need to add a small amount of flour (a tablespoon at a time) to bring it to the right consistency.
Remember that rye flour absorbs water more slowly and differently than wheat. The dough will become slightly less sticky over the long fermentation period as the flours fully hydrate. Trust the recipe's hydration level as a starting point, but be prepared to make small adjustments based on your specific flour types and the humidity in your kitchen. A dough that is too dry won't develop properly, while one that is too wet might be difficult to shape and could spread excessively during baking.
Troubleshooting Common Sourdough Rye Bread Problems
Even with an easy no-knead sourdough rye recipe, challenges can arise. If your loaf is dense and flat, the most common culprits are an inactive starter or insufficient fermentation time. Ensure your starter is vigorous and has at least doubled before mixing. If your kitchen is cool, extend the bulk fermentation time. Another issue can be over-proofing, where the dough rises too much before baking and then collapses; proofing for too long, especially at warm temperatures, can exhaust the yeast.
Sticky dough that's hard to handle is typical for rye, but excessive stickiness might indicate too high hydration or insufficient flour in the mix. Use generous flouring (especially rice flour) on your work surface and proofing basket. If the crust is pale or soft, your oven might not be hot enough, or you didn't bake it long enough uncovered. Ensure your oven is fully preheated with the baking vessel, and bake until the internal temperature is correct and the crust is a deep golden brown.
Mastering the Sourdough Rye Baking Schedule
Creating a successful easy no-knead sourdough rye often comes down to timing. The long bulk fermentation is the cornerstone of this method. A typical schedule might look like this: feed your starter in the morning (e.g., 8:00 AM), mix the dough in the afternoon once the starter is peaked (e.g., 1:00 PM), let it bulk ferment overnight at room temperature (e.g., 1:00 PM to 7:00 AM the next day), shape the dough in the morning (e.g., 7:00 AM), proof for a few hours at room temperature or refrigerate for a longer period, and then bake.
Alternatively, you can mix the dough in the evening, let it bulk ferment overnight (12-16 hours), shape it in the morning, and then do a shorter room-temperature proof (1-3 hours) before baking. The key is to observe the dough's activity rather than strictly adhering to a clock – it should look airy and increased in volume after bulk fermentation. Adapting the schedule to fit your life is part of the ease of this easy no-knead sourdough rye method.
Variations & Add-ins for Your Sourdough Rye Recipe
Exploring Different Rye Flour Types
Rye flour comes in various types, each offering a slightly different flavor and texture profile for your easy no-knead sourdough rye. Light rye flour (or white rye) has had most of the bran and germ removed, resulting in a milder flavor and lighter color, behaving somewhat closer to wheat flour. Medium rye flour contains more of the outer layers and has a more pronounced rye flavor and darker color.
Dark rye flour uses nearly the entire rye kernel, including more bran and germ. It imparts a strong, earthy flavor and a dark color, leading to a denser loaf. Pumpernickel flour is a very coarse grind of whole rye. Using different percentages of these rye types in your easy no-knead sourdough rye recipe will significantly alter the final bread. Experimenting with a blend, like half light rye and half medium rye, can help you find your preferred balance of flavor and texture.
Adding Seeds and Grains for Texture and Flavor
Incorporating seeds and grains is a classic way to enhance sourdough rye bread, adding delightful texture, nutty flavors, and nutritional value to your easy no-knead sourdough rye. Common additions include caraway seeds (a traditional pairing with rye), sunflower seeds, pumpkin seeds, flax seeds, or a mix of various seeds. You can add them directly to the dough during the initial mixing step.
Some recipes call for pre-soaking grains or seeds in hot water for an hour or two before adding them to the dough. This process, called a soaker or tangzhong (though more common in enriched wheat breads, the principle applies to hydrating grains), prevents them from absorbing moisture from the dough during fermentation, which could otherwise result in a drier loaf. A typical addition might be 50-100 grams of seeds per loaf, mixed into the dough along with the flour and salt.
Creating a Unique Sourdough Rye Profile with Spices
Beyond seeds, spices can elevate the flavor of your easy no-knead sourdough rye bread, offering a different dimension to the inherent tang of the sourdough and the earthiness of the rye. Caraway seeds are the most traditional spice, providing a distinct aromatic note often associated with deli-style rye bread. You can use whole seeds or ground caraway, typically adding 5-15 grams per loaf depending on desired intensity.
Other spices that pair well with rye include coriander, fennel seeds, or a blend of these, sometimes referred to as "deli rye spice." A pinch of ground allspice or even cocoa powder can add depth and complexity, particularly to darker rye loaves. Add spices during the initial dough mixing phase, just like the flour and salt. Experiment with small amounts (1-5 grams of ground spice) in your easy no-knead sourdough rye to find combinations you love.
Storing and Enjoying Your Homemade Sourdough Rye
Keeping Your Sourdough Rye Bread Fresh
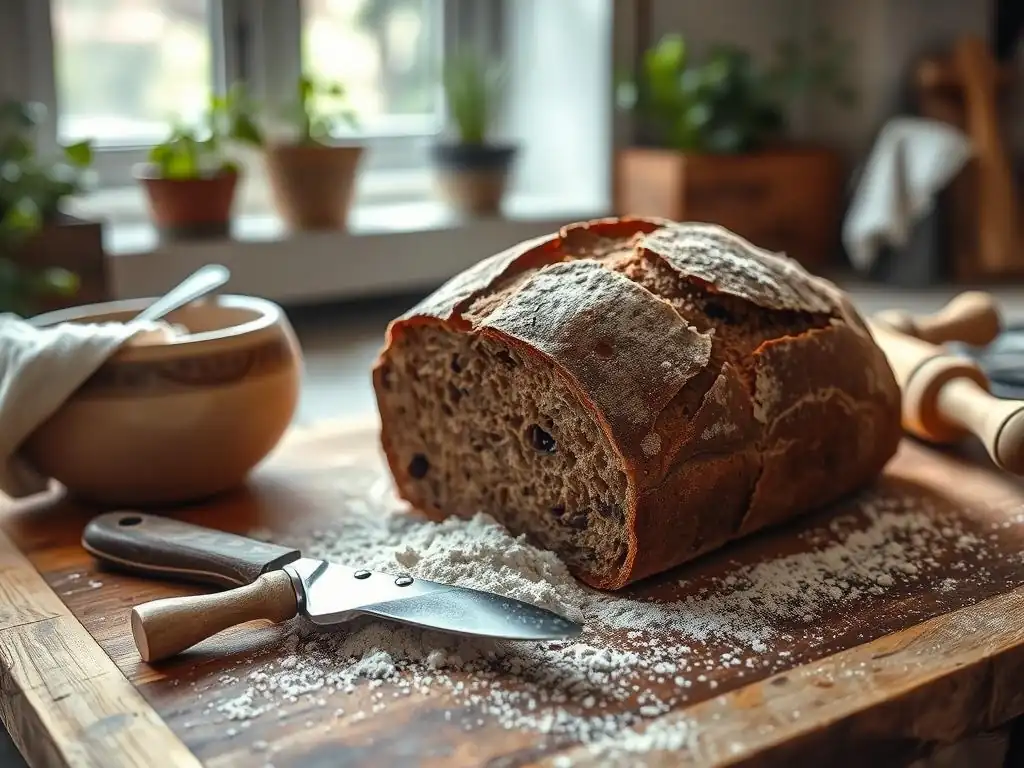
Proper storage is essential to maintain the quality of your homemade easy no-knead sourdough rye bread. Once completely cooled, store the loaf at room temperature. Avoid refrigerating sourdough bread, as this can accelerate the staling process by altering the starch structure within the crumb. The high rye content and acidity of sourdough naturally give it a longer shelf life than commercial yeast breads, often staying fresh for 3-5 days.
Wrap the loaf in a linen bread bag, a cotton towel, or place it cut-side down on a cutting board. For longer storage, especially if you won't finish the loaf within a few days, freezing is an excellent option. Slice the cooled bread and place the slices in a freezer-safe bag or wrap the whole loaf tightly in plastic wrap followed by aluminum foil. Frozen sourdough rye can last for several months. Thaw slices as needed at room temperature or pop them directly into a toaster.
Delicious Ways to Serve and Savor Your Rye Bread
Your delicious easy no-knead sourdough rye bread is incredibly versatile and can be enjoyed in numerous ways. Its robust flavor pairs wonderfully with savory toppings. Think classic pairings like pastrami or corned beef for a perfect deli sandwich, smoked salmon and cream cheese, or sharp cheddar cheese. The dense, moist crumb holds up well to hearty ingredients.
Beyond sandwiches, toasted slices make a fantastic base for open-faced tartines topped with avocado, smoked fish, or various spreads. It's also excellent served simply with butter, especially if it's a flavorful cultured butter. Consider using slightly stale rye bread for croutons in soups or salads, or for making breadcrumbs. The unique tang and texture of your homemade easy no-knead sourdough rye will elevate many simple meals and snacks.
Conclusion: Embrace the Ease of No-Knead Sourdough Rye
Your Journey to Effortless Homemade Rye Bread Begins Now
You now have the knowledge and steps to bake your own delicious easy no-knead sourdough rye bread. This method demystifies the process, proving that artisanal quality bread is achievable in your home kitchen without strenuous effort. By understanding the role of rye flour, nurturing an active starter, and allowing time to do the work, you can produce a loaf with deep flavor, satisfying texture, and a rustic appeal.
The beauty of this easy no-knead sourdough rye approach lies in its simplicity and forgiveness. It encourages observation and patience rather than precise manual technique. So, gather your ingredients, activate your starter, and embark on this rewarding baking adventure. The aroma of freshly baked rye bread filling your home is an unparalleled reward.
We love seeing what our community bakes! Once you've successfully baked your first (or tenth!) easy no-knead sourdough rye loaf using our guide, we encourage you to share your results. Whether it's a photo of your beautiful crust, a snapshot of the airy crumb, or a description of how you enjoyed your loaf, sharing your experience helps inspire others.
Connecting with fellow bakers is a wonderful part of the baking journey. Celebrate your accomplishment in making easy no-knead sourdough rye and show off your stunning bread. Every bake is a learning experience, and your success can motivate someone else to try this simple yet rewarding recipe. Happy baking!
Frequently Asked Questions
What makes this sourdough rye recipe "no-knead"?
This recipe eliminates the need for traditional kneading by using a long fermentation process. This allows the dough to develop gluten strength naturally.
What kind of rye flour should I use for this recipe?
You can use either light, medium, or dark rye flour, depending on your preference. Just be aware that darker rye will result in a more intense rye flavor.
How long does the sourdough starter need to be active before baking?
Your starter should be doubled in size and bubbly after feeding. This usually takes 4-8 hours, depending on the strength of your starter and the room temperature.
Can I substitute any ingredients in this Easy NoKnead Sourdough Rye Bread?
While substitutions can be made, be mindful of how they'll affect the recipe. Changing the flour type will alter the texture and flavor, and altering the hydration may require adjustments.
How do I store my Easy NoKnead Sourdough Rye Bread after baking?
Store the cooled bread in a bread bag or airtight container at room temperature for up to 3 days. For longer storage, slice and freeze it.
Final Reflection: The Unexpected Joys of Effortless Sourdough Rye
The simplicity of no-knead sourdough baking belies its profound impact on our relationship with food. This recipe, designed for the home baker seeking ease and deliciousness, transcends mere instruction; it's a gateway to a deeper connection with the process of creation and the satisfaction of sharing homemade bread. The ease of the method democratizes sourdough, making this complex bread accessible to everyone.
The journey of making this sourdough rye, from the initial starter activation to the satisfying crusty loaf, is a microcosm of life itself – requiring patience, attention, and a willingness to embrace the unexpected. The subtle tang, the complex flavors, the satisfying chew – these are rewards that extend beyond the simple act of eating. They represent a mindful engagement with ingredients and process, a counterpoint to the often rushed pace of modern life. Bread is the staff of life,
they say, and in making it, we reconnect with something fundamental and deeply human.
Now, I invite you to embark on your own sourdough rye adventure. Don't be intimidated by the seemingly complex nature of sourdough; this recipe proves that delicious, artisanal bread can be within everyone's reach. Try it, share it, and experience the joy of creating something beautiful and nourishing with your own two hands. The satisfaction is immeasurable, and the taste? Unforgettable.
Unleash Your Inner Baker: Craft the Perfect Rye
Thanks for joining us on this sourdough rye journey! We hope you’ve gained the confidence to tackle this delicious and surprisingly simple bread. Now it’s time to put your newfound knowledge into action.
- Bake your own masterpiece: Use this recipe as a springboard – experiment with different flours, seeds, or even add-ins to create your signature rye. This is your chance to truly personalize this recipe!
- Share your success (or your struggles!): We'd love to see your creations! Post a picture of your loaf on social media using #BakeWithEaseRye and tag us – let's inspire each other!
- Dive deeper into sourdough: Explore our other sourdough recipes on BakeWithEase.com for even more baking adventures.
Ready to transform your kitchen into a bakery? What unique twist will you add to your next sourdough rye?