
The Ultimate Guide to Baguette Proofing for an Airy Crumb

Welcome to BakeWithEase, where we believe everyone can create bakery-worthy masterpieces at home.
Ever wondered if you're really getting the most out of your baguette dough? Achieving that perfect airy crumb and crisp crust hinges on a crucial step: proofing. Dive into our Baguette Proofing Time Guide and unlock the secrets to perfectly proofed baguettes, every single time. Discover the telltale signs, avoid common pitfalls, and elevate your bread baking game today. Let's get baking!
- Mastering Baguette Proofing for an Open Crumb
- Introduction to Baguette Proofing: Achieving Optimal Texture and Flavor
- Understanding Baguette Dough Composition and Proofing Requirements
- Baguette Proofing Time: Key Factors and Considerations
- A Practical Guide to Baguette Proofing: Step-by-Step
- Tips and Tricks for Consistent Baguette Proofing
- Avoiding Common Baguette Proofing Errors
- Baking Your Proofed Baguette: Achieving the Perfect Bake
- Advanced Baguette Proofing Techniques for Experienced Bakers
- Conclusion: Achieving Baguette Perfection Through Mastering Proofing
- Frequently Asked Questions
- Final Reflection: The Art and Science of the Perfect Baguette Proof
- Unleash Your Inner Boulanger: Perfect Baguette Proofing Awaits!
Mastering Baguette Proofing for an Open Crumb
Introduction to Baguette Proofing: Achieving Optimal Texture and Flavor
Why Proper Proofing is Essential for Baguette Quality
Proper baguette proofing is arguably the most critical stage in crafting those iconic French loaves with a light, airy crumb and a thin, crisp crust. It's the phase where the yeast works its magic, fermenting the dough and producing carbon dioxide gas. This gas creates the internal structure – the network of air pockets – that defines a great baguette's texture.
Without adequate proofing, the dough remains dense, resulting in a tight, heavy crumb that lacks the characteristic open structure. The right baguette proofing time, guided by careful observation, ensures the dough is perfectly expanded and ready for the oven spring that will finalize this airy texture.
Beyond texture, proofing significantly contributes to the baguette's flavor profile. As the dough ferments, yeast and natural enzymes break down complex carbohydrates into simpler sugars, and organic acids are produced. This process develops the subtle, nuanced flavors and aromas that distinguish a truly artisanal baguette. Under-proofed dough hasn't had enough time to develop these flavors, resulting in a bland loaf. Over-proofed dough, conversely, can develop off-flavors and collapse. Mastering the baguette proofing time guide is key to unlocking both the desired texture and the full depth of flavor.
Understanding the Fundamentals of Baguette Proofing
Baguette proofing encompasses two main stages: bulk fermentation and final proofing. Bulk fermentation occurs after the initial mixing and kneading, where the entire mass of dough rests and ferments as one unit. This stage builds strength, develops gluten, and starts the flavor development. It typically involves one or more folds to build structure. The duration of bulk fermentation is a significant part of the overall baguette proofing time and is highly variable depending on temperature and yeast quantity.
Following bulk fermentation, the dough is divided, shaped into baguettes, and undergoes the final proofing (also known as the final rise). This stage is shorter and more delicate, allowing the shaped loaves to expand gently before baking. The goal here is to inflate the shaped dough sufficiently so it achieves maximum oven spring without collapsing. Understanding the difference between these two stages and managing the baguette proofing time for each is fundamental to achieving consistent, high-quality results.
Understanding Baguette Dough Composition and Proofing Requirements
The Importance of Gluten Strength in Proofing
Gluten, the protein network formed when flour and water are mixed and kneaded, is the backbone of the baguette's structure. It's the elastic matrix that traps the carbon dioxide gas produced by the yeast during proofing. Strong, well-developed gluten allows the dough to expand significantly without tearing, leading to larger, more defined air pockets and that sought-after open crumb structure. If the gluten is underdeveloped, the dough won't hold the gas effectively, resulting in a dense loaf.
Achieving sufficient gluten strength involves proper mixing and kneading techniques, as well as adequate rest periods during bulk fermentation (often with folds). A dough with good gluten development will feel elastic and resilient, stretching without breaking easily. This strength directly impacts how long and how well the dough can proof; a stronger dough can often handle a longer proofing time, especially during the final rise, leading to a potentially lighter crumb if managed correctly.
How Dough Hydration Affects Proofing Speed and Structure
Dough hydration, the ratio of water to flour by weight, is a critical factor influencing both the structure and the baguette proofing time. Higher hydration doughs (typically 70-75% or even higher for baguettes) are wetter and stickier but tend to produce a more open crumb structure because there is more water available to hydrate the gluten and facilitate gas expansion. However, high-hydration doughs can also be more challenging to handle and require careful shaping techniques to maintain tension.
Higher hydration generally leads to faster enzymatic activity, which can accelerate fermentation and thus shorten the baguette proofing time, particularly the bulk fermentation phase. The increased moisture also keeps the dough surface from drying out during proofing, which is crucial for proper expansion. Conversely, lower hydration doughs proof more slowly and tend to result in a tighter crumb, though they are easier to handle and shape. Adjusting your baguette proofing time guide based on your dough's hydration level is essential for success.
Flour Selection and Its Influence on Proofing Outcome
The type of flour used has a significant impact on gluten development, hydration capacity, and ultimately, the baguette proofing time. Traditional baguettes are often made with French Type 55 flour, which has a moderate protein content (around 10-12%) suitable for baguettes, or a good quality bread flour in other regions. Bread flour typically has a higher protein content (12-14%) than all-purpose flour, which allows for stronger gluten development and greater elasticity, essential for trapping gas and creating an open crumb.
Using flour with the appropriate protein content is key. Too low, and the gluten won't be strong enough to support the structure during proofing. Too high, and the dough might be too tough or difficult to handle. The absorption rate of the flour also varies, affecting how much water it can hold and thus the dough's hydration level at a given water-to-flour ratio. Understanding your flour's characteristics helps you predict how your dough will behave during fermentation and adjust your baguette proofing time guide accordingly.
Baguette Proofing Time: Key Factors and Considerations
The Impact of Ambient Temperature on Proofing
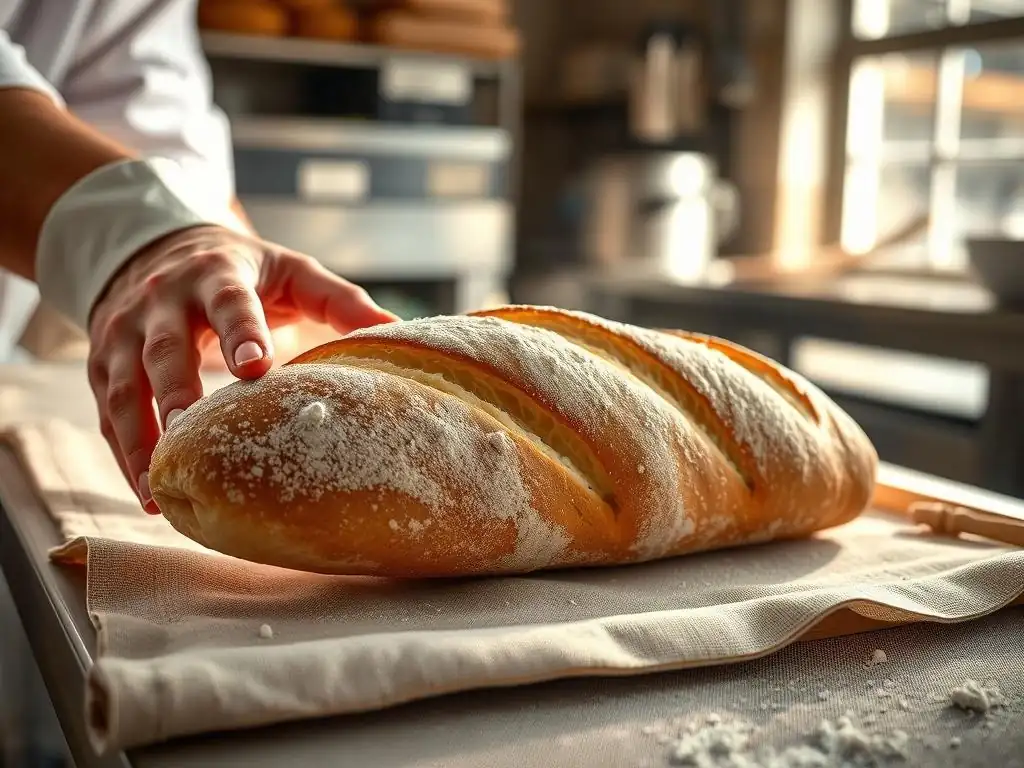
Ambient temperature is perhaps the most significant environmental factor affecting baguette proofing time. Yeast activity is highly sensitive to temperature; it thrives in warmer conditions and slows down in cooler ones. A dough proofing at a room temperature of 24-26°C (75-79°F) will ferment significantly faster than one proofing at 18-20°C (64-68°F). This means your baguette proofing time guide needs to be flexible and responsive to your kitchen environment.
In warmer conditions, both bulk fermentation and final proofing times will be shorter. For example, a final proof that might take 1.5 hours at 20°C could be ready in just 45-60 minutes at 26°C. Conversely, cooler temperatures dramatically extend proofing times. Understanding this relationship is vital to prevent over-proofing in a warm kitchen or under-proofing in a cool one. Monitoring the dough itself, rather than strictly adhering to time, becomes paramount.
Humidity's Role in Maintaining Dough Moisture
Humidity plays a crucial, though often overlooked, role in baguette proofing. A dry environment can cause the surface of the dough to skin over during proofing. This dry skin restricts the dough's ability to expand evenly, leading to uneven oven spring and potentially a denser crumb near the surface. It can also hinder scoring. Maintaining adequate humidity around the dough during proofing helps keep the surface supple and elastic, allowing for maximum expansion.
To combat dryness, bakers often proof dough in a slightly humid environment. This can be achieved by placing the dough in a covered container, using a proofing box, or placing a tray of hot water in the proofing area. While humidity doesn't directly speed up fermentation like temperature, it ensures the dough surface remains pliable, which is essential for successful expansion during the final rise and baking. It's an important detail to consider when dialing in your baguette proofing time guide.
Yeast Activity and Its Influence on Proofing Duration
The amount and type of yeast used directly influence the rate of fermentation and, therefore, the baguette proofing time. Active dry yeast and instant yeast are common choices. Instant yeast is typically more vigorous and can be mixed directly into the dry ingredients, often leading to slightly faster proofing compared to active dry yeast, which usually requires rehydration first. The quantity of yeast is also a major lever; using more yeast will significantly shorten the proofing time, while using less will extend it, often leading to more complex flavor development.
For example, a recipe using 1% instant yeast might require a final proof of 1-1.5 hours at room temperature, whereas a recipe using only 0.5% instant yeast might need 2-3 hours under the same conditions. Sourdough or levain, which relies on wild yeast and bacteria, ferments much more slowly than commercial yeast, requiring significantly longer proofing times, often many hours or even overnight. Adjusting the yeast quantity allows you to manipulate the baguette proofing time to fit your schedule or desired flavor profile.
A Practical Guide to Baguette Proofing: Step-by-Step
Preparing the Dough: Shaping and Initial Rest
After bulk fermentation, the dough is ready to be divided and shaped. Gently turn the dough out onto a lightly floured surface. Divide the dough into equal portions, typically ranging from 250g to 350g per baguette, depending on your desired size. Gently pre-shape each portion into a loose log or ball and let them rest for 15-20 minutes. This initial rest, often called 'benching', allows the gluten to relax after handling, making the final shaping much easier and preventing the dough from tearing.
The final shaping is crucial for developing the surface tension needed for a good crust and even expansion. Techniques vary, but typically involve degassing the dough gently, folding it into thirds, and then rolling or stretching it into the characteristic long, thin baguette shape, ensuring a taut surface. Proper shaping creates a 'skin' on the dough that will hold its structure during the final proof and provide resistance for the oven spring, contributing to the open crumb.
Bulk Fermentation vs. Final Proofing: Understanding the Differences
Bulk fermentation is the initial, longer rise of the entire dough mass before dividing and shaping. Its primary goals are gluten development (often aided by folds), initial flavor development, and significant volume increase. The dough might double or even triple in size during this phase, depending on the recipe, temperature, and time. This stage is less about achieving a specific final size and more about developing the dough's structure and maturity.
Final proofing, or the 'final rise', occurs after the dough has been shaped into individual loaves. This stage is shorter and more delicate. The goal is for the shaped loaves to relax and inflate gently, increasing in volume by about 50-75% (this is a general guideline, precise assessment comes from feel and visual cues). Over-handling must be avoided. The final proof prepares the dough for the intense heat of the oven, ensuring it has enough stored energy (gas) for a dramatic expansion (oven spring) and the development of that signature airy crumb.
Choosing the Right Proofing Container and Environment
Selecting the correct environment and container is vital for controlling the baguette proofing time and maintaining dough quality. For final proofing, baguettes are traditionally proofed en couche – on a piece of linen or canvas fabric dusted with flour, with folds between the loaves to support their shape and prevent them from sticking. This method allows the baguettes to expand horizontally to some extent while maintaining their length.
Alternatively, you can use perforated baguette pans, which support the shape and allow air circulation, or proof them on parchment paper, carefully transferred to a baking sheet or stone. Regardless of the method, the loaves need to be covered to prevent drying out. A large plastic bag, a damp towel, or placing them in a humidified space (like an oven with a tray of hot water) works well. Maintaining a consistent temperature (as discussed in the baguette proofing time guide factors) is also key, whether it's room temperature or a controlled colder environment for retarding.
Assessing Dough Development: Visual and Tactile Cues
Relying solely on time for baguette proofing is risky because so many variables are involved. Instead, learn to assess the dough's development using visual and tactile cues. Visually, a properly proofed baguette will look significantly larger than its shaped form, appearing plump and airy. The surface should look smooth and slightly domed, not tight or stretched thin.
Tactile cues are even more important. Gently poke the side of the loaf with a floured finger (the "finger poke test" is detailed next). The dough should feel soft and airy, not dense. If it springs back immediately and completely, it's likely under-proofed. If it retains the indentation and feels very fragile, it might be nearing over-proofing. A perfectly proofed baguette will spring back slowly, leaving a slight indentation. This responsiveness is your most reliable baguette proofing time guide.
Tips and Tricks for Consistent Baguette Proofing
Using the Finger Poke Test to Determine Readiness
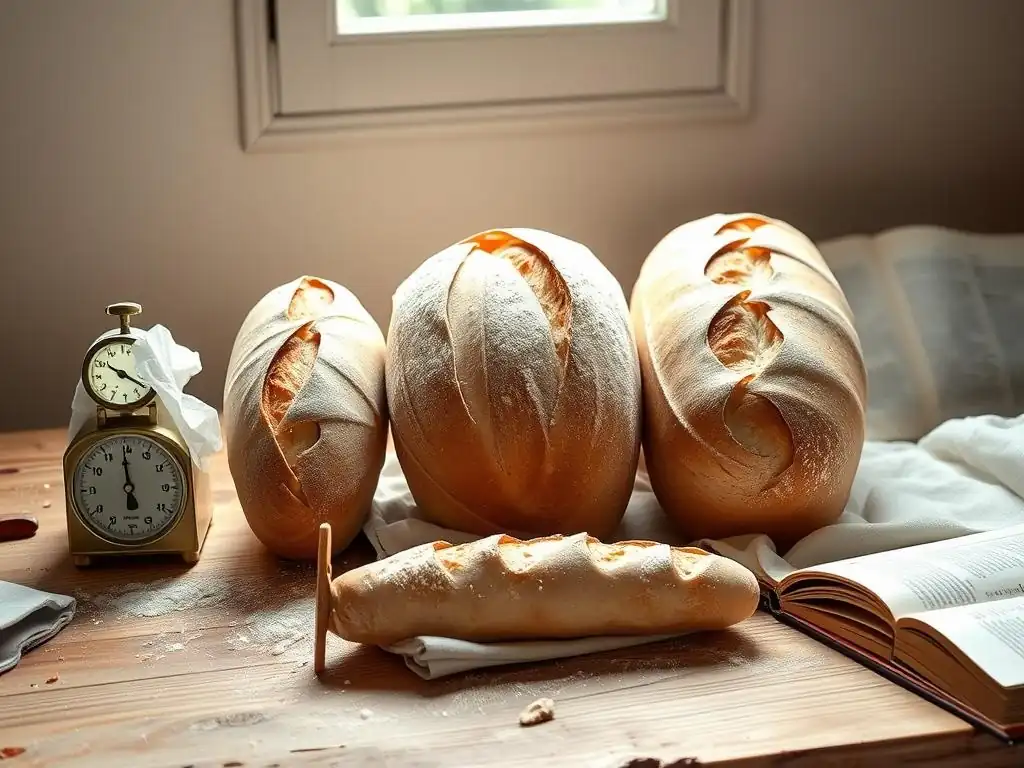
The finger poke test is a classic and reliable method for determining if your shaped baguette is ready for baking. Lightly flour your index finger. Gently but firmly poke the side of the baguette about half an inch deep. Observe how quickly the indentation springs back.
- Under-proofed: The indentation springs back immediately and completely, leaving no mark. The dough is still tight and needs more time to relax and fill with gas. If baked now, it will likely burst unevenly and have a dense crumb.
- Properly Proofed: The indentation springs back slowly, but not completely. A small indentation remains. The dough feels soft and airy but still has some structure. This is the ideal stage for baking to achieve maximum oven spring and an open crumb.
- Over-proofed: The indentation remains completely, and the dough feels very soft, fragile, and possibly deflated. The gluten structure is weakened and can no longer hold the gas. Baking now will likely result in a loaf that collapses in the oven or has a very dense, even gummy, texture. Mastering this test refines your baguette proofing time guide.
Retarding Dough for Enhanced Flavor Development
Retarding, or cold proofing, is a technique where the dough undergoes a long, slow fermentation in a cool environment, typically the refrigerator (around 4°C or 40°F). This dramatically slows down yeast activity while allowing enzymatic activity and the development of complex organic acids to continue. The result is dough with a more complex flavor profile and often a more manageable structure due to the slowed fermentation.
Retarding can be done during bulk fermentation or the final proofing stage. Cold proofing baguettes in their final shape is common. Place the shaped baguettes (on a couche or pan) in the refrigerator for an extended period. A typical cold baguette proofing time might range from 12 to 48 hours. The longer the cold proof, the more flavor develops, but the dough also becomes more fragile. Dough is usually baked directly from the refrigerator. This method provides a flexible baguette proofing time guide, allowing bakers to fit baking into their schedule.
Cold Proofing Baguettes: Recommended Timeframes and Benefits
Cold proofing baguettes offers several benefits: enhanced flavor complexity due to slow fermentation, improved crust development during baking (the cold surface helps create steam), and increased flexibility in your baking schedule. The recommended baguette proofing time when cold proofing typically falls within a wide window, often between 12 and 48 hours at refrigerator temperatures (around 4°C / 40°F).
The optimal cold proofing time depends on the dough formula (especially the amount of yeast), the desired flavor development, and how the dough behaves in your specific refrigerator. Shorter cold proofs (12-18 hours) might result in a less pronounced tang but are safer for preventing over-proofing. Longer cold proofs (24-48 hours) will yield deeper flavors but require careful monitoring as the dough can become quite fragile. Experimenting within this range is part of developing your personal baguette proofing time guide.
Identifying and Addressing Over-Proofing and Under-Proofing
Recognizing the signs of over-proofing and under-proofing is crucial for correcting course or learning from mistakes. An under-proofed baguette will feel dense and tight, spring back completely when poked, and may burst unexpectedly or unevenly during baking, often along the sides rather than the score marks. The crumb will be dense and possibly gummy.
An over-proofed baguette will look excessively large, potentially starting to flatten or spread, feel extremely soft and fragile, and the finger poke indentation will remain entirely. When baked, it may collapse, have poor oven spring, and result in a dense, tight crumb (ironically, similar to under-proofing, but for different reasons – the gas has escaped and the structure is weakened). If you catch dough slightly under-proofed, you can give it a few more minutes.
If it's over-proofed, sometimes reshaping (if caught early in final proof) or baking immediately with extra steam is the only option, though the result will be compromised. Learning the signs is the best baguette proofing time guide.
Avoiding Common Baguette Proofing Errors
Common Mistakes in Baguette Proofing
Several common errors can derail your baguette proofing efforts. One is relying solely on the time specified in a recipe without considering your specific environment (temperature, humidity). A recipe might suggest a 1-hour final proof, but in a warm kitchen, it might be ready in 45 minutes, or in a cool one, it might need 1.5 hours. Another mistake is inadequate gluten development during mixing and bulk fermentation, which leaves the dough unable to hold gas effectively, regardless of proofing time.
Over-handling the dough during shaping, which expels too much gas, is another frequent issue. Conversely, not degassing enough can leave large, irregular pockets rather than a consistent open crumb. Finally, failing to cover the dough during proofing leads to a dry skin that inhibits expansion and scoring. Understanding these pitfalls is the first step in creating a reliable baguette proofing time guide for your own baking.
Troubleshooting Proofing Issues: Specific Examples and Solutions
If your baguettes consistently burst along the sides instead of the score marks, it's a strong indicator of under-proofing. The dough was too tight and didn't have enough gas built up to expand properly via the scores, so it found the path of least resistance. Solution: Allow more time for the final proof, carefully using the finger poke test. Ensure your shaping isn't too tight.
If your baguettes flatten out or collapse after scoring or upon hitting the oven, they are likely over-proofed. The gluten structure is too weak to hold the gas. Solution: Reduce proofing time or temperature. Ensure you are using the finger poke test correctly and baking when the dough is optimally proofed, not just based on time. If using cold proofing, shorten the cold proof duration or use slightly less yeast. Adjusting your baguette proofing time guide based on these outcomes is part of the learning process.
Adapting Your Proofing Based on Environmental Conditions
Successfully proofing baguettes requires flexibility and the ability to adapt to your environment. If you live in a warm climate or it's summer, your proofing times will naturally be shorter. Be prepared to check your dough more frequently, potentially reducing the suggested baguette proofing time in recipes by 15-30% or more. Using cooler water when mixing the dough can also help slow down fermentation.
In a cooler kitchen or during winter, proofing will take longer. You might need to increase the suggested baguette proofing time by 20-50%. Finding a warmer spot (like near a window on a sunny day, or in a slightly warmed, turned-off oven) can help. Alternatively, embracing longer, slower proofing times, including cold proofing, can yield excellent results and is a key strategy in a flexible baguette proofing time guide.
Baking Your Proofed Baguette: Achieving the Perfect Bake
Scoring Techniques for Optimal Expansion
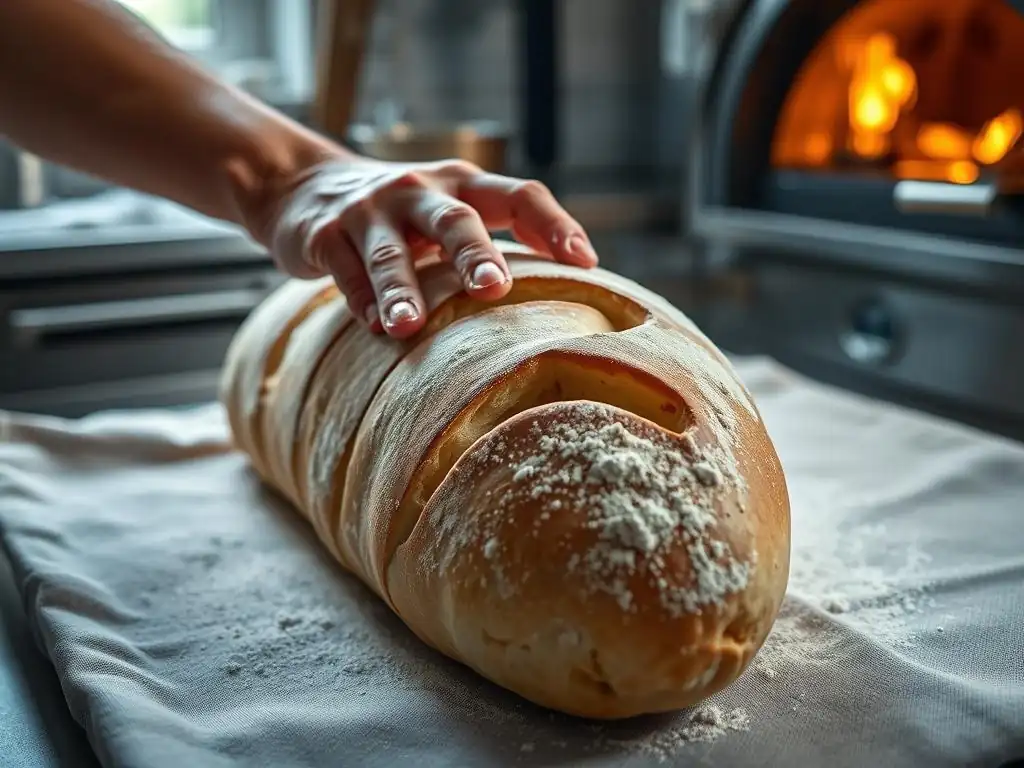
Scoring, or slashing, the proofed baguette dough just before baking is essential. The cuts serve as vents, directing the oven spring and allowing the dough to expand predictably. Without scoring, the dough would burst erratically. Proper scoring technique involves using a sharp blade (like a lame) held at a shallow angle (about 20-30 degrees) to make overlapping cuts along the length of the baguette. The cuts should be decisive and clean, not sawing motions.
For a standard baguette, 3-5 overlapping slashes are typical. The angle and depth of the cuts influence the final shape and ear formation. Properly proofed dough is crucial for successful scoring; under-proofed dough is too tight to score cleanly, while over-proofed dough is too fragile and may deflate. The expansion through the scores during baking is a visual confirmation that your baguette proofing time was spot on.
Recommended Baking Temperatures and Times for Baguettes
Baguettes require a hot oven and steam to achieve their characteristic crisp crust and maximum oven spring. A common baking temperature range is 230-250°C (450-480°F). The initial burst of heat and steam helps the dough expand rapidly before the crust sets. Baking time varies depending on the oven and the size of the baguette, but typically ranges from 20 to 30 minutes.
Often, the baking process involves an initial period with steam (e.g., 10-15 minutes), followed by venting the oven to allow the crust to dry and crisp up. The baguettes are done when they are deeply golden brown and sound hollow when tapped on the bottom. Achieving the correct bake after perfect proofing ensures that the airy crumb developed during fermentation is locked in by a beautiful, crackling crust.
Post-Bake Techniques for a Crisp Crust and Open Crumb
Once baked, baguettes benefit from cooling properly on a wire rack. This allows steam to escape, preventing the crust from becoming soft and ensuring the crumb structure stabilizes. Cutting into a hot baguette immediately can result in a gummy texture inside. While the temptation is high, letting them cool for at least 20-30 minutes is recommended for the best texture.
The rapid cooling on a rack helps maintain the crispness of the crust. The open crumb structure, which was largely determined during the baguette proofing time, is now set by the heat of the oven. A well-proofed and well-baked baguette should have an irregular, open structure inside with varying sizes of air pockets, a testament to successful fermentation and oven spring.
Advanced Baguette Proofing Techniques for Experienced Bakers
Using a Temperature-Controlled Proofer for Precision
For bakers seeking ultimate consistency, especially in varying kitchen environments, a temperature-controlled proofer can be invaluable. These units allow you to set a precise temperature and humidity level, eliminating the guesswork associated with ambient conditions. This provides an unparalleled level of control over the baguette proofing time and rate of fermentation.
Using a proofer ensures that your dough develops at the exact same speed every time, making your baguette proofing time guide highly predictable. You can experiment with different proofing temperatures (e.g., slightly warmer for faster proofing, slightly cooler for slower) while maintaining consistent results. While not essential for home bakers, a proofer is a tool used by professionals to achieve reliable quality regardless of external factors.
Exploring Different Proofing Vessels: Banneton Baskets and Couches
While couches (linen) and perforated pans are traditional for baguettes, experienced bakers might explore variations or other proofing vessels for different shapes or dough types. Banneton baskets, typically used for round or oval loaves, can theoretically be used for shorter, fatter "batards" made from baguette dough, offering good support and imparting a rustic flour pattern.
Using a couche remains the classic method for baguettes due to its ability to support the long, thin shape while allowing gentle expansion. Experimenting with different types of linen (flax vs. cotton), the amount of flour used on the couche, and the tightness of the folds between loaves can subtly impact the final shape and crust development. Each method contributes to how the dough expands during the final baguette proofing time.
Fine-Tuning Recipes Based on Your Proofing Environment
Experienced bakers understand that a recipe is just a starting point. They learn to fine-tune dough formulas and processes based on their specific ingredients, equipment, and proofing environment. If your kitchen is consistently cool, you might increase the yeast percentage slightly, use warmer water, or plan for longer proofing times. If it's warm, you might decrease yeast, use colder water, or rely heavily on cold proofing.
This continuous adaptation is key to achieving consistent results. By meticulously observing how your dough behaves during bulk fermentation and final proofing, using the finger poke test, and noting the results after baking, you build a personal, highly accurate baguette proofing time guide tailored to your unique baking conditions. This iterative process is the hallmark of mastering artisan bread.
Conclusion: Achieving Baguette Perfection Through Mastering Proofing
Key Principles for Consistently Excellent Baguettes
Mastering baguette proofing is a journey that requires patience, observation, and practice. The path to an airy crumb and perfect texture hinges on understanding the dough, controlling the environment, and learning to read the signs the dough gives you. The baguette proofing time is not a fixed number but a variable influenced by temperature, humidity, yeast activity, and dough composition.
Key principles include developing sufficient gluten strength, managing dough hydration, selecting appropriate flour, controlling ambient temperature and humidity, using the finger poke test as your primary guide, and embracing techniques like cold proofing for flavor and flexibility. By paying close attention during both bulk fermentation and final proofing, avoiding common errors, and adapting to your conditions, you will consistently achieve the light, open crumb and delicious flavor that define a truly exceptional baguette.
Frequently Asked Questions
What is the ideal proofing time for baguettes, and why is it so important?
The ideal proofing time for baguettes varies, but generally falls between 1.5 to 2.5 hours. This step is crucial because it allows the yeast to produce carbon dioxide, creating the airy crumb.
How does temperature affect the baguette proofing process?
Higher temperatures will accelerate proofing, while cooler temperatures will slow it down. Aim for a warm, but not hot, environment around 75-80°F (24-27°C) for optimal results.
What are the signs of an over-proofed baguette?
An over-proofed baguette will have a deflated appearance, and may collapse when scored. The dough will also feel very fragile and sticky, making it difficult to handle.
Can I proof baguettes in the refrigerator?
Yes, you can! Retarding the proof in the refrigerator slows down the process significantly, allowing for more flavor development. Expect a much longer proofing time, typically 8-12 hours or even overnight.
What happens if I under-proof my baguettes?
Under-proofed baguettes will result in a dense, tight crumb. They may also have poor oven spring and lack the desired airy texture.
Final Reflection: The Art and Science of the Perfect Baguette Proof
The quest for the airy, perfectly textured baguette crumb is a journey of precision and patience, a testament to the enduring power of simple ingredients transformed by careful technique. Understanding the nuances of baguette proofing, as explored in this guide, isn't just about baking a delicious loaf; it's about mastering a fundamental process that elevates the entire baking experience. The seemingly simple act of allowing dough to rest becomes a crucial step in achieving culinary excellence.
The impact of proper proofing extends far beyond the individual baker. It speaks to a deeper connection with food, a respect for the natural processes of fermentation and the artistry involved in transforming flour, water, and salt into something truly special. Bread is the staff of life,
they say, and the quality of that staff is directly related to the care taken in its creation. This guide aims to empower you to create bread that is not only delicious but also reflects your dedication to the craft.
Now, consider your own baking journey. What have you learned about the subtle dance between time and temperature in the proofing process? How will you apply this knowledge to your next loaf? Don't be afraid to experiment, to adjust the timings based on your environment and your dough's unique personality. The perfect baguette awaits, not as a destination, but as a continuous exploration of technique and taste. Embrace the process, and the reward will be a crust that crackles and a crumb that sings.
Unleash Your Inner Boulanger: Perfect Baguette Proofing Awaits!
Thanks for diving deep into the world of baguette proofing! You've just unlocked the secrets to achieving that airy, light crumb you've always dreamed of. Ready to put your new knowledge to the test?
- Bake your perfect baguette today! Use what you've learned to create a loaf you'll be proud of. Document your progress and share your results with us!
- Experiment with different proofing times and temperatures to see how they affect your final product. Note your observations – this is where the real baking magic happens.
- Share your baking journey! Post a picture of your masterpiece on social media and tag us – we’d love to see your beautiful baguettes.
Ready to create your own perfect baguette? What aspect of the proofing process are you most excited to master?