
Essential Tools for Handling Sticky Enriched Doughs

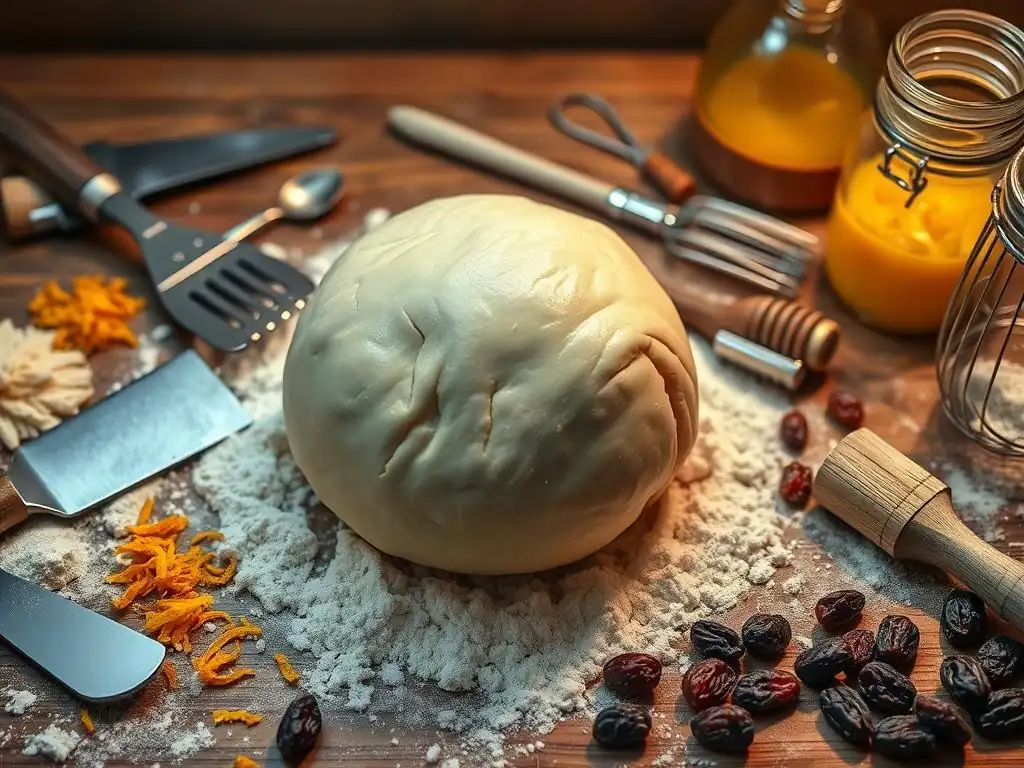
Welcome to BakeWithEase, your guide to creating delicious baked goods! Are you ready to conquer the sometimes-challenging world of enriched doughs? This article dives deep into the essential tools for handling sticky enriched doughs, revealing the secrets to perfectly shaped loaves and pastries. Discover how the right equipment can transform your baking experience, making even the stickiest doughs a joy to work with. Intrigued? Let's get baking!
- Essential Tools for Handling Sticky Enriched Doughs: Bake With Ease
- Introduction: Mastering Sticky Enriched Doughs with the Right Tools
- Understanding Sticky Doughs: Enriched Doughs Explained
-
The Baker's Toolkit: Essential Tools for Managing Sticky Dough
- Bench Scrapers: Your Dough-Handling Ally
- Dough Cutters: Precise Portions with Minimal Stickiness
- Silicone Mats: Non-Stick Surfaces for Easy Handling
- Mixing Bowls: Selecting the Ideal Bowl for Sticky Doughs
- Spatulas and Flexible Scrapers: Combining Ingredients with Ease
- Flour Dusters: The Baker's Secret Weapon Against Stickiness
- Advanced Techniques: Tips for Working with Extremely Sticky Dough
- Cleaning Up: Maintaining Your Tools and Workspace
- Conclusion: Baking with Confidence – Tackling Sticky Enriched Doughs
-
Frequently Asked Questions
- What makes enriched doughs so sticky and difficult to handle?
- Which tools are most essential for preventing dough from sticking to my hands?
- Besides scrapers, what other tools can assist in shaping sticky enriched doughs?
- How important is temperature control when working with sticky enriched doughs?
- Where can I find quality tools designed for handling sticky dough?
- Final Reflection: Mastering the Art of Sticky Dough
- Unleash Your Inner Dough Master!
Essential Tools for Handling Sticky Enriched Doughs: Bake With Ease
Introduction: Mastering Sticky Enriched Doughs with the Right Tools
Why Handling Sticky Enriched Doughs Can Be Challenging
Working with enriched doughs, such as brioche or challah, presents a unique set of challenges for bakers. Unlike lean doughs made simply from flour, water, salt, and yeast, enriched doughs contain higher percentages of fat, sugar, and eggs. These additions interfere with gluten development and hydration in distinct ways, often resulting in a dough that is incredibly soft, slack, and notoriously sticky. This stickiness can make traditional kneading methods difficult, cause the dough to cling stubbornly to hands and surfaces, and complicate shaping and portioning.
The high fat content, particularly from butter or oil, coats gluten strands, inhibiting their ability to form a strong, elastic network quickly. Sugar attracts and holds onto water, leaving less free water available for gluten hydration and making the dough feel wetter and tackier. Eggs add protein and fat, contributing to richness but also to the dough's overall softness and stickiness. Without the right approach and, crucially, the right sticky enriched dough handling tools, bakers can find themselves in a frustrating battle against clingy dough, leading to dense results or simply giving up.
BakeWithEase's Guide to Essential Tools for Sticky Dough Mastery
Fortunately, mastering sticky enriched doughs is entirely achievable with the proper techniques and a well-equipped toolkit. Having the right sticky enriched dough handling tools transforms the process from a struggle into a manageable and even enjoyable task. These tools are designed to minimize direct contact between your hands and the dough, provide non-stick surfaces, and allow for clean cuts and movements.
This guide from BakeWithEase will walk you through the essential tools that every baker working with enriched doughs should consider adding to their collection. We'll explain why each tool is effective, how to choose the best one for your needs, and share tips on using them effectively to navigate the challenges of sticky dough. With these sticky enriched dough handling tools and techniques, you'll gain the confidence to create beautiful, airy brioche, soft challah, and other delicious enriched breads without the sticky mess.
Understanding Sticky Doughs: Enriched Doughs Explained
What Makes Enriched Doughs Sticky?
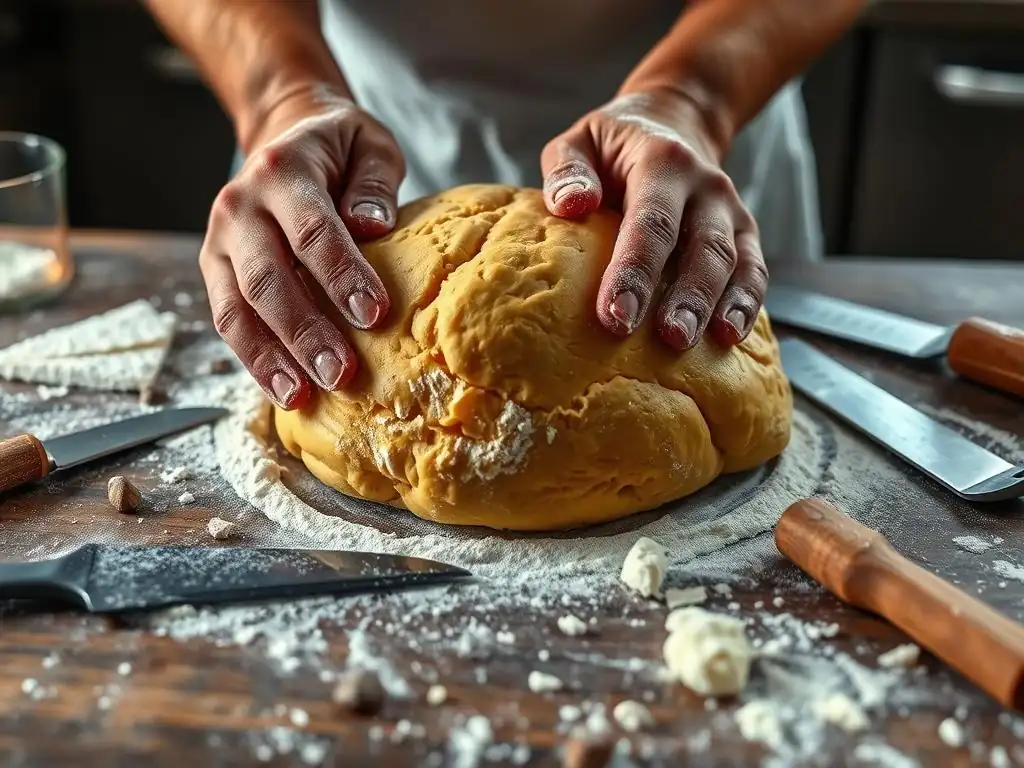
The unique stickiness of enriched doughs stems directly from their rich composition. The inclusion of ingredients like butter, eggs, milk, and sugar fundamentally alters the dough's rheology – its flow and deformation properties.
Fat, often in significant amounts (brioche recipes can call for butter that is 40-60% of the flour weight, sometimes even higher), coats the flour particles and developing gluten network. While this coating contributes to tenderness and richness, it also hinders the initial absorption of water and the efficient linking of gluten proteins, resulting in a dough that feels wet and less cohesive than a lean dough at the same hydration level.
Sugar, another staple in enriched doughs, is highly hygroscopic, meaning it loves water. It competes with the flour for available liquid, effectively binding water and leaving less to fully hydrate the gluten. This can make the dough feel paradoxically both sticky and slightly undeveloped initially.
Eggs add both fat and protein, contributing structure and richness, but also a certain slipperiness and tackiness. The combination of these factors creates a dough that is often higher in hydration relative to its flour weight when considering the total liquid content (water, milk, eggs), and this high hydration, coupled with the fat and sugar interfering with gluten, is the primary reason for their characteristic stickiness and difficulty in handling without the proper sticky enriched dough handling tools.
Types of Enriched Doughs: Brioche, Challah, and More
Enriched doughs encompass a wide variety of beloved baked goods from around the world, each with its own specific combination of enriching ingredients that contribute to its texture, flavor, and stickiness. Brioche, a classic French bread, is perhaps the most famous example, known for its high butter and egg content, which makes it incredibly rich, tender, and, yes, very sticky, especially before chilling. A typical brioche might contain 50% butter and 30-40% eggs relative to the flour weight, alongside milk and sugar.
Challah, a traditional Jewish braided bread, is another common enriched dough. While often less buttery than brioche, it typically includes oil (sometimes up to 15-20% of flour weight), eggs, and sugar, giving it a soft crumb and a noticeable stickiness during kneading and shaping.
Other examples include Parker House rolls, which use butter and milk; soft sandwich bread recipes incorporating milk, butter, and sugar; and sweet doughs used for pastries like babka or cinnamon rolls, which feature butter, eggs, milk, and significant amounts of sugar. Each of these doughs benefits greatly from the use of appropriate sticky enriched dough handling tools to manage their unique textures.
The Baker's Toolkit: Essential Tools for Managing Sticky Dough
Bench Scrapers: Your Dough-Handling Ally
A bench scraper, also known as a dough scraper or bench knife, is arguably the most indispensable tool for anyone working with sticky enriched doughs. This simple, flat blade with a handle provides a clean edge that allows you to effectively scrape dough from your work surface, move it around without it sticking to your hands, and even help with folding techniques. It minimizes direct hand contact, which is crucial because the warmth from your hands can make sticky dough even more difficult to manage.
Beyond just scraping, a bench scraper is excellent for portioning dough cleanly. Instead of tearing and stretching the dough by hand, which can damage the gluten structure and create a sticky mess, the sharp edge of a bench scraper provides a quick, clean cut. This precision is essential for dividing dough into equal pieces for rolls or loaves, ensuring even baking. Mastering the use of a bench scraper is fundamental to confident sticky enriched dough handling.
Choosing the Right Bench Scraper for Sticky Dough
When selecting a bench scraper for sticky doughs, material and handle comfort are key considerations. Stainless steel blades are popular because they are durable, easy to clean, and provide a sharp edge for cutting. Look for a scraper with a sturdy, rigid blade that won't flex too much when pushing against dough. Some bakers prefer a slightly rounded edge on the corners to avoid scratching wooden surfaces, but a straight edge is often better for clean cuts on a plastic or silicone mat.
The handle should be comfortable and provide a good grip, as you'll be applying pressure. Materials like wood, plastic, or rubber are common. A standard size, around 6 inches wide and 3 inches high for the blade, is versatile for most tasks. While some scrapers have measurements etched into the blade, this is less critical for handling sticky dough itself and more useful for portioning. The most important feature is a smooth, easy-to-clean surface and a blade that can effectively release sticky dough.
Techniques for Using a Bench Scraper Effectively
Using a bench scraper effectively with sticky dough involves a few key techniques. When scraping dough from a surface, hold the scraper at a low angle, almost parallel to the counter, and use a firm, sweeping motion to lift the dough without tearing. You can lightly flour the blade of the scraper itself to prevent dough from sticking to it. For cutting, place the scraper blade perpendicular to the dough and press down firmly and quickly.
The bench scraper is also invaluable for manipulating dough during kneading or folding. You can use it to gather the dough into a ball, turn it over, or even assist with stretch and fold techniques by lifting one edge of the dough while you pull and fold with your other hand (or another scraper).
Keep a small amount of flour or water nearby to lightly moisten the scraper if needed, but the goal is to rely on the tool's smooth surface to release the dough, minimizing the need for excessive flour on your workspace, which can toughen the dough. Practicing these techniques with your sticky enriched dough handling tools will significantly improve your experience.
Dough Cutters: Precise Portions with Minimal Stickiness
While a bench scraper can also cut dough, dedicated dough cutters are specifically designed for clean, efficient portioning. These tools ensure that you can divide your sticky dough into equal pieces for rolls, buns, or multiple loaves without excessive handling or stretching. A clean cut is important because it creates a smooth surface on the dough portion, making it easier to shape later and promoting even rising.
Using a dough cutter minimizes the time your hands are in direct contact with the sticky mass. Instead of pulling and potentially degasing the dough, a quick press down with a sharp cutter provides a defined division. This is especially beneficial for delicate enriched doughs where maintaining aeration is important for a light crumb. Having the right sticky enriched dough handling tools like a dedicated cutter streamlines the portioning process.
Metal vs. Plastic Dough Cutters: Which is Best?
Dough cutters come in various forms, but the most common for portioning are bench scrapers (as discussed) or wheel-style cutters. For cutting through sticky dough cleanly, a metal bench scraper or a sharp metal wheel cutter is often preferred. The thin edge of metal provides a cleaner, sharper cut compared to thicker plastic alternatives. This precision is particularly helpful when dividing very soft or wet doughs that might otherwise just stretch or tear when cut with a duller edge.
Plastic dough cutters or scrapers can be useful for scraping down bowls or transferring dough, but for the act of cutting portions, metal generally performs better with sticky doughs. Some bakers like fluted metal cutters for decorative edges on pastries, but for basic portioning of sticky bread dough, a straight metal edge is most effective. Whichever type you choose, ensure it's easy to clean, as sticky dough can cling to crevices.
Using Dough Cutters to Avoid Over-Handling
The primary benefit of using a dough cutter for sticky dough is the reduction in handling. When you divide dough by pulling or stretching, you inevitably spend more time touching the sticky surface, and the dough can become warmer and even stickier. A quick, decisive cut with a sharp tool minimizes this interaction. Simply turn the dough out onto a lightly floured or non-stick surface, decide on your portion sizes, and press the cutter straight down through the dough.
For multiple portions, you can cut the dough into strips and then cut the strips into squares or rectangles. This systematic approach is much cleaner and faster than trying to pull or pinch off individual pieces. By using a dough cutter, you keep the dough cooler, maintain its structure, and save yourself from a significant sticky mess on your hands, making it one of the essential sticky enriched dough handling tools.
Silicone Mats: Non-Stick Surfaces for Easy Handling
Silicone baking mats have become a staple in many bakers' kitchens, and they are particularly invaluable when working with sticky doughs. Their non-stick surface provides an excellent alternative to heavily flouring your countertop, which can lead to dry spots in your dough or an overly tough crust. Placing a silicone mat on your workspace creates a barrier that dough is far less likely to adhere to.
These mats are versatile, suitable for kneading, shaping, and even rolling out doughs. For sticky enriched doughs, they offer a clean, flexible surface from which the dough can be easily lifted using a bench scraper or your hands. The non-stick property means you can use minimal, if any, extra flour during handling, allowing the dough to maintain its intended hydration and soft texture. They are durable, reusable, and significantly simplify the process of managing clingy dough.
Benefits of Silicone Mats for Kneading and Shaping
The primary benefit of using silicone mats for sticky dough is their superior non-stick quality. When kneading enriched dough by hand, the dough would inevitably stick to a standard countertop, requiring constant scraping and flouring. On a silicone mat, the dough is much less likely to adhere, allowing for easier manipulation. You can perform stretch and folds or gentle kneading techniques with less resistance.
For shaping rolls, loaves, or braided breads like challah, the dough lifts cleanly from the mat, making it easier to form tight shapes without the dough tearing or sticking. Many silicone mats also come printed with measurement guides, which can be helpful for rolling out dough to specific dimensions or simply portioning visually. Their flexibility also allows you to easily transfer dough from the mat to a proofing basket or baking sheet. They are truly essential sticky enriched dough handling tools.
Cleaning and Maintaining Your Silicone Mat
Cleaning silicone mats after working with sticky dough is generally straightforward. Scrape off any large pieces of dough residue immediately using a bench scraper or your hands. Then, wash the mat with warm, soapy water. Sticky dough tends to release easily from the smooth silicone surface. Avoid using abrasive scrubbers or sharp objects like knives directly on the mat, as they can damage the silicone and compromise its non-stick properties.
Rinse thoroughly and hang or lay flat to dry. Ensure the mat is completely dry before storing to prevent mildew. While silicone mats are durable, proper care will extend their lifespan and maintain their non-stick effectiveness, ensuring they remain reliable sticky enriched dough handling tools for many baking sessions.
Mixing Bowls: Selecting the Ideal Bowl for Sticky Doughs
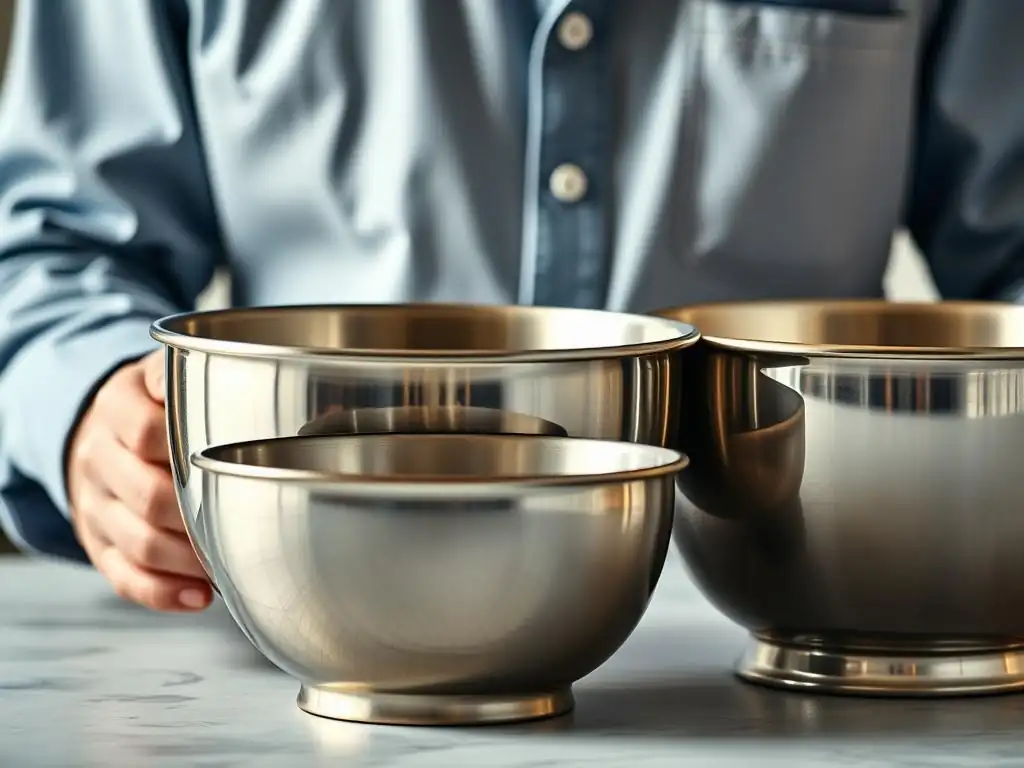
The right mixing bowl is crucial from the very beginning of the dough-making process, especially for sticky enriched doughs. You need a bowl that is large enough to accommodate the dough as it doubles or triples in size during bulk fermentation, and ideally, one with a smooth interior surface that makes it easier to scrape the sticky dough out cleanly. The material of the bowl can also subtly affect dough temperature during mixing and rising.
Choosing a bowl that facilitates easy mixing and clean removal minimizes the initial struggle with sticky dough. A bowl that is too small can lead to the dough overflowing during proofing, creating a mess. A bowl with a rough or porous surface can make it harder to scrape the dough out, leaving behind precious bits and requiring more effort and potential mess. The right bowl sets the stage for successful sticky enriched dough handling.
Stainless Steel vs. Glass vs. Plastic Bowls
Each common mixing bowl material has pros and cons when dealing with sticky dough. Stainless steel bowls are lightweight, durable, and non-reactive. Their smooth surface makes scraping dough relatively easy. They also conduct temperature efficiently, which can be beneficial in warmer kitchens where you might want to keep the dough cooler during mixing. However, you cannot see the dough's development through the sides.
Glass bowls are heavy and non-reactive, and their transparency allows you to easily observe the dough's rise and structure development during bulk fermentation. Their smooth surface is also good for scraping. The main drawback is their weight and fragility. Plastic bowls are lightweight and inexpensive. Their smooth surface is also decent for scraping, though some textured plastics can make this harder. However, plastic can scratch over time, creating surfaces where dough can stick, and they can also absorb odors or stains. For sticky dough, a bowl with a very smooth interior, regardless of material, is paramount.
Bowl Size and Shape Considerations
Bowl size is critical for enriched doughs due to their significant rise. A good rule of thumb is to use a bowl that is at least two to three times the volume of your initial dough mass. For a standard loaf made with 3-4 cups of flour (roughly 500g), a 4-5 quart bowl is usually sufficient for bulk fermentation. Using a bowl that is too small risks overflow and mess.
The shape of the bowl also matters. Bowls with gently sloping or straight sides are generally easier to scrape dough from compared to those with sharp corners or complex shapes. A wide opening is also beneficial for mixing ingredients initially and for performing stretch and folds if you choose to do them in the bowl. Selecting the appropriate size and shape ensures that your sticky enriched dough has room to develop and is easy to manage throughout its first rise.
Spatulas and Flexible Scrapers: Combining Ingredients with Ease
While not the first tools that come to mind for handling the bulk of sticky dough, spatulas and flexible bowl scrapers are essential sticky enriched dough handling tools during the initial mixing phase and for getting every last bit of dough out of the bowl. A good quality silicone spatula is crucial for incorporating wet and dry ingredients without activating gluten too early and for scraping down the sides of the bowl to ensure everything is evenly mixed.
Flexible bowl scrapers, often made of plastic or silicone, are invaluable for cleanly transferring dough from the mixing bowl to your work surface or another container. Their flexible edge conforms to the curve of the bowl, allowing you to scrape out even the stickiest dough with minimal waste and mess. Using these tools correctly at the beginning of the process helps set you up for easier handling later on.
Types of Spatulas for Different Dough Textures
Silicone spatulas are the go-to for mixing doughs. They come in various sizes and stiffnesses. For incorporating ingredients for sticky doughs, a medium-stiffness spatula is often ideal – flexible enough to scrape the bowl clean but sturdy enough to handle thick batter or wet dough. A smaller, more flexible spatula can be useful for delicate tasks or scraping smaller bowls.
Flexible bowl scrapers are typically semi-rigid plastic or silicone with one curved edge designed to match the shape of a mixing bowl. Some have a straight edge as well. These are excellent for gathering dough into a ball or transferring it cleanly. Having a few different sizes and stiffnesses of spatulas and scrapers can be beneficial depending on the batch size and the specific stickiness of the dough you are working with.
Preventing Dough from Sticking to Your Spatula
Even with non-stick silicone, very sticky dough can sometimes cling. A simple trick to prevent dough from sticking excessively to your spatula or flexible scraper is to slightly moisten the tool with a little water before using it. Just a quick dip or a light spray of water creates a barrier that helps the dough release cleanly.
Alternatively, you can lightly oil the tool, though water is often sufficient and less messy. The key is to use the tool with confident, sweeping motions to lift and scrape the dough rather than poking or dabbing at it, which can encourage sticking. Using the right type of spatula for the task and keeping it slightly hydrated when necessary are effective strategies among your sticky enriched dough handling tools.
Flour Dusters: The Baker's Secret Weapon Against Stickiness
While the goal with sticky dough is to minimize excessive flour, a light, even application of flour on your work surface or sticky enriched dough handling tools is often necessary. A flour duster (or a fine-mesh sieve) is the best tool for this purpose. It allows you to apply a thin, controlled layer of flour precisely where you need it, without creating clumps or using too much.
Over-flouring can make your dough dry and tough, counteracting the richness of the enriching ingredients. A duster ensures you use just enough flour to prevent sticking, allowing the dough to maintain its intended texture and hydration. This controlled application is far superior to scattering flour by hand, which often results in uneven patches and wasted flour.
Even Flour Distribution for Minimal Mess
A flour duster typically consists of a small container with a mesh or perforated bottom. By tapping or squeezing, you release a fine cloud of flour. This method provides an incredibly even, thin coating over your workspace or tools like a bench scraper or your hands. An even layer of flour creates a consistent non-stick surface, preventing dough from grabbing in specific spots.
Using a duster also minimizes airborne flour, keeping your workspace cleaner. For enriched doughs, some bakers prefer using rice flour for dusting surfaces, as it doesn't absorb into the dough as readily as wheat flour, further preventing the dough from drying out or becoming tough on the surface. This controlled approach to flour application is a key technique when using your sticky enriched dough handling tools.
Alternatives to Flour Dusters
If you don't have a dedicated flour duster, a fine-mesh sieve works as a good alternative. Simply place a small amount of flour in the sieve and tap the side or gently shake it over your surface. This achieves a similar effect of providing a light, even dusting, although it might be slightly less controlled than a dedicated duster.
In some specific cases, particularly with extremely wet doughs or for certain techniques, a very light application of neutral oil or non-stick spray on your work surface or tools can also create a non-stick barrier. However, for general handling and shaping of enriched doughs, a controlled application of flour (or rice flour) using a duster or sieve is the more common and often preferred method. The goal remains the same: prevent sticking with minimal intervention.
Advanced Techniques: Tips for Working with Extremely Sticky Dough
Cold Fermentation: Reducing Stickiness Through Temperature Control
One of the most effective advanced techniques for managing extremely sticky enriched doughs is cold fermentation. After the initial mixing and perhaps a short period of bulk fermentation at room temperature, placing the dough in the refrigerator for an extended period (from several hours up to 1-3 days) significantly changes its handling properties. The cold temperature slows down yeast activity and enzymatic action, but gluten development continues slowly.
Crucially, the cold temperature firms up the fats in the dough (like butter), making the entire mass much less slack and sticky. A well-chilled brioche dough, for example, is dramatically easier to handle, shape, and braid than the same dough at room temperature. The cold also allows for cleaner cuts when portioning. This technique not only makes the dough more manageable with your sticky enriched dough handling tools but also often improves the flavor and texture of the final baked good through the slow development of complex compounds.
Hydration Control: Adjusting Liquid for Easier Handling
While high hydration often contributes to a moist, open crumb, slightly adjusting the liquid content in your enriched dough recipe can make a significant difference in handling ease, especially for beginners. If a recipe calls for a very high percentage of liquid (including milk and eggs), reducing the water or milk by just 5-10% (relative to the flour weight) can result in a dough that is noticeably less sticky without drastically impacting the final texture.
For instance, if a recipe uses 300g of liquid for 500g of flour (60% hydration from liquids alone, plus fat/eggs), reducing the liquid to 270-285g might make the dough much easier to manage during kneading and shaping with standard sticky enriched dough handling tools. This is a simple adjustment that can build confidence before tackling the stickiest doughs. As you gain experience, you can gradually increase the hydration level in future batches.
The Stretch and Fold Method: Building Strength Without Over-Kneading
For very wet and sticky doughs, traditional intensive kneading can be a messy and frustrating process. The stretch and fold method is an excellent alternative technique that builds gluten strength with minimal direct handling and no need for heavy flouring of the work surface. This method involves performing a series of gentle folds over a period of time (e.g., every 30-60 minutes during bulk fermentation) instead of continuous kneading.
To perform a stretch and fold, simply grab one side of the dough in the bowl, stretch it upwards without tearing, and fold it back over the rest of the dough. Rotate the bowl and repeat this motion 3-4 times. The dough will be sticky initially, but over subsequent folds, you'll notice it becoming smoother, stronger, and less sticky as the gluten develops. This technique relies on time and gentle handling, allowing the dough to develop structure without the sticky struggle of aggressive kneading, complementing the use of your sticky enriched dough handling tools.
Cleaning Up: Maintaining Your Tools and Workspace
Best Practices for Cleaning Sticky Dough Residue
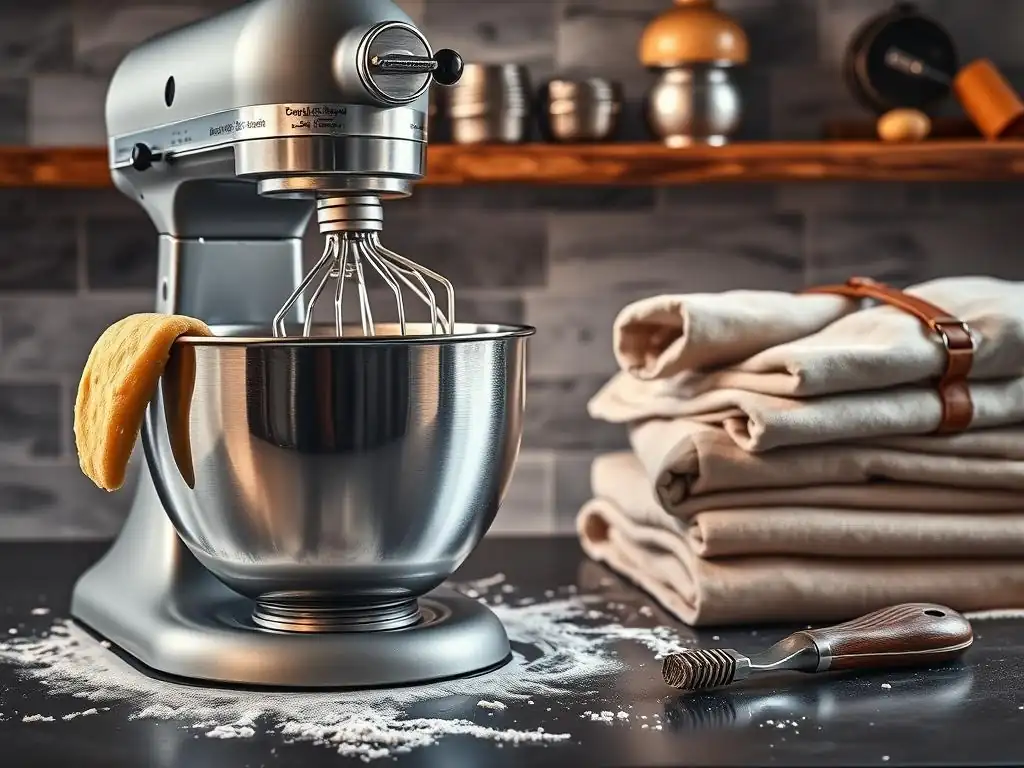
Cleaning up after working with sticky enriched doughs is just as important as the baking process itself. The key is to address the mess before the dough residue dries and hardens, which makes it much more difficult to remove. As soon as you're finished handling the dough, use a bench scraper or a stiff brush to scrape off as much dough as possible from your work surface, bowls, and sticky enriched dough handling tools.
Once the bulk of the dough is removed, clean surfaces and tools using cold water first. Hot water can actually cook the flour and egg proteins onto surfaces, making them harder to clean. Rinse away the cold water and then wash everything thoroughly with hot, soapy water. For stubborn spots, a plastic scraper or brush can help. Ensure all dough residue is removed to prevent bacterial growth and keep your tools in good condition.
Tool Storage Solutions for Long-Term Use
Proper storage ensures your sticky enriched dough handling tools are ready for your next baking adventure and prolongs their lifespan. After cleaning and thoroughly drying your tools – bench scrapers, dough cutters, silicone mats, spatulas, and bowls – store them in a clean, dry place.
Bench scrapers can often be stored upright or hung. If your bench scraper has a very sharp edge, consider a blade guard if available for safety. Silicone mats should be rolled or folded neatly (check manufacturer instructions) and stored away from direct heat or sharp objects. Store bowls stacked if space is limited, ensuring they are completely dry inside. Keeping your tools clean and well-maintained is part of the art of baking and ensures your sticky enriched dough handling tools are always effective.
Conclusion: Baking with Confidence – Tackling Sticky Enriched Doughs
Recap of Essential Tools for Sticky Dough Handling
Working with sticky enriched doughs can seem daunting at first, but with the right approach and the proper sticky enriched dough handling tools, it becomes a manageable and rewarding experience. We've explored the challenges posed by the high fat, sugar, and egg content in these doughs and highlighted the essential tools that make a significant difference.
Key among your sticky enriched dough handling tools are the bench scraper for clean scraping and cutting, dough cutters for precise portioning, silicone mats for a non-stick workspace, appropriately sized and smooth mixing bowls, and spatulas/flexible scrapers for clean mixing and transferring. Alongside these tools, techniques like cold fermentation and the stretch and fold method further enhance your ability to handle even the stickiest doughs with confidence.
Further Resources for Mastering Enriched Dough Baking on BakeWithEase.com
Equipped with the knowledge of these essential sticky enriched dough handling tools and basic techniques, you are well on your way to mastering enriched doughs. Remember that patience and practice are key. Don't be discouraged by the initial stickiness; embrace the process and rely on your tools.
BakeWithEase.com offers a wealth of additional resources to support your journey. Explore our detailed recipes for brioche, challah, and other enriched doughs, many of which incorporate the techniques and tools discussed here. Find step-by-step guides on shaping various enriched breads and tips for achieving the perfect bake. Continue exploring our site to deepen your understanding and expand your baking repertoire. Happy baking!
Frequently Asked Questions
What makes enriched doughs so sticky and difficult to handle?
Enriched doughs are sticky due to the high amounts of fat, sugar, and eggs added. These ingredients interfere with gluten development, resulting in a softer, more hydrated dough.
Which tools are most essential for preventing dough from sticking to my hands?
A bench scraper and plastic dough scraper are crucial for lifting and manipulating sticky dough. Lightly oiling your hands or using disposable gloves can also help significantly.
Besides scrapers, what other tools can assist in shaping sticky enriched doughs?
A silicone mat provides a non-stick surface for rolling and shaping. A pastry brush is useful for applying egg washes without disturbing the dough's shape.
How important is temperature control when working with sticky enriched doughs?
Keeping the dough chilled helps to reduce its stickiness. Overly warm dough is much harder to handle and shape effectively.
Where can I find quality tools designed for handling sticky dough?
Many online retailers and specialty baking supply stores carry a wide range of tools specifically designed for this purpose. BakeWithEase.com also offers recommendations and links to trusted suppliers.
Final Reflection: Mastering the Art of Sticky Dough
The ability to confidently handle sticky enriched doughs is not merely a culinary skill; it's the key to unlocking a world of delicious possibilities. From perfectly layered croissants to airy brioche, mastering this technique opens doors to baking achievements previously thought unattainable. The tools and techniques discussed in this article are not just helpful hints; they are essential components for success in the world of enriched dough baking.
The journey of working with sticky doughs is a testament to patience and precision. It's a process that demands respect for the ingredients and a deep understanding of their behavior. The subtle nuances—the right temperature, the perfect hydration, the appropriate tools—all contribute to the final product. As I've explored this topic, I've been reminded of the words of Julia Child: Don't be afraid to experiment. To err is human; to forgive, divine. But to learn from your mistakes is truly divine.
This sentiment perfectly encapsulates the learning curve involved in mastering sticky doughs, emphasizing the importance of perseverance and the joy of discovery.
Now, it's your turn. Consider the tools and techniques outlined in this article, and apply them to your next baking project. Don't be intimidated by the stickiness; embrace it as a challenge, an opportunity to refine your skills and create something truly extraordinary. The satisfaction of producing a perfectly risen, beautifully textured enriched dough is a reward in itself, a testament to your dedication and a delicious taste of success. Go forth and bake!
Unleash Your Inner Dough Master!
Thanks for taking the time to explore the world of enriched doughs! We hope you now feel more confident tackling those sticky situations. Ready to put your new skills to the test?
- Bake your dream pastry: Choose your favorite enriched dough recipe (from croissants to brioche!) and give it a try. Remember those tips and tricks we shared!
- Share your baking journey: Post a picture of your creation on social media and tag us – we'd love to see your results! Use #BakeWithEaseEnrichedDough.
- Explore our other resources: Dive deeper into baking techniques by checking out our other articles on the BakeWithEase website.
So, what delicious enriched dough masterpiece will you create first?