
Temperature Check: Why It Matters When Baking Brioche

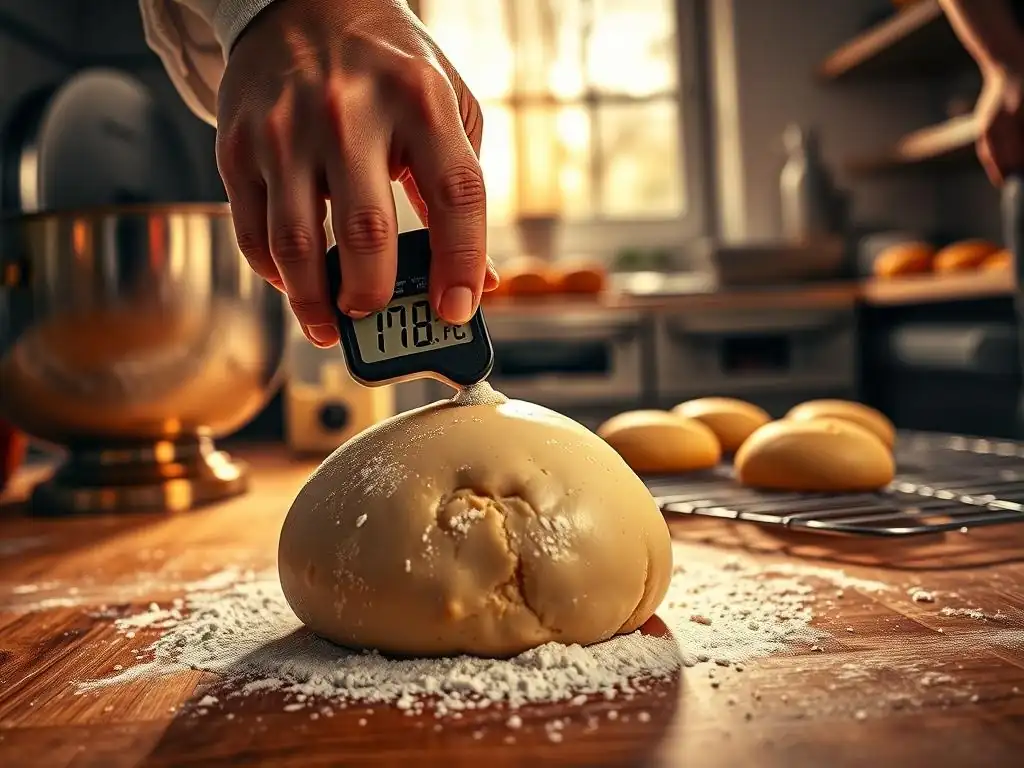
Welcome to BakeWithEase, where baking becomes a joy, not a chore! Ready to unlock the secrets to perfectly rich and tender brioche? This week, we're diving deep into a crucial (and often overlooked) aspect of brioche baking: temperature control. Discover how precise temperature management, especially when working with brioche dough, can be the difference between a light, airy loaf and a dense, disappointing one. Curious to know the ideal numbers and how to achieve them? Let's get baking!
- Understanding the Importance of Brioche Dough Temperature Control
- The Ideal Temperature Range for Brioche Dough
- Measuring Brioche Dough Temperature Accurately
- The Impact of Ingredients Temperature on Brioche Dough
- Temperature's Effect on Brioche Dough Proofing
- Troubleshooting Brioche Dough Temperature Problems
- Brioche Dough Temperature and the Final Bake
- Tips for Maintaining Consistent Brioche Dough Temperature
- Achieving Brioche Success Through Temperature Mastery
-
Frequently Asked Questions
- How does temperature affect brioche dough development?
- What is the ideal temperature range for brioche dough during proofing?
- Why is it important to chill the brioche dough before baking?
- How can I accurately measure the temperature of my brioche dough?
- What are the signs that my brioche dough is too warm or too cold?
- Final Reflection: The Golden Ratio of Brioche – Temperature's Crucial Role
- Unlock Brioche Perfection: Master the Temperature Game!
Understanding the Importance of Brioche Dough Temperature Control
Why Brioche Dough Temperature Matters for Perfect Results
Achieving the perfect brioche, with its signature rich flavor and tender crumb, hinges significantly on mastering brioche dough temperature control. Temperature isn't just a variable; it's a critical factor influencing the entire baking process, from mixing and kneading to fermentation and the final bake. Yeast activity, gluten development, and even the distribution of fats and liquids within the dough are all profoundly affected by temperature. Getting the temperature right ensures predictable results, allowing bakers to reproduce successful loaves consistently.
When the dough is too cold, yeast activity slows dramatically, leading to prolonged fermentation times and potentially underdeveloped flavor. Conversely, if the dough gets too warm, the yeast can become hyperactive, exhausting its food source too quickly and potentially resulting in over-proofing, which compromises the final structure and texture. Precise brioche dough temperature control also impacts the dough's handling properties; dough that is too warm can be sticky and difficult to work with, while dough that is too cold might be stiff and resistant to shaping.
The Relationship Between Temperature and Brioche Dough Fermentation
Fermentation is the magical process where yeast consumes sugars and produces carbon dioxide gas, which makes the dough rise, and alcohol and organic acids, which contribute to flavor. This process is highly sensitive to temperature. For most active dry or instant yeasts, the optimal temperature range for vigorous activity is typically between 75°F and 85°F (24°C to 29°C). Within this range, fermentation proceeds at a steady, predictable pace.
However, brioche dough often benefits from slower, colder fermentation, particularly during the initial bulk rise or an overnight proof in the refrigerator. At refrigerator temperatures, around 38°F to 40°F (3°C to 4°C), yeast activity is significantly slowed but not stopped. This extended, cool fermentation allows enzymes in the flour to break down starches into simpler sugars, providing more food for the yeast over a longer period.
More importantly, it allows the beneficial byproducts of fermentation, the alcohols and acids, to develop complex layers of flavor that are characteristic of high-quality brioche. Effective brioche dough temperature control during fermentation is thus key to both rise and flavor.
The Ideal Temperature Range for Brioche Dough
Defining the Optimal Brioche Dough Temperature Window
For optimal handling and fermentation kick-off, bakers often aim for a target dough temperature immediately after mixing and kneading. A commonly cited ideal temperature range for brioche dough is between 75°F and 78°F (24°C and 26°C). Achieving this temperature post-mix indicates that the ingredients were at the right starting temperatures and that the mechanical energy from kneading didn't overheat the dough. This temperature allows for a healthy start to fermentation without being so warm as to cause the butter to melt out of the dough prematurely, which can happen if the dough exceeds 80°F (27°C) during mixing.
Maintaining the correct brioche dough temperature throughout the process is crucial. While the initial post-mix temperature is a good indicator, the temperature during bulk fermentation and proofing also needs careful management. If fermenting at room temperature, keeping the dough in an environment that stays within the low to mid-70s°F (around 22-24°C) is ideal for a steady rise. For slower, cold fermentation, the refrigerator temperature should consistently be below 40°F (4°C) to ensure the yeast is sufficiently slowed down for optimal flavor development.
Impact of Temperature on Brioche Dough's Texture and Flavor
The temperature at which brioche dough ferments directly influences its final texture and depth of flavor. Dough fermented at a slightly warmer temperature (say, 78-80°F / 26-27°C) will rise faster, producing a lighter, airier crumb due to rapid gas production. However, this rapid fermentation might not allow sufficient time for complex flavor compounds to develop, potentially resulting in a blander brioche.
Conversely, maintaining proper brioche dough temperature control, especially through extended cold fermentation (e.g., 12-24 hours at 38-40°F / 3-4°C), yields profound benefits. The slow yeast activity allows for greater enzymatic action on starches and proteins, leading to a more extensible dough that handles beautifully. More significantly, the slow production of acids and alcohols contributes a rich, nuanced flavor profile that is the hallmark of exceptional brioche. This controlled temperature approach results in a finer, more uniform crumb structure and a more tender final product because the gluten network develops strength gradually without being stressed by rapid expansion.
Measuring Brioche Dough Temperature Accurately
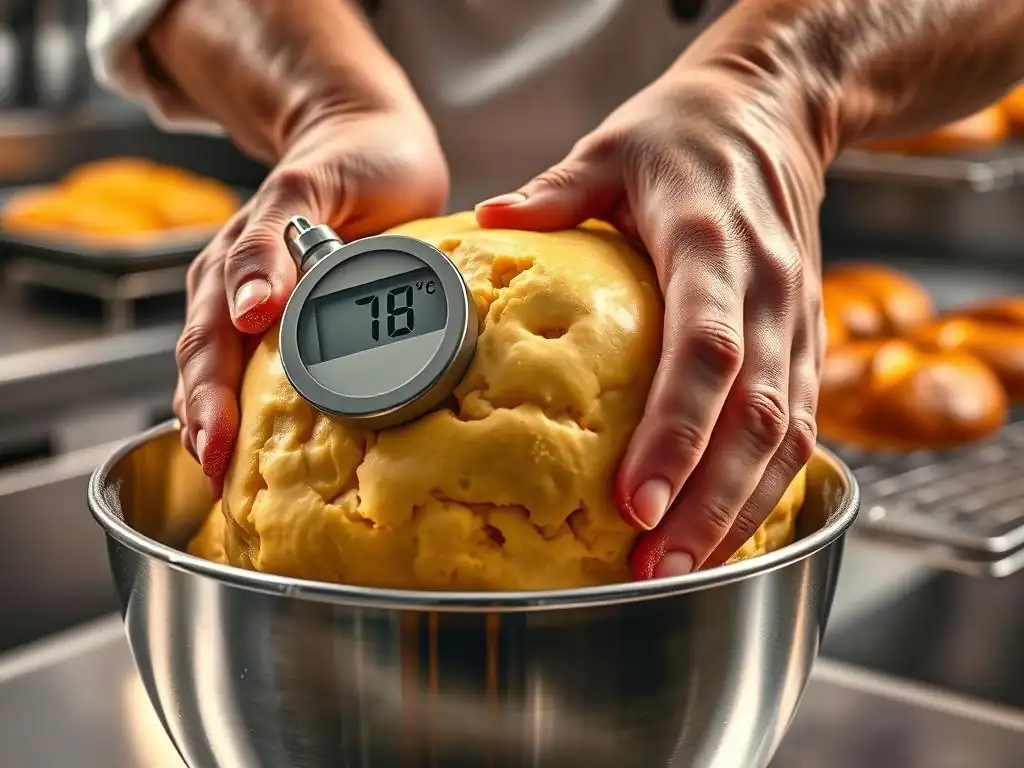
Tools for Precise Brioche Dough Temperature Measurement
Accurate measurement is fundamental to achieving consistent brioche dough temperature control. Relying solely on touch can be misleading, as our hands are not calibrated thermometers. Several tools are invaluable for precise temperature readings in the kitchen:
- Instant-Read Thermometer: This is perhaps the most common and versatile tool. Insert the probe into the center of the dough mass to get a quick reading. Look for models with a thin probe to minimize disturbance to the dough structure.
- Infrared Thermometer: While primarily used for surface temperatures, an infrared thermometer can give a quick, non-contact reading of the dough's surface or the temperature of your proofing environment. It's less ideal for measuring the internal dough temperature compared to a probe thermometer.
- Dough Thermometer: Some thermometers are specifically designed with a sturdier probe to handle dense doughs.
Using one of these tools removes the guesswork, allowing you to make informed decisions about adjusting ingredient temperatures or fermentation environments.
Best Practices for Taking Brioche Dough Temperature Readings
To get a reliable reading of your brioche dough's temperature, follow these best practices. Immediately after mixing and kneading, gather the dough into a ball. Insert your instant-read probe thermometer into the thickest part of the dough ball, aiming for the center. Ensure the probe is fully submerged and not touching the bottom or side of the bowl. Wait a few seconds for the reading to stabilize before noting the temperature.
For larger batches or loaves, it's wise to take readings in two or three different spots within the dough mass and average them. This accounts for potential temperature variations within the dough, especially if ingredients weren't perfectly uniform or kneading generated localized heat. Taking a reading mid-way through bulk fermentation or before shaping can also provide valuable information about how your chosen environment is maintaining the brioche dough temperature, allowing for adjustments if needed.
The Impact of Ingredients Temperature on Brioche Dough
How Cold Ingredients Affect Brioche Dough
The starting temperature of your ingredients significantly impacts the final dough temperature after mixing, directly affecting brioche dough temperature control from the outset. Using cold ingredients, such as eggs straight from the refrigerator or very cold milk, will result in a colder dough. A cold dough slows down yeast activity considerably, prolonging the time needed for the initial bulk fermentation. While this can be beneficial if you are planning a long, slow fermentation for flavor development, it can be problematic if your recipe assumes a standard room-temperature rise.
Furthermore, incorporating very cold, solid fat (like butter) into a dough that isn't sufficiently kneaded or is too cold itself can lead to uneven distribution. If the butter remains in large chunks, it won't melt properly during baking and can create tunnels or an irregular crumb structure. Brioche recipes often call for softened or even melted butter added gradually to ensure it emulsifies properly with the dough, a process that is easier to achieve if the base dough temperature isn't excessively cold.
Using Room Temperature Ingredients for Brioche: When It Works and When It Doesn't
Many standard brioche recipes recommend using room temperature ingredients, particularly eggs and milk. Using ingredients around 70-75°F (21-24°C) helps the dough reach the desired post-mixing temperature of 75-78°F (24-26°C) more easily. Room temperature eggs integrate better into the dough, and room temperature liquids help activate the yeast more readily. This approach works well when aiming for a traditional bulk fermentation at room temperature, which might take 1.5 to 2.5 hours depending on the environment.
However, using room temperature or even slightly warmed ingredients doesn't work when the recipe specifically calls for cold ingredients, such as for laminated brioche (like croissants or pain au chocolat made with brioche dough). In lamination, very cold butter is folded into the dough in layers. The dough must be kept cold and firm to prevent the butter from melting during the rolling and folding process.
In this specific case, ignoring the instruction for cold ingredients would lead to a disastrous, greasy mess rather than distinct layers. Therefore, understanding the recipe's intended process is key to knowing whether room temperature ingredients are appropriate for brioche dough temperature control.
Adjusting Water Temperature for Brioche Dough
The temperature of the liquid added to the dough is the most easily controlled variable and a powerful tool for managing the final brioche dough temperature. Bakers often use a formula or a simple rule of thumb to calculate the ideal water temperature needed to achieve a target dough temperature after mixing. A basic principle is that the total temperature (room temp + flour temp + water temp + friction factor) should equal the desired dough temperature multiplied by the number of factors (usually 4, sometimes 3 if friction is negligible or constant).
For instance, if your kitchen is 70°F and your flour is 70°F, and you want a final dough temperature of 76°F, you'd need to adjust the water temperature significantly. The "friction factor" accounts for the heat generated by the mixer; this might be estimated at 20-30°F depending on the mixer speed and duration.
A rough calculation might look like: (76°F * 4) - (70°F + 70°F + 25°F friction) = 304°F - 165°F = 139°F water temperature. This example shows how warm the water might need to be to compensate for cooler kitchen/flour temps and mixer friction to hit that 76°F target dough temperature for effective brioche dough temperature control.
Temperature's Effect on Brioche Dough Proofing
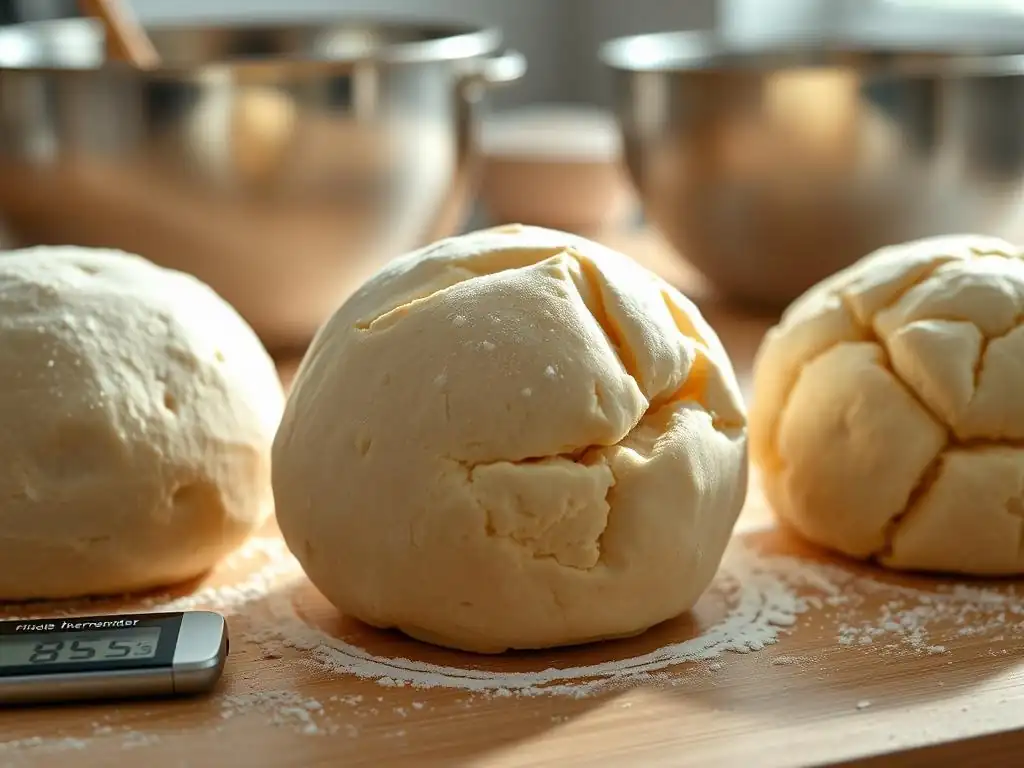
How Temperature Affects Brioche Dough Proofing Time
Proofing, the final rise of the shaped dough before baking, is highly dependent on temperature. Just like bulk fermentation, warmer temperatures accelerate proofing, while cooler temperatures slow it down. A typical brioche dough proofing at room temperature (around 70-75°F / 21-24°C) might take 1 to 2 hours, depending on how much it rose during bulk fermentation and the dough's temperature going into proofing. The goal is for the dough to increase significantly in size, usually doubling or nearly doubling, and become visibly airy and soft.
If the proofing environment is warmer, say 80-85°F (27-29°C) in a proofing box or warm kitchen spot, the proofing time will be considerably shorter, perhaps 45 minutes to 1 hour. Conversely, if proofing in a cooler spot, like a cool pantry at 65°F (18°C), it could take 2.5 to 3 hours or even longer. Precise brioche dough temperature control during proofing allows bakers to time their bake accurately and achieve the desired final volume and texture.
Optimizing Proofing Temperature for Brioche Dough Development
Optimizing proofing temperature means choosing a temperature that allows the dough to reach its ideal inflated state without over-proofing. For a standard brioche, a warm, humid environment around 80-85°F (27-29°C) is often recommended for the final proof. This warmer temperature encourages the yeast to produce gas efficiently, resulting in good oven spring. The humidity prevents the surface of the dough from drying out, which could restrict its expansion.
However, the "optimal" temperature also depends on the desired outcome and schedule. If you need to delay the bake, a cooler proofing temperature (e.g., placing the shaped loaves in the refrigerator for several hours or overnight) is necessary. This slows down yeast activity dramatically, allowing the dough to develop flavor while preventing over-proofing.
Upon removing from the fridge, the dough may need some time at room temperature to warm up slightly before baking, or it can sometimes go directly into a hot oven, depending on the recipe. Effective brioche dough temperature control during this final stage is crucial for achieving the perfect rise and crust.
Recognizing Over-Proofed Brioche Dough Due to Temperature Issues
Over-proofing is a common problem when brioche dough temperature control is not maintained, often due to a proofing environment that is too warm or proofing for too long at a moderate temperature. An over-proofed brioche dough will look excessively large, often having expanded beyond doubling. The surface might look bubbly or even start to sag. When gently poked, the indentation will remain completely, rather than slowly springing back partially.
Baking over-proofed brioche typically results in a loaf that collapses in the oven (poor oven spring) because the gluten structure has been stretched too thin and the yeast has exhausted most of its food source. The resulting crumb will be coarse, irregular, and potentially dense in parts where it collapsed. The flavor might also be excessively alcoholic or sour. Recognizing the signs of over-proofing, often a direct consequence of incorrect brioche dough temperature or proofing duration, is vital for troubleshooting.
Troubleshooting Brioche Dough Temperature Problems
Brioche Dough is Too Warm: Solutions and Adjustments
If you measure your brioche dough temperature after mixing and find it is significantly warmer than the target range (e.g., above 80°F / 27°C), it means fermentation will proceed very rapidly. This can be due to warm ingredients, excessive kneading time/speed generating too much friction heat, or a warm kitchen environment.
- Immediate Action: Place the dough in the refrigerator for 15-30 minutes to cool it down. Check the temperature again. Repeat if necessary until the dough is closer to the desired temperature range (75-78°F / 24-26°C).
- Adjusting Fermentation: Be prepared for a much shorter bulk fermentation time if the dough remains warm. Monitor its rise closely. It might double in half the time expected.
- Future Prevention: Use colder ingredients in your next batch. Chill your mixing bowl before starting. Reduce kneading time or speed slightly. Factor in your kitchen's ambient temperature.
Brioche Dough is Too Cold: Rescue Techniques
A brioche dough that is too cold (e.g., below 70°F / 21°C) after mixing will ferment very slowly. This can happen if ingredients were too cold, or the kitchen is cool. While a long, cold fermentation is often desirable for flavor, a dough that starts too cold might struggle to get going at all, especially if the yeast wasn't properly activated.
- Warming Gently: Place the dough in a slightly warmer spot. This could be:
- In an oven with just the light on (often around 80-85°F / 27-29°C).
- On top of a warm appliance (like a refrigerator).
- In a proofing box set to a low temperature.
- Near a sunny window (but be careful of hot spots).
- Monitoring: Check the dough temperature periodically. Once it reaches the target range (75-78°F / 24-26°C), move it back to your intended fermentation spot or continue fermenting in the warm spot, monitoring its progress.
- Patience: A cold dough simply needs more time. Don't rush the fermentation. Allow it to double in size, however long it takes.
Dealing with Fluctuating Temperatures During Brioche Baking
Fluctuating temperatures in the kitchen can make consistent brioche dough temperature control challenging. Drafts from windows, ovens cycling on and off, or even just the difference between day and night temperatures can impact fermentation.
- Find a Stable Spot: Identify the warmest, most consistent temperature spot in your kitchen. This might be inside a turned-off oven with the light on, a microwave, or a specific cupboard.
- Insulate: Use a proofing container that helps regulate temperature. A dough bucket with a lid, placed inside a cooler or wrapped in a towel, can help buffer against external temperature swings.
- Use a Proofing Box: For serious bakers, a dedicated proofing box provides precise temperature and humidity control, eliminating guesswork and fluctuations.
- Monitor & Adjust: Regularly check the dough temperature and its rise. Be prepared to move the dough to a warmer or cooler spot as needed to keep it on track for the desired fermentation time and state. Mastering brioche dough temperature control means being adaptable.
Brioche Dough Temperature and the Final Bake
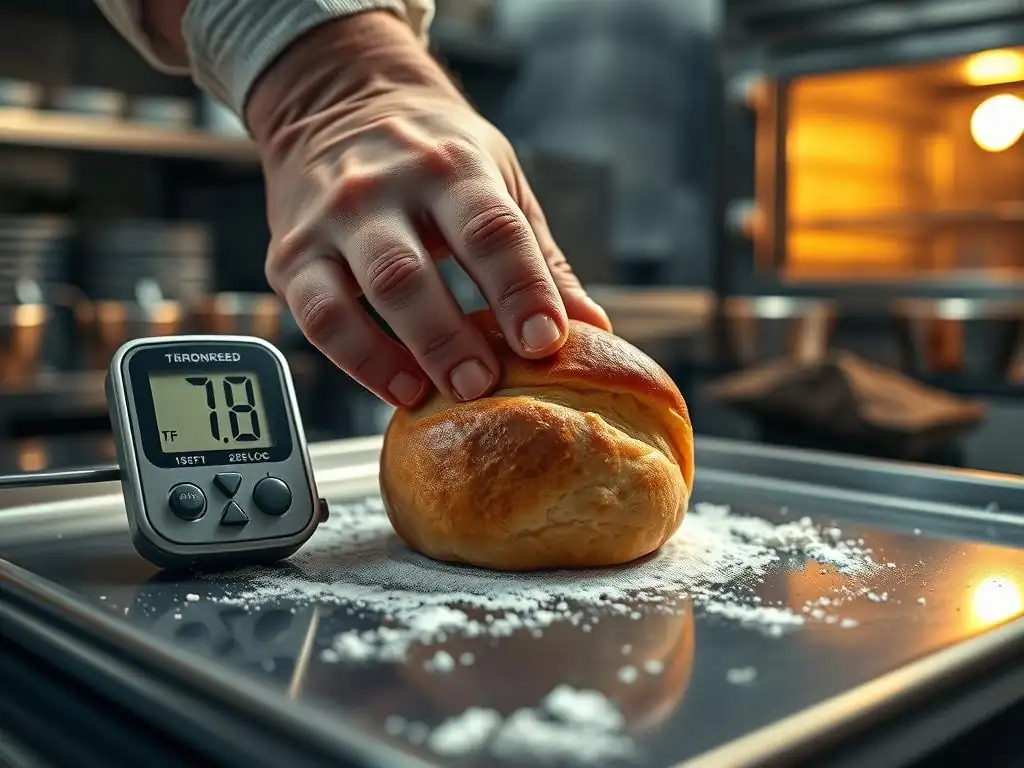
How Dough Temperature Influences the Brioche Oven Spring
The temperature of your brioche dough immediately before it goes into the oven, combined with how well it was proofed at the correct temperature, significantly impacts oven spring. Oven spring is the final burst of rising that occurs during the first 10-15 minutes of baking. It happens because the heat of the oven causes the gases produced during fermentation to expand rapidly, and the yeast gets one last burst of activity before dying off.
Dough that is slightly cool but perfectly proofed will often have excellent oven spring as it warms up rapidly in the hot oven. Dough that is too cold going into the oven may have slightly reduced oven spring as it takes longer to warm through. Over-proofed dough, regardless of its temperature going in, will have poor oven spring because the gluten structure is too weak to support the rapid expansion. Therefore, ensuring the brioche dough reaches the correct proofing state at an appropriate temperature is key to maximizing oven spring.
Achieving a Golden-Brown Crust with Proper Brioche Dough Temperature
While oven temperature is the primary factor in crust development, the dough's temperature and fermentation state also play a role. A properly fermented brioche dough, achieved through careful brioche dough temperature control, will have sufficient sugars available on its surface. These sugars caramelize during baking, contributing to the desirable golden-brown color of the crust.
If the dough was significantly under-proofed due to being too cold, there might be fewer available sugars on the surface, potentially resulting in a paler crust. Conversely, over-proofing, which can be caused by dough being too warm for too long, can sometimes lead to a crust that browns too quickly or unevenly because the sugars were consumed or migrated differently. Ensuring the dough is at the correct temperature and proofing level allows for even heat penetration and optimal Maillard reactions and caramelization on the surface.
Temperature's Role in Brioche's Soft and Tender Crumb
The hallmark of a great brioche is its soft, tender, and often airy crumb. Achieving this texture is a direct result of effective brioche dough temperature control throughout the entire process.
- Mixing Temperature: Keeping the dough temperature within the target range (75-78°F) during mixing ensures the butter is incorporated smoothly and the gluten develops strength without becoming tough. Overheating during mixing can melt the butter, making the dough greasy and potentially resulting in a dense crumb.
- Fermentation Temperature: Controlled fermentation temperatures allow for gradual gluten development and the production of gases that create the open, airy structure. Cold fermentation further contributes to tenderness by allowing enzymes to tenderize the dough.
- Proofing Temperature: Correct proofing temperature allows the dough to achieve optimal volume and a delicate structure before baking. Under-proofing leads to a dense crumb, while over-proofing results in a collapsed, coarse crumb.
By carefully managing the brioche dough temperature at every stage, from initial mix to final proof, you create the ideal conditions for the yeast and gluten to work together, resulting in that coveted soft and tender brioche crumb.
Tips for Maintaining Consistent Brioche Dough Temperature
Creating a Stable Temperature Environment for Brioche Baking
Maintaining a consistent temperature for your brioche dough throughout its fermentation and proofing stages is crucial for predictable results and effective brioche dough temperature control. Kitchens can have surprisingly varied temperatures due to drafts, appliance use, and sunlight.
Here are some strategies for creating a more stable environment:
- Use an Oven with Light On: Many ovens reach a temperature of 80-85°F (27-29°C) with just the light on. Place your covered dough inside.
- Microwave: A microwave oven, when off, is often draft-free and can maintain a relatively stable temperature.
- Proofing Box: A dedicated proofing box offers precise temperature and humidity control.
- Insulated Cooler: Place your covered dough bowl inside a clean cooler. You can add a bowl of warm water (not hot!) to create a slightly warmer, humid environment inside the cooler, but monitor the temperature carefully.
- Avoid Drafts: Keep dough away from open windows, air conditioning vents, or frequently opened doors.
Controlling Temperature During Different Stages of Brioche Making
Effective brioche dough temperature control requires active management at each step:
- Ingredient Prep: Bring refrigerated ingredients like eggs and milk to room temperature unless the recipe specifies otherwise. Use the desired water temperature calculation to hit your target dough temperature after mixing.
- Mixing/Kneading: Monitor the dough's temperature during kneading. If using a stand mixer, feel the bowl – if it's getting warm, the dough is too. Consider reducing speed or taking short breaks. Aim for that post-mix temperature of 75-78°F (24-26°C).
- Bulk Fermentation: Place the dough in a stable temperature environment (e.g., 70-75°F / 21-24°C for standard rise, or 38-40°F / 3-4°C for cold fermentation). Check the dough temperature periodically, especially if doing a long fermentation.
- Shaping: Work efficiently during shaping to minimize the time the dough is handled, which can warm it up. If the dough becomes too soft or sticky, pop it in the fridge for 10-15 minutes to firm up.
- Proofing: Place shaped loaves in a stable, slightly warmer environment (e.g., 80-85°F / 27-29°C) for final proof, unless cold proofing. Monitor closely, as proofing time is highly temperature-dependent.
Adapting Brioche Baking to Hot and Humid Climates
Baking brioche in hot and humid climates presents unique challenges for brioche dough temperature control. Warm ambient temperatures accelerate yeast activity, and high humidity can make dough sticky.
- Colder Ingredients: Start with colder ingredients than usual. Use milk or water straight from the refrigerator. Chill your flour in the fridge or freezer for 30-60 minutes before mixing.
- Mixer Management: Use the lowest effective speed on your mixer to minimize friction heat. Consider chilling your mixing bowl before adding ingredients.
- Prioritize Cold Fermentation: Hot climates are ideal for embracing cold fermentation. After a short period at room temperature (maybe 30-60 minutes) to kickstart fermentation, move the dough to the refrigerator for a long, slow rise (8-24 hours). This develops flavor and makes the dough much easier to handle in the heat.
- Proofing Location: Find the coolest spot in your home for proofing. A basement or air-conditioned room is preferable to a warm kitchen counter. Monitor proofing time closely, as it will still likely be faster than in a cooler climate.
- Hydration Adjustment: In very humid conditions, you might need to slightly reduce the liquid content (milk/water) in the recipe, as flour absorbs moisture from the air. This helps manage dough stickiness, which can be exacerbated by warm temperatures.
Achieving Brioche Success Through Temperature Mastery
Mastering Brioche Dough Temperature Control: A Summary
Mastering brioche dough temperature control is arguably the single most important factor for consistent success with this enriched dough. It influences everything from yeast activity and gluten development to fermentation speed, dough handling, flavor development, and the final crumb texture and oven spring.
Key takeaways for controlling brioche dough temperature include:
- Target a post-mixing dough temperature of 75-78°F (24-26°C).
- Adjust ingredient temperatures, especially water, to achieve the target dough temp.
- Understand how temperature affects fermentation speed (warm = fast, cold = slow).
- Utilize cold fermentation for enhanced flavor and easier handling.
- Measure dough temperature accurately with a probe thermometer.
- Create a stable temperature environment for bulk fermentation and proofing.
- Be prepared to troubleshoot dough that is too warm or too cold.
- Recognize that proper temperature management prevents issues like over-proofing and contributes to ideal oven spring and crumb structure.
By paying close attention to temperature at every stage, you move from simply following a recipe to truly understanding and controlling the brioche baking process, leading to consistently delicious results.
Recommended Books and Websites for Brioche Baking
For those looking to deepen their understanding of brioche baking and the science behind brioche dough temperature control, exploring resources from experienced bakers is invaluable.
- Books like "The Bread Baker's Apprentice" by Peter Reinhart or "Flour Water Salt Yeast" by Ken Forkish offer detailed explanations of dough temperature's role in fermentation and provide formulas for calculating desired dough temperature. While not exclusively focused on brioche, their principles apply directly.
- Websites from reputable baking schools or well-known baking bloggers often feature brioche recipes with specific temperature guidance and troubleshooting tips. Look for resources that explain the why behind temperature recommendations, not just the what.
These resources can provide additional formulas, techniques, and insights into how experienced bakers manage temperature in their own kitchens, helping you refine your own approach to brioche dough temperature control.
Have you found a trick for keeping your brioche dough at the perfect temperature? Do you have a favorite method for cold proofing, or a way you adapt your technique to a warm kitchen? Share your insights! Baking is a journey of learning, and exchanging tips on brioche dough temperature control helps everyone achieve better results. What temperature do you aim for, and how do you maintain it?
Frequently Asked Questions
How does temperature affect brioche dough development?
Temperature significantly impacts the yeast activity in brioche. Too warm, and the yeast will over-activate, leading to a sour or collapsed dough. Too cold, and the yeast will be sluggish, resulting in a dense and under-proofed loaf.
What is the ideal temperature range for brioche dough during proofing?
The ideal proofing temperature range for brioche dough is typically between 70-75°F (21-24°C). This allows for optimal yeast activity without overheating and ensures a light and airy texture. Higher or lower temperatures will impact the final product.
Why is it important to chill the brioche dough before baking?
Chilling the brioche dough before baking helps to firm up the butter, making it easier to handle and shape. It also slows down the yeast activity, preventing the dough from over-proofing and ensuring a better oven spring.
How can I accurately measure the temperature of my brioche dough?
Use an instant-read thermometer to check the dough's internal temperature. Gently insert the thermometer into the center of the dough, being careful not to deflate it. This gives you the most accurate reading for temperature control.
What are the signs that my brioche dough is too warm or too cold?
If the dough is too warm, it will become sticky and difficult to handle, and may have a sour smell. If it's too cold, it will rise very slowly or not at all, and may feel dense and firm.
Final Reflection: The Golden Ratio of Brioche – Temperature's Crucial Role
Mastering brioche baking isn't just about following a recipe; it's about understanding the delicate dance between ingredients and temperature. A few degrees can mean the difference between a light, airy masterpiece and a dense, disappointing loaf. This article has explored the critical role temperature plays in every stage of brioche production, from initial ingredient mixing to the final proof. Ignoring this crucial element risks undermining the entire baking process.
The impact of precise temperature control on the final product is profound. It's not simply about achieving the correct rise; it's about unlocking the full potential of the yeast, allowing for optimal gluten development, and ultimately, creating that signature brioche texture – soft, buttery, and utterly irresistible. The proof is in the pudding,
as the saying goes, and in the case of brioche, the proof is in the perfectly controlled temperature. This understanding transcends mere baking; it speaks to the precision and artistry involved in creating something truly special.
Now, consider your own baking journey. Have you experienced the frustration of a less-than-perfect brioche? Perhaps you've noticed inconsistencies in your results. I urge you to take the lessons learned here and apply them to your next bake. Pay close attention to your ingredient temperatures, monitor the proofing environment meticulously, and embrace the subtle nuances of this fascinating process. With practice and attention to detail, you too can unlock the secrets to consistently perfect brioche, a testament to your dedication and skill in the kitchen.
Unlock Brioche Perfection: Master the Temperature Game!
Thanks for diving into the world of brioche baking with us! You've now got the knowledge to create truly exceptional bread. Ready to put your newfound expertise to the test?
- Bake your perfect brioche: Grab your ingredients and try the recipe today! Note the temperature changes and see how they affect the rise and final texture. It's the best way to truly master this technique.
- Share your brioche triumphs (or challenges!): Post pictures on social media and tag us @BakeWithEase – we’d love to see your creations!
- Explore our other baking guides: Discover more tips and tricks on our site to elevate your baking skills even further.
What temperature adjustments will you try in your next brioche bake?