
Baking Enriched Doughs Without a Stand Mixer: It's Possible!

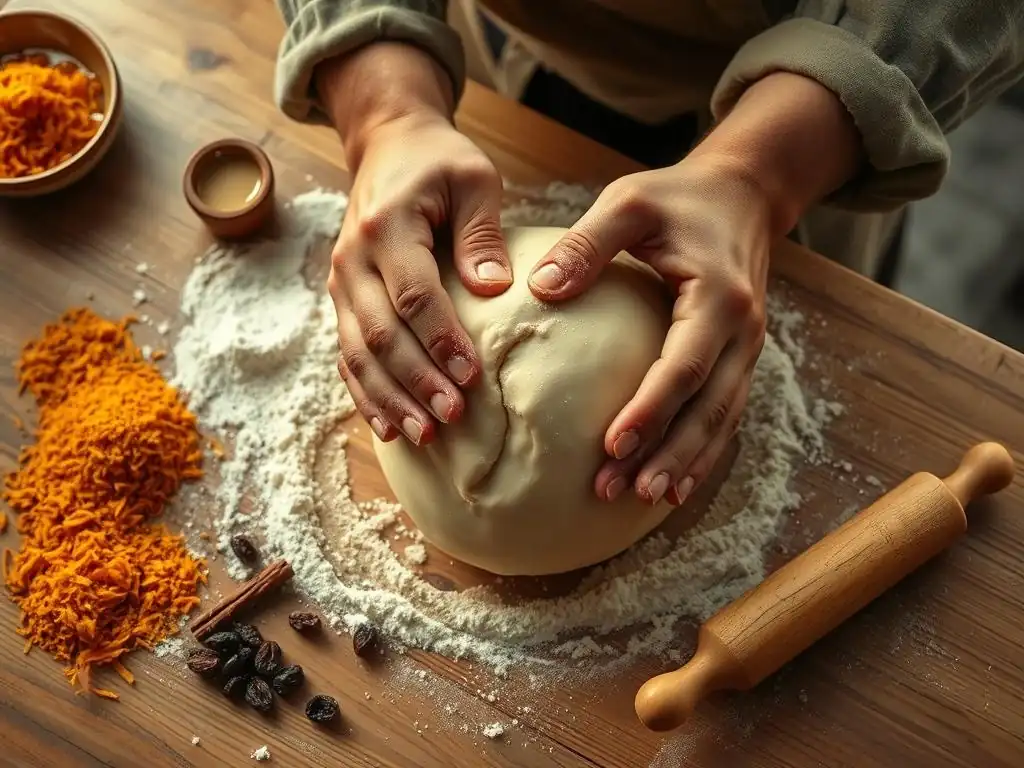
Welcome to BakeWithEase, where we're passionate about making baking accessible to everyone! Thinking you need a stand mixer to create beautifully enriched doughs? Think again! Dive into our exploration of stand mixerfree enriched dough recipes and discover how to achieve bakery-worthy results with just your own two hands. Prepare to unlock surprisingly simple techniques and mouthwatering recipes that will have you baking like a pro, regardless of your kitchen equipment. Intrigued? Let's get baking!
- Introduction: Stand Mixer-Free Enriched Dough Baking for Home Bakers
- Understanding Enriched Doughs: What Makes Them Special?
- The Challenge: Mixing Enriched Doughs By Hand
- Stand Mixer-Free Enriched Dough Recipes: Techniques and Strategies
- Essential Tools for Mixing Enriched Dough Without a Stand Mixer
- Step-by-Step Guide: Hand-Kneading Enriched Dough
- Recipes for Stand Mixer-Free Enriched Doughs
- Troubleshooting Common Issues in Stand Mixer-Free Enriched Dough
- Tips and Tricks for Successful Hand-Kneading of Enriched Doughs
- Conclusion: Enjoying Delicious Enriched Doughs, No Stand Mixer Needed!
-
Frequently Asked Questions
- How can I develop gluten in enriched dough without a stand mixer?
- What are the best hand-kneading techniques for enriched dough?
- Can I still achieve a smooth dough texture without a stand mixer?
- What are the challenges of making enriched dough by hand, and how can I overcome them?
- Are all enriched dough recipes suitable for hand-kneading?
- Final Reflection: The Joy of Knead-Free Baking
- Unleash Your Inner Baker: Knead to Know More?
Introduction: Stand Mixer-Free Enriched Dough Baking for Home Bakers
Many home bakers dream of creating beautiful, rich breads and pastries like brioche, challah, or soft dinner rolls. These delicious treats often fall under the category of "enriched doughs," characterized by the addition of ingredients like eggs, butter, and sugar. While many recipes for these doughs assume you have a stand mixer, the good news is that baking enriched doughs without a stand mixer is absolutely achievable. It might require a bit more effort and patience, but the results can be just as rewarding, producing wonderfully soft and flavorful baked goods right from your own kitchen.
This article will guide you through the process of making stand mixer-free enriched doughs, exploring the unique properties of these doughs, the challenges of hand mixing, and proven techniques to overcome them. We'll look at essential tools, provide step-by-step instructions for hand-kneading, and even share specific stand mixer-free enriched dough recipes to get you started. Whether you're new to baking or looking to expand your skills without specialized equipment, mastering hand-kneaded enriched dough opens up a world of delicious possibilities.
Understanding Enriched Doughs: What Makes Them Special?
Defining Enriched Dough: Eggs, Butter, and Sugar
Enriched doughs differ significantly from lean doughs (like those used for crusty baguettes or rustic loaves) primarily due to their ingredient list. Beyond flour, water, yeast, and salt, enriched doughs incorporate fats (like butter or oil), eggs, and sweeteners (sugar, honey, or syrup).
For example, a typical lean dough might contain just four ingredients, while a brioche recipe could include flour, yeast, salt, water or milk, several eggs, a substantial amount of butter (sometimes up to 50% of the flour weight), and sugar. These additions contribute to a softer crumb, richer flavor, and often a more golden crust compared to lean doughs.
The presence of eggs, butter, and sugar impacts the dough's structure and handling. Fats and sugars tenderize the crumb by interfering with gluten development, while eggs add richness, color, and help create a softer texture. This unique composition means enriched doughs are often stickier and heavier than lean doughs, presenting specific challenges when mixing by hand. However, it's these very ingredients that give stand mixer-free enriched dough recipes their desirable texture and taste.
The Role of Gluten Development in Enriched Dough
Gluten is the protein network formed when flour is mixed with liquid and kneaded. It's what gives bread its structure and chewiness. In enriched doughs, developing a strong gluten network is crucial to support the weight of the added fats, sugars, and eggs, and to create that characteristic soft, airy crumb. Without adequate gluten development, the dough won't rise properly and the final product can be dense or crumbly.
Achieving sufficient gluten development in enriched doughs can be more challenging than in lean doughs. Fats and sugars can coat the flour particles, hindering the formation of gluten bonds. This is why these doughs often require longer mixing times and specific techniques to build strength. Whether using a stand mixer or hand-kneading for your stand mixer-free enriched dough recipes, the goal remains the same: to develop a robust yet elastic gluten structure capable of trapping the gases produced by the yeast during fermentation.
Why a Stand Mixer is Traditionally Recommended
Stand mixers are often recommended for enriched doughs because they can efficiently handle the long kneading times required to develop gluten, especially when incorporating large amounts of butter or eggs. The mechanical action of the dough hook is very effective at building strength in sticky, heavy doughs without tiring the baker. Furthermore, a stand mixer can gradually incorporate softened butter into the dough while continuing to knead, a process that can be quite messy and physically demanding when done by hand.
For many, a stand mixer simplifies the process, making the hydration and enrichment of the dough less daunting. It provides consistent kneading power over extended periods, ensuring thorough gluten development. However, this doesn't mean it's impossible to achieve the same results through manual effort; it simply means understanding the dough's needs and employing effective hand-mixing techniques, making stand mixer-free enriched dough recipes a viable option for anyone.
The Challenge: Mixing Enriched Doughs By Hand
The Time and Effort Required for Hand Mixing
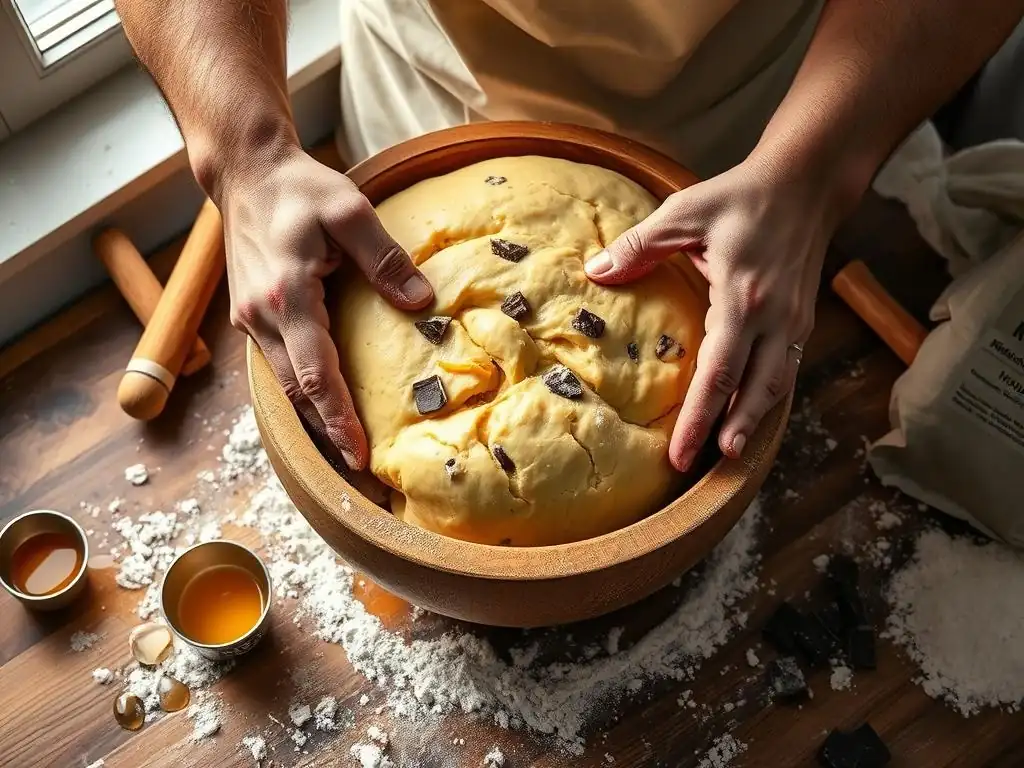
Mixing enriched doughs by hand is undeniably more physically demanding than using a stand mixer. The doughs are often quite sticky initially due to their high hydration and the presence of eggs and sugar. Kneading by hand requires continuous motion – stretching, folding, and pressing the dough against a surface – to align the gluten strands. This process typically takes significantly longer than machine kneading; while a stand mixer might knead a dough in 8-10 minutes, hand kneading the same dough could easily take 15-20 minutes or even longer, depending on the specific recipe and your technique.
The effort involved can be substantial, particularly when incorporating softened butter into the dough, which often turns the mixture into a slippery, messy mass before it comes together again. Mastering the techniques for handling sticky doughs is key to making the process manageable and successful. Despite the extra effort, many bakers find a unique satisfaction in the tactile experience of hand-kneading, feeling the dough transform under their hands from a shaggy mass to a smooth, elastic ball, proving that stand mixer-free enriched dough recipes are truly within reach.
Potential Problems: Overmixing vs. Undermixing
When mixing enriched doughs by hand, it's crucial to find the sweet spot between undermixing and overmixing. Undermixing is a common issue for beginners, resulting in a dough that is weak, not elastic, and tears easily. This dough won't hold its shape well during proofing or baking, leading to a dense, flat final product because the gluten network isn't strong enough to support the rise. You can often tell a dough is undermixed if it feels stiff and resists stretching, or if it breaks apart when you try to perform the windowpane test.
Conversely, overmixing (though less common with hand kneading than with a powerful mixer) can also damage the gluten structure. An overmixed dough can become tight, tough, and lose its elasticity, sometimes even becoming sticky and difficult to handle again. The key is to knead until the dough is smooth, elastic, and passes the windowpane test – where a small piece of dough can be stretched thinly enough to see light through it without tearing. Paying attention to the dough's feel and appearance throughout the kneading process is vital for successful stand mixer-free enriched dough recipes.
Stand Mixer-Free Enriched Dough Recipes: Techniques and Strategies
The "Slap and Fold" Method for Strong Gluten Development
The "slap and fold" technique is particularly effective for developing gluten in wet or sticky doughs, including many enriched varieties. This method involves picking up the dough, slapping it onto a clean, unfloured surface, stretching it out slightly, and then folding it back onto itself. You then repeat this action rhythmically, rotating the dough as you go. The action of slapping and folding helps to align the gluten strands quickly and efficiently without adding excessive flour, which can dry out the dough.
This technique can feel awkward at first, but with practice, it becomes a fast and effective way to build strength in the dough. It's especially useful for doughs that are too sticky to knead traditionally. You'll see the dough become less sticky and more elastic as you continue, typically over a period of 10-15 minutes for many enriched doughs. This method is a cornerstone for successfully handling sticky doughs when preparing stand mixer-free enriched dough recipes.
The "Stretch and Fold" Technique for Delicate Doughs
The "stretch and fold" method is a gentler approach often used during the bulk fermentation (first rise) of doughs, or for doughs that are very wet or contain delicate additions. Instead of vigorous kneading, this technique involves periodically stretching and folding the dough in its bowl over a period of time (e.g., every 30-60 minutes for the first 1.5 to 2 hours of proofing). To perform a stretch and fold, wet your hand slightly, grab the dough from one side, stretch it upwards, and fold it over the center. Rotate the bowl and repeat this process 3-4 times.
This method develops gluten more slowly than traditional kneading or slap and fold, but it does so effectively while maintaining the airy structure created by the yeast. It's less messy than slap and fold and can be done entirely within the mixing bowl. For some stand mixer-free enriched dough recipes, a combination of initial hand-kneading (perhaps using slap and fold) followed by stretch and folds during proofing works best to build the necessary structure.
Using a Danish Dough Whisk for Initial Mixing
A Danish dough whisk is a simple yet incredibly effective tool for mixing doughs, especially in the initial stages. Its unique design, consisting of a sturdy wire coil attached to a handle, cuts through thick doughs easily and incorporates dry ingredients into wet ones far more efficiently than a wooden spoon or spatula. It helps bring together the shaggy mass of dough before you even start kneading by hand.
Using a Danish dough whisk reduces the initial mess and effort of mixing sticky doughs, getting you to the hand-kneading stage faster and cleaner. While it doesn't develop gluten itself, it ensures all ingredients are well combined, creating a more uniform dough to begin kneading. This small, inexpensive tool can make a significant difference in the ease of preparing stand mixer-free enriched dough recipes.
Essential Tools for Mixing Enriched Dough Without a Stand Mixer
Dough Scraper: Your Best Friend for Sticky Dough
A simple plastic or metal dough scraper, also known as a bench scraper, is indispensable when working with sticky doughs by hand. When using techniques like slap and fold on an unfloured surface, the dough will inevitably stick. A dough scraper allows you to quickly and cleanly scrape the dough off your work surface and your hands, keeping things tidy and preventing excessive flour addition, which can toughen the dough.
Beyond scraping, a dough scraper is also useful for portioning dough, moving it around your workspace, and cleaning up sticky residue. For anyone tackling stand mixer-free enriched dough recipes, this tool is a small investment that provides immense practical benefits, making the process much less frustrating.
Bench Scraper: Dividing and Shaping with Ease
While often used interchangeably with 'dough scraper,' a bench scraper typically refers to a rectangular metal blade with a handle, often used for scraping down a workbench. However, its sturdy, straight edge also makes it excellent for dividing dough into equal portions for rolls, buns, or multiple loaves. Its rigidity allows for clean cuts through the dough mass.
A bench scraper is also helpful during shaping, allowing you to manipulate sticky dough without it adhering completely to your hands. It can assist in lifting, folding, and moving dough portions. Having both a plastic dough scraper and a metal bench scraper provides versatility for handling various stages of stand mixer-free enriched dough recipes, from initial mixing cleanup to final shaping.
Large Mixing Bowl: Choosing the Right Size
Selecting the correct size mixing bowl is crucial for hand-kneading enriched doughs. These doughs often undergo significant expansion during proofing, sometimes doubling or even tripling in volume. A bowl that is too small will cause the dough to overflow, creating a mess and potentially disrupting the proofing process.
Opt for a bowl that is at least double the volume of your initial dough mass, preferably even larger (e.g., a 4-quart bowl for a recipe using 500g of flour). This provides ample space for the dough to rise comfortably. A wide bowl can also make the initial mixing easier before you transfer the dough to a surface for kneading. A good quality, appropriately sized mixing bowl is a basic but essential piece of equipment for any stand mixer-free enriched dough recipe.
Step-by-Step Guide: Hand-Kneading Enriched Dough
Step 1: Combining the Initial Ingredients
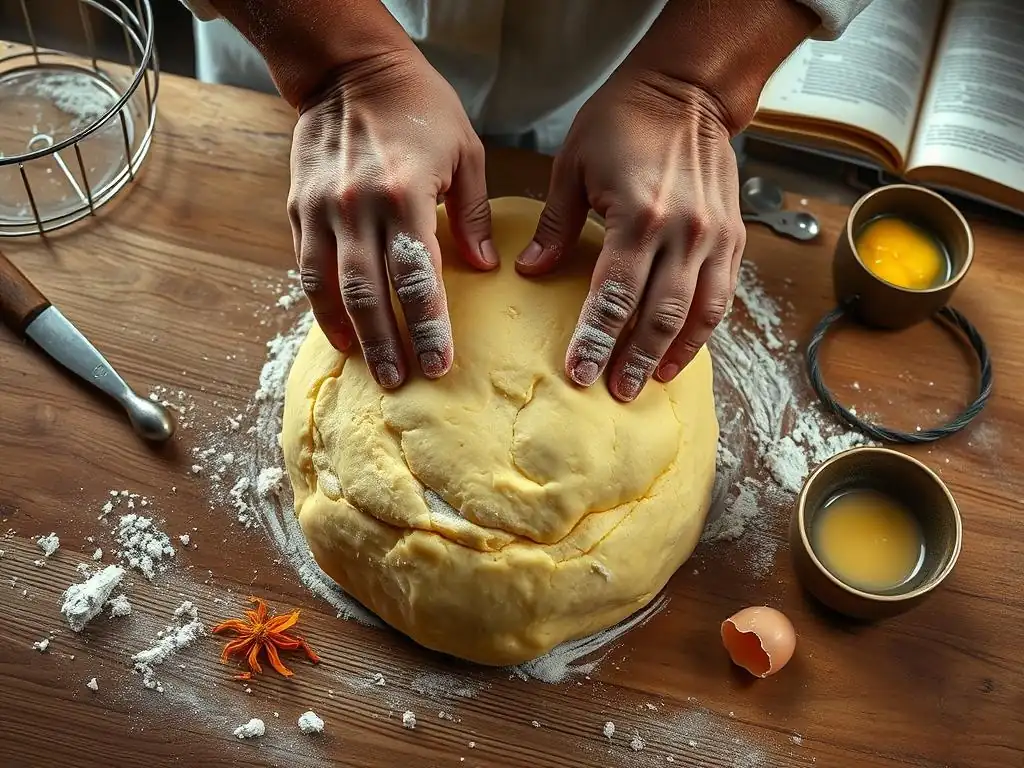
Begin by combining the wet ingredients (like milk, eggs, melted butter if added early, and dissolved yeast and sugar) in your large mixing bowl. Whisk them together until well combined. In a separate bowl, weigh or measure your flour and salt, then whisk them together. Gradually add the dry ingredients to the wet, mixing with a Danish dough whisk, wooden spoon, or your hand until a shaggy dough forms and no dry flour remains. This initial mix can be sticky and uneven – that's perfectly normal for many stand mixer-free enriched dough recipes.
Once the ingredients are roughly combined, turn the dough out onto a clean, unfloured work surface (like a counter or a large wooden board). Resist the urge to add flour immediately; wait until you've attempted kneading.
Step 2: Developing the Gluten Through Kneading [10-15 Minutes of Slap and Fold]
Now it's time to knead and develop that crucial gluten network. For many enriched doughs, especially those with higher hydration or eggs, the "slap and fold" method is highly effective here. Pick up the sticky dough, lift it, slap it down onto the surface, stretch it slightly, and fold it back over itself. Repeat this motion rhythmically. Use your dough scraper to help gather the dough if it spreads too much or sticks excessively.
Continue the slap and fold technique for approximately 10 to 15 minutes. Initially, the dough will be very sticky and tear easily. As you knead, you'll feel and see a transformation: the dough will become smoother, less sticky (though still likely tacky), more elastic, and will resist tearing when stretched. Aim for a dough that is smooth and elastic and passes the windowpane test. The exact time will vary depending on the flour and recipe, but 10-15 minutes is a good starting point for many stand mixer-free enriched dough recipes.
Step 3: Incorporating Butter Gradually
If your recipe calls for adding softened butter after the initial kneading, this is where patience is key. Return the dough to a clean bowl briefly. Add about one-quarter of the softened butter to the dough. Turn the dough back onto your clean, unfloured surface. Begin kneading again. The dough will become extremely slippery and may seem like it's falling apart – this is expected! Keep kneading, using your dough scraper to help gather the butter and dough.
As you knead, the butter will gradually become incorporated, and the dough will eventually regain its structure and elasticity. Once the first portion of butter is fully absorbed and the dough is smooth again, repeat the process with the remaining butter, adding it in small portions (e.g., 3-4 additions). Knead thoroughly after each addition until the butter is fully incorporated. This process of incorporating butter can add another 5-10 minutes or more to the total kneading time for stand mixer-free enriched dough recipes.
Step 4: First Proofing and Shaping
After the butter is fully incorporated and the dough is smooth and elastic, lightly grease your clean mixing bowl with butter or oil. Place the dough in the bowl, turning it to coat all sides. Cover the bowl tightly with plastic wrap or a damp towel. Allow the dough to undergo its first rise (bulk fermentation) in a warm place ( 75-80°F is ideal) until it has doubled in size. This can take anywhere from 1.5 to 3 hours, depending on the recipe, yeast amount, and temperature.
Once the dough has doubled, gently turn it out onto a lightly floured surface. Divide the dough using your bench scraper into the desired portions for rolls, loaves, or other shapes. Gently shape the dough according to your recipe instructions. Allow the shaped dough pieces to rest briefly (5-10 minutes) before the final shaping if required. This proofing stage is vital for developing flavor and achieving a light texture in stand mixer-free enriched dough recipes.
Step 5: Baking to Perfection [350°F for 25-30 Minutes]
Preheat your oven to the temperature specified in your stand mixer-free enriched dough recipe, typically ranging from 325°F to 375°F. A common temperature for many enriched loaves and rolls is around 350°F ( 175°C). While the oven preheats, allow your shaped dough pieces to undergo their final proof (second rise). This usually takes 30-60 minutes, or until the dough is visibly puffy and passes the "poke test" (a gentle poke leaves a slight indentation that springs back slowly). Avoid over-proofing.
Once the oven is ready and the dough is properly proofed, you may brush the tops with an egg wash for a golden, shiny crust. Carefully transfer the dough to the preheated oven. Baking times vary greatly depending on the size and type of bake, but a typical enriched loaf might bake for 25-35 minutes, while rolls might take 18-25 minutes. Bake until the crust is golden brown and the internal temperature reaches around 190-200°F ( 88-93°C) when checked with an instant-read thermometer. Let cool on a wire rack before slicing.
Recipes for Stand Mixer-Free Enriched Doughs
Here are a few examples of popular enriched doughs that can be successfully made without a stand mixer. These serve as excellent stand mixer-free enriched dough recipes to try your hand at.
Recipe 1: Classic Brioche Without a Stand Mixer
Brioche is a classic French enriched bread known for its high butter and egg content, resulting in a tender, rich crumb. Making it by hand is a true test of kneading skill but yields incredibly satisfying results.
Ingredients for Hand-Kneaded Brioche
- 500g strong bread flour
- 10g salt
- 50g sugar
- 10g instant dry yeast
- 4 large eggs (approx. 200-220g)
- 60ml milk (whole milk preferred)
- 250g unsalted butter, softened but still cool
Instructions for Stand Mixer-Free Brioche Baking
- Combine flour, salt, sugar, and yeast in a large bowl.
- In a separate bowl, whisk eggs and milk together.
- Add wet ingredients to dry and mix with a Danish whisk or spoon until a shaggy dough forms.
- Turn dough onto an unfloured surface and knead using the slap and fold method for 10-15 minutes until the dough is elastic and passes the windowpane test.
- Gradually add the softened butter, a piece at a time (about 1/4 of the total each addition), kneading thoroughly after each addition until the butter is fully incorporated and the dough is smooth and shiny. This step can take another 10-15 minutes.
- Place dough in a lightly greased bowl, cover, and proof at room temperature until doubled (approx. 2-3 hours), or cold proof in the refrigerator overnight for enhanced flavor (8-12 hours).
- Gently deflate the dough, shape into loaves or rolls, and place in prepared pans or on a baking sheet.
- Cover and let proof again until nearly doubled (approx. 45-75 minutes at room temperature).
- Preheat oven to
375°F(190°C). Brush tops with egg wash if desired. - Bake a large loaf for
30-35 minutes, rolls for18-22 minutes, until golden brown and internal temperature reaches195°F(90°C). - Cool on a wire rack.
Recipe 2: Challah Bread Made Without a Stand Mixer
Challah is a traditional Jewish braided bread, slightly less enriched than brioche, often made with oil instead of butter, which makes it pareve. Its beautiful braided shape and soft texture make it a popular stand mixer-free enriched dough recipe choice.
Ingredients for Hand-Kneaded Challah
- 500g bread flour
- 7g salt
- 50g sugar
- 7g instant dry yeast
- 3 large eggs (approx. 150-165g)
- 120ml warm water or milk
- 60ml vegetable oil or melted butter
Instructions for Stand Mixer-Free Challah Baking
- In a large bowl, whisk together flour, salt, sugar, and yeast.
- In a separate bowl, whisk eggs, warm water/milk, and oil/melted butter.
- Add wet ingredients to dry and mix until combined.
- Turn dough onto a lightly floured surface and knead using traditional kneading or slap and fold for 10-15 minutes until smooth and elastic. The dough should be much less sticky than brioche.
- Place dough in a lightly greased bowl, cover, and let rise until doubled (approx. 1.5 - 2.5 hours).
- Turn dough onto a lightly floured surface, gently deflate, and divide into 3-6 equal pieces for braiding.
- Shape each piece into a strand and braid the dough. Place the braided challah on a baking sheet lined with parchment paper.
- Cover loosely and let rise again until puffy (approx. 45-60 minutes).
- Preheat oven to
350°F(175°C). Brush with egg wash if desired. - Bake for
25-30 minutesfor a large loaf, or20-25 minutesfor smaller ones, until golden brown and internal temperature is190-195°F(88-90°C). - Cool on a wire rack.
Recipe 3: Cinnamon Rolls Without a Stand Mixer
Soft, fluffy cinnamon rolls are a perfect treat, and making the dough by hand is very satisfying. This stand mixer-free enriched dough recipe focuses on creating a tender base for a delicious filling.
Ingredients for Hand-Kneaded Cinnamon Rolls
- 350g all-purpose flour or bread flour
- 50g sugar
- 7g instant dry yeast
- 5g salt
- 1 large egg (approx. 50-55g)
- 180ml warm milk (whole milk preferred)
- 40g unsalted butter, melted
Instructions for Stand Mixer-Free Cinnamon Rolls Baking
- In a large bowl, whisk together flour, sugar, yeast, and salt.
- In a separate bowl, whisk egg, warm milk, and melted butter.
- Add wet ingredients to dry and mix until a shaggy dough forms.
- Turn dough onto a lightly floured surface and knead for 8-12 minutes until smooth and elastic. This dough should be less sticky than brioche.
- Place dough in a lightly greased bowl, cover, and let rise until doubled (approx. 1.5 - 2 hours).
- Turn dough onto a lightly floured surface, gently deflate, and roll into a large rectangle (approx. 12x16 inches).
- Spread softened butter over the dough, then sprinkle with cinnamon-sugar filling.
- Roll the dough up tightly starting from a long edge. Slice into 1-inch rolls using a sharp knife or dental floss.
- Place rolls in a greased baking pan, leaving some space between them.
- Cover and let rise again until puffy and the rolls are touching (approx. 45-60 minutes).
- Preheat oven to
375°F(190°C). - Bake for
20-25 minutes, until lightly golden brown. - Let cool slightly before frosting.
Troubleshooting Common Issues in Stand Mixer-Free Enriched Dough
Dough Too Sticky: Tips for Handling
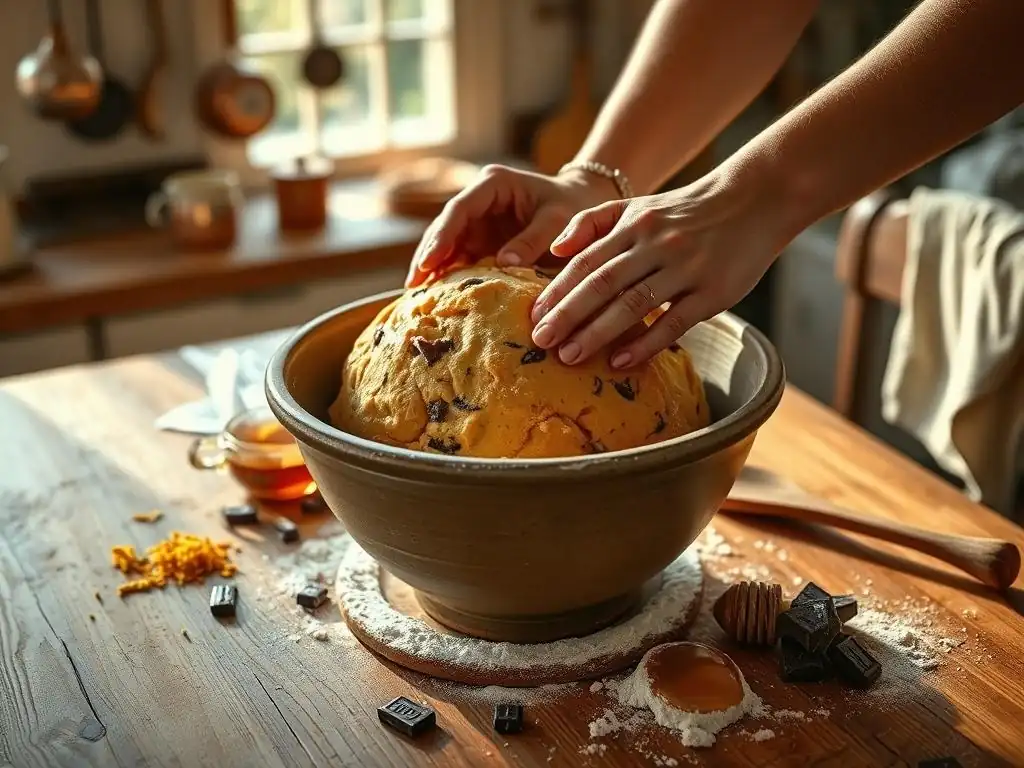
Working with sticky doughs is perhaps the most common challenge when making stand mixer-free enriched dough recipes by hand. Resist the urge to add large amounts of extra flour, as this will change the dough's hydration and can result in a dry, tough crumb. Instead, rely on technique and tools.
- Keep your hands and surface clean: Use your dough scraper frequently to scrape dough off your hands and the work surface.
- Wet your hands: Slightly wetting your hands with water can prevent dough from sticking to them during kneading or shaping.
- Use oil: A very light film of oil on your hands or scraper can also help manage stickiness, especially during the initial mixing and incorporation of butter.
- Flour sparingly: If you must add flour, add it to your hands or scraper, not directly to the dough or the entire work surface. Add just a tablespoon at a time, if needed, during kneading. Remember that as gluten develops, the dough will naturally become less sticky.
Dough Not Rising: Potential Causes and Solutions
If your stand mixer-free enriched dough isn't rising as expected, several factors could be at play:
- Inactive yeast: Check the expiration date on your yeast. If using active dry yeast (not instant), ensure you proof it first in warm liquid with a pinch of sugar to confirm it's alive and bubbly before adding to the flour.
- Incorrect liquid temperature: Water or milk that is too hot will kill the yeast. Aim for warm, not hot, liquid (around
100-115°For38-46°Cfor active dry, or slightly cooler for instant yeast). - Cold environment: Yeast is more active in warmth. Find a warm spot for proofing, like a slightly warm oven (turned off! ), near a sunny window, or on top of a warm appliance. Aim for
75-80°F(24-27°C). Cold dough will rise, but much slower. - Undermixing: If the gluten wasn't properly developed, the dough won't have the structure to trap the gases produced by the yeast, resulting in a poor rise. Ensure you kneaded long enough to achieve a smooth, elastic dough.
Uneven Baking: How to Achieve Consistent Results
Uneven baking can result in parts of your enriched dough product being overcooked while others are undercooked. Here's how to improve consistency:
- Ensure oven is preheated: Always give your oven ample time to fully preheat, typically 15-20 minutes after it signals it has reached the target temperature. Consider using an oven thermometer to verify accuracy.
- Rotate your pan: Midway through the baking time (e.g., after 15 minutes for a 30-minute bake), rotate your baking pan 180 degrees. This helps compensate for hot spots in your oven.
- Use the correct rack: For most enriched loaves and rolls, bake on the middle oven rack for the most even heat distribution.
- Avoid overcrowding: Don't put too many items on one baking sheet or multiple pans too close together, as this can impede air circulation and lead to uneven cooking.
Tips and Tricks for Successful Hand-Kneading of Enriched Doughs
Use Room Temperature Ingredients for Better Emulsification
For many stand mixer-free enriched dough recipes, especially those with butter and eggs, using ingredients that are at room temperature is beneficial. Eggs incorporate more easily into the liquid ingredients when they aren't cold. Softened butter (not melted, but pliable) can be incorporated more smoothly into the dough during kneading.
Allowing ingredients like eggs, milk, and butter to sit out at room temperature for 30-60 minutes before starting your recipe helps them emulsify better with the other components, leading to a more cohesive dough and a finer crumb structure in the final bake. This simple step makes the hand-kneading process smoother.
Be Patient: Gluten Development Takes Time
Hand-kneading enriched dough requires patience. Unlike lean doughs that might develop sufficient gluten in 5-8 minutes, the presence of fats and sugars in enriched dough slows down gluten formation. You might need to knead for 15-20 minutes or even longer, especially when incorporating butter gradually.
Don't rush the process. Pay attention to the dough's texture. It will transition from a sticky, shaggy mass to a smooth, elastic ball that holds its shape and can be stretched thin. Trust the process, take breaks if needed, and know that the time and effort you put in will pay off in the texture of your final baked goods from your stand mixer-free enriched dough recipes.
Don't Overwork the Dough: Watch for Signs of Readiness
While patience is key, it's also important not to overwork the dough once the gluten is fully developed. An overmixed dough can become tight and lose its desirable soft texture. Learn to recognize the signs that your dough is ready.
The primary indicator is the windowpane test: take a small piece of dough and gently stretch it outwards with your fingers. If you can stretch it thin enough to see light through it without it tearing, the gluten is sufficiently developed. The dough should also feel smooth, elastic, and relatively easy to stretch without snapping back immediately. Stop kneading once you reach this point; further kneading is unnecessary for stand mixer-free enriched dough recipes.
Conclusion: Enjoying Delicious Enriched Doughs, No Stand Mixer Needed!
Embrace the Process of Hand-Kneading
Making enriched doughs by hand is a skill that connects you more intimately with the baking process. It allows you to feel the dough transform, understand its texture at different stages, and develop an intuitive sense for when it's ready. While it requires more physical effort than using a stand mixer, many bakers find the rhythmic motion of kneading to be meditative and rewarding.
Embracing the hand-kneading process for your stand mixer-free enriched dough recipes means accepting the initial stickiness and the time investment. It's a journey that builds skill and confidence, proving that you don't need expensive equipment to create incredible baked goods.
The Satisfaction of Homemade Enriched Doughs
There's a unique satisfaction that comes from pulling a golden, fragrant brioche or a beautifully braided challah from your oven, knowing you created it entirely by hand. The soft crumb, the rich flavor – these are the rewards of mastering the art of hand-kneading enriched doughs.
Whether you're baking for your family, friends, or simply for the joy of it, the delicious results of stand mixer-free enriched dough recipes are well worth the effort. So, roll up your sleeves, grab your scraper, and start exploring the wonderful world of hand-kneaded enriched doughs today!
Frequently Asked Questions
How can I develop gluten in enriched dough without a stand mixer?
Developing gluten is key for enriched dough. You can achieve this through vigorous kneading by hand, employing techniques like the stretch and fold method. This replaces the power of a stand mixer's motor.
What are the best hand-kneading techniques for enriched dough?
The French fold and the slap and fold are excellent. These techniques promote gluten development and incorporate air, resulting in a lighter and more airy dough even without a stand mixer.
Can I still achieve a smooth dough texture without a stand mixer?
Yes! Patience is key. Consistent kneading and allowing the dough to rest at intervals will help develop a smooth and elastic texture. Don't rush the kneading process.
What are the challenges of making enriched dough by hand, and how can I overcome them?
Hand-kneading can be more tiring and take longer. Divide the kneading into shorter intervals with resting periods, and be sure to properly flour your work surface to prevent stickiness.
Are all enriched dough recipes suitable for hand-kneading?
While most can be adapted, doughs with very high fat or liquid content may be more challenging. Start with recipes that are specifically designed or adapted for hand-kneading to ensure best results.
Final Reflection: The Joy of Knead-Free Baking
The accessibility of enriched dough baking is revolutionizing home kitchens. No longer is the intimidating, bulky stand mixer a prerequisite for creating delicious, luxurious breads and pastries. This newfound freedom empowers bakers of all skill levels to explore the world of enriched doughs, previously considered the exclusive domain of professional bakers.
The shift towards stand mixer-free enriched dough recipes reflects a broader cultural trend towards simpler, more accessible cooking. It's a return to the basics, a rediscovery of the tactile pleasure of working with dough by hand. This process fosters a deeper connection with the ingredients and the baking process itself. The best things in life are simple,
a sentiment that perfectly encapsulates the satisfaction of creating something delicious without relying on expensive equipment. This shift also speaks to a growing awareness of mindful consumption and a rejection of unnecessary gadgetry.
Now, consider your own kitchen. What enriched dough creations have you always dreamed of making? Don't let the perceived need for a stand mixer hold you back. Embrace the challenge, feel the dough between your fingers, and experience the profound satisfaction of creating something beautiful and delicious with your own two hands. The journey of knead-free baking awaits – embark on it today!
Unleash Your Inner Baker: Knead to Know More?
Thanks for taking the time to explore the world of enriched doughs! You've now discovered that achieving amazing results without a stand mixer is totally within your reach. Ready to put your new skills to the test?
- Bake your dream loaf: Try out one of the recipes mentioned in the article—or get creative and experiment with your own enriched dough creation! This is your chance to shine.
- Share your baking journey: Show off your delicious creations on social media using #BakeWithEaseEnrichedDough. Let’s inspire each other!
- Discover more baking secrets: Explore other articles on BakeWithEase.com – we've got tons of tips and tricks waiting for you.
What incredible enriched dough will you bake first?