
The 'Feel' Test: Recognizing Perfectly Kneaded Enriched Dough

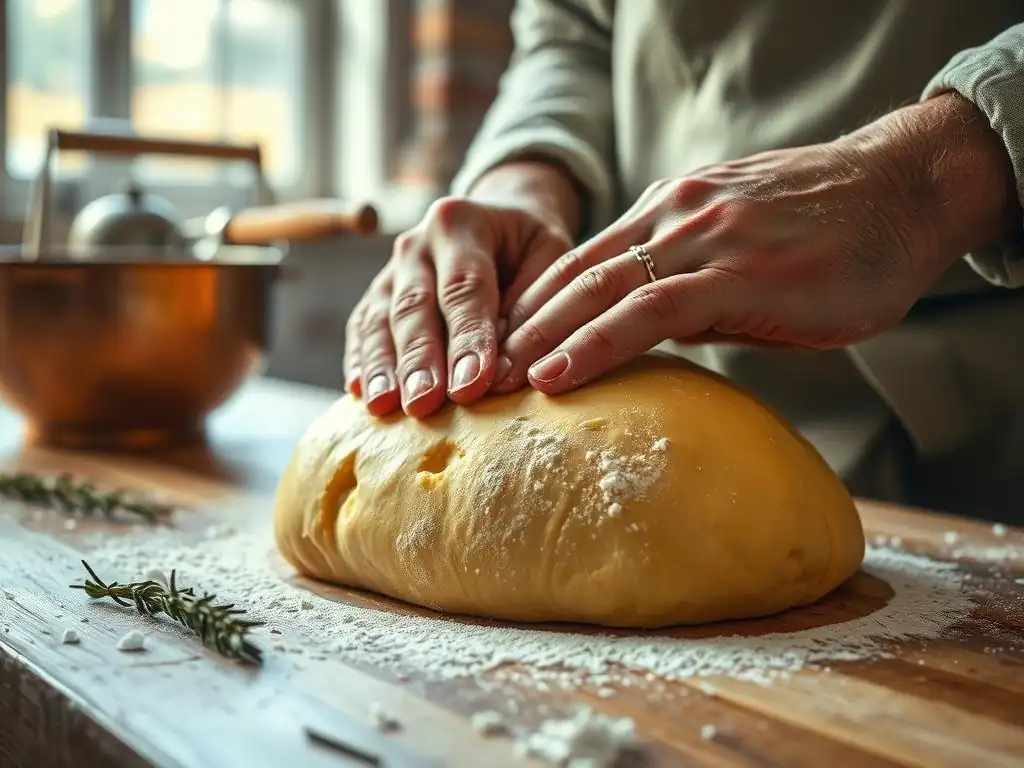
Welcome to BakeWithEase, your trusted guide to the delicious world of baking! Ever wondered if you're truly nailing that enriched dough recipe? This article dives deep into the secrets of the "Feel" Test, helping you understand exactly what perfectly kneaded enriched dough should feel like. Unlock the key to consistently flawless results and say goodbye to dense, disappointing loaves! Are you ready to master the art of enriched dough and elevate your baking game?
- The 'Feel' Test: Recognizing Perfectly Kneaded Dough for Baking Success
- Introduction: Mastering the Art of Dough Kneading
- The Science Behind the Feel: What Happens During Dough Kneading
- The 'Feel' Test: A Step-by-Step Guide to Recognizing Perfect Dough
- Common Mistakes and How to Avoid Them When Kneading Dough
- Advanced Techniques for Evaluating Dough Kneading
- Troubleshooting Common Dough Problems Based on Feel
- Applying the 'Feel' Test to Different Types of Dough
- Beyond the 'Feel': Other Indicators of Properly Kneaded Dough
- Conclusion: Achieving Baking Success Through Mastering the Dough 'Feel'
- Frequently Asked Questions
- Final Reflection: The Unsung Symphony of Kneaded Dough
- Unleash Your Inner Baker: Master the Feel of Perfect Dough!
The 'Feel' Test: Recognizing Perfectly Kneaded Dough for Baking Success
Introduction: Mastering the Art of Dough Kneading
Why the 'Feel' Test is Crucial for Successful Baking
Mastering the art of baking, especially with enriched doughs like brioche or challah, hinges significantly on proper kneading. While timers and recipes provide guidelines, the true indicator of readiness often comes down to how the dough feels in your hands.
This tactile evaluation, the 'feel' test, is paramount because it directly reflects the development of the gluten network, the very structure that gives bread its texture, volume, and ability to hold its shape during rising and baking. Relying solely on time can be misleading; factors like flour type, hydration level, room temperature, and kneading method (by hand or machine) all influence the speed of gluten development.
For enriched doughs, which contain higher amounts of fat, sugar, and eggs compared to lean doughs, achieving that perfectly kneaded enriched dough feel is even more critical. These ingredients can initially inhibit gluten formation, requiring patient and precise kneading. A dough that is under-kneaded will result in a dense, heavy loaf with a tight crumb and poor rise.
Conversely, over-kneading can lead to a tough texture or even break down the gluten structure, causing the dough to lose its elasticity and collapse. The 'feel' test provides real-time feedback, allowing you to adjust your kneading until the dough reaches its optimal state, ensuring a light, airy, and tender result characteristic of well-baked enriched goods.
Understanding Dough: Ingredients and Their Role in Kneading
Dough is a complex matrix, and understanding how its key ingredients interact during kneading is fundamental to recognizing the perfectly kneaded enriched dough feel. Flour, typically bread flour or a high-protein all-purpose flour for enriched doughs, provides the proteins glutenin and gliadin. When mixed with liquid (milk, water, eggs) and worked, these proteins bond to form gluten, the elastic network we aim to develop. The hydration level from liquids significantly impacts how easily this network forms and how the dough feels – wetter doughs are stickier but can produce a more open crumb when kneaded correctly.
Enriching ingredients like eggs, butter, and sugar play a dual role. Eggs add protein and fat, contributing to richness and structure, but can also make the dough initially stiffer. Butter adds tenderness and flavor but coats gluten strands, slowing down their development and requiring longer, more gentle kneading compared to lean dough.
Sugar provides food for the yeast and aids in browning, but in large quantities, it can compete with the flour for water, potentially stiffening the dough. Each ingredient influences the dough's consistency and how it evolves during kneading, making the 'feel' test an indispensable tool for judging when this unique blend has achieved its ideal perfectly kneaded enriched dough feel.
The Science Behind the Feel: What Happens During Dough Kneading
Gluten Development: The Key to Texture
At the heart of successful dough kneading is gluten development. Flour contains two primary proteins, glutenin and gliadin. When these proteins are hydrated, they begin to bond. The physical action of kneading provides the energy needed for these proteins to link together, forming a complex, elastic network called gluten. Think of it like microscopic springs and meshes developing throughout the dough. This network is crucial because it traps the carbon dioxide gas produced by yeast during fermentation, allowing the dough to rise and create that desirable open, airy structure in the final baked good.
In enriched doughs, the presence of fats (from butter, eggs) and sugars can initially interfere with gluten development by coating the protein molecules, making it harder for them to bond. This is why enriched doughs often feel sticky or greasy at the start of kneading and may take longer to reach full development compared to lean doughs.
However, continued kneading helps the gluten network form around these enriching ingredients. The goal is to build a strong yet pliable network that can support the rich components and the leavening process, resulting in the specific resilience and elasticity that defines the perfectly kneaded enriched dough feel.
The Role of Hydration: Impact on Dough Feel
Hydration refers to the ratio of liquid to flour in your dough, typically expressed as a percentage (e.g., 60% hydration means 60g of liquid per 100g of flour). This ratio profoundly impacts the dough's initial feel and how it develops during kneading. Doughs with higher hydration levels (say, 70% or more) are generally stickier and more challenging to handle initially but can lead to a more open and moist crumb in the finished product if properly kneaded. Lower hydration doughs (below 60%) are stiffer and easier to handle but may result in a denser crumb.
For enriched doughs, calculating hydration can be a bit more nuanced as ingredients like eggs and butter contribute liquid and fat. A typical enriched dough might have an effective hydration level somewhere between 50% and 65%, depending on the recipe. The amount of liquid dictates how readily the gluten proteins can hydrate and bond.
Too little liquid, and the dough will be dry and crumbly, making gluten development difficult. Too much, and the dough will be excessively sticky and hard to build structure. Finding the right balance is key to achieving the desired perfectly kneaded enriched dough feel – a dough that is pliable, elastic, but not overly sticky.
Understanding the Stages of Dough Kneading
Dough doesn't magically transform into a perfectly kneaded state instantly; it goes through distinct stages during the kneading process. Initially, after mixing the ingredients, you have a shaggy, uneven mass where the ingredients are just combined. This is often called the "picking up" stage. As you continue to knead, the dough starts to come together into a more cohesive ball, but it will still feel rough, sticky, and will tear easily when stretched. This is the early development stage where gluten strands are just beginning to form.
With continued kneading, the dough becomes progressively smoother and less sticky. The gluten network strengthens and aligns, giving the dough elasticity and resilience. You'll notice it pulls away from your hands or the sides of the mixer bowl more cleanly. The final stage is when the dough reaches full development – it feels smooth, supple, elastic, and passes the windowpane test. Understanding these stages visually and tactilely is crucial for mastering the 'feel' test and knowing when you've achieved that coveted perfectly kneaded enriched dough feel.
The 'Feel' Test: A Step-by-Step Guide to Recognizing Perfect Dough
Stage 1: Initial Mixing and Shaggy Dough Appearance
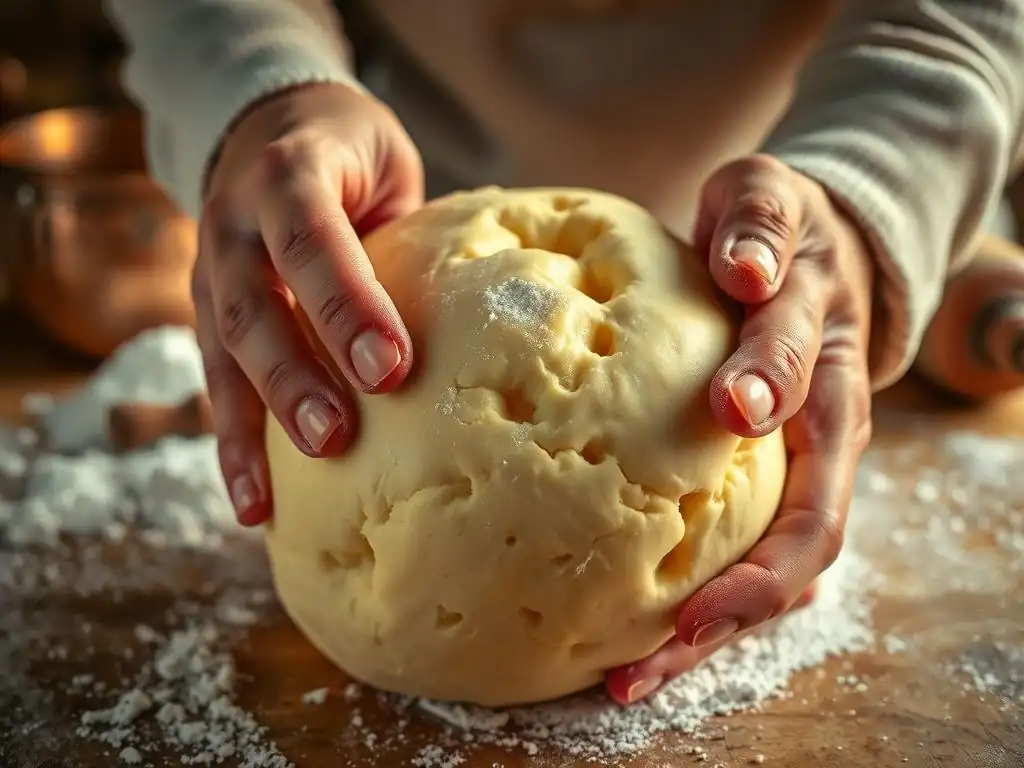
The first step in the 'feel' test begins right after you've combined your flour, liquid, yeast, and other ingredients. At this point, the mixture will look like a rough, uneven mass with dry patches of flour and wet, sticky areas. It might cling stubbornly to the bowl or your hands. This is often referred to as the "shaggy dough" stage. The feel is inconsistent, crumbly in some spots and very sticky in others.
Don't be discouraged by this initial state! Very little gluten development has occurred yet. The primary goal here is simply to ensure all ingredients are incorporated. The feel is far from the smooth, elastic texture you're aiming for. For enriched doughs, particularly those with a lot of butter, the dough might feel quite greasy and heavy at this stage. This is normal; the butter needs time and kneading to be fully incorporated and allow gluten development to proceed.
Stage 2: Developing the Dough: The Rough Stage
As you begin kneading, either by hand or machine, the shaggy mass will gradually start to come together into a more cohesive ball. However, it will still feel rough, possibly quite sticky depending on the hydration, and if you try to stretch a piece, it will likely tear very easily, without much resistance. You might feel small lumps or unevenness throughout the dough. This is the early stage of gluten development.
During this phase, the gluten proteins are starting to hydrate and form initial bonds. The dough is gaining some structure but is still weak. It might stick to your work surface or the mixer bowl. Continue kneading patiently. The feel should slowly change from loose and crumbly to a sticky, rough mass that holds together, even if imperfectly. You are working towards smoothing out the texture and building the foundational gluten network necessary for achieving the perfectly kneaded enriched dough feel.
Stage 3: Achieving Smoothness: The Windowpane Test
A key milestone in assessing dough development is when it becomes smooth and elastic enough to pass the windowpane test. To perform this test, carefully take a small piece of dough, about the size of a golf ball. Gently stretch it between your fingers and thumbs, rotating it as you stretch. The goal is to stretch it as thin as possible without it tearing.
If the dough tears immediately or stretches only a little before breaking, it needs more kneading. If you can stretch it into a thin, translucent membrane through which you can see light (like a windowpane) without it breaking, the gluten network is well-developed. The dough should feel smooth and resilient at this point. Passing the windowpane test is a strong indicator that you are approaching the perfectly kneaded enriched dough feel, signifying sufficient gluten development to support a good rise and structure.
Stage 4: Recognizing the Perfect 'Feel': Soft, Elastic, and Slightly Tacky
Once the dough passes the windowpane test and has been kneaded for the recommended time (or until it feels right), assess its overall feel. The perfectly kneaded enriched dough feel is distinct: it should be smooth, soft, and supple to the touch, not rough or lumpy. When you gently press it with a finger, it should feel elastic and slowly spring back, leaving little to no indentation (this is also known as the poke test, discussed later).
The dough should also feel resilient when stretched, offering resistance but not tearing easily. Crucially, it should be only slightly tacky – it might cling just a little to your fingers if you hold it for a moment, but it shouldn't stick excessively or leave significant residue on clean, dry hands. It should be easy to handle and shape into a smooth ball. This combination of smoothness, elasticity, resilience, and slight tackiness is the hallmark of perfectly kneaded enriched dough feel, ready for its first rise.
Common Mistakes and How to Avoid Them When Kneading Dough
Over-Kneading Dough: Identifying the Signs and Solutions
One common pitfall is over-kneading, especially when using a stand mixer, as it's easy to let it run too long. Over-kneaded dough can feel stiff, tight, and less pliable than it should. When you try to stretch it, it might resist and then tear abruptly, rather than stretching smoothly like a well-developed dough. The surface might look shiny or even feel oily because the gluten structure has been overworked and is starting to break down.
If you suspect you've over-kneaded, the gluten network might be damaged. While it's hard to fully reverse, you can sometimes mitigate the effects by letting the dough rest for 20-30 minutes at room temperature. This allows the gluten to relax slightly. However, severely over-kneaded dough might result in a denser, tougher baked product. Learning the perfectly kneaded enriched dough feel helps prevent this by telling you when to stop, often before the timer does.
Under-Kneading Dough: What It Looks and Feels Like
Under-kneading is perhaps a more frequent issue, particularly for novice bakers or when kneading by hand. Under-kneaded dough feels sticky, weak, and lacks structure. It will feel uneven, possibly lumpy, and won't hold its shape well. When you attempt the windowpane test, the dough will tear almost immediately without stretching into a thin membrane. It might also feel heavy and dense.
The solution for under-kneaded dough is straightforward: keep kneading! Continue working the dough until it becomes smooth, elastic, and passes the windowpane test, achieving that desired perfectly kneaded enriched dough feel. Don't worry about kneading for a specific time; focus on the feel and the visual cues. It's better to knead a little longer than necessary than to stop too soon and end up with a dense, poorly risen loaf.
Dough Temperature Control: Maintaining the Ideal Environment for Kneading
The temperature of your ingredients and the ambient temperature of your kitchen significantly impact how dough behaves during kneading. Using lukewarm liquids (around 95-105°F or 35-40°C) is ideal for activating yeast quickly and helps the dough come together smoothly. Cold ingredients, especially butter in enriched doughs, can make the dough stiff and slow gluten development. Conversely, too-warm ingredients or a hot kitchen can cause the dough to become sticky quickly and potentially over-ferment before sufficient gluten is developed.
Aim for a finished dough temperature after kneading of around 75-80°F (24-27°C). This temperature is conducive to optimal yeast activity and gluten relaxation during the subsequent fermentation. If your dough feels too warm or too cold during kneading, it can affect its texture and how it feels. For instance, a cold dough might feel stiff and resistant, while a warm dough might feel overly sticky. Understanding the impact of temperature helps you interpret the dough's feel accurately and work towards that consistent perfectly kneaded enriched dough feel.
Advanced Techniques for Evaluating Dough Kneading
The Poke Test: Assessing Dough Elasticity
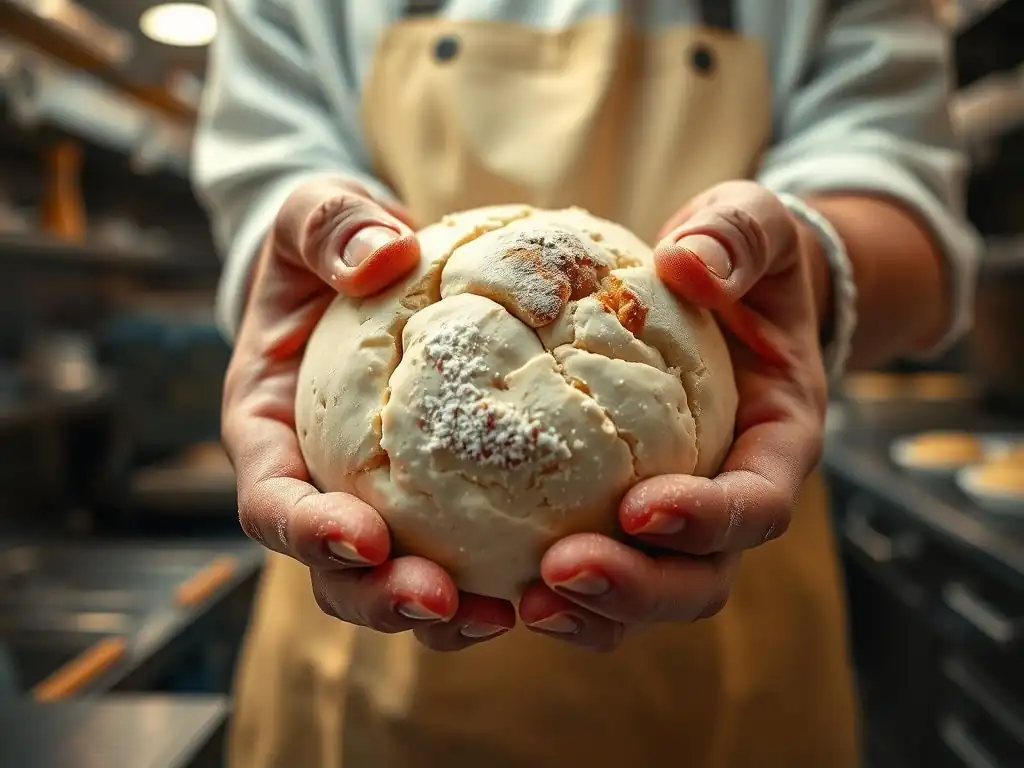
Beyond the windowpane test, the poke test is another simple yet effective method to gauge the development and readiness of your dough, both after kneading and during fermentation. To perform the poke test, lightly flour your finger and gently press it into the surface of the dough, making an indentation about half an inch deep.
Observe how the indentation reacts. If the indentation slowly springs back mostly or completely, it indicates that the gluten network is well-developed and elastic – a characteristic of perfectly kneaded enriched dough feel and dough that is properly proofed. If the indentation remains without springing back at all, the dough is likely under-kneaded or over-proofed. If it springs back instantly and the dough feels tight, it might be slightly over-kneaded or needs to rest and relax. This test provides insight into the dough's resilience.
The Visual Inspection: Checking for Uniformity and Air Bubbles
A thorough visual inspection complements the tactile 'feel' test. After sufficient kneading, the surface of the dough should appear smooth, even, and relatively taut. There should be no dry patches or visible lumps of unmixed ingredients. The color should be uniform throughout.
As the dough rests and fermentation begins (even just a few minutes after kneading), you might start to see small bubbles forming just under the surface. These are signs of yeast activity and indicate that the gluten network is successfully trapping gases. A dough that looks smooth and shows these nascent bubbles is likely well on its way to or has achieved that perfectly kneaded enriched dough feel and is ready for the next step in the baking process. A rough, uneven surface suggests further kneading is required.
Adjusting Dough Hydration: A Key Factor in Achieving the Right Feel
Sometimes, despite following a recipe, your dough might not feel quite right due to variations in flour absorption or measuring inaccuracies. Learning to adjust hydration during kneading is a valuable skill for achieving the perfectly kneaded enriched dough feel. If your dough feels too dry and stiff at the start of kneading, add liquid (water, milk, or even a tiny bit more melted butter if appropriate for the recipe) a tablespoon at a time, incorporating it fully before adding more, until the dough reaches a manageable consistency.
Conversely, if the dough feels excessively sticky and won't come together despite sufficient kneading time, add flour a tablespoon at a time. Incorporate each addition thoroughly before deciding if more is needed. Be cautious with additions; a little goes a long way. Making small adjustments based on the dough's feel as you knead allows you to correct the hydration and ensure you develop the gluten properly, ultimately leading to the desired perfectly kneaded enriched dough feel.
Troubleshooting Common Dough Problems Based on Feel
Sticky Dough: Causes and Corrective Actions
Encountering sticky dough is common, especially with enriched recipes or during humid weather. Sticky dough feels wet, clings excessively to hands and surfaces, and is difficult to handle or shape. Common causes include too much liquid (high hydration), not enough kneading (gluten hasn't developed to absorb the liquid), or the dough being too warm.
If your dough is sticky but you haven't kneaded much, the solution is usually more kneading. As gluten develops, it will absorb the liquid and the dough will become less sticky and more manageable, moving towards the perfectly kneaded enriched dough feel.
If you've already kneaded for a while and it's still too sticky, you can add small amounts of flour (a tablespoon at a time) while continuing to knead until the desired consistency is reached. If the dough is warm and sticky, try letting it rest in a cool place for 10-15 minutes; cooling can make it less sticky.
Dry Dough: Rehydrating Techniques
Dry dough feels stiff, crumbly, and may have visible dry patches of flour. It lacks elasticity and tears easily when stretched, making gluten development difficult. Causes include too much flour, not enough liquid, or using cold ingredients that haven't properly hydrated the flour.
To correct dry dough, you need to add more liquid. Add a small amount of liquid (water, milk, or appropriate liquid from the recipe) – start with a teaspoon or two for a standard loaf – and knead it thoroughly into the dough. The dough will become very sticky initially where the liquid was added, but continue kneading until it is evenly incorporated. Repeat adding small amounts of liquid and kneading until the dough feels softer, more pliable, and is able to start developing gluten, working towards that perfectly kneaded enriched dough feel.
Dense Dough: Understanding the Reasons and Finding Solutions
If your dough feels heavy, lacks elasticity, and struggles to rise, it might be excessively dense. This can stem from several issues related to kneading. The most common cause is under-kneading, where the gluten network hasn't developed sufficiently to trap gases, leading to a dense crumb. Less often, it can be caused by severely over-kneading which breaks down the gluten structure, or incorrect ingredient ratios that throw off the balance needed for proper structure.
If the dough feels dense and doesn't pass the windowpane test easily, it's likely under-kneaded – continue kneading until the perfectly kneaded enriched dough feel is achieved. If it feels dense and tears abruptly after significant kneading, it might be slightly over-kneaded; resting the dough might help somewhat. If the issue persists across batches despite correct kneading feel, re-evaluate your recipe's ingredient measurements, especially the liquid to flour ratio and yeast quantity.
Applying the 'Feel' Test to Different Types of Dough
Bread Dough: The Specific Feel of a Well-Developed Loaf
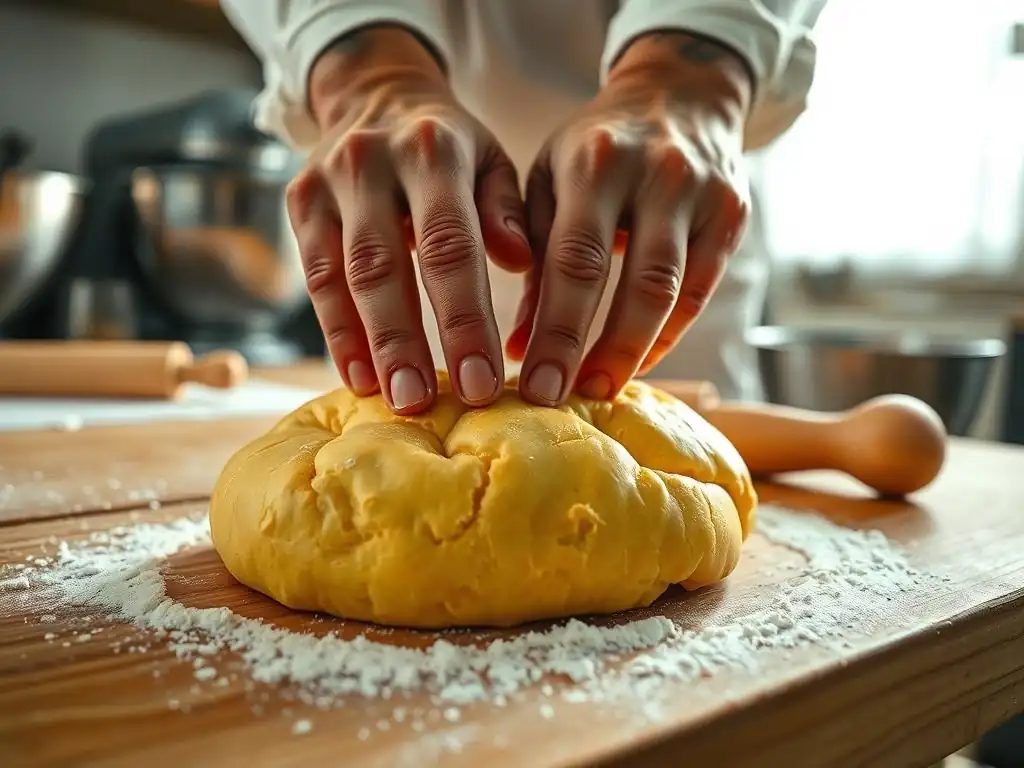
While this article focuses on enriched dough, the 'feel' test is universally applicable to all dough types, though the specific feel differs. Lean bread dough, made primarily from flour, water, yeast, and salt (like a French baguette or country loaf), often has a higher hydration level than enriched dough. This means a perfectly kneaded lean dough might feel tackier or even quite sticky compared to a perfectly kneaded enriched dough feel.
A well-developed lean bread dough should still pass the windowpane test and feel elastic and smooth, but its higher moisture content gives it a looser, more fluid quality. It might not hold its shape quite as firmly as an enriched dough ball. Learning the nuances of the 'feel' test for different dough types is part of the baking journey, building intuition for what's right for each specific recipe.
Pizza Dough: Recognizing the Proper Consistency for Stretching
Pizza dough occupies a space often between lean bread dough and enriched dough, though recipes vary widely. Some pizza doughs are quite lean, while others contain olive oil or a small amount of sugar. The desired perfectly kneaded pizza dough feel is one that is elastic and extensible enough to be stretched thinly without tearing, but also has enough structure to support toppings.
A well-kneaded pizza dough should feel smooth, pliable, and elastic. When you poke it, it should spring back. It might be slightly less soft and rich-feeling than a perfectly kneaded enriched dough feel like brioche, but more extensible than a very lean baguette dough. The ability to stretch it into a thin round is the ultimate test for pizza dough consistency.
Sourdough: Applying the Feel Test in Practice
Applying the 'feel' test to sourdough introduces an additional layer of complexity due to the natural fermentation process driven by wild yeast and bacteria. Sourdough doughs often have longer fermentation times, during which the feel of the dough changes significantly. Initially, after kneading, the perfectly kneaded enriched dough feel principles apply: it should be smooth, elastic, and pass the windowpane test.
However, as sourdough ferments, enzymes break down proteins, and the dough can become looser and more extensible over time. Assessing readiness in sourdough involves not just the initial kneading feel but also how the dough feels after bulk fermentation (light, airy, bubbly) and proofing (puffy, delicate). Learning the 'feel' of sourdough at different stages requires practice and observation, combining the initial kneading assessment with the changes brought about by fermentation.
Beyond the 'Feel': Other Indicators of Properly Kneaded Dough
The Rise Test: Evaluating Dough Fermentation
While the 'feel' test is primarily about gluten development during kneading, the subsequent rise (fermentation) is a crucial indicator of whether that kneading was successful. A dough with a well-developed gluten network, achieved through proper kneading and that perfectly kneaded enriched dough feel, will be able to trap the gases produced by the yeast effectively.
During the first rise (bulk fermentation) and the second rise (proofing), the dough should visibly increase in volume, typically doubling or nearly doubling, depending on the recipe and temperature. The poke test can also be used after rising: if the indentation springs back slowly but not completely, the dough is usually ready for the next step. A dough that doesn't rise adequately despite active yeast and proper temperature likely suffered from insufficient gluten development during kneading.
The Baked Product: Assessing Texture and Crumb
Ultimately, the final baked product is the most telling sign of whether your dough was perfectly kneaded and handled. A well-kneaded enriched bread, like brioche or challah, should have a beautiful volume, a tender crust, and a soft, open, and even crumb structure. The texture should be light and airy, not dense or heavy.
If your baked bread is dense, has a tight crumb, and didn't rise well, it's a strong indication that the dough was under-kneaded and didn't develop sufficient gluten structure, meaning you likely didn't achieve that perfectly kneaded enriched dough feel. If the loaf spread out too much during baking or has a tough, chewy texture, it could potentially be a sign of over-kneading or handling issues after kneading. Analyzing the final result helps refine your understanding of the 'feel' test for future baking endeavors.
Conclusion: Achieving Baking Success Through Mastering the Dough 'Feel'
The Importance of Practice and Experimentation
Mastering the 'feel' test – recognizing that elusive perfectly kneaded enriched dough feel – is a skill that develops with practice and patience. No amount of reading can fully replace the experience of getting your hands into the dough and feeling it change as you knead. Each type of flour, each recipe variation, and even environmental factors like humidity will slightly alter the dough's behavior and feel.
Don't be afraid to experiment. Feel your dough at every stage: when it's shaggy, when it's rough, when it's smooth, and after it has risen. Compare its feel to the descriptions provided here.
Bake different enriched dough recipes and pay attention to how the dough feels during kneading and how the final product turns out. Over time, you'll build an intuitive understanding of what perfectly kneaded enriched dough feel truly means, allowing you to adjust your technique on the fly and consistently achieve delicious, well-structured baked goods. Baking is a journey, and the 'feel' test is one of your most reliable guides.
Frequently Asked Questions
What is enriched dough and why is kneading so important?
Enriched dough contains added fats, sugars, and dairy, making it more tender and flavorful. Kneading develops the gluten which provides the structure for the final baked good. Properly kneaded enriched dough results in a superior texture.
What does perfectly kneaded enriched dough feel like?
It should feel smooth, elastic, and slightly tacky but not sticky. When poked, it should slowly spring back, indicating the gluten has developed sufficiently.
How long should I knead enriched dough?
Kneading time can vary, but generally, aim for about 8-12 minutes by hand or 6-8 minutes with a stand mixer. Always check the "feel" of the dough, not just the time.
Can I over-knead enriched dough?
Yes, over-kneading can result in a tough, dry final product. The dough will feel tight and difficult to stretch. If this happens, let it rest covered for 10-15 minutes.
What are some signs that my enriched dough is under-kneaded?
Under-kneaded dough will be sticky, shaggy, and won't hold its shape well. It will also be difficult to stretch without tearing, indicating insufficient gluten development.
Final Reflection: The Unsung Symphony of Kneaded Dough
The ability to recognize perfectly kneaded enriched dough is more than just a baker's skill; it's a gateway to unlocking unparalleled flavor and texture in your creations. This seemingly simple act, the kneading, is the foundation upon which delicious breads, pastries, and other baked goods are built. Mastering this crucial step transforms baking from a technical process into a deeply satisfying and creative endeavor.
The subtle nuances of dough—its elasticity, its smoothness, its resistance—speak volumes about the journey it has taken. It's a testament to the careful balance of ingredients and the mindful application of technique. This tactile connection, this "feel" test, is a tradition passed down through generations of bakers, a silent language understood through the fingertips. The baker's hands are the truest measure of a good dough,
a wise old baker once told me, and I've found those words to be profoundly true. The experience of working with dough, feeling its transformation under your hands, is a deeply rewarding and almost meditative process.
Now, consider your own baking journey. What does your perfectly kneaded dough feel like? Take a moment to reflect on the sensations, the subtle differences between a dough that's under-kneaded, over-kneaded, or just right. Embrace the tactile learning process; don't be afraid to experiment, to feel, to learn from your mistakes.
The next time you knead enriched dough, pay close attention to the subtle shifts in its consistency. With practice and patience, you'll develop an intuitive understanding of this crucial step, unlocking the potential to create truly exceptional baked goods. The journey of mastering the "feel" test is ongoing, a continuous exploration of texture and taste, and one that will undoubtedly enrich your baking experience for years to come.
Unleash Your Inner Baker: Master the Feel of Perfect Dough!
Thanks for taking the time to delve into the art of kneading enriched dough! We hope you now feel confident in identifying that perfect texture. Ready to put your new skills to the test?
- Bake your dream loaf: Try the recipe we discussed, paying close attention to the dough's consistency throughout the process. Notice how the feel changes as you knead!
- Share your baking journey: Snap a picture of your perfectly kneaded dough (or even the finished loaf!) and tag us on social media – we'd love to see your creations!
- Explore variations: Experiment with different flours or additions to see how it affects the dough's feel and the final product.
What unique ingredient will you try in your next enriched dough creation?