
Shaping Enriched Doughs: From Simple Rolls to Elegant Loaves

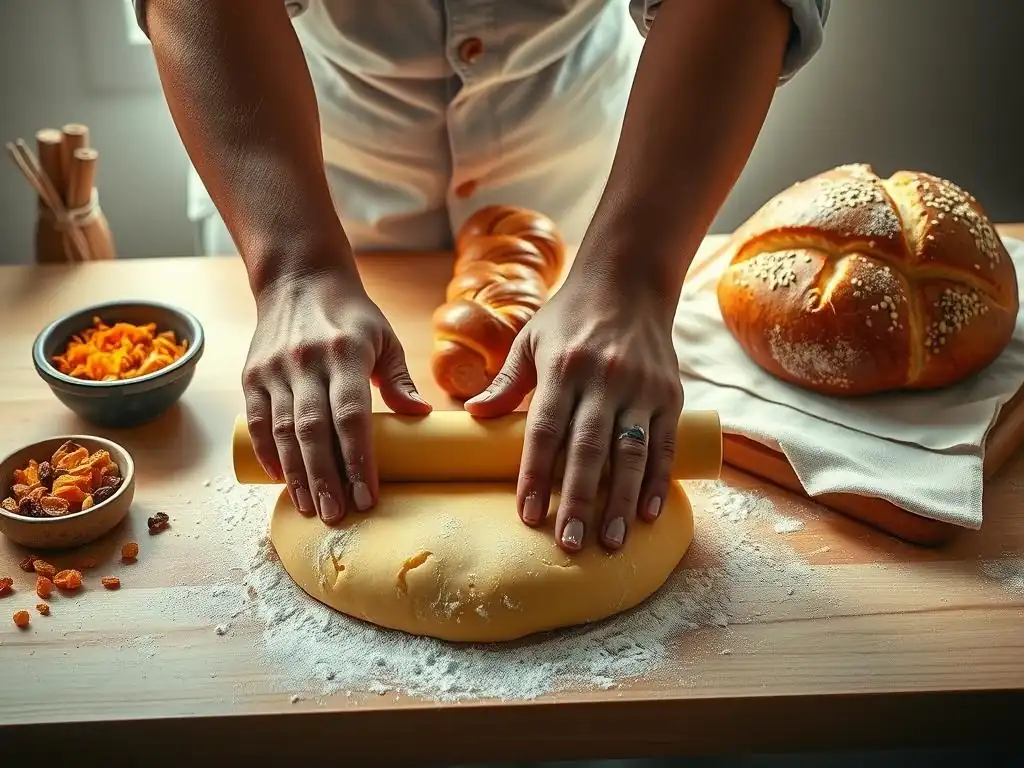
Welcome to BakeWithEase, your trusted companion in the baking journey! Ever wondered how to transform a simple enriched dough into a masterpiece? Uncover the secrets to achieving bakery-worthy results with our guide, " Shaping Enriched Doughs: From Simple Rolls to Elegant Loaves." We'll explore enriched dough rolling techniques easy enough for any intermediate baker to master. Ready to elevate your baking game? The delicious possibilities await!
- Shaping Enriched Doughs: From Simple Rolls to Elegant Loaves - BakeWithEase
- Mastering Enriched Dough Rolling Techniques for Home Bakers
- Essential Enriched Dough Handling Skills: A Beginner's Guide
- Simple Enriched Dough Shapes: Building Confidence
- Intermediate Enriched Dough Shaping: Elevating Your Baking
- Advanced Enriched Dough Shaping: Artistic Expressions
- Baking Your Shaped Enriched Doughs: Achieving Golden Perfection
- Troubleshooting Common Enriched Dough Shaping Problems
- Conclusion: Embrace the Art of Enriched Dough Shaping
-
Frequently Asked Questions
- How does enriched dough differ from other types of dough?
- What are some common mistakes when rolling enriched dough?
- What are some easy enriched dough rolling techniques for beginners?
- Can you suggest a simple enriched dough recipe that is easy to roll?
- How do I prevent my enriched dough from sticking to the counter while rolling?
- Final Reflection: The Enduring Art of Enriched Dough
- Unleash Your Inner Baker: Elevate Your Dough Game!
Shaping Enriched Doughs: From Simple Rolls to Elegant Loaves - BakeWithEase
Mastering Enriched Dough Rolling Techniques for Home Bakers
Introduction to Enriched Doughs and Shaping Possibilities
Enriched doughs are a baker's delight, known for their tender crumb, rich flavor, and beautiful golden crust. Unlike lean doughs made primarily with flour, water, yeast, and salt, enriched doughs incorporate fats like butter, eggs, milk, and sugar. This addition creates a dough that is softer, more pliable, and wonderfully versatile, opening up a world of shaping possibilities from simple rolls to intricate braided loaves and delicate pastries. Understanding the unique properties of these doughs is the first step to mastering enriched dough rolling techniques easy for home bakers.
The versatility of enriched dough shines in classic recipes like buttery Brioche, symbolic Challah, and sweet cinnamon rolls. Brioche, with its high butter and egg content, bakes into a luxurious loaf or small rolls perfect for sandwiches or pastries. Challah, often made with oil and eggs, is a slightly less rich dough, ideal for braiding into beautiful loaves for holidays or everyday enjoyment.
Sweet rolls, like cinnamon buns or sticky buns, use a moderately enriched dough that takes well to rolling, filling, and shaping into spirals or clusters. Each type of enriched dough offers a unique texture and flavor profile, but they all benefit from careful handling and precise shaping techniques to achieve their best form and bake evenly.
Essential Enriched Dough Handling Skills: A Beginner's Guide
Preparing Your Enriched Dough for Shaping: The Foundation
Proper proofing is absolutely crucial when working with enriched dough. Because of the added fat and sugar, these doughs can sometimes be slower to rise than lean doughs. A typical first proof might take anywhere from 1.5 to 2.5 hours at room temperature (around 70-75°F), or significantly longer if cold-proofing in the refrigerator, which can develop deeper flavors.
The dough should roughly double in size, becoming airy and slightly domed. Over-proofing can lead to a dough that collapses easily and results in a dense final product, while under-proofing makes the dough tight and difficult to shape. Achieving the perfect rise is the bedrock for successful enriched dough rolling techniques easy to execute.
Handling enriched dough requires a gentle touch to avoid deflating the precious air bubbles created during fermentation. Once proofed, the dough should be gently turned out onto your work surface rather than punched down aggressively. When dividing and shaping, try to handle the dough as little as possible, using the pads of your fingers and the palms of your hands rather than kneading it again. Think of it as coaxing the dough into shape, not forcing it. This gentle approach preserves the light, airy structure, ensuring your baked goods have a tender crumb, a hallmark of well-made enriched dough.
Key Tools and Equipment for Enriched Dough Rolling Techniques
The right tools can make a significant difference in the ease and success of your enriched dough shaping. A rolling pin is essential for flattening dough evenly, and you might encounter two main types: the standard rolling pin with handles and a rotating barrel, and the French rolling pin, which is a simple tapered dowel. Many bakers prefer the French rolling pin for enriched doughs as it allows for more direct control and feel of the dough thickness. It's particularly useful for tasks like rolling out dough for cinnamon rolls or laminating dough, facilitating simple enriched dough rolling techniques.
A bench scraper is another indispensable tool. Its flat, straight edge is perfect for dividing dough portions cleanly without tearing, and it can also be used to help lift and move sticky dough or to scrape down your work surface. For surface preparation, a lightly floured surface is standard for most shaping tasks to prevent sticking.
However, for very rich doughs or when rolling thin, some bakers prefer a very light application of oil, which can prevent flour from being incorporated into the dough and toughening it slightly. Experiment to see which surface preparation works best for your specific enriched dough rolling techniques easy to manage.
Simple Enriched Dough Shapes: Building Confidence
Shaping Basic Rolls: A Step-by-Step Tutorial
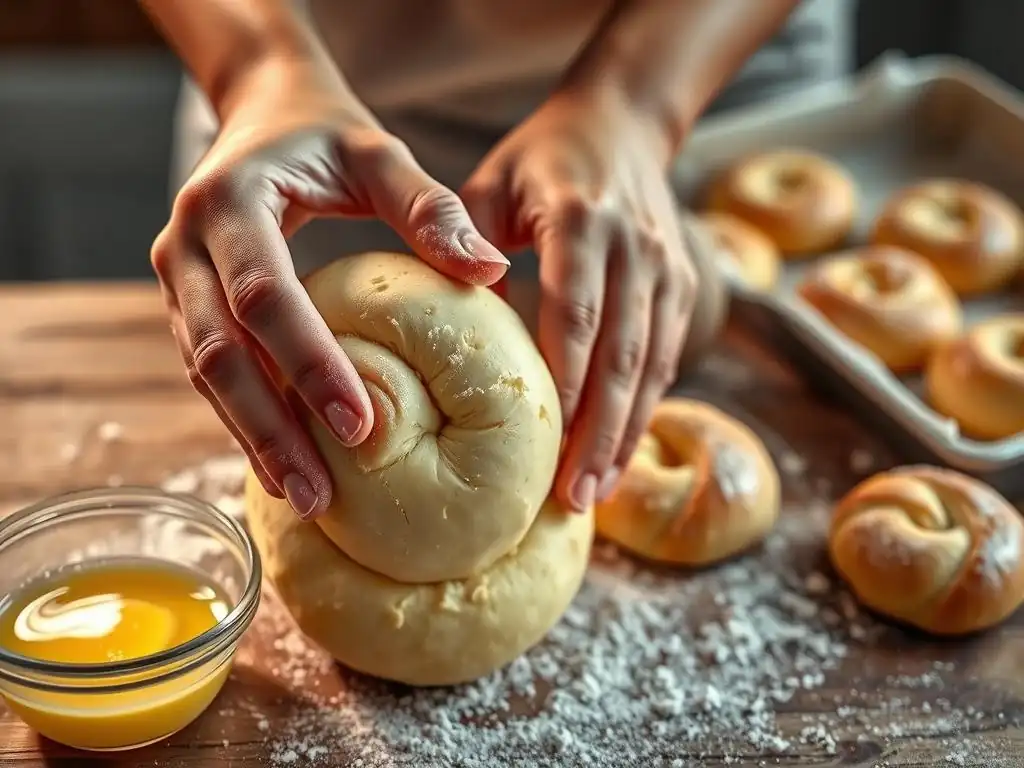
Creating simple round rolls from enriched dough is an excellent way to start practicing enriched dough rolling techniques easy for beginners. Begin by dividing your dough into equal portions – using a scale ensures uniformity for even baking, aiming for pieces around 2 to 4 ounces each. Take one portion and gently flatten it slightly.
Then, cup your hand over the dough on a lightly floured surface, using a circular motion to gently tuck the edges underneath the dough ball, creating tension on the surface. Continue until you have a smooth, taut ball. Place the rolls seam-side down on your baking sheet.
For a simple variation, try making knotted rolls. Divide the dough into portions, then roll each portion into a rope about 6-8 inches long and about 1 inch thick. Tie the rope into a simple knot, leaving the ends free.
You can tuck the ends underneath the knot or leave them sticking out for a rustic look. Place the knotted rolls on your baking sheet, allowing space for them to expand during proofing and baking. Troubleshooting uneven baking often comes down to inconsistent shaping or overcrowding the baking sheet; ensure rolls are roughly the same size and have adequate space (about 1-2 inches apart) for hot air circulation.
Crafting Braided Loaves: A Gentle Introduction to Braiding
A two-strand braid is perhaps the simplest way to create a braided enriched dough loaf. Divide your dough into two equal pieces and roll each piece into a rope of uniform thickness, aiming for about 12-18 inches long depending on the desired loaf size. Lay the two ropes parallel to each other. Pinch one end of the two ropes together to secure them.
Then, simply cross one rope over the other, alternating sides, until you reach the end. Pinch the other end to secure the braid. This creates a beautiful, twisted loaf with minimal effort, showcasing basic enriched dough rolling techniques easy to master.
The three-strand braid is a classic for enriched doughs like Challah. Divide the dough into three equal pieces and roll each into a uniform rope, again around 12-18 inches long. Pinch one end of the three ropes together. Lay the ropes out, spreading them slightly. Take the rightmost rope and cross it over the middle rope.
Then take the leftmost rope and cross it over the new middle rope. Continue this pattern, always crossing the outside rope over the middle, until you reach the end. Pinch the ends together and tuck them under the loaf for a neat finish. Achieving uniform braids relies on consistent strand thickness and maintaining gentle, even tension throughout the braiding process.
Intermediate Enriched Dough Shaping: Elevating Your Baking
Mastering the Boule: Shaping a Round Enriched Loaf
Shaping a boule (a round loaf) with enriched dough requires developing surface tension, which helps the loaf hold its shape and rise upwards rather than spreading outwards during baking. After dividing your dough, gently pre-shape each portion into a rough ball and let it rest for 10-15 minutes (this allows the gluten to relax). For the final shape, flatten the dough slightly into a circle. Imagine the circle as a clock face.
Fold the edges in towards the center, working your way around the circle like folding a napkin into quarters. Once all edges are folded in, flip the dough over so the seams are underneath. Using your hands, gently cup the dough and rotate it against the work surface, applying slight downward pressure to create tension on the top surface and form a smooth, taut ball. This technique is key among more refined enriched dough rolling techniques.
Creating a smooth surface on your enriched dough boule is crucial not only for aesthetics but also for controlling the bake and scoring. Any wrinkles or tears can cause the loaf to burst unevenly in the oven. Ensure your work surface is clean and not excessively floured, as too much flour can prevent the dough layers from adhering during shaping. Scoring techniques for enriched dough boules, done just before baking, serve both a practical and artistic purpose.
Cuts allow the dough to expand predictably in the hot oven, preventing uncontrolled tearing. Simple cuts include a single slash across the top, a cross pattern, or multiple parallel slashes. For enriched doughs, lighter scoring is often preferred compared to lean doughs, as the crust doesn't need to expand as dramatically.
Shaping Elegant Brioche Loaves: The Classic Pan de Mie
The Pan de Mie, or Pullman loaf, is a classic shape for rich enriched dough like brioche, resulting in a square loaf with a fine, even crumb, perfect for slicing for sandwiches or French toast. Its appeal lies in its uniform shape and soft texture, achieved by baking the dough in a lidded rectangular pan. The lid restricts the upward rise, forcing the dough to expand outwards and fill the pan corners completely, creating a dense, square slice from end to end. This requires specific enriched dough rolling techniques easy to adapt for this pan.
To shape enriched dough for a Pan de Mie, the goal is to create even layers that fill the pan uniformly. After the first proof, gently degas the dough and roll it into a rectangle roughly the width of your pan and about 1.5 to 2 times its length. Fold the dough into thirds like a letter: fold one end up to cover the middle third, then fold the other end down to cover the top.
Gently press the seams. Turn the dough 90 degrees and roll it out again slightly, just enough to fit comfortably into your greased Pullman pan. The folding creates layers that contribute to the fine crumb structure.
Ensuring even baking in a Pan de Mie is helped by the pan itself, which distributes heat evenly. Baking with the lid on for most of the time helps create the soft crust and square shape, typically at around 350-375°F until the internal temperature reaches 190-200°F.
Advanced Enriched Dough Shaping: Artistic Expressions
The Art of Lamination: Creating Flaky Enriched Doughs
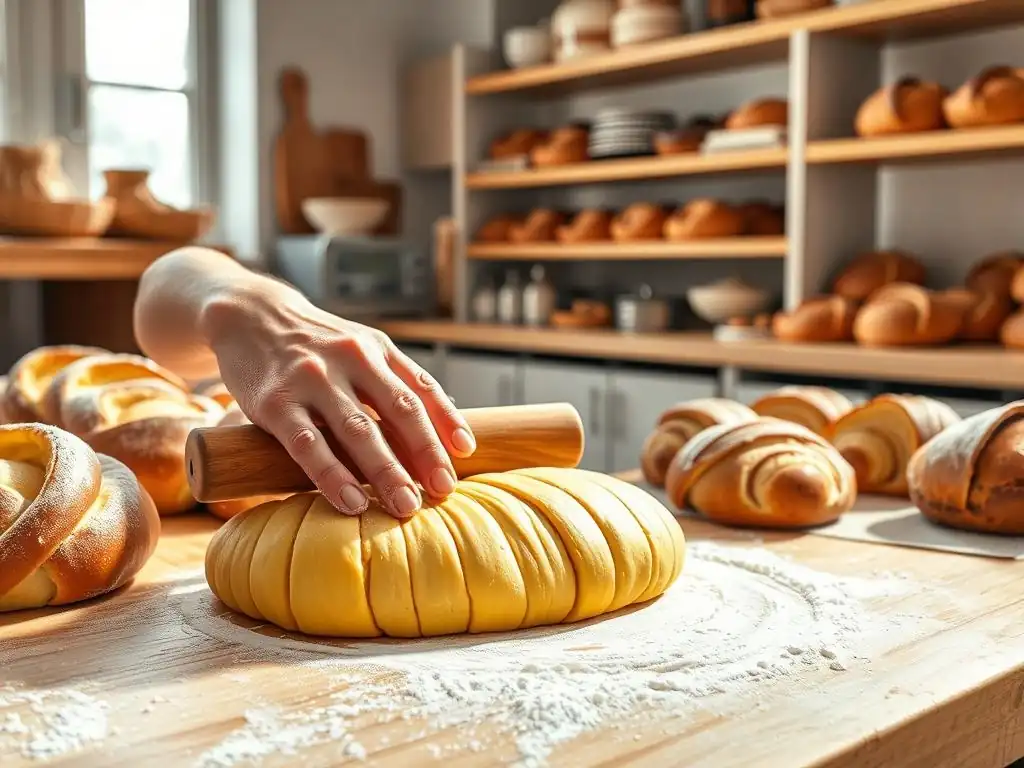
Lamination is an advanced technique used to create incredibly flaky enriched doughs, like those used for croissants, Danish pastries, or Kouign-Amann. It involves repeatedly folding a layer of butter into the dough and rolling it out, creating alternating layers of dough and fat. As the dough bakes, the water in the butter turns to steam, forcing the dough layers apart and resulting in a light, airy, and flaky texture. Understanding lamination takes enriched dough rolling techniques easy to a new level of precision and patience.
The process typically involves enclosing a cold block of butter within the dough, then performing a series of "folds" – rolling the dough out into a rectangle and folding it into thirds or quarters. Each fold adds more layers. For example, a single fold of three creates 3 layers of dough and 2 layers of butter (3^1 layers after one fold), while a double fold creates 4 layers of dough and 3 layers of butter (4^1 layers).
After several folds (often 3-4, with chilling periods in between), you can achieve hundreds or even thousands of alternating layers. Rolling and folding for maximum flakiness requires keeping both the dough and butter cold and working quickly to prevent the butter from melting into the dough.
Kouign-Amann is a stunning example of laminated enriched dough, originating from Brittany, France. It's made from bread dough laminated with butter and sugar, which caramelizes during baking, creating a sweet, crispy, and impossibly flaky pastry, showcasing complex enriched dough rolling techniques.
Shaping Decorative Enriched Doughs: Unleashing Creativity
Once you've mastered basic shapes and refined your enriched dough rolling techniques easy to handle, you can explore more intricate and decorative shapes. This is where you can truly unleash your creativity. Beyond the standard three-strand braid, you can create complex six-strand braids, round braided loaves (like a crown or wreath), or even shapes resembling flowers or animals. These often involve dividing the dough into more strands, rolling them into ropes, and following specific weaving patterns. Practice is key to keeping the tension even and the braid uniform from start to finish.
Using cutters and stencils can also add unique designs to your enriched dough. For example, you can roll out dough for rolls or flatbreads and use cookie cutters to create fun shapes before baking. For decorative loaves, you might use stencils to dust flour or cocoa powder onto the surface in a pattern before scoring, or cut designs into the surface itself.
Adding edible decorations provides a final touch. An egg wash (a mixture of beaten egg and a little water or milk) brushed over the dough before baking gives a beautiful golden, shiny crust. Seeds like sesame, poppy, or nigella seeds, or coarse sugar, can be sprinkled onto the egg wash for added texture and flavor, turning simple enriched dough rolling techniques easy into edible art.
Baking Your Shaped Enriched Doughs: Achieving Golden Perfection
Optimal Baking Temperatures and Times for Different Shapes
The ideal baking temperature for enriched dough depends largely on the size and shape of the item. Smaller items like rolls or individual pastries typically bake at higher temperatures (around 375-400°F or 190-205°C) for a shorter duration (15-25 minutes). This helps them set quickly and achieve a golden crust without drying out the interior. Larger items like loaves (boules, braids, Pan de Mie) require a slightly lower temperature (around 350-375°F or 175-190°C) for a longer period (30-50 minutes or more). This allows the heat to penetrate to the center and bake the interior thoroughly before the crust burns.
Using a thermometer is the most reliable way to ensure your enriched dough is fully baked. While visual cues like a deep golden-brown crust and a hollow sound when tapped on the bottom are helpful, an internal temperature check removes the guesswork.
For most enriched bread-like items, a fully baked interior will register between 190°F (88°C) and 200°F (93°C) when measured with an instant-read thermometer inserted into the thickest part of the loaf or roll. Sweet rolls or pastries with fillings might be slightly lower, but aiming for this range ensures the dough is cooked through and has the proper structure.
Cooling and Storing Your Enriched Dough Masterpieces
Proper cooling techniques are vital to prevent soggy crusts and allow the internal structure of your baked enriched doughs to set. As soon as items come out of the oven, they should be transferred to a wire cooling rack. Leaving them on the hot baking sheet can cause condensation, making the bottom crust soft and damp.
Cooling on a rack allows air to circulate around the entire surface, promoting even cooling and a crispier crust (if applicable). Allow rolls to cool for at least 15-20 minutes, and loaves for at least 45-60 minutes, or until completely cool, before slicing. Slicing hot bread can compress the crumb and release steam prematurely, resulting in a gummy texture.
Storing your enriched doughs correctly helps maintain their optimal freshness and texture. Once completely cooled, bread loaves can be stored at room temperature in a bread box, a paper bag, or wrapped loosely in plastic wrap for 2-3 days. Avoid airtight containers for crusty loaves, as they can soften the crust. Rolls and softer enriched items can be stored in airtight containers or resealable bags at room temperature for 2-3 days.
For longer storage, freezing is an excellent option. You can freeze baked goods (once completely cooled) wrapped tightly in plastic wrap and then in foil or a freezer bag for up to 3 months. Unbaked shaped dough can also be frozen after the initial shaping and a short chill; allow it to thaw and proof thoroughly before baking.
Troubleshooting Common Enriched Dough Shaping Problems
My Dough is Too Sticky: Solutions for Handling Difficult Dough
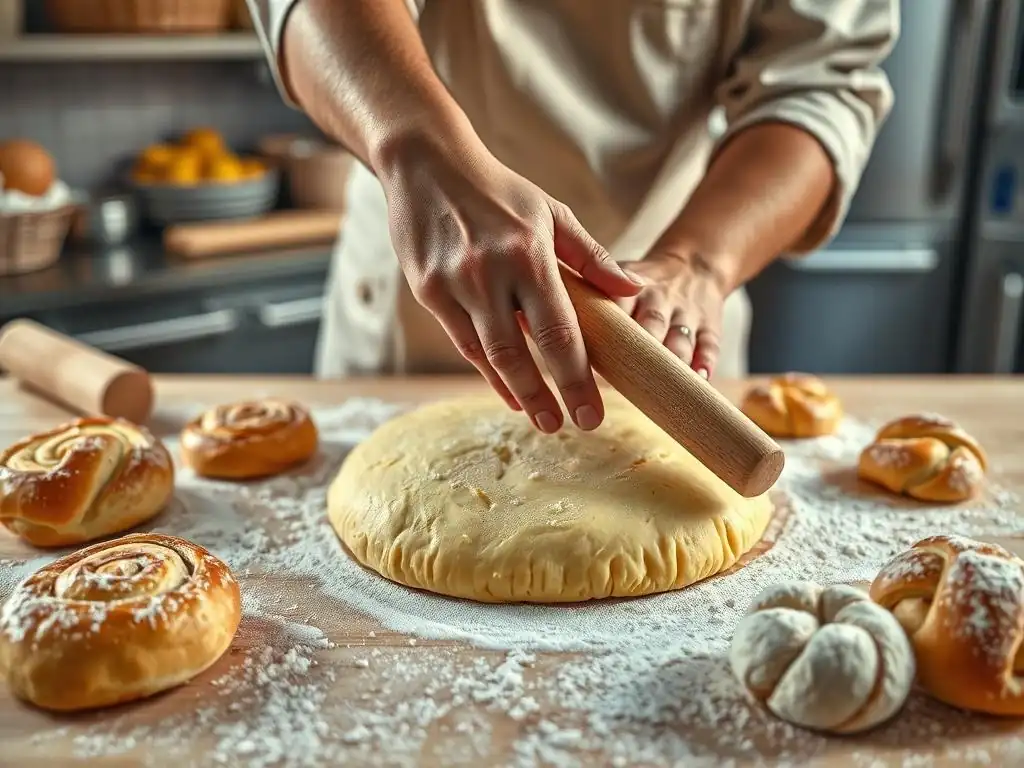
Working with very sticky enriched dough can be frustrating, but there are solutions. Often, stickiness indicates slightly too much hydration (water/liquid) relative to the flour, or insufficient gluten development. While you want enriched dough to be soft, it shouldn't be unmanageably sticky. One immediate solution during shaping is to use just a tiny amount of extra flour on your hands and work surface – emphasis on tiny, as adding too much can make the dough tough. You can also lightly oil your hands and surface instead of using flour, which is often preferred for very rich doughs like brioche.
If your dough is consistently too sticky after mixing, you can adjust flour levels slightly during the initial mixing stage by adding a tablespoon at a time until the dough pulls away from the sides of the bowl. However, be cautious not to add too much, which can result in a dry, heavy loaf. Another effective technique for handling sticky enriched dough during shaping is to chill it.
Placing the dough in the refrigerator for 20-30 minutes (or longer if needed) firms up the butter and makes the dough much easier to handle and shape without sticking excessively to your hands or the surface. This simple enriched dough rolling technique easy to apply can save a lot of frustration.
My Shapes Are Losing Definition: Preventing Spreading
A common issue with enriched doughs, especially those with high fat content, is that they can lose their shape and spread outwards during the final proof or in the oven. This often happens if the dough is over-proofed, lacks sufficient surface tension from shaping, or is simply too soft for the shape attempted without support. Preventing spreading starts with proper shaping techniques that build tension, as discussed in the boule section. Ensuring the surface is taut and the seams are sealed helps the dough hold its form.
Chilling the dough before shaping can significantly help prevent spreading, particularly for intricate shapes or doughs that are very soft or warm. A 30-60 minute chill in the refrigerator firms the dough and makes it more stable. Using proper baking pans also provides crucial support.
For shapes prone to spreading, like loaves or rolls that you want to touch and form pull-apart clusters, baking them in pans (like loaf pans, muffin tins, or square/round cake pans) gives them structure and encourages them to rise upwards. Even simple round rolls placed relatively close together on a baking sheet will support each other slightly as they rise and bake.
Conclusion: Embrace the Art of Enriched Dough Shaping
Continuing Your Baking Journey with Enriched Doughs
Mastering enriched dough rolling techniques easy to approach and execute opens up a rewarding avenue in your baking journey. From the simple satisfaction of shaping a perfect round roll to the challenge of creating a multi-strand braided loaf or a flaky laminated pastry, working with these rich, versatile doughs offers endless possibilities for creativity and delicious results. Each shaping experience builds your intuition and skill, allowing you to handle dough with increasing confidence and achieve more refined outcomes.
Don't be discouraged by initial imperfections; every bake is a learning opportunity. Keep practicing the fundamental techniques, and soon you'll be shaping enriched doughs like a pro.
We love seeing what our community bakes! The BakeWithEase website is a place to share your successes, learn from others, and celebrate the joy of baking. Whether you've just mastered shaping your first simple rolls, successfully braided a challah, or tackled a challenging brioche loaf using enriched dough rolling techniques easy or complex, share your creations with us. Tag us on social media or share photos and stories in our community forums. Your experiences, photos, and questions inspire us all and help build a vibrant community of home bakers eager to explore the delicious world of enriched doughs.
Frequently Asked Questions
How does enriched dough differ from other types of dough?
Enriched dough contains added fats and sugars, like butter, eggs, and milk, which result in a softer, richer texture compared to lean doughs. This makes it perfect for rolls and sweet loaves.
What are some common mistakes when rolling enriched dough?
Common mistakes include overworking the dough, leading to a tough texture, and using too much flour during rolling, which can dry it out. Always use a light touch.
What are some easy enriched dough rolling techniques for beginners?
Start with a simple rectangle and roll it into a log, or use cookie cutters for fun shapes. The key is to maintain even thickness for consistent baking.
Can you suggest a simple enriched dough recipe that is easy to roll?
Try a basic brioche dough! It's forgiving and yields a deliciously soft and pliable dough that is perfect for beginners learning rolling techniques.
How do I prevent my enriched dough from sticking to the counter while rolling?
Lightly flour the surface and your rolling pin. Another helpful tip is to chill the dough for a short time before rolling, making it less sticky and easier to handle.
Final Reflection: The Enduring Art of Enriched Dough
The mastery of enriched doughs isn't just about baking; it's about understanding the delicate balance of ingredients and technique that transforms simple flour into something truly extraordinary. This seemingly simple process, accessible to home bakers and professional chefs alike, holds a timeless appeal, connecting us to culinary traditions across cultures and generations. The ease with which we can achieve beautiful, flavorful results, as detailed in this article, speaks to the power of understanding fundamental techniques.
The journey of working with enriched doughs, from the initial kneading to the final golden-brown crust, is a deeply satisfying one. It's a process that demands patience and precision, yet rewards the baker with a sensory experience unlike any other. The subtle nuances of flavor, the satisfying chew, the delicate aroma – these are the hallmarks of a well-crafted enriched dough. As the renowned baker, Paul Hollywood, once said, Baking is about precision, but it's also about passion. You have to put your heart into it.
This sentiment perfectly captures the essence of working with these versatile doughs.
Now, consider your own baking journey. What have you learned about the importance of proper handling, the subtle impact of ingredient choices, and the rewarding feeling of creating something delicious from scratch? I encourage you to experiment, to embrace the challenges, and to find joy in the process. The techniques outlined in this article are just a starting point; let them inspire you to explore the endless possibilities of enriched doughs, creating your own signature loaves and rolls that will delight you and those you share them with.
Unleash Your Inner Baker: Elevate Your Dough Game!
Thanks for joining us on this delicious journey through the world of enriched doughs! We hope you've gained valuable insights and inspiration to create stunning breads at home. Ready to take your baking to the next level?
- Try your hand at a new enriched dough recipe: Challenge yourself with a brioche, challah, or panettone – the possibilities are endless! Start small, experiment with flavors, and savor the process.
- Share your baking triumphs (and even your flops!) on social media: Tag us @BakeWithEase – we love seeing your creations and would be happy to offer feedback!
- Explore variations of your favorite enriched dough recipes: Try adding different fruits, nuts, or spices to see how they transform the flavor and texture of your bread.
What unique twist will you add to your next enriched dough creation? Let us know in the comments!