
Storing and Reheating Enriched Breads for Freshness

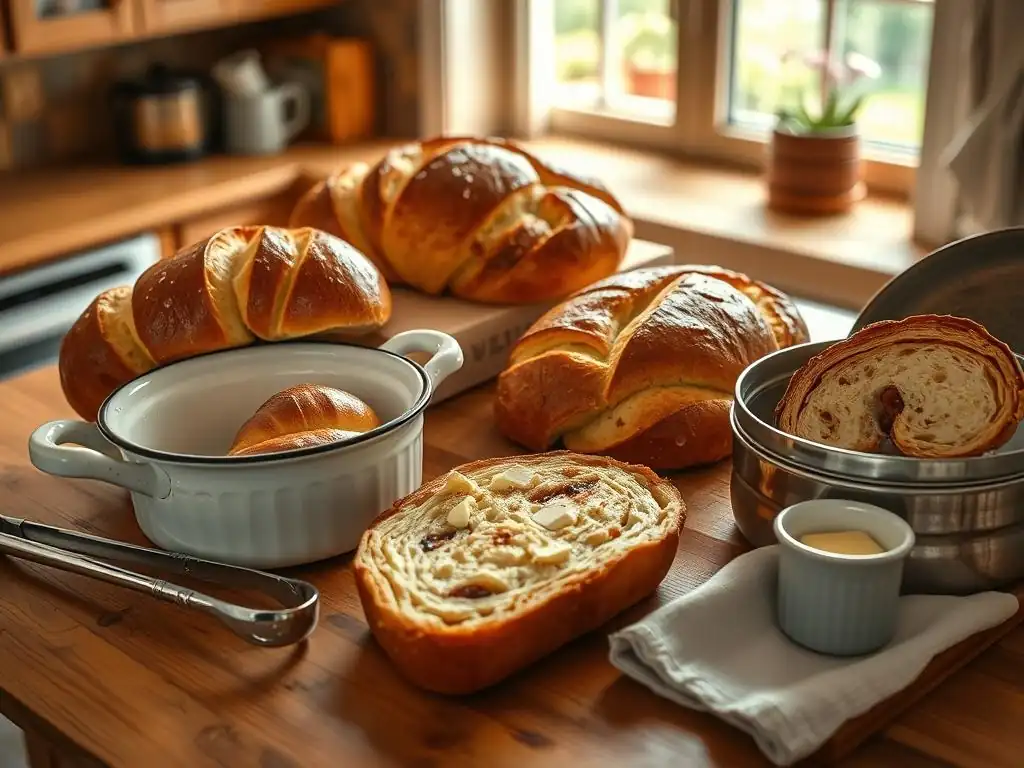
Welcome to BakeWithEase, your trusted companion in the delightful world of baking! Ever wondered how to reheat enriched bread without sacrificing its glorious texture and flavor? You're in the right place. Discover the secrets to keeping your precious loaves as delicious as the day they were baked, and unlock the full potential of your enriched bread creations. Let's keep that freshly-baked magic alive!
- Storing and Reheating Enriched Breads for Freshness: BakeWithEase Guide
- Introduction: Maintaining the Delight of Enriched Breads
- Understanding Enriched Breads: What Makes Them Special?
- Best Practices for Storing Enriched Breads to Preserve Freshness
- How to Reheat Enriched Bread for Optimal Taste and Texture: The BakeWithEase Method
- Reviving Stale Enriched Bread: Simple Techniques to Restore Flavor
- Troubleshooting Common Problems When Storing and Reheating Enriched Bread
- Conclusion: Enjoying Fresh-Tasting Enriched Bread Every Time
-
Frequently Asked Questions
- How should I initially store my enriched bread to maintain its freshness?
- What's the best method for reheating enriched bread slices?
- Can I reheat an entire loaf of enriched bread at once?
- How do I prevent my reheated enriched bread from becoming dry?
- Is it okay to reheat enriched bread in the microwave?
- Final Reflection: The Enduring Delight of Freshly Reheated Bread
- Unlock the Secret to Perfectly Fresh Bread!
Storing and Reheating Enriched Breads for Freshness: BakeWithEase Guide
Introduction: Maintaining the Delight of Enriched Breads
Enriched breads, like brioche or challah, hold a special place in the baking world. Their tender crumb, rich flavor, and often golden crust make them incredibly versatile, perfect for everything from breakfast toast to savory sandwiches. However, their very nature – packed with ingredients like butter, eggs, and sugar – means they can lose their delightful texture and freshness relatively quickly compared to lean doughs. Learning how to store these precious loaves properly is key to extending their life and ensuring every slice is as wonderful as the first.
This guide from BakeWithEase will walk you through the best practices for keeping your enriched breads fresh and, crucially, how to reheat enriched bread effectively to bring back that just-baked warmth and softness. Whether you've just pulled a beautiful brioche from your oven or picked up a loaf from a local bakery, mastering storage and reheating techniques will help you savor every last crumb. We'll explore different methods tailored to short-term enjoyment and long-term preservation, ensuring you can enjoy your delicious creations whenever the craving strikes.
Understanding Enriched Breads: What Makes Them Special?
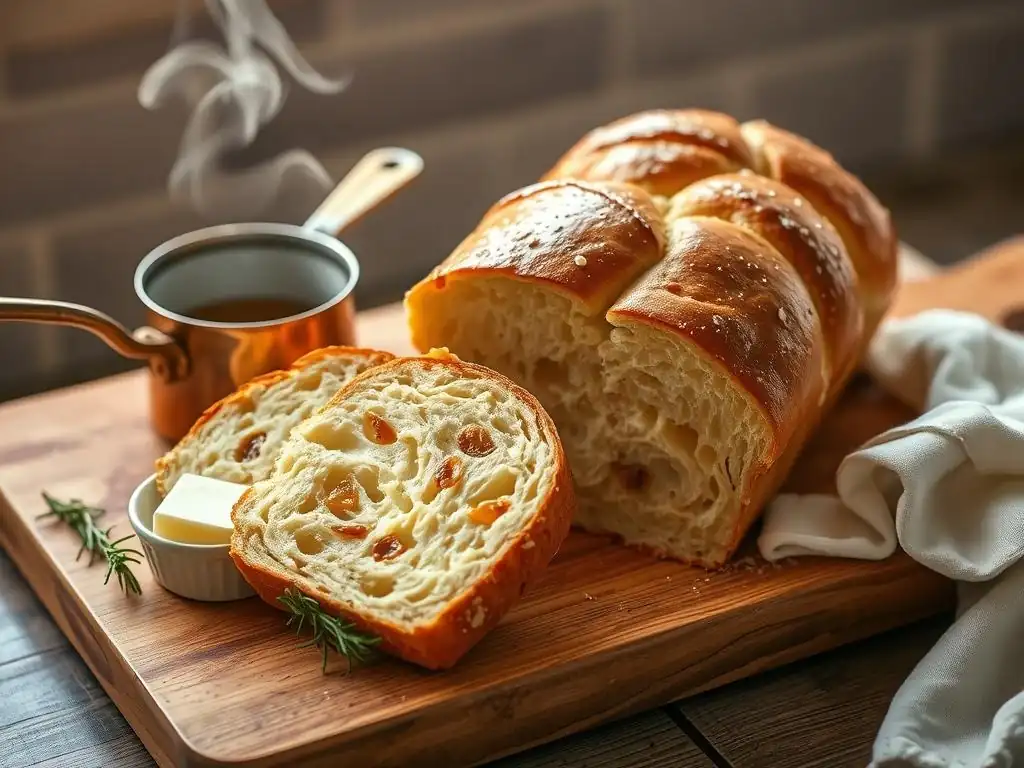
Enriched breads stand apart from their lean counterparts (like baguettes or sourdough) due to the addition of fats, sugars, eggs, and sometimes dairy. These extra ingredients fundamentally alter the dough's structure and the final bread's characteristics. While lean doughs rely primarily on flour, water, salt, and yeast to form a sturdy gluten network and develop complex flavors, enriched doughs are softer, richer, and often sweeter. This richness contributes significantly to their tender crumb and appealing aroma.
The presence of fats and sugars inhibits gluten development to some extent, resulting in a softer, less chewy texture. Eggs add richness, color, and help create a fine, cake-like crumb. Sugar not only provides sweetness but also aids in crust browning and helps retain moisture. These characteristics make enriched breads incredibly delicious but also more prone to staling in a specific way – they tend to dry out and become less tender over time, rather than just hardening like lean breads.
The Role of Fat and Sugar in Enriched Bread Texture and Flavor
Fat, typically butter, plays a crucial role in creating the signature tender crumb of enriched breads. It coats the gluten strands, preventing them from forming too strong or tight a network. This results in a soft, almost cake-like texture that melts in your mouth.
In classic brioche, the fat content can be remarkably high, sometimes reaching 50% to 100% of the flour weight. For example, a recipe using 500g of flour might incorporate 250g to 500g of butter, contributing immense richness and tenderness. This high fat content also contributes to a moist crumb and a beautiful golden crust when baked.
Sugar, another key enriching ingredient, adds sweetness and aids in browning during baking, contributing to the attractive color of the crust. Beyond flavor, sugar is hygroscopic, meaning it attracts and retains moisture. This property helps to keep the bread softer and fresher for longer compared to lean breads. While the sugar content varies, it often ranges from 10% to 20% of the flour weight in recipes like challah or sweet rolls. The combination of fat and sugar not only enhances the flavor profile but also significantly impacts the bread's texture and shelf life, making it distinctively rich and desirable.
Common Types of Enriched Breads: Brioche, Challah, and More
Enriched breads encompass a wide variety of delicious loaves from around the world. Brioche, perhaps one of the most famous, is a French bread known for its high butter and egg content, resulting in a rich, tender, and often flaky crumb. Traditional brioche recipes can be incredibly indulgent, sometimes using as much butter as flour by weight, producing a bread that is almost pastry-like in its richness. It's often recognized by its distinctive topknot shape or baked in loaf pans.
Challah is another beloved enriched bread, traditionally braided and often made with eggs, oil (or butter), and sugar. While typically less rich in fat than brioche, it still possesses a soft, slightly sweet crumb and a beautiful golden crust thanks to the egg wash. Other examples include Portuguese sweet bread (Pão Doce), Japanese milk bread (Shokupan), and various types of sweet rolls or buns like cinnamon rolls or sticky buns, all characterized by the addition of fats, sugars, and sometimes eggs or milk to the dough, resulting in a softer, richer final product.
Best Practices for Storing Enriched Breads to Preserve Freshness
Proper storage is paramount to maintaining the quality of your enriched bread. Unlike crusty lean breads that benefit from being left exposed to maintain their crisp crust (at the expense of interior freshness), enriched breads require a different approach. Their soft crust and tender interior are susceptible to drying out and hardening when exposed to air. Effective storage methods aim to protect the bread from air while allowing it to cool completely, preventing moisture buildup that can lead to mold.
The goal is to strike a balance between preventing moisture loss (drying out) and preventing moisture trapping (sogginess and mold). This is especially important for enriched breads due to their higher moisture content from ingredients like eggs and butter. A loaf stored improperly can go from perfectly soft to disappointingly dry or even moldy within a day or two. By following a few key practices, you can significantly extend the enjoyable life of your enriched loaves.
Cooling Enriched Breads Properly Before Storage
Allowing your enriched bread to cool completely on a wire rack after baking is a critical first step before storing it. Hot bread releases steam as it cools. If you wrap it while still warm, this steam will condense inside the packaging, creating moisture. This trapped moisture is the perfect breeding ground for mold and can also make the crust soggy and the interior gummy. A standard loaf of enriched bread, like a brioche or challah weighing around 500-700 grams, may need anywhere from 1 to 3 hours to cool completely at room temperature.
Placing the bread on a wire rack ensures that air can circulate freely around all sides, allowing the steam to escape efficiently. Avoid cooling on a flat surface, as this can trap heat and moisture on the bottom. Patience is key here; no matter how tempting it is to slice into a warm loaf, waiting until it is fully cooled to room temperature (it should feel cool to the touch, not just slightly warm) will pay off significantly in terms of storage quality and preventing premature staling or mold growth.
The Importance of Air-Tight Storage: Preventing Staling
Staling in bread is primarily caused by the recrystallization of starch molecules, a process accelerated by moisture loss. For enriched breads, preventing air exposure is crucial because air circulation leads to moisture evaporation from the crumb, making it dry and hard. Air-tight storage minimizes this moisture loss, keeping the bread softer and fresher for a longer period. Simply leaving an enriched loaf exposed on the counter will likely result in a dry, unappealing texture within hours, especially in low-humidity environments.
Using appropriate air-tight containers or wrapping materials creates a barrier that significantly slows down the rate of moisture migration from the bread's interior to the surrounding air. This is particularly important for the tender crumb of enriched breads, which relies on its inherent moisture for its desirable softness. While a completely air-tight seal is the ideal, minimizing air flow as much as possible is the main objective to combat the drying effects of the environment.
Choosing the Right Storage Method: Room Temperature vs. Freezer
The best storage method for your enriched bread depends primarily on how soon you plan to eat it. For consumption within a couple of days, room temperature storage in an air-tight environment is usually sufficient and maintains the bread's ready-to-eat convenience. However, for anything longer than 2-3 days, freezing is by far the most effective method for preserving the bread's quality. Refrigeration is generally not recommended for enriched breads (or most breads, for that matter) as it actually accelerates the staling process compared to room temperature or freezing.
Freezing essentially pauses the staling process, locking in the bread's freshness at the moment it is frozen. A properly frozen enriched loaf can maintain excellent quality for up to 3-4 months. Choosing between room temperature and freezer storage requires a quick assessment of your consumption timeline. If you baked a large challah but only plan to eat half within 48 hours, freezing the other half immediately after cooling is the best strategy for enjoying it later with minimal loss of quality.
Storing Enriched Bread at Room Temperature: Tips for Short-Term Freshness
For enjoying your enriched bread within 1 to 2 days, room temperature storage is perfectly fine, provided you use an air-tight method. Once the bread is completely cooled, wrap it tightly. Options include plastic wrap, a reusable bread bag with a good seal, or a large zip-top bag. Ensure as much air as possible is squeezed out before sealing. Some people also have success storing enriched bread in a clean bread box, though the level of air-tightness varies greatly between different bread boxes.
A common mistake is storing enriched bread in a paper bag, which is suitable for crusty lean breads but will cause enriched breads to dry out very quickly. For example, a brioche roll left in a paper bag overnight might become noticeably firm and less pleasant, whereas one stored in a sealed plastic bag will likely retain its soft texture. Store the wrapped bread in a cool, dry place away from direct sunlight or heat sources.
Freezing Enriched Bread: A Guide to Long-Term Preservation
Freezing is the champion method for preserving enriched bread quality for longer periods, typically up to 3-4 months. Freezing slows down the starch retrogradation that causes staling, effectively hitting the pause button on the aging process. It's crucial to freeze the bread while it is at its peak freshness – ideally, on the same day it was baked and fully cooled. Waiting too long before freezing means you're freezing an already staling loaf.
You can freeze a whole loaf, half a loaf, or even individual slices or rolls. Freezing in smaller portions allows you to thaw and reheat just what you need, minimizing waste and the need to repeatedly thaw and refreeze. Proper wrapping is absolutely essential to prevent freezer burn, which can dry out the bread and give it an unpleasant texture and flavor.
Preventing Freezer Burn: Proper Wrapping Techniques
Preventing freezer burn is key to successful long-term storage of enriched bread. Freezer burn occurs when air comes into contact with the food surface, causing dehydration and oxidation. For bread, this results in dry, tough, and flavorless spots. The best way to prevent this is to create a barrier that keeps air out and moisture in. A multi-layer wrapping approach is highly recommended.
Start by wrapping the completely cooled bread tightly in a layer of plastic wrap, pressing it against the surface to eliminate air pockets. For added protection, follow with a layer of aluminum foil, again wrapping tightly. Alternatively, after the plastic wrap, place the bread in a high-quality freezer bag, pressing out as much air as possible before sealing.
Double-bagging can also provide extra insurance against air exposure. Label the package with the date to help you keep track of how long it's been in the freezer. For individual slices, stack them with parchment paper in between before wrapping the stack tightly.
How to Reheat Enriched Bread for Optimal Taste and Texture: The BakeWithEase Method
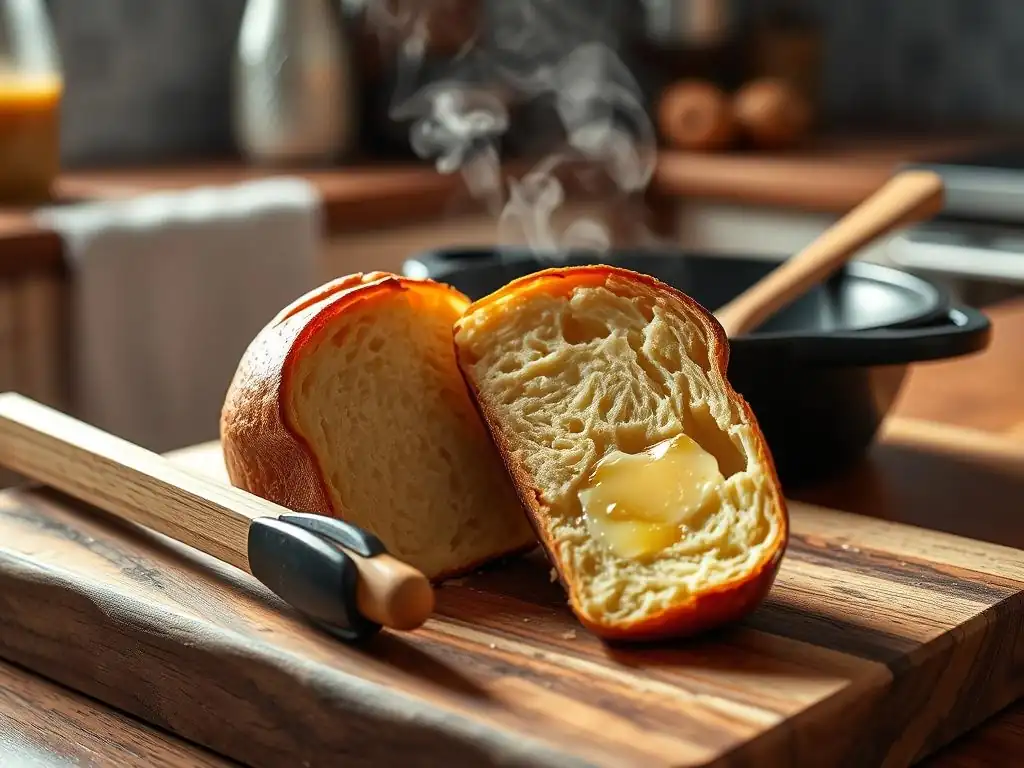
Knowing how to reheat enriched bread correctly is just as important as storing it properly. Simply popping it in the microwave might warm it, but it often results in a rubbery texture. The goal when reheating enriched bread is to restore its tenderness and warmth without drying it out or making it tough. The ideal method will depend on the bread's state (room temperature, chilled, or frozen) and how much time you have.
For the best results, a gentle, indirect heat source is usually preferred. This allows the bread to warm through evenly, softening the crumb and slightly refreshing the crust without making it hard or dry. We'll explore the most effective methods for bringing your enriched loaf back to life, focusing on techniques that preserve its delicious, tender quality. Mastering how to reheat enriched bread will ensure that even day-old or previously frozen loaves taste wonderfully fresh.
Why Reheating Enriched Bread Requires a Different Approach
Reheating enriched bread differs from reheating lean bread primarily because of its composition. The high fat and sugar content, along with eggs and sometimes dairy, create a softer, more delicate crumb structure. Lean breads, with their sturdier gluten network and often thicker crusts, can sometimes withstand higher heat or direct toasting more readily. Enriched breads, however, are more susceptible to becoming dry, hard, or rubbery if reheated too quickly or at too high a temperature.
The fats and sugars that make enriched bread so tender can also cause it to heat unevenly or become greasy if overheated. The goal is to gently warm the internal structure, softening the starches that may have stiffened during cooling or freezing, without evaporating too much internal moisture or overcooking the exterior. This requires a more nuanced approach than simply toasting or microwaving might suggest.
Reheating Enriched Bread: Oven Method for Best Results
The oven method is widely considered the best way to reheat enriched bread, especially for larger pieces or whole loaves. It provides even, gentle heat that warms the bread through to the center, softens the crumb, and can even slightly refresh the crust. This method helps restore much of the bread's original texture and aroma. It's ideal for bringing a chilled or room temperature loaf back to its just-baked glory.
Using a relatively low oven temperature prevents the exterior from drying out or burning before the interior is warm. The gentle heat allows moisture within the bread to redistribute, resulting in a tender, soft crumb. This method is particularly effective for loaves that might have become slightly firm or less tender after a day or two at room temperature.
Step-by-Step Oven Reheating Guide: Maintaining Moisture and Softness
Here is a simple guide on how to reheat enriched bread in the oven for optimal results:
- Preheat your oven: Set your oven to a relatively low temperature, around 300-325°F (150-160°C).
- Prepare the bread: If the bread is a whole loaf or large piece, you can wrap it loosely in aluminum foil. This helps trap moisture and prevents the crust from becoming too hard. For individual rolls or slices, you might skip the foil if you prefer a slightly crisper exterior, but watch them closely.
- Place bread in oven: Put the wrapped or unwrapped bread directly on the oven rack or on a baking sheet.
- Heat: Reheat for 10-20 minutes for a whole loaf, or 5-10 minutes for smaller rolls or slices. The exact time will depend on the size of the bread and your oven. You're aiming for the bread to be warmed through to the center. You can test by carefully touching the center or inserting a thin probe thermometer – it should feel warm, not hot.
- Rest: Once heated, remove the bread from the oven and let it rest for a minute or two before slicing or serving. This allows the heat and moisture to stabilize throughout the loaf.
Using this method ensures the bread warms up evenly, leaving you with a soft, tender crumb and a pleasant, slightly refreshed crust.
Reheating Enriched Bread: Microwave Method for Quick Results
While the oven method is preferred for quality, the microwave can be a convenient option for quickly reheating small pieces or slices of enriched bread, especially when time is short. However, microwaving enriched bread requires care, as it can easily lead to a tough or rubbery texture if not done correctly. The microwave heats moisture within the food, and with enriched breads' high moisture content, this can quickly turn soft starches into a chewy, unpleasant state.
This method is best suited for single servings or when you need warmth immediately, perhaps for a quick slice of toast or a warm roll. It's generally not recommended for reheating a whole loaf. The key is to use very short bursts of power to avoid overheating and altering the bread's texture too drastically.
Tips for Microwave Reheating: Avoiding a Rubbery Texture
To minimize the risk of a rubbery texture when using the microwave to reheat enriched bread, follow these tips:
- Use low power: Reheat on 50% power instead of full power. This allows the heat to distribute more evenly and gently.
- Short intervals: Heat in very short bursts, typically 15-30 seconds at a time.
- Check frequently: After each interval, check the bread's warmth and texture. Stop as soon as it's heated through.
- Wrap slightly: Wrapping the bread loosely in a damp paper towel can help add a touch of moisture and prevent it from drying out or becoming tough.
- Reheat small amounts: Microwave only one or two slices or rolls at a time. Overcrowding can lead to uneven heating.
For example, reheating a single brioche roll might take just 20-40 seconds total on medium power, checked after 15 seconds. Overheating by even a few seconds can drastically change the texture. While not the ideal method for texture, careful microwaving is a viable option when speed is the priority.
Reheating Frozen Enriched Bread: A Comprehensive Guide
Reheating frozen enriched bread requires a two-step process: thawing and then reheating. Attempting to reheat directly from frozen, especially for larger pieces, will likely result in a dry exterior and a cold or even frozen interior. Proper thawing ensures that the moisture within the bread redistributes evenly before heat is applied, leading to a more uniform and desirable texture when reheated.
The best method for reheating frozen enriched bread will again depend on the size of the piece and your time constraints. However, the oven method remains the superior choice for restoring the bread's original softness and gentle crust. Reheating frozen enriched bread correctly allows you to enjoy the benefits of long-term storage without sacrificing too much of the fresh-baked quality.
Thawing Techniques for Frozen Enriched Bread: Achieving Even Reheating
The most recommended way to thaw frozen enriched bread is slowly at room temperature. Remove the bread from the freezer, keeping it in its protective wrapping to prevent condensation from making the crust soggy as it thaws. Place it on the counter and let it thaw completely. A whole loaf might take 4-6 hours or even longer depending on its size and room temperature. Individual slices or rolls will thaw much faster, perhaps in 1-2 hours.
- Whole Loaf: Place wrapped frozen loaf on the counter. Allow to thaw fully at room temperature. This could take 4-8 hours.
- Half Loaf: Similar to a whole loaf, but may take 3-5 hours.
- Slices/Rolls: Place wrapped frozen items on the counter. Thaw for 1-2 hours.
Avoid thawing in the refrigerator, as this can still contribute to staling, albeit slower than room temperature. Avoid thawing in the microwave unless you plan to immediately reheat it fully in the microwave, as partial microwave thawing can lead to uneven heating and texture issues. Slow thawing at room temperature is the best preparation for an even reheat.
Reheating Frozen Enriched Bread in the Oven: Restoring Crust and Interior
Once your frozen enriched bread is completely thawed at room temperature, you can reheat it using the standard oven method described earlier. The thawing process prepares the bread, allowing the oven's gentle heat to penetrate and soften the crumb effectively.
- Ensure thawing is complete: The bread should feel soft all the way to the center.
- Preheat oven: Set to 300-325°F (150-160°C).
- Prepare and heat: Wrap the thawed bread loosely in aluminum foil (especially for loaves) and place in the preheated oven.
- Heat time: Heat for 10-20 minutes for loaves, or 5-10 minutes for rolls/slices, until warmed through.
- Rest: Let rest for a minute or two before serving.
This method, combined with proper thawing, is the gold standard for bringing frozen enriched bread back to its best possible state, restoring its tender crumb and pleasant warmth.
Reheating Frozen Enriched Bread in the Microwave: When Time is of the Essence
If you are in a hurry and need to reheat frozen enriched bread quickly, the microwave can be used, but it's best for smaller pieces and with caution. For slices or rolls, you can technically reheat directly from frozen using very short bursts.
- Wrap: Wrap the frozen slice or roll in a slightly damp paper towel.
- Microwave: Heat on 50% power for 30-60 seconds, checking every 15 seconds.
- Check and continue: Flip the bread and continue heating in 15-second intervals at 50% power until just warmed through.
This method carries a higher risk of uneven heating and a rubbery texture compared to oven reheating, even with the damp paper towel and low power. It is a last resort for quality but effective for speed. For a whole frozen loaf, microwaving is not recommended; it's better to wait for it to thaw and use the oven.
Reviving Stale Enriched Bread: Simple Techniques to Restore Flavor
Even with the best storage and reheating practices, enriched bread can eventually become stale. Stale doesn't mean unusable, however! Enriched bread, even when dry or firm, retains its rich flavor profile thanks to the butter, eggs, and sugar. This makes it an excellent candidate for transforming into other delicious dishes, breathing new life into bread that might otherwise go to waste. Instead of discarding a slightly dry challah or a firm brioche, consider these simple revival techniques.
Utilizing stale enriched bread in recipes is a fantastic way to reduce food waste while creating comforting and flavorful meals or desserts. The slightly dry texture is often advantageous in recipes that require the bread to absorb liquid without becoming mushy. From breakfast favorites to decadent puddings, stale enriched bread can have a wonderful second act.
Using Stale Enriched Bread for French Toast: A Delicious Solution
Stale enriched bread, particularly brioche or challah, is arguably the best bread for making French toast. The slightly dry texture allows it to soak up the custard mixture beautifully without falling apart, resulting in a rich, custardy interior and a golden, slightly crispy exterior when cooked. A loaf that is 1-3 days old and feels firm is ideal. Fresh, soft bread tends to become soggy.
To make French toast, slice the stale bread about 1 inch thick. Whisk together eggs, milk or cream, a touch of sugar, vanilla, and cinnamon. Dip each slice into the mixture, letting it soak for 30 seconds to a minute per side (longer for drier bread). Cook on a buttered griddle or pan over medium heat until golden brown on both sides, typically 3-5 minutes per side. The richness of the enriched bread combined with the custard creates an incredibly decadent breakfast.
Transforming Stale Enriched Bread into Bread Pudding: A Comforting Dessert
Bread pudding is another classic dish that benefits immensely from using stale enriched bread. The dry bread cubes act like sponges, soaking up a rich custard made from milk, cream, eggs, sugar, and flavorings like vanilla or spices. As it bakes, the pudding sets into a moist, comforting dessert. Brioche and challah are particularly well-suited due to their richness, which translates into a more flavorful pudding.
Cut or tear the stale bread into cubes (about 1-2 inches). You'll typically need about 6-8 cups of bread cubes for a standard 8x8 inch baking dish. Whisk together the custard ingredients and pour over the bread cubes in the dish, ensuring all the bread is submerged. Let it sit for at least 30 minutes, or even several hours or overnight in the refrigerator, to allow the bread to fully absorb the liquid. Bake at around 350°F (175°C) for 45-60 minutes, or until set and golden brown on top.
When other revival methods aren't suitable, or if you have ends or pieces that are too dry for French toast or pudding, turning stale enriched bread into breadcrumbs is an excellent way to ensure nothing goes to waste. These breadcrumbs are richer and more flavorful than those made from lean bread, making them perfect for coating cutlets, topping casseroles, or using as a binder in meatballs.
Break or cut the stale bread into small pieces. Spread them in a single layer on a baking sheet. You can air dry them further on the counter for a day or two, or bake them in a low oven (around 200-250°F / 90-120°C) for 20-40 minutes, stirring occasionally, until completely dry and hard. Once dry, process the pieces in a food processor until fine crumbs form. Store the breadcrumbs in an air-tight container at room temperature for a few weeks, or freeze them for longer storage (up to 6 months).
Troubleshooting Common Problems When Storing and Reheating Enriched Bread
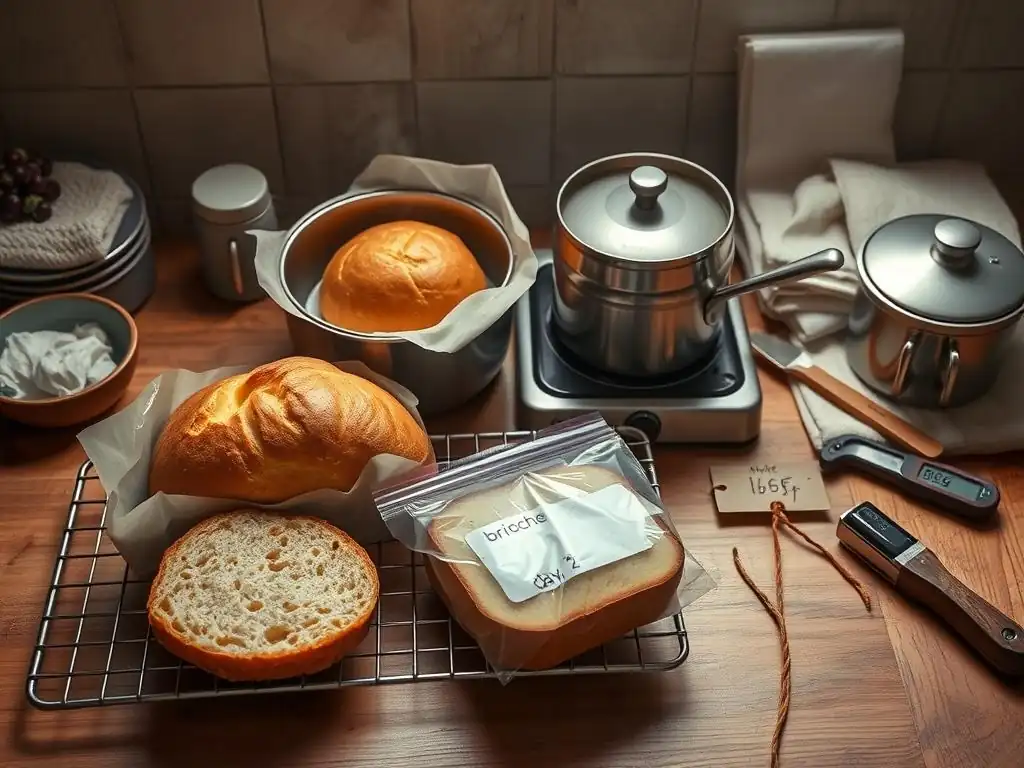
Even with the best intentions, you might encounter a few common issues when storing or learning how to reheat enriched bread. Understanding why these problems occur can help you avoid them or troubleshoot effectively. The delicate balance of moisture, fat, and sugar in enriched doughs makes them susceptible to specific pitfalls during storage and reheating.
Problems like sogginess after reheating, a hard crust, or overall dryness are frustrating but often preventable or fixable. Addressing these issues relies on understanding the impact of temperature, air exposure, and heating methods on the bread's structure. Let's look at some frequent challenges and how to overcome them.
Dealing with Soggy or Sticky Enriched Bread After Reheating
Sogginess or a sticky texture after reheating is usually a sign of excess moisture. This can happen if the bread was wrapped before it was fully cooled, trapping steam. It can also occur if the bread was reheated using too much steam or covered too tightly during oven reheating, particularly if it wasn't needed. Over-microwaving is another culprit, as it can unevenly heat internal moisture.
If your bread feels slightly soggy, try reheating it briefly, unwrapped, in a low oven (around 300°F / 150°C) for 5-10 minutes. This can help evaporate some of the excess surface moisture. For microwave-related sogginess, unfortunately, it's harder to fix the rubbery texture caused by overheating the starches. Prevention is best: always cool completely before storing, and if reheating in the oven, consider whether wrapping is truly necessary or if loose foil is enough. For microwave reheating, use low power and short bursts.
Preventing a Hard Crust During Reheating
A hard or excessively crispy crust after reheating, especially in the oven, can happen if the temperature is too high or the heating time is too long, causing the exterior to dry out before the interior is warmed. Reheating unwrapped bread can also contribute to a harder crust.
To prevent this, ensure your oven temperature is set to the recommended 300-325°F (150-160°C). For whole loaves or larger pieces, wrapping loosely in aluminum foil during the initial reheating phase helps protect the crust. If you prefer a slightly crisper crust but find it too hard, you can remove the foil for just the last 3-5 minutes of reheating. For individual slices, a quick reheat time is crucial. If a slice does end up with a hard crust, a very brief (5-10 second) zap in the microwave might soften it slightly, but be careful not to make it rubbery.
Addressing Dryness in Reheated Enriched Bread
Dryness in reheated enriched bread often stems from improper storage (exposure to air leading to moisture loss) or overheating during the reheating process itself. If the bread was already slightly dry before reheating, the heat will exacerbate this.
- Storage: Ensure bread is wrapped tightly in air-tight packaging for room temperature storage and double-wrapped for freezing.
- Reheating: Use the recommended lower oven temperature (300-325°F) and wrap the bread in foil during reheating, especially for loaves. This helps trap and redistribute internal moisture. Avoid microwaving for longer than necessary.
If you end up with a dry slice, using it for French toast or bread pudding is the best solution. For a whole dry loaf, consider making breadcrumbs. While you can't fully rehydrate truly dry bread, gentle reheating methods that retain moisture are your best bet for pieces that are only slightly dry.
Conclusion: Enjoying Fresh-Tasting Enriched Bread Every Time
Mastering the techniques for storing and knowing how to reheat enriched bread is a valuable skill for any baker or bread enthusiast. These rich, tender loaves deserve to be enjoyed at their best, and proper handling ensures you can savor their delicious flavor and texture for as long as possible. From the crucial step of cooling completely before storage to choosing the right air-tight method and understanding the nuances of reheating, each step plays a vital role.
Whether you're gently warming a room-temperature slice in the oven, quickly refreshing a roll in the microwave, or bringing a frozen loaf back to life, applying these BakeWithEase tips will help you achieve optimal results. And remember, even when enriched bread passes its peak freshness, it can be wonderfully transformed into other delightful dishes, ensuring that not a single crumb of your delicious creation goes to waste. By following these guidelines, you can confidently store, reheat, and enjoy your enriched breads, maintaining that wonderful fresh-baked quality every time.
Frequently Asked Questions
How should I initially store my enriched bread to maintain its freshness?
Enriched breads should be stored in an airtight container at room temperature for up to 2-3 days, or in the freezer for longer storage. Ensure the bread is completely cooled before storing to prevent moisture build-up.
What's the best method for reheating enriched bread slices?
The best method is to lightly toast the slices. This revives the texture and brings back a warm, fresh taste. Alternatively, a quick pass under a broiler can work, but watch carefully to avoid burning.
Can I reheat an entire loaf of enriched bread at once?
Yes, you can! Wrap the loaf in foil and bake at a low temperature (around 300°F/150°C) for 10-15 minutes. This will gently warm the entire loaf without drying it out too much.
How do I prevent my reheated enriched bread from becoming dry?
To prevent dryness, consider lightly brushing the bread with water or milk before reheating. The added moisture helps to rehydrate the bread during the reheating process.
Is it okay to reheat enriched bread in the microwave?
While you can reheat enriched bread in the microwave, it's generally not recommended. Microwaving can make the bread rubbery and tough. If you must, use very short bursts and wrap the bread in a damp paper towel.
Final Reflection: The Enduring Delight of Freshly Reheated Bread
The art of reheating enriched bread isn't merely about reviving a stale loaf; it's about reclaiming the sensory experience of freshly baked goodness. In a world of fast food and convenience, taking the time to properly reheat bread – particularly enriched varieties with their delicate textures and complex flavors – becomes a small act of mindful indulgence, a way to savor the simple pleasures often overlooked.
The impact of readily available, mass-produced bread has undeniably altered our relationship with this staple food. We've become accustomed to a certain level of uniformity, sometimes sacrificing texture and taste for convenience. Bread is the staff of life,
they say, but the quality of that staff can significantly impact our daily experience. This article aimed to bridge the gap between convenience and quality, providing readers with the knowledge to elevate their bread-eating experience, no matter the source. It's a reminder that even the simplest of foods deserve our attention and respect.
Now, consider your own relationship with bread. Do you appreciate the nuances of texture and flavor? Do you take the time to savor each bite? I encourage you to experiment with the techniques outlined in this article. Try reheating your favorite enriched bread using different methods, paying close attention to the results. Rediscover the joy of a perfectly reheated slice, warm, soft, and bursting with flavor. Let the simple act of reheating bread become a moment of mindful appreciation, a small act of self-care that enriches your daily life.
Unlock the Secret to Perfectly Fresh Bread!
Thanks for taking the time to learn how to keep your enriched breads tasting their absolute best! We hope you now feel confident in your bread-storing prowess. Ready to put your new knowledge to the test?
- Master the art of reheating: Try our recommended methods – from the oven to the microwave – to achieve that just-baked texture and aroma. Note the difference!
- Experiment with different storage containers and techniques to find what works best for your kitchen and bread type. Share your findings!
- Challenge yourself: Bake a new enriched loaf this week, and use your newfound knowledge to keep it fresh for days.
What's your go-to method for storing and reheating bread? Share your tips and tricks in the comments below!