
The Final Proof: Getting Enriched Dough Ready for the Oven

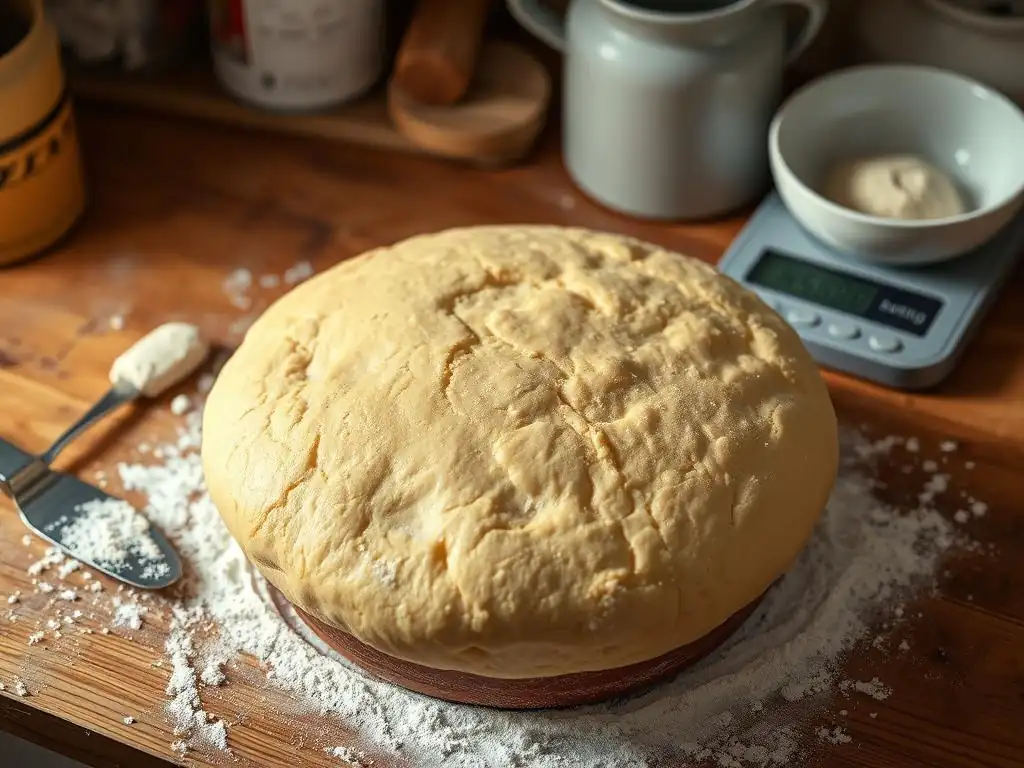
Welcome to BakeWithEase, your kitchen companion on a journey to baking brilliance! Ever wondered if you're really getting the most out of your enriched dough? Unlock the secrets to that perfect rise and achieve bakery-worthy results. Our latest article dives deep into essential enriched dough proofing tips, revealing techniques that will transform your loaves from dense to delightful. Ready to elevate your baking game? Let's get proofing!
- Brioche Baking: Mastering the Final Proof (BakeWithEase)
- Understanding Brioche Proofing: A BakeWithEase Guide
- Key Factors Influencing Brioche Proofing
- Brioche Proofing Tips for a Perfect Bake
- Preparing Your Brioche for the Oven After Proofing
- Troubleshooting Common Brioche Proofing Problems
- Mastering Brioche: Next Steps & Resources
-
Frequently Asked Questions
- How is enriched dough different and why does it require special proofing attention?
- What are some key indicators that my enriched dough is properly proofed?
- What's the best temperature range for proofing enriched dough?
- Can I proof enriched dough in the refrigerator?
- What happens if I over-proof my enriched dough?
- Final Reflection: The Rising Promise of Enriched Dough
- Unleash Your Inner Baker: Perfect Dough, Perfect Pie!
Brioche Baking: Mastering the Final Proof (BakeWithEase)
Understanding Brioche Proofing: A BakeWithEase Guide
What is Proofing Brioche Dough?
Proofing, often called the final rise or second fermentation, is the crucial stage where shaped brioche dough rests before baking. During this time, the yeast ferments the sugars in the dough, producing carbon dioxide gas. This gas gets trapped within the gluten structure, causing the dough to expand and become airy. Unlike the bulk fermentation (the first rise), proofing happens after the dough has been shaped into its final form, whether that's a loaf, rolls, or individual pastries. This final expansion is vital for achieving the light, fluffy texture and significant oven spring characteristic of well-baked brioche.
This stage is particularly important for enriched dough like brioche because the high fat (butter) and sugar content can inhibit yeast activity. The gluten network is also often stronger due to the kneading required to incorporate these enrichments. Proper proofing allows the yeast sufficient time to work against these factors and inflate the dough gently. It's the last opportunity for the dough to develop volume and structure before the heat of the oven sets it permanently. Mastering this step is one of the key enriched dough proofing tips for achieving bakery-quality results at home.
Why is Proper Proofing Crucial for Brioche?
Proper proofing directly impacts the texture, volume, and flavor of your final brioche. If dough is under-proofed, it won't have developed enough gas. When baked, it will expand too rapidly in the oven (excessive oven spring), potentially cracking on the surface, resulting in a dense, heavy crumb. The texture will be tight and somewhat gummy, lacking the desired lightness. Furthermore, under-proofed dough may not have had sufficient time for flavor compounds to develop fully through yeast activity, leading to a less complex taste.
Conversely, over-proofing causes the gluten structure to stretch too thin and eventually collapse as the yeast runs out of food or produces too much acid. The dough might initially look large, but it will likely deflate when touched or moved.
In the oven, over-proofed dough has little energy left for oven spring, resulting in a flat, pale loaf with a coarse, open crumb that can feel dry or crumbly. The delicate balance of enriched dough proofing is essential; it's about reaching the peak moment where the dough has maximized its volume while maintaining structural integrity, ensuring a beautiful rise, tender crumb, and delicious flavor.
Key Factors Influencing Brioche Proofing
Temperature's Role in Brioche Proofing
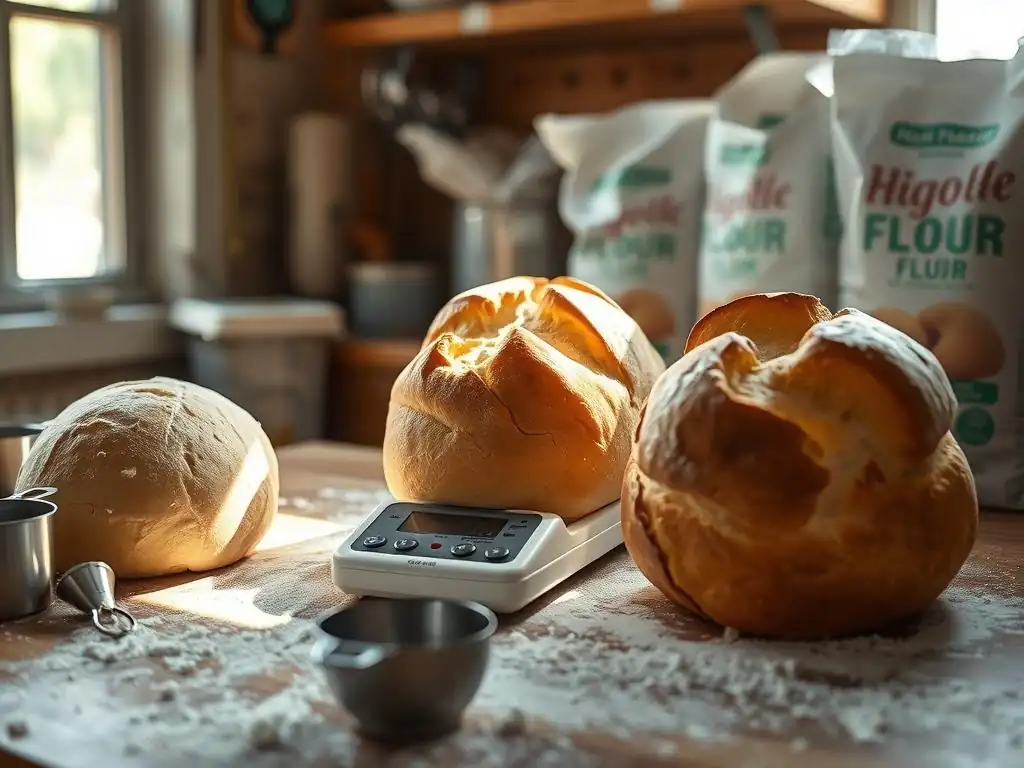
Temperature is arguably the most significant factor influencing the speed and outcome of enriched dough proofing. Yeast activity is highly sensitive to temperature: it thrives in warm environments, becoming more active and producing gas more quickly. Conversely, cold temperatures slow down yeast activity considerably, which is why chilling dough (retarding) is used to slow proofing and develop flavor over a longer period. Finding the right temperature allows for controlled and predictable proofing.
Maintaining a consistent temperature is also key. Fluctuations can lead to uneven proofing, where parts of the dough rise faster than others. A stable, warm environment ensures the yeast works steadily throughout the entire dough mass. Understanding how temperature affects yeast is a fundamental part of mastering enriched dough proofing tips, enabling you to adjust proofing times based on your environment or intentionally manipulate temperature for desired results, such as a slower, flavor-enhancing cold proof.
Ideal Temperature Range for Proofing
For standard room-temperature proofing of brioche, an ideal range is typically between 24°C and 26°C (75°F to 79°F). In this temperature sweet spot, yeast activity is vigorous but not so rapid that you risk over-proofing quickly. This range promotes a steady rise, allowing the gluten structure to expand gradually without tearing. Many home bakers achieve this by proofing in a slightly warm oven (turned off, possibly with the light on) or in a draft-free spot in their kitchen.
If you opt for a cold proof in the refrigerator, the temperature is significantly lower, usually around 4°C (40°F). At this temperature, yeast activity slows to a crawl. This method is often used for brioche because it allows flavors to deepen over 12-24 hours or even longer. While much slower, cold proofing develops a more complex taste and makes the enriched dough easier to handle for shaping before its final, shorter proof at room temperature or in a slightly warmer spot.
Troubleshooting: Dough Proofing Too Fast or Too Slow
If your brioche dough is proofing too fast, the environment is likely too warm. The yeast is hyperactive, producing gas rapidly, which can lead to over-proofing before the gluten is ready to hold the structure. To slow it down, move the dough to a cooler spot in your kitchen. If using a proofing box or warm oven, reduce the temperature. You might also need to reduce proofing time significantly and rely more on visual cues and the finger dent test (discussed later) rather than just time.
Conversely, dough proofing too slowly indicates a cool environment or inactive yeast. Ensure your yeast is fresh; check its expiration date and activate it properly if using dry yeast. If the yeast is fine, the temperature is the issue.
Find a warmer spot for the dough – a warm oven (turned off, with the light on), near a radiator (but not on it), or a dedicated proofing box set to the ideal temperature range. Be patient; cooler proofing takes longer but can sometimes result in better flavor development. Adjusting the proofing environment is a key skill in applying effective enriched dough proofing tips.
Humidity's Impact on Brioche Dough
Humidity plays a less direct but still important role in enriched dough proofing, primarily affecting the surface of the dough. As the dough rises, its surface is exposed to the air. In a dry environment, the surface can dry out and form a crust. This crust restricts the dough's ability to expand evenly and can lead to cracks or an uneven final shape. The yeast is working internally, pushing against a rigid outer layer, which isn't ideal for a light, airy crumb.
An appropriately humid environment keeps the surface of the dough soft and pliable, allowing it to stretch easily as the dough expands. This promotes an even rise and a smooth crust once baked. While not as critical as temperature, managing humidity is one of the helpful enriched dough proofing tips, especially in dry climates or during winter months when indoor air is often dry. It ensures the dough reaches its full potential volume without external restriction.
Maintaining Optimal Humidity Levels for Proofing
To maintain optimal humidity levels during brioche proofing, you need to create a microclimate around the dough. A common method is to place the dough in a bowl or on a baking sheet and cover it loosely but completely with plastic wrap. Ensure the plastic wrap is lightly oiled or non-stick cooking spray is used to prevent it from sticking to the rising dough. This traps the moisture evaporating from the dough itself, creating a humid environment.
Another effective technique, especially when proofing on a baking sheet or in a loaf pan, is to place the dough inside a large, clear plastic bag, inflating it slightly before sealing to prevent contact. For proofing in an oven (off), you can place a pan of hot water on the rack below the dough; the steam will increase the humidity within the oven cavity. Some proofing boxes also have a feature for adding water to create humidity. Aim for humidity that keeps the surface moist and flexible, not wet or sticky.
Time: How Long to Proof Brioche?
The duration of brioche proofing is not a fixed number but depends heavily on temperature, humidity, the amount of yeast used, and the richness of the dough (butter and sugar content). At room temperature (24-26°C or 75-79°F), brioche often takes between 1.5 and 3 hours for the final proof. However, cold proofing in the refrigerator can extend this to 12-24 hours or even longer. It's crucial not to rely solely on a timer, as environmental conditions vary.
Think of the time given in recipes as a guideline. The real determinant of when brioche is properly proofed is its appearance and feel. Using visual cues and the finger dent test is far more reliable than sticking rigidly to a clock. A dough that proofed perfectly in two hours on a warm summer day might take three hours in a cooler kitchen during winter. Patience and observation are key enriched dough proofing tips when it comes to timing.
Visual Cues for Determining Proofing Completion
Several visual cues indicate your brioche dough is approaching or has reached optimal proofing. Firstly, observe the volume increase. The dough should have significantly increased in size, often doubling or nearly doubling from its shaped state, depending on the recipe and desired final crumb structure. It will look noticeably puffier and lighter.
Secondly, the surface of the dough should appear smooth and domed, not tight or stretched thin. You might see small bubbles just beneath the surface. If the surface looks dull, dry, or cracked, humidity might be an issue. If it looks overly inflated and fragile, it could be nearing over-proofing. The edges of the shaped dough should look rounded and soft, not sharp or defined as they were when first shaped. These visual checks, combined with the finger dent test, provide the most accurate assessment for successful enriched dough proofing.
Brioche Proofing Tips for a Perfect Bake
Tip 1: The Gentle Touch - Handling Proofed Dough
Once brioche dough is properly proofed, it is delicate. The gluten structure is inflated with gas, and rough handling can easily cause it to deflate. When moving the proofed dough to the oven, opening oven doors, or scoring, do so with extreme gentleness. Avoid jarring the pan or dough. Imagine it's a fragile balloon filled with air – any sudden movement or pressure could cause it to lose its precious volume.
If you need to transfer the dough (e.g., from a proofing basket to a baking sheet), do so smoothly and quickly. Use parchment paper under the dough before proofing if possible, so you can simply lift and transfer. This careful handling preserves the airy structure built during enriched dough proofing, ensuring maximum oven spring and a light, tender crumb.
Tip 2: The Finger Dent Test for Brioche
The finger dent test is a classic and highly reliable method for assessing whether enriched dough, like brioche, is perfectly proofed. To perform the test, gently flour your index finger. Then, softly press the tip of your finger into the surface of the proofed dough to a depth of about half an inch (about 1-1.5 cm). Observe how quickly the indentation springs back.
This test provides a tactile confirmation of the dough's internal structure and gas development. It's a more precise indicator than just looking at volume, as it tells you about the elasticity and readiness of the dough to bake. Master this technique as part of your enriched dough proofing tips to consistently achieve ideal results.
Interpreting the Results of the Finger Dent Test
Interpreting the finger dent test is straightforward:
- If the indentation springs back immediately and completely: The dough is under-proofed. The gluten is still too tight and elastic, and it needs more time to relax and develop gas. Continue proofing and test again later.
- If the indentation springs back slowly, only partially filling the dent: The dough is perfectly proofed. It has developed sufficient gas, and the gluten structure is relaxed but still has enough strength to hold its shape and provide good oven spring. This is the ideal stage for baking.
- If the indentation remains and does not spring back at all, and the dough feels very soft and potentially wobbly: The dough is over-proofed. The gluten structure has weakened too much and can no longer hold the gas effectively. While not ideal, sometimes over-proofed dough can still be baked, though the results will be less optimal.
Tip 3: Avoiding Over-Proofing Brioche
Over-proofing is a common pitfall when working with enriched dough. Because brioche is rich and often proofed in warm conditions, it can sometimes proof faster than expected. As mentioned earlier, over-proofing leads to a weak structure, poor oven spring, and a potentially flat, coarse-crumbed loaf. Vigilance and using the finger dent test are the best defenses against this.
Pay close attention to the recommended proofing time range in your recipe, but use it only as a guide. Start checking the dough visually and with the finger dent test towards the earlier end of the suggested time. For example, if a recipe suggests 2-3 hours, start checking after 1.5 hours, especially if your kitchen is warm. Regular checks are crucial enriched dough proofing tips for preventing the dough from going past its peak.
Recognizing and Correcting Over-Proofed Dough
Recognizing over-proofed dough involves looking for specific signs. Visually, the dough may look excessively large, airy, and potentially spread out rather than holding a tight shape. The surface might appear thin or even start to show small tears or bubbles that have popped. When you perform the finger dent test, the indentation will remain completely, and the dough will feel very soft and fragile, perhaps even deflating slightly under your touch.
If you catch dough that is just slightly over-proofed, you might still be able to bake it with acceptable results, though oven spring will be diminished. If it's significantly over-proofed (very wobbly, deflating easily), you have a couple of options, though neither will yield a perfect loaf. You can gently punch it down, reshape it, and give it a very short, careful second proof (this often doesn't work well for brioche's texture).
Alternatively, you can use it for a different application, like making bread pudding or croutons, where the structure is less critical. Prevention through careful monitoring is key among enriched dough proofing tips.
Tip 4: Using a Proofing Box or Proofer for Consistent Results
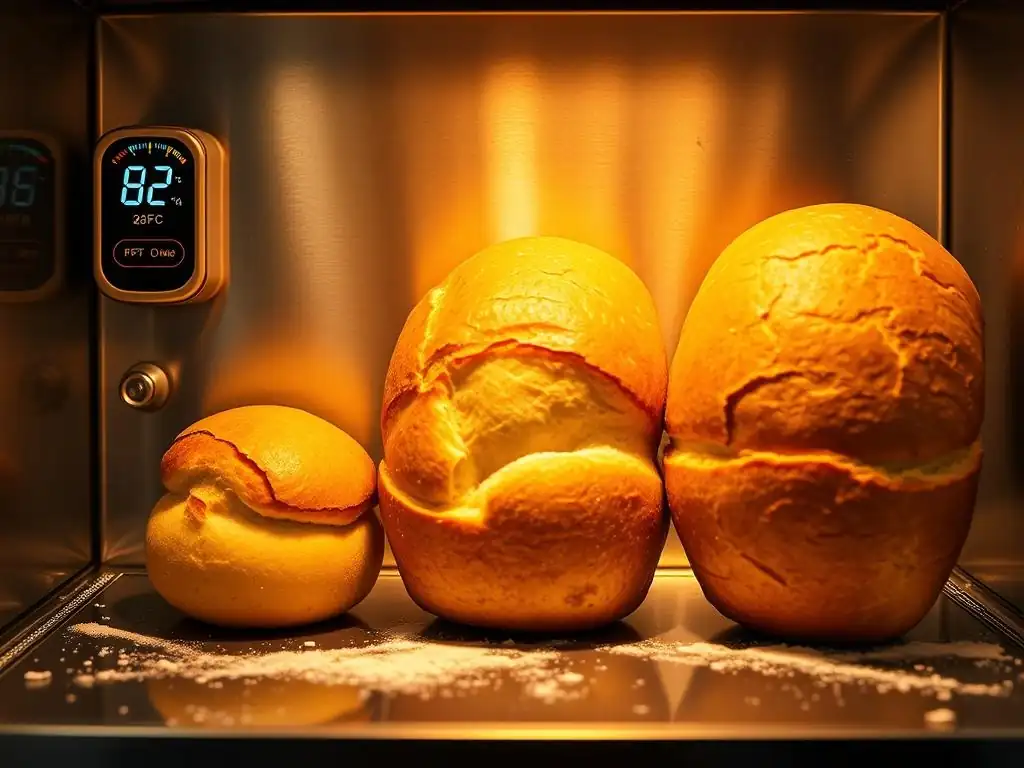
For bakers who frequently work with enriched dough or live in environments with fluctuating temperatures, a proofing box or dedicated dough proofer can be an invaluable tool. These appliances provide a temperature-controlled and often humidity-controlled environment, eliminating guesswork and external variables. This ensures your brioche proofs at a consistent, optimal rate every time, leading to more predictable and successful outcomes.
Using a proofer allows you to set the exact temperature (e.g., 25°C or 77°F) and sometimes even the humidity level. This removes the stress of finding a warm spot in a cold kitchen or worrying about drafts. While not strictly necessary – excellent brioche can be made without one – a proofer significantly simplifies the enriched dough proofing process and contributes to highly consistent results batch after batch.
Tip 5: Adjusting Proofing Time Based on Butter Content
The amount of butter and other enrichments (like eggs and sugar) in brioche dough significantly impacts its proofing time. Higher levels of fat and sugar can slow down yeast activity. Fat coats the yeast cells and interferes with gluten development, while high sugar concentrations can initially stress the yeast (though they provide food later). A very rich brioche dough, sometimes containing 50-75% butter relative to the flour weight, will typically take longer to proof than a leaner dough or a brioche with less enrichment.
As a general rule among enriched dough proofing tips, the richer the dough, the slower the proof. Be prepared for longer proofing times for highly enriched recipes, especially during the final proof. Always prioritize the visual cues and the finger dent test over strict timing, but understand that a dough with 60% butter will likely require more time at the same temperature than one with 30% butter to reach the same proofing stage.
Preparing Your Brioche for the Oven After Proofing
Scoring Techniques for Brioche
Scoring is the process of making shallow cuts on the surface of proofed dough just before baking. For enriched dough like brioche, scoring serves both aesthetic and functional purposes. Functionally, scores act as controlled vents, directing the oven spring and preventing the dough from cracking unpredictably as it expands rapidly in the hot oven. This helps achieve a consistent shape.
Aesthetically, scoring allows you to create beautiful patterns on the crust. For brioche loaves, a single slash down the center or a series of diagonal cuts are common. For individual rolls or 'à tête' brioche, scoring might not be necessary, but sometimes a cross is cut on top. Use a very sharp blade (like a razor blade or lame) and make quick, confident cuts about 1/4 to 1/2 inch deep (0.5-1 cm). Practice makes perfect, and gentle handling is crucial as the dough is very delicate at this stage of enriched dough proofing.
Egg Wash Application for a Golden Crust
Applying an egg wash to the surface of proofed brioche just before baking is a classic step that contributes significantly to its final appearance. A typical egg wash is made by whisking one whole egg with a tablespoon or two of milk or water. This mixture is then gently brushed over the entire exposed surface of the dough using a soft pastry brush.
The egg wash, when baked, caramelizes and creates a beautiful, glossy, golden-brown crust. It also adds a subtle richness to the flavor of the crust. Be careful not to let the egg wash pool around the base of the loaf or rolls, as it can glue the dough to the pan or baking sheet. Apply it evenly and thinly for the best results, enhancing the visual appeal of your perfectly proofed enriched dough.
Baking Temperatures and Times for Proofed Brioche
Baking temperature and time are the final steps after successful enriched dough proofing. Brioche is typically baked at moderate temperatures to allow the rich dough to cook through without burning the crust prematurely. Common baking temperatures range from 175°C to 190°C (350°F to 375°F). The exact temperature depends on the size and shape of the brioche; larger loaves might start at a higher temperature for the first 10-15 minutes before reducing it, while smaller rolls might bake at a consistent temperature.
Baking time varies greatly depending on the size and temperature. Brioche rolls might bake for 15-25 minutes, while a large loaf could take 30-45 minutes or even longer. The best way to tell if brioche is done is by internal temperature; it should register around 90-93°C (195-200°F) when tested with an instant-read thermometer inserted into the thickest part. The crust should be a deep golden brown. Proper baking completes the work done during enriched dough proofing, setting the structure and creating the final texture and color.
Troubleshooting Common Brioche Proofing Problems
Dough Not Rising During Proofing: Potential Causes and Solutions
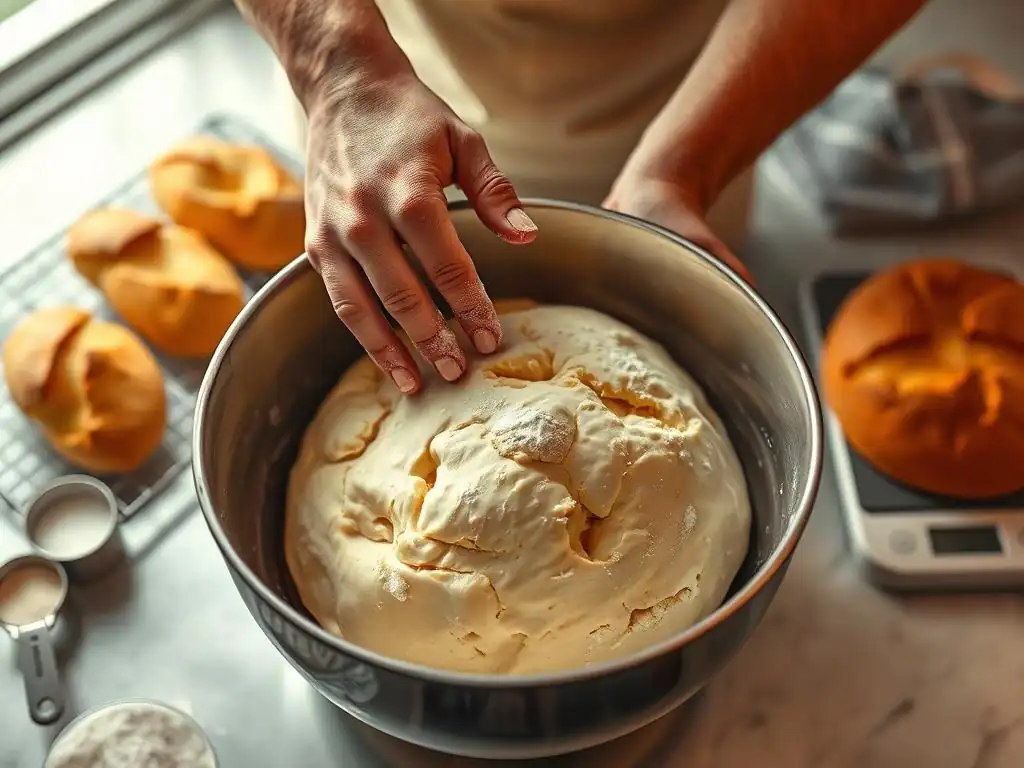
If your brioche dough isn't rising during the final proof, several factors could be at play. The most common issue is inactive or dead yeast. Ensure your yeast is fresh and stored correctly. If using active dry yeast, make sure you proof it in warm liquid with a pinch of sugar before adding it to the dough to confirm it's alive and bubbly. Another cause is a too-cold proofing environment; yeast is sluggish below 20°C (68°F). Move the dough to a warmer spot (24-26°C or 75-79°F).
Excessively cold or hot liquids used when mixing the dough can kill yeast. Ensure liquids are lukewarm (around 35-40°C or 95-105°F). Kneading issues can also inhibit rise; under-kneaded dough might not have a strong enough gluten structure to trap gas, while over-kneading can break down the structure. If the dough is simply rising too slowly due to a cool environment, patience is key; just give it more time in a warmer place. Troubleshooting these issues is vital for successful enriched dough proofing.
Dough Collapsing After Proofing: Prevention and Recovery
Dough collapsing after proofing is a clear sign of over-proofing. The gluten structure has stretched past its limit and can no longer support the weight of the dough and the trapped gas. This often happens if the dough is left to proof for too long, especially in a warm environment. Prevention is key: monitor the dough closely, use the finger dent test, and proof at the recommended temperature range rather than a very warm one that rushes the process.
If your dough has slightly collapsed or is clearly over-proofed (fails the finger dent test completely and is very fragile), recovery is difficult and often results in a denser crumb. You can try to handle it extremely gently, move it immediately to a preheated oven, and hope for minimal deflation.
For severely collapsed dough, the best option is often to punch it down gently, reshape it, and give it a very short, supervised second proof (maybe 15-30 minutes) before baking, understanding that the texture won't be ideal. Learning to recognize the perfect proofing point is a key skill among enriched dough proofing tips.
Uneven Proofing: Identifying and Addressing the Issue
Uneven proofing occurs when different parts of the dough rise at different rates, leading to a lopsided loaf or rolls. This is often caused by inconsistent temperature during proofing. If one side of the dough is warmer than the other (e.g., near a drafty window or too close to a single heat source), the yeast will be more active in that area.
To address uneven proofing, ensure the dough is in a draft-free location with a consistent ambient temperature. If using a makeshift warm spot (like an oven with the light on), ensure the heat distributes evenly. Rotating the dough halfway through the proofing time can also help expose all sides to the same conditions. A dedicated proofing box provides the most uniform temperature. Consistent conditions are vital for achieving an even rise during enriched dough proofing.
Mastering Brioche: Next Steps & Resources
Exploring Different Brioche Recipes on BakeWithEase.com
Now that you've mastered the nuances of enriched dough proofing, especially for brioche, you're ready to explore the wide world of brioche recipes available on BakeWithEase.com. From classic French brioche à tête to braided loaves, sweet rolls, and savory variations, understanding the final proof is the foundation for success. Each recipe might have slightly different proofing requirements based on its specific composition, but the core principles of temperature, time, humidity, and evaluating readiness with the finger dent test remain constant.
Dive into our collection and apply the enriched dough proofing tips you've learned here. Pay attention to the suggested proofing times and temperatures provided in each recipe, but use your newfound skills to observe the dough's readiness rather than just following the clock. Experiment with different proofing methods, like cold proofing, to see how they impact flavor and texture.
Advanced Techniques for Brioche Baking
Beyond basic proofing, there are several advanced techniques that can further elevate your brioche baking. These include incorporating levain (sourdough starter) into your brioche for added flavor complexity (a hybrid enriched dough proofing approach), mastering different shaping techniques for intricate designs, or experimenting with enriched doughs featuring different fats or flavorings. Understanding the science behind dough development, including the interaction of gluten, yeast, and enrichments, allows you to adapt recipes and troubleshoot with greater confidence.
Consider exploring techniques like double proofing (a shorter first proof after shaping, followed by chilling and then a final proof) or using different types of flour to see how they affect the final crumb and texture. The principles of enriched dough proofing remain fundamental, but these advanced techniques offer new avenues for creativity and skill development in your baking journey.
BakeWithEase.com - Your guide to mastering baking, one step at a time.
Frequently Asked Questions
How is enriched dough different and why does it require special proofing attention?
Enriched doughs, unlike lean doughs, contain fats, sugars, and dairy. These ingredients can inhibit gluten development, requiring a longer and more controlled proofing process.
What are some key indicators that my enriched dough is properly proofed?
Look for a significant increase in volume (typically double), a light and airy texture, and a dough that springs back slowly when gently poked. Over-proofing is also a risk.
What's the best temperature range for proofing enriched dough?
The ideal temperature is usually between 75-80°F (24-27°C). Too cold, and the dough will take too long; too hot, and it could over-proof or develop off flavors.
Can I proof enriched dough in the refrigerator?
Yes, cold proofing in the refrigerator is possible and can actually enhance flavor development. However, it will take significantly longer, often overnight or even longer.
What happens if I over-proof my enriched dough?
Over-proofed dough can collapse during baking, resulting in a dense, flat, and sometimes sour-tasting product. It's best to err on the side of under-proofing if unsure.
Final Reflection: The Rising Promise of Enriched Dough
The art of baking enriched dough, once a closely guarded secret, is now within everyone's reach, thanks to readily available information and a growing appreciation for artisanal breads. Mastering the proofing process, as explored throughout this article, is the key to unlocking the full potential of these rich, flavorful creations. The seemingly simple act of letting dough rise is, in reality, a complex dance of fermentation and hydration, directly impacting the final texture and taste.
The journey of enriched dough, from its initial mixing to its glorious oven spring, is a testament to the patience and precision required in baking. It's a process that mirrors life itself – requiring careful nurturing and attention to detail to achieve the desired outcome. The best things in life are worth waiting for,
a sentiment perfectly encapsulates the rewarding experience of working with enriched dough. This process, while demanding, fosters a deep connection between baker and bread, a connection that transcends the simple act of food preparation.
Now, consider your own baking journey. What have you learned about the importance of patience and precision? Take the time to observe your dough, to understand its needs, and to trust the process. Don't be afraid to experiment, to adjust techniques based on your environment and ingredients. The next loaf you bake, whether it's a challah, brioche, or croissant, will be a testament to your growing mastery, a delicious reward for your dedication and a delicious symbol of the rising potential within you.
Unleash Your Inner Baker: Perfect Dough, Perfect Pie!
Thanks for joining us on this baking journey! We hope you've gained valuable insights into achieving that perfectly enriched dough. Now it's time to put your new skills to the test!
- Master the Art: Try out the enriched dough recipe from the article today—we’re confident you'll be amazed by the results! Take your time, savor the process, and enjoy the delicious aroma filling your kitchen.
- Share Your Success: Snap a photo of your masterpiece and share it on social media using #BakeWithEaseEnrichedDough – let's inspire each other!
- Explore Further: Dive deeper into our enriched dough techniques by browsing our other articles on pie crusts, yeast doughs, and more.
Ready to create your own baking masterpiece? What unique twist will you add to your enriched dough recipe?