
Baking a Brioche Couronne (Crown): A Festive Centerpiece

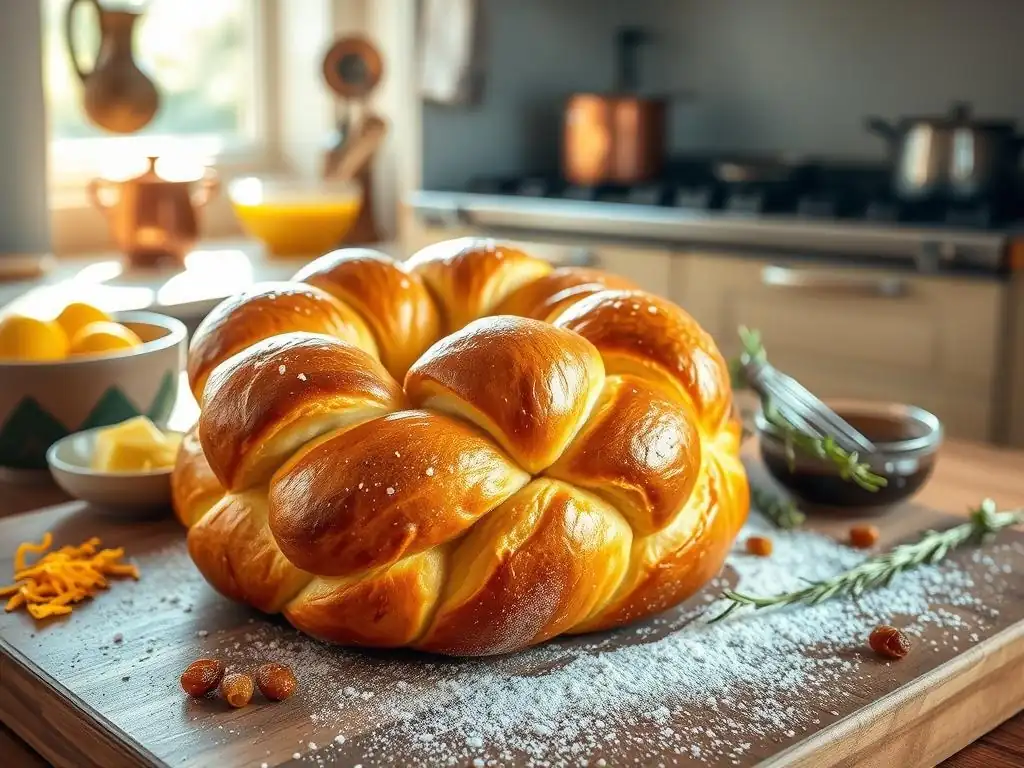
Welcome to BakeWithEase, your trusted guide to unlocking the delicious world of baking! Ever dreamed of crafting a stunning centerpiece for your next gathering? Then you're in the right place. In this article, we'll demystify the art of brioche couronne baking, with an easy-to-follow tutorial that will have you creating a show-stopping crown of buttery goodness in no time. Intrigued? Let's get started and discover the secrets to perfect brioche!
- Introduction to Brioche Couronne: A Festive Baking Project
- Brioche Couronne Recipe: Easy Step-by-Step Tutorial
- Step-by-Step Brioche Couronne Baking Tutorial: Making the Dough
- Shaping the Brioche Couronne: Creating the Crown
- Baking the Brioche Couronne: Achieving Golden Perfection
- Brioche Couronne Variations: Customizing Your Crown
- Brioche Couronne Baking Tips: Troubleshooting & Best Practices
- Serving and Enjoying Your Brioche Couronne
- Conclusion: Mastering the Art of Brioche Couronne Baking
- Frequently Asked Questions
- Final Reflection: The Enduring Magic of the Brioche Couronne
- Unleash Your Inner Baker: Craft Your Festive Couronne!
Introduction to Brioche Couronne: A Festive Baking Project
Baking a brioche couronne is a wonderfully rewarding project, especially for those looking to elevate their baking skills and create a stunning centerpiece. This enriched bread, shaped like a crown, is not only delicious but also visually impressive, making it perfect for holidays, celebrations, or simply a special weekend treat. The process involves working with a rich, buttery dough, which requires a bit more attention than a basic loaf but yields a truly luxurious result.
Embarking on a brioche couronne baking tutorial easy steps can demystify the process and make this seemingly complex bread accessible. While it falls under intermediate baking, the techniques involved, such as kneading enriched dough and careful shaping, are fundamental skills that, once mastered with the brioche couronne, can be applied to a wide range of other delicious bakes. Think of this project as a stepping stone to more ambitious bread endeavors, building confidence with each successful rise and golden-brown finish.
What is Brioche Couronne and Why Bake It?
A brioche couronne, translating from French as "brioche crown," is essentially a ring-shaped brioche loaf. Brioche itself is a classic French bread known for its high egg and butter content, resulting in a tender, rich crumb and a beautiful golden crust. The couronne shape is achieved by arranging individual balls or knots of dough in a circle, which then expand and merge during baking to form a continuous ring, often with a hole in the center. This shape is traditionally festive and makes for a beautiful presentation.
Baking a brioche couronne offers several compelling reasons. Firstly, the taste is simply divine – far richer and more flavorful than standard bread. Secondly, the visual appeal is undeniable; a golden, puffy crown makes a statement on any table. For instance, a typical brioche recipe might contain around 20-30% butter by flour weight and several whole eggs, contributing to its signature richness and tenderness. This high fat and egg content requires specific handling during kneading, but the payoff in flavor and texture is immense. It's a bake that truly rewards the effort.
Brioche Couronne: Perfect for Intermediate Bakers
The brioche couronne project is ideally suited for intermediate bakers who have some experience handling yeast doughs but are ready for a slightly greater challenge. Unlike lean doughs (like baguette), enriched doughs like brioche are softer, stickier, and require longer kneading times to develop sufficient gluten strength to support the high fat content. Mastering the technique of incorporating butter into the dough gradually, often after initial kneading, is a key skill developed when making brioche.
Furthermore, shaping the brioche couronne requires a bit more finesse than a simple loaf. Whether you choose to form individual balls, knots, or even small rolls, arranging them correctly in the pan or on a baking sheet is crucial for achieving the desired crown shape. For example, using a 9-inch round cake pan or placing a ring/ramekin in the center of a baking sheet helps guide the dough as it expands. This level of precision builds on basic shaping skills learned with simpler breads, making the brioche couronne a logical and rewarding next step in your baking journey.
Brioche Couronne Recipe: Easy Step-by-Step Tutorial
Creating a beautiful and delicious brioche couronne doesn't have to be intimidating. This tutorial breaks down the process into manageable steps, focusing on clarity and ease. While brioche dough is enriched, the techniques used are straightforward once understood. We'll guide you from gathering ingredients to the final golden bake, ensuring you have the confidence to tackle this festive bread.
Follow along closely, paying attention to the details at each stage. Success in brioche baking often comes down to patience and observation – understanding how the dough feels and behaves throughout the process. With a little practice, you'll be crafting stunning brioche crowns that are as delightful to eat as they are to behold.
Brioche Couronne Ingredients: What You'll Need
Gathering the right ingredients is the first crucial step in any baking project, and a brioche couronne is no exception. The quality and temperature of your ingredients can significantly impact the final outcome. Since brioche is an enriched dough, you'll need more than just flour, water, and yeast. Be sure to measure accurately, preferably using a kitchen scale for consistency, especially with flour.
Ensure your butter and eggs are at room temperature unless the recipe specifically states otherwise. Room temperature ingredients emulsify better with the dough, leading to a smoother, more uniform texture. For example, butter should be soft enough to indent easily but not melted, typically around 65-70°F (18-21°C). Cold ingredients can shock the yeast and make kneading more difficult.
Essential Ingredients for a Perfect Brioche Crown
The core of a classic brioche dough relies on a few key components. You'll need high-quality bread flour, which has a higher protein content (around 12-14%) compared to all-purpose flour, providing the necessary structure to support the richness of the dough. Fresh active dry or instant yeast is essential for leavening; confirm its freshness by checking the expiration date or blooming it if using active dry.
Other essentials include sugar, which provides food for the yeast and contributes to browning and tenderness; salt, which balances flavor and controls yeast activity; eggs, which add richness, color, and structure; and a significant amount of unsalted butter, which gives brioche its signature tender crumb and luxurious flavor. Milk or water is also typically included to hydrate the dough. A standard recipe for a medium couronne might use around 500g (approx. 4 cups) of bread flour, 7-8 large eggs, and 200-250g (approx. 1 cup) of butter.
Optional Flavor Enhancements for Your Brioche Couronne
While classic brioche is wonderful on its own, you can easily add flavor enhancements to customize your brioche couronne. Zest from one large orange or lemon adds a bright, aromatic note that pairs beautifully with the rich dough. Vanilla extract or a scrape of vanilla bean paste can also deepen the flavor profile.
For a touch of sweetness and texture, consider adding mix-ins like raisins, dried cranberries, or chopped candied citrus peel during the final stages of kneading or before the first rise. A common addition for a sweeter brioche is about 50-75g of raisins per 500g of flour. These additions make your brioche couronne even more festive and flavorful.
Brioche Couronne Baking Equipment: Tools of the Trade
Having the right tools can make the brioche couronne baking tutorial easy and successful. While some steps can be done by hand, a stand mixer with a dough hook attachment is highly recommended for kneading brioche dough. The high fat content makes it a sticky dough that requires significant, sustained kneading to develop gluten, a task much easier for a machine than a baker's hands.
Other essential equipment includes accurate measuring tools (cups, spoons, and a kitchen scale), mixing bowls (at least one large one for rising), a rubber spatula or bowl scraper, parchment paper (for easy transfer and cleanup), and a baking sheet or round cake pan. A pastry brush is also useful for applying an egg wash before baking, which gives the couronne its beautiful golden shine. A probe thermometer can help ensure the bread is cooked through, aiming for an internal temperature of around 190-200°F (88-93°C).
Step-by-Step Brioche Couronne Baking Tutorial: Making the Dough
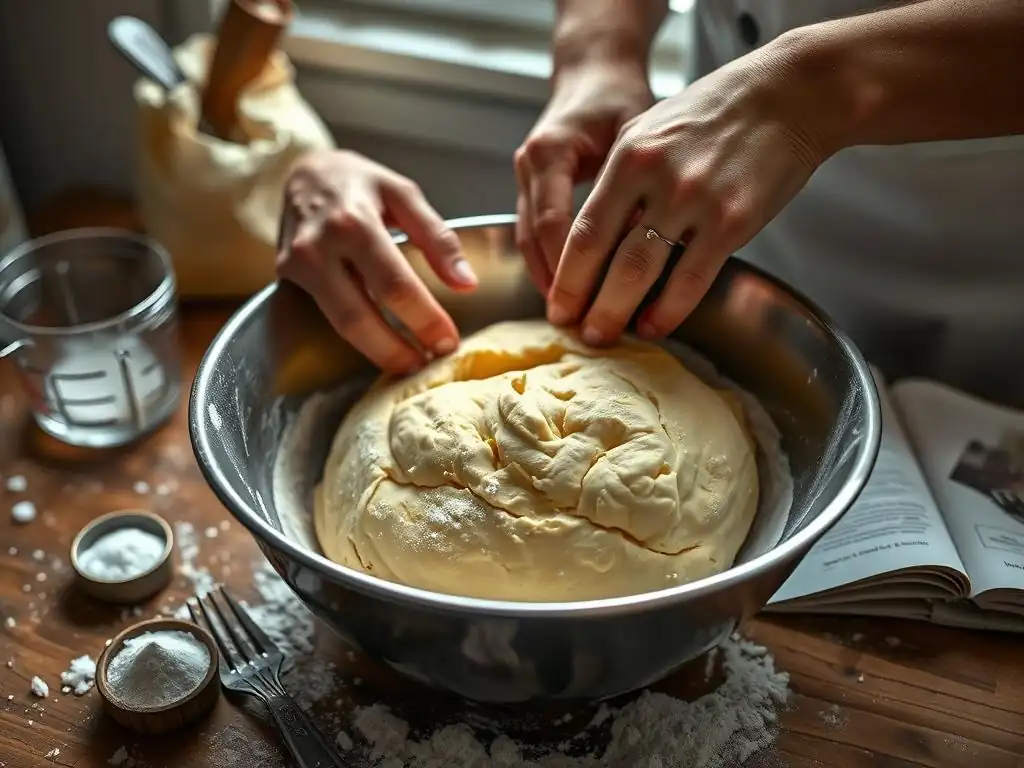
Making the dough is the foundation of your brioche couronne. This process involves activating the yeast, combining the dry ingredients, incorporating the wet ingredients, and most importantly, adding the butter gradually to create that signature rich texture. Patience is key during kneading, as the dough needs time to become smooth and elastic.
Follow these steps carefully, observing the dough's transformation at each stage. The goal is to develop a strong gluten network that can support the butter and eggs, resulting in a light and airy crumb despite the richness. Don't be discouraged if the dough seems sticky initially; this is normal for brioche.
Step 1: Activating the Yeast for Brioche Dough
If you are using active dry yeast, you'll need to activate it first. In a small bowl, combine the yeast with a pinch of sugar (from the recipe's total amount) and warm liquid (milk or water, typically around 100-110°F or 38-43°C). Use about 1/4 cup of the recipe's liquid. Stir gently and let it sit for 5-10 minutes. You should see a foamy layer develop on the surface, indicating the yeast is alive and active. If it doesn't foam, your yeast may be dead, and you should start with a new packet.
If using instant yeast, you can often mix it directly with the dry ingredients, but blooming it first is still a good practice to ensure vitality. For example, a standard recipe using 500g flour might call for about 7g (2 1/4 tsp) of active dry or instant yeast. Ensuring this yeast is active is paramount to achieving a good rise for your brioche couronne.
Step 2: Combining the Dry Ingredients for Brioche
In the bowl of your stand mixer (or a large mixing bowl if kneading by hand), whisk together the bread flour, remaining sugar, and salt. Make sure the salt and yeast are not directly touching initially, as salt can inhibit yeast activity. Creating this initial dry mix ensures even distribution of these key components throughout the dough.
For a typical brioche couronne recipe using 500g flour, you might combine 500g bread flour, 50g-75g sugar, and 10g (approx. 1.5 tsp) salt. A brief whisk or stir with a fork is sufficient to combine them. This step is quick but important for setting the stage for the wet ingredients.
Step 3: Incorporating Butter for a Rich Brioche Dough
This is often the most distinct step in brioche making. After the initial ingredients (flour, sugar, salt, yeast, eggs, and liquid) have been mixed and kneaded into a cohesive dough (which might take 5-10 minutes in a stand mixer), the softened butter is added gradually. Add the room-temperature butter, piece by piece, while the mixer is on a low speed. Wait until each piece is fully incorporated before adding the next.
Adding butter gradually allows the dough to absorb the fat without becoming a greasy mess. This process can take another 10-15 minutes in a stand mixer. The dough will likely become very sticky and might slap against the sides of the bowl, but keep kneading. Eventually, it should pull away from the sides and bottom of the bowl, becoming smooth, elastic, and shiny. A well-kneaded brioche dough should pass the windowpane test – you should be able to stretch a small piece thin enough to see light through it without it tearing.
Step 4: The First Rise: Achieving Optimal Brioche Dough Texture
Once the dough is fully kneaded and passes the windowpane test, gather it into a smooth ball. Lightly grease a large bowl with butter or oil, place the dough inside, and turn it to coat. Cover the bowl tightly with plastic wrap or a damp kitchen towel to prevent a skin from forming.
The first rise, also known as the bulk fermentation, allows the yeast to produce carbon dioxide, which leavens the dough and develops flavor. Place the bowl in a warm, draft-free place. Ideal temperatures for rising are typically between 75-80°F (24-27°C). The dough should double in size, which can take anywhere from 1.5 to 3 hours, depending on the temperature and yeast activity. Alternatively, for a deeper flavor development, you can refrigerate the dough for a slow rise overnight (8-12 hours). This cold fermentation makes the dough easier to handle and shape later.
Shaping the Brioche Couronne: Creating the Crown
Shaping the brioche couronne is where the artistry begins. This section focuses on transforming the risen dough into the distinctive crown shape that makes this bread so special. The cold fermentation from Step 4 is particularly helpful here, as cold dough is firmer and less sticky, making it much easier to handle and shape cleanly.
Take your time with these steps to ensure an even and beautiful crown. The goal is to create individual portions that, when assembled, will expand uniformly during the second rise and baking, forming a cohesive ring.
Step 5: Dividing and Shaping the Brioche Dough
After the first rise (or cold fermentation), gently turn the dough out onto a lightly floured surface. Avoid punching it down forcefully; you want to preserve some of the gas bubbles. Divide the dough into equal portions. The size of the portions will determine the look of your couronne – smaller portions create a more intricate crown, while larger ones result in a bolder look. For a medium couronne from 500g flour, dividing the dough into 8-10 equal pieces is typical. Each piece might weigh around 60-70g.
Shape each portion into a smooth ball. The best way to do this is to cup your hand over the dough on a clean, unfloured surface and move your hand in a circular motion, gently pushing the dough under itself until a taut, smooth ball forms. Alternatively, you can flatten each piece slightly, fold the edges towards the center, pinch the seam closed, and then roll it into a ball. Consistency in shaping is key for a symmetrical couronne.
Step 6: Assembling the Brioche Couronne: The Crown Formation
Prepare your baking surface. Line a baking sheet with parchment paper, or grease and flour a round cake pan (like a 9-inch or 10-inch pan). If using a baking sheet, you might place a heatproof ramekin or ring mold (about 3-4 inches in diameter) in the center to help maintain the hole as the dough rises and bakes.
Arrange the shaped dough balls in a circle around the central ramekin or in the prepared round pan, ensuring they are touching each other. Leave a small, even gap between the balls and the central item (if using). For example, arranging 8 balls in a circle around a 3.5-inch ramekin on a baking sheet. Ensure the balls are evenly spaced so the couronne expands symmetrically.
Step 7: The Second Rise: Ensuring a Light and Airy Crown
Once the brioche couronne is shaped and arranged on the baking sheet or in the pan, it's time for the second rise, also known as the proofing stage. Loosely cover the shaped dough with plastic wrap or a clean kitchen towel, taking care not to let it stick to the dough.
Place the covered couronne in a warm, draft-free place. During this rise, the dough balls will expand and puff up, merging together to form the continuous crown shape. This typically takes 45-90 minutes, depending on the room temperature. The dough should look noticeably larger and feel light and airy when gently poked (it should spring back slowly). Avoid over-proofing, which can lead to a collapsed structure during baking. For instance, in a room around 75°F (24°C), the second rise might take about 60 minutes.
Baking the Brioche Couronne: Achieving Golden Perfection
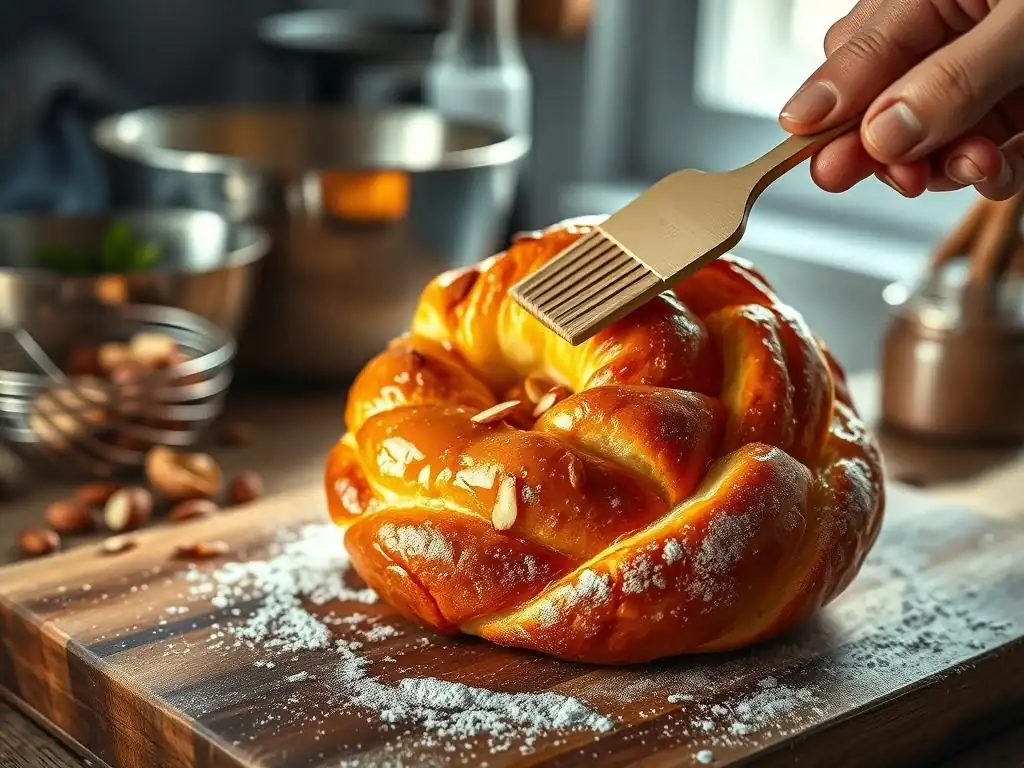
Baking is the final step in transforming your shaped dough into a beautiful, golden brioche couronne. Proper oven temperature and baking time are crucial for achieving a perfectly cooked interior and a lovely crust. An egg wash applied before baking contributes significantly to the signature golden color and slight sheen.
Pay attention to the visual cues during baking – the color of the crust is a good indicator of doneness. Using a thermometer for checking the internal temperature provides added assurance.
Step 8: Preparing the Oven for Brioche Baking
Preheat your oven well in advance to the correct temperature. For brioche, a moderate temperature is often preferred to allow the rich dough to cook through without the crust burning. A common temperature range is 350-375°F (175-190°C). Ensure the oven is fully preheated, which usually takes at least 15-20 minutes after the oven indicates it has reached the temperature.
Position the oven rack in the center of the oven to ensure even heat distribution around the couronne. If you have a baking stone or steel, placing it on the rack during preheating can help provide a consistent base temperature, beneficial for bottom crust development.
Step 9: Baking the Brioche Couronne to a Golden Brown
Just before baking, gently brush the top and sides of the brioche couronne with an egg wash. An egg wash is typically made by whisking one egg with a tablespoon of milk or water. This wash promotes a beautiful golden-brown color and a slightly shiny finish. Be careful not to deflate the risen dough while brushing.
Carefully transfer the couronne to the preheated oven. Bake for approximately 25-40 minutes, depending on the size of your couronne and your oven. The brioche should be deeply golden brown on top and sound hollow when tapped on the bottom. For certainty, check the internal temperature with a probe thermometer; it should register 190-200°F (88-93°C). If the top is browning too quickly, you can loosely tent it with aluminum foil for the remaining baking time.
Step 10: Cooling and Glazing Your Brioche Crown
Once baked, carefully remove the brioche couronne from the oven. If baked in a pan, let it cool in the pan for 5-10 minutes before gently transferring it to a wire rack to cool completely. If baked on a baking sheet with a central ramekin, carefully remove the ramekin shortly after taking it out of the oven and then transfer the couronne to a rack.
Cooling on a wire rack allows air circulation, preventing the bottom from becoming soggy. Let the brioche cool for at least 30-60 minutes before slicing. While still slightly warm (but not hot), you can apply a simple glaze if desired. A common glaze is a mix of powdered sugar and a little milk or lemon juice. Brush or drizzle this over the warm brioche couronne for added sweetness and shine. For example, a glaze made with 1 cup powdered sugar and 2-3 tablespoons milk.
Brioche Couronne Variations: Customizing Your Crown
One of the joys of baking a brioche couronne is its versatility. The rich, slightly sweet dough serves as an excellent base for a variety of flavor additions. Once you've mastered the basic brioche couronne baking tutorial easy method, you can start experimenting with different mix-ins and toppings to create your own signature crown.
These variations can transform the brioche from a simple, elegant bread into a sweet treat or even a savory accompaniment. Be mindful of the moisture content and size of your additions, as they can affect the dough's structure and baking time.
Adding Fruit to Your Brioche Couronne: Raisins, Candied Peel, and More
Adding dried or candied fruit is a classic way to enhance brioche. Raisins, sultanas, dried cranberries, or chopped candied orange and lemon peel (often referred to as fruits confits) are popular choices. These are typically added towards the end of the kneading process after the butter has been fully incorporated, or gently folded in before the first rise.
For a 500g flour recipe, you might add 75g to 100g of your chosen dried fruit. Soaking dried fruits in warm water, rum, or orange juice for about 15-30 minutes before adding them to the dough can help plump them up and prevent them from drawing moisture out of the dough during baking, resulting in a softer crumb.
Chocolate Brioche Couronne: A Decadent Twist
For chocolate lovers, turning your brioche couronne into a chocolate version is a delightful option. You can incorporate chocolate in several ways. Small chocolate chips or chunks (like bittersweet or dark chocolate) can be mixed into the dough along with or after the fruit additions. Use about 75g to 100g of chocolate chips per 500g flour.
Alternatively, you can spread a thin layer of chocolate or hazelnut spread (like Nutella) on the flattened dough before rolling and shaping the individual portions. Another method involves incorporating cocoa powder into a portion of the dough to create contrasting swirls when shaping the balls. For instance, replacing 20g of flour with 20g of unsweetened cocoa powder in about one-third of the dough.
Savory Brioche Couronne: Exploring Cheese and Herbs
While brioche is traditionally sweet, the enriched dough also works beautifully in savory applications. You can reduce the sugar slightly in the dough recipe (e.g., from 75g to 30g) and add savory mix-ins. Grated cheese, such as Gruyère, Parmesan, or cheddar, is a fantastic addition. You can fold in about 75g to 100g of grated cheese per 500g flour.
Fresh or dried herbs, like chives, rosemary, or thyme, also pair well. Add 1-2 tablespoons of chopped fresh herbs or 1-2 teaspoons of dried herbs to the dough during the final kneading stages. Other savory additions could include cooked bacon bits, sun-dried tomatoes (well-drained and chopped), or olives. A savory brioche couronne makes a wonderful accompaniment to soups, salads, or a cheese board.
Brioche Couronne Baking Tips: Troubleshooting & Best Practices
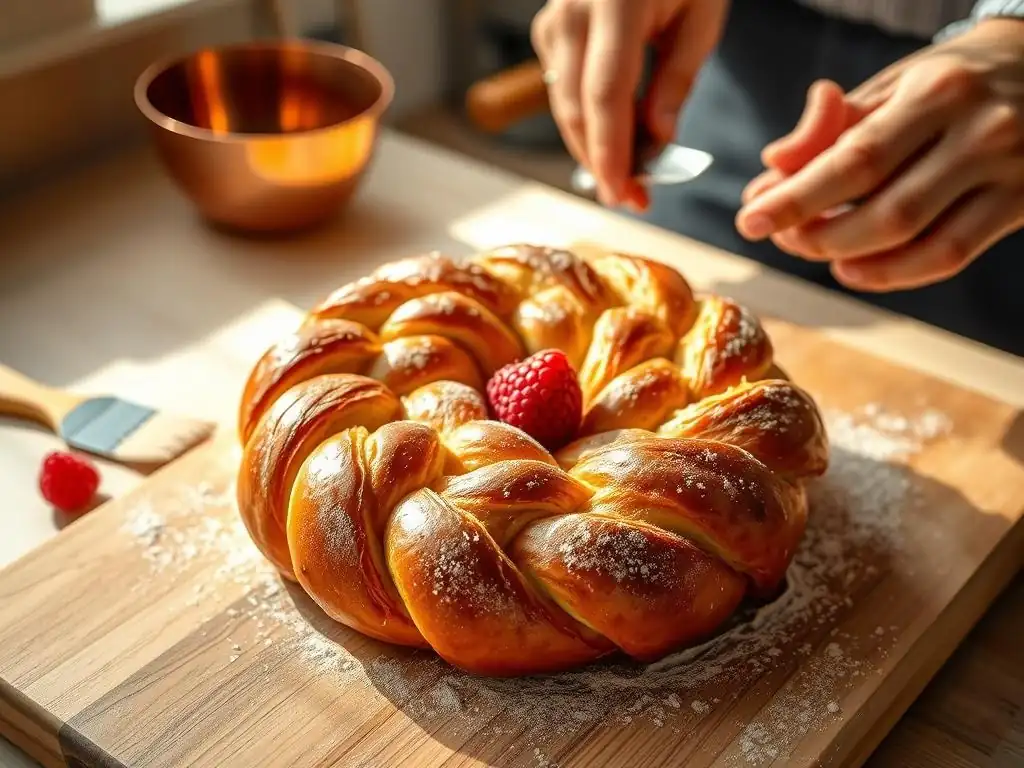
Even with a detailed brioche couronne baking tutorial easy to follow, baking can sometimes present challenges. Knowing how to troubleshoot common issues and employing best practices will significantly increase your chances of baking a successful brioche couronne every time.
From achieving the perfect texture to preventing common baking woes, these tips are gathered from experience and aim to help you refine your technique. Pay attention to the feel and appearance of your dough at each stage, as these are often the best indicators of whether things are on track.
Achieving the Perfect Brioche Texture: Avoiding Common Mistakes
The hallmark of a great brioche is its incredibly tender, rich, and slightly airy crumb. A common mistake that leads to a dense or tough brioche is insufficient kneading. Brioche dough, due to its high fat content, requires longer kneading than leaner doughs to develop a strong gluten network. If kneading by hand, this might take 20-30 minutes; in a stand mixer, it could be 15-20 minutes after all ingredients are combined. Ensure the dough passes the windowpane test.
Another pitfall is adding too much flour during kneading or shaping. While a little flour is necessary to prevent sticking, excessive flour can make the dough dry and tough. Rely on the dough's feel – it should be slightly sticky but manageable. Also, ensure your yeast is active and your rising environment is warm enough, as poor leavening will result in a dense bread. Aim for a dough temperature after kneading around 75-80°F (24-27°C) for optimal yeast activity.
Preventing a Soggy Bottom: Baking Techniques
A soggy bottom is a frustrating issue that can plague enriched breads like brioche. This often happens when the base of the bread doesn't receive enough heat during baking, leading to undercooked dough at the bottom. Using a preheated baking stone or steel can help deliver a burst of heat to the bottom of the loaf, promoting even cooking.
Another technique is to bake the brioche couronne in a metal pan rather than directly on a baking sheet, as the metal conducts heat efficiently. Ensure the oven rack is in the center or slightly lower position to ensure the bottom gets adequate heat. If baking on a baking sheet, ensure there's good air circulation around the base. Baking until the internal temperature reaches 190-200°F (88-93°C) is the most reliable way to confirm it's cooked through, top to bottom.
Storing Your Brioche Couronne: Keeping it Fresh
Brioche is best enjoyed fresh, ideally on the day it's baked. However, if you have leftovers, proper storage will help maintain its quality for a day or two. Once completely cooled, store the brioche couronne in an airtight container or wrap it tightly in plastic wrap. Avoid refrigerating brioche, as this can accelerate staling and make the crumb dry.
For longer storage, brioche freezes exceptionally well. Once cooled, wrap the couronne tightly in plastic wrap, then in aluminum foil or place it in a freezer-safe bag. Frozen brioche can last for up to 2-3 months. To thaw, unwrap and let it sit at room temperature for several hours. You can refresh slightly stale brioche by warming slices gently in a toaster or oven.
Serving and Enjoying Your Brioche Couronne
Your beautifully baked brioche couronne is ready to be the star of your table! Serving it well enhances the experience and allows everyone to appreciate your baking efforts. Whether it's for breakfast, brunch, or as part of a festive spread, the brioche couronne offers numerous delicious possibilities.
Consider how you'll present it and what accompaniments will best complement its rich flavor and tender texture.
Presentation Ideas for Your Festive Brioche Crown
The couronne shape itself makes for a striking presentation. You can place it directly on a serving platter or a festive cake stand as a centerpiece. Dusting the cooled brioche lightly with powdered sugar adds a touch of elegance, especially if it's a sweet version.
For a truly festive look, you can decorate the center of the couronne. Place a small bowl of jam, whipped cream, or fresh berries in the central hole. If baking for a holiday like Easter or Christmas, you could decorate it further with sugared almonds, pearl sugar before baking, or even small decorative elements placed in the center. The visual appeal is almost as important as the taste!
Pairing Suggestions: What to Serve with Brioche Couronne
Brioche couronne is incredibly versatile and pairs well with both sweet and savory items. For breakfast or brunch, serve slices with butter, jam, marmalade, honey, or a rich chocolate spread. It's also excellent for making French toast or bread pudding.
As a more substantial treat, pair it with fresh fruit, yogurt, or a dollop of crème fraîche. If you've made a savory version (like cheese and herb), it's a perfect accompaniment to a charcuterie board, a light soup, or served alongside scrambled eggs. Coffee, tea, or even a glass of sparkling wine are delightful beverage pairings.
Conclusion: Mastering the Art of Brioche Couronne Baking
Baking a brioche couronne is a journey that builds skills and confidence, culminating in a truly spectacular loaf. While it requires patience and attention to detail, following this brioche couronne baking tutorial easy steps makes the process achievable and enjoyable for intermediate bakers. From understanding the role of enriched dough to mastering shaping and baking techniques, each step contributes to the final, delicious outcome.
With practice, you'll gain an intuitive feel for the dough and be able to tackle variations with ease. The brioche couronne is more than just bread; it's a festive centerpiece, a testament to your growing baking prowess, and a delightful treat to share. So gather your ingredients, set aside the time, and enjoy the rewarding process of bringing this beautiful bread to life in your own kitchen.
Frequently Asked Questions
What exactly is a Brioche Couronne?
A Brioche Couronne is a festive bread shaped like a crown. It's made from a rich, buttery brioche dough, making it a delicious and impressive centerpiece.
Is a Brioche Couronne difficult for a beginner to bake?
While brioche can seem intimidating, our BakeWithEase tutorial provides easy-to-follow instructions. With our step-by-step guide and readily available ingredients, even beginners can succeed.
What kind of ingredients do I need for the Brioche Couronne?
You'll need basic baking ingredients like flour, butter, eggs, sugar, and yeast. The recipe may also call for optional additions like citrus zest or flavor extracts.
How long does it take to bake a Brioche Couronne from start to finish?
Allow for several hours due to the proofing time required for the brioche dough to rise. The actual baking time is relatively short, usually around 30-40 minutes.
Can I customize the Brioche Couronne recipe?
Absolutely! Feel free to experiment with different flavor extracts, toppings, or fillings. Get creative and make it your own!
Final Reflection: The Enduring Magic of the Brioche Couronne
Baking a brioche couronne is more than just following a recipe; it's about crafting a moment of joy, a tangible expression of care, and a testament to the enduring power of simple pleasures. The seemingly intricate process, broken down in this easy tutorial, reveals a surprisingly accessible path to creating a stunning centerpiece that elevates any gathering. This isn't just about baking; it's about the artistry of food.
The brioche couronne, with its elegant form and rich, buttery flavor, transcends mere sustenance. It's a symbol of celebration, a tradition passed down through generations, and a delicious reminder of the importance of slowing down and savoring the process. The best things in life are simple,
a sentiment perfectly embodied in this beautiful bread. Its creation fosters a sense of accomplishment and connection, whether shared with loved ones or enjoyed in quiet contemplation. The act of kneading, shaping, and baking becomes a meditative practice, a welcome respite from the hurried pace of modern life.
Now, I invite you to take what you've learned here and apply it to your own kitchen. Don't be intimidated by the seemingly complex structure; embrace the challenge, and allow yourself to be surprised by the joy of creation. Whether you're a seasoned baker or a complete novice, the brioche couronne awaits your touch. Bake one for a special occasion, or simply for the sheer pleasure of it. The result will be far more than just a delicious bread; it will be a memory made, a skill honed, and a testament to your own creative spirit.
Unleash Your Inner Baker: Craft Your Festive Couronne!
Thank you for joining us on this delightful baking journey! We hope you've gained the confidence to tackle this impressive yet surprisingly manageable brioche couronne. Now it's time to put your newfound skills to the test!
- Bake your own masterpiece: Gather your ingredients and follow our recipe to create a stunning brioche couronne. Don't be afraid to experiment with fillings and glazes – your creativity is the key ingredient!
- Share your creation: Post a picture of your finished couronne on social media and tag us! Let's inspire each other and build a beautiful baking community. Use #BakeWithEaseCouronne to show off your work!
- Challenge a friend: Send this article to a friend and challenge them to bake a brioche couronne with you – make it a fun and collaborative baking experience!
So, tell us: What unique twist will you add to your own festive brioche couronne?